
This post may contain affiliate links, which means I get a small percentage of the sale at no extra cost to you. I only recommend items I love and have had a positive experience with. Thank you!
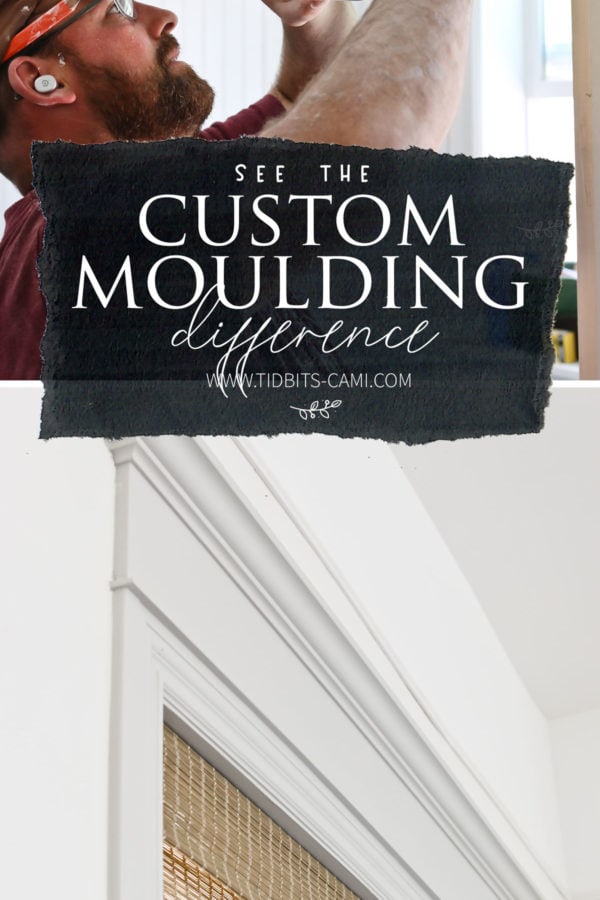
Take a look at our custom moulding, millwork and trim in our new home and learn what moulding we used and how we installed it.
Our new pole barn home may be pretty simple by design, but I plan on making it really special with the interior details – starting with the moulding and trim.
WATCH THIS POST
See the moulding installation in action!
WHY INSTALL CUSTOM MOULDING?
It’s a well known fact that custom millwork can add value to your home, and can be a key factor in helping your home stand out among all the other cookie cutter homes thrown together by contractors.

I’d like to share what we’ve used so far for our door and window casings, baseboards and wall trim, to hopefully give you some ideas and a place to start if you are building or remodeling your own home.
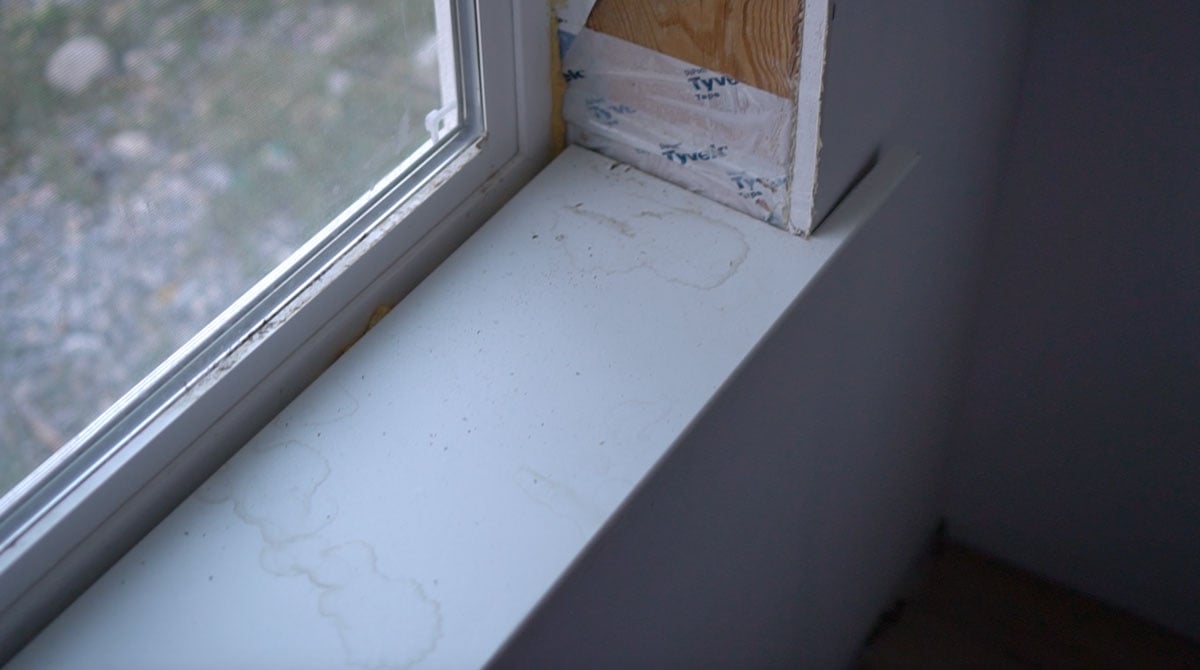
The only rooms we have mostly finished in our new home is the kitchen, laundry room, master bathroom and almost our living room. But because our windows and doors were still exposed to the internal structure – which was letting in bugs and drafts – we decided to go throughout the house and ensure we had casings on the windows and doors. This meant I had to decide now what I wanted to use throughout the house in terms of moulding and millwork.
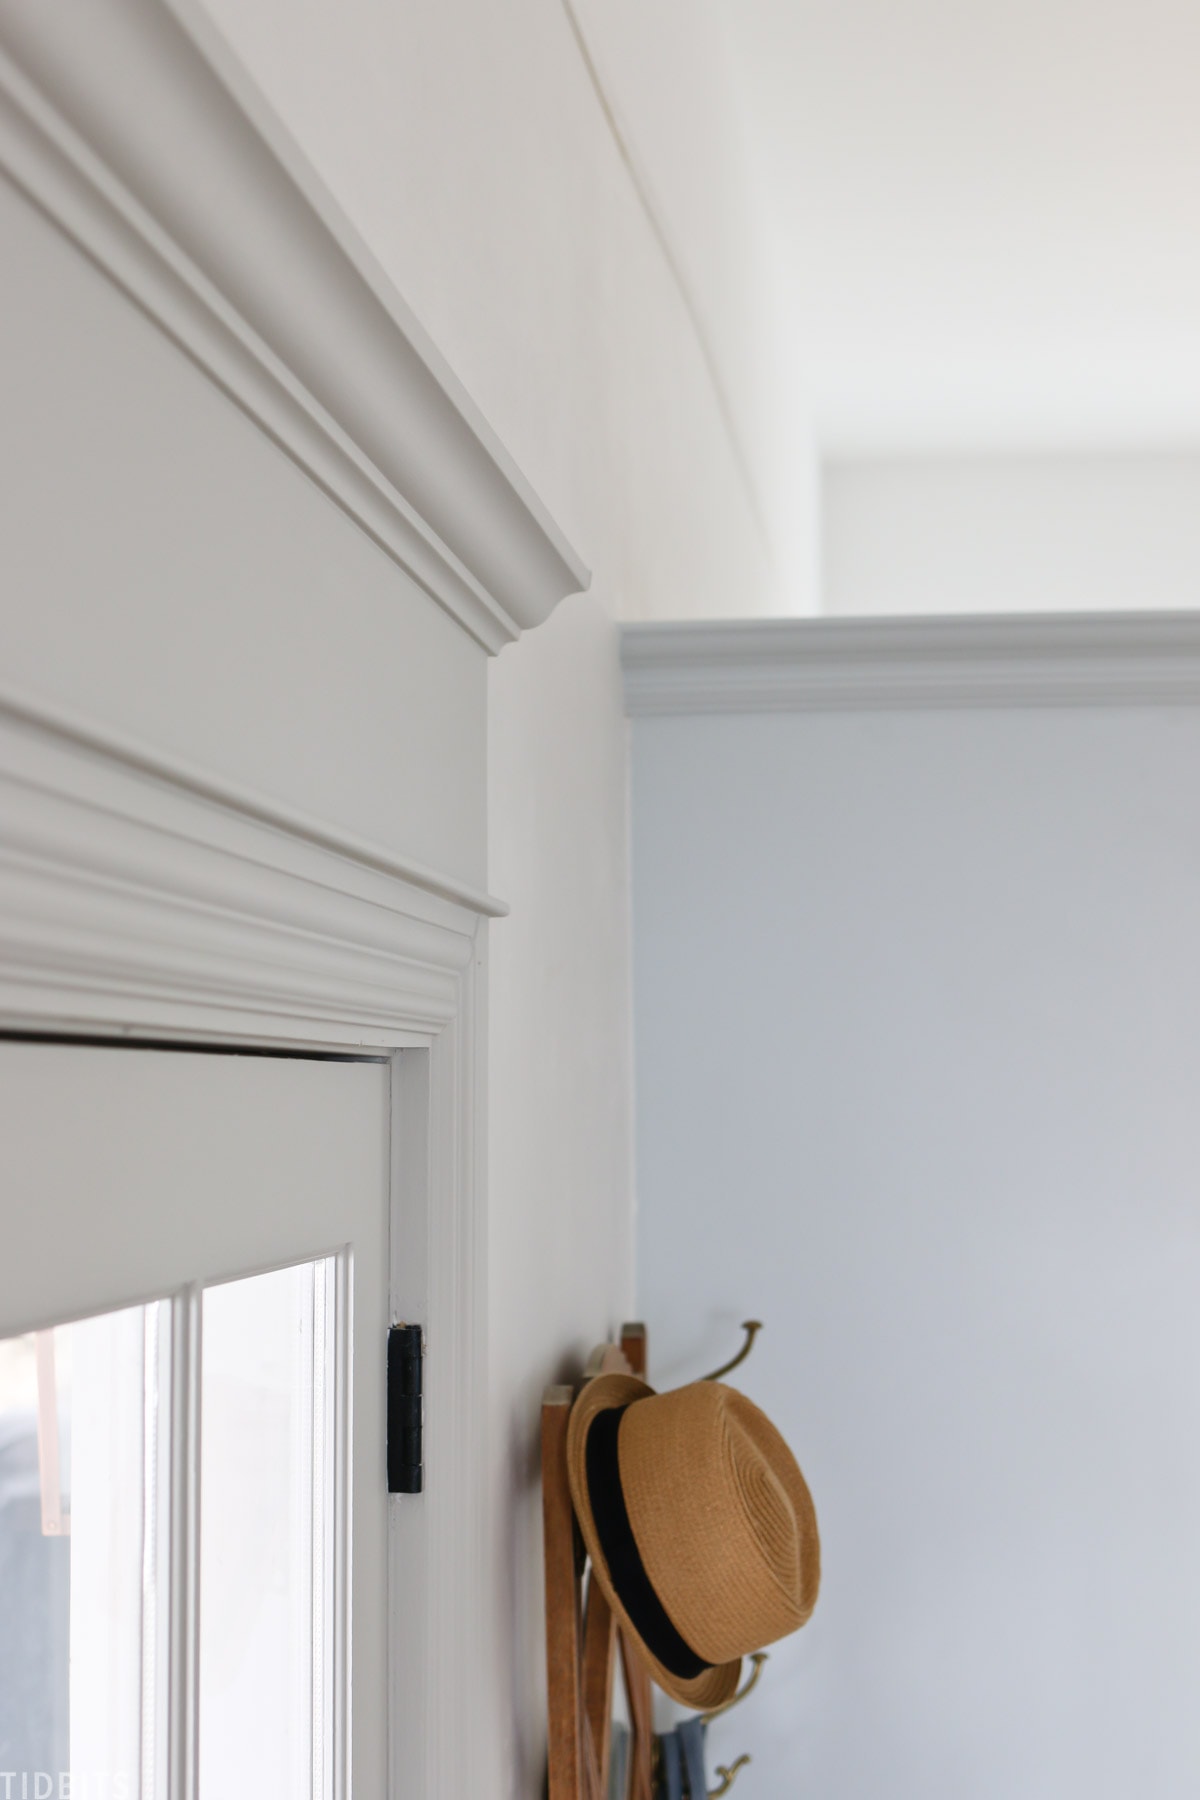
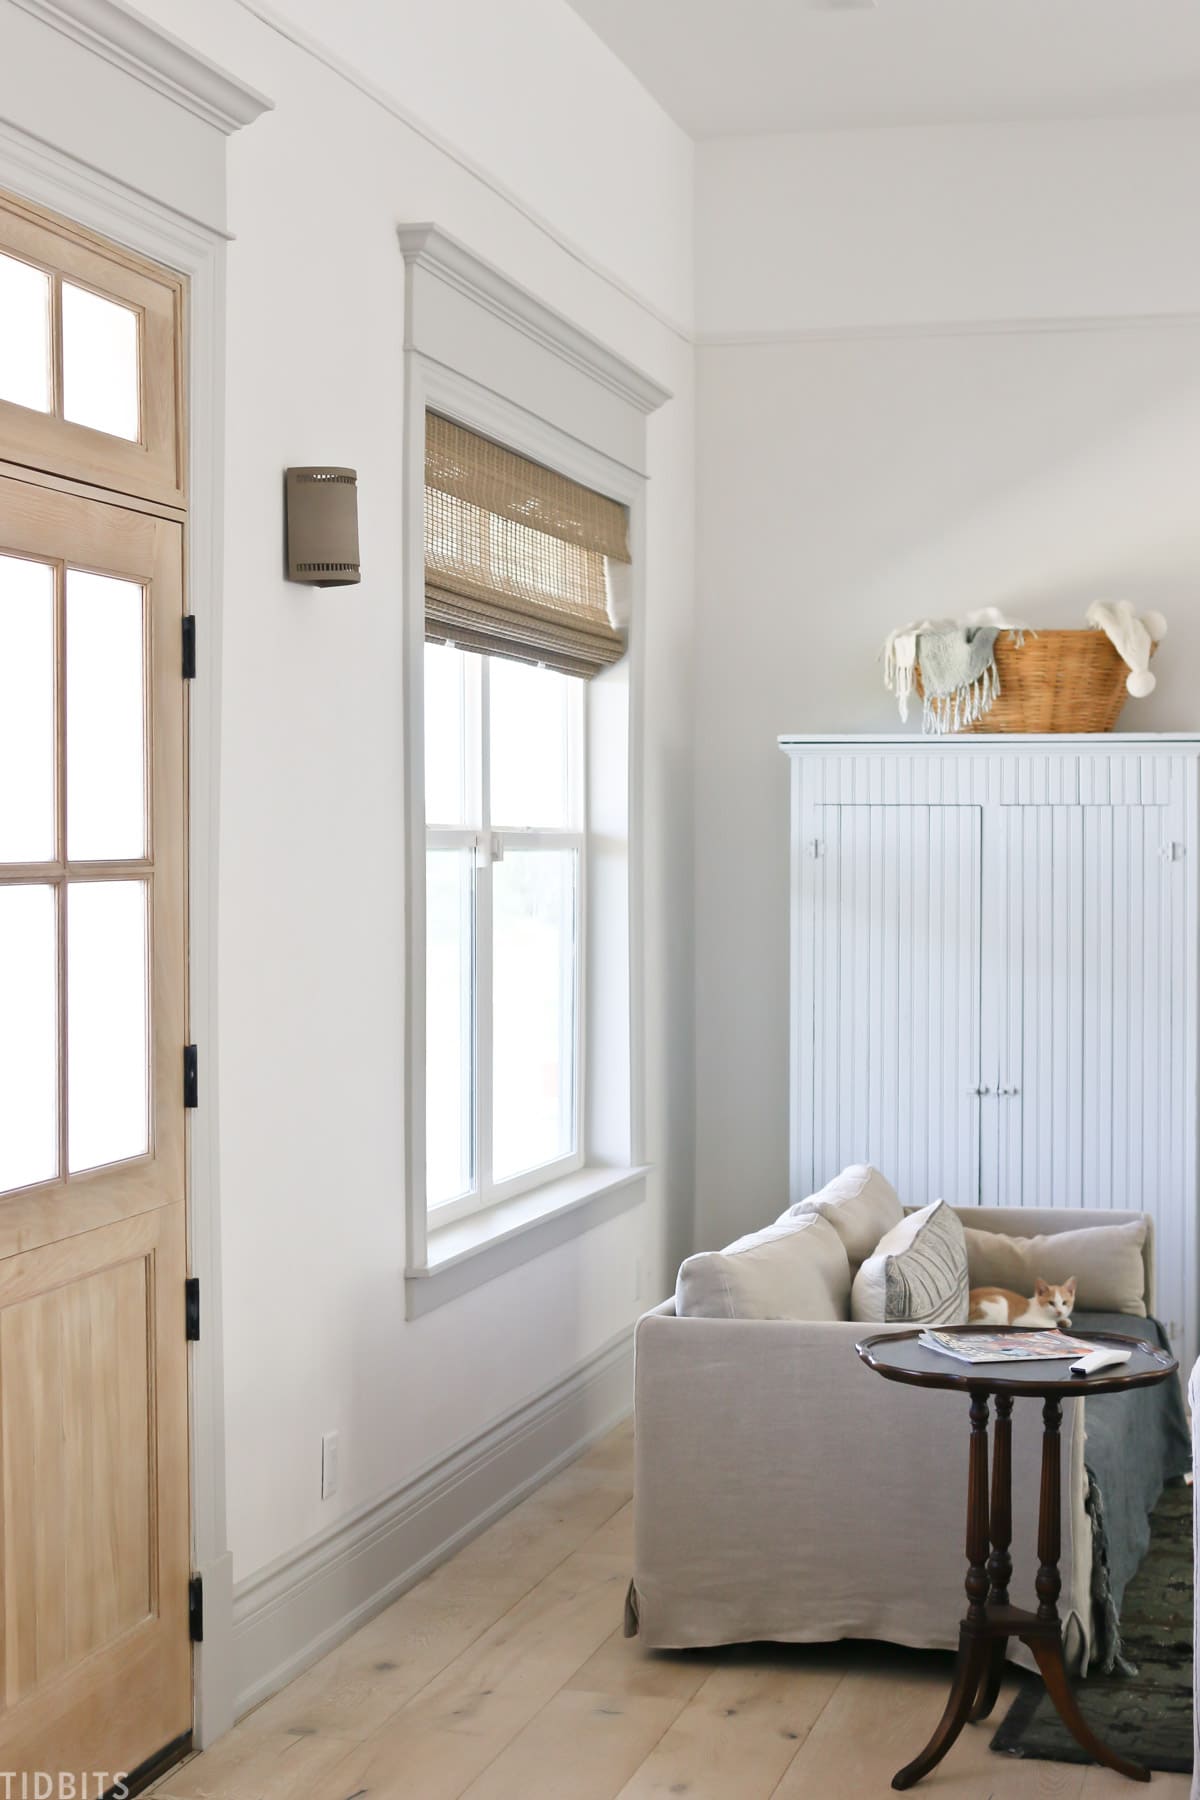
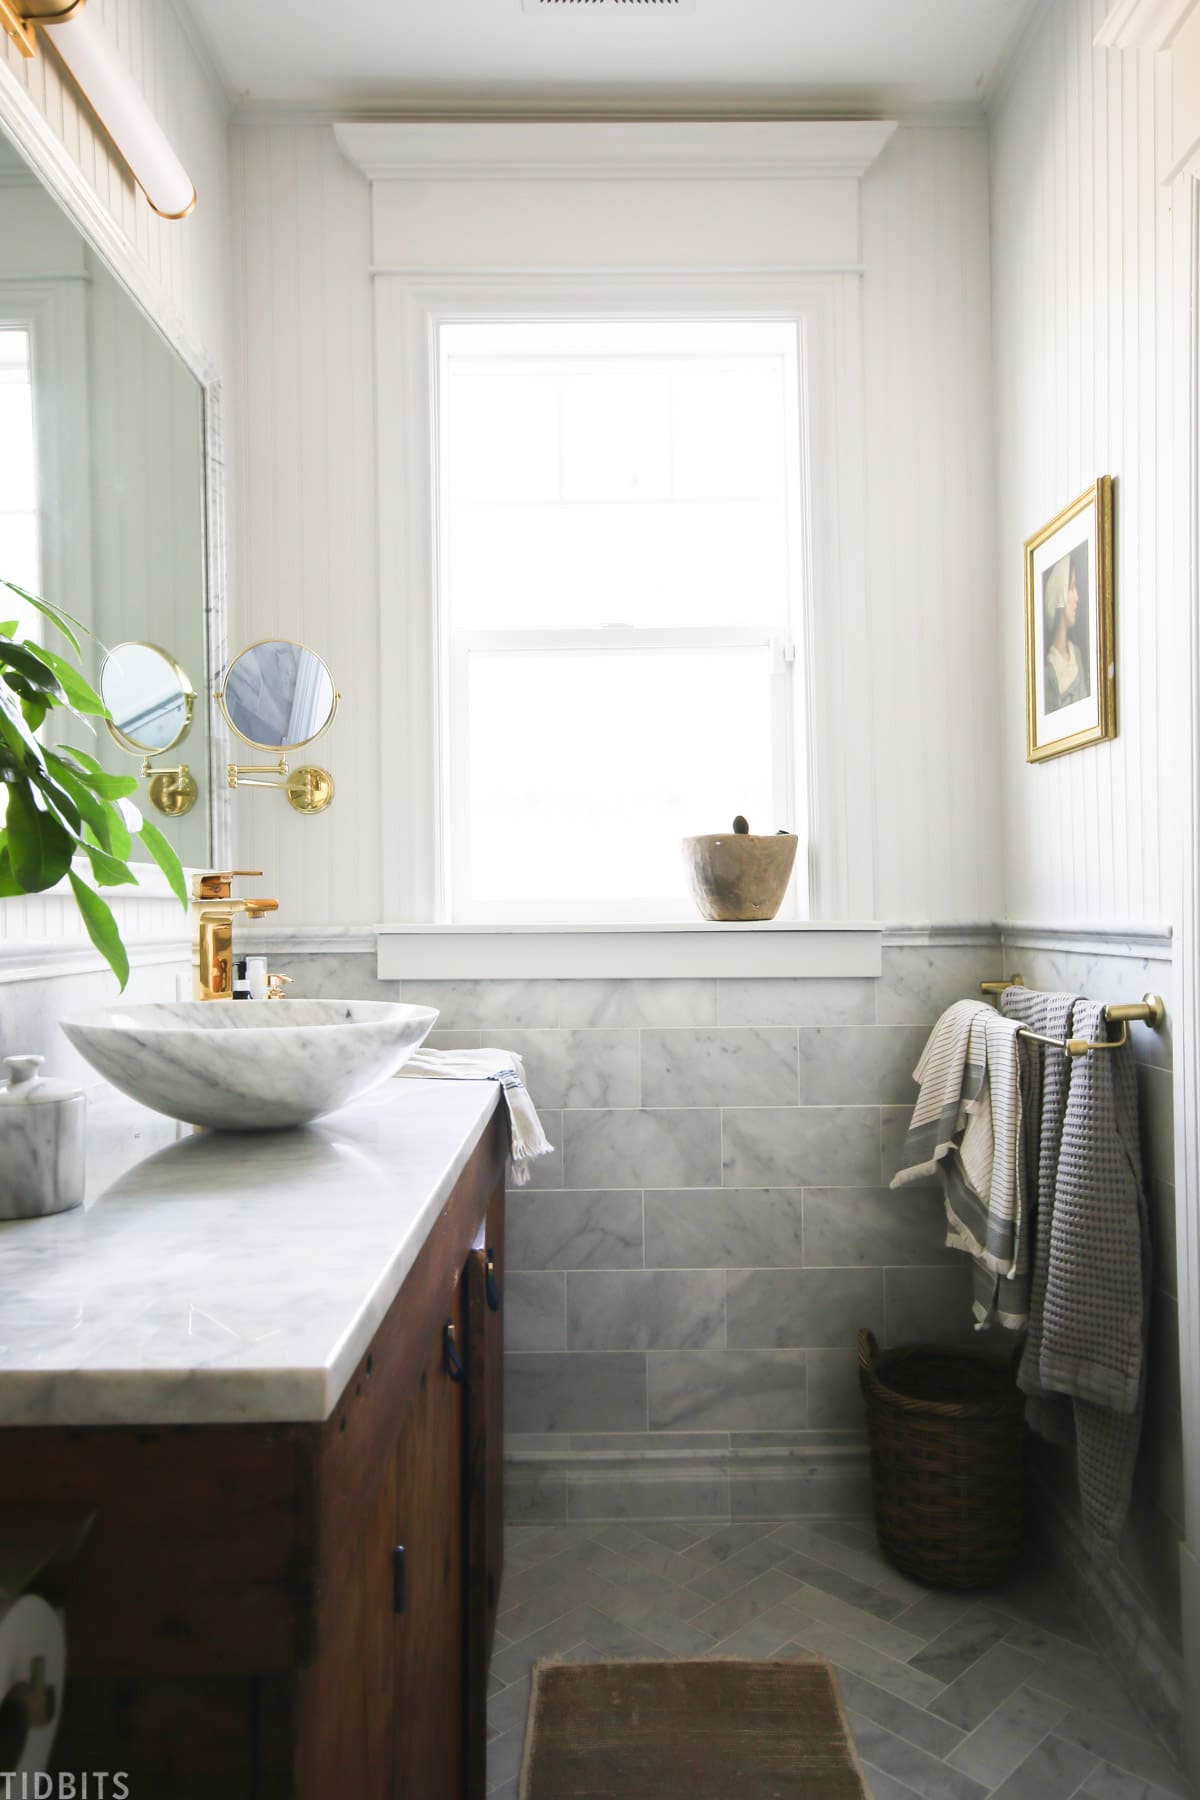
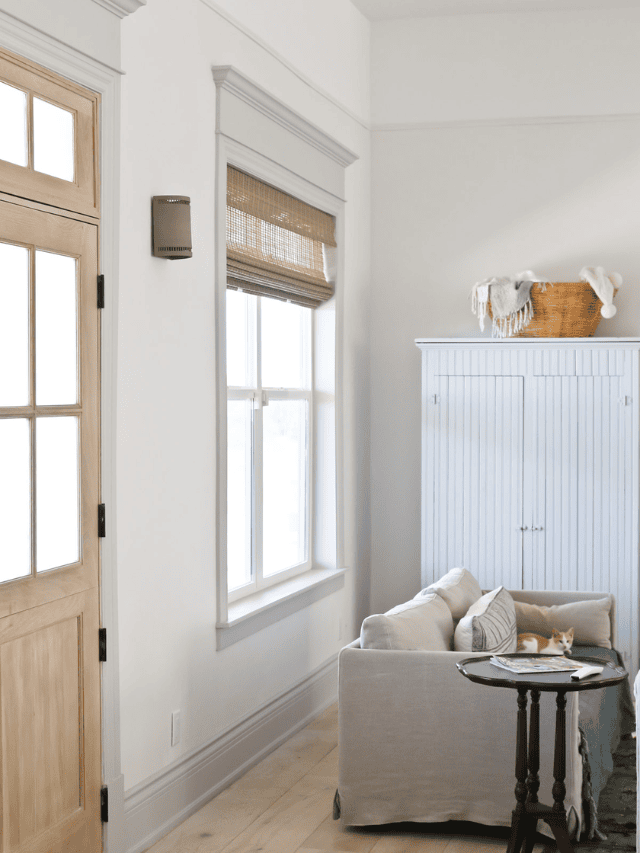
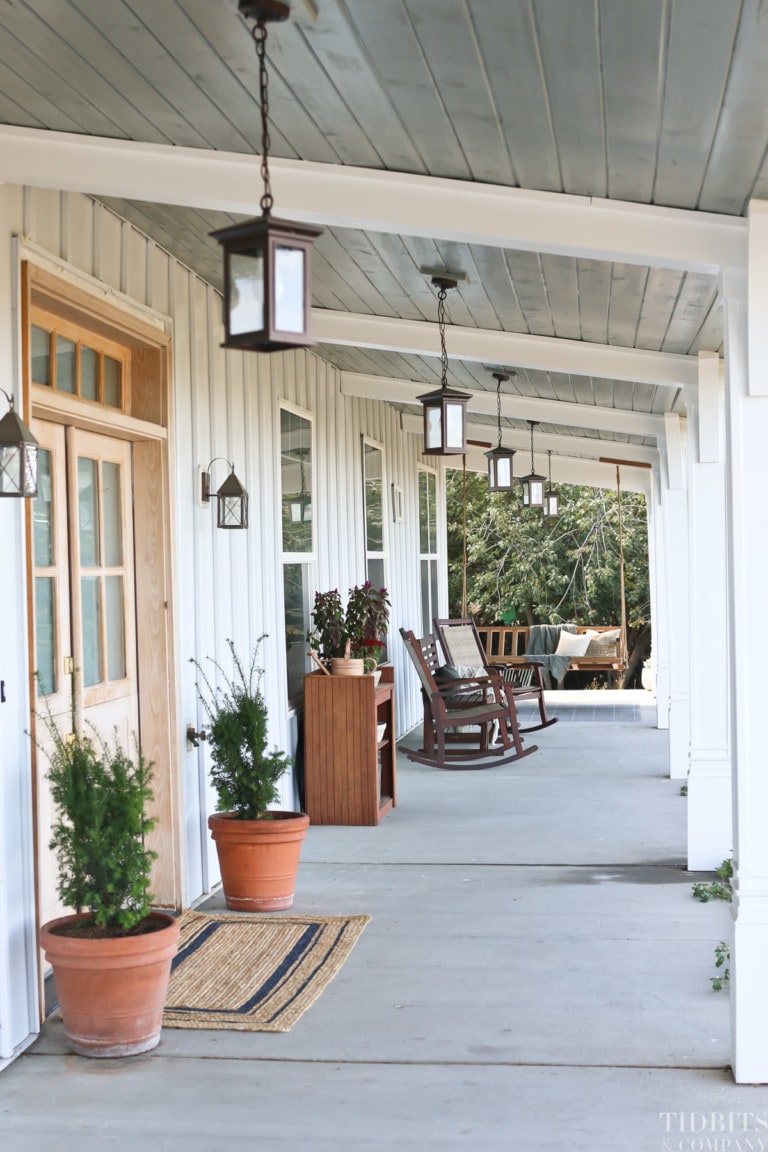
You’ll be able to see more clearly in our kitchen how I plan to make the moulding really stand out in the rooms. I’ve painted the baseboard a darker contrasting color than the creamy white walls, and we’ve layered and stacked the trim pieces fairly high to make them very noticeable.
We’ve used mostly the same trim pieces to frame in our doors and windows, to create a casing that is detailed, cohesive, and highly noticeable because we’ve painted them (or will paint them) to stand out against the white walls.
To make our trim choices, we pretty much stood in the trim aisle for a long time and played around until we felt we had selected pieces that would stack nicely together. However, if you are after this same look, I hope by sharing what products we’ve selected and stacked, this will allow you with a little more time to do something other than hang out at Home Depot for your date night.
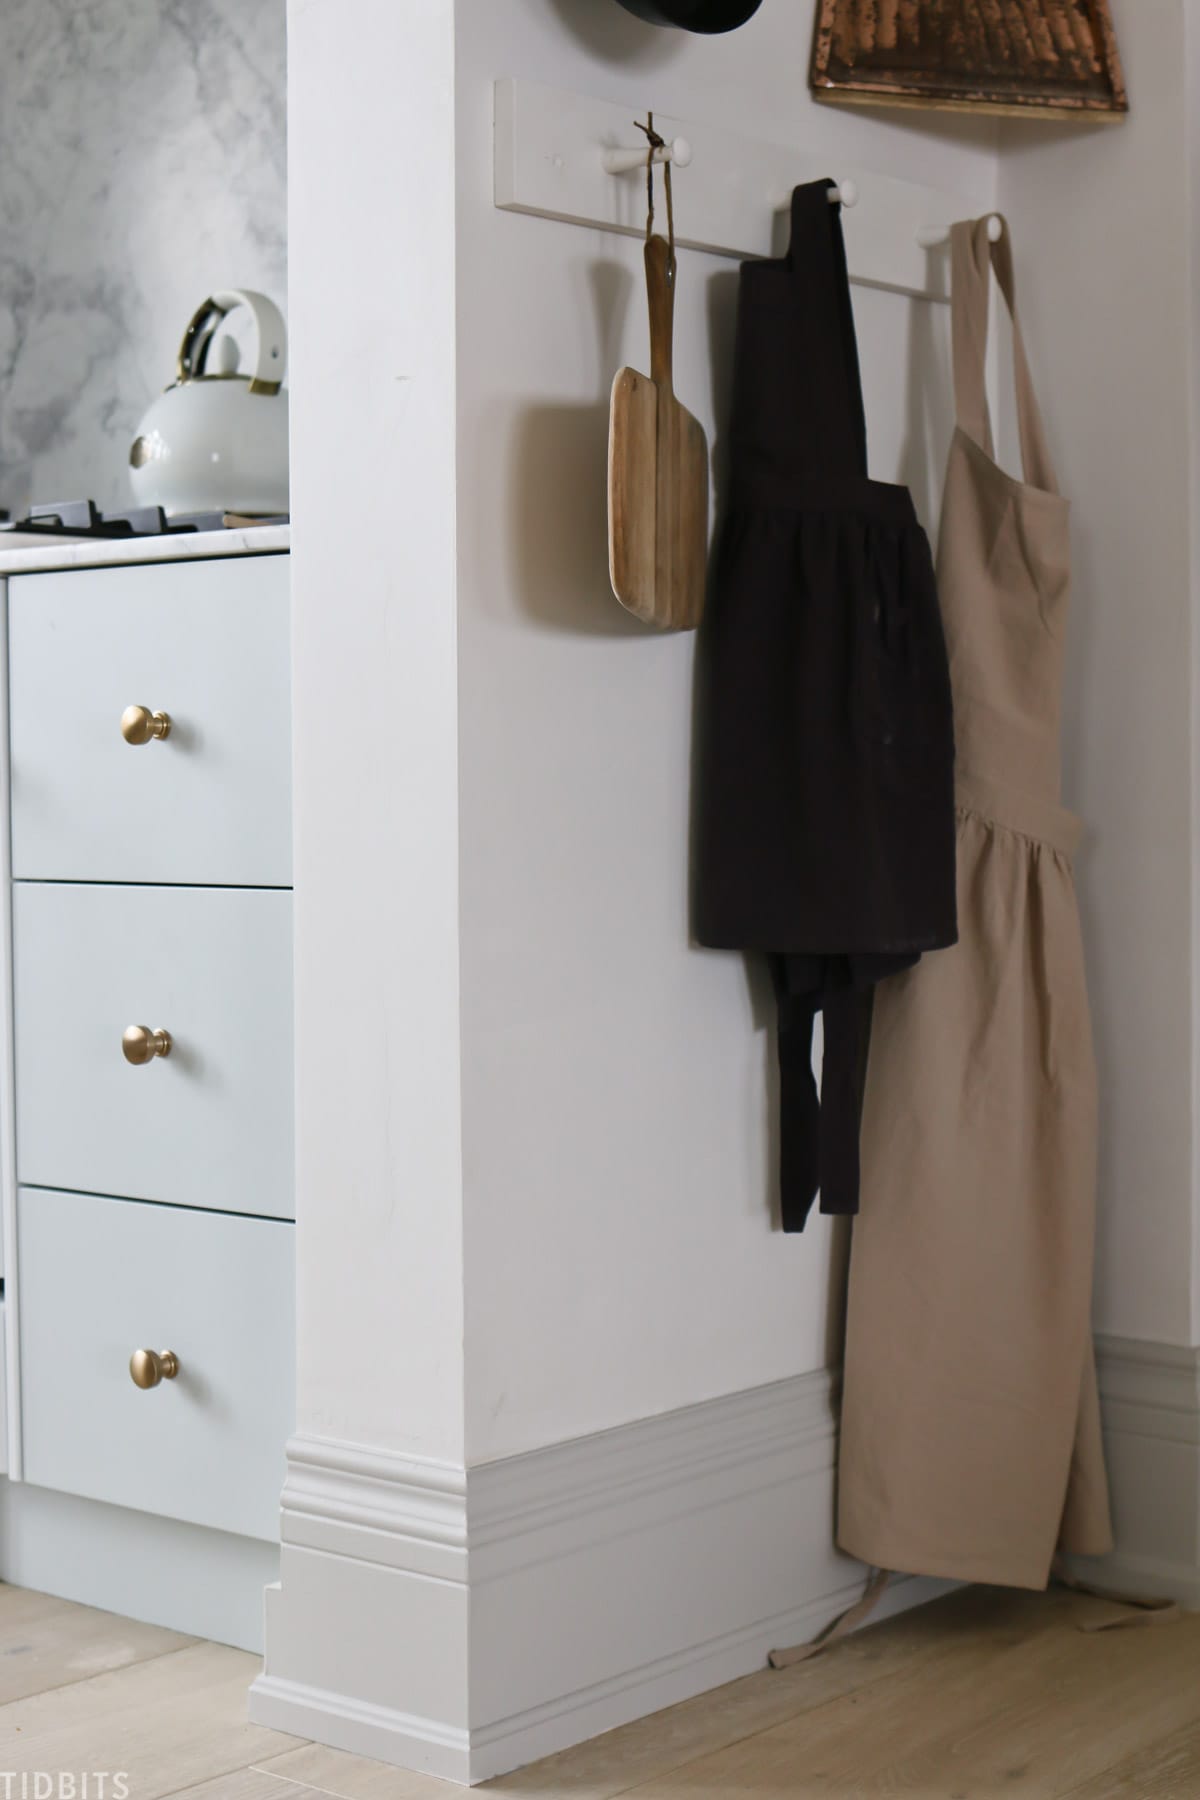
BASEBOARDS
First, let’s go over the baseboard trim. We’ve left the bedrooms without baseboards, as we may want to switch things around once we go to design each wall and room. But for the main areas of the home, which include the adjoining living room, kitchen and hallway, we’ve done it the same.
Here is a look at the pieces that were stacked for the baseboards.
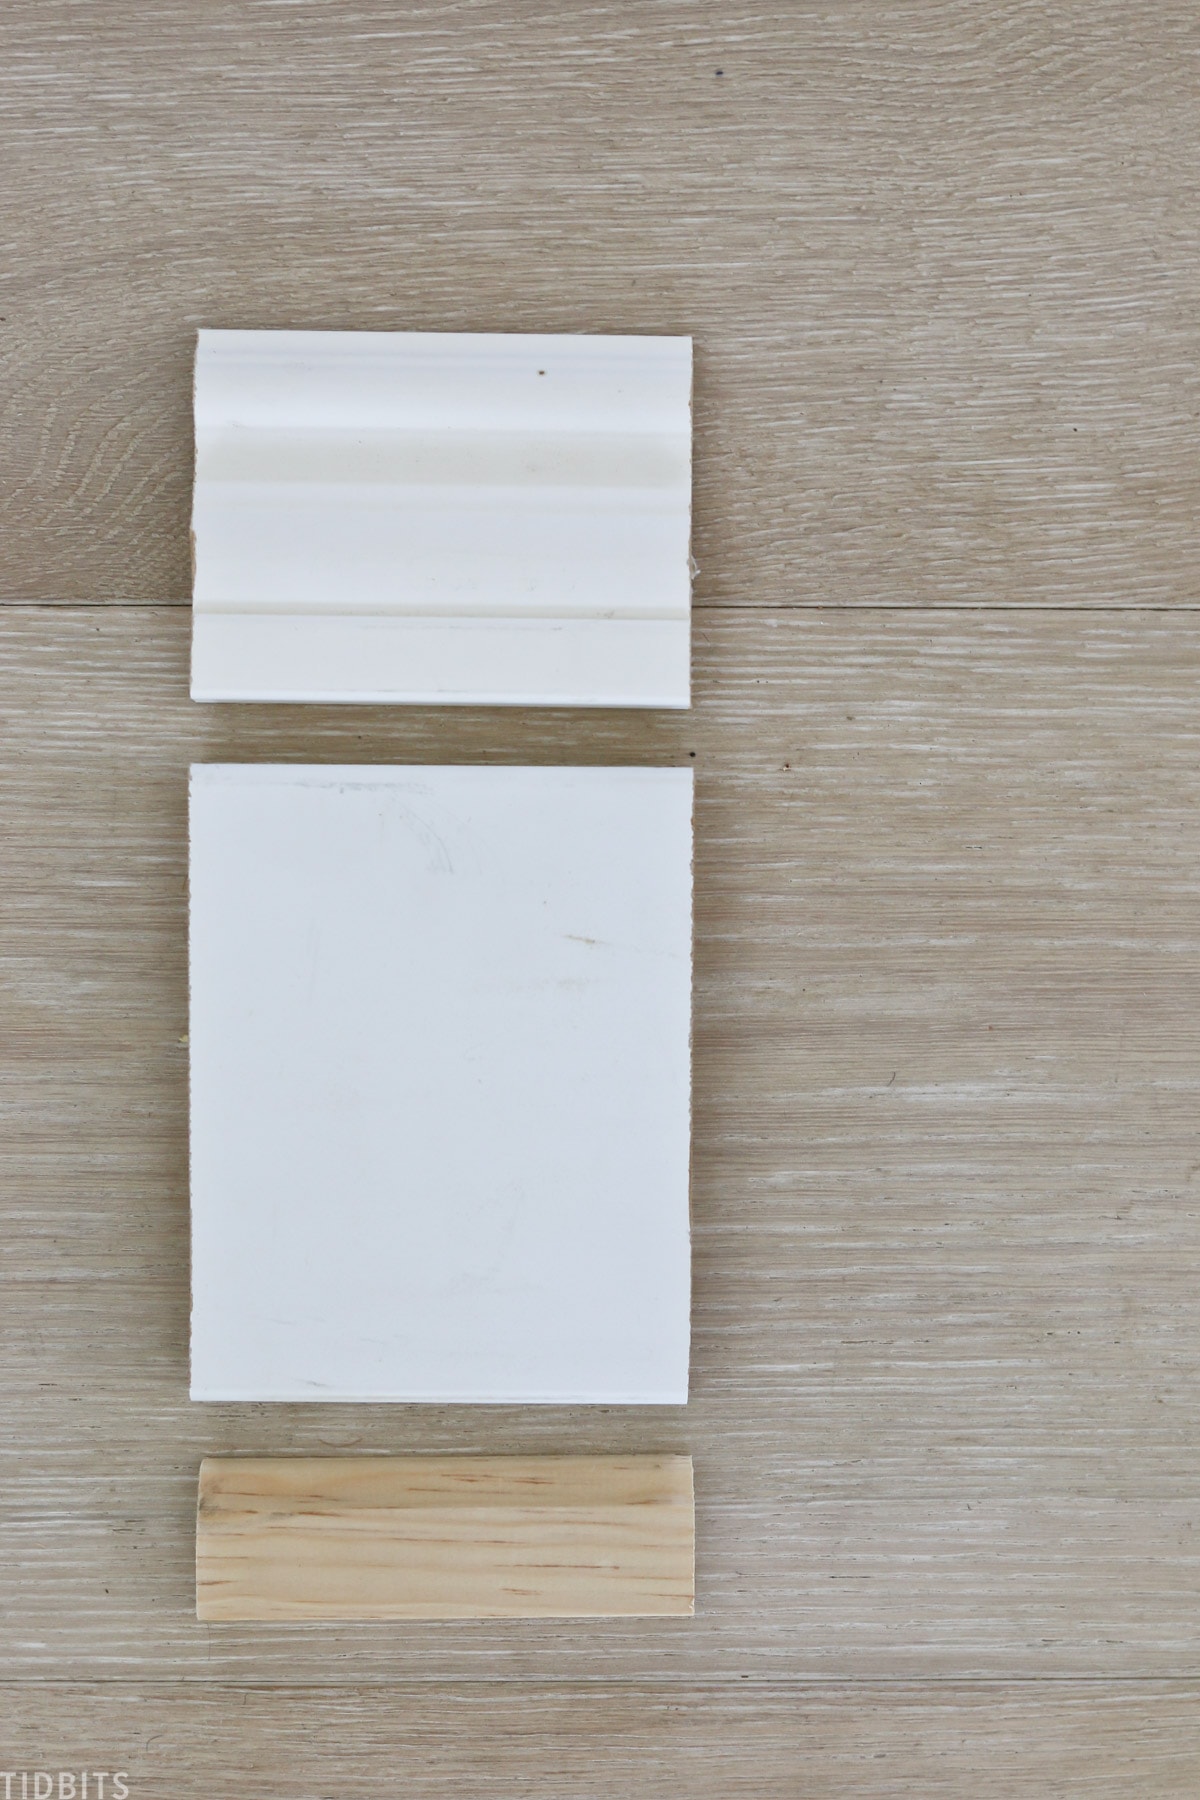
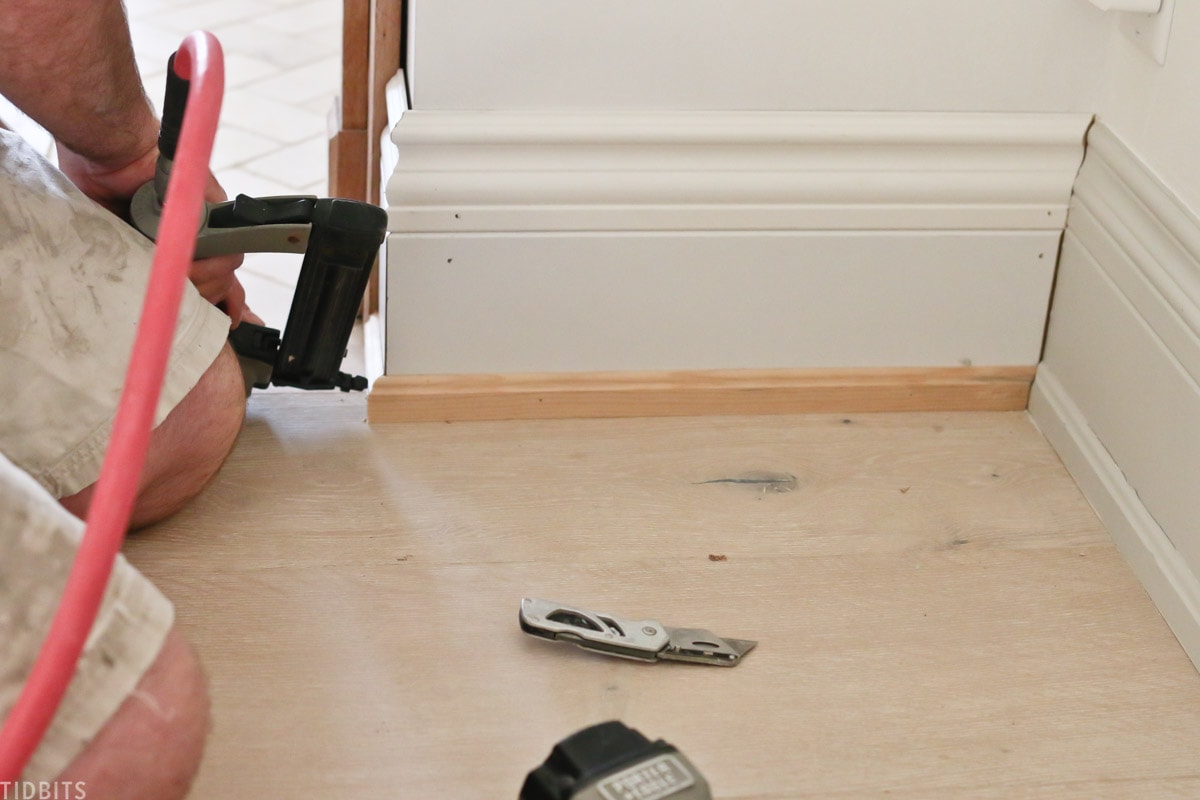
First, Kevin nailed in a 1 x 6 piece of MDF.
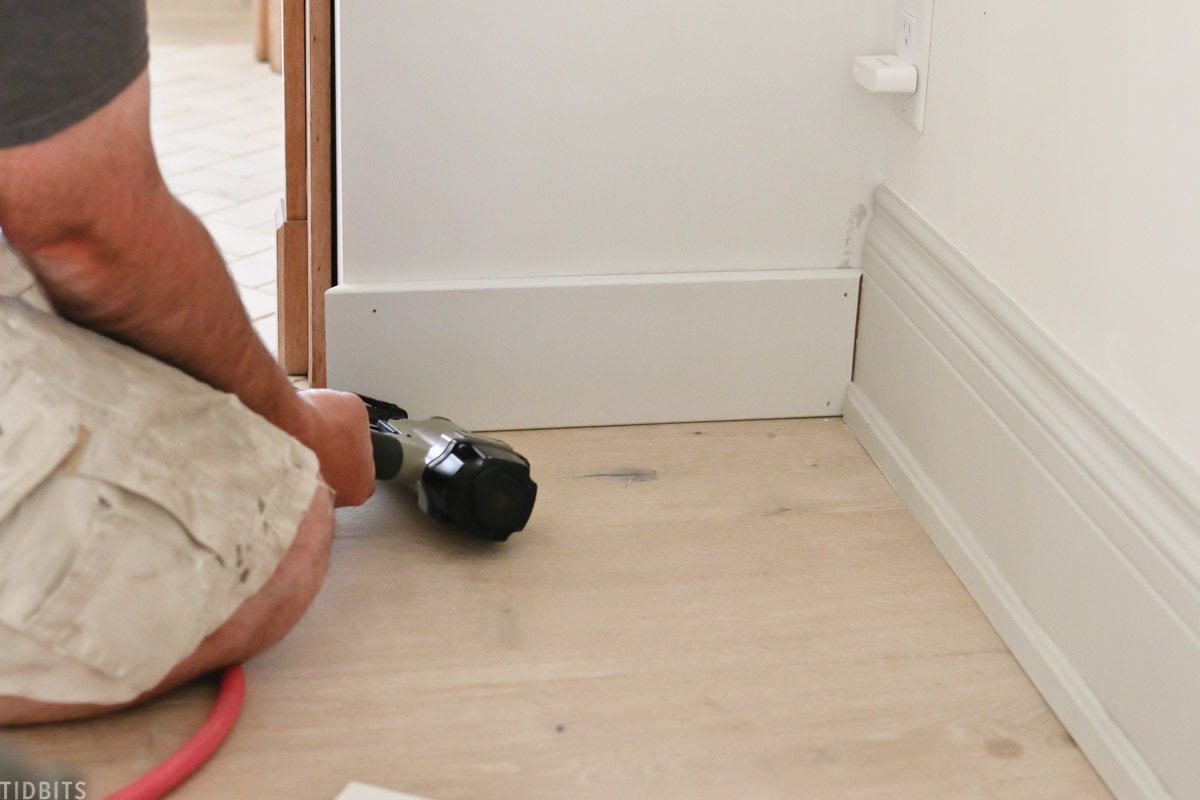
Second, he stacked on top of the MDF a 3 1/4 inch piece of baseboard trim.
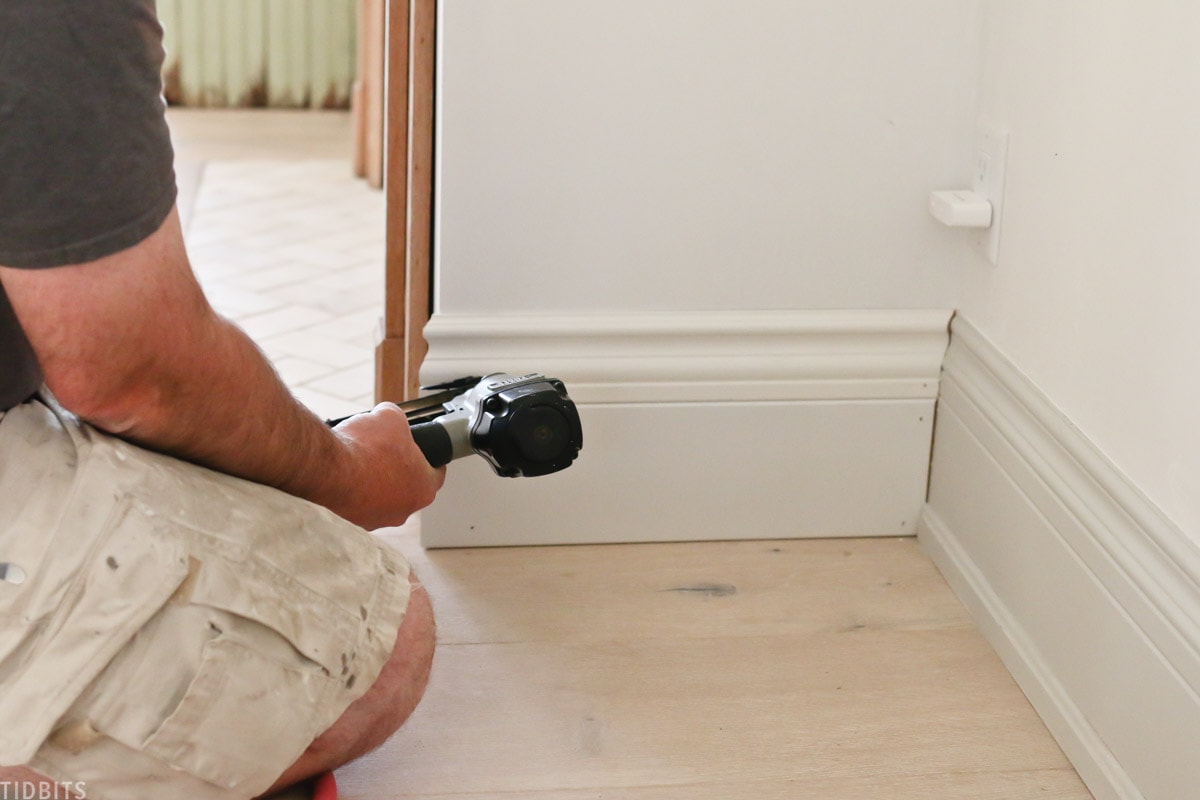
Finally, at the bottom he nailed in a piece of 1 3/8 inch STOP trim.
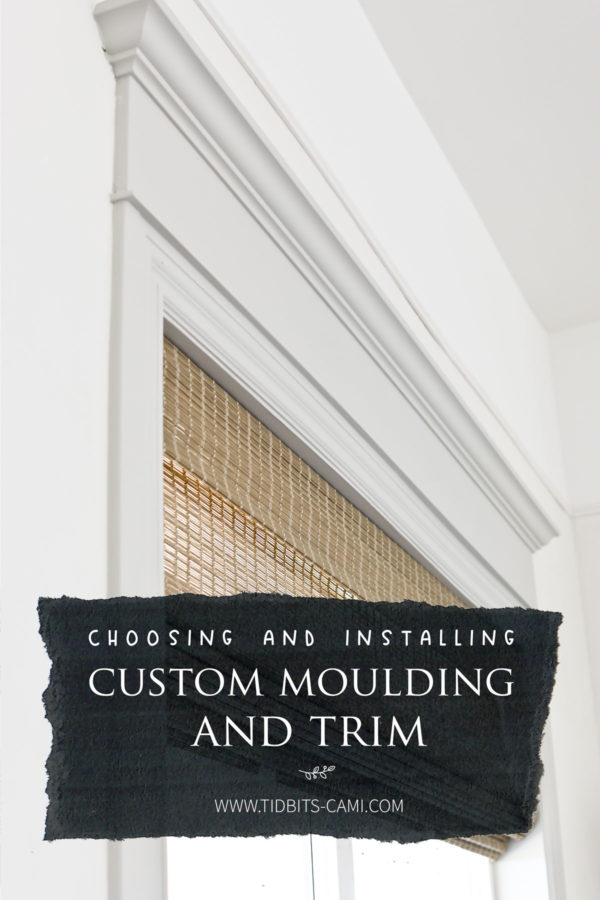
CASINGS
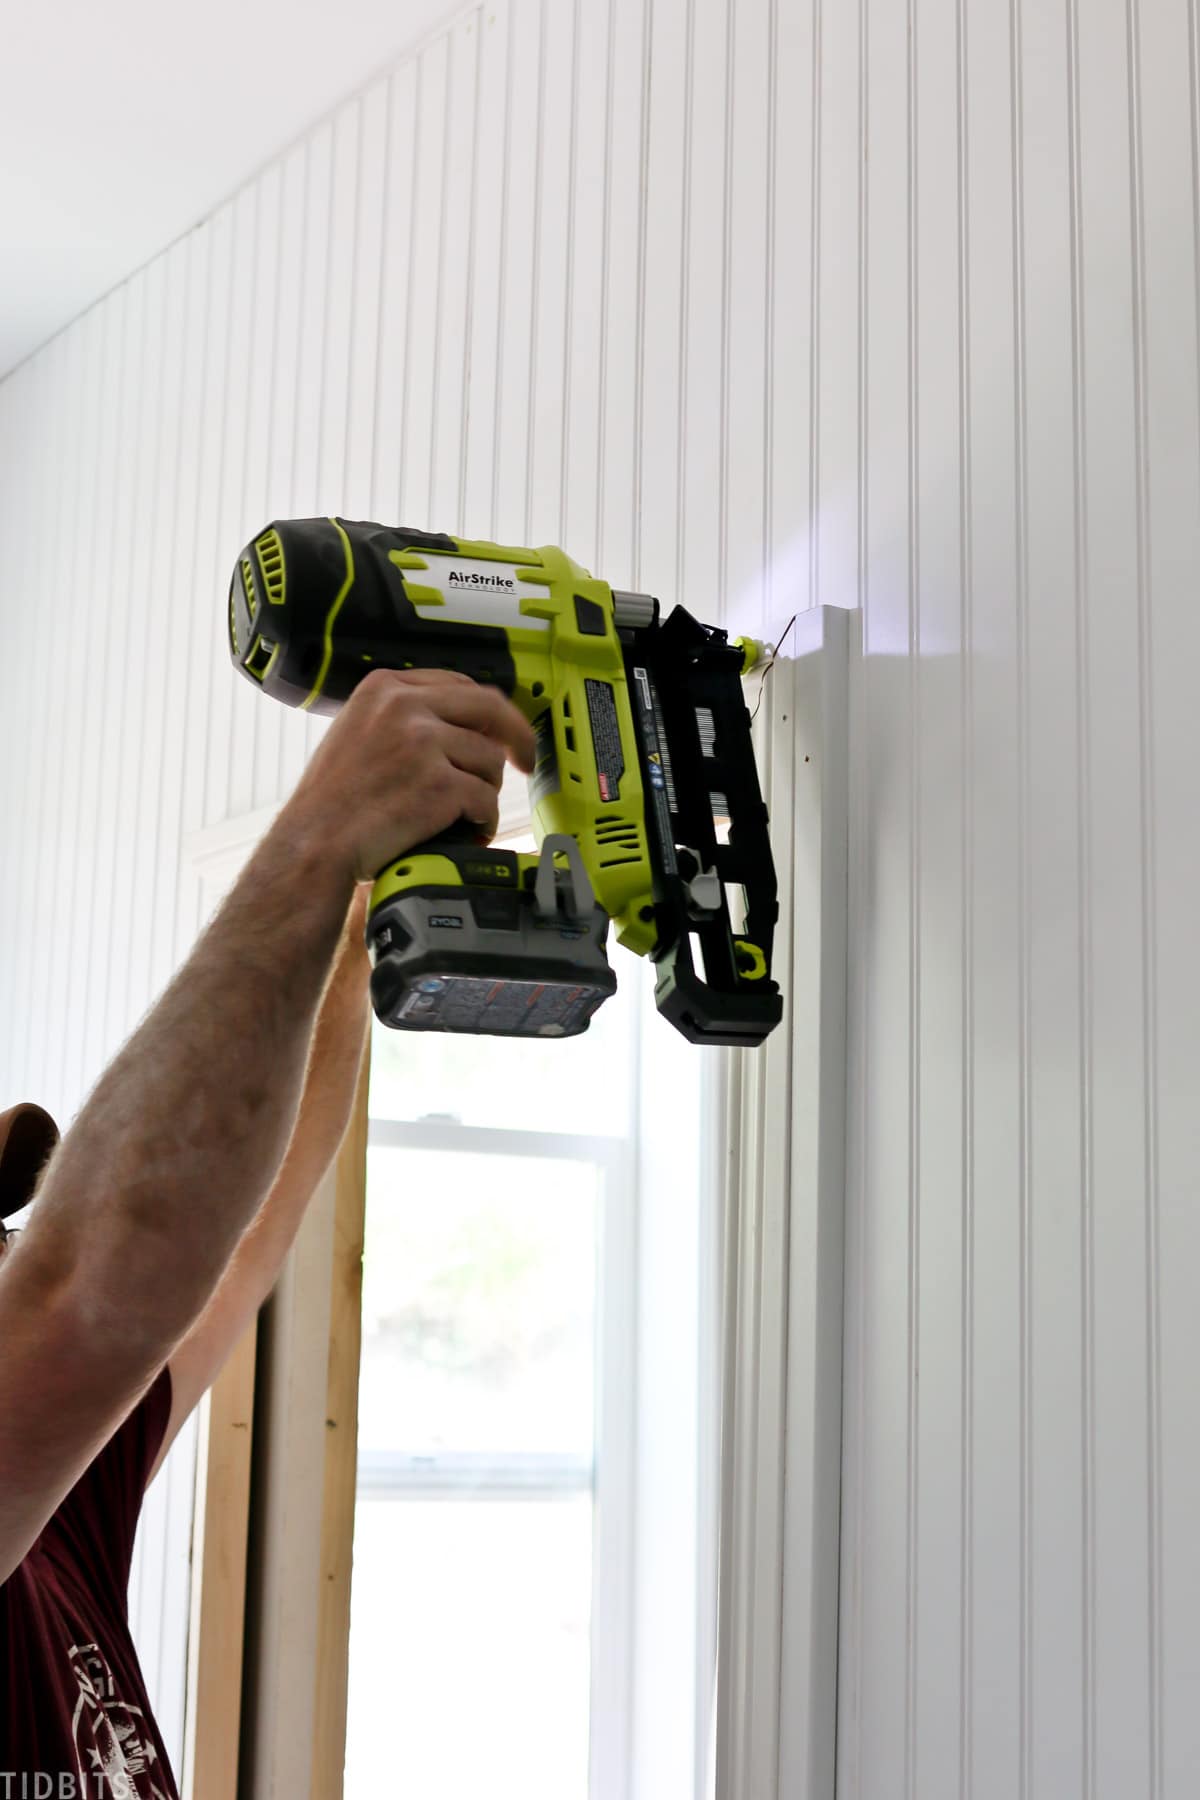
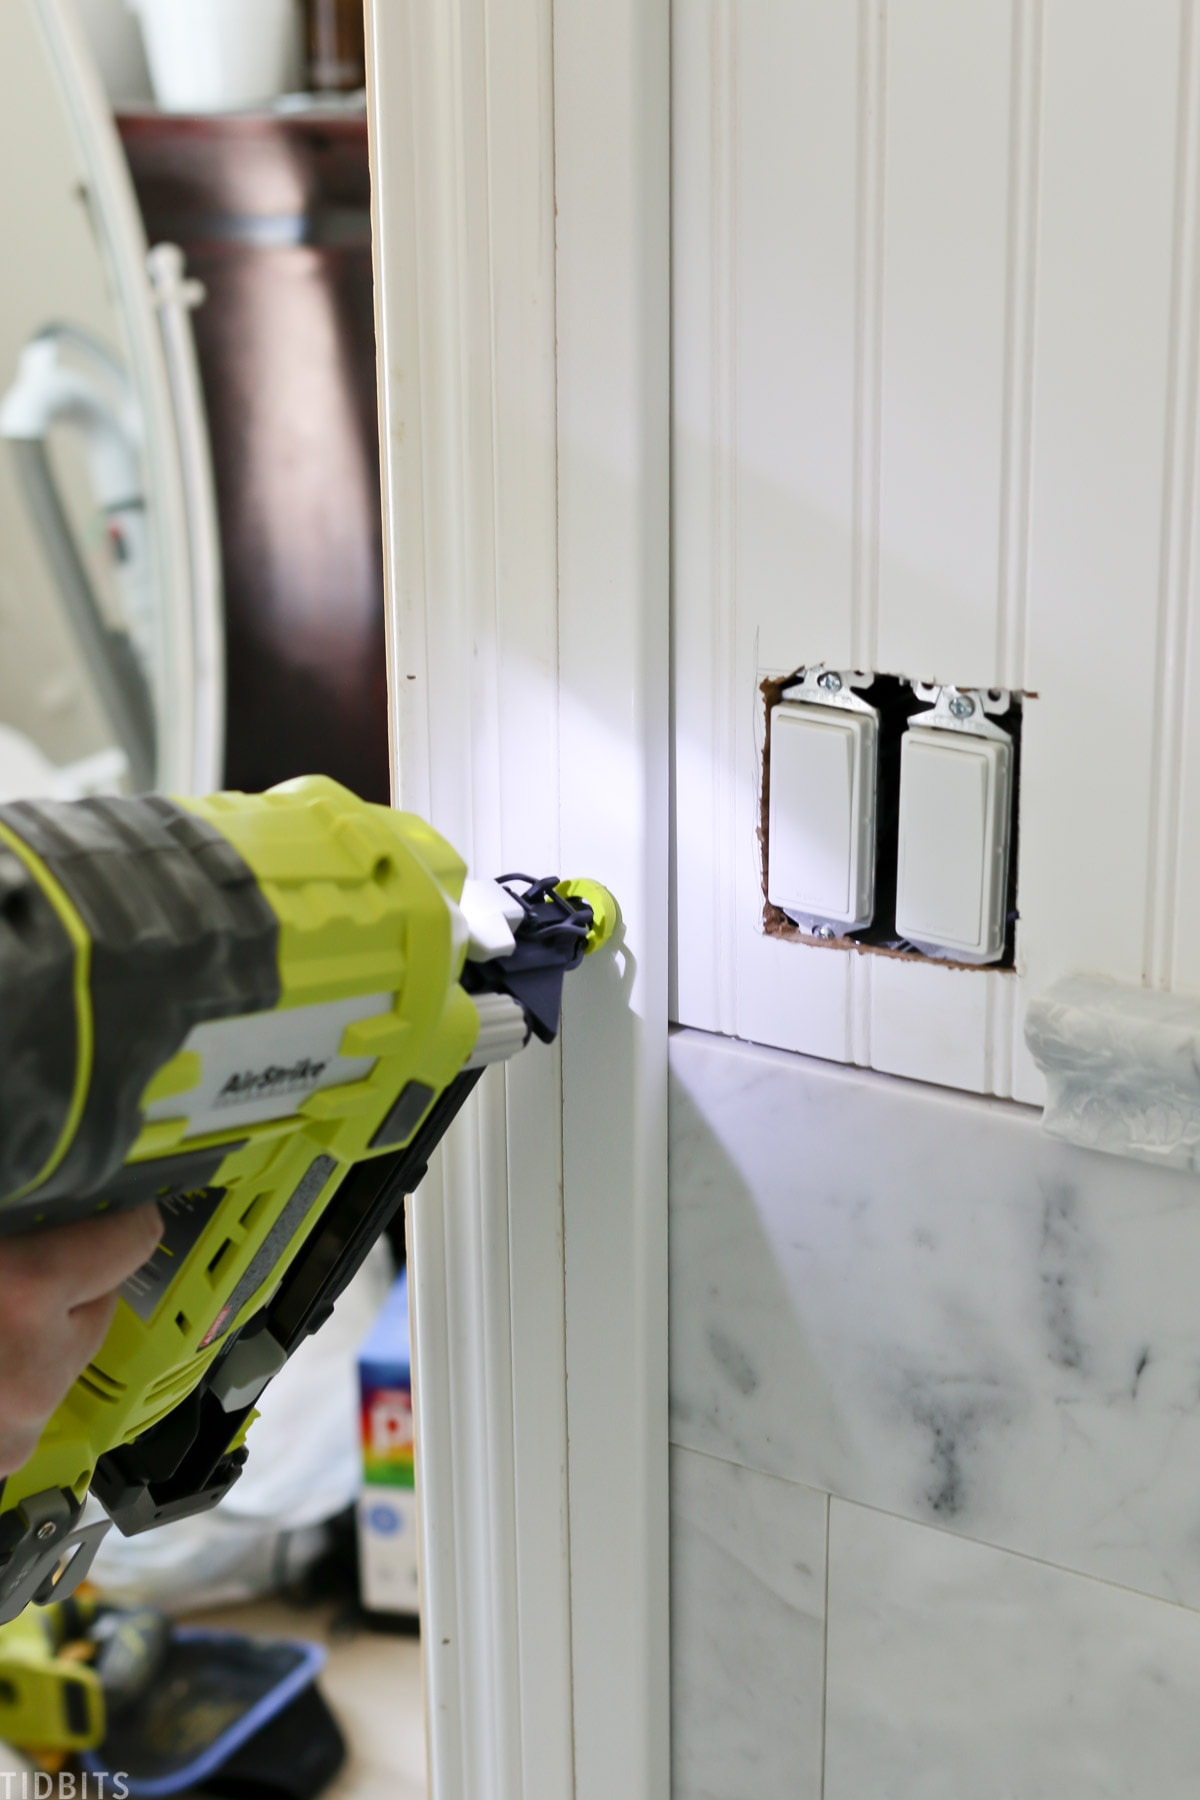
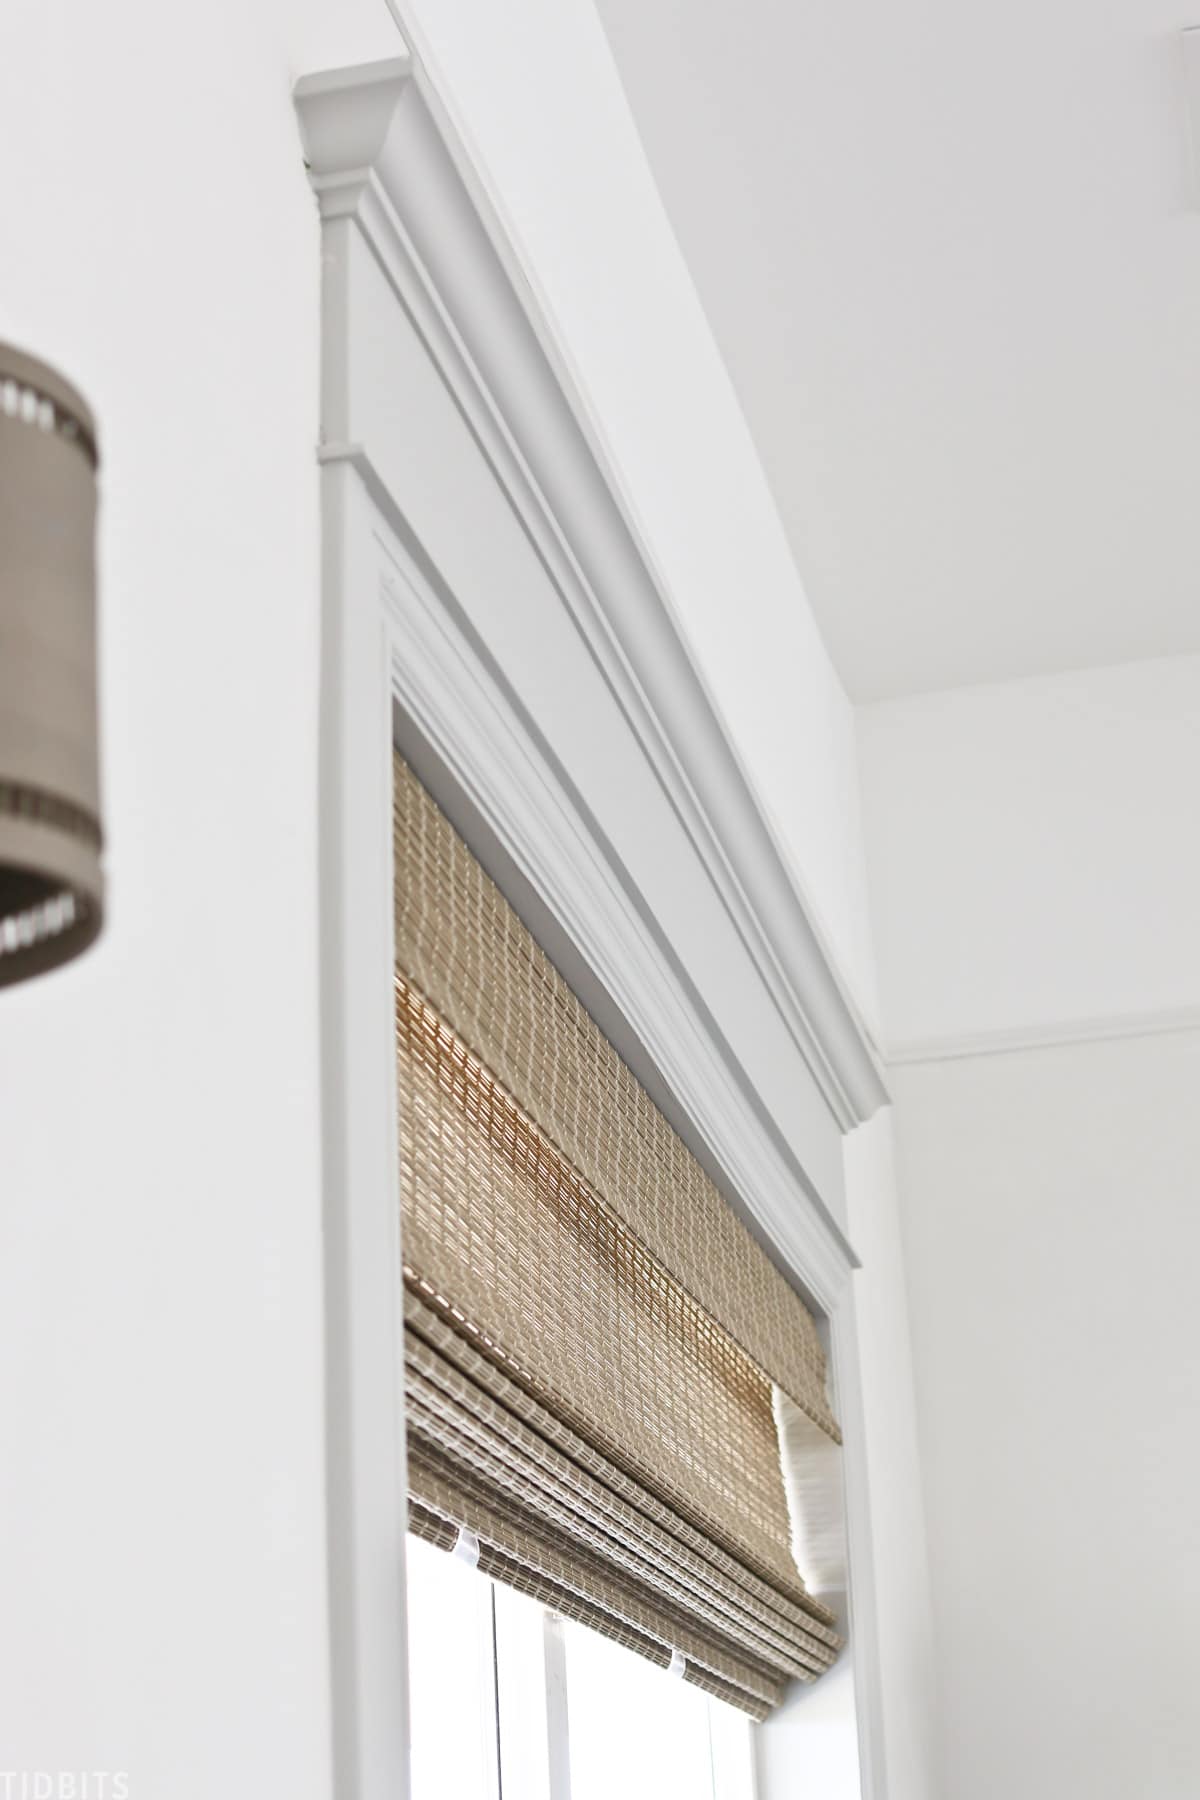
Let’s take a look at the window and door casings, which are mostly the same pieces and process.
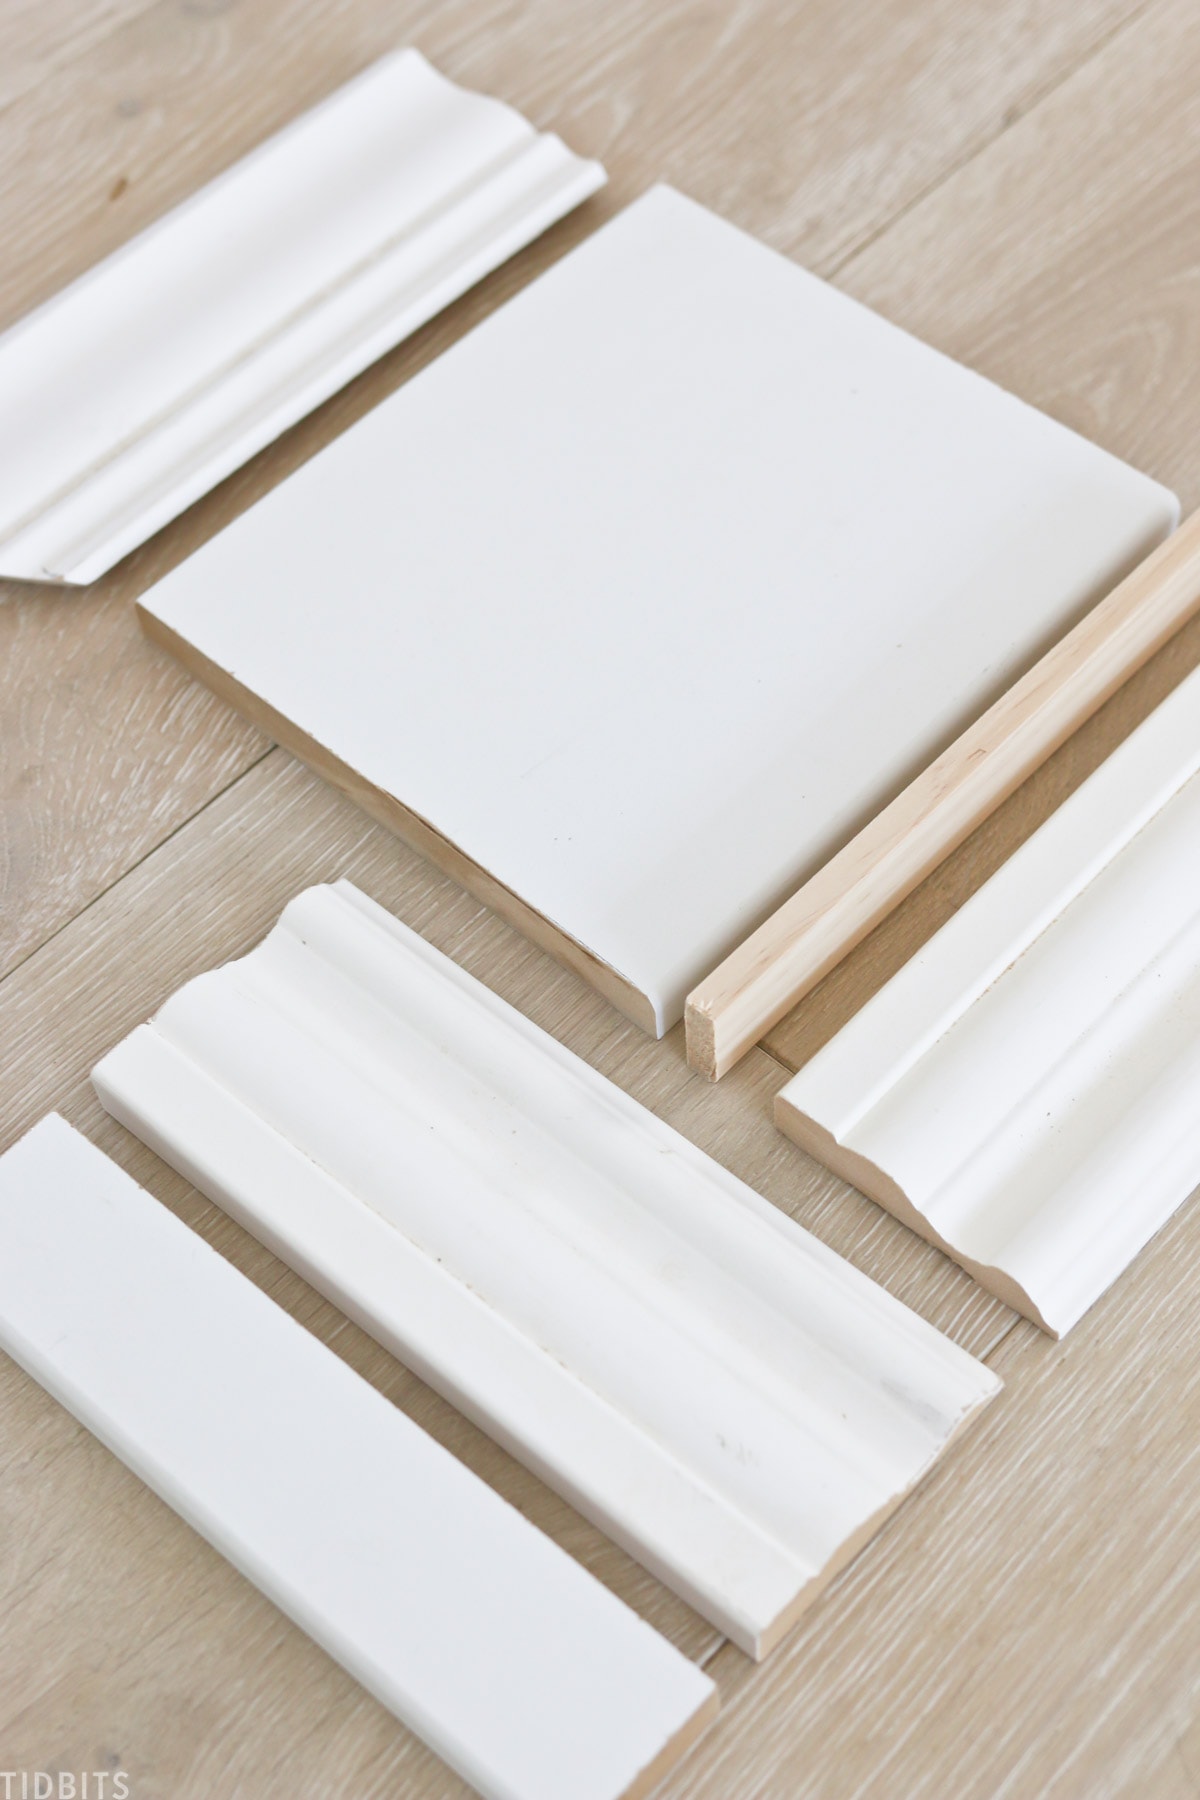
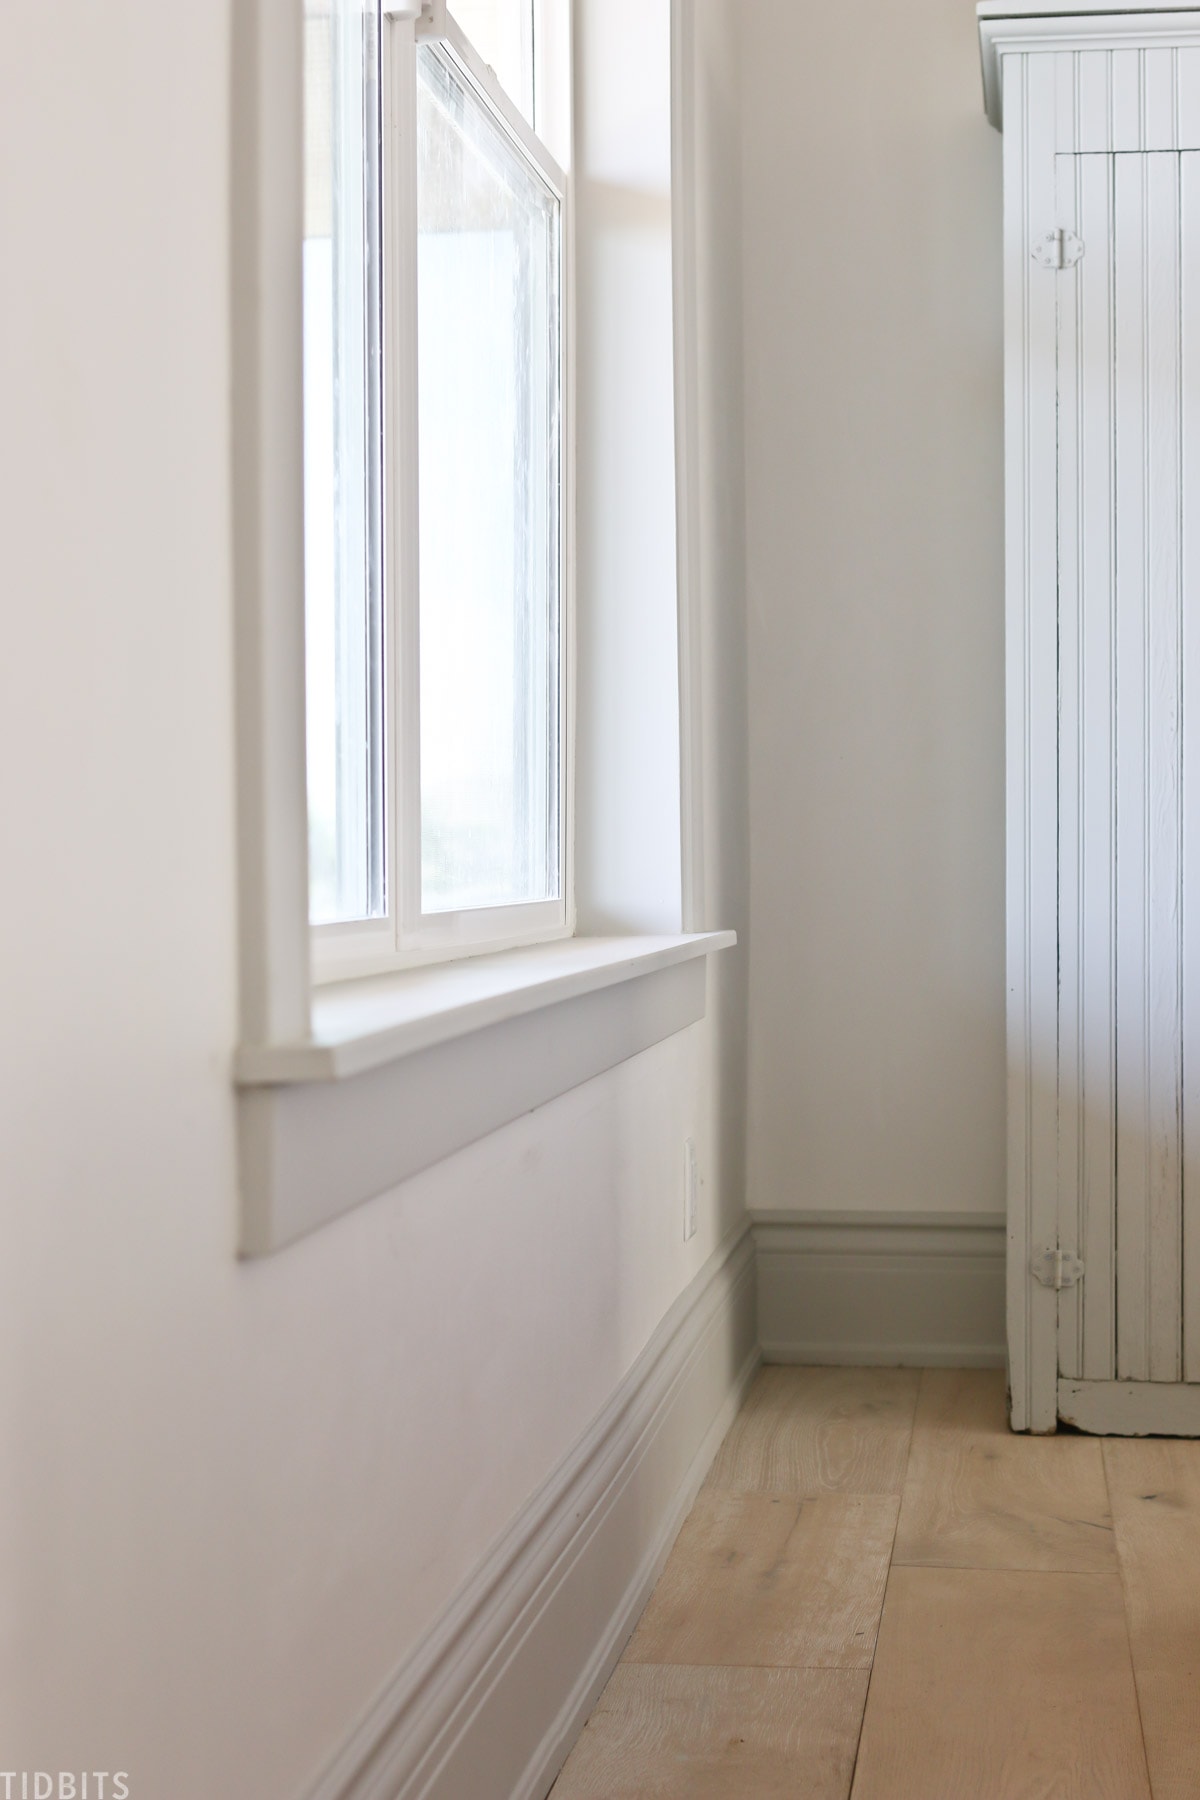
First – he started with the bottom inside casing, which is a piece of 1 x 8 MDF, notched out to extend past the window.
Second – he installed the remainder of the inside window casing pieces on the sides and top with a 1 x 6 MDF board.
Third – To wrap the outside of the window, he used a piece of 3 5/8 door and window casing, which is made out of primed fiberboard.
Fourth – Next to that he layered a piece of 1 ¼ x ½ inch flat trim MDF.
Fifth – To build up the top, he used a 1 ¼ inch trim stop, made out of pine, and installed it horizontally and extending past the window trim.
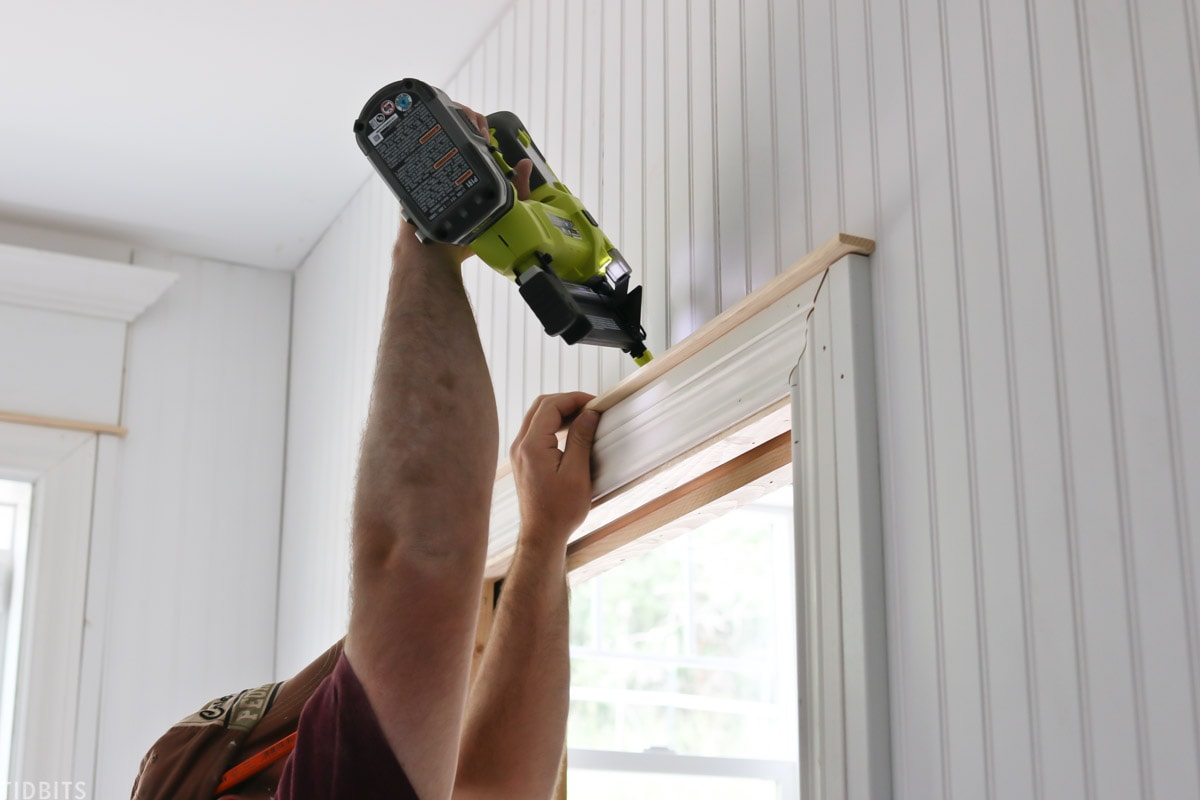
Sixth – After that is a tall piece of 1 x 8 MDF which really gives the moulding some nice height.

Seventh – The window is topped with crown moulding
Eighth – Finally, at the bottom of the windows is another piece of 3 inch MDF.
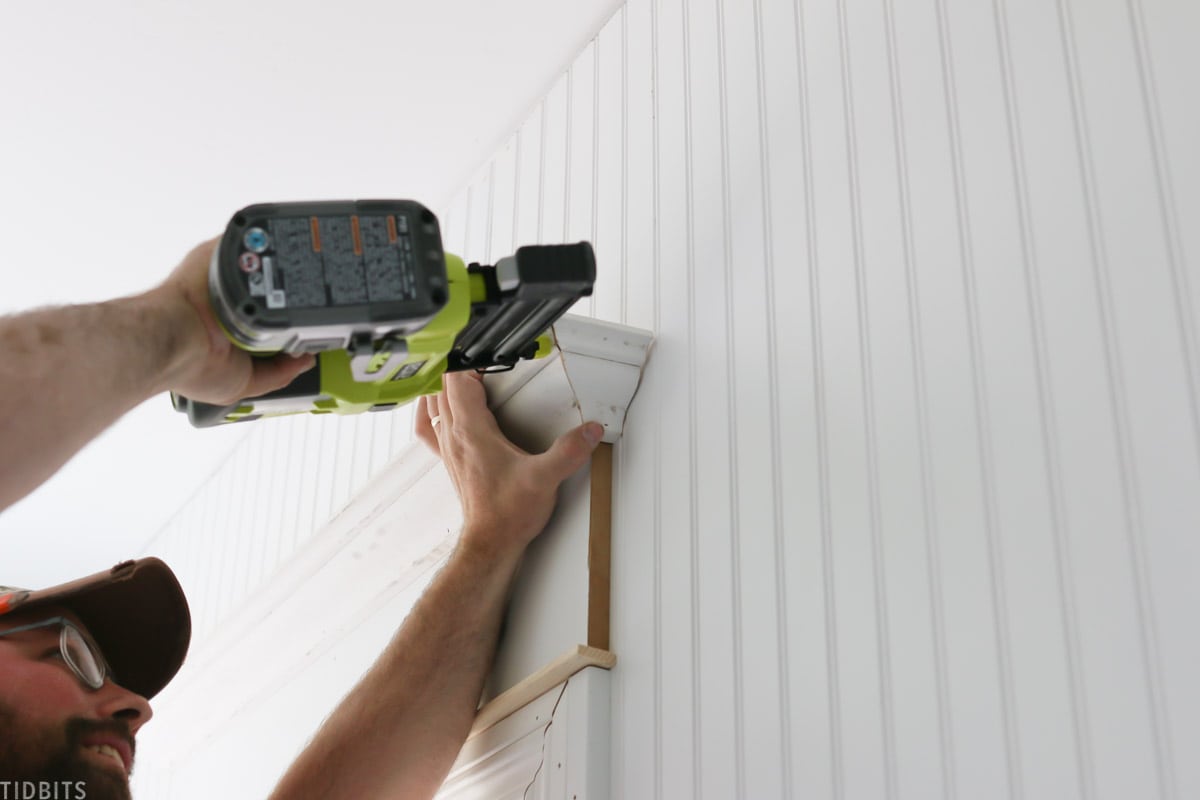
WALL TRIM
Let’s talk about the small piece of wood trim that we placed a few feet down from the ceiling. Our ceilings are all 12 feet tall, and I wanted to break up that height visually. I talked more about the paint choices in another post, but you can probably see underneath the trim is a slightly warmer white than the ceiling and above the trim.
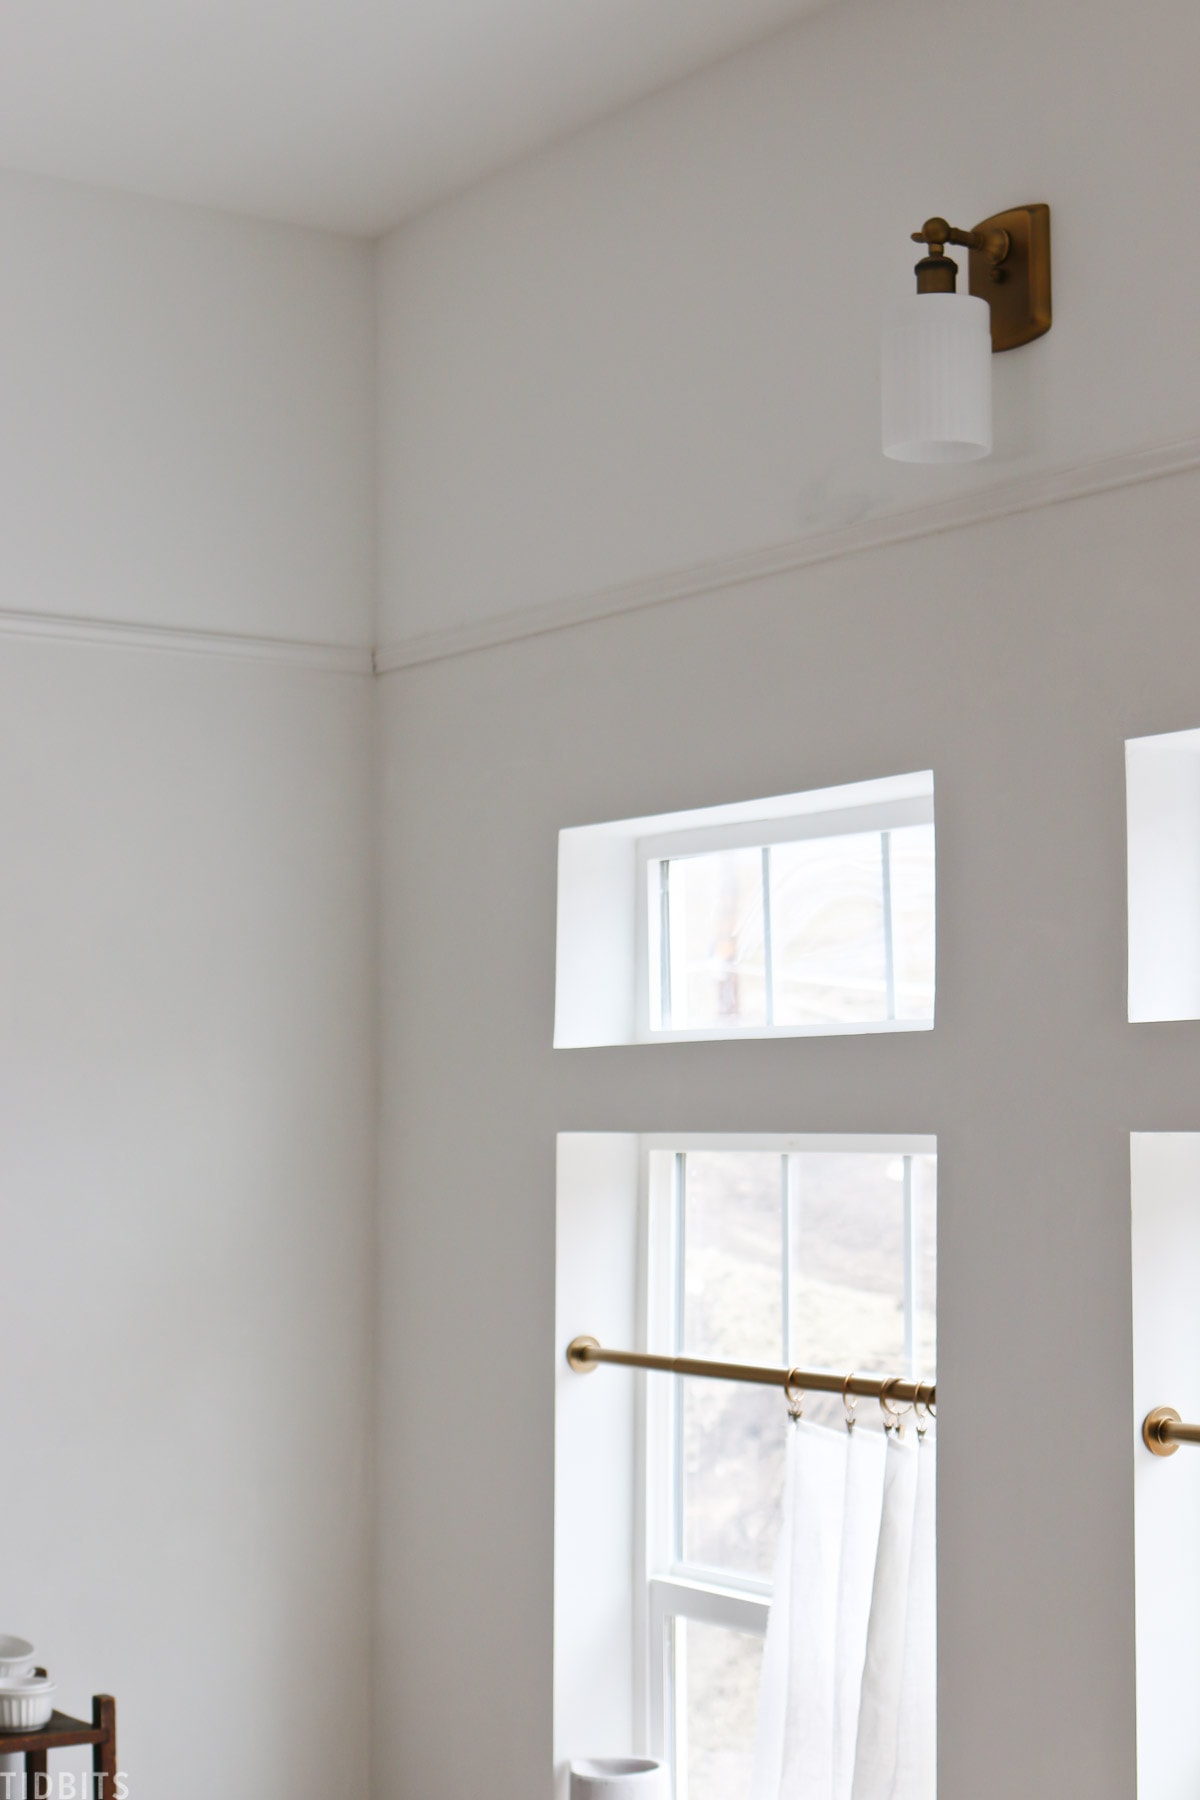
That little trim piece up there serves as a wonderful break between the two and we simply used a small piece of 1 ¼ inch hardwood chair rail.
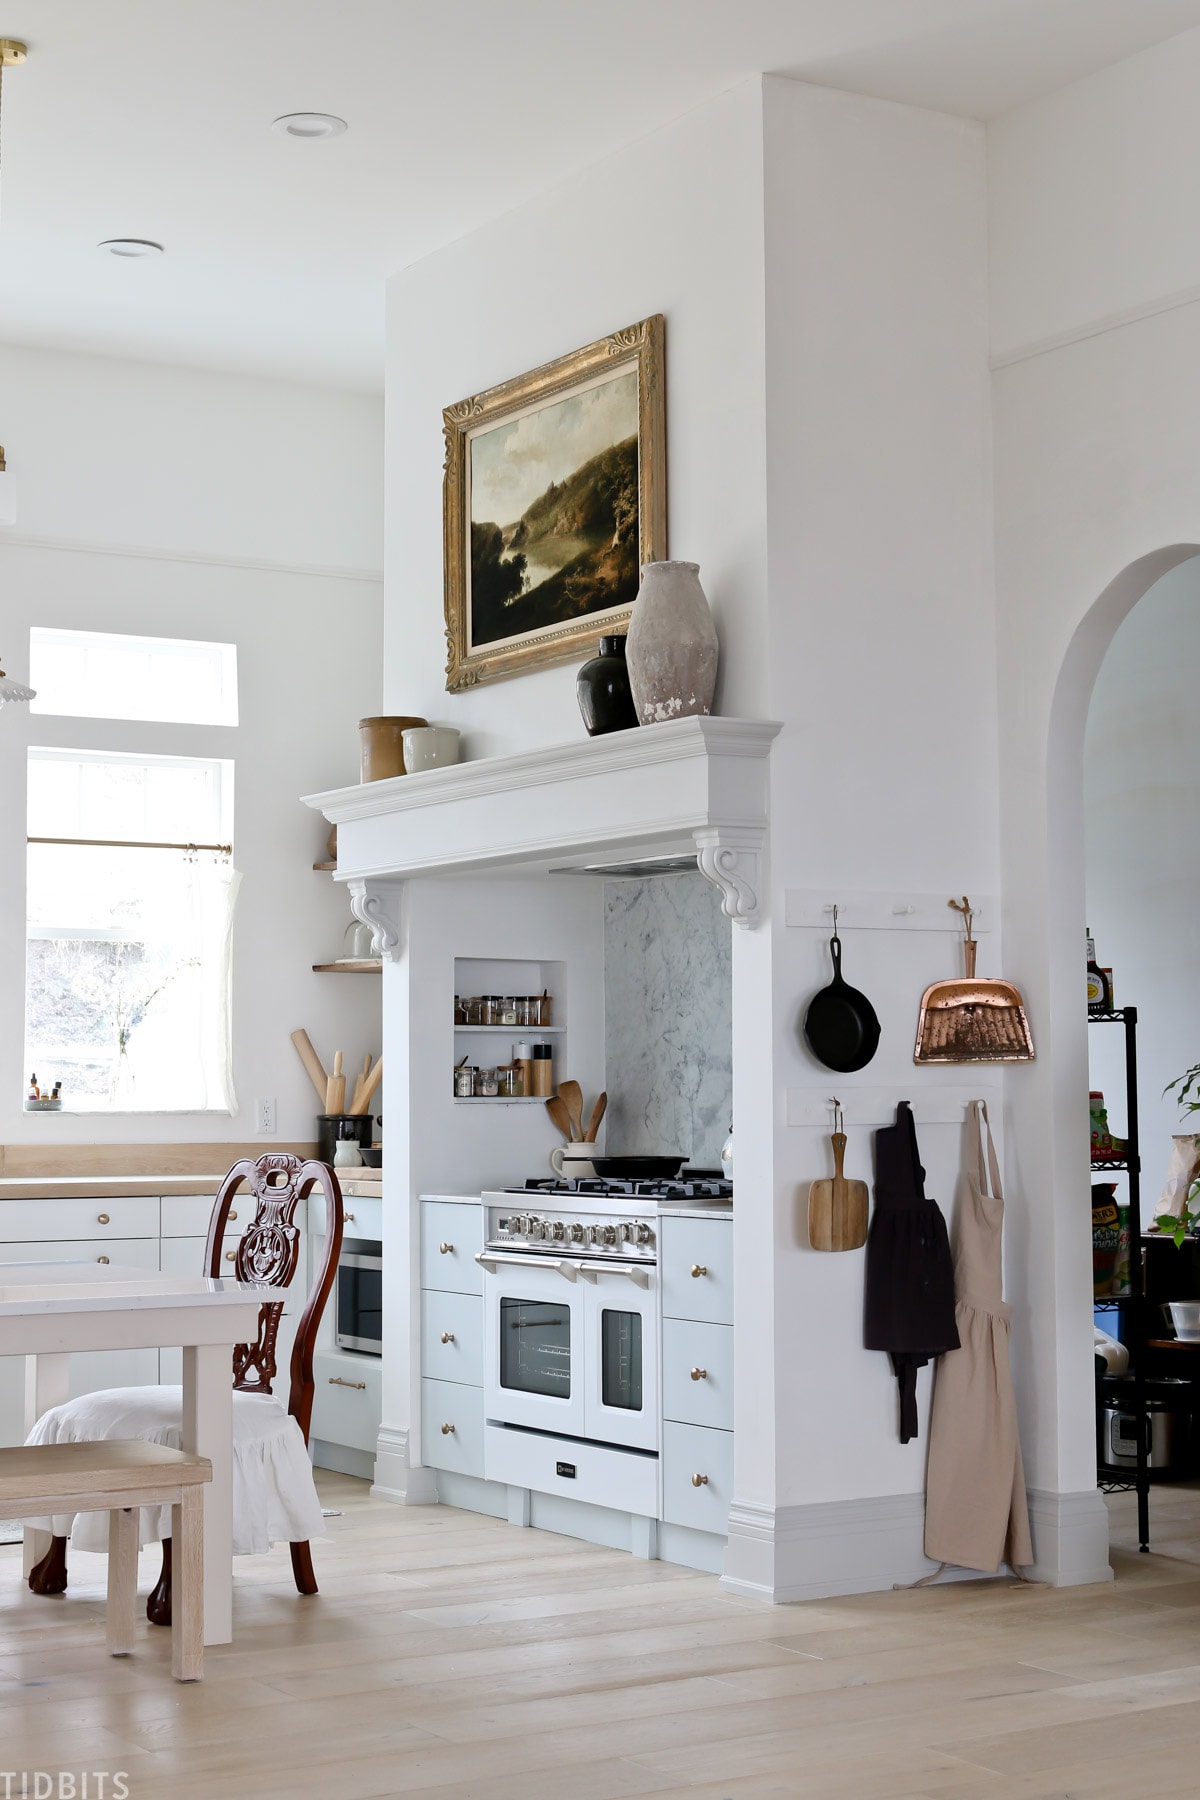
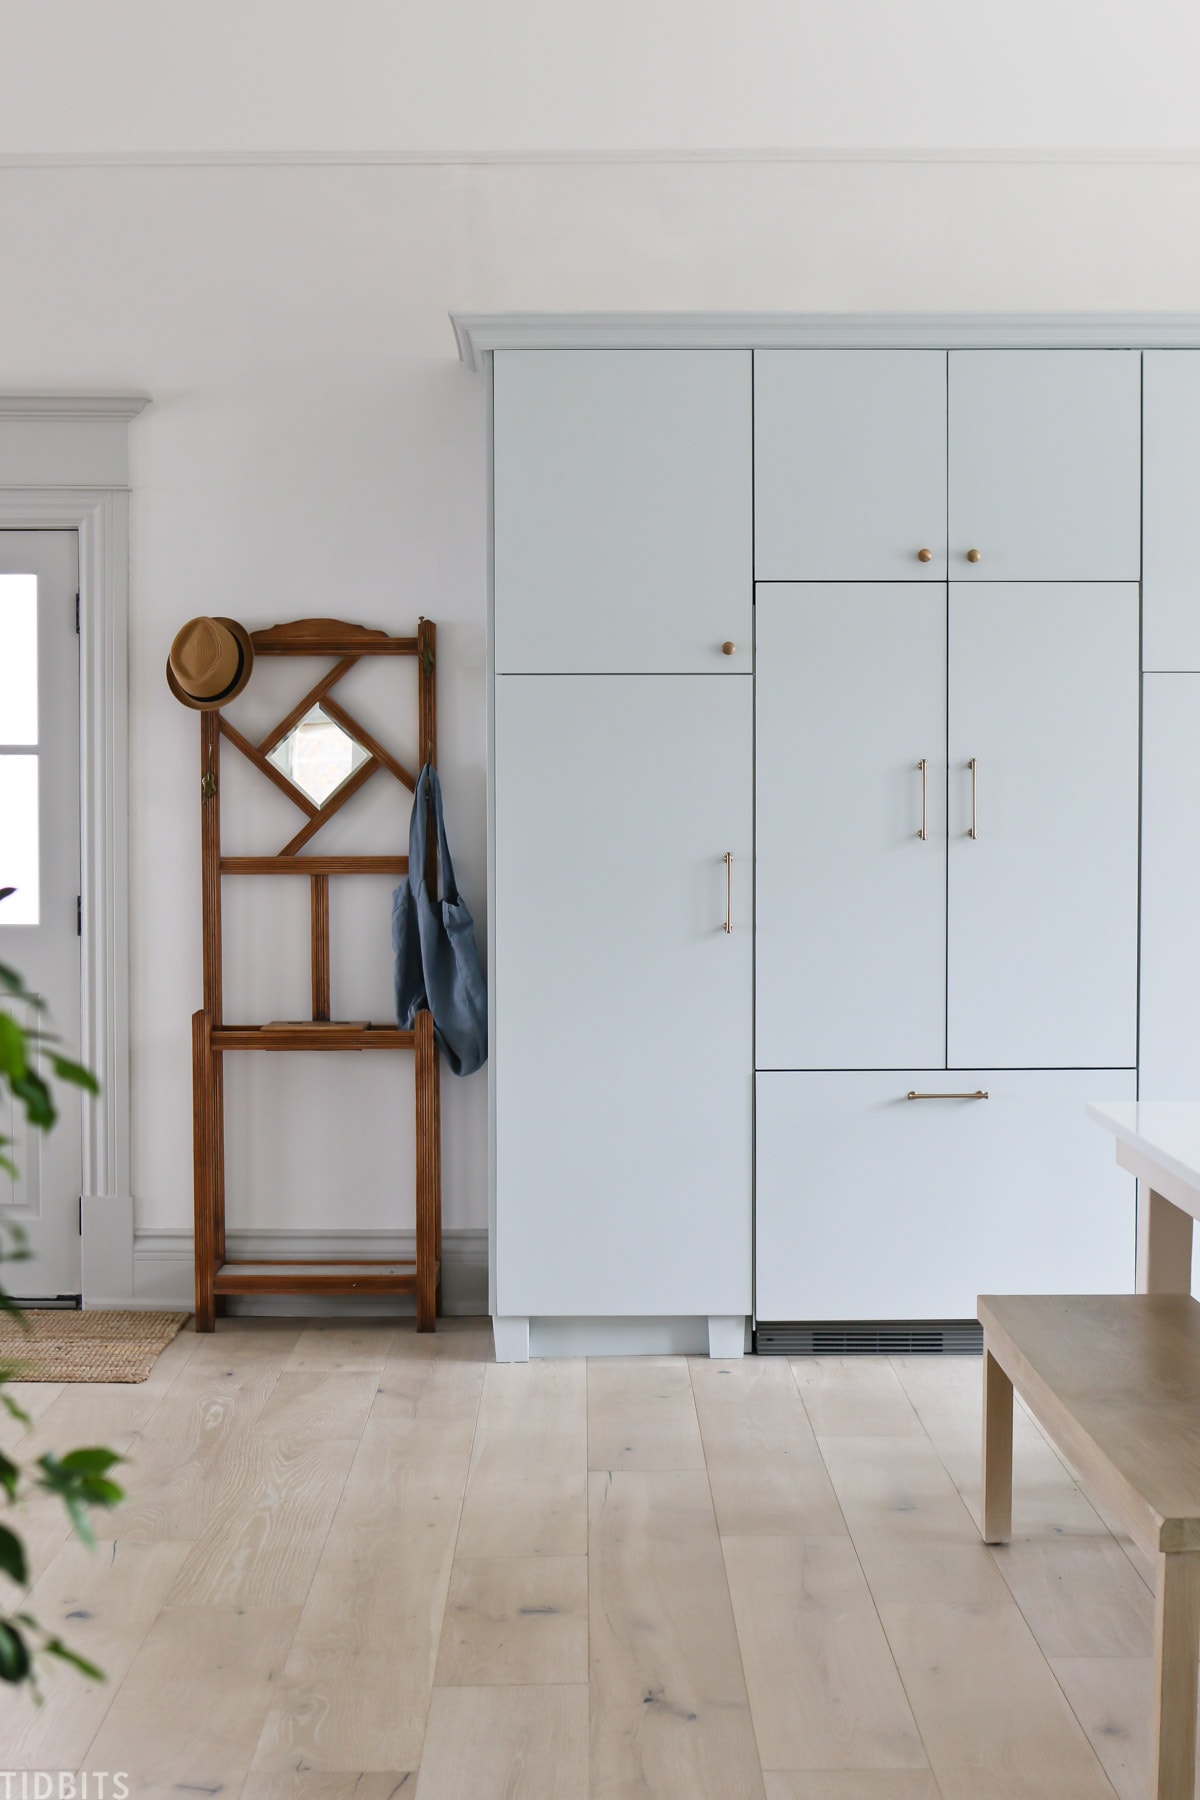
TOP OF CABINETS
Other moulding and trim that we’ve used so far in this home, is on the top of the wall of cabinets in the kitchen, which is simply a piece of 4 ½ inch Crown Moulding.
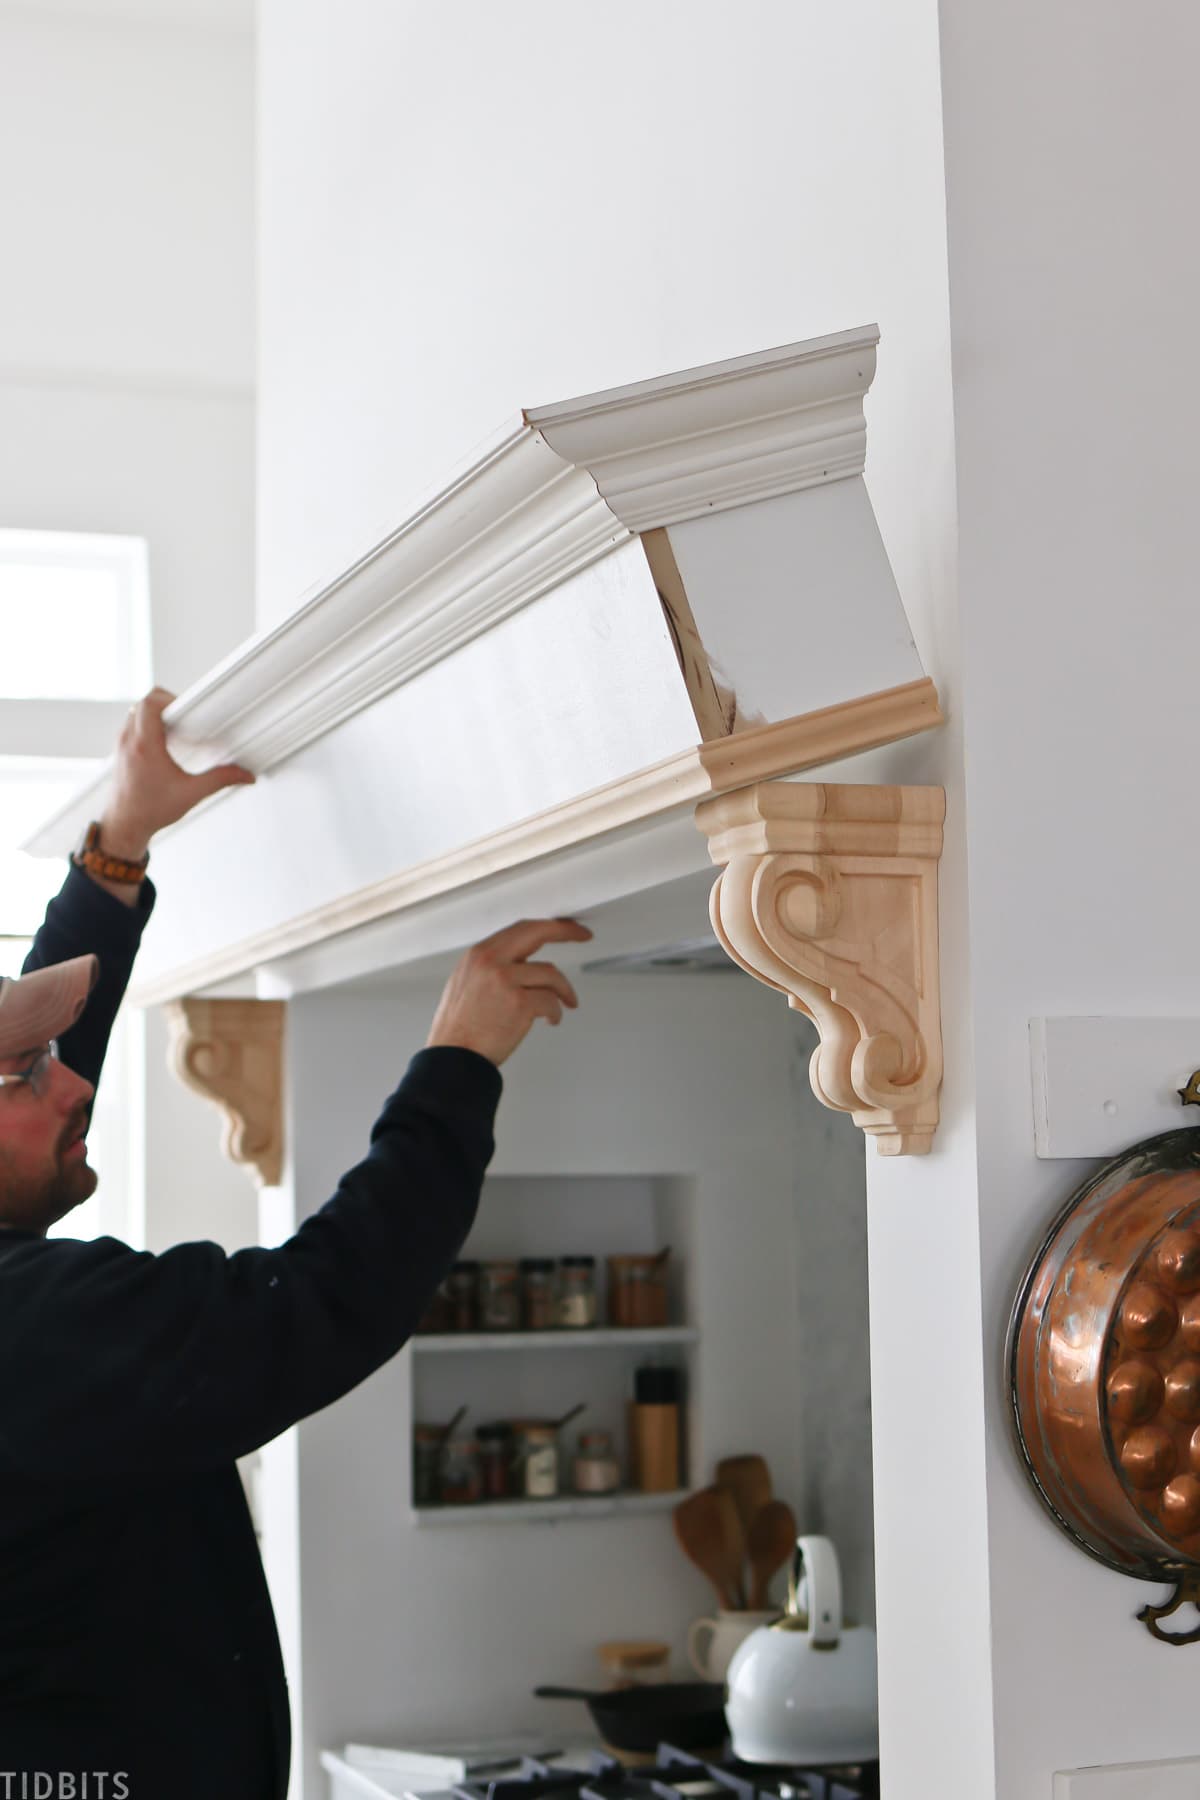
We also built this shelf above the range area with a mixture of moulding and corbels.
TOOLS and SUPPLIES
A quick word on the tools and materials we used to install millwork.
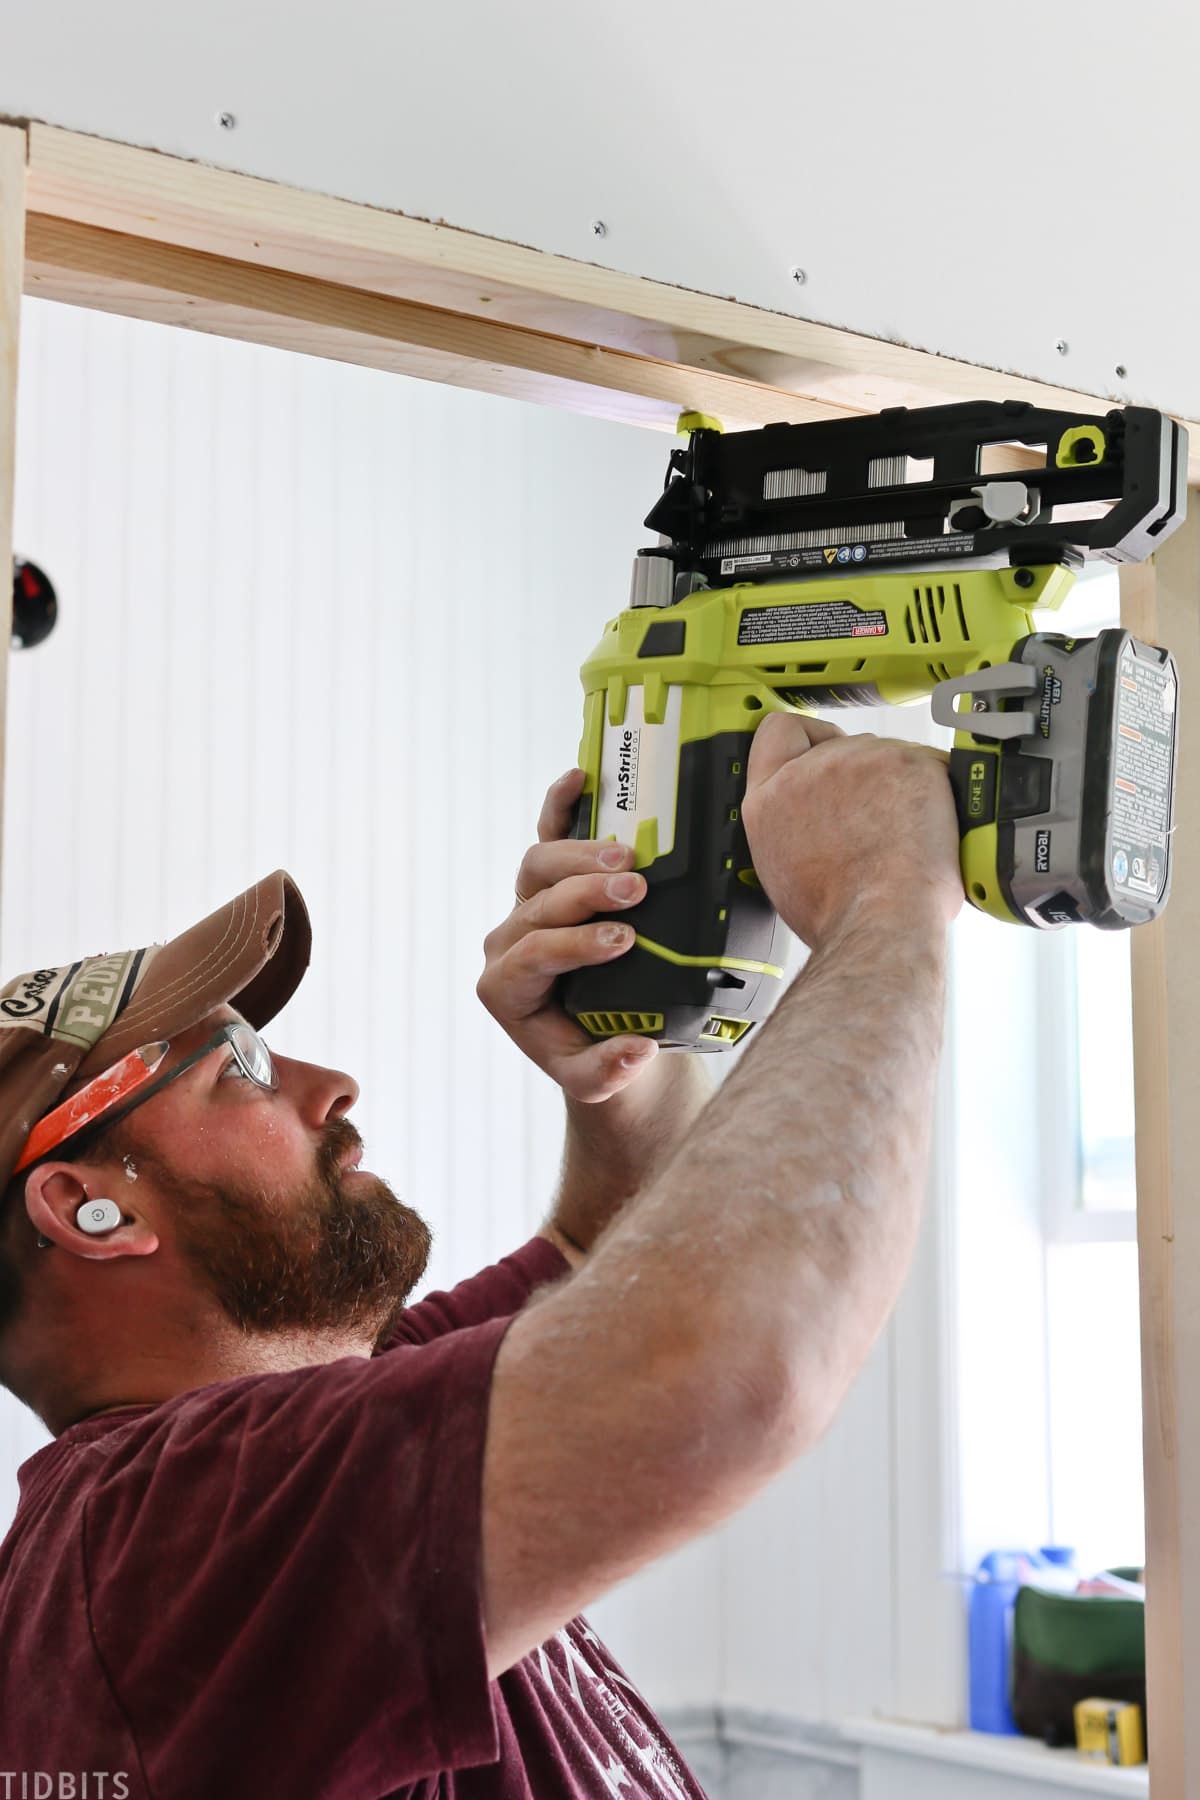
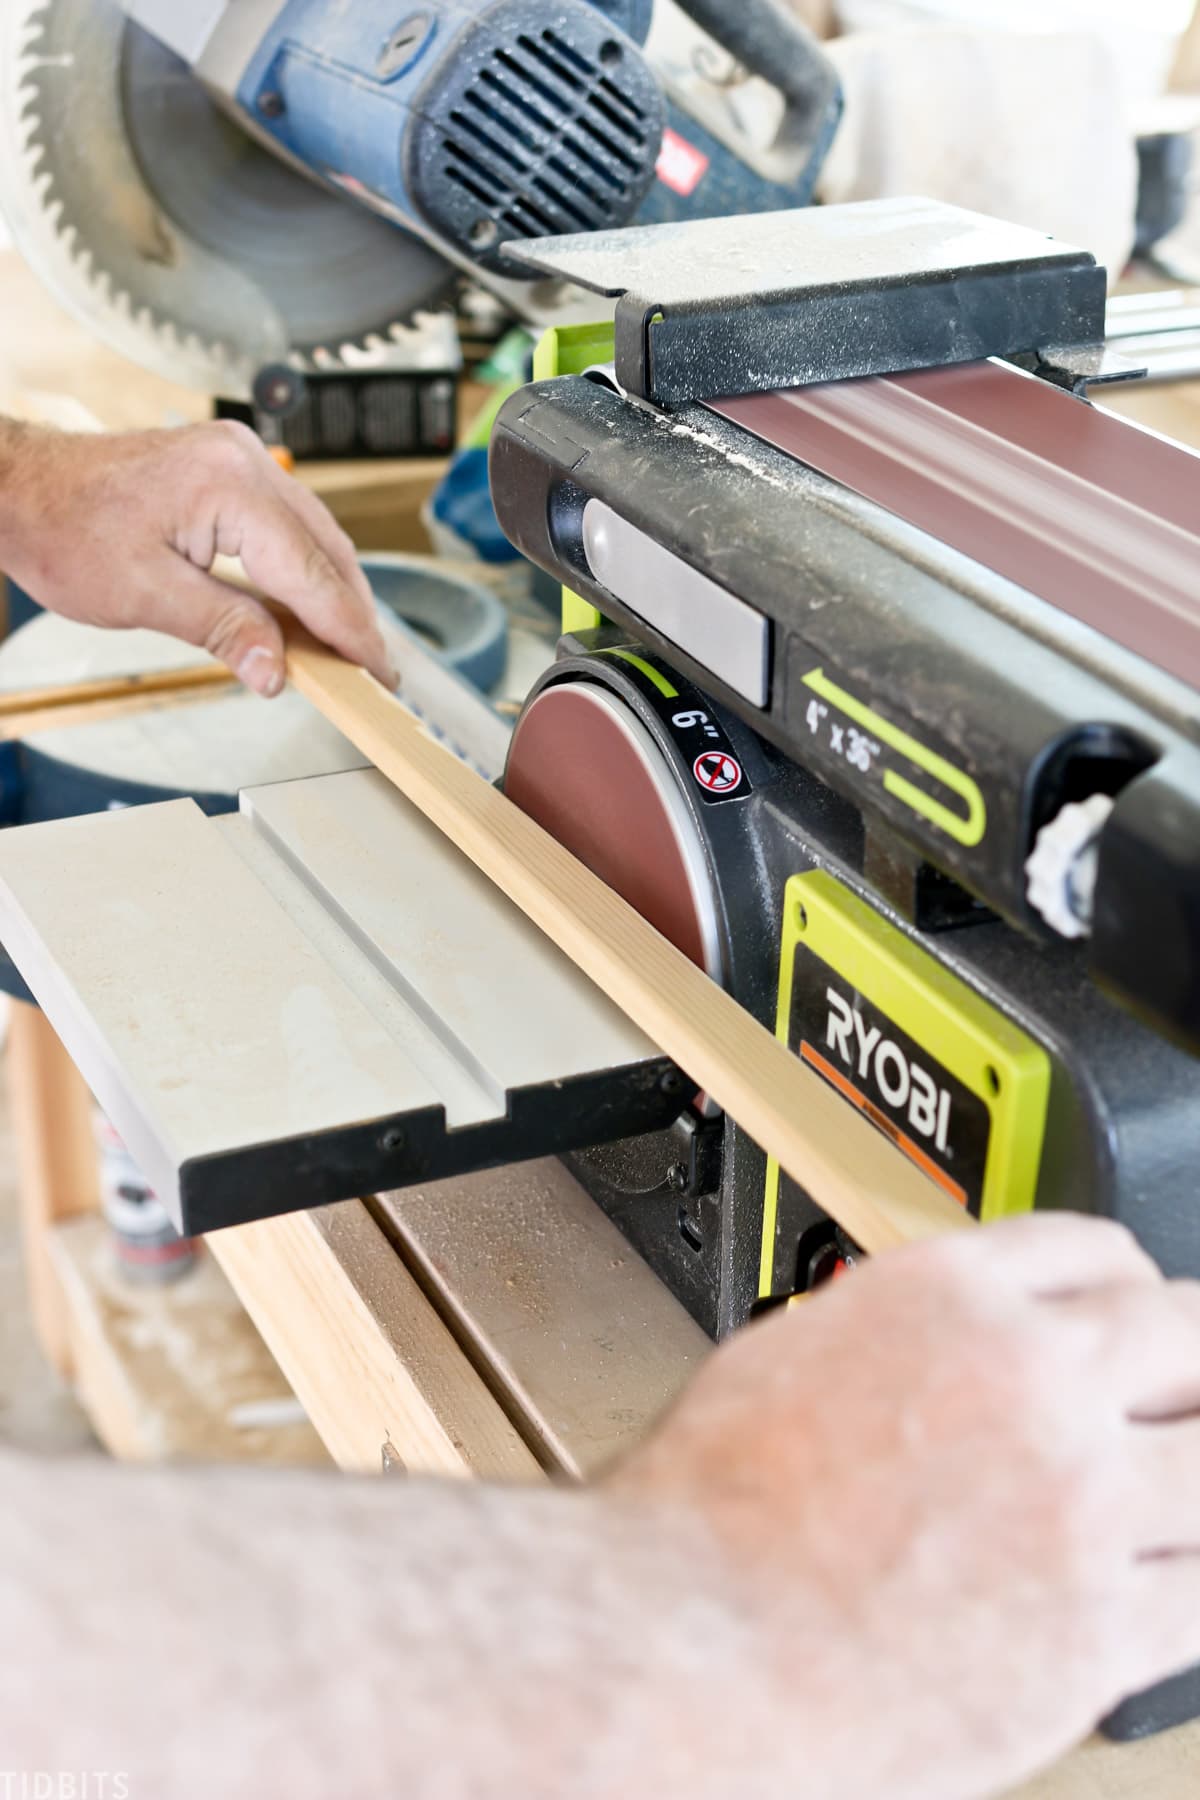
Kevin used both a Ryobi brad nailer with 1 inch nails for the smaller more intricate boards, and a Ryobi Finish nailer with 2 ¼ inch nails for the thicker pieces.

He also used a Ryobi belt and disc sander to smooth out any sharp edges and corners before installing.
To get a nice smooth finish, we use hole filler, sandpaper and paintable caulk.
I can’t wait to finish up all the millwork in our home and getting it looking good! I hope you enjoyed seeing how our it is coming together.
If you need more instruction on this, my blog post has some great graphics to help you understand what you need to shop for and the order to put it together.
Let me know if you have any questions regarding the millwork and moulding we’ve done in our home. Thank you for reading and be sure to subscribe to my newsletter and YouTube channel to watch our home come together and for more inspiration for do-it-yourself living.


My wife wants me to install custom moulding in the master bedroom when we switch down there. We added wainscotting to the dining room and entry but paid a professional. This next time I want to do it myself. Thanks for the tips!
The end products looks perfect, thanks for sharing your journey 🙂
I love the trim and moulding you have used. It’s just like what they use to do in older houses and started changing, but that is what i have truly loved about 19th century home. I like you color combination also.
Gorgeous work, you guys! Cami, you’ve done a fantastic job perfecting all those details, and your husband is a SUPERMAN!
Thank you for this very valuable information. I’ve trimmed my windows but had to have the tops made up for me so I cnould just
install them. I can see now what pieces were used to form the top. I love the detail and it adds so much to the space. My walls are dark(er) and the trim is white. But using the darker trim on the white walls is a great idea. I have been tempted to add shoe mold to my baseboard but I didn’t like how much it extended on the floor but the narrow trim you added might by my answer. You are very fortunate that you have a very talented and skilled finish carpenter to do this work in your home (your hubby). In my case I have to use the trial and error method. 🙂 At any rate, your home is looking incredible so I look forward to see what is next!
Thank you very much for sharing.
This is GREAT information! Thank you!
Beautiful!!
Such a great Informative post Cami! Love your home!
“How can anyone move from such a beautiful house, or (even) the RV?” I thought, but your new house is sooooo gorgeous. Thank you for your advice.