
This post may contain affiliate links, which means I get a small percentage of the sale at no extra cost to you. I only recommend items I love and have had a positive experience with. Thank you!
Knock the socks right off your man by surprising him with this stunningly simple DIY Cell Phone Stand and Accessory Holder. Or . . . send him straight to this tutorial to make one for himself!
Or for you. (wink wink)
*Disclaimer: This post is in partnership with JORD.
Our husband and wife conversations before we begin a project are always interesting in hindsight.
This one went something like this.
Me. “Hey honey bun. How would you like to make your own Father’s day gift for me?”
Him. “What??”
Me. “Ya. I’ve got this great idea for a DIY post, to showcase this incredible wood watch from JORD that I got ya, but you have to build me something for you before I give them to you for Father’s day.”
Him. “Oh. Okay . . . I guess I’ve always wanted a nice watch. Can I see it?”
This is the part where I can’t recall exaaaaaactly what he said, but I’m sure he was elated, and said something about me being the most incredible wife in the world and how I could ask for as many girls night outs as I ever wanted and he would be sure to be home to watch the kids whenever I needed him. 😉

And then I specifically remember his saying, “Can I wear the watch yet?”
And my oh-so-loving reply was . . . “Not until we take pictures”.
So there you have it folks. A typical DIY conversation at the Graham household. The part you missed was when we were both actually really excited about this project, and had a great time brainstorming the perfect, minimalistic, super easy to make, beautiful cell phone stand and accessory holder.
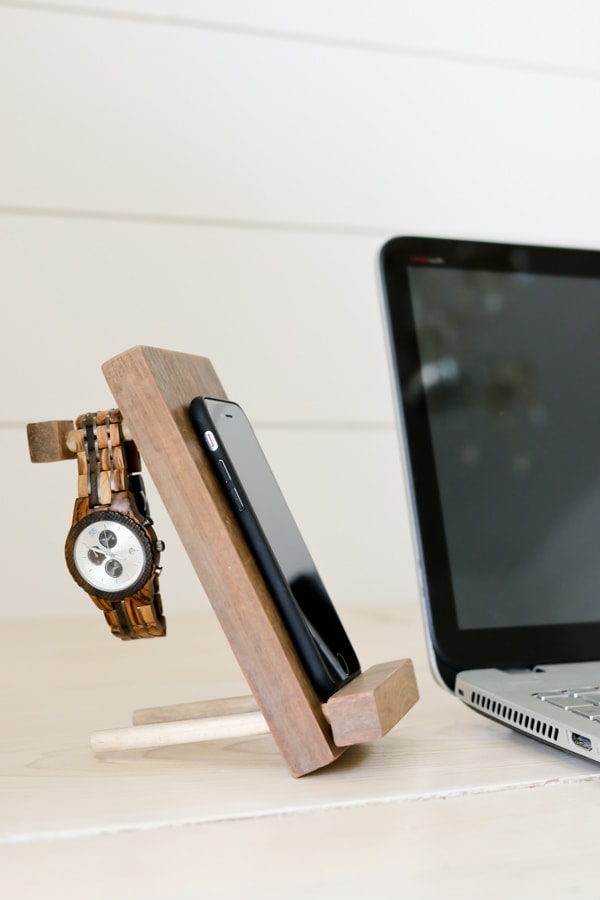
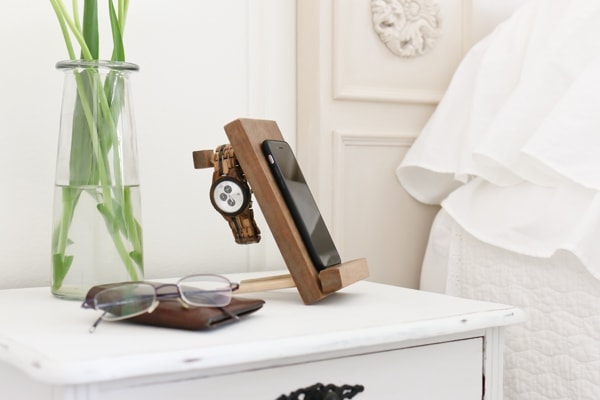
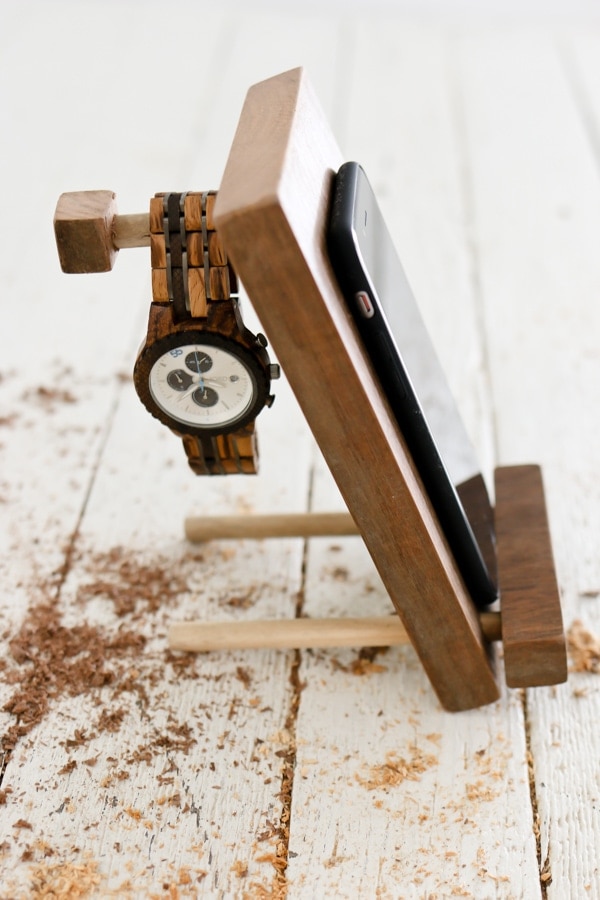
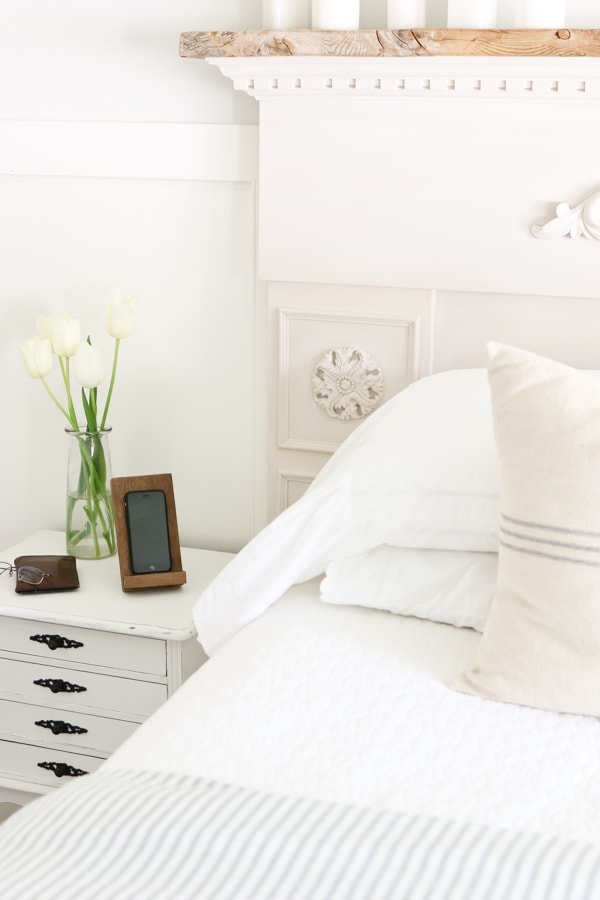
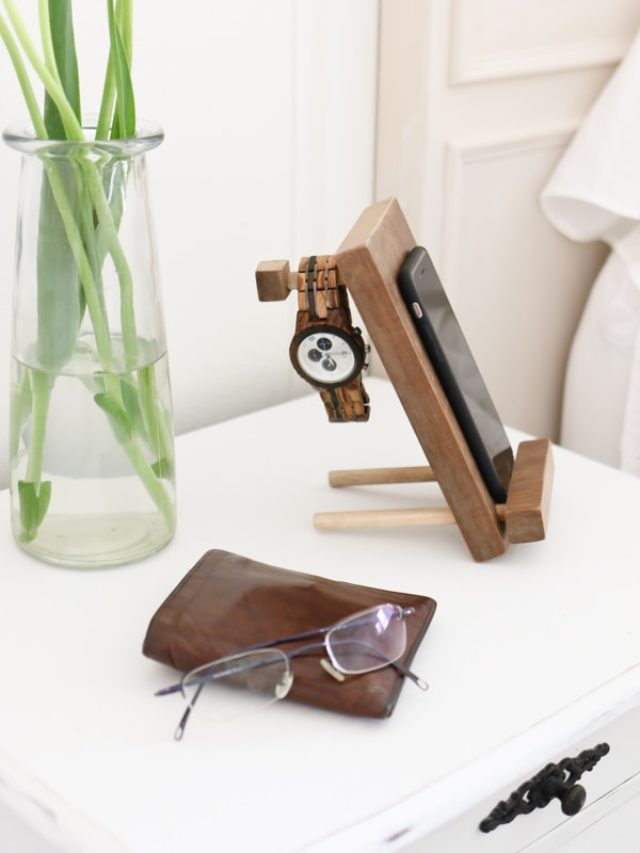
It’s perfect for propping up a phone or other device, and keeping a wrist watch or glasses carefully close by.
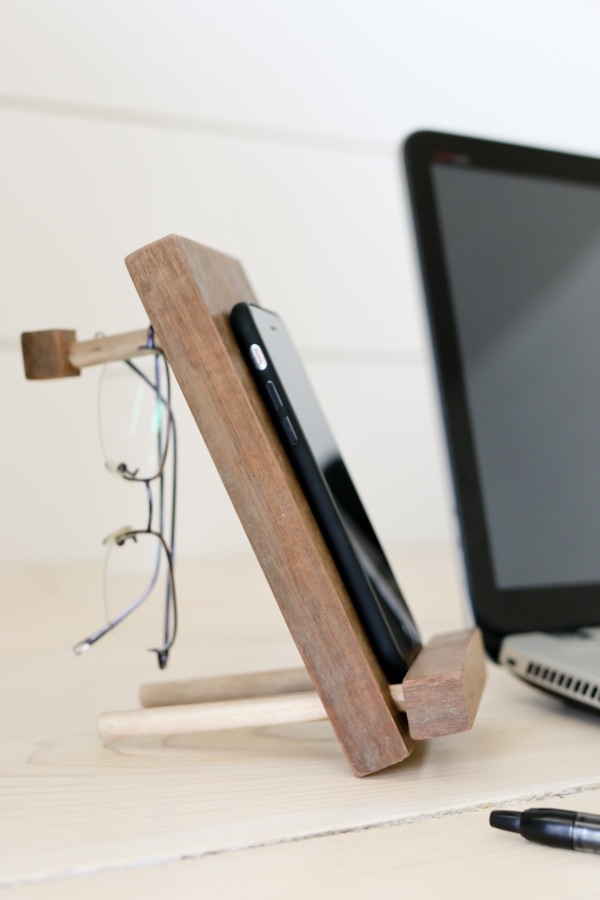
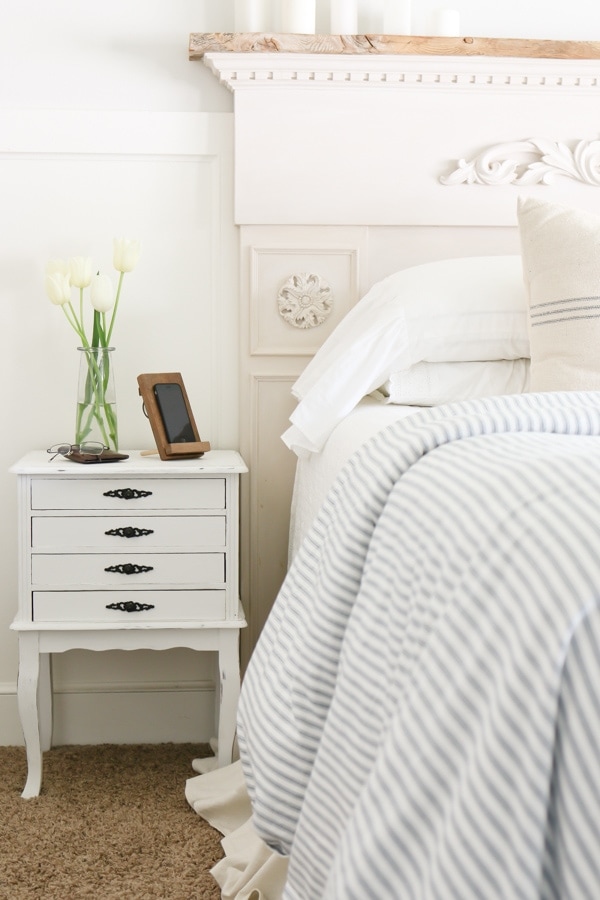
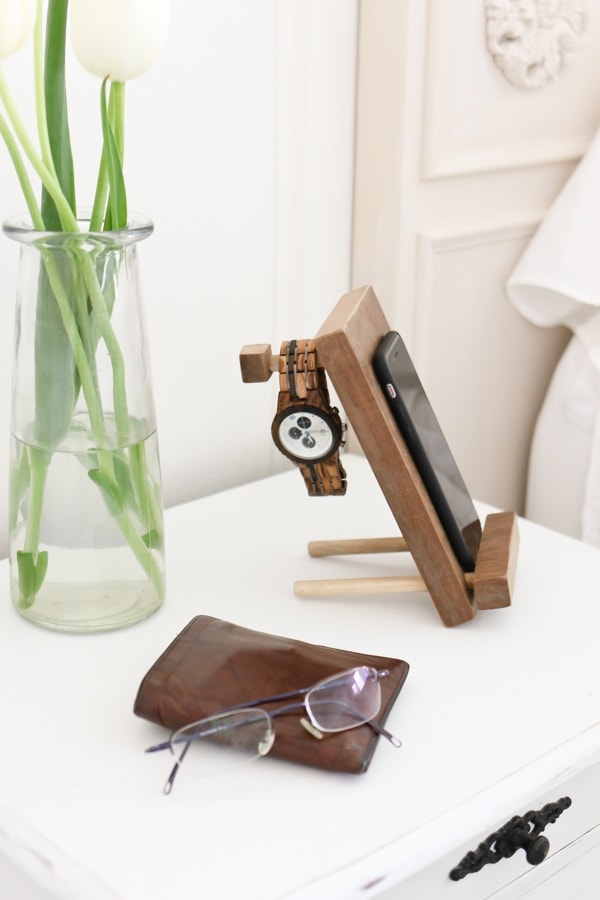
Keep it at a desk where you work, or at the bedside for giving those items a place to rest as well.
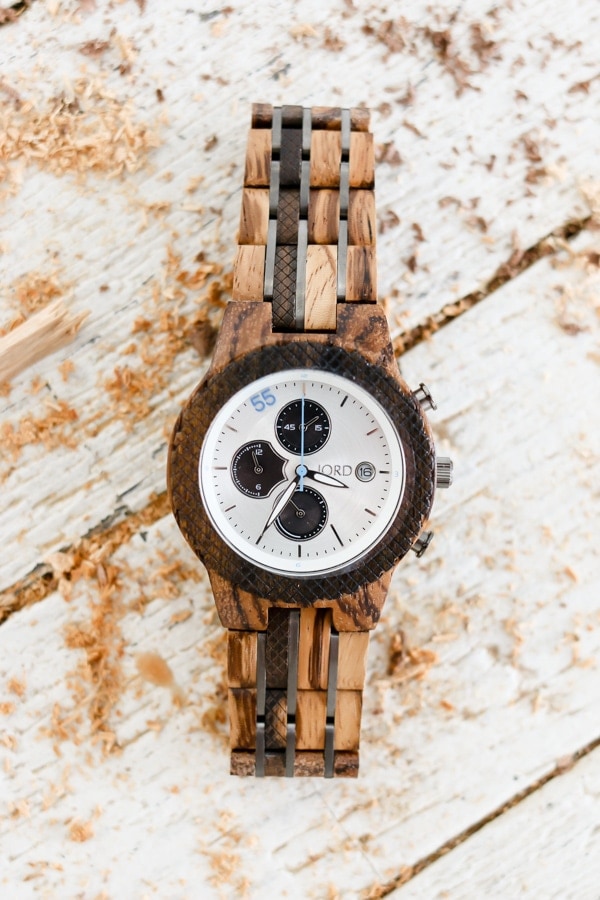
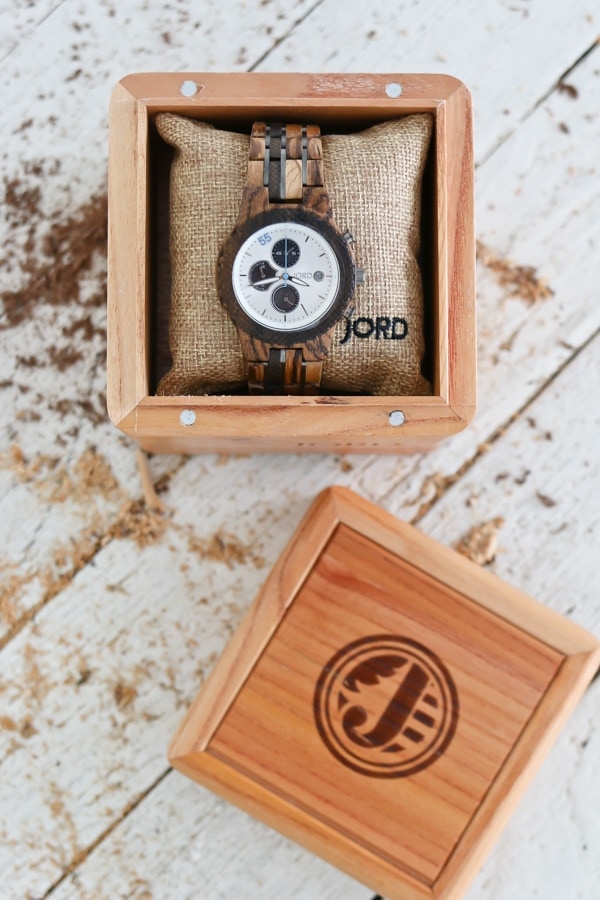
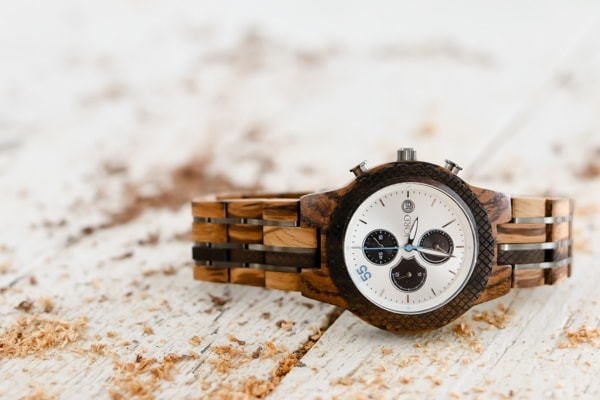
This whole project was really inspired by the incredibly beautiful 2 toned wood watch provided to us by JORD.
Take a look-see at the stunning Men’s and Women’s Wood Watches available to you.
My husbands favorite hobby of choice is woodworking, so it suits him well.
I was so excited to gift him this beauty! He always puts his wants below ours, and spoiling him a bit from time to time makes me incredibly happy!
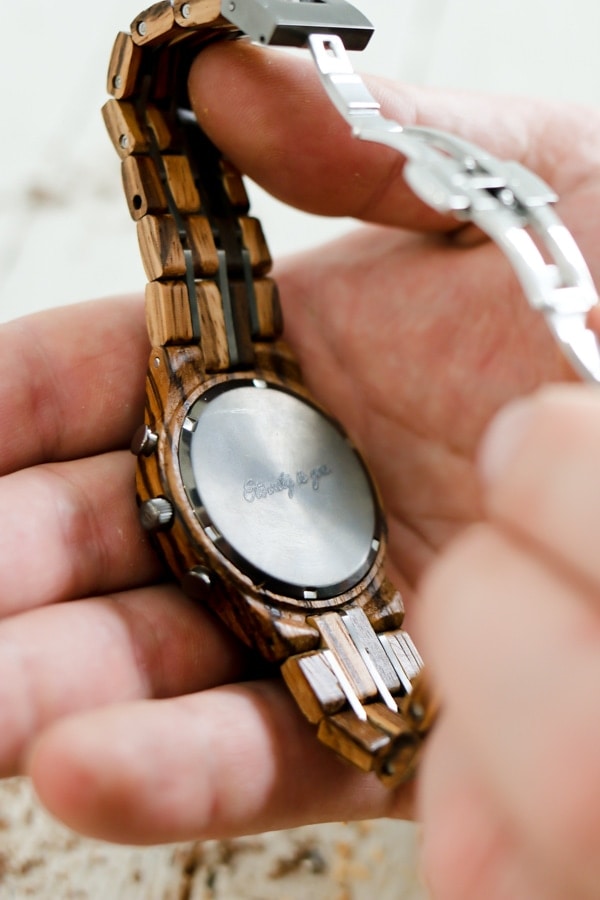
I was even more excited to discover that JORD offers engraving options as well. On his wedding ring I had the engraving “Eternity is You” done on the inside. I thought it fitting to add the statement to this watch as well. It reminds us of a lovely poem that means the world to us.
He also loved the idea of building something to rest his new watch on beside his bed, as well as a tidy place to stash his phone. He really got into the idea of designing something easy enough for women to make, and he is here to help us ensure the best results for this project.

If you are hoping to spoil your man for Father’s day, a birthday, holiday . . . or any moment at all – surprise him with your newfound woodworking skills.
And perhaps he would even like a stunning Wood Watch from JORD.
I have it on good authority that it’s the best watch he will ever own.
I’m also excited to share this awesome contest from JORD. Every person who CLICKS HERE AND ENTERS will be entered for a chance to win a $100 gift code to use on the JORD website. But get this . . . just for entering, you will all receive $25 towards any purchase on JORD. But time is of the essence (pun intended) . . . so head over now because the contest will end on May 28th, 2017.
Good luck!!
Let us now walk you through every step of the way to build a cell phone stand and accessory holder.
Have no fear ladies. You got this!
(INSTRUCTIONAL VIDEO COMING VERY SOON!!)
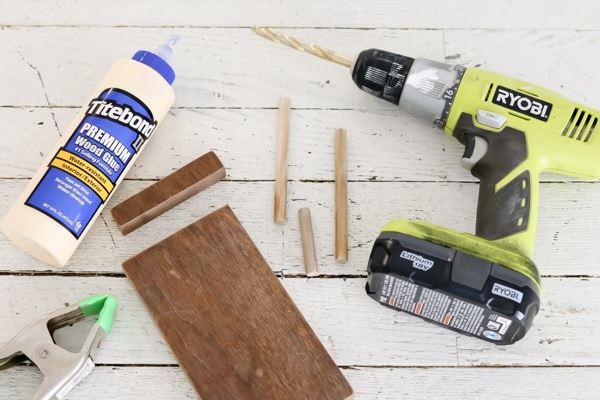
Supplies:
- Wood Glue
- Wood clamp
- 3 Wooden Dowel pieces, 2 at 5 inches and 1 at 2.5 inches
- Piece of wood cut to the size you want, we went 1 inch bigger around than the iphone 6
- Piece of the same wood cut 1/2 inch long and the same width as the larger piece
- Drill with drill bit the same diameter as the dowel pieces (we used 3/8″)
- Optional and not pictured, a small piece of wood to fit on the end of the smaller dowel piece. Can be round or square.
To mark where you want to drill the holes for the dowels, use the smaller piece of wood already cut, which was approximately 3/4 inch. Line up the smaller piece with the bottom of the larger piece and use a pencil to mark.
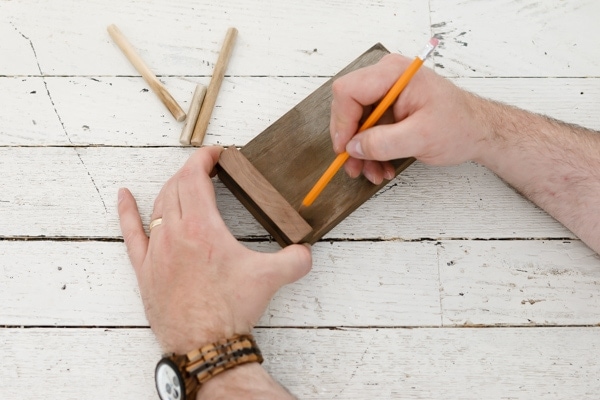
Then line up the same piece of wood on the long side of the larger piece and mark a line so that the two lines cross.
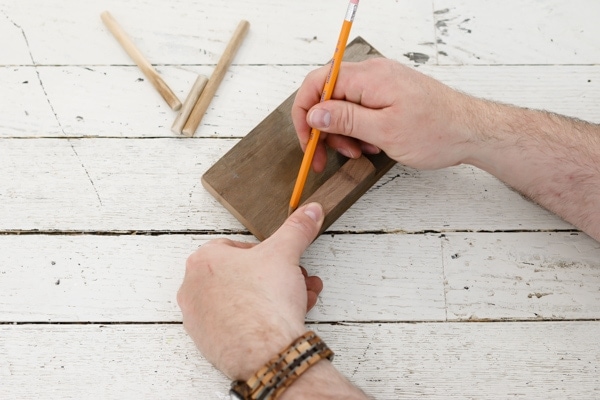
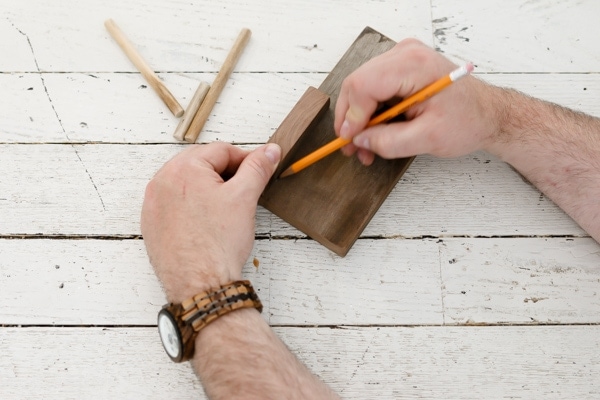
Repeat on the other side.
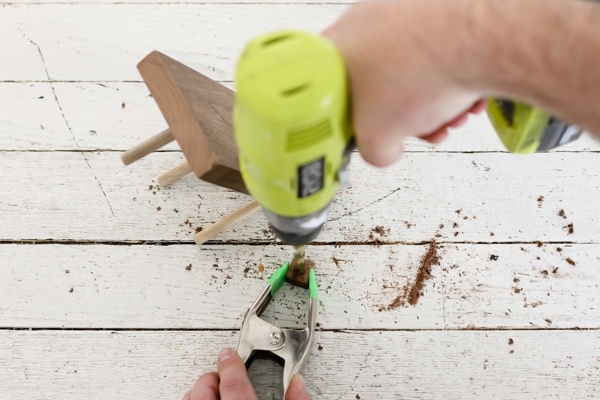
Clamp the smaller piece to the front of the larger piece so that there is an 1/8 of an inch distance from the bottom of the large piece. This will allow you to drill through the larger piece and into the smaller piece at the same time.
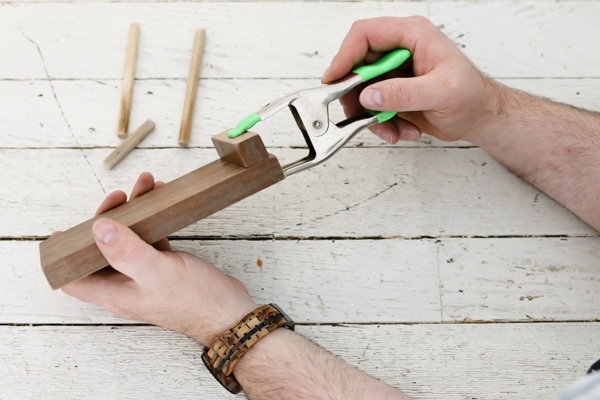
Drill the holes at approximately a 15 degree angle so that the drill bit enters the center of the smaller piece that is clamped in place.
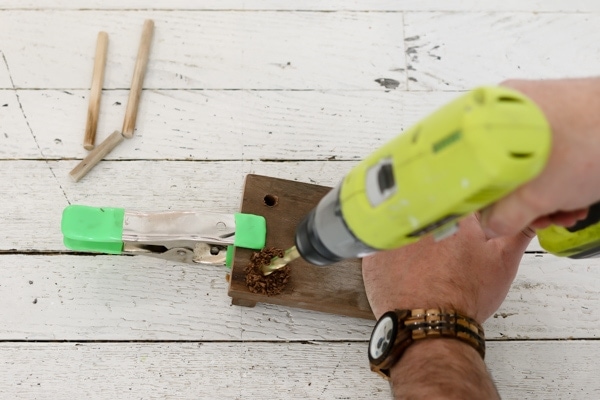
You don’t have to drill all the way into the smaller piece, just be sure you mark it with the drill bit so you know where to finish drilling those holes.
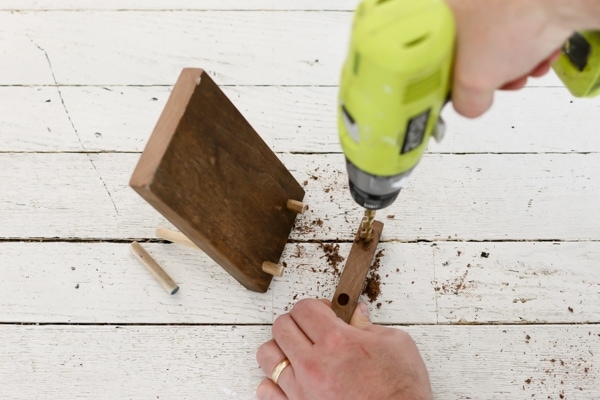
Using the marks made with the drill bit, finish drilling the holes in the smaller piece. Only drill about halfway through the piece
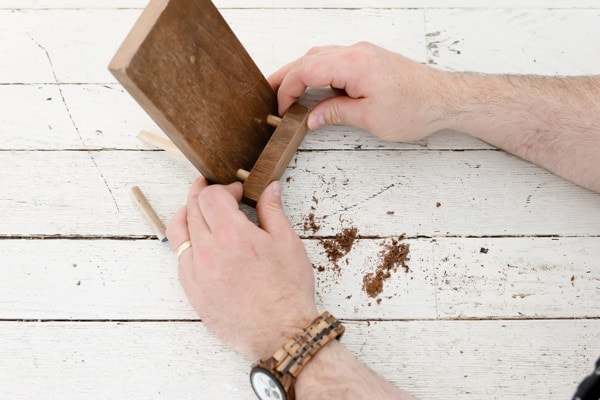
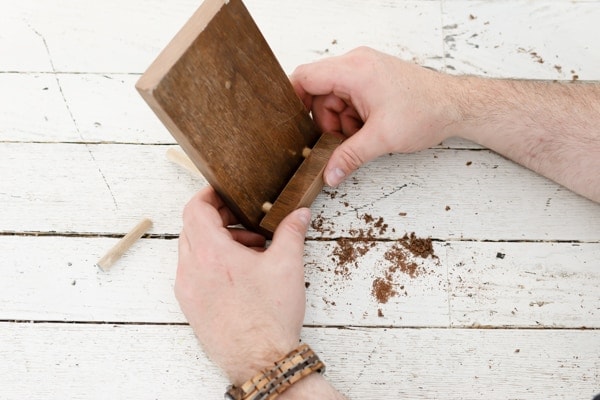
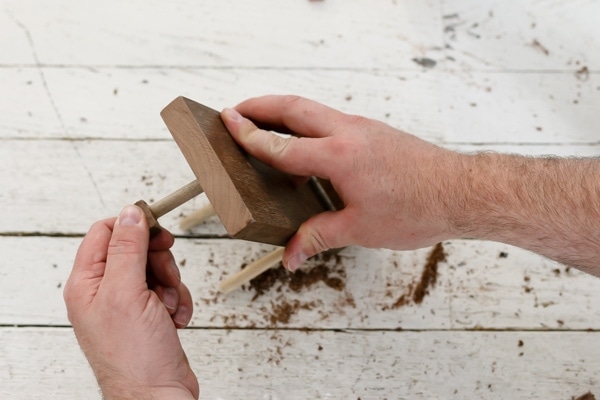
Insert the dowels in the larger piece so that they are sticking out about half an inch.
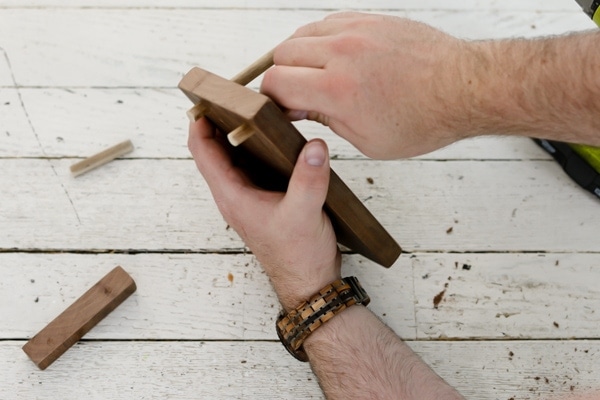
Dry fit the smaller piece onto the dowel ends. The pieces should line up since they were drilled at the same time.
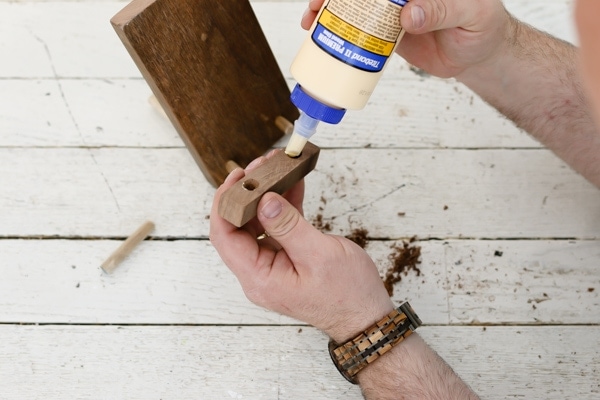
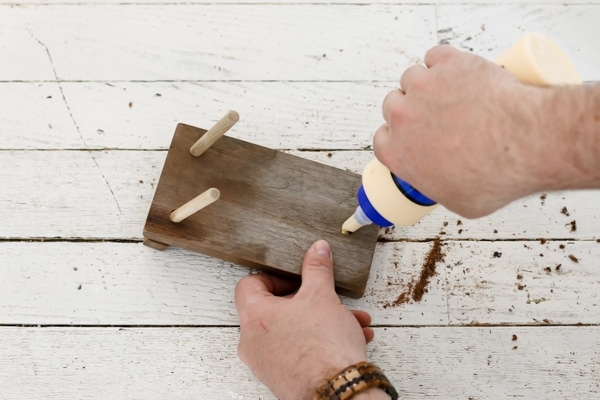
If the fit is good, use glue to assemble the pieces as seen below.

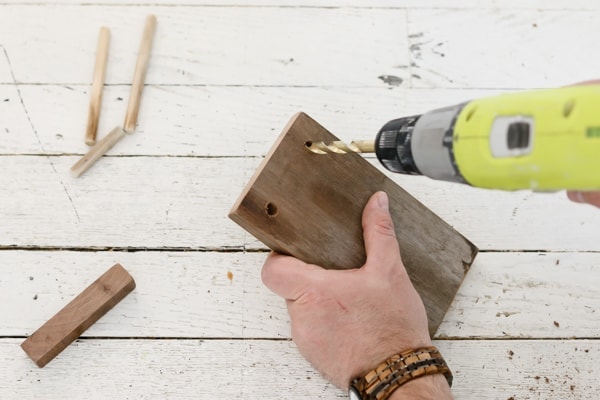
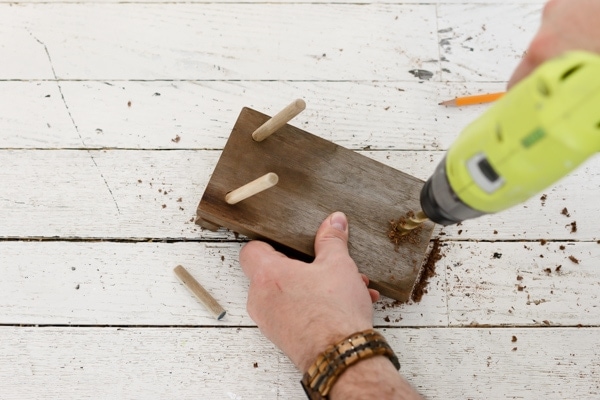
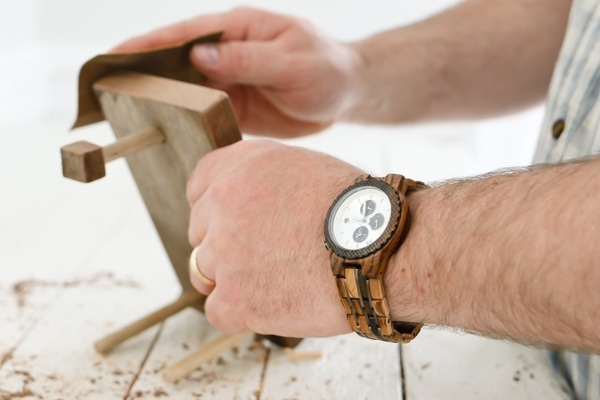
Mark and drill a hole 3/4 of an inch down from the top and on the back of the large piece. This hole needs to be drilled at approximately 25 degrees, you can stand the cell phone stand up and get an idea of what angle you need to hold a watch.
Glue dowel into the hole.

As an afterthought, we decided to add something to the end of the short dowel so we cut a small square of wood and drilled a hole in it so it would fit and glued it on. These can be purchased if you prefer that route.
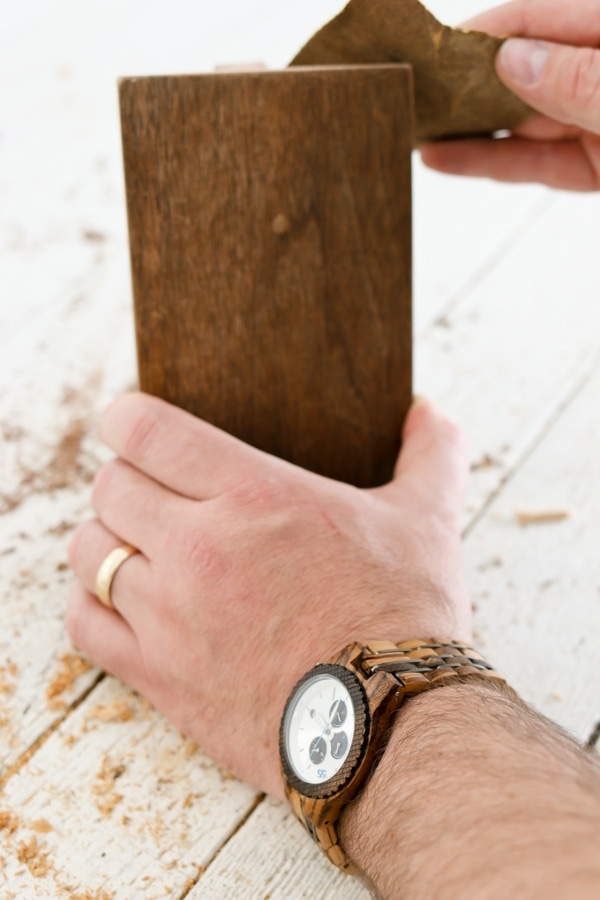
A quick sanding to smooth any rough spots and you are done.
So does that look do-able? Do you think you will give it a try?
Thanks so much for being here today!
I hope you enjoyed this tutorial! I’d love it if you would share it with your friends!


Very interesting and unique ideas! These are great tips!
This is a really cool (and easy) project. But, there’s no space at the bottom for a cord to find through. At our house, the only time the phone would be on the stand is when it’s charging. I guess I could alter the small bottom piece to accomodate this but wondered if you all had already plugged in a modification in the plans?
Thank you. I really like the simplicity if your blog, as well as your name: im also called cami 🙂
Exceptionally valuable information.
Big piece! It’s a perfect pleasures to look over it. Congratulation! Well done! I’m waiting for much more messages.
Does your husband make these to sell? Worth a shot! Thanks!
I’m happy that I found this post, thanks so much!
This is so great and I absolutely appreciate you sharing your experience.
This post makes a lot of sense indeed and I appreciate the work
thanks your post … i will share it with my friend
Does your husband make these to sell? Worth a shot! Thanks!
So great !!! I’d love it if you would share it with your friends!
I like how the watch matches the phone holder, they look so perfect together. Definitely a great idea for a gift if you want something to give to your man. It looks to classic because of the wood. Thank you for the tutorial that even beginners will definitely find it easy to work on.
Samsung is preparing to launch it’s another high-end feature S series device ” Samsung Galaxy S9, know more about Samsung Galaxy S9 specification
I’m immediately going to ask my man for a girls night out. I hope he will say yes, I’ve been a good girl. And thank you for making the tutorial so simple that even a woman can make it. So excited!
Nice idea, i like the wooden stand.
i have article for diy headphone stand
COOL. VERY COOL.
THX !!
Genius, thanks for such an easy to follow tutorial!
hey girl- such a cool idea!