This post may contain affiliate links, which means I get a small percentage of the sale at no extra cost to you. I only recommend items I love and have had a positive experience with. Thank you!
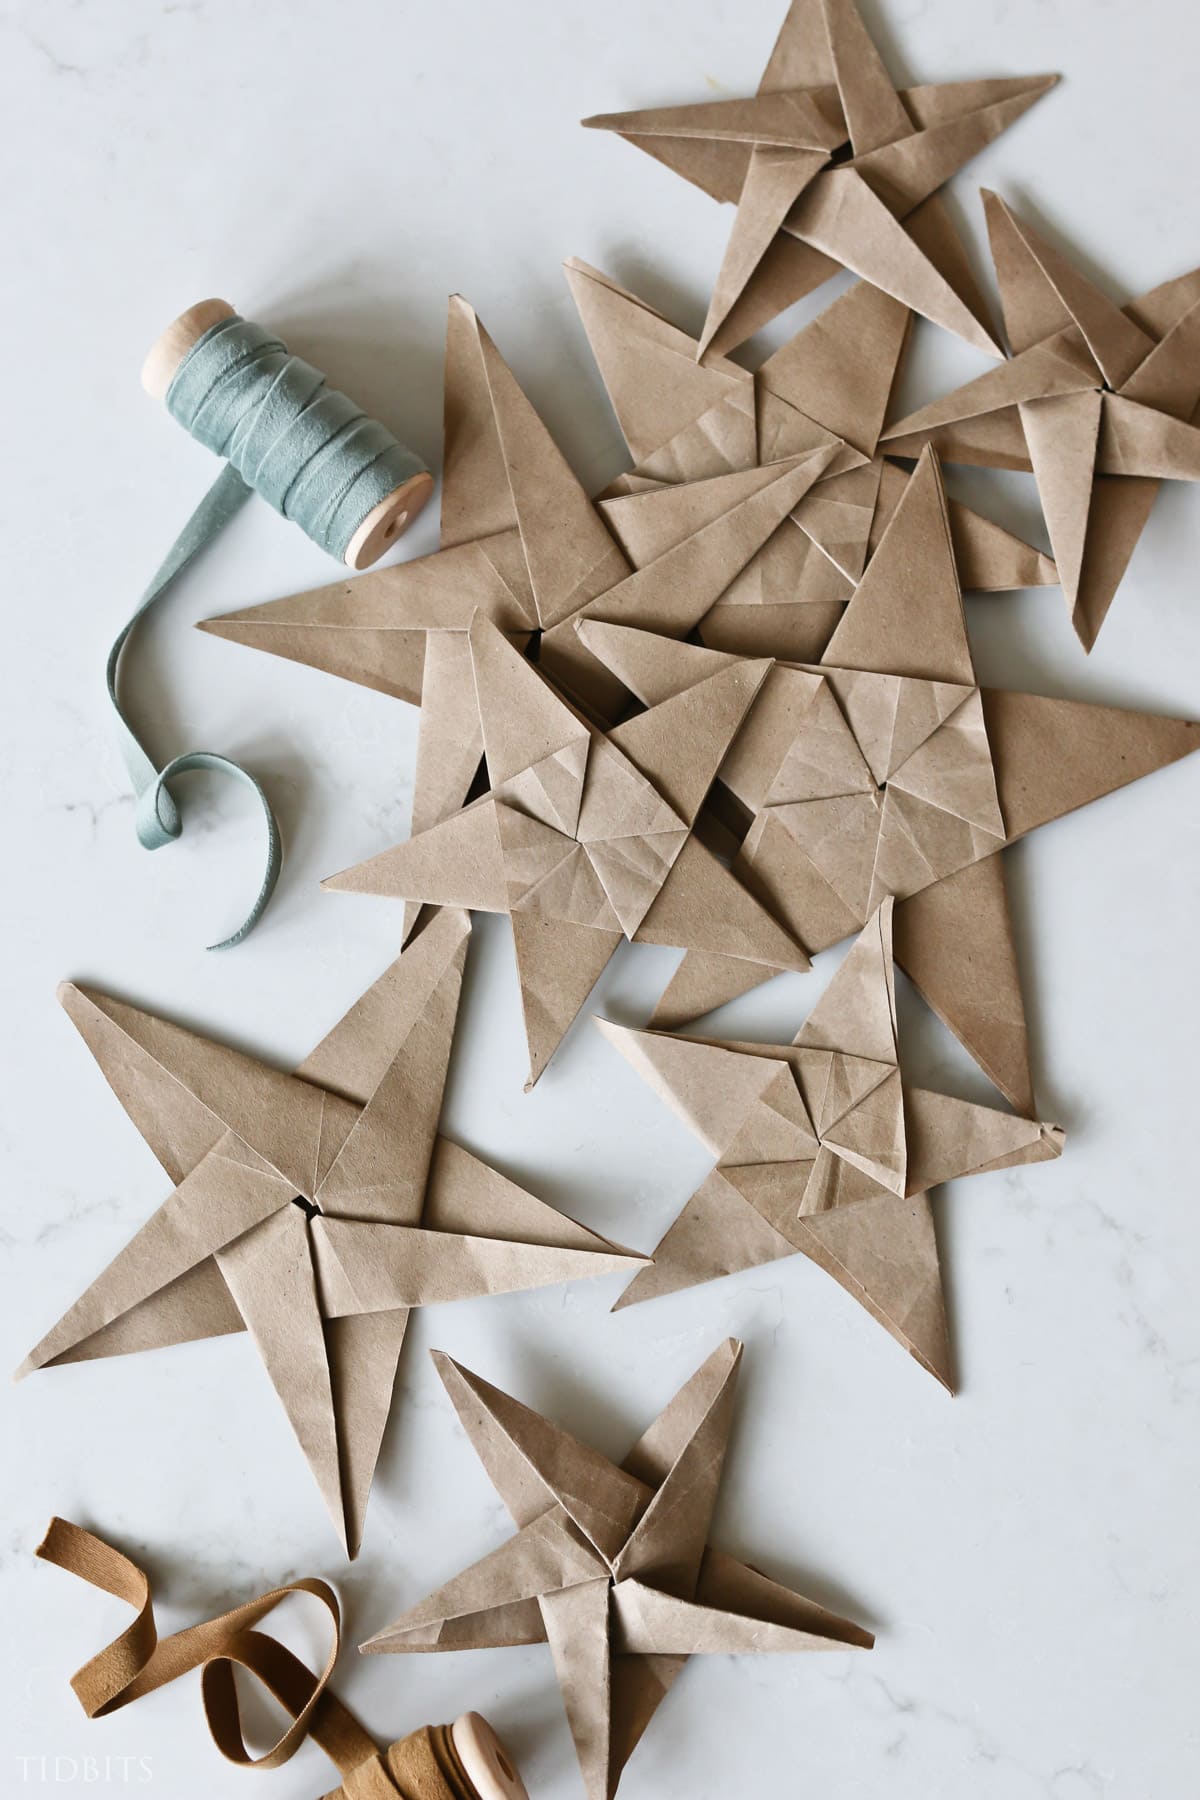
Learn how to easily fold a 5 point paper origami star with step by step instructions and a video tutorial. They make adorable Christmas ornaments, decor or gift toppers!
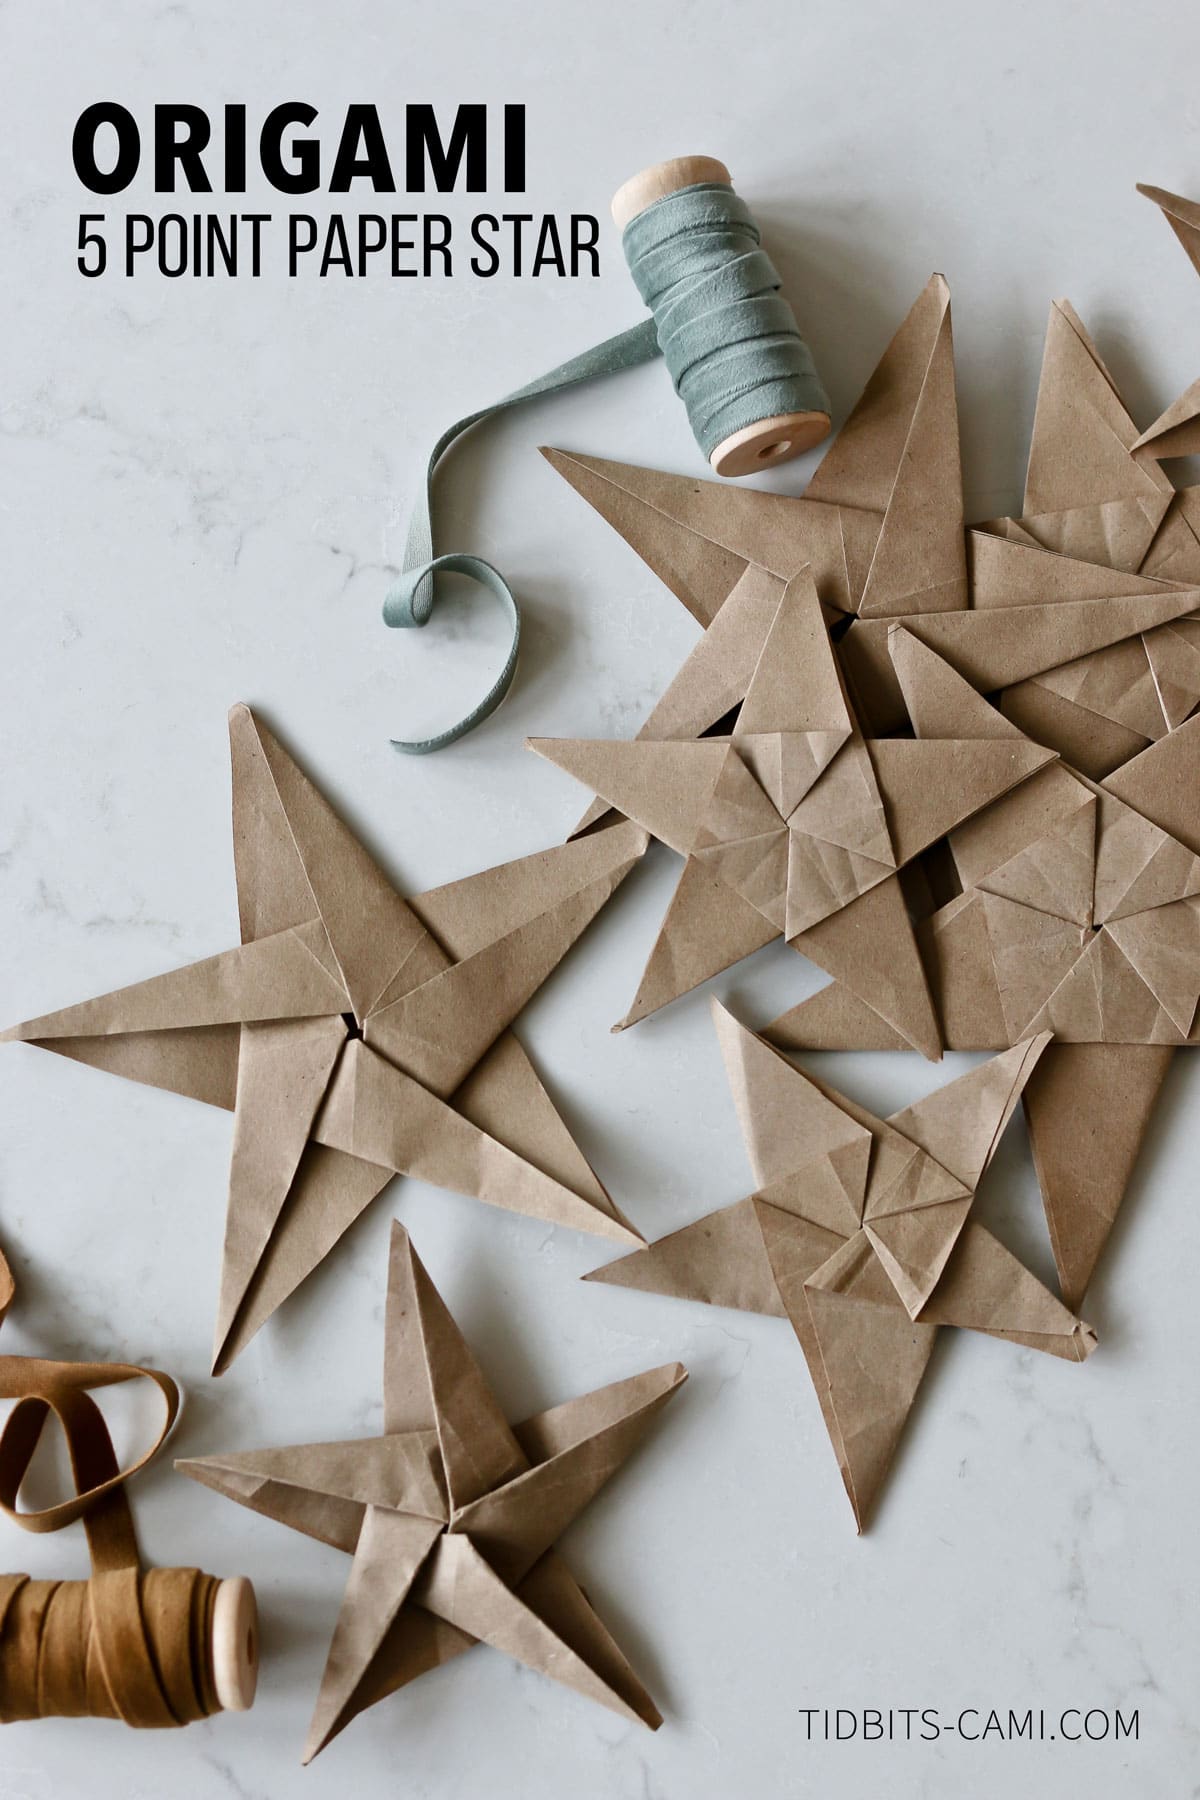
My daughter had a lot of fun during Christmas time making a bunch of these origami paper stars, and I had a lot of fun sprinkling them around the house.
I absolutely adore the simplicity of them, and that you can make a lovely Christmas craft with just a piece of paper and a pair of scissors.
WHAT DOES THE ORIGAMI STAR MEAN

Fun fact!
Origami traditionally comes from the Japanese and these paper stars represent good luck and love. Go ahead and sprinkle origami lucky stars all around your home for some major good vibes.
WHAT DO 100 PAPER STARS MEAN?
Want to really make an impression?
- Make someone 9 of these stars if you want to say “wishing you love for a lifetime”.
- Make someone 55 stars to say “I’ll love you without any regret”.
- Make someone 99 stars to say “may you receive limitless love”.
- Make someone 100 stars to give the recipient one powerful wish.
- Make someone 101 stars to say “you are the one and only in my life”
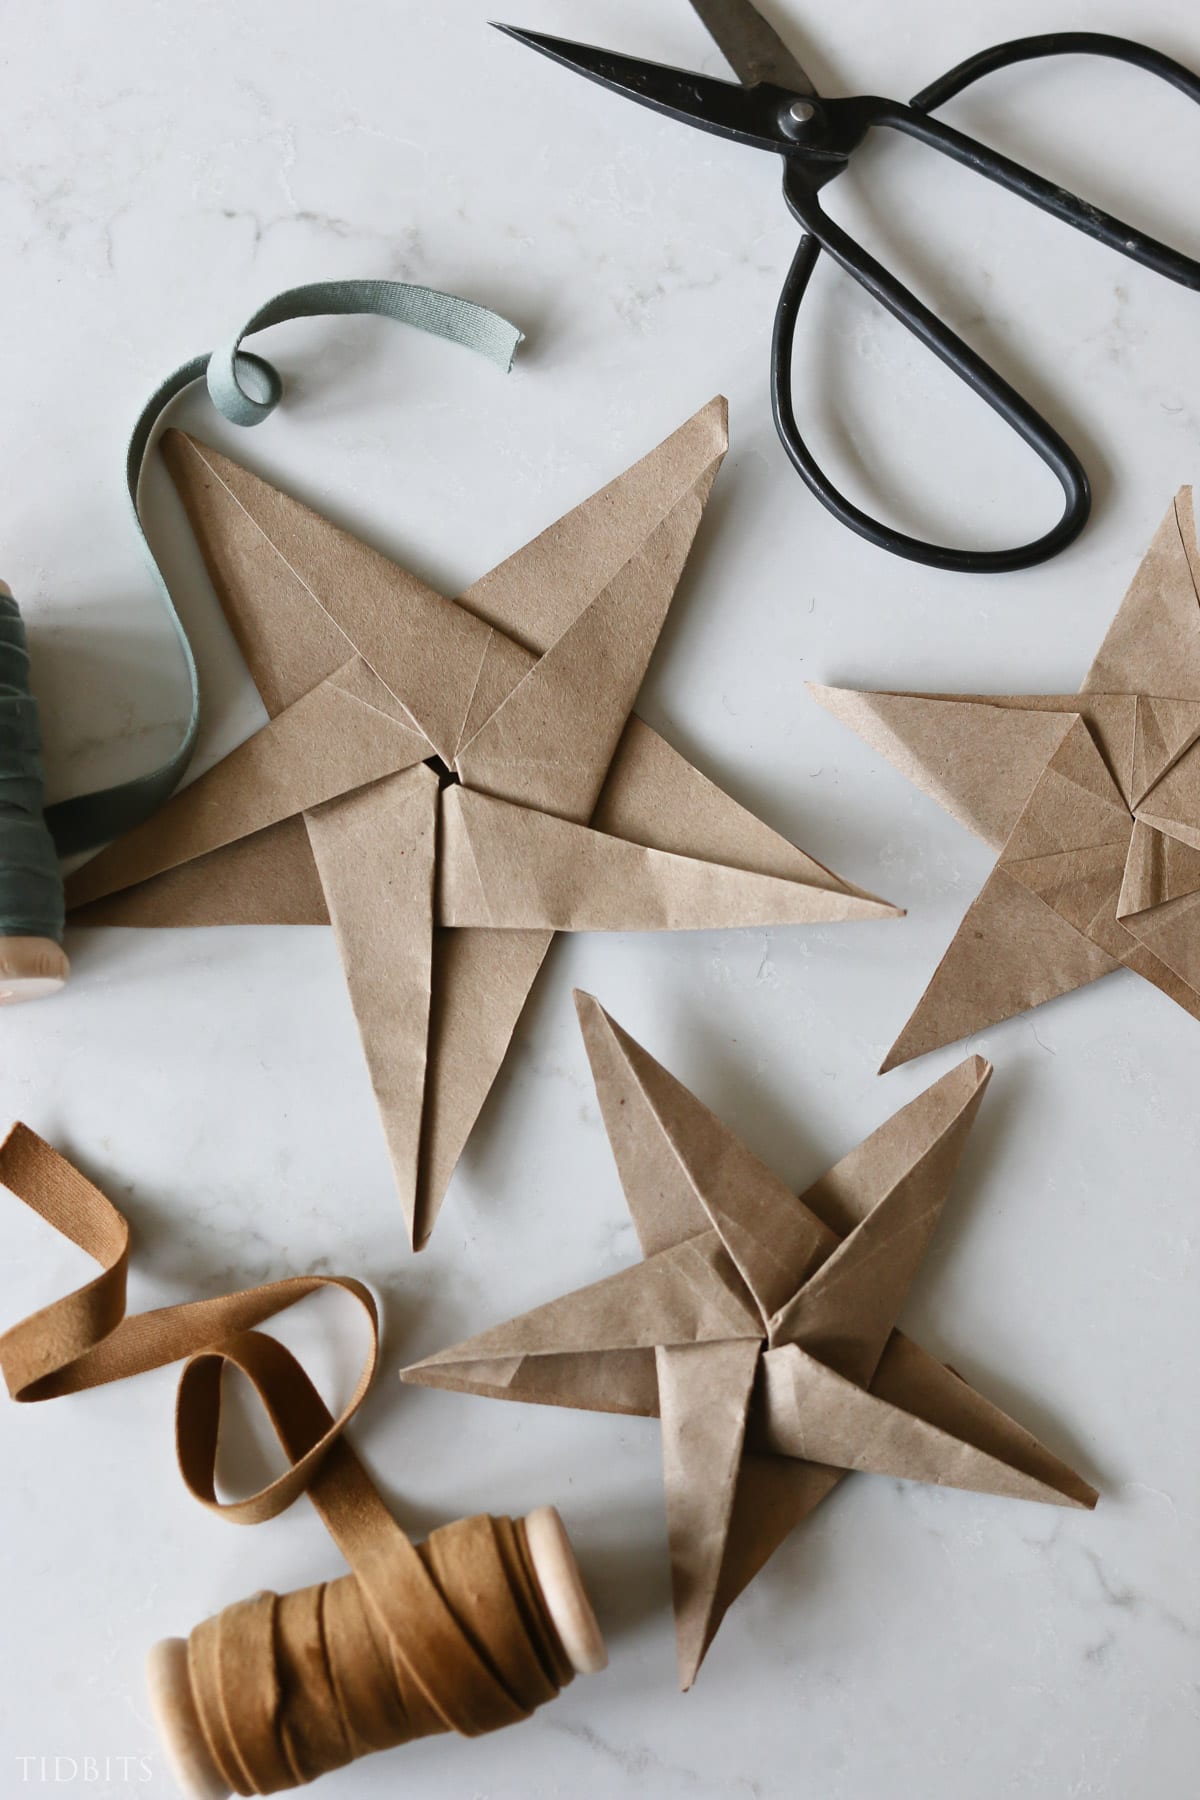
SUPPLIES
- Paper
- Scissors
- Thumb, index finger, pencil or something with a straight edge for pressing
- Ribbon or string for hanging
WHAT PAPER IS BEST FOR MAKING ORIGAMI STARS
Skies the limit with your paper choice! We used simple brown kraft packaging paper that I found on Amazon, but here are some other fun ideas:
- scrapbook papers
- sheet music
- gift wrap
- cardstock of all colors
- your own artwork
- construction paper
- newspaper
- Korean Mulberry Paper
HOW TO MAKE A SIMPLE ORIGAMI STAR (VIDEO TUTORIAL)
Watch this quick video to get an overview of how they come together! Even fold along with us and pause the video when needed. Photo tutorial below!
Learn how to easily fold a 5 point paper origami star with step by step instructions and a video tutorial. They make adorable Christmas ornaments, decor or gift toppers!
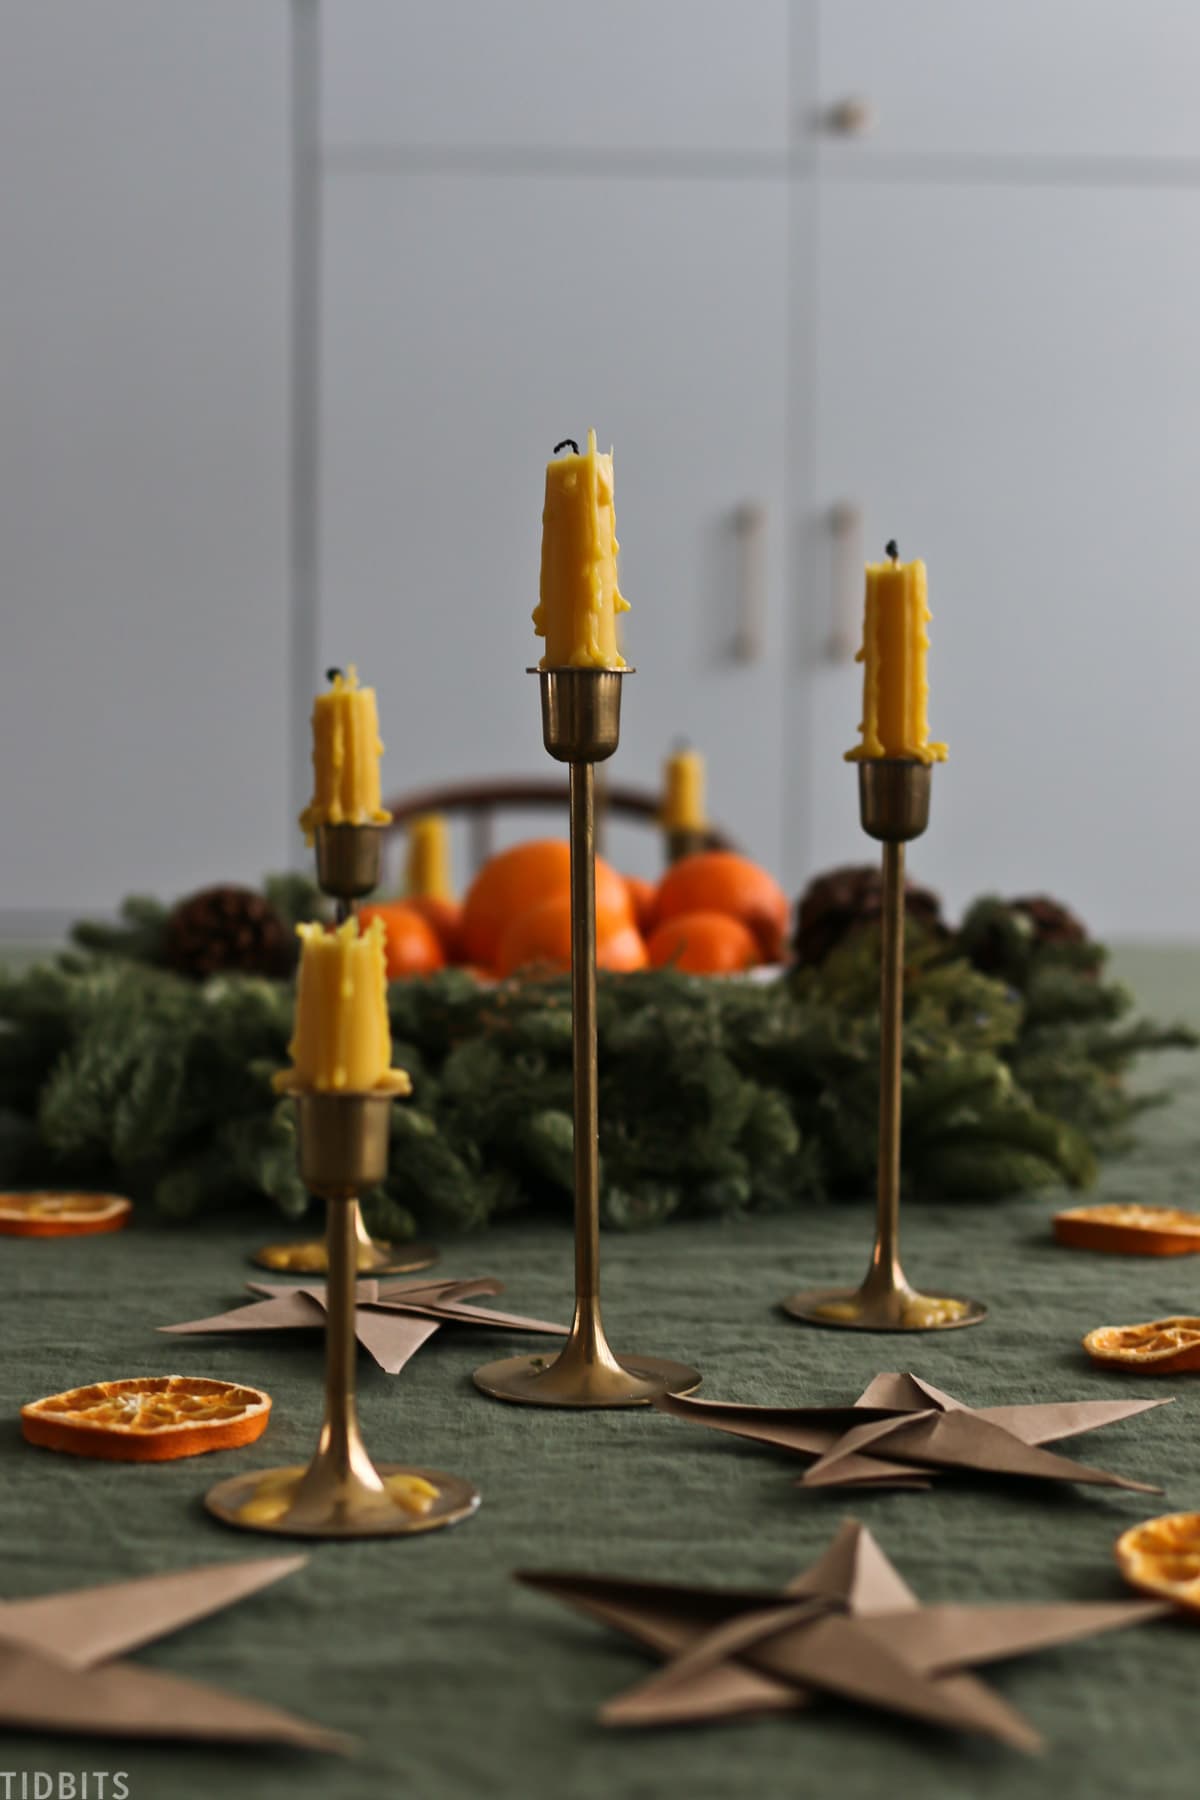
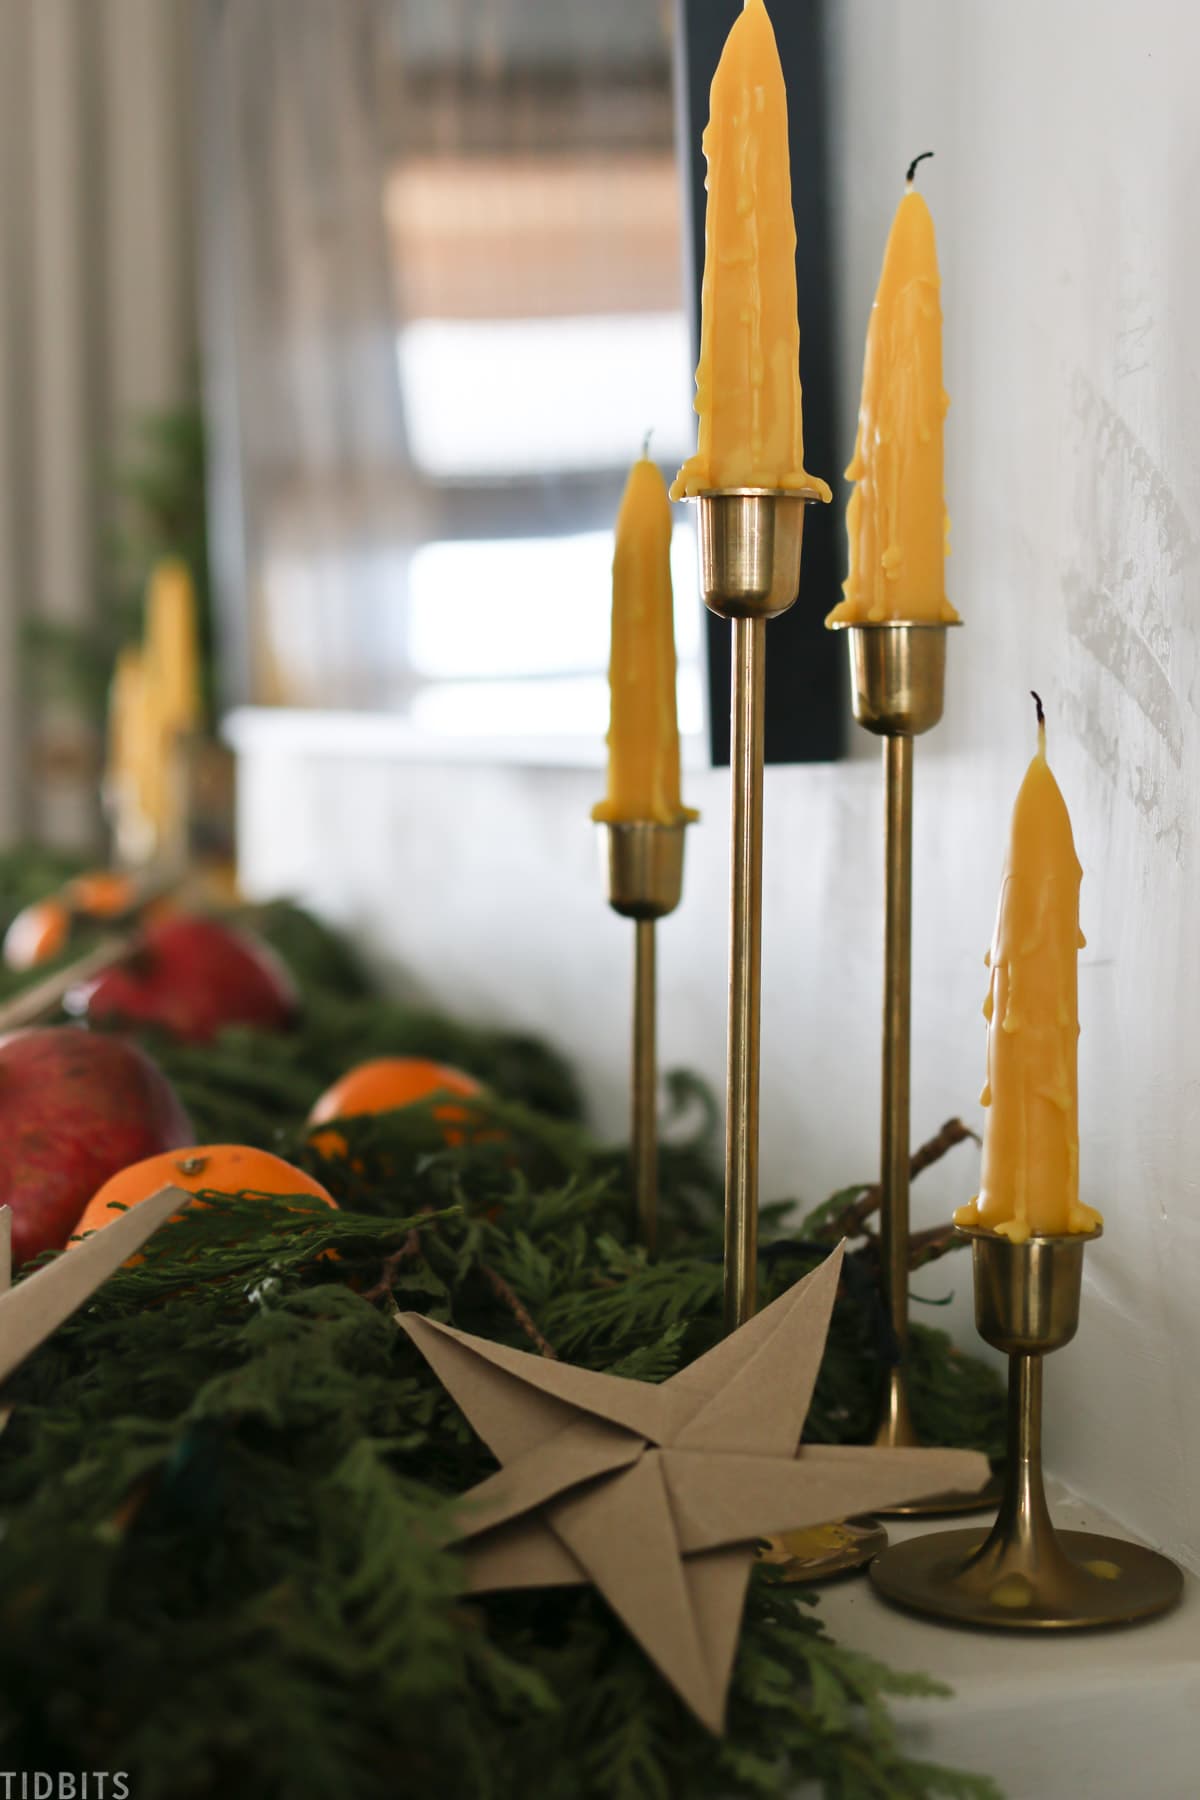
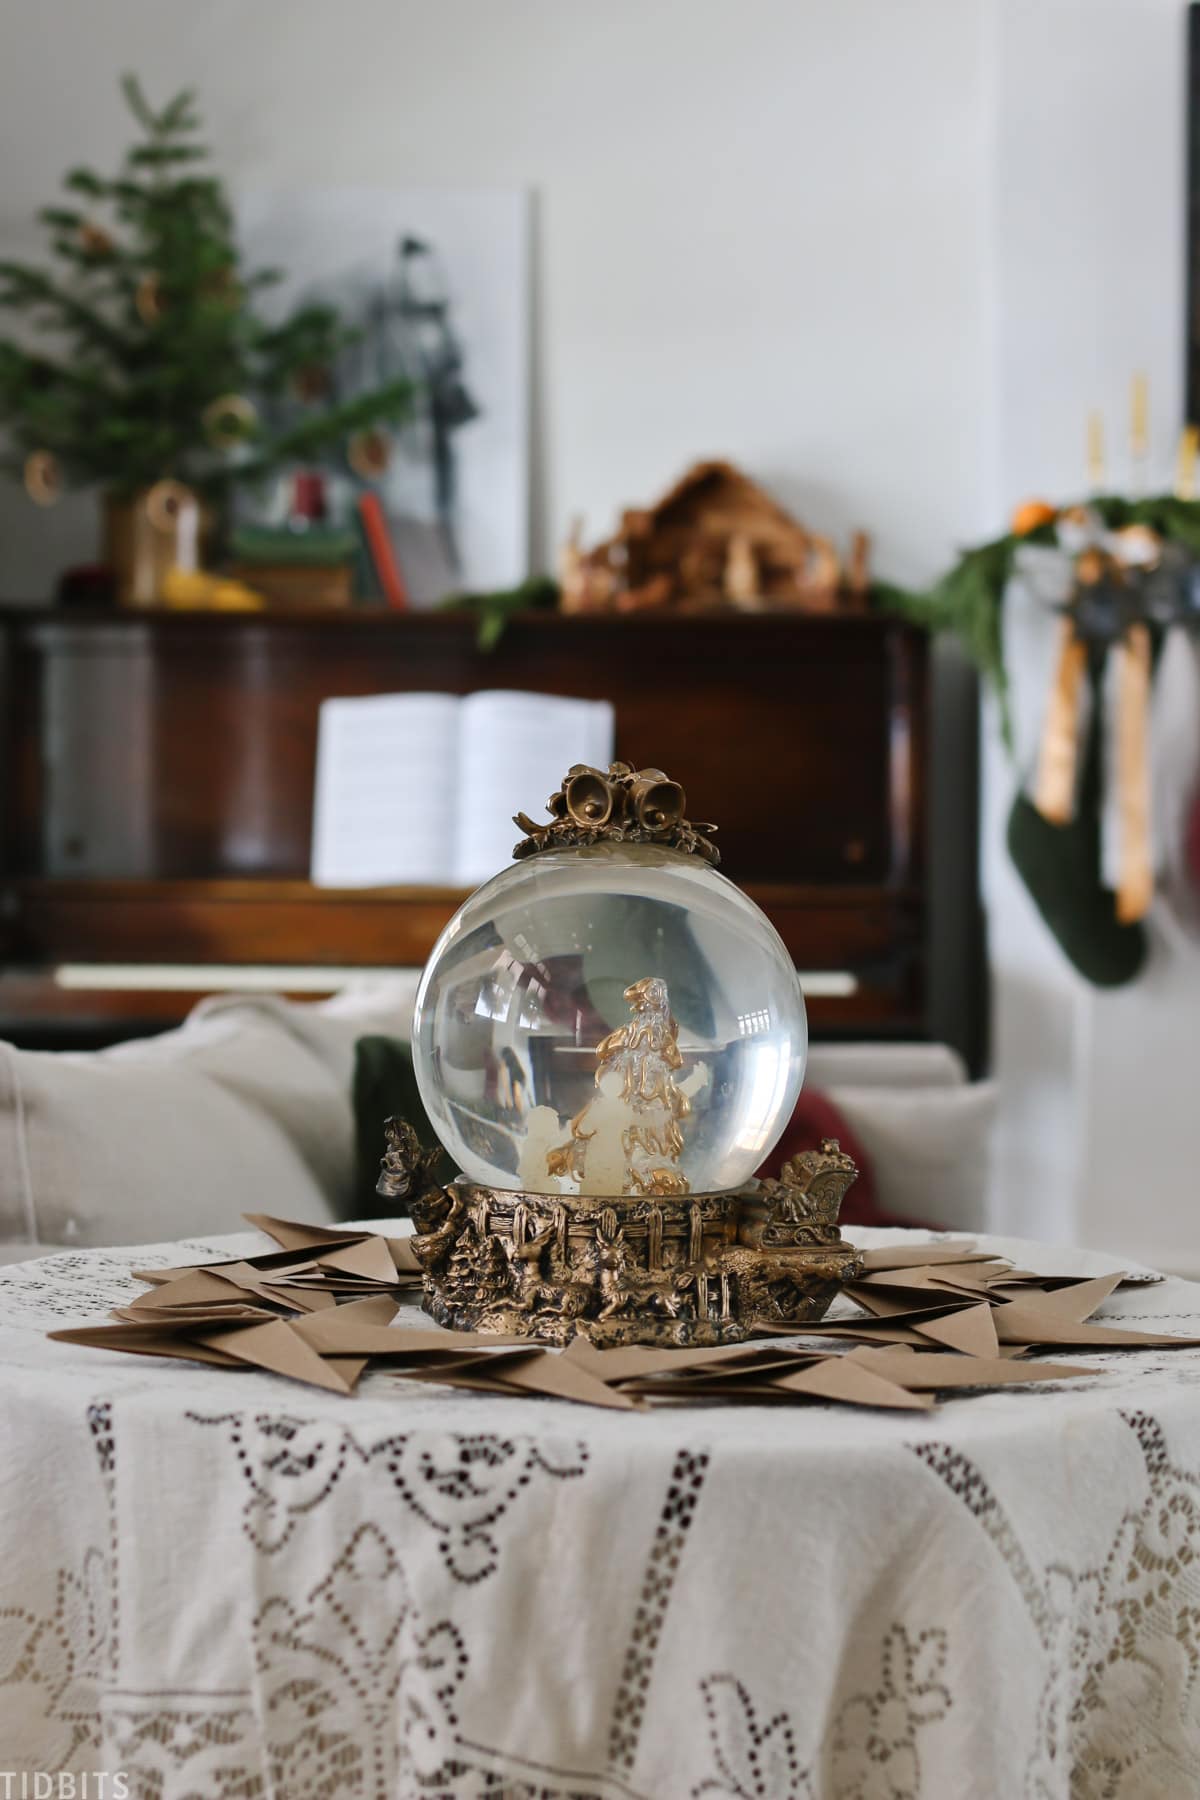
IDEAS FOR DECORATING FOR CHRISTMAS WITH PAPER ORIGAMI STARS
If you are like me and want to use these stars in your home for the holidays, here are some fun ideas for how to display them.
- sprinkled on the mantel
- tucked into vignettes
- part of a tablescape
- hung on the Christmas tree
- party decorations
- garland
- and more!

You can make your paper any size, depending on if you want little paper stars or big ones.
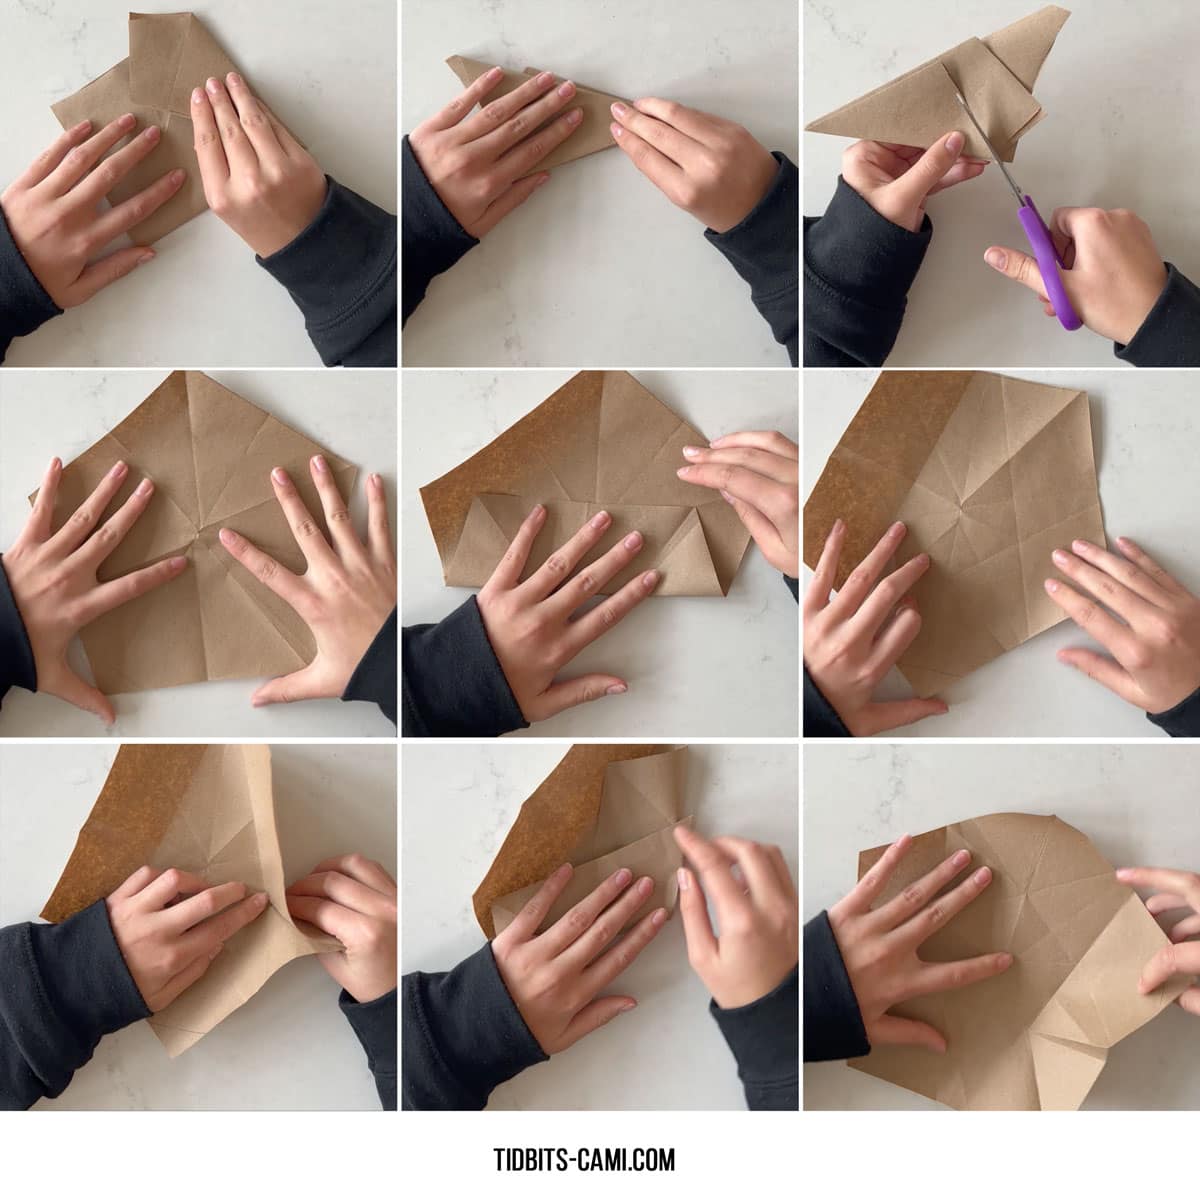
STEP BY STEP PHOTO GUIDE TO MAKING A 5 POINT ORIGAMI STAR
While it is a bit difficult to explain every fold, hopefully these step-by-step photos will guide you, as well as seeing it in the video.
The basic ideas is to start off with a perfect square paper, and then fold it to make a perfect pentagon shape.

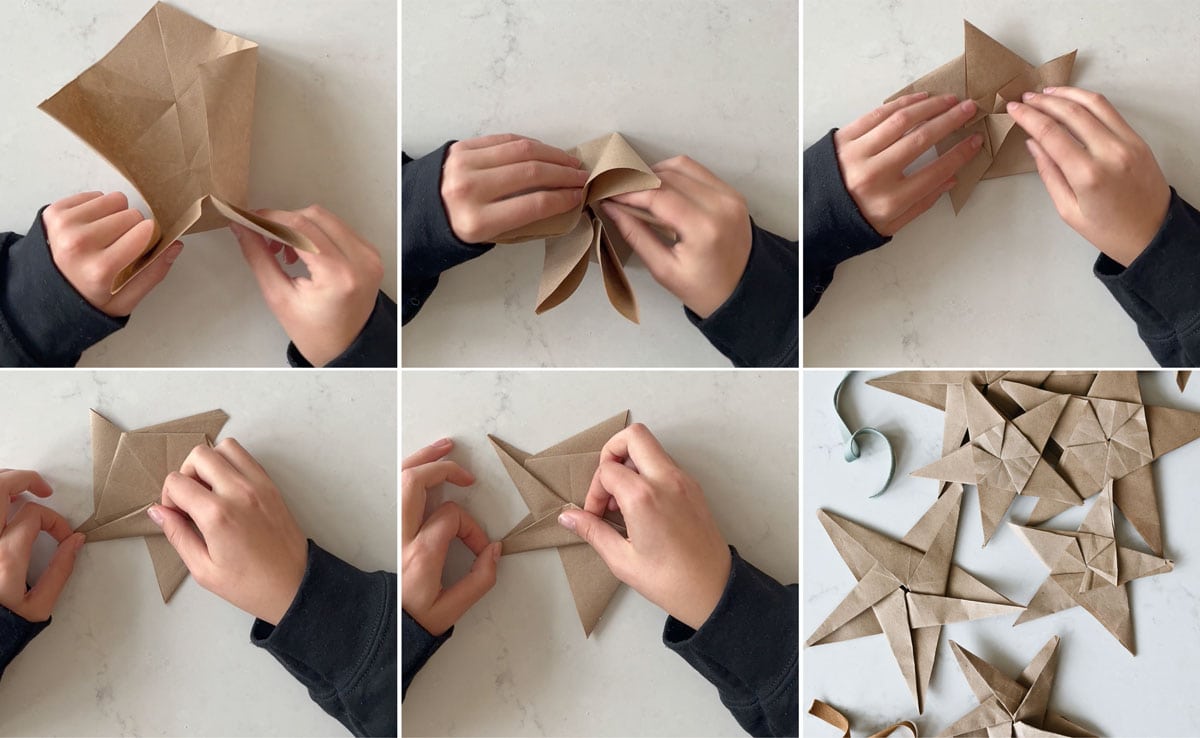
These next steps walk you through how to fold the sides of the pentagon to make the right creases in the paper, and pinch the corners into the center of the pentagon.
With all those folds in place, the star gathers up together nicely and you are able to press each star point into the center. Definitely watch the video for more clarification!
HOW TO HANG PAPER ORIGAMI STARS TO MAKE AN ORNAMENT
If you want to hang your star, you have a couple of options.
- Option 1: Hot glue a piece of ribbon or string to the back of the star
- Option 2: With a hole punch, make a small hole at a top point of the star and hang with a tree hanger, ribbon, thread or string.
How did you do?! I’d love to see your stars! Share on Instagram and tag me @camitidbits so I can take a look and share with others.
MORE CHRISTMAS CRAFTS TO MAKE AT HOME
You may enjoy more ideas of really simple Holiday crafts. Here are some of my favorites! I would love to have you pin this post and save it for later!


Discover more TIDBITS
Love this article? Make sure to connect with me on your favorite social platform below, and leave a comment so we can chat!