This post may contain affiliate links, which means I get a small percentage of the sale at no extra cost to you. I only recommend items I love and have had a positive experience with. Thank you!
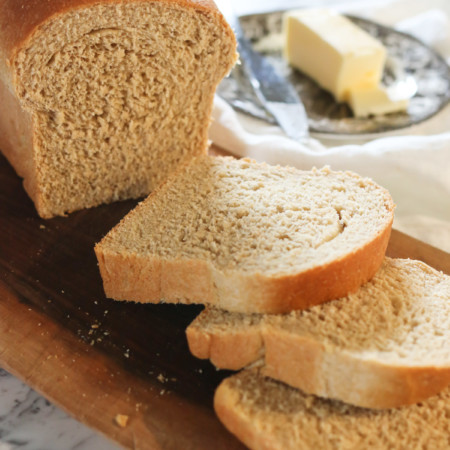
A light and fluffy, melt-in-your-mouth honey whole wheat bread recipe. Healthy, delicious and easy to make. If you don’t think you like 100% whole wheat bread, try this recipe. It’ll change your mind!

Let’s talk about bread! Specifically, let’s talk about a light and fluffy honey whole wheat bread recipe made with 100% whole grains from freshly milled flour. The good stuff that disappears in a flash. The kind that your kids fight over and can’t get enough of. Bread that’s so good it turns whole wheat bread haters into whole wheat bread lovers.
That’s what this amazing whole wheat bread recipe is for me. It’s my go-to, never fail, family favorite bread! After years of tweaking, I think I’ve gotten this recipe right where I want it. As my husband has said – “this bread belongs in every home“. So let’s make it for yours!

Table of contents

What Makes this My Favorite Whole Wheat Bread Recipe
I bake homemade bread a lot. I love it in all different types and forms (like in whole wheat cinnamon rolls). This particular recipe is one I keep coming back to. It’s:
- Easy to make – if you can make cookies; you can make bread. Trust me!
- Made with super clean, nutritious ingredients.
- Tastes amazing and is a delight to eat.
- Makes the best whole wheat sandwich bread, toast, or snack.
Luckily, this is a 3-loaf recipe. Because we both know that one loaf of homemade honey wheat bread is never enough! However, feel free to cut the recipe in half or even double it, to suit your families needs for “daily bread”.

Honey Whole Wheat Bread Ingredients
Here is what you’ll need to get started:
- 3 cups warm water
- 2/3 cup olive oil or melted coconut oil
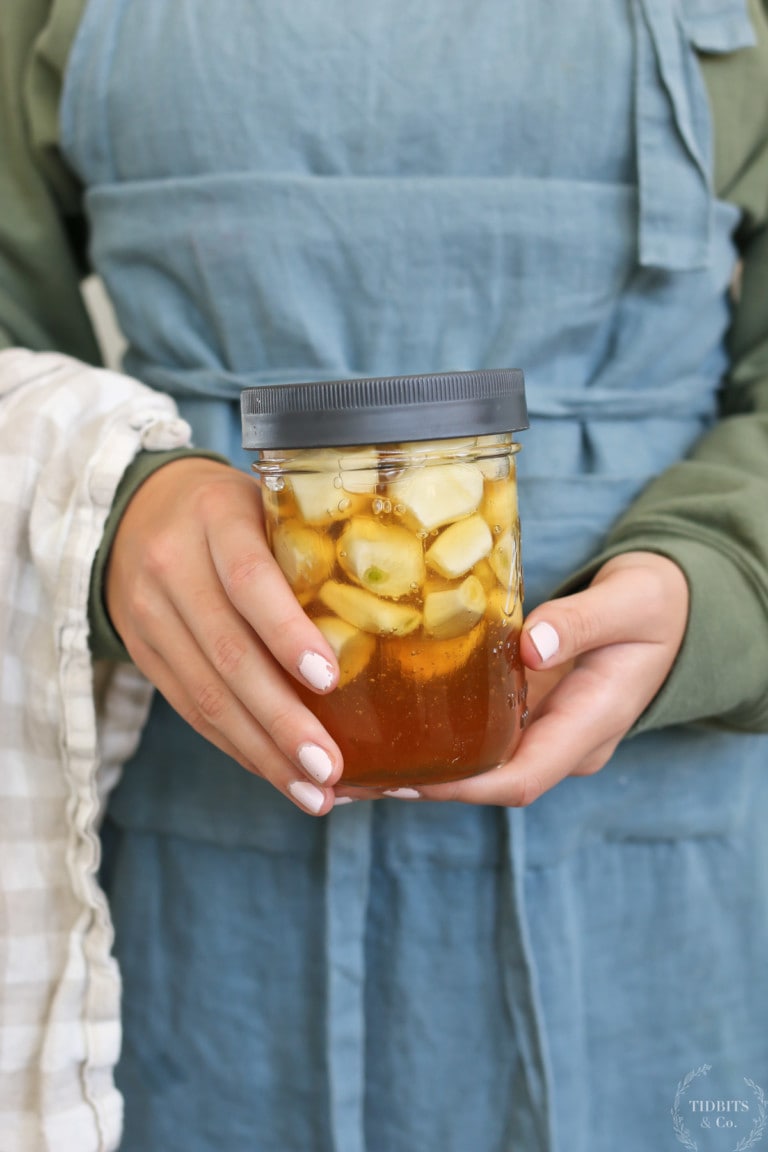
- 1/2 cup honey (raw preferably)
- 2 eggs
- 4 teaspoons salt
- 1/4 cup Sunflower Lecithin
- 2 Tablespoons active dry yeast or instant yeast
- 11-12 cups (1100-1200 grams) of freshly milled hard white or hard red wheat flour (I prefer organic hard white for this recipe)

Note: I have noticed using 11 cups (1100 grams) of flour yields a stickier dough and it is harder to work with, but the bread is lighter and fluffier. Using closer to 12 cups (1200 grams) of flour yields a bread dough that is easier to work with and is slightly heavier when cooked.
The 12 cups make a better sandwich bread loaf because it holds its shape better, but the 11 cups are so light and fluffy, and just melts in your mouth when straight out of the oven.

Both are delicious, so play around with what you like best. The humidity of your home can also mean you need to make adjustments.
How to Make It
Yeast Option Instructions
If using active dry yeast (not instant), start by pouring the warm water in your bowl or mixer (with dough hook), and add the yeast to the water. The water should be about baby bath temperature. Stir slightly and let sit for 10 minutes to activate. If you are using instant yeast, you can add it at the same time you are adding the flour.

The rest of the instructions are the same regardless of what yeast you use.
Mixing the Dough
Add to the water and yeast mixture the olive oil, honey, eggs, salt and sunflower lecithin. Mix these ingredients together until well incorporated.

While your mixer is running at low speed, add the flour a cup at a time. Depending on your humidity, you may need a little more or less of the flour. Continue adding in the flour until the dough starts to pull from the edges. This dough cooks up best (more moist) if left a little tacky. If using your hands, you may need to flour or oil them to work with the dough.
Knead/mix the dough for at least 6-8 minutes to help the gluten structures form and get stretchy.
First Rise
Oil a large bowl, add your dough to the bowl, and cover. Let the dough rise until doubled. This usually takes about an hour, but you can speed it up by placing it inside an oven with the light on or in a warm place.


Shaping Your Bread
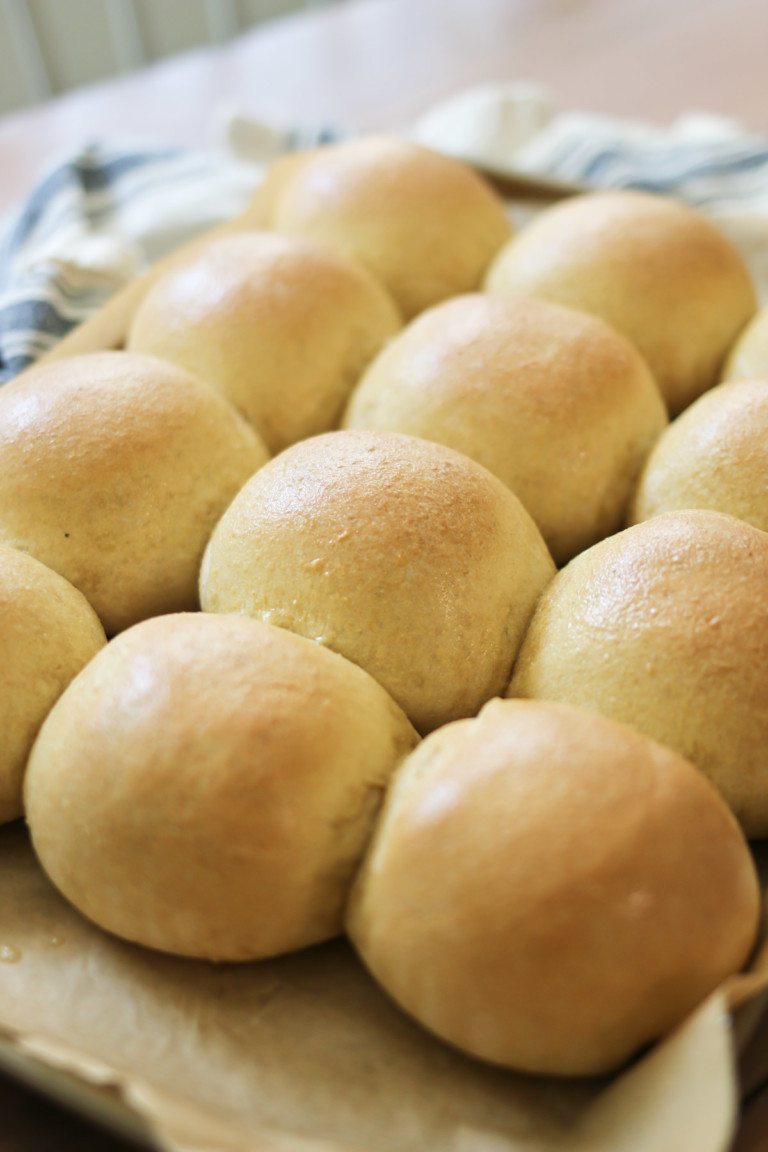
Once doubled, dump your raised dough onto a lightly floured or oiled surface. Divide the dough into 3 balls if using 8×4 loaf pans, or 2 balls if using 9×5 loaf pans.


To shape your loaf, press the dough into a rough rectangle shape, about the length of your bread pans. Beginning at one of the short ends, roll the edge into the center and press with your fingers to close the seam. Continue until you have formed a log shape, and fold in both ends.

Second Rise
Place the shaped loaves into a well-oiled bread pan, cover with oiled plastic wrap or a tea towel and let rise. You’ll want this rise to bring the dough an inch or 2 above the lip of the bread pan. Don’t let it go too long, or it will begin to collapse and spill over. This rise usually takes about 45 minutes, shorter if your home is really warm.


Baking Instructions
When ready to bake, preheat your oven to 350 degrees farenheight. Bake in the oven for 25 minutes.
When time is up, remove from the oven and let sit for 20 or so minutes to cool. Then, remove the loaves of bread from the bread pans and transfer to a cooling rack to cool completely before slicing into the bread. You can eat a slice immediately, but it often leaves a gummy slice if not left to cool completely. However, nothing beats warm 100% whole wheat bread straight from the oven!

Feel free to rub some butter across the top of the loaf for a nice golden-brown color.
Storing Honey Whole Wheat Bread
Store in an airtight bag for up to a week on the counter (if you don’t eat it before that!). You can also slice the bread and store in the freezer for 2-3 months.
Printable Honey Whole Wheat Bread Recipe Card
Honey Whole Wheat Bread
Ingredients
- 3 cups warm water
- 2/3 cup olive oil or melted coconut oil
- 1/2 cup honey
- 2 eggs
- 4 teaspoons salt
- 1/4 cup Sunflower Lecithin
- 2 Tablespoons active dry yeast or instant yeast
- 11-12 cups (1100-1200 grams) of freshly milled hard white or hard red wheat flour (I prefer organic hard white for this recipe)
Instructions
Yeast Option Instructions
- If using active dry yeast (not instant), start by pouring the warm water in your bowl or mixer (with dough hook), and add the yeast to the water. Stir slightly and let sit for 10 minutes to activate. If you are using instant yeast, you can add it at the same time you are adding the flour. The rest of the instructions are the same regardless of what yeast you use.
Mixing the Dough
- Add to the water and yeast mixture the olive oil, honey, eggs, salt and sunflower lecithin. Mix these ingredients together until well incorporated.
- While your mixer is running at low speed, add the flour a cup at a time. Depending on your humidity, you may need a little more or less of the flour. Continue adding in the flour until the dough starts to pull from the edges. This dough cooks up best (more moist) if left a little tacky. If using your hands, you may need to flour or oil them to work with the dough.
- Knead/mix the dough for at least 6-8 minutes to help the gluten structures form and get stretchy.
First Rise
- Oil a large bowl, add your dough to the bowl, and cover. Let the dough rise until doubled. This usually takes about an hour, but you can speed it up by placing it inside an oven with the light on or in a warm place.
Shaping Your Bread
- Once doubled, dump your raised dough onto a floured surface. Divide the dough into 3 balls if using 8×4 loaf pans, or 2 balls if using 9×5 loaf pans.
- To shape your loaf, press the dough into a rectangle, about the length of your bread pans. Beginning at one of the short ends, roll the edge into the center and press with your fingers to close the seam. Continue until you have formed a log shape, and fold in both ends.
Second Rise
- Place the shaped loaves into a well-oiled bread pan, cover with oiled plastic wrap or a tea towel and let rise. You'll want this rise to bring the dough an inch or 2 above the lip of the bread pan. Don't let it go too long, or it will begin to collapse and spill over. This rise usually takes about 45 minutes.
Baking Instructions
- When ready to bake, preheat your oven to 350 degrees farenheight. Bake in the oven for 25 minutes.
- When time is up, remove from the oven and let sit for 20 or so minutes to cool. Then, remove the loaves of bread from the bread pans and transfer to a cooling rack to cool completely before slicing into the bread. (You can eat a slice immediately, but it often leaves a gummy slice if not left to cool completely.)
- Feel free to rub some butter across the top of the loaf for a nice golden-brown color.
Storing Your Bread
- Store in an airtight bag for up to a week on the counter (if you don't eat it before that!). You can also slice the bread and store in the freezer for 2-3 months. Enjoy!
Notes
Tips for the Best Whole Wheat Bread Loaf
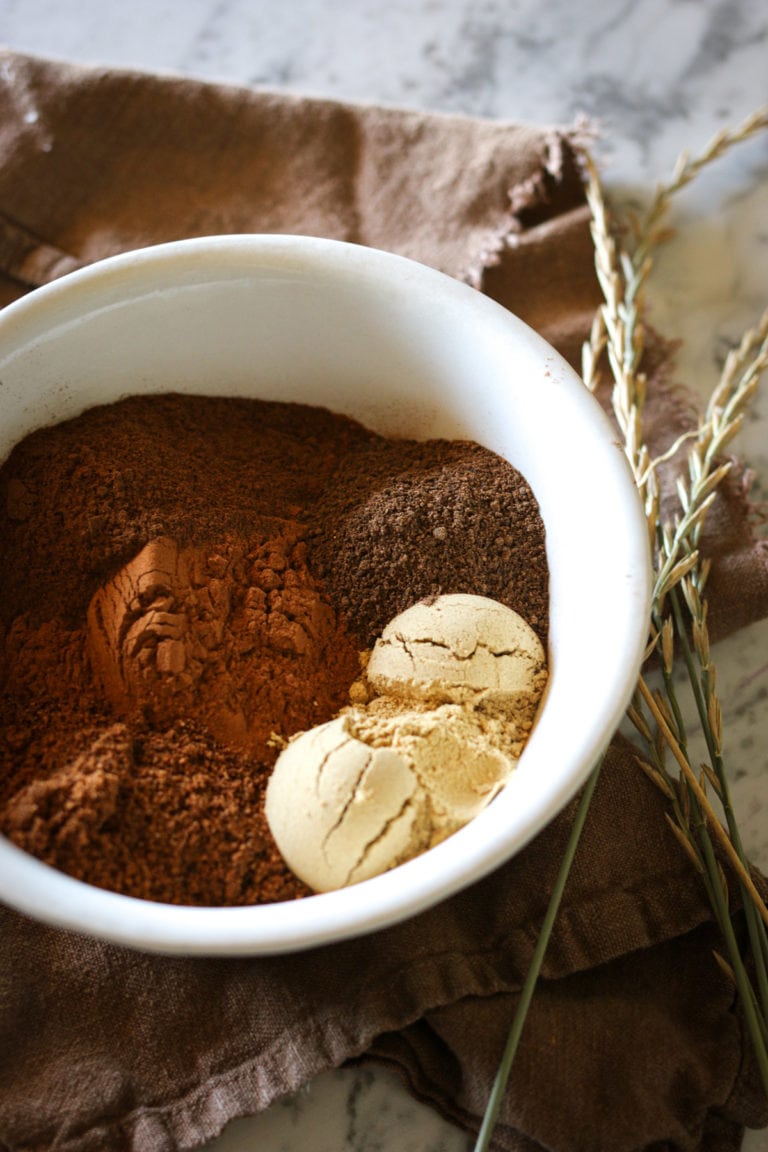
The Benefits of Freshly Milled Whole Wheat Flour
This incredible bread features freshly milled wheat flour. Milling or grinding your own flour from wheat berries might sound intimidating, but it’s really not. It only takes a few minutes, and the benefits are well worth the time. Freshly milled whole grain flour is:
- Nutrient Dense – Freshly milled whole grains contain protein, fiber, vitamin E, complex carbohydrates, B vitamins, healthy fats, antioxidants and minerals like iron, magnesium and zinc. Many of these essential nutrients are stripped from white flour, and only some are added synthetically. “Real bread” is bread made with freshly milled flour, and is so incredibly healthy!
- Free from Preservatives – You can rest assured you’re not getting added preservative chemicals or oils when you mill or grind your own flour.
- Great for Digestion – Freshly milled flour contains all parts of the wheat kernel, unlike processed flours that remove the fiber-rich bran and germ. That means you get a bread flour that is packed with fiber to keep your gut healthy and happy.
- Heart Healthy – Antioxidants and fiber can help lower cholesterol for a healthy heart.
- Blood Sugar Control – With a lower glycemic index than refined flour, freshly milled whole grain flour is a great option for anyone trying to watch their sugar intake.
- Amazing Flavor – Freshly milled flours, like the one used in this whole grain sourdough bread, just tastes better. Slightly nutty and fresh as can be. Much better than the store-bought version!


Another great reason to mill your own flour is that it has the most nutrients right after milling. Up to 40% of E and B vitamins are lost to oxidation in the first 24 hours after milling. By the time you’ve hit 2-6 weeks, it is a 60-80% loss.
Of course, you can still make this honey whole wheat bread recipe with whole wheat flour from the grocery store, it just won’t have some of those extra perks that you get from freshly milled flour, as you have no knowledge on how long it has been on the shelf.
If you only mill flour occasionally, this wooden grain mill is a great choice. For more frequent use, I love this bulk grain mill – it works like a charm and can mill 12 cups of flour effortlessly!

What is Sunflower Lecithin?
This recipe uses sunflower lecithin, which is a natural emulsifier extracted from sunflower seeds. It helps blend fats and water for better texture in your baked goods. Sunflower Lecithin is also good at supporting digestion, brain function and balancing cholesterol levels, so it’s a nice nutritional supplement as well.
If you’ve never used it in a bread recipe, I would really recommend that you give it a try!

Is Honey Better than Sugar for Bread Making?
Raw honey is my sweetener of choice for this whole wheat bread recipe. I love that it is unprocessed and contains more nutrients and minerals than granulated sugar. It also adds lovely flavor to this delicious wheat bread and helps it stay fresh longer.
Where to Buy Bread Making Supplies
If you need any ingredients, supplies or equipment for baking bread, I’ve got you covered. Head over to my Bread Making Supplies Moonsift Board. You’ll find all of my favorites in one stop. Check it out for links and product details!
More Must-Try Recipes
I hope you’ll love this honey wheat bread recipe as much as I do. It’s a keeper, for sure! If you try it, I’d love to know what you think of it. Let me know in the comments!

For more fantastic recipes try:


Hi, Cami! Did you use 1/4 cup of Powdered or Liquid Sunflower Lecithin? Does the measurement change if you use one or the other – or does it remain the same for powdered and liquid? Thanks so much! Julie