This post may contain affiliate links, which means I get a small percentage of the sale at no extra cost to you. I only recommend items I love and have had a positive experience with. Thank you!
Looking for the easiest and most nutritious sourdough bread to make? Try this 100% whole grain einkorn sourdough bread recipe!

If you think whole grain sourdough bread is amazing (and I do!), try making a whole grain sourdough loaf with einkorn flour. It’s even simpler, even more nutritious and even more delicious. It’s incredible – my favorite bread to make and eat!
I just love the nutty, buttery taste of golden einkorn, and if you can reframe what you think bread has to look like, you open yourself up to so many possibilities with einkorn. Yes, this loaf will be more dense and heavy, but that is what makes it so very delicious! This bread is maybe not the best for a sandwich, but as a toast it is heavenly.

Einkorn is an ancient, unmodified form of wheat that behaves a little differently than typical wheat. Because of einkorn’s delicate gluten structure, this is a no-knead, no-stretch and fold recipe. Just mix the simple and pure ingredients together, and let the sourdough work its magic.
This bread gives me so much energy! Where white flour will make us sick, we can eat this with reckless abandon and feel amazing. Ditch the coffee or caffeinated beverages for an energy boost and have a slice of this clean energy instead.
Watch the Video
More ways to watch
See Me Make this Bread on YouTube!

Table of contents
- Watch the Video
- See Me Make this Bread on YouTube !
- All About Einkorn
- Differences When Baking with Einkorn
- Benefits of Sourdough
- Benefits of Organic Freshly Milled Grains
- Printable Einkorn Sourdough Bread Recipe Card
- Where to Buy Sour Dough Bread Ingredients and Supplies
- Ingredients
- Instructions for Making Sourdough Einkorn Bread
- Tips
- FAQ’s
- More Amazing Recipes

All About Einkorn
As I mentioned, einkorn flour is an ancient grain flour made from einkorn wheat. This stuff goes way back, many thousands of years. Einkorn wheat has not been hybridized like modern wheat varieties, and because of this it is packed full of nutrients in their natural form – just the way nature intended it to be.
Differences When Baking with Einkorn
I absolutely love whole grain einkorn flour. The taste is my absolute favorite! However, it is a bit different from traditional wheat flour. If you’re not used to it, there are a few things you might want to keep in mind for best sour dough bread results:
- Einkorn has delicate gluten. This means that it needs to be handled with care. No kneading required, just gentle folding. Don’t overwork it.
- Einkorn flour absorbs water slowly and needs less of it than traditional flour. Too much hydration can lead to extra stickiness.
- Compared to other sourdough breads, einkorn sourdough will ferment and proof more quickly.
- You’ll find einkorn bread to have a more compact crumb structure and less rise than traditional sour dough. Don’t worry though, it still tastes amazing and it’s incredibly filling!

Benefits of Sourdough
Sour dough bread is made from what is called “fermented dough”. That just means that we use a natural form of yeast to help the dough rise and develop flavor and texture.
Traditional whole wheat bread will use dry baker’s yeast for this process, but for sourdough bread we use a sourdough starter made of wild yeasts and lactic bacteria. Sounds fancy, but it’s really just a simple mixture of water and flour that have been allowed to ferment into a bubbly, live mixture.

The fermentation process for sour dough bread requires more time to rise or proof, but it rewards you with fantastic results:
- Better Flavor – Fermentation puts the “sour” in your dough, literally. It adds a nice tangy kick that you don’t get with regular bread. So good!
- Longer Shelf Life – Compared to regular yeast bread, bread made from fermented dough contains natural acids that naturally preserve the bread.
- Better Texture – The fermentation process allows the gluten to develop into a chewy, airy, dough with great crust and crumb texture after baking.
- Easy to Digest – Complex starches and gluten get broken down during fermentation, making it easier to digest. Great for those with gluten sensitivities!
Benefits of Organic Freshly Milled Grains
Sourdough + Freshly Milled Organic Einkorn = the best of the best! By combining einkorn wheat with sourdough bread methods, you get the most easily digestible and nutritious loaf you can make in this world.

Amazing Flavor – Freshly milled flours, like the one used in this whole grain sourdough bread, just taste better. Slightly nutty and fresh as can be. Much better than the store-bought version!
Nutrient Dense – Freshly milled whole grains contain protein, fiber, vitamin E, complex carbohydrates, B vitamins, healthy fats, antioxidants and minerals like iron, magnesium and zinc.
Free from Preservatives – You can rest assured you’re not getting added preservative chemicals or oils when you mill or grind your own flour.
Great for Digestion – Freshly milled flour contains all parts of the wheat kernel, unlike processed flours that remove the fiber-rich bran and germ. That means you get a bread flour that is packed with fiber to keep your gut healthy and happy.

Heart Healthy – Antioxidants and fiber can help lower cholesterol for a healthy heart.
Blood Sugar Control – With a lower glycemic index than refined flour, freshly milled whole grain flour is a great option for anyone trying to watch their sugar intake.
Printable Einkorn Sourdough Bread Recipe Card

100% Whole Grain Einkorn Sourdough Bread
Ingredients
- 720 grams whole grain einkorn
- 15 grams salt
- 220 grams active sourdough starter
- 465 grams lukewarm, non-chlorinated water
Instructions
Activate Your Starter
- Make sure your sourdough has been fed and is active, preferably at its peak rise point. I like to do this early in the morning, about 6:00-7:00 a.m. This way it is active and ready for me to mix the dough in the early afternoon.
Making the Dough
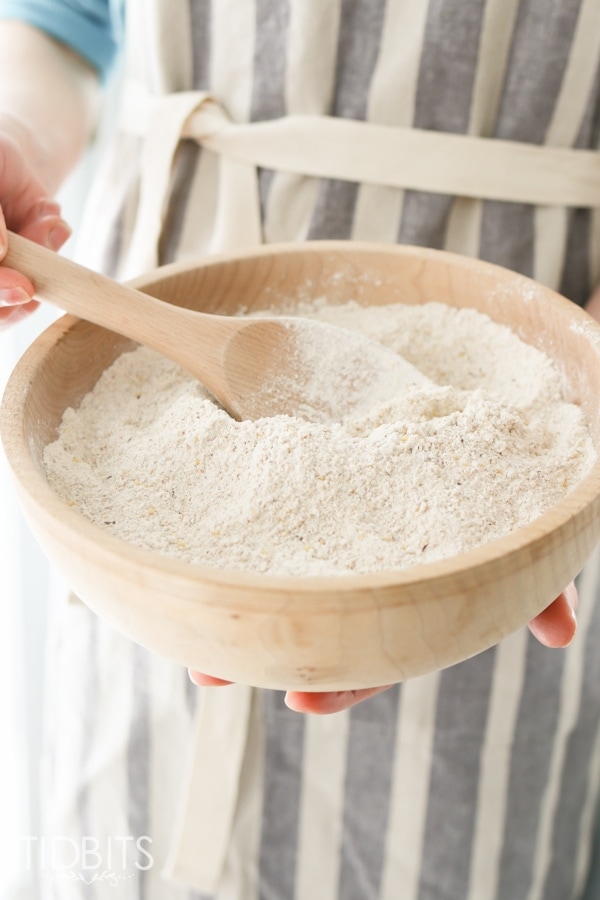
- In a large mixing bowl, add all your ingredients and mix them until just combined. It's best to use a dough whisk rather than a mixer, so you can be gentle with the delicate gluten structure of the einkorn. This will be a very shaggy, sticky dough at this point.
- Cover and set aside your dough for at least an hour.
Scrape and Fold Dough
- After an hour, use a rubber dough scraper to begin mixing all the ingredients. Begin by scraping the outsides of the bowl and turning/folding them into the center, working around the entire dough a couple of times. It can help to wet your scraper and your hands to prevent a lot of sticking. Watch the video to see how this is done.
- Let it rest for 15 minutes.
- At the end of the 15 minutes, repeat the folding of the dough with the scraper a couple of more times. At this point, the dough should feel well mixed and starting to look a little less shaggy. It will still be a sticky dough, that is best to avoid using your hands to work with. A wet scraper is generally all you need to work it. Let it rest another 15 minutes.
- Scrape and fold the dough into itself one last time, a couple times around. All the flour and ingredients should be moistened and incorporated sufficiently by this point.
First Bulk Fermentation and Proofing
- Cover your bowl tightly with plastic wrap, press n' seal, a wet towel or reusable bowl covers. Set it aside to rise/proof until about double, which can take 6-8 hours. I like to do this either overnight, or to speed up the process, I will put it inside an oven with just the light on. Watch it carefully to avoid any over-proofing.
Shaping the Loaf
- Prepare your proofing basket (banneton basket or bowl lined with a tea towel) by flouring the surface heavily. It helps to rub the flour into the fibers of the cloth.
- Using your dough scraper, scrape the dough out onto a heavily floured surface. Gently stretch the corners of the dough out so you get a square or rectangle shape. Begin folding the corners into the center and continue to fold until you form a boule (round shape).
- If placing inside a rectangular dutch oven, shape it into a rectangle. Again, you don't need to overwork the dough here, just tuck and fold until you get your desired shape. Pull the bottom of the loaf against the surface of the table a few times to seal the bottom of the dough. Pinch it closed if needed.
Final Fermentation and Proofing
- Pick up your dough and turn it upside down into the prepared basket. Cover to make the dough airtight and set inside the fridge for 12-15 hours.
Prepare the Dough for Baking
- About 45 minutes – 1 hour before baking, place your dutch oven with the lid on, inside the oven to preheat at 500 degrees farheinheight.
- Turn your dough out onto a piece of parchment paper and gently tuck any stray edges under the boule. Working as quickly as possible, take out your dutch oven, score the dough with at least one deep score, and place dough inside the dutch oven by lifting up with the parchment paper. Add a couple of ice cubes under the parchment paper to create some steam to help it rise.
- The dough may collapse while preparing and scoring. If this bothers you, I recommend getting a rectangular dutch oven and banneton basket, which will help it rise up more. Without a strong gluten structure, this is likely to happen a little, but it still yields a beautiful, rustic loaf of bread.
Baking Your Sourdough Bread
- Bake in the oven at 500 degrees for 25 minutes, with the lid on.
- Remove the lid, lower the temperature to 425 degrees, and bake for 15 minutes with the lid off.
- When bake time is finished, remove the bread from the dutch oven and let cool completely on a wire rack before slicing into it. I know, this is the hardest part! If you cut in too soon, it will be gummy. It is actually completing its cook time in this cool down phase.
Storage
- Store sourdough bread in beeswax lined bags, or bread storage bags for up to a week on the counter. You can also slice it and freeze to preserve the bread longer. The great thing about sourdough is that it lasts much longer than store bought bread!
Where to Buy Sour Dough Bread Ingredients and Supplies
To make your bread making simple, I’ve grouped these ingredients, plus my favorite equipment and supplies together over on my Moonsift bread making supplies page. Check it out for links and full details!
Ingredients
720 grams whole grain einkorn
15 grams salt
220 grams active sourdough starter
465 grams lukewarm, non-chlorinated water
Instructions for Making Sourdough Einkorn Bread

Activate Your Starter
Make sure your sourdough has been fed and is active, preferably at its peak rise point. I like to do this early in the morning, about 6:00-7:00 a.m. This way it is active and ready for me to mix the dough in the early afternoon.
Making the Dough
In a large mixing bowl, add all your ingredients and mix them until just combined. It’s best to use a danish dough whisk rather than a mixer, so you can be gentle with the delicate gluten structure of the einkorn. This will be a very shaggy, sticky dough at this point.
Cover and set aside your dough for at least an hour.


Scrape and Fold Dough
After an hour, use a rubber dough scraper to begin mixing all the ingredients. Begin by scraping the outsides of the bowl and turning/folding them into the center, working around the entire dough a couple of times. It can help to wet your scraper and your hands to prevent a lot of sticking. Watch the video to see how this is done.

Let the dough rest for 15 minutes.
At the end of the 15 minutes, repeat the folding of the dough with the scraper a couple of more times. At this point, the dough should feel well mixed and starting to look a little less shaggy. It will still be a sticky dough, that is best to avoid using your hands to work with. A wet scraper is generally all you need to work it. Let it rest another 15 minutes.
Scrape and fold the dough into itself one last time, a couple times around. All the flour and ingredients should be moistened and incorporated sufficiently by this point.
First Bulk Fermentation and Proofing
Cover your bowl tightly with plastic wrap, press n’ seal, a wet towel or reusable bowl covers. Set it aside to rise/proof until about double, which can take 6-8 hours. I like to do this either overnight, or to speed up the process, I will put it inside an oven with just the light on. Watch it carefully to avoid any over-proofing.
Shaping the Loaf
Prepare your proofing basket (banneton basket or bowl lined with a tea towel) by flouring the surface heavily. It helps to rub the flour into the fibers of the cloth.
Using your dough scraper, scrape the dough out onto a heavily floured surface. Gently stretch the corners of the dough out so you get a square or rectangle shape. Begin folding the corners into the center and continue to fold until you form a boule (round shape).


If placing inside a rectangular dutch oven, shape it into a rectangle. Again, you don’t need to overwork the dough here, just tuck and fold until you get your desired shape. Pull the bottom of the loaf against the surface of the table a few times to seal the bottom of the dough. Pinch it closed if needed.

Final Fermentation and Proofing
Pick up your dough and turn it upside down into the prepared basket. Cover to make the dough airtight and set inside the fridge for 12-15 hours.
Prepare the Dough for Baking
About 45 minutes – 1 hour before baking, place your dutch oven with the lid on, inside the oven to preheat at 500 degrees farheinheight.
Turn your dough out onto a piece of parchment paper and gently tuck any stray edges under the boule. Working as quickly as possible, take out your dutch oven, score the dough with at least one deep score, and place dough inside the dutch oven by lifting up with the parchment paper. Add a couple of ice cubes under the parchment paper to create some steam to help it rise.


The dough may collapse while preparing and scoring. If this bothers you, I recommend getting a rectangular dutch oven and banneton basket, which will help it rise up more. Without a strong gluten structure, this is likely to happen a little, but it still yields a beautiful, rustic loaf of bread.
Baking Your Sourdough Bread
Bake in the oven at 500 degrees for 25 minutes, with the lid on.
Remove the lid, lower the temperature to 425 degrees, and bake for 15 minutes with the lid off.
When bake time is finished, remove the bread from the dutch oven and let cool completely on a wire rack before slicing into it. I know, this is the hardest part! If you cut in too soon, it will be gummy. It is actually completing its cook time in this cool down phase.

Storing Your Sourdough Bread
Store sourdough bread in beeswax lined bags, or bread storage bags for up to a week on the counter. You can also slice it and freeze to preserve the bread longer. The great thing about sourdough is that it lasts much longer than store bought bread!
Tips
- You can blend einkorn flour with regular bread flour for a fluffier loaf. Think something along the lines of 75% einkorn flour and 25% bread flour. This can be fun to experiment with, but keep in mind that the other ingredients may need changing as well. I find it best to find a recipe online, and use this one for 100% whole grain loafs.
- Let flour sit for about 5 minutes after mixing to allow it to absorb moisture before adjusting.
- Add flour little by little. Try flouring your hands as you work the dough, rather than adding a bunch to the dough itself.
- Weigh, rather than measure your ingredients for the most accurate and consistent results.

FAQ’s
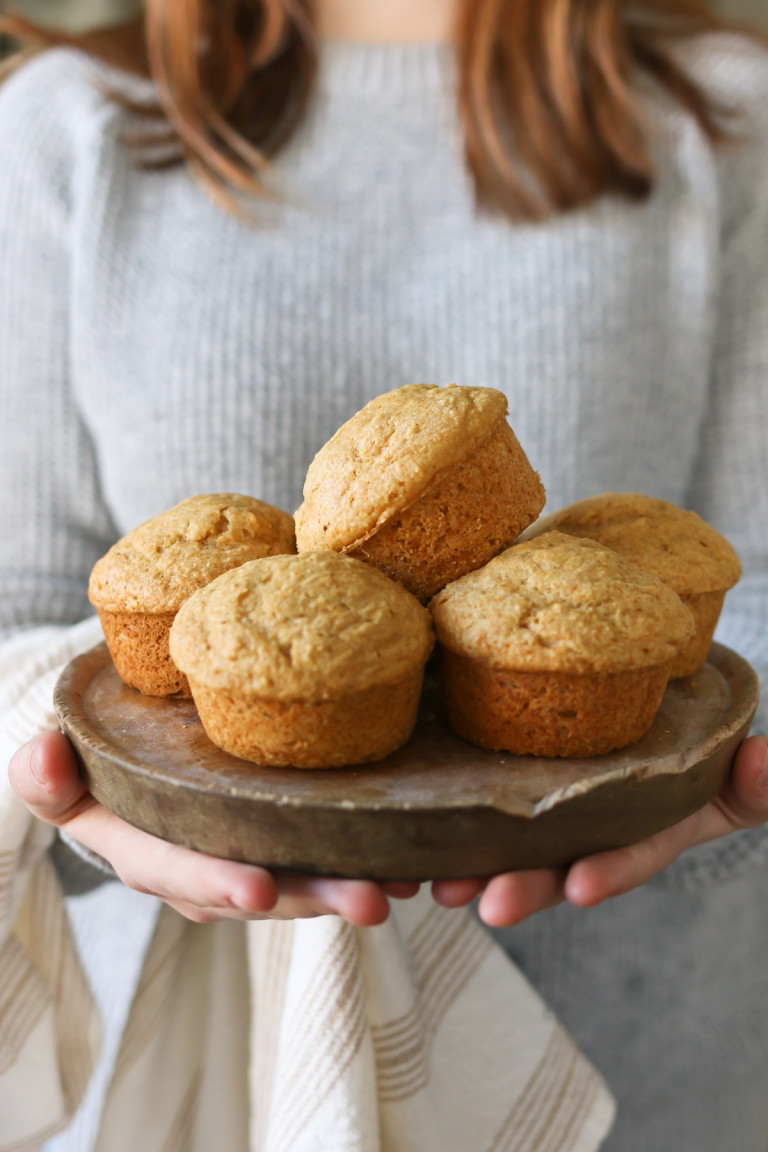
Yes! Einkorn flour isn’t just for bread. Try it in cookies, pancakes, muffins, pasta and more!
Einkorn wheat is a carbohydrate but has a lower glycemic index than refined white flour or regular whole wheat flour and is therefore better for controlling blood sugar. Choose 100% whole grain einkorn flour for the most health benefits.
Due to its delicate gluten structure, einkorn bread won’t rise as much as bread made with traditional flour. It has a sweet, nutty flavor with a hearty structure. I love it! If you want to achieve more of an upward rise, try baking your bread in a rectangular dutch oven to force it into a taller shape.

More Amazing Recipes
Now, if you’ll excuse me, I need to go eat some whole wheat einkorn sourdough bread. So much yum and good for you too!
Try this simplified recipe for yourself and let me know what you think!
If you need more great recipes, try:


Your einkorn sourdough bread recipe sounds wonderful. I’d like to make it as a sandwich loaf using an 8.5 x 4.5 Pullman pan. Would the recipe make 2 loaves in that size pan? Do you have any changes to the ingredients that you would recommend when making the recipe as a sandwich loaf? Thanks SO much! Cathy
How long before you bake the einkorn bread should I take it out of the fridge? Do I take it out of fridge and immediately score and put in dutch oven and bake or do i get it out of fridge when i turn oven on and let set out on counter until time to bake letting the dough warm a little?
perfect thankyou!
Why do you use so much whole grain einkorn flour? All the other recipes I’ve looked at are around 500 grams or less. The starter and water are also doubled from other recipes. Is this why my previous attempts at sourdough einkorn loaves were such pathetic failures???? Truly curious about this! Please explain!
Hi Mary, I found a recipe that used this much and thought it just wouldn’t work because of the volume. But it made all the difference! The measurements I have just make the einkorn bread work better than others I have tried. Not sure why, but it is what I am sticking with. Einkorn is so different than other flours, so it takes some playing around.