This post may contain affiliate links, which means I get a small percentage of the sale at no extra cost to you. I only recommend items I love and have had a positive experience with. Thank you!
This post was originally seen on Ella Claire.
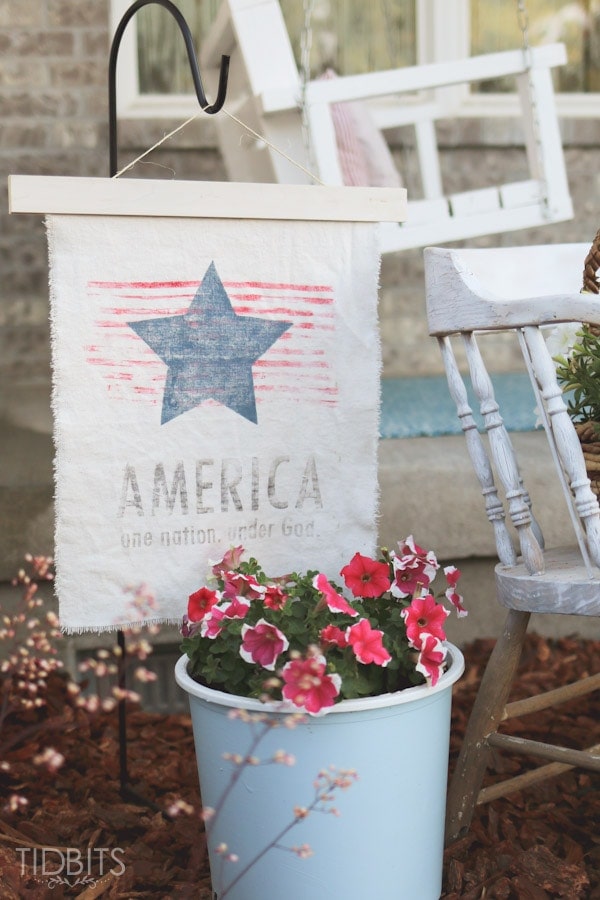
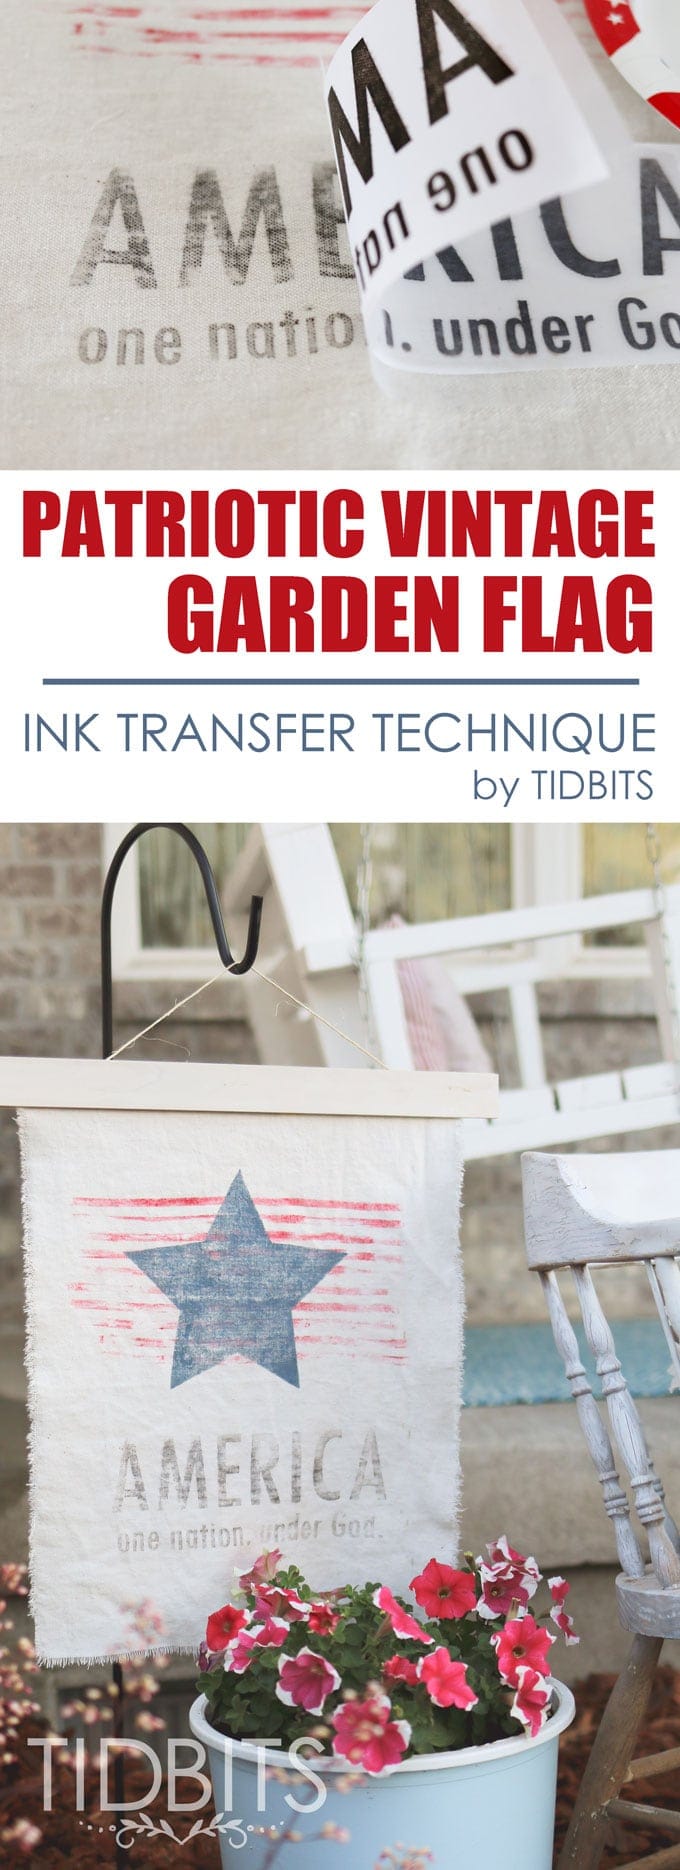
With Labor Day only 1 week away, I thought it would be an appropriate time to share this patriotic vintage garden flag with you.
I have loved being able to quickly bring it out in the front yard, to ring in all the national holidays in true vintage fashion.
Or perhaps you love sporting your love of country all year long. Either way, this patriotic vintage garden flag will be a lovely accent to your yard or anywhere you decide to place it in your home.
Or, it could easily be hung on a wall in your home, or on a door in place of a wreath or anywhere else you can imagine.

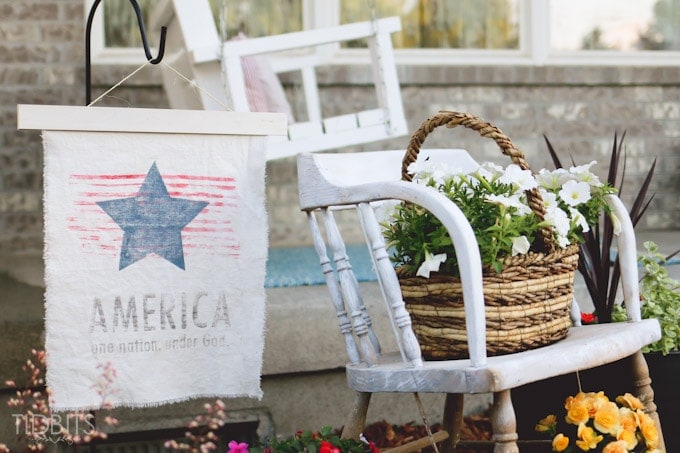
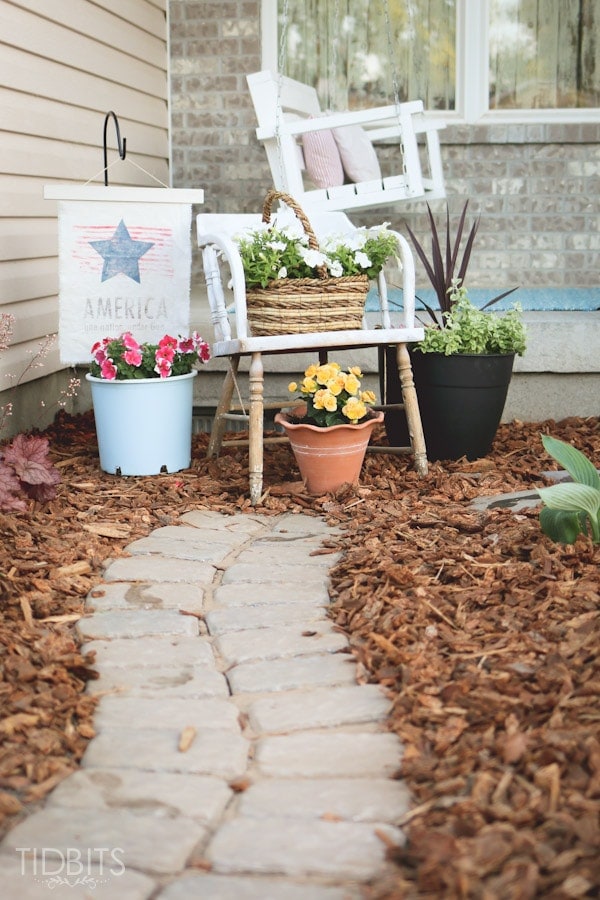
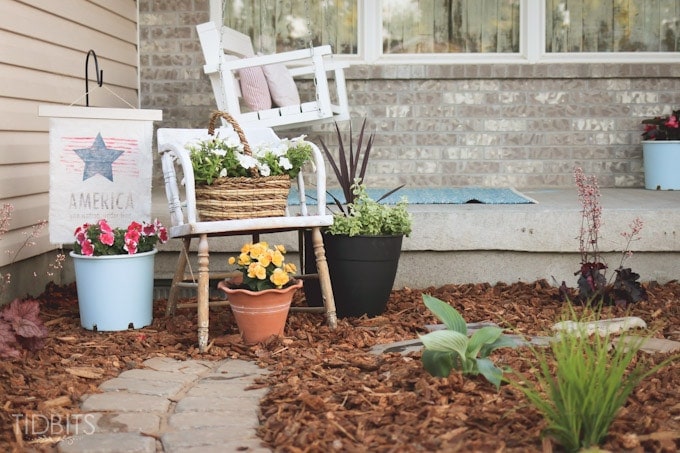
I do love how it looks in our front yard hung on an inexpensive hanging basket rod.
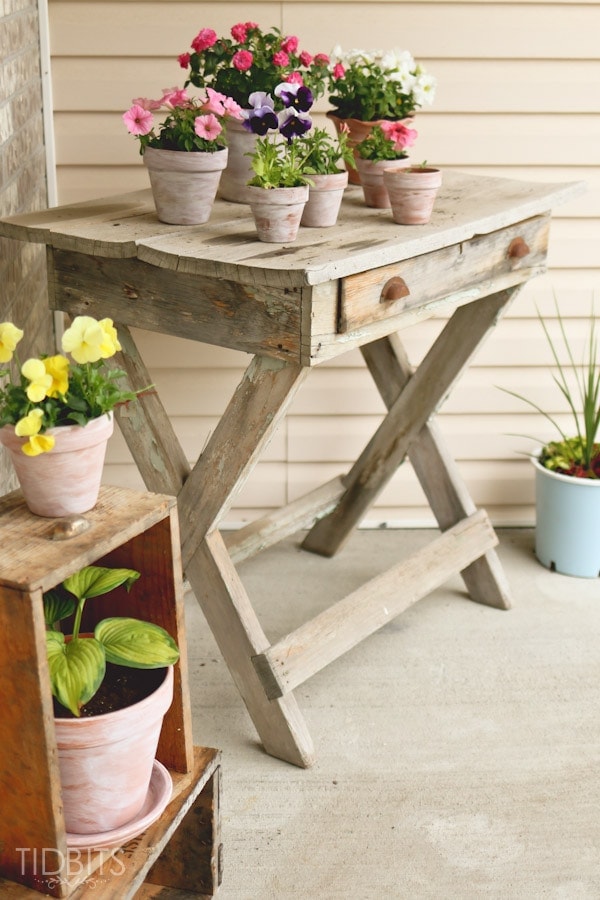
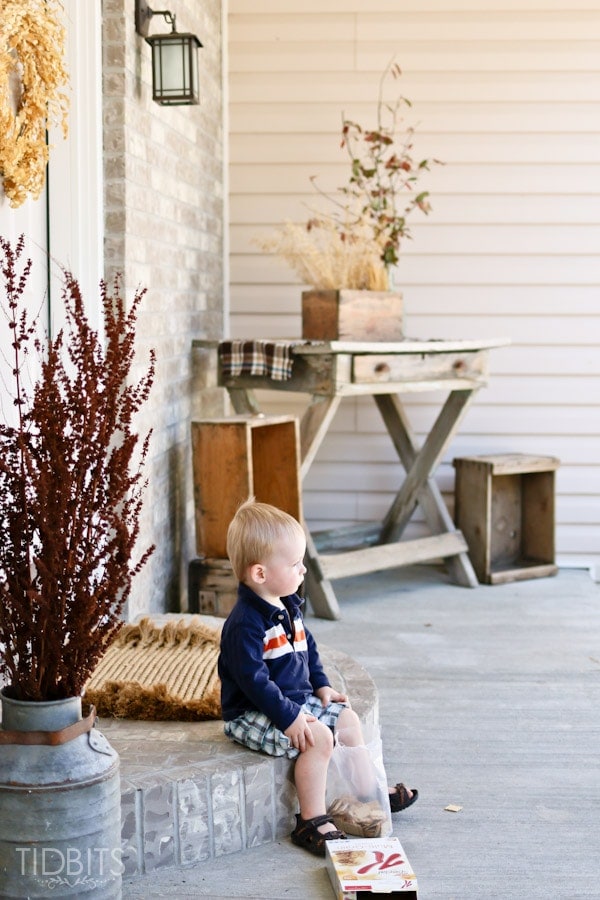
We just finished working on sprucing up our porch and front yard, and now it is perfect for enjoying the lovely weather, while reading books on the porch swing.

I had felt I had enough plants and wanted to add some type of visual interest different from the rest, which is how the patriotic garden flag came to be.
I will be sharing the tutorial for how you can recreate this exact garden flag for your own space. This includes instructions for how to take a printed image and transfer it onto fabric with the use of my favorite household cleaner. This method is great for leaving a sort of time worn faded out image.
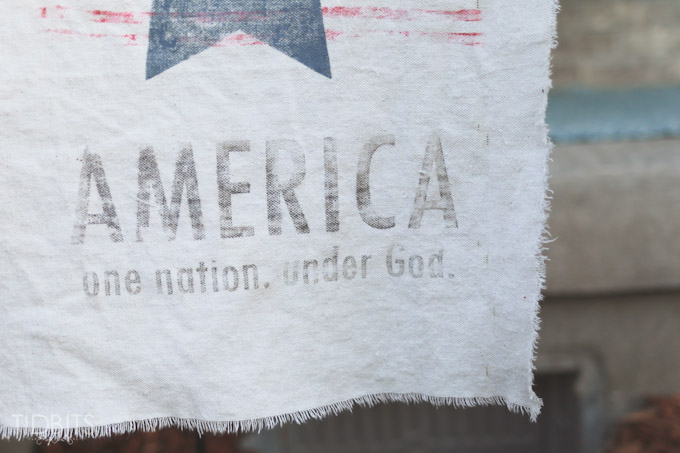
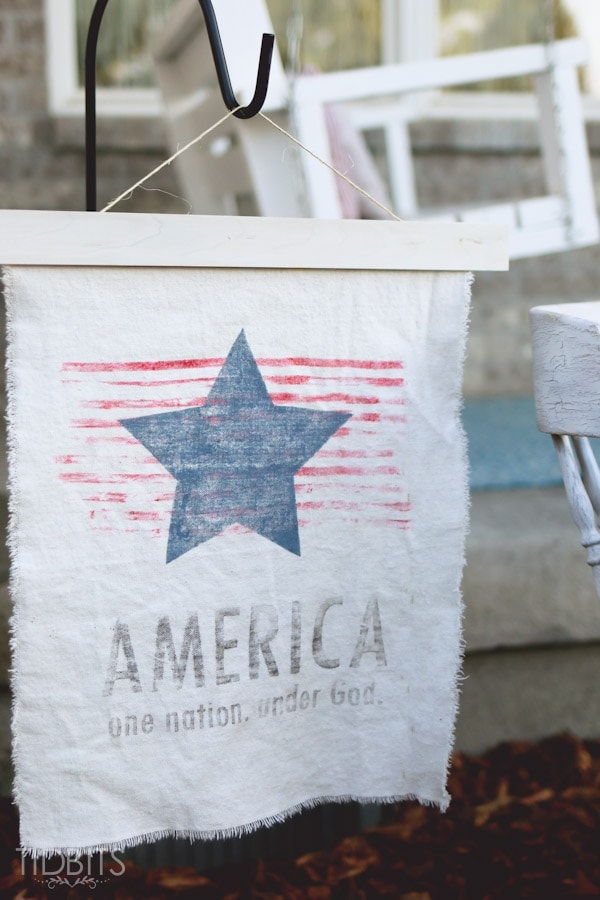
I am using a simple print out I created stating, “AMERICA. one nation. under God.” I also created a simple patriotic vintage pillow with the same saying, and I absolutely love it!
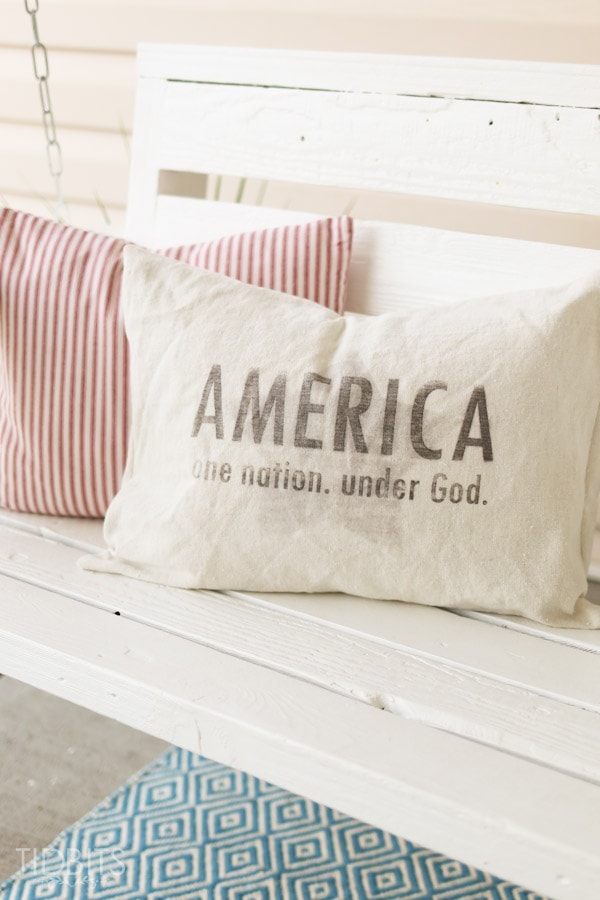
I added a faded out star behind the saying for the pillow. You can get the FREE printables over on this post, HERE, as well as different variations of it. If you would like to know how to make a simple envelope closure pillow, I have a tutorial for that as well, HERE.
Before we move into the tutorial for the garden flag, just know you can use this simple ink transfer technique in so many ways in your creative pursuits. For example, I did the same technique for these French inspired hot pads HERE, not too long ago.
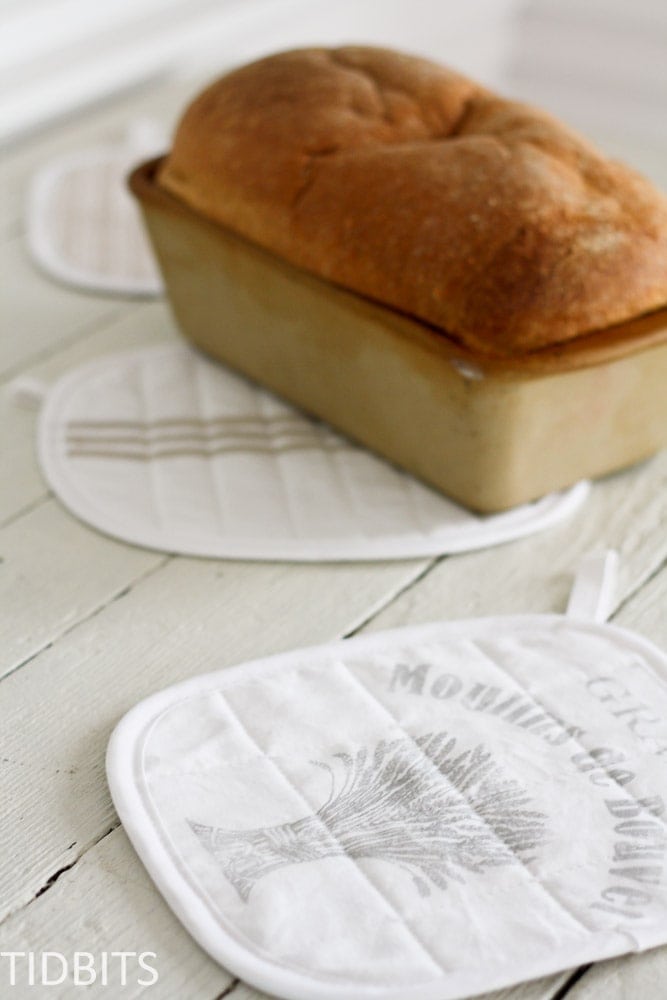
It is really a lot of fun to play with, and is only limited to anything you can print!
Let’s get started!
I’ll be explaining what you need and how to create the stripes and star as well as the transfer of the words. Finally, I’ll explain how to put it all together into a hanging flag.
First, gather your supplies.
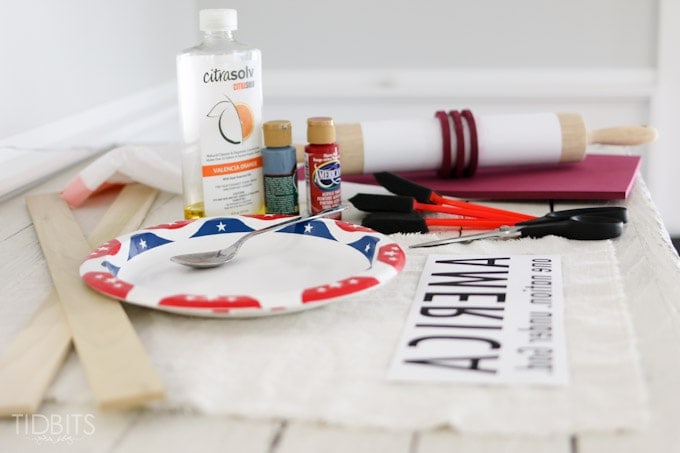
(All links for products below are amazon.com affiliate links. I add these so you can get full details on the products I use. You can then purchase them from amazon, or find them at your local stores. Read my full disclosure policy here.)
You can consider any type of fabric for your flag. A light neutral color will show the images best. I used some bleached drop cloth I had on hand for mine. You can read all about my method of bleaching drop cloth, HERE. A light linen fabric would also look fantastic. The amount of fabric you use really depends on the size you want it to be. I simply placed the printed out saying on top and cut my fabric to the size I thought would be visually appealing. I also preferred to rip rather than cut my edges to obtain a nice frayed border and add to the time worn feel.
For applying the stars and stripes you will need the following:
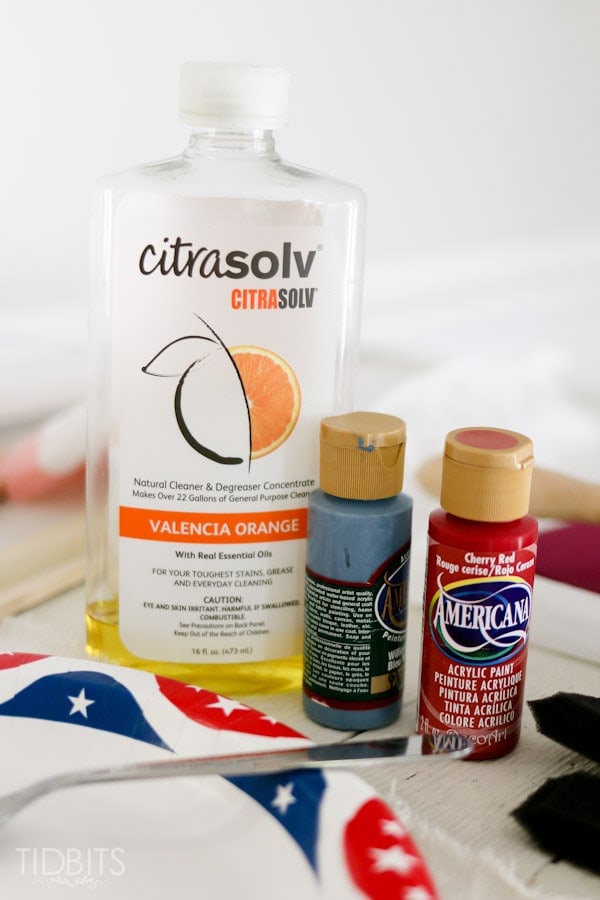
- Red and Blue paint
- Preferably fabric paint, or craft paint with a fabric medium like this one, added to it.
- Foam Brush
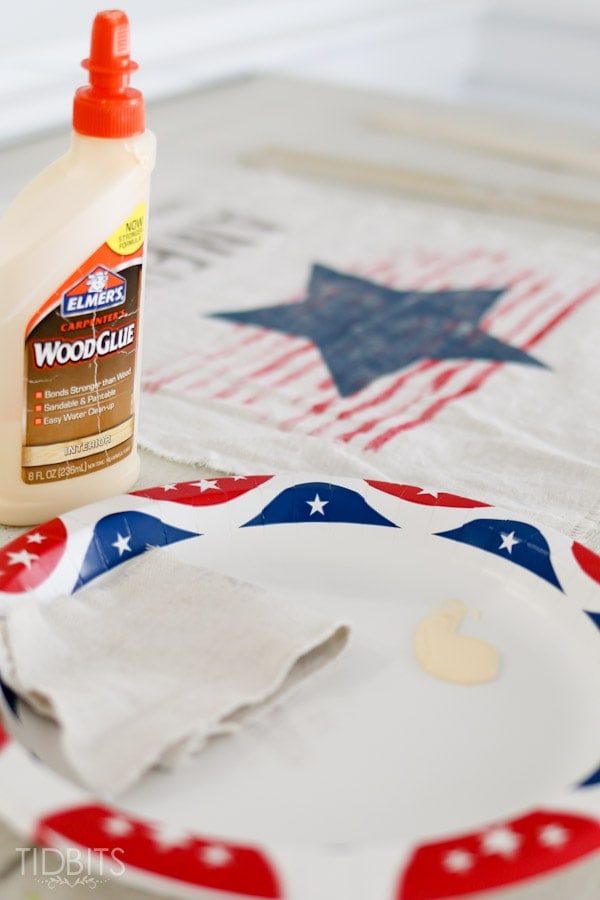
- Paper plate
The following is optional because there are other ways to paint your stars and stripes – but I find these tools very handy (time and time again).
- Grain sack stripe stamp, or painters tape.
- Tutorial HERE for making the stamp.
- Rubber stamp mat for making the star, like one seen HERE or purchased at craft stores.
For the image transfer of the saying you will need:
- Citrasolv natural cleaner and degreaser (link HERE)
- Spoon
- Foam brush
- Something to protect your surface, like a garbage bag.
- Your free printable, HERE.
To put your flag together, you will need:
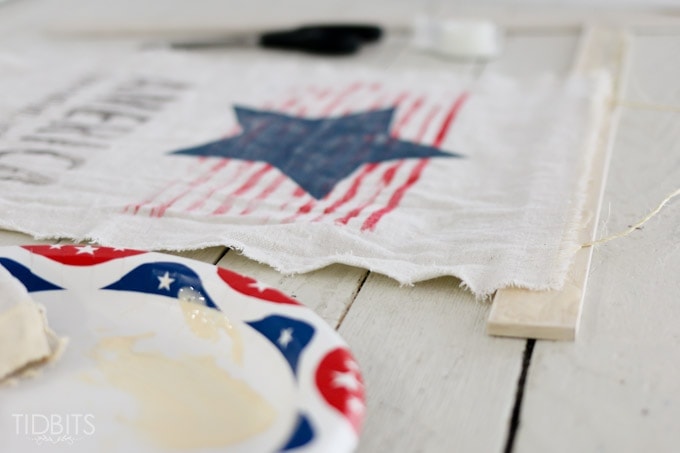
- 2 of any type of flat wood sticks long enough for your flag (found mine at Home Depot).
- Wood Glue
- String/rope/twine or any preferred choice to hang.
- Wood clamps are very helpful, but not necessary.
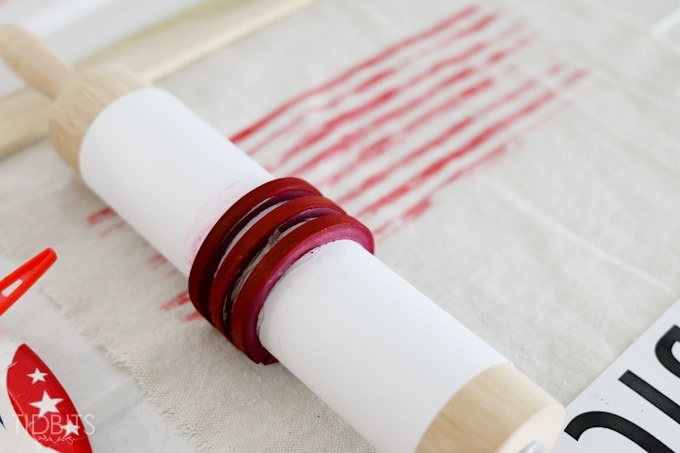
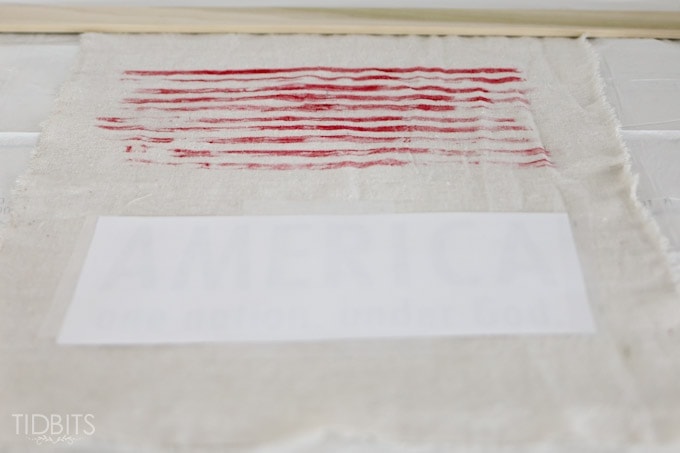
To begin, I covered my work surface with garbage bags, then I made my red stripes. I used my grain sack stripe rolling pin to paint on my stripes, but you could also tape off your lines and paint stripes, or if you have a steady hand simply paint them on. I love how the stamp enabled me to create more faded lines, by dabbing the paint slightly with a paper towel on the roller before I stamped on my fabric.
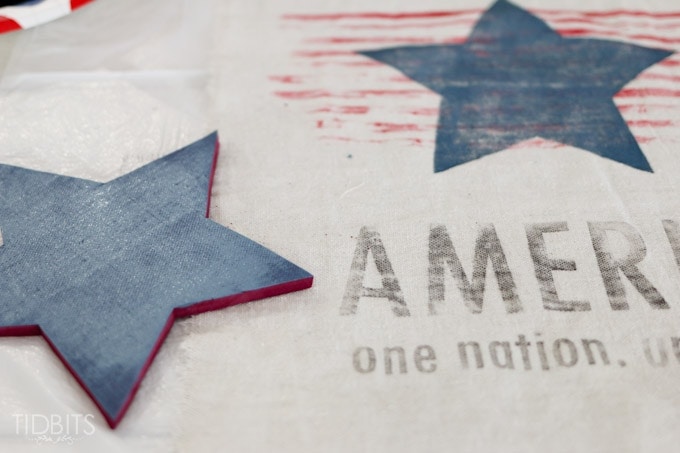
While the red paint dried, I moved onto the word transfer. There are 2 things you must know before you can use this method of ink transfer.
1. You have to print your image using a toner based printer. An ink-jet printer will not work, which is what most people have available in their home. Most public libraries still use a toner printer, or schools. My husbands work had one so that is where I printed my image off. I imagine print shops also have that option.
2. It is essential that you have a reversed image for this transfer technique. You can find that reversed image in my patriotic printables collection.
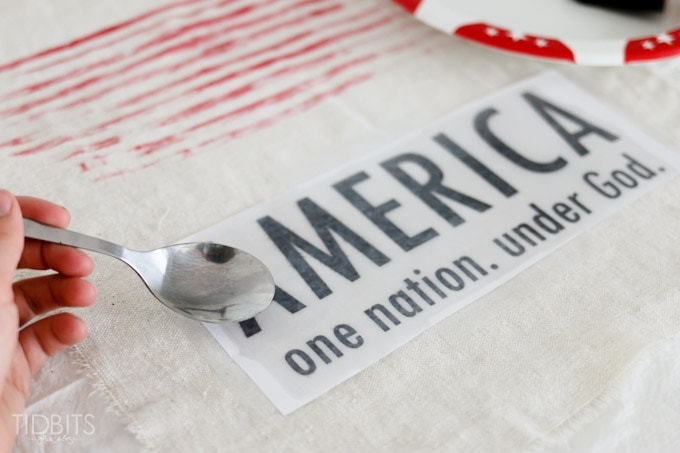
I trimmed the paper around the words and placed it where I wanted it on my fabric, printed side down. To help secure it in place I used scotch tape around the edges of the paper.
I poured a small amount of citrasolv onto a paper plate and dabbed my brush in the cleaner. Then I brushed the cleaner over the words on the paper and the words darkened and revealed themselves. Be careful not to shift the paper around at this point.

Once all the words were saturated with the cleaner, I took a spoon and rubbed the back side over each of the letters firmly, but carefully. You have to be very careful not to let the paper shift around or your letters will blend where you don’t want them to.
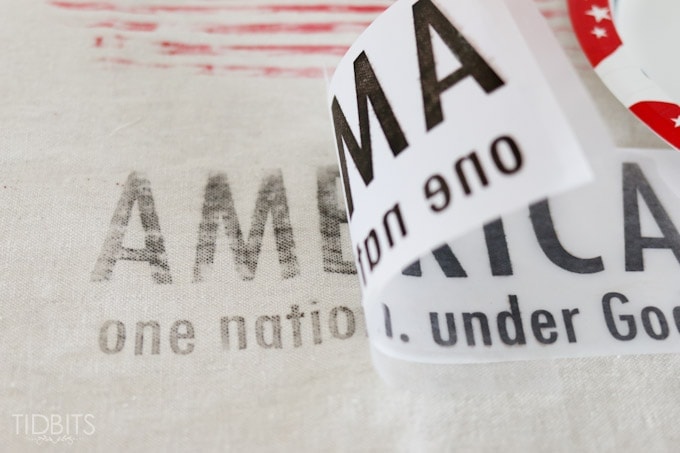
Once you feel you have rubbed enough of the ink down, you may want to take a peek and make sure it is transferring in the amount you want. Then lift the entire paper off your fabric to reveal the transfer.
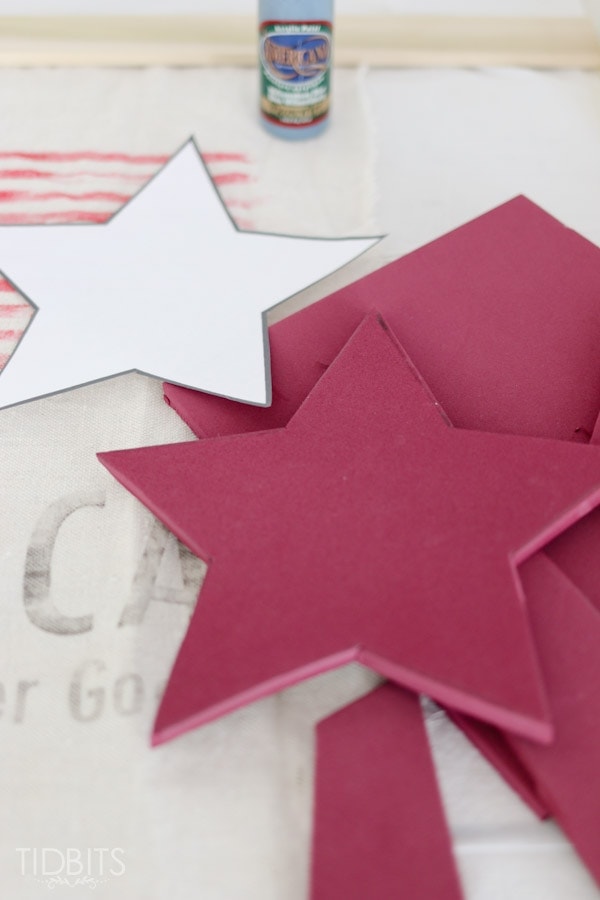
To create the star, I simply googled star shapes and found one in the size I wanted. You could paint your star on a variety of ways, but I wanted to obtain a faded, less than perfect stamp look.
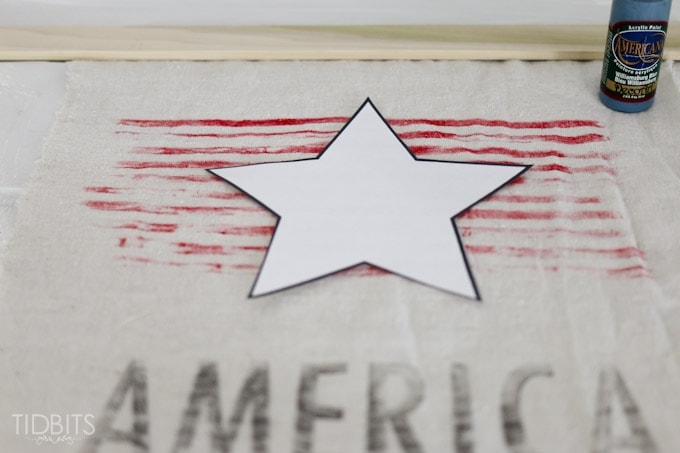
So, I used the rest of my rubber stamp sheet and traced my star shape onto it and cut it out, creating my own star stamp.
Then, I used a foam brush to paint on my blue paint directly to one side of the star stamp.
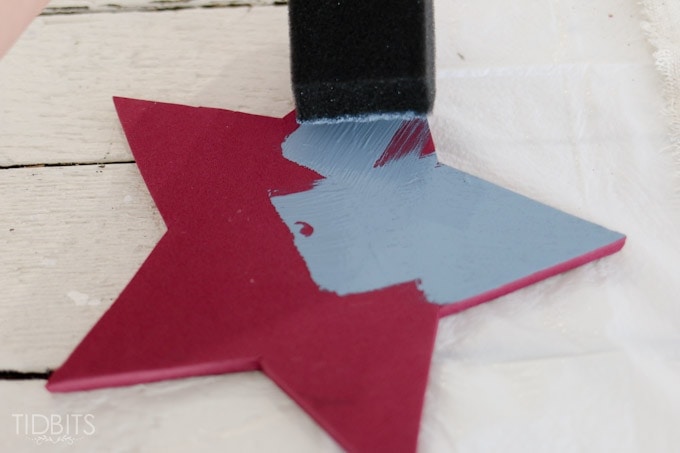
Then I stamped the paint directly over the stripes.
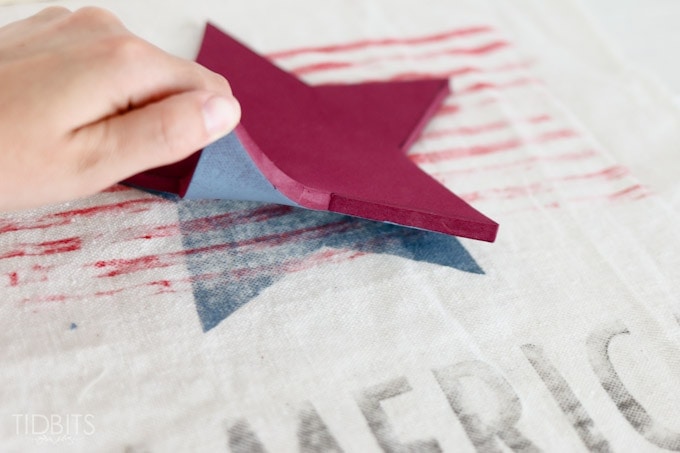
It left a very nice faded star in it’s place.
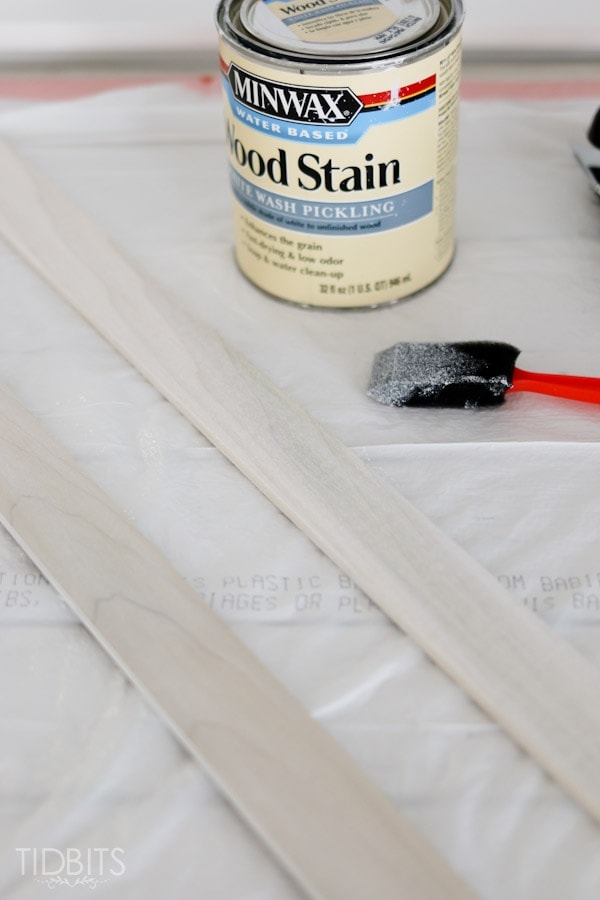
To put the garden flag all together, I began by getting my wood pieces to the tone I desired. I recently discovered this white wash pickling stain, which I have enjoyed on several projects. I gave my wood slats 1 coat of the white stain and rubbed it off, leaving a softer wood color but still allowing for plenty of wood grain to show.
You could just as easily nail the wood slats together to secure the flag inside, but I wanted this to be a little easier then that so I dug around for my husbands wood glue.
I first cut some twine to the length I desired and taped the ends down on the wrong side of one of the wood slats where it would hang best. Then I added some wood glue all along the wood, and centered the top of my flag and glued it in place.
I placed some more wood glue over the fabric and across the wood piece as needed.
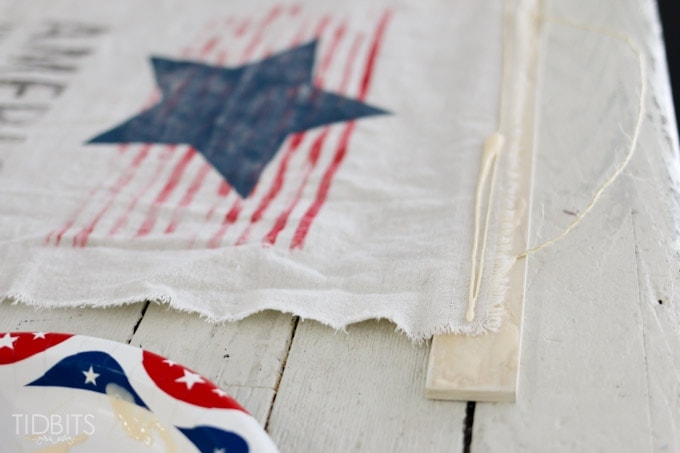
Finally, I took the other wood slat and placed it over the other one, wrong sides being glued together and securing the flag and twine in place. I clamped them closed until the glue was completely dry.

That completed my patriotic vintage garden flag, and now it was ready to hang.
If you would like a glance at the other side of my front porch, I have a post detailing what is over there including a tutorial for how to white wash a terracotta pot.
Thanks for reading, and we will see you again soon!
*Linking up to these parties, HERE.


Great job man. Loved your distressing technique. Keep it up!
I absolutely love these projects!!! In fact, I have the twin to your dresser your husband turned into a dresk! Something I can look forward to doing. Right now I’m in process of making, sewing, my own 18′ rope and pole awning for my ’74 Vintage Camper, LUCY, I’ve done in all retro colors & fabrics. So until that is completed other projects must wait. Thank you for your flag tuitorial which I plan to make for LUCY! Blessings – Deborah