
This post may contain affiliate links, which means I get a small percentage of the sale at no extra cost to you. I only recommend items I love and have had a positive experience with. Thank you!
 I have been doing research on chore charts for kids for some time now. It all began when my sister-in-law was talking to me about the chores her 4 year old did. My first thought was “wow, you can get him to do chores!” Then I thought, “maybe I should give it a try with my 3 year old.” Well, all my attempts were far from successful, though bribes did help sometimes (maybe bribes is not the right word-I’ll use “positive reinforcement”). She would stay in her bed all night if there was a quarter waiting for her in the morning. Some might frown on this method, but it worked for me! So I knew if I could find a chore chart with some reward at the end of the day, she just might learn to clean up after herself.
I knew I wanted a chore chart that could grow with the child and be adaptable. It also had to be cute if it was going to hang in my house. I wanted it to be kid friendly and appealing. I wanted it to be functional and proved plenty of chore options.
On my search for the perfect chore chart, I found plenty of chore charts that were cute. I found plenty that were adaptable. I found plenty that would grow with the child and be appealing to them. But none of them fit all my requirements. So, I made my own.
Here’s how I did it!
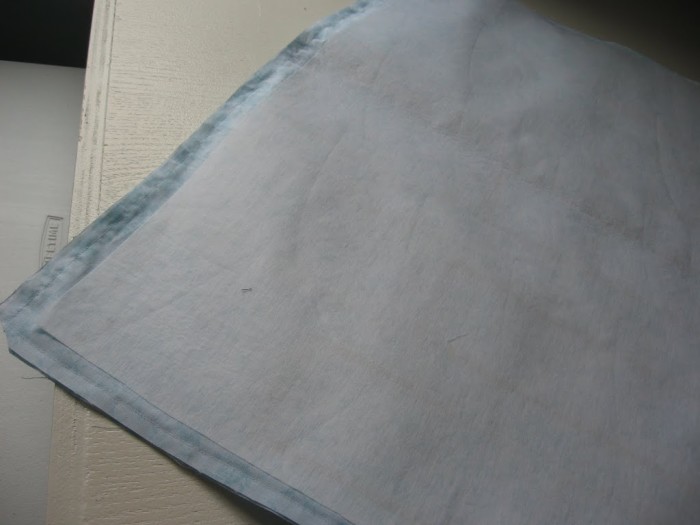
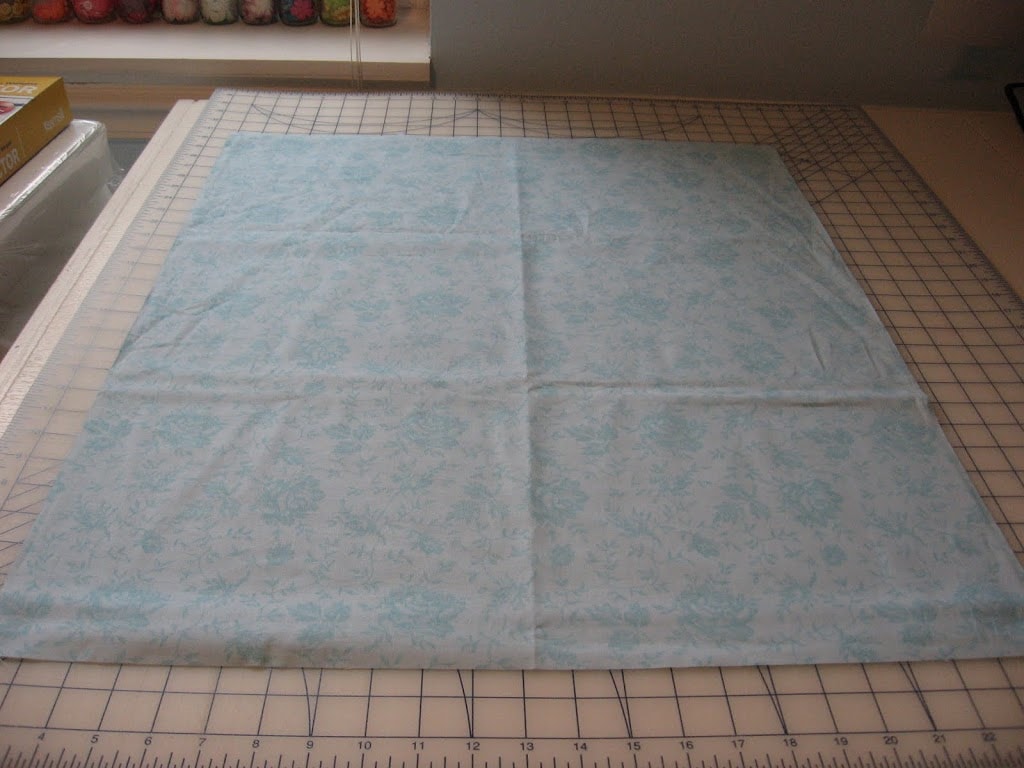
 I cut two pieces of fabric measuring 23×28 inches.
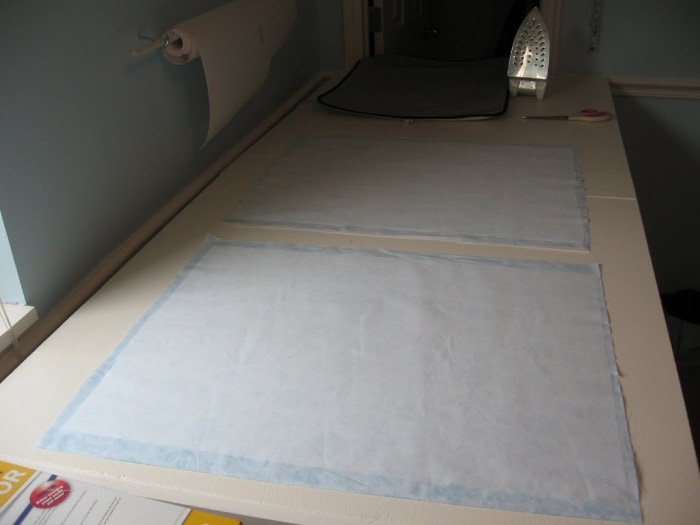 And lined them with fusible interfacing.
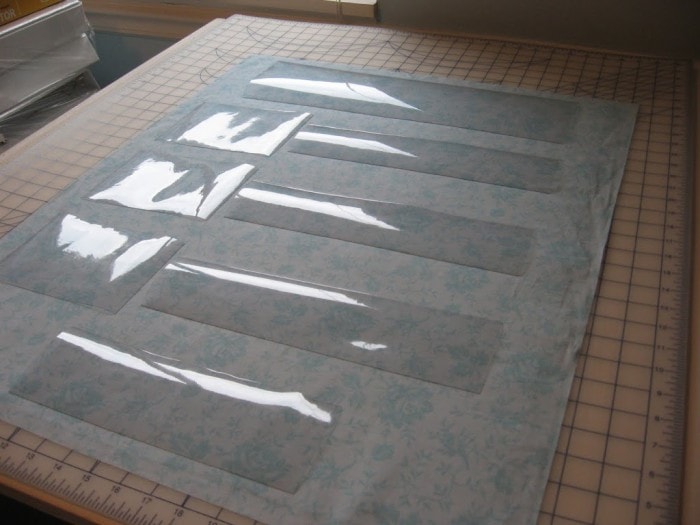 I cut pieces of thick, clear vinyl.
3 pieces measuring 4 1/2 x 6 1/2.
3 pieces 3 1/4 x 12.
1 piece 3 1/4 x 10
1 piece 17 x 5.
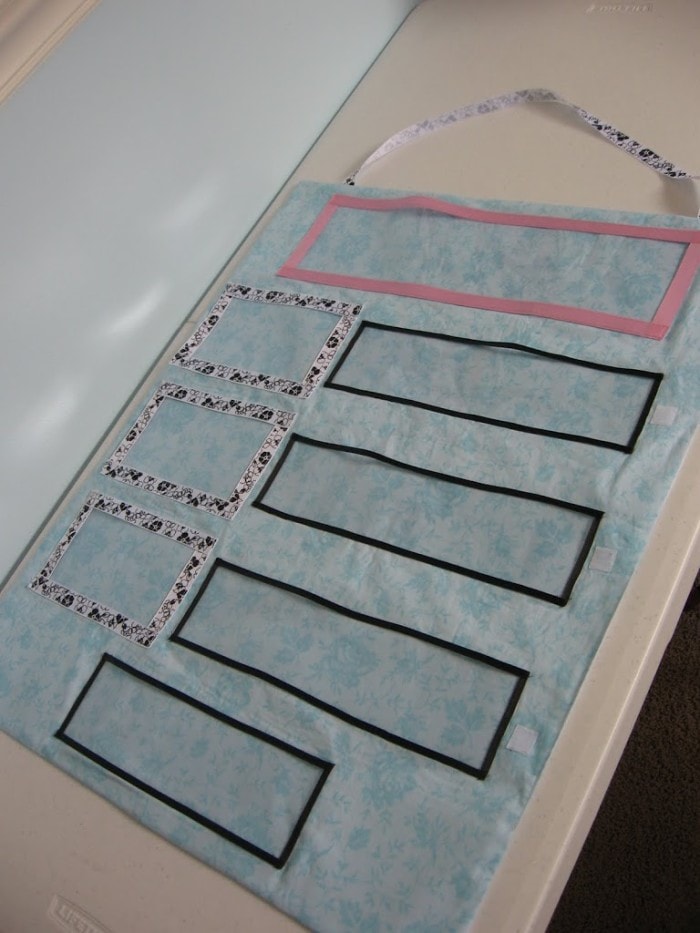
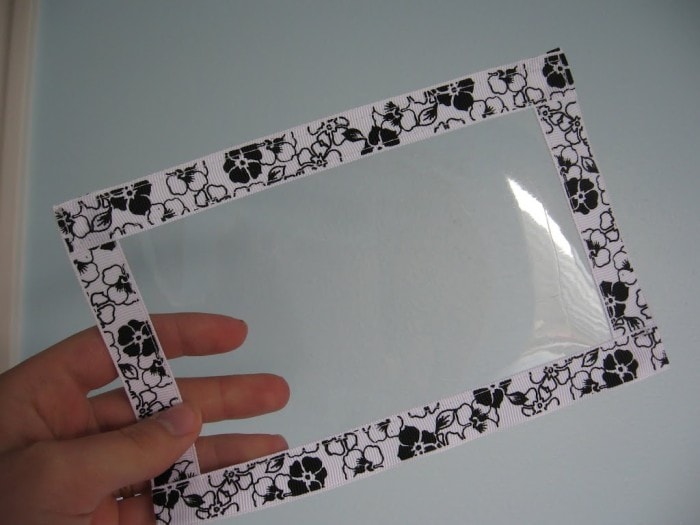 I found cute ribbon in my stash and sewed it along all sides of all vinyl pieces.
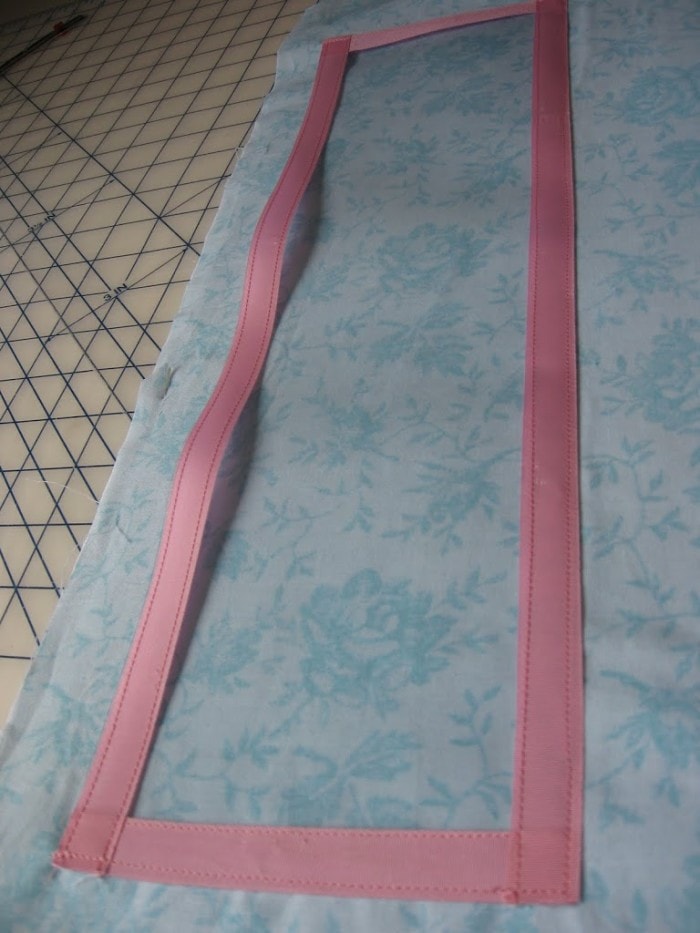 I then figured out my layout, and pinned and sewed the ribbon bordered vinyl pieces onto my fabric, leaving the top of each piece open to make a pocket.
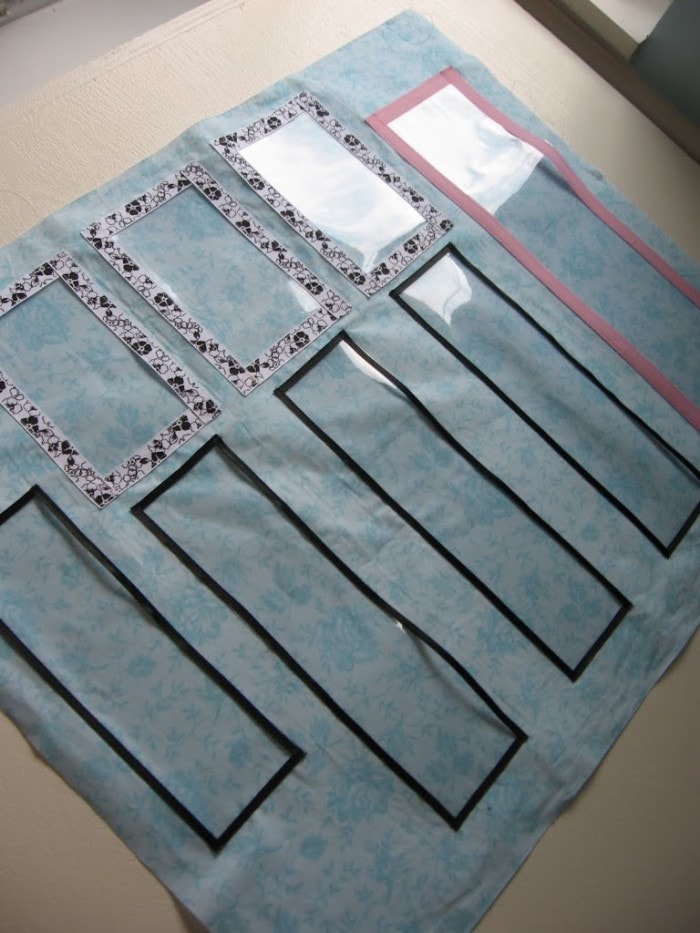 I did this for all pieces.
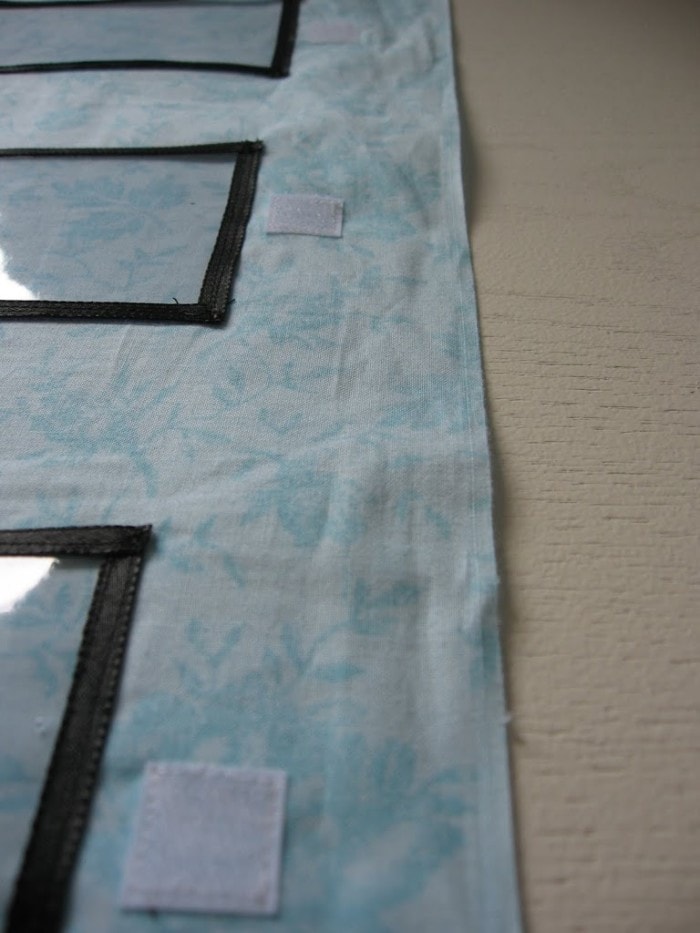 Then I stitched small Velcro squares on the sides where I wanted them.
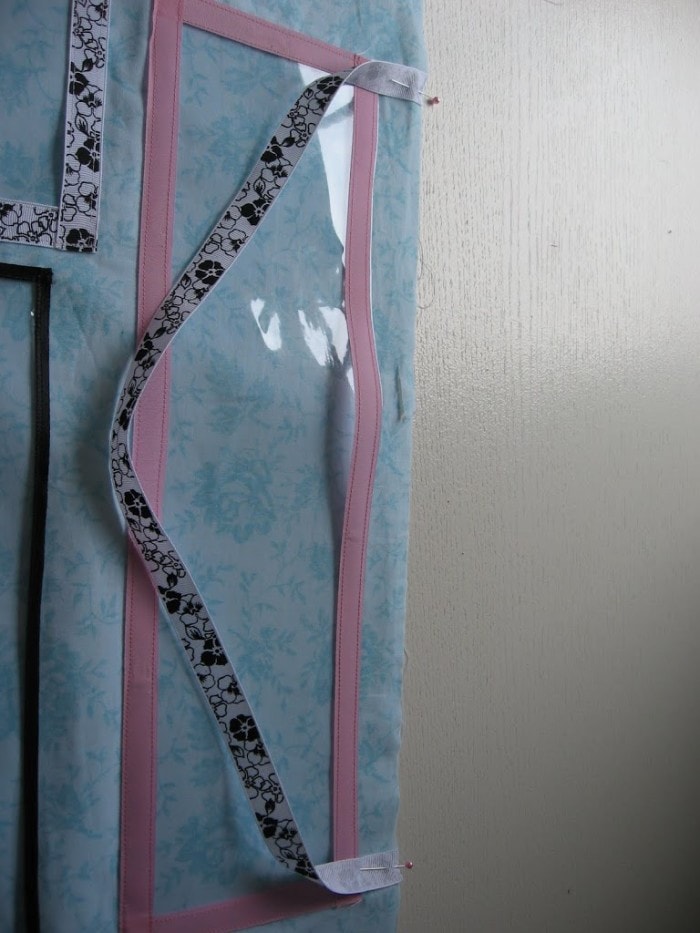 Then I pinned some ribbon on the top, to act as a hanger.
 Now taking the other piece of fabric, I laid them right sides together and stitched all the way around, leaving an opening for turning it right side out.
 After doing this, I prettied up my corners and pressed my seams and stitched my opening closed. That completes the making of the chore chart. Now I’ll show you what I did to fill the pockets.
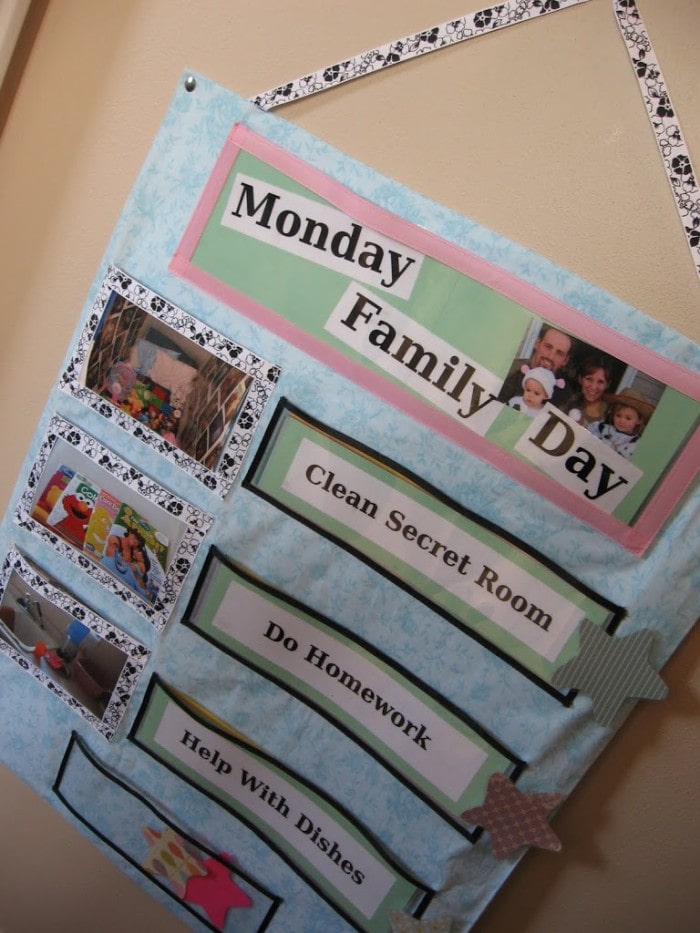
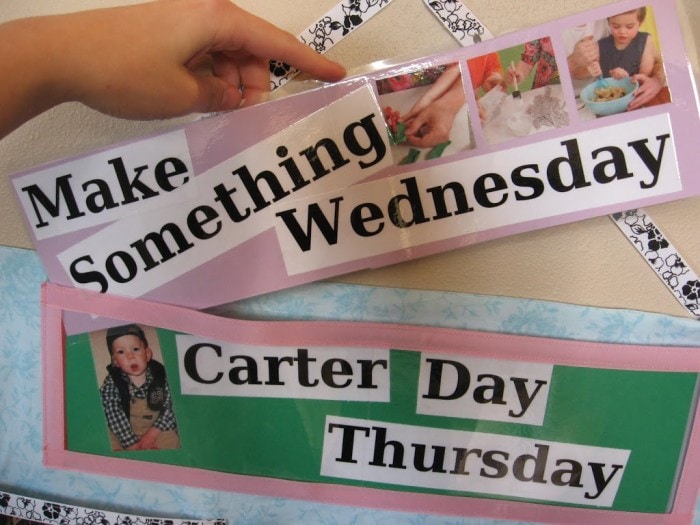
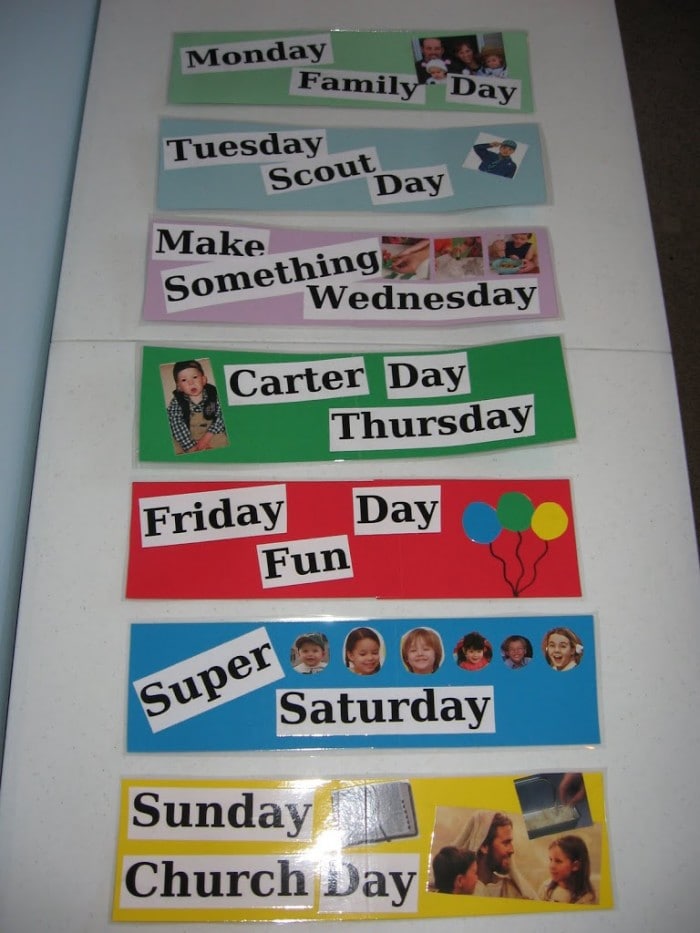 I made day’s of the week titles, included with pictures, to help her identify her days. I image you could also use this spot to do a name label, or whatever you would like. I try to associate the days of the weeks with something that she does on each of those days. If you are wondering, she is not a scout at 3 years old. Both my husband and I volunteer in the scouting programs, so it kind of consumes our Tuesdays and she knows that. I also laminated all the tags so they hold up for awhile.
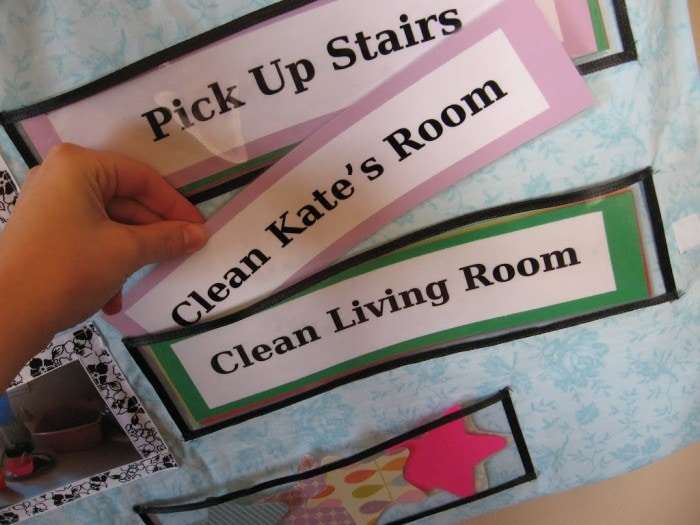
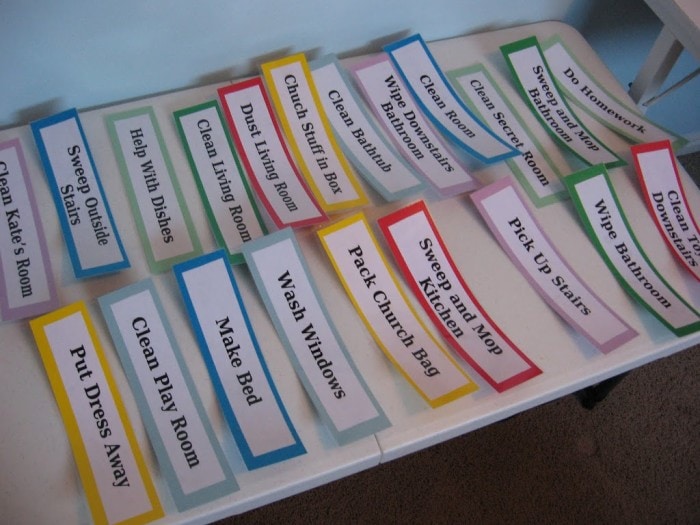 Next I made the tags for her chores. They are color coded to the day’s of the week titles to keep them straight. This may seem like a lot of chores but it is only 3 a day, and by switching them each day she gets a variety of chores to do.
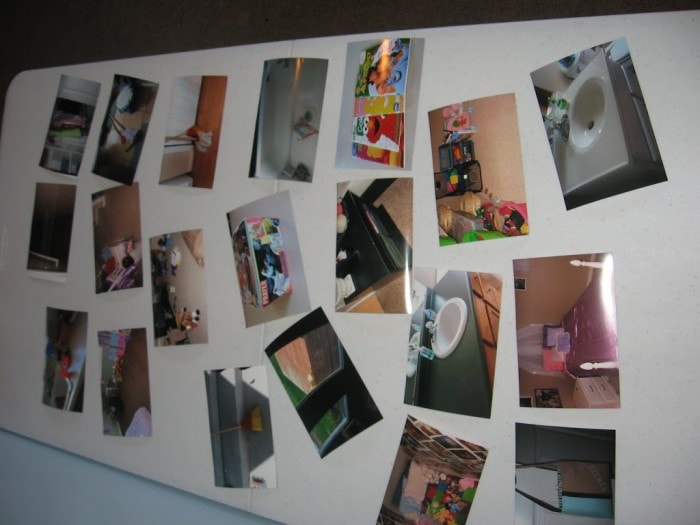 Then I went around and took pictures of the places where she does the chores. I think visuals are great for kids, that and she is 3 and can’t read.
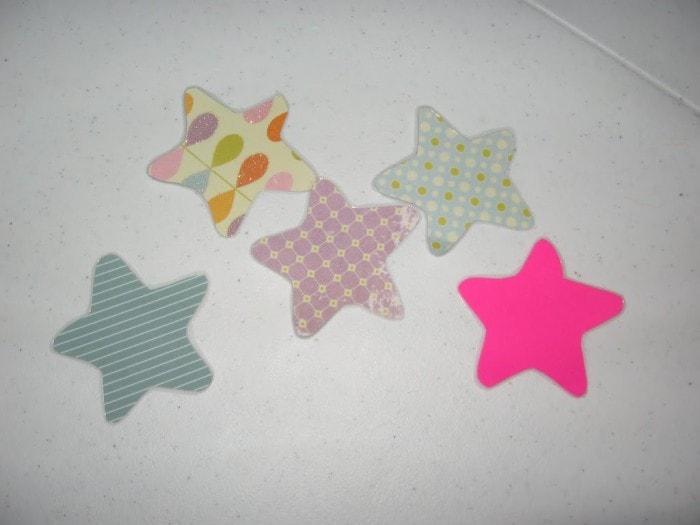 Then I made stars out of paper for her “star pocket”. She loves this Dora copy cat!
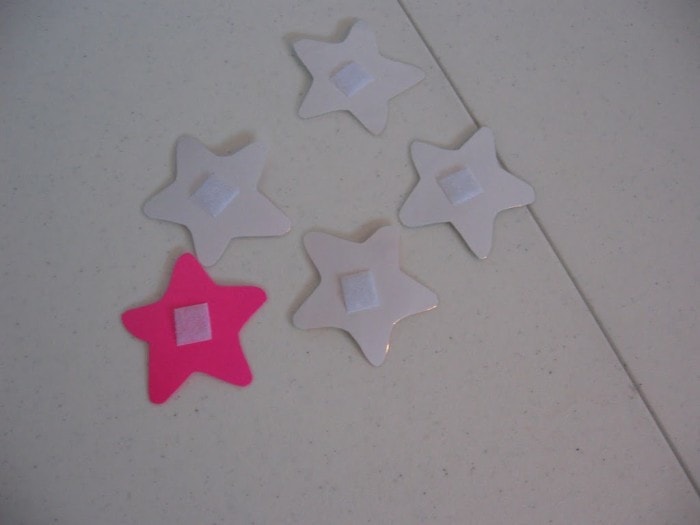 Then I used sticky back Velcro for the back of the stars.
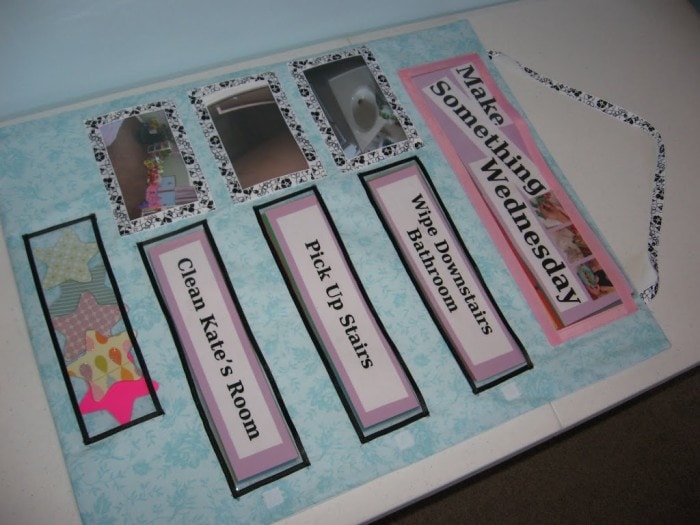 Then I put all the pictures and tags in place on the chore chart.
 All the tags are stored behind each other for easy switching.
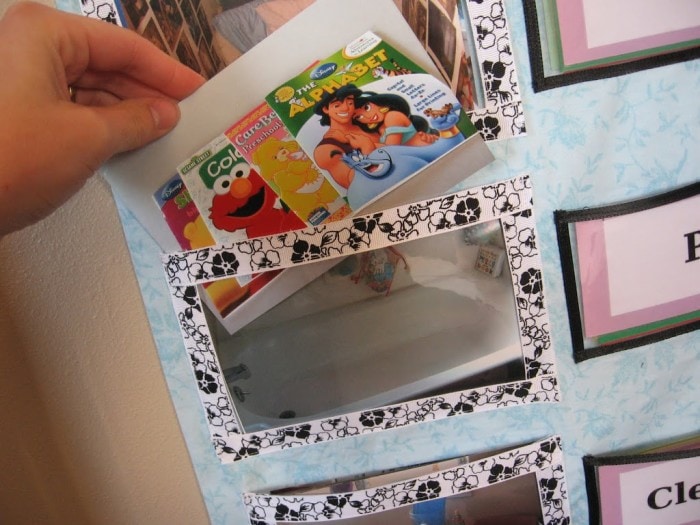
And that completes my chore chart. I hang it in a hall way down low where she can reach. Ideally, I wanted to use grommets to hang it, but in the end I didn’t want to spend the money on it. So I used thumb tacks instead. It will work for now.
 When the little one completes all 3 chores each day she is rewarded by getting to choose a treat from the “mommy store”. This is just a box full of candy and cheap toys that I’ll end up throwing away some day. We’ve done 1 day of the chore chart and it worked like a charm. I guess time will tell if the excitement of a chore chart ever wears off. I hope not! If so, all I’ll have to do is make new tags and pictures!
What do you say? Cute, adaptable, kid friendly, appealing, functional, and will grow with your child-THE ULTIMATE CHORE CHART!
This chore chart was my best inspiration.


This is a great inspiration, but I don't want a fabric one. I am going to make mine a magnetic chore chart. Thanks for the inspiration.
Thanks for getting back to me! I have one more question if you could answer it- did you sew the plastic with a machine? If so, do you need to use special settings/needle? (I'm really new to sewing;)
I love this! I'd like to make one, but I'm not sure where to get the clear plastic stuff…<br /><br />also, I have a Linky Party for moms on Sundays called "Sharing Time"- I'd love to have you add this!
Love it. I am learning to sew as we speak. I feel more inspired to keep at it when I see all the cool things you do. I'll be checking back often.
I so need this in my house! I love how you did yours! I am featuring this as part of 'Look at me, I'm SO Crafty!' at Fun to Craft. Thanks for linking up and come by and snag a featured button!!
This reminds me of the Choreganizer system but this is more cute! Very nice.
I love all the pretty details (ribbon, stars and photos). I've got to get around to making one of these! Thanks for linking to Craftastic Monday!
What a great idea! I love it. Cute and functional. I think I need one for my kiddos. <br /><br />Come by and check out Hostage Week and enter in the fun giveaways too!
What a great idea! I love that you can change it!
Wow fabulous! You put in a lot of work into that. Love the ribbon around the edge. Great way to teach your 3 year old too.<br />I'd love if you linked this up to my Scrappy Saturdays: http://myscrappygifts.blogspot.com/2010/05/12th-scrappy-saturdays.html
Very cute! I have 3 kids and haven't found one I liked. Made my own from paper but it didn't last, this is a great idea!
I don't have a need for a chore chart yet, but I LOVE LOVE LOVE this one!! The vinyl is a FABULOUS idea!! I'm stopping by from Tatertots and Jello.<br /><br />I host a weekly party, every Wednesday called "Show Us What You're Workin' With", I would LOVE to see you there next week!!<br /><br />Jessica<br />meandmybucket.blogspot.com
FUN! I don't know why I have this obsession with chore charts of any kind. I really like this one. Great idea! Thanks for sharing. <br /><br />Jennie @ Cinnaberry Suite
What a great idea! I'm visiting from New Friend Friday. I'm your newest follower!
Maybe we need to get you a new picture of Carter! How fun.
What a good idea. I love it when there are pictures for little ones.
really great idea! I love the modifications you made. I am now looking forward for my kids to be old enough to use one like this!
Great idea and very cute! We have a chore chart, but it is no way near cool as yours!
Love it. My girl's not yet a year, so this project is a ways off, but I'm keeping this idea in mind!
love the choices! what a brilliant idea!
That is so cute! I loved how you were able to make it so functional but adorable at the same time. Where did you get the clear vinly at because I can't seem to find any place that carries it.
such a cute idea
I like the structure – kids seem to behave better if they know what's coming up. Cute!! I didn't know you were in scouts – brave!!
That is really cute. So much work-but really cute!