
This post may contain affiliate links, which means I get a small percentage of the sale at no extra cost to you. I only recommend items I love and have had a positive experience with. Thank you!
The moment my husband walked in from his wood shop, with these wooden toys he had made for our only son – I was beside myself.
On one hand, I knew these would be adored and loved and played with by little hands for years to come. On the other hand, I didn’t want a single little hand to touch them and I wanted to display them behind glass, kept nice and tidy on a cute little shelf.
The only thing I did know for sure . . . they were the cutest darn things I had ever seen.
Oh – and my husband is amazing.
So, torn to pieces, I walked the aisles of Michael’s craft store – looking for perfectly fitted glass safe’s (preferably with a lock and key).
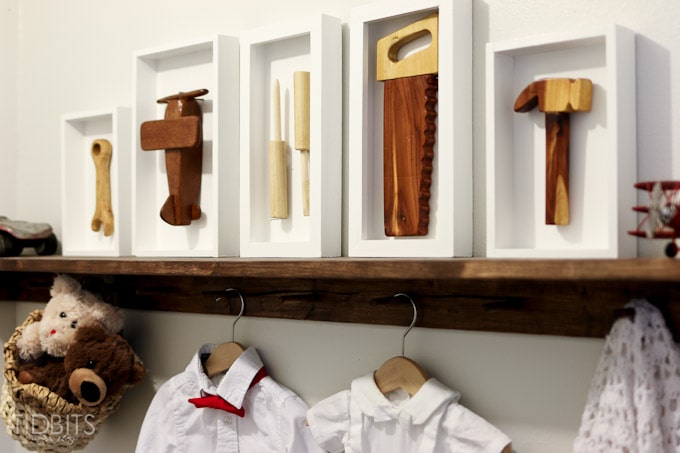
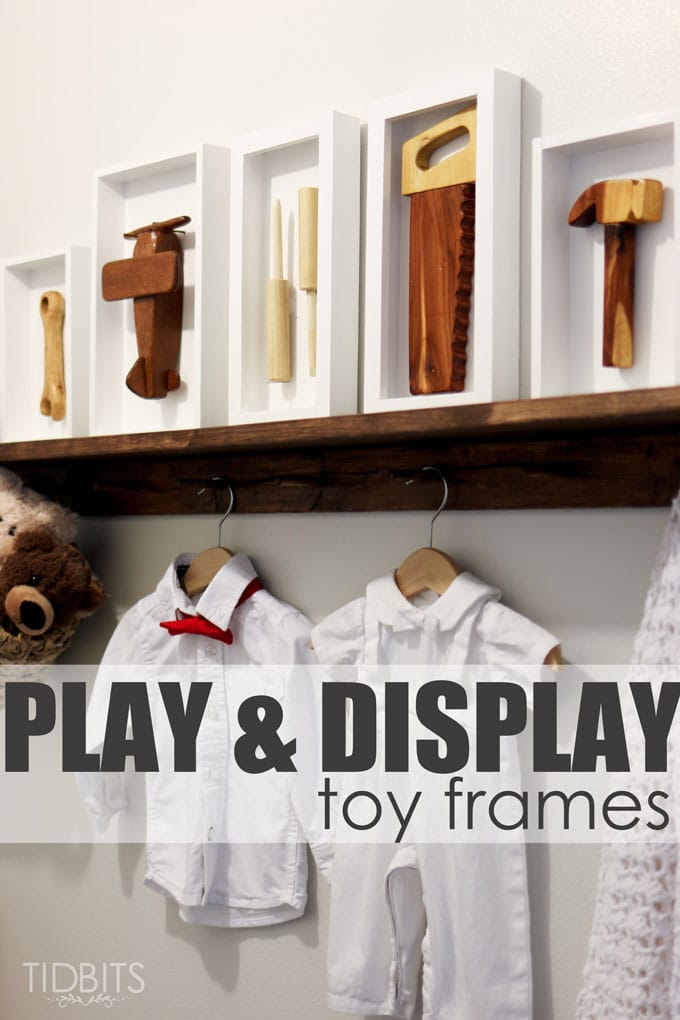
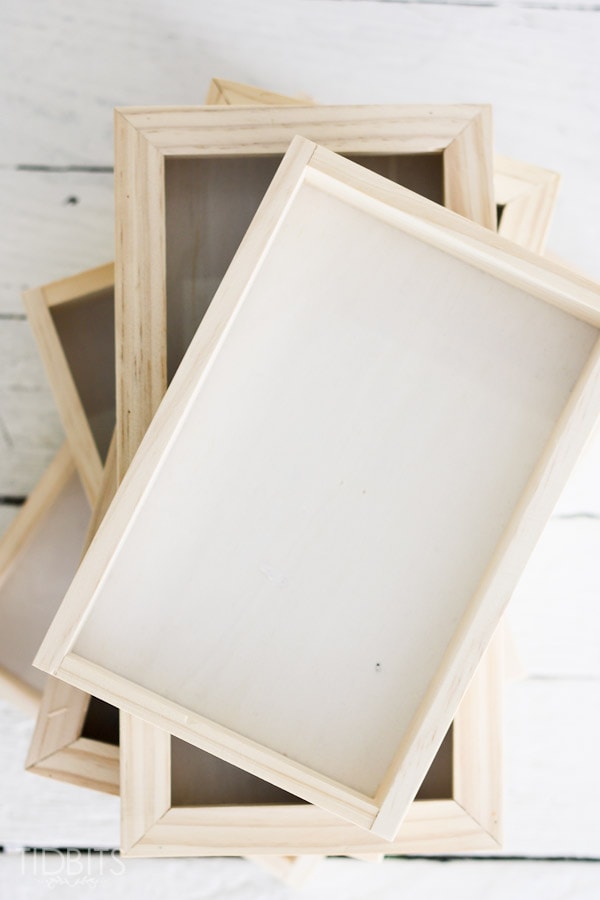
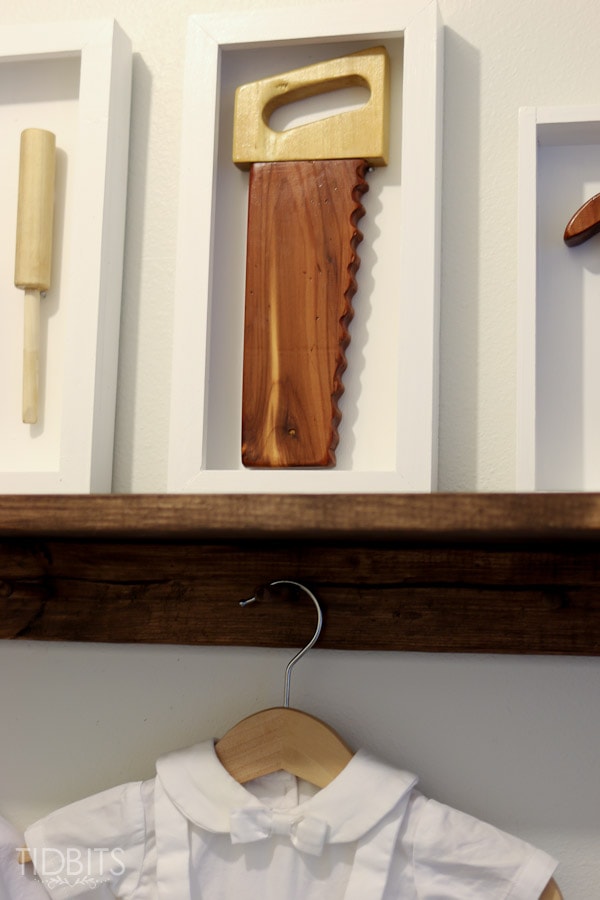
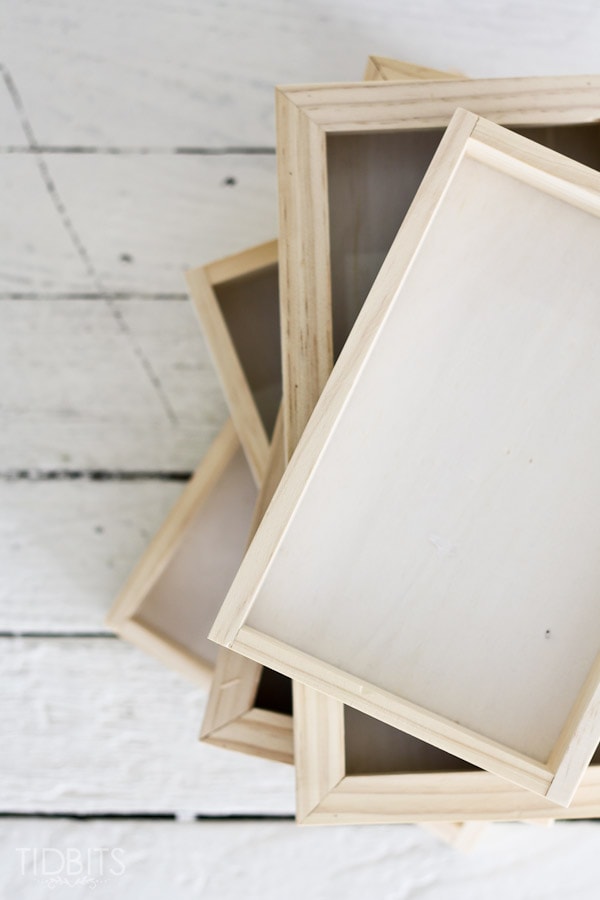
However – when I saw these little wooden trays (minus the glass and the lock and the key), I knew they were just perfect for these little wooden toys.
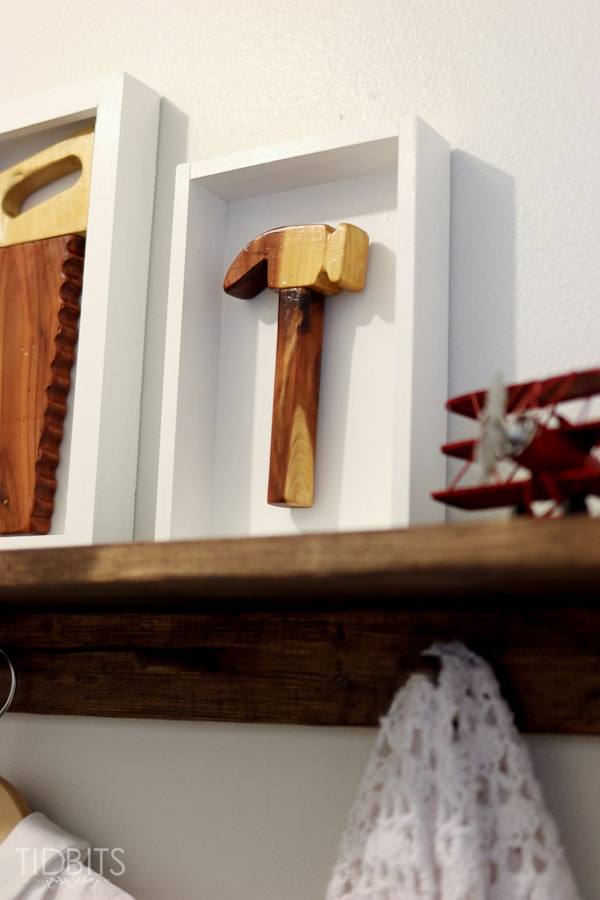
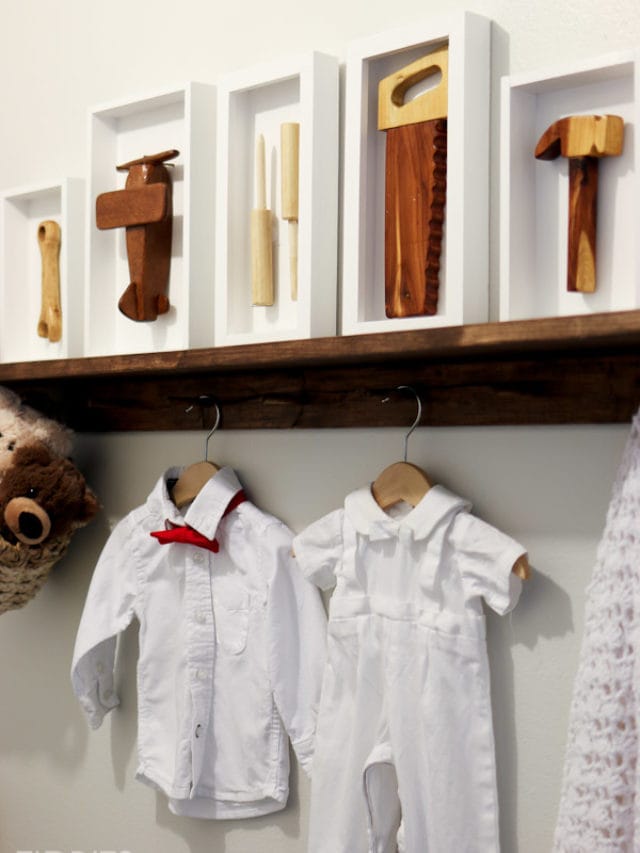
They were the best of both worlds. My little guy could hammer and saw and fly to his hearts content . . .

. . . and when he was finished, I would perch them safely on his little shelf for all to adore.
I left Michael’s that day, with just the right amount of boxes – and the determination to be amazing like my husband.
After all, how hard can woodworking be?
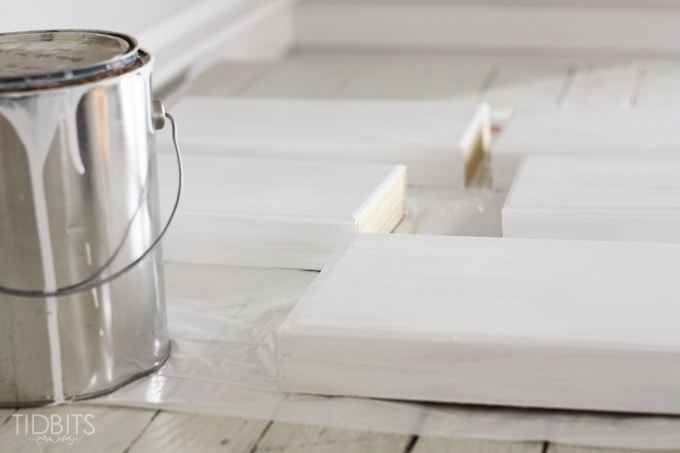
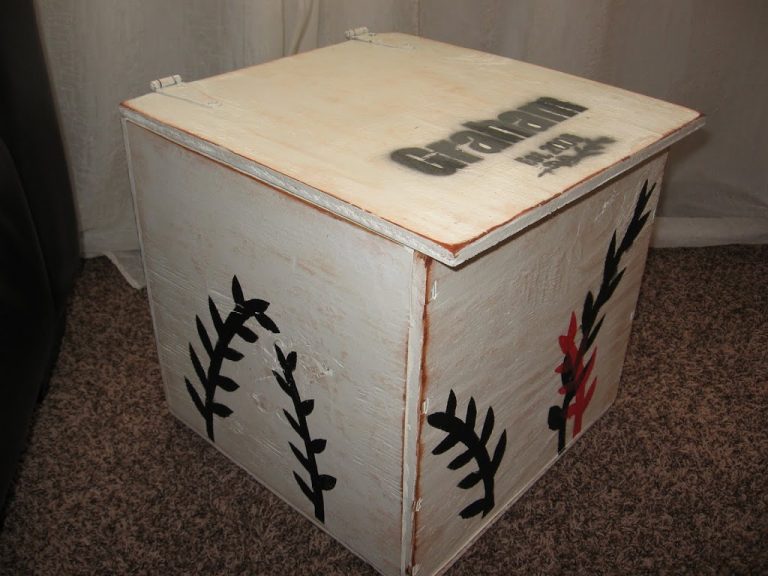
I began by painting the boxes white – because, as my girls say, I paint everything white.
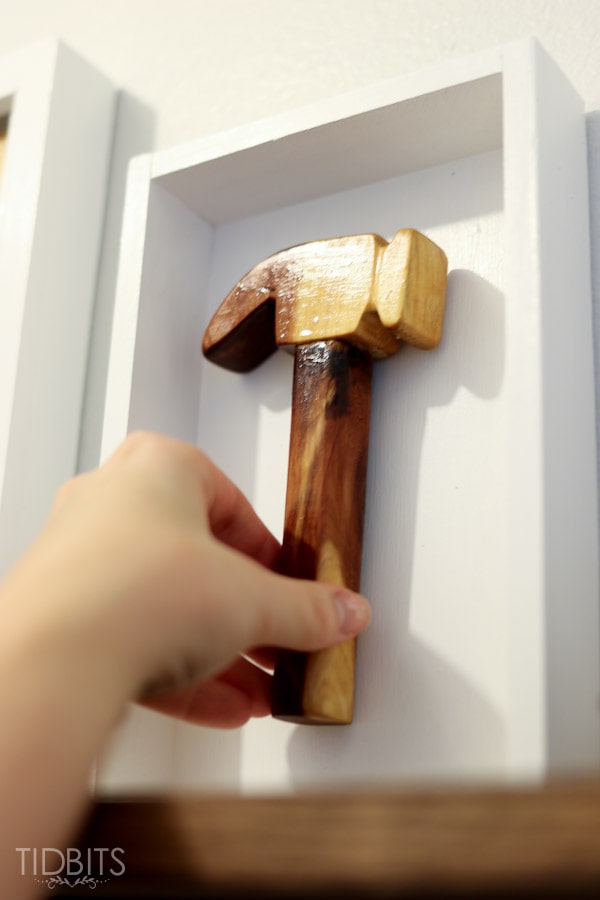
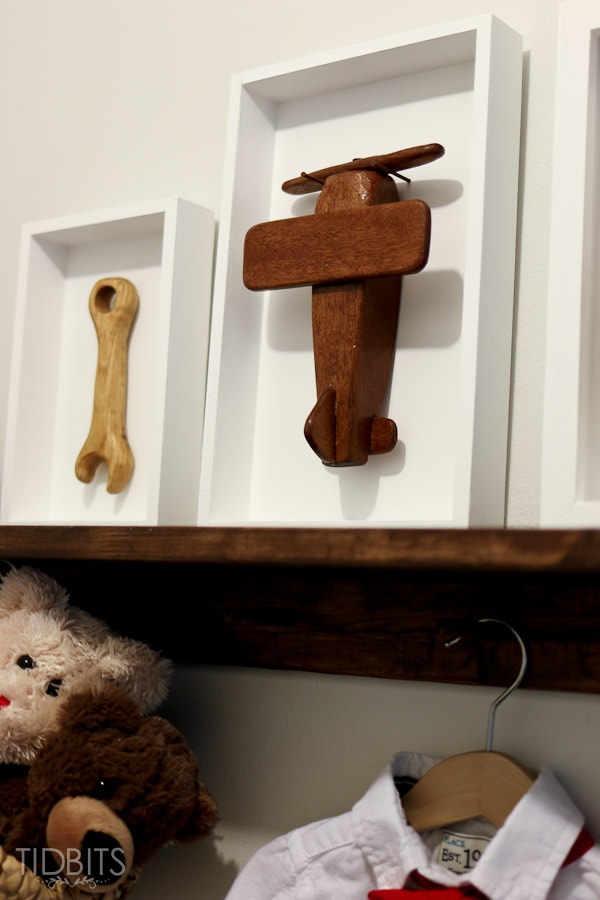
After the paint was dry, I centered the hammer inside the box and marked with a pencil, where I wanted 2 little nails to go.
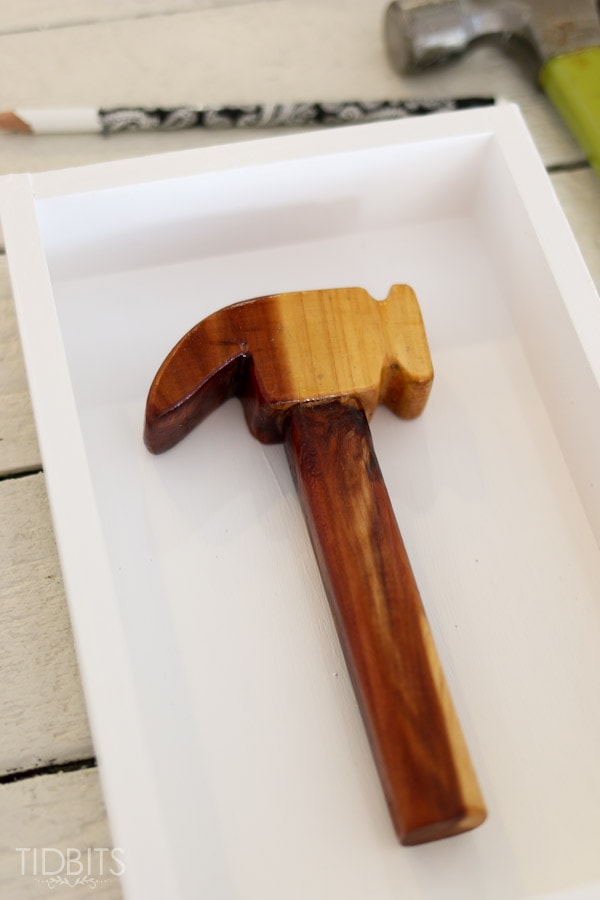
I nailed them in, only far enough to be secure, but not to go through the back of the frame. This was at my husbands bidding, as he nervously watched as I handled a real hammer and wood.
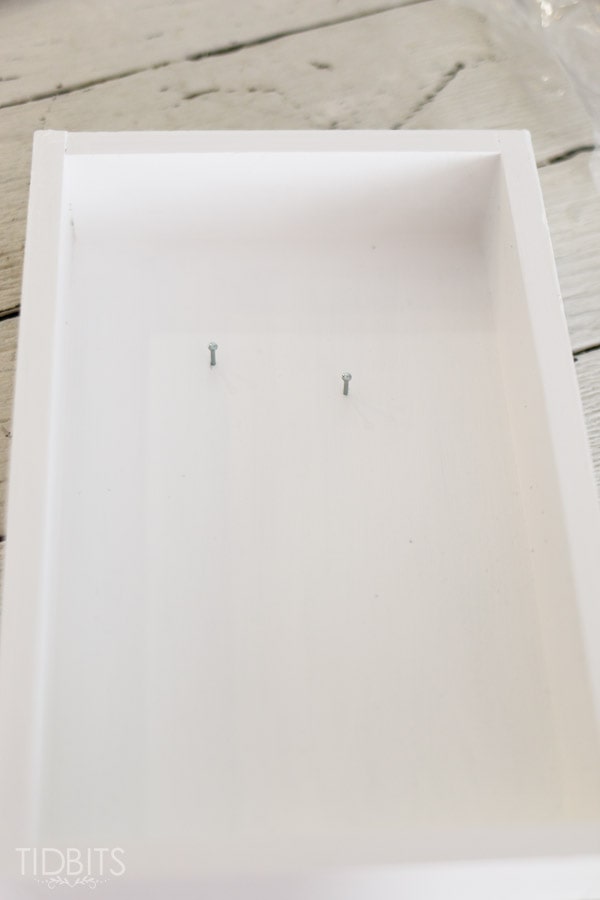
I was sure to place these nails strategically where they would hold the toy in place when upright.
I was pleased as punch, when it totally worked! So I did the same with the rest of the toys.
And needless to say, I felt pretty amazing.
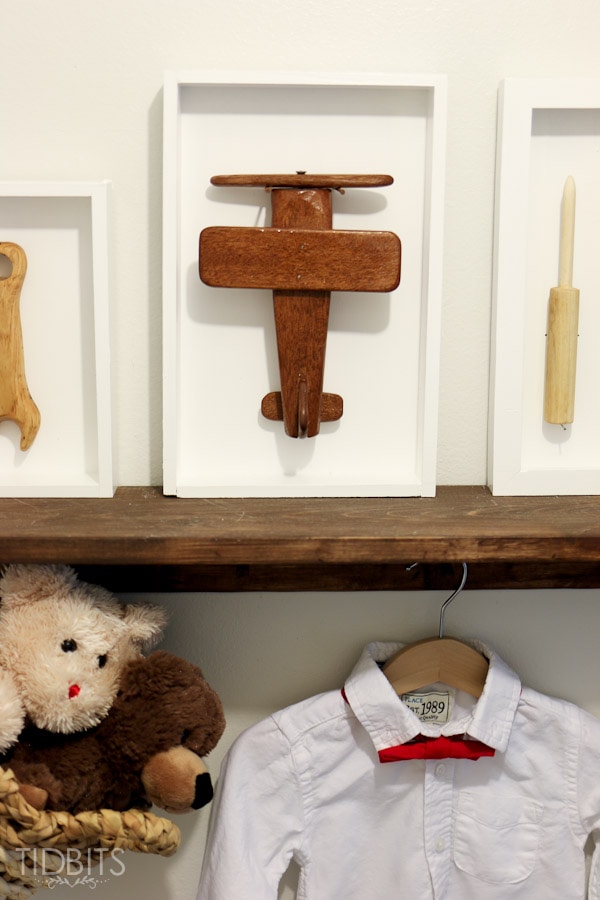
That is, until I got to the airplane, and hadn’t the slightest clue how to hold it up. That’s when my husband took over and found some rustic nails that matched the wood tones of the plane and stuck out long enough.
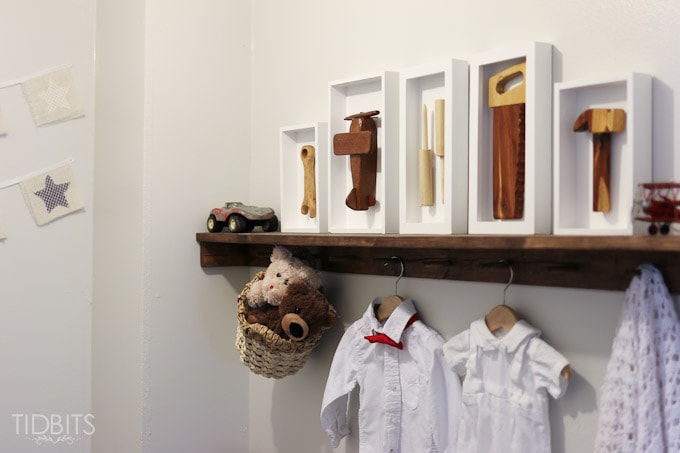
Now, every time I look in my babies room, and view my almost-completed-by-myself-woodworking-project, I give a little happy sigh.
Because I know these wooden toys will be adored and loved and played with for years to come – and I get to keep them on display.

Next up – full tour of our little nursery for our baby boy. But I am truly laughing, right now – because I actually called it a “tour”. Just you wait and see the space we have our little boy sleeping in! It is possibly the smallest nursery in the history of the world.
But, I still had to decorate it.
Don’t miss this next post! Subscribe below.
*Here are all the link parties where I will be sharing.


bellissimi!!! adorabili!!!!