
This post may contain affiliate links, which means I get a small percentage of the sale at no extra cost to you. I only recommend items I love and have had a positive experience with. Thank you!
Setbacks, progress and several design solutions for the walls and wall treatments in our RV renovation project. No need to settle for the manufactured solutions! Video included.

I went out on a limb and posted a not-so-pinterest-perfect image on my Instagram feed, showing the progress we’ve made on the RV. To my surprise, it was more than welcomed! Even though I am more of a before/after gal, I am more than happy to oblige and take you all along for more of this RV renovation process.
Would you like that too? What other things would you be curious to see? Let me know in the comments below.
I hope the little glimpses will help you catch my vision rather than question my decisions!

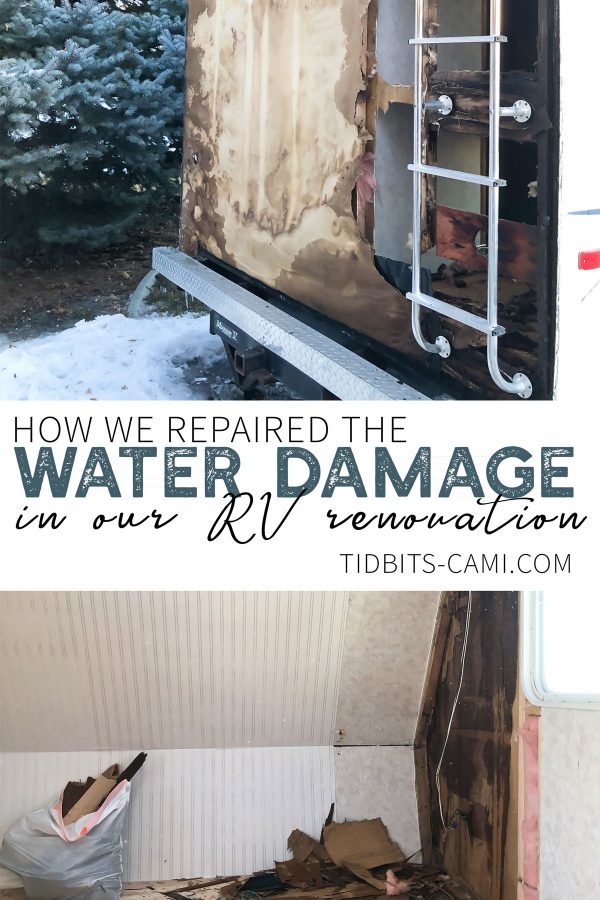
Today you’ll see the good, bad, and lots of ugly as we discovered water damage, and made slow progress towards making the “TIDBITS mobile” our tiny home on wheels while we build our next home.
I would love to have you also follow me along on Instagram and in my Instagram stories to catch the current and most up to date progress as we continue on this journey. It is a lot easier to share quick changes there.
The whole process began by accessing the walls and the changes we wanted to make for the shell of the RV. Watch this video I made on a whim to show you the varying wall treatments we’ve done to improve this outdated and poorly treated RV. You can also go back and read my announcement and plans for this RV, if you haven’t done so already.
I’d love to have you read on as I detail our process and design plans for renovating the RV walls.
WATER DAMAGE IN RV WALLS
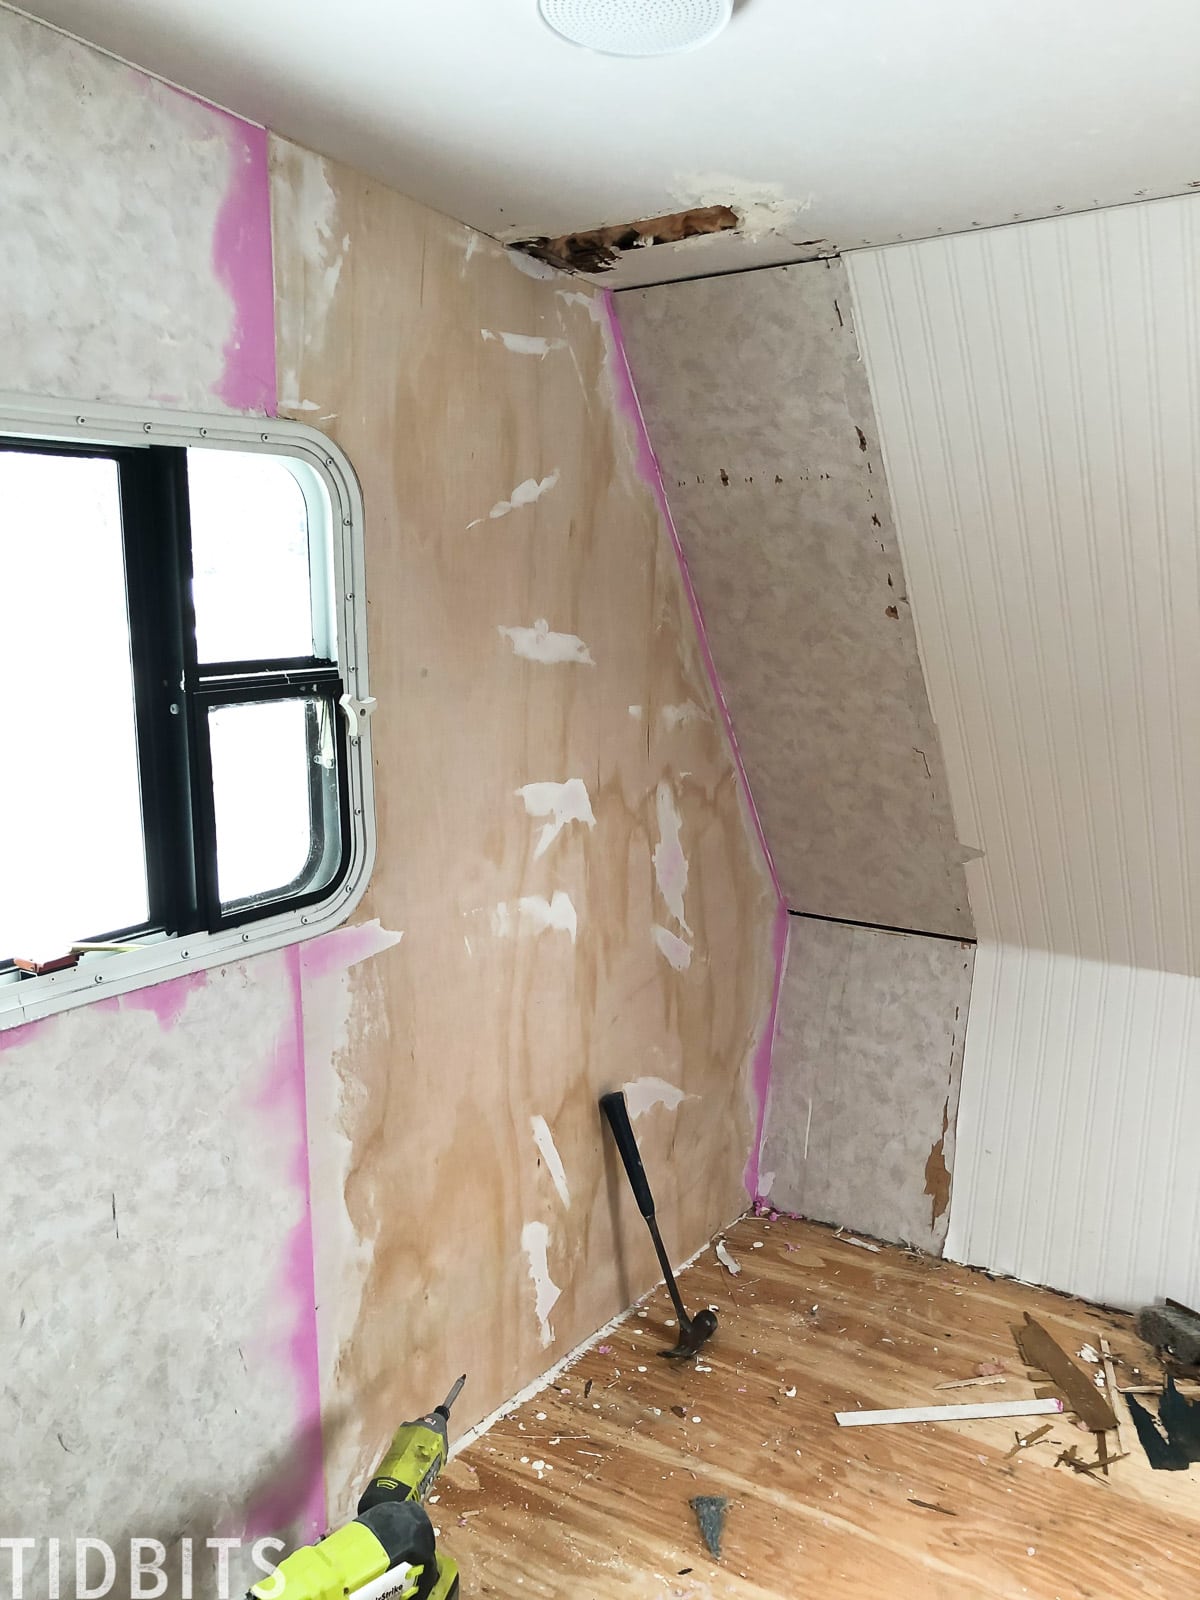
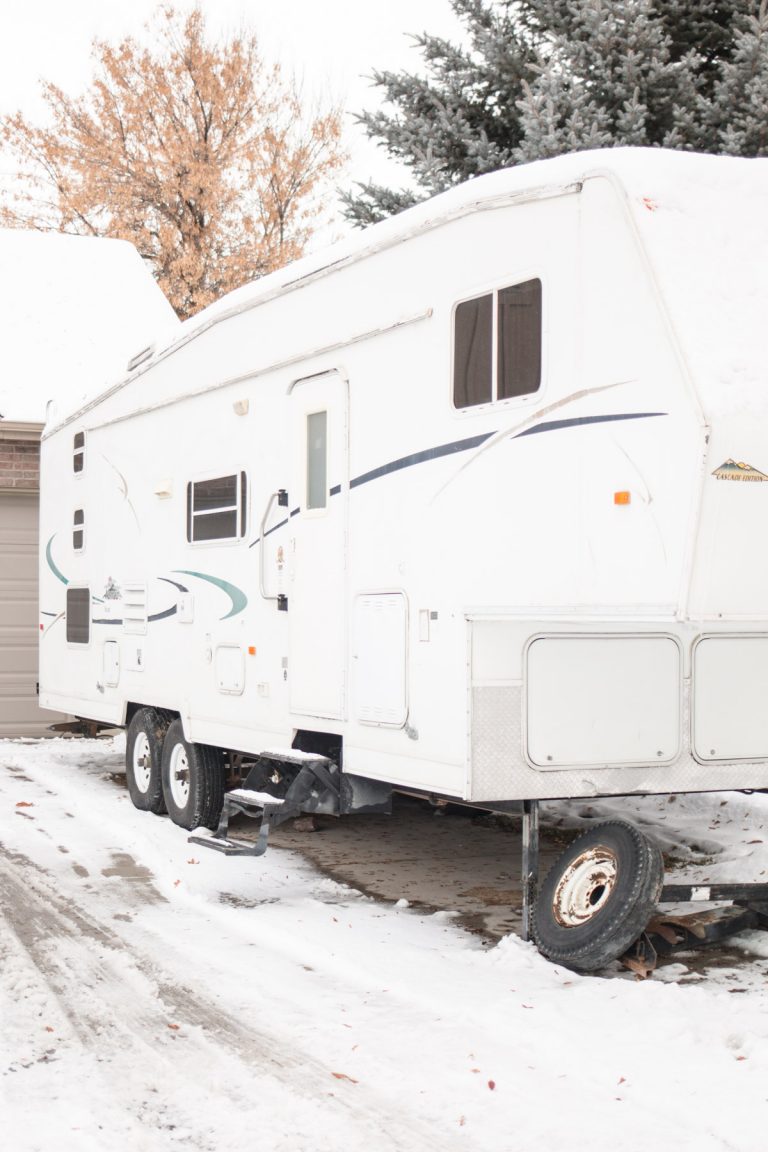
As we began to dive into the walls – the first order of business – we discovered the front and back walls felt a bit squishy and suspected wood rot. Now, ideally this is something you should inspect before purchasing an RV. We bought this baby for a steal and “as is”, and figured there may be issues we would have to address. But it was all we could afford to buy if we wanted to make drastic and fun updates to an RV.
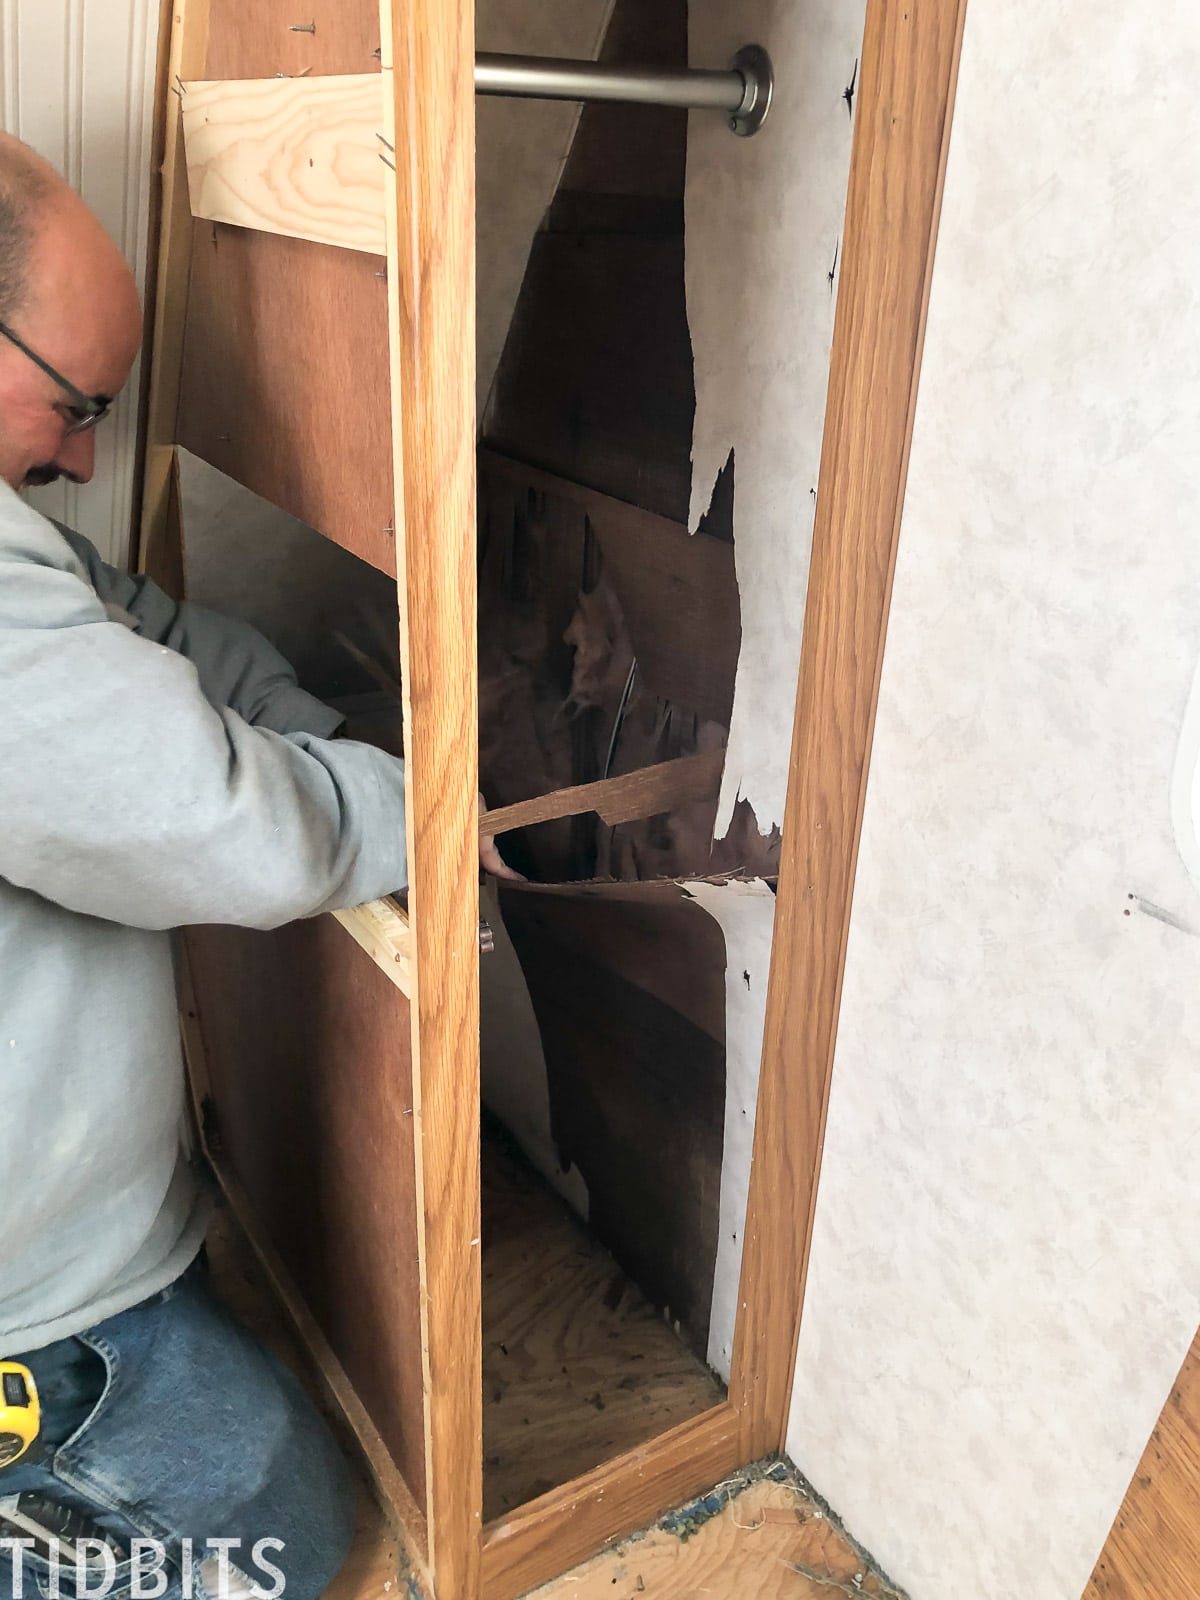
The scene was pretty nasty and set us back about 2 weeks, which was not good for our timeline (we have to be moved out by March 31!). But my wonderful Mr. TIDBITS stayed positive through it all and did what had to be done.
The whole entire back had to be removed and rebuilt, and most of the side walls on the front end. He found the spots where the water was leaking in (for who knows how long) and sealed up what he could.
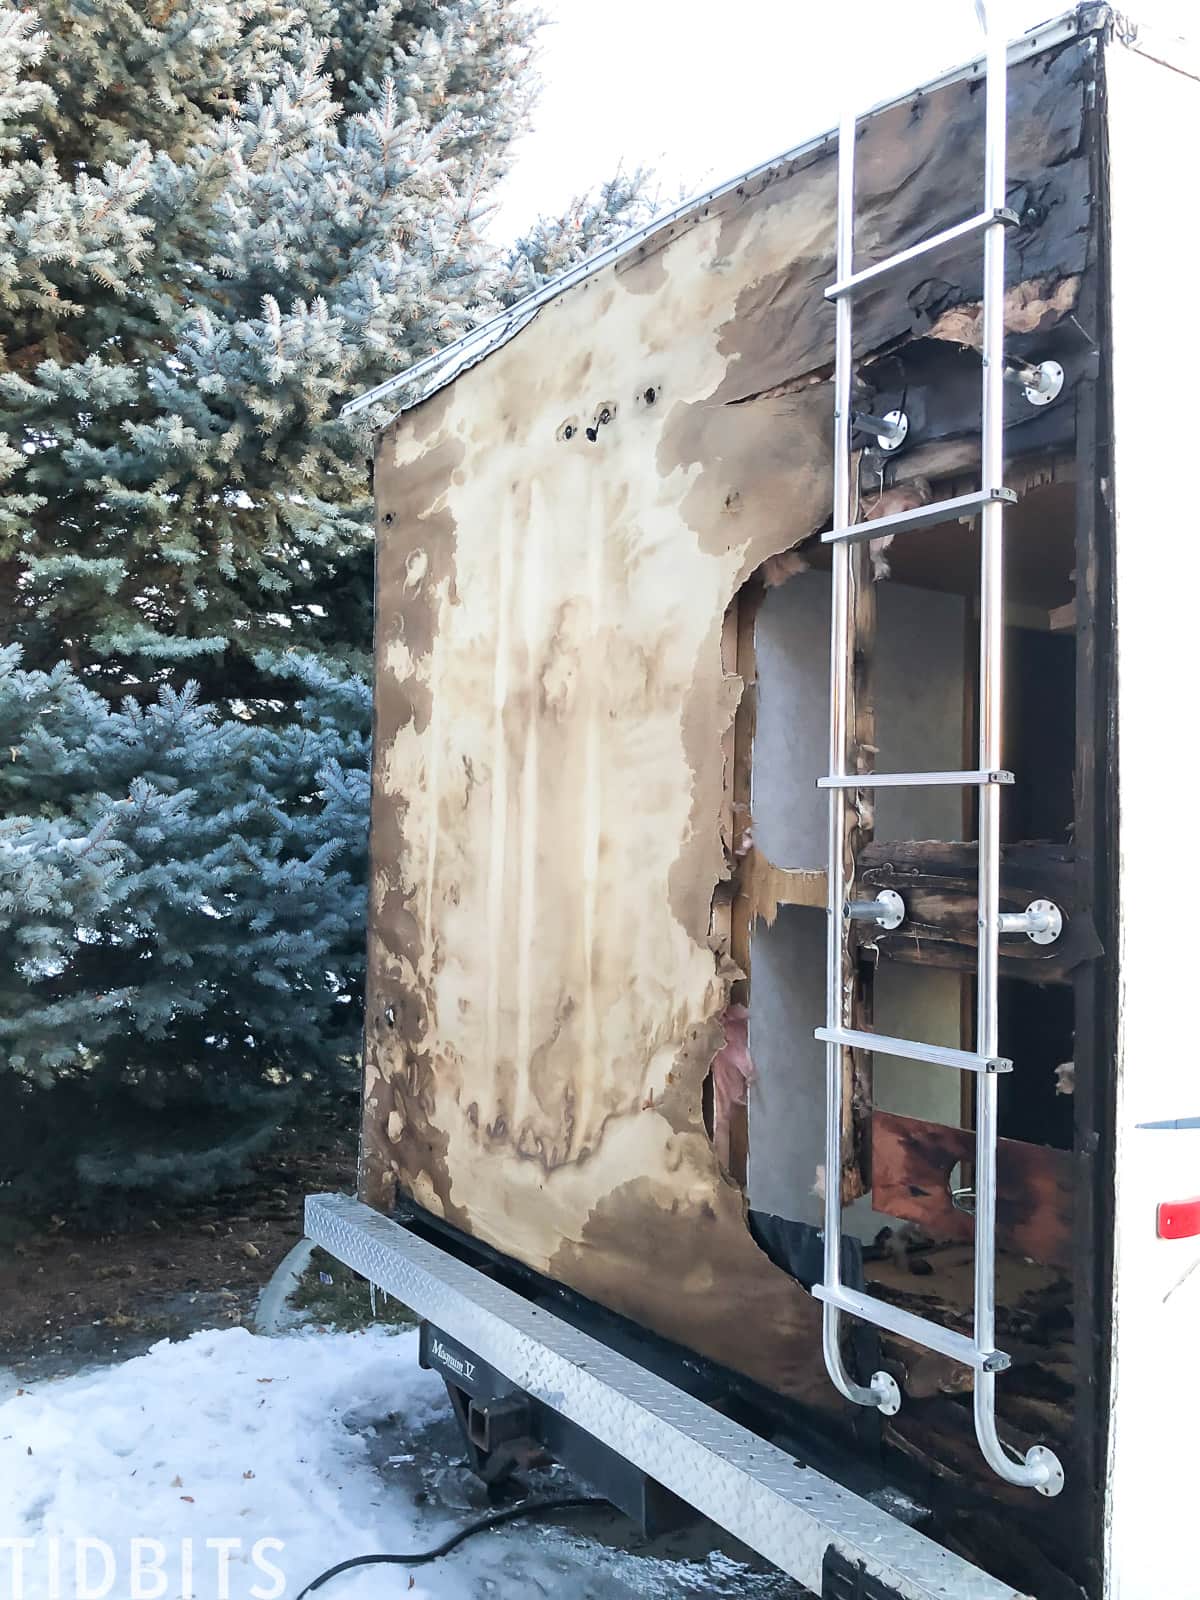
The worst spots were on top and we couldn’t use the sealant in below freezing temperatures. We have placed a tarp over the top and plan to seal it well when the weather is warm enough. But for now, we must proceed.
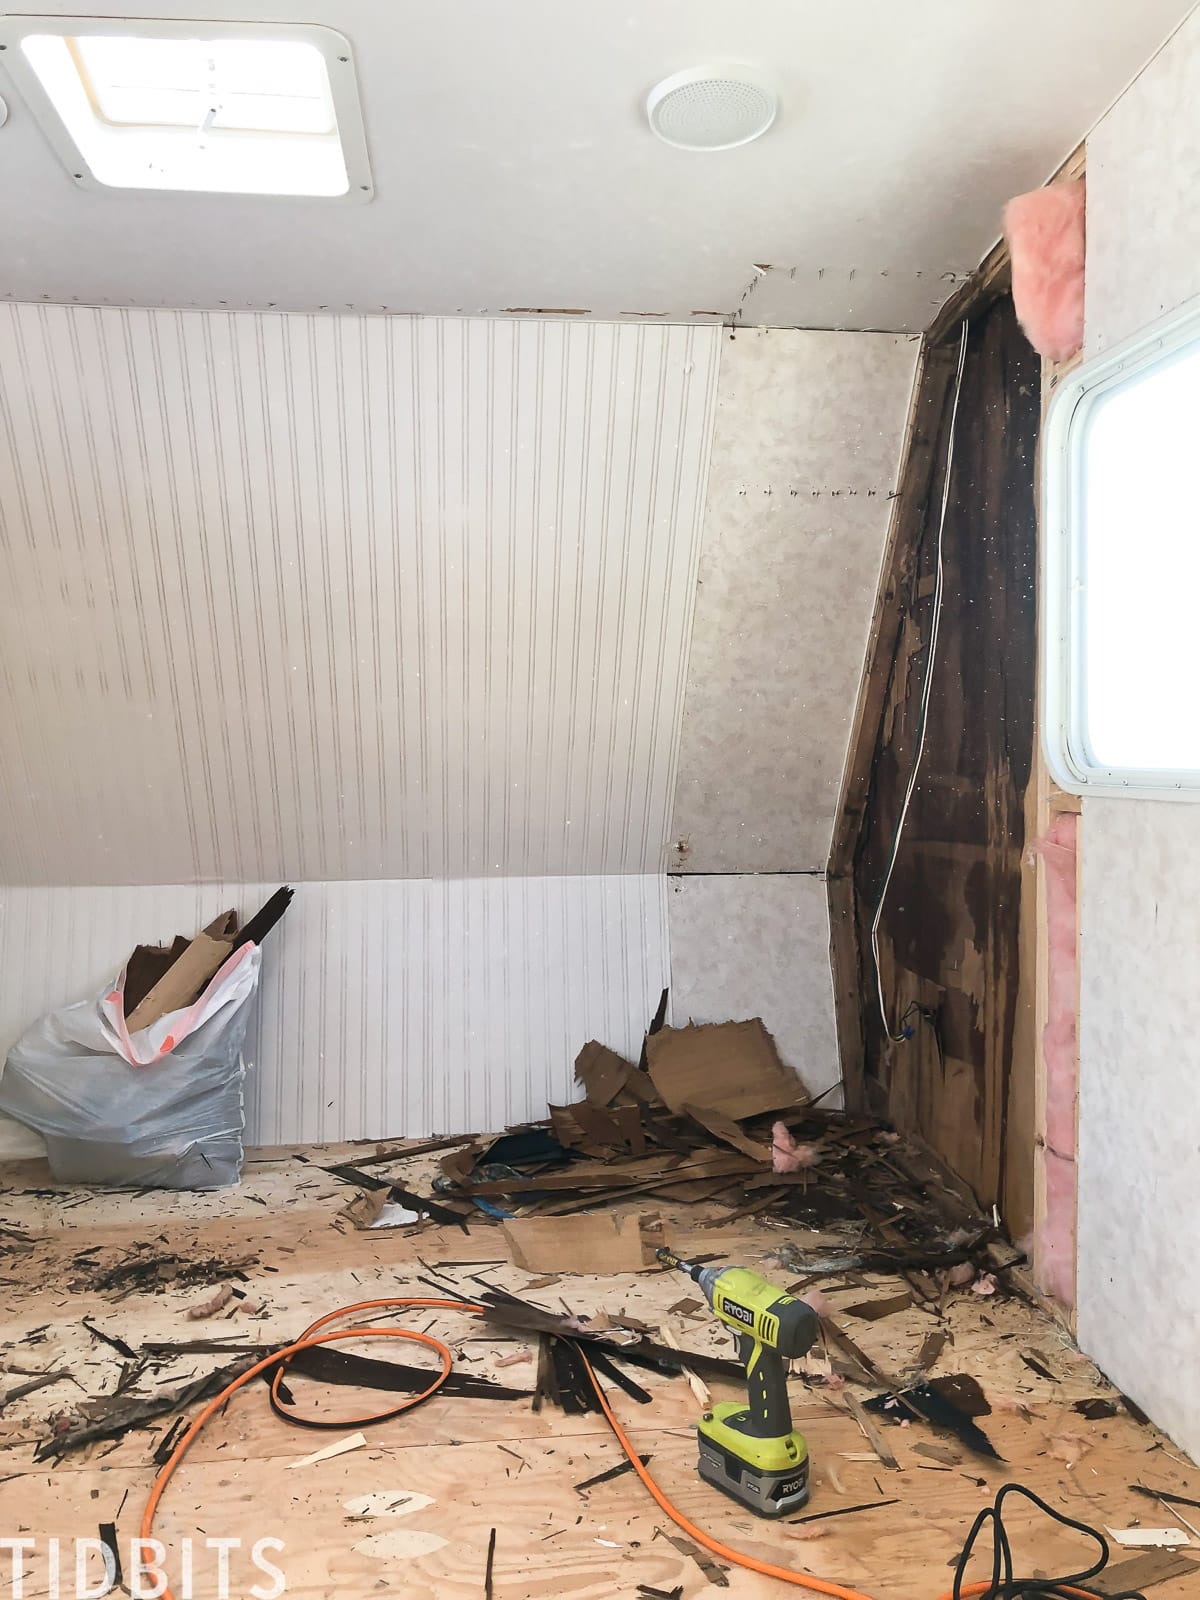
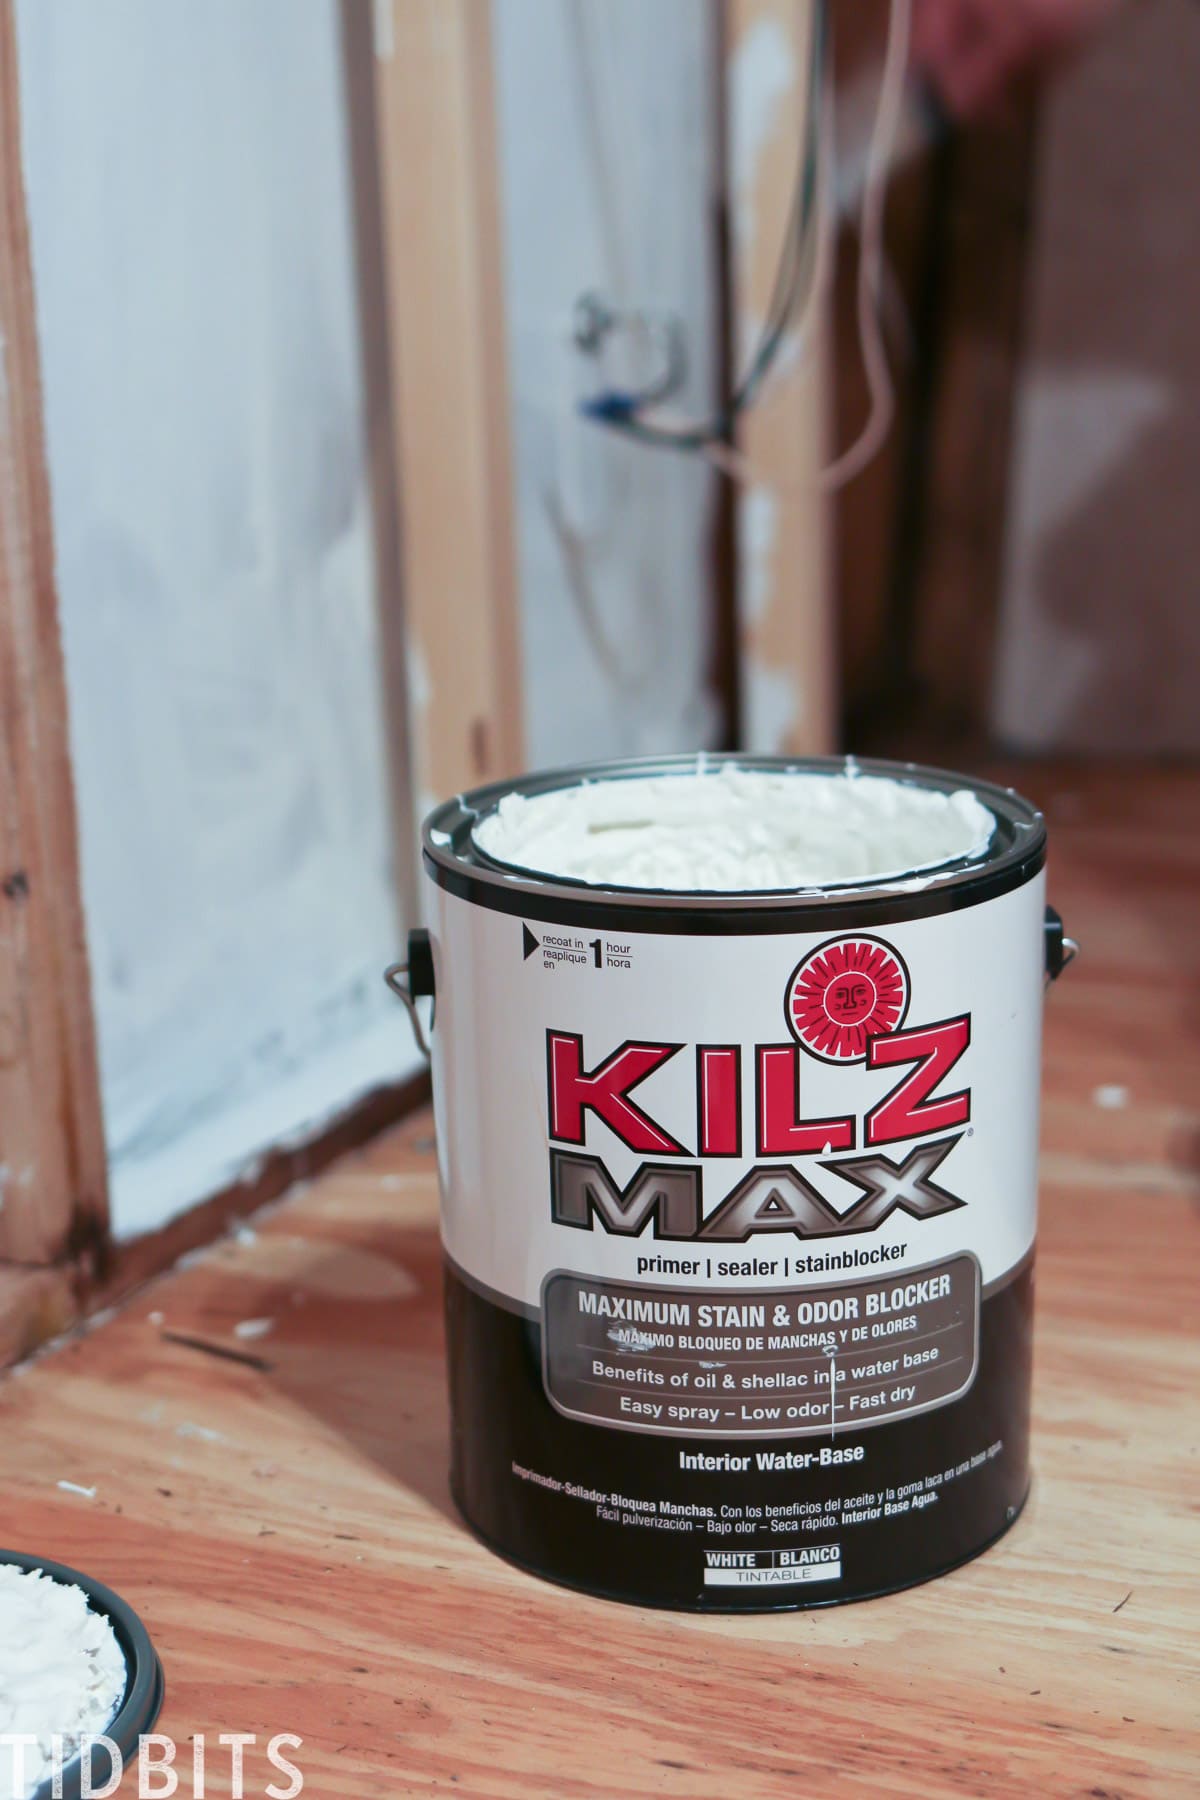
Before we covered it back up, we sprayed it with a bleach/water solutions, and we painted the whole damaged insides with KILZ Max, to seal and block any odor or kill any mildew that may have survived.
Then he replaced it with new insulation and wood and patched up the walls.
PREPPING AND REPAIRING THE WALLS
We opted to remove a lot of the RV manufactured cabinets, which left a lot of damage to the surface of the walls. You’ll understand more why we went this drastic when we wrap up this project. I am sure this “gut job” will prove a huge improvement and leave us with a very unique RV better suited to our needs.
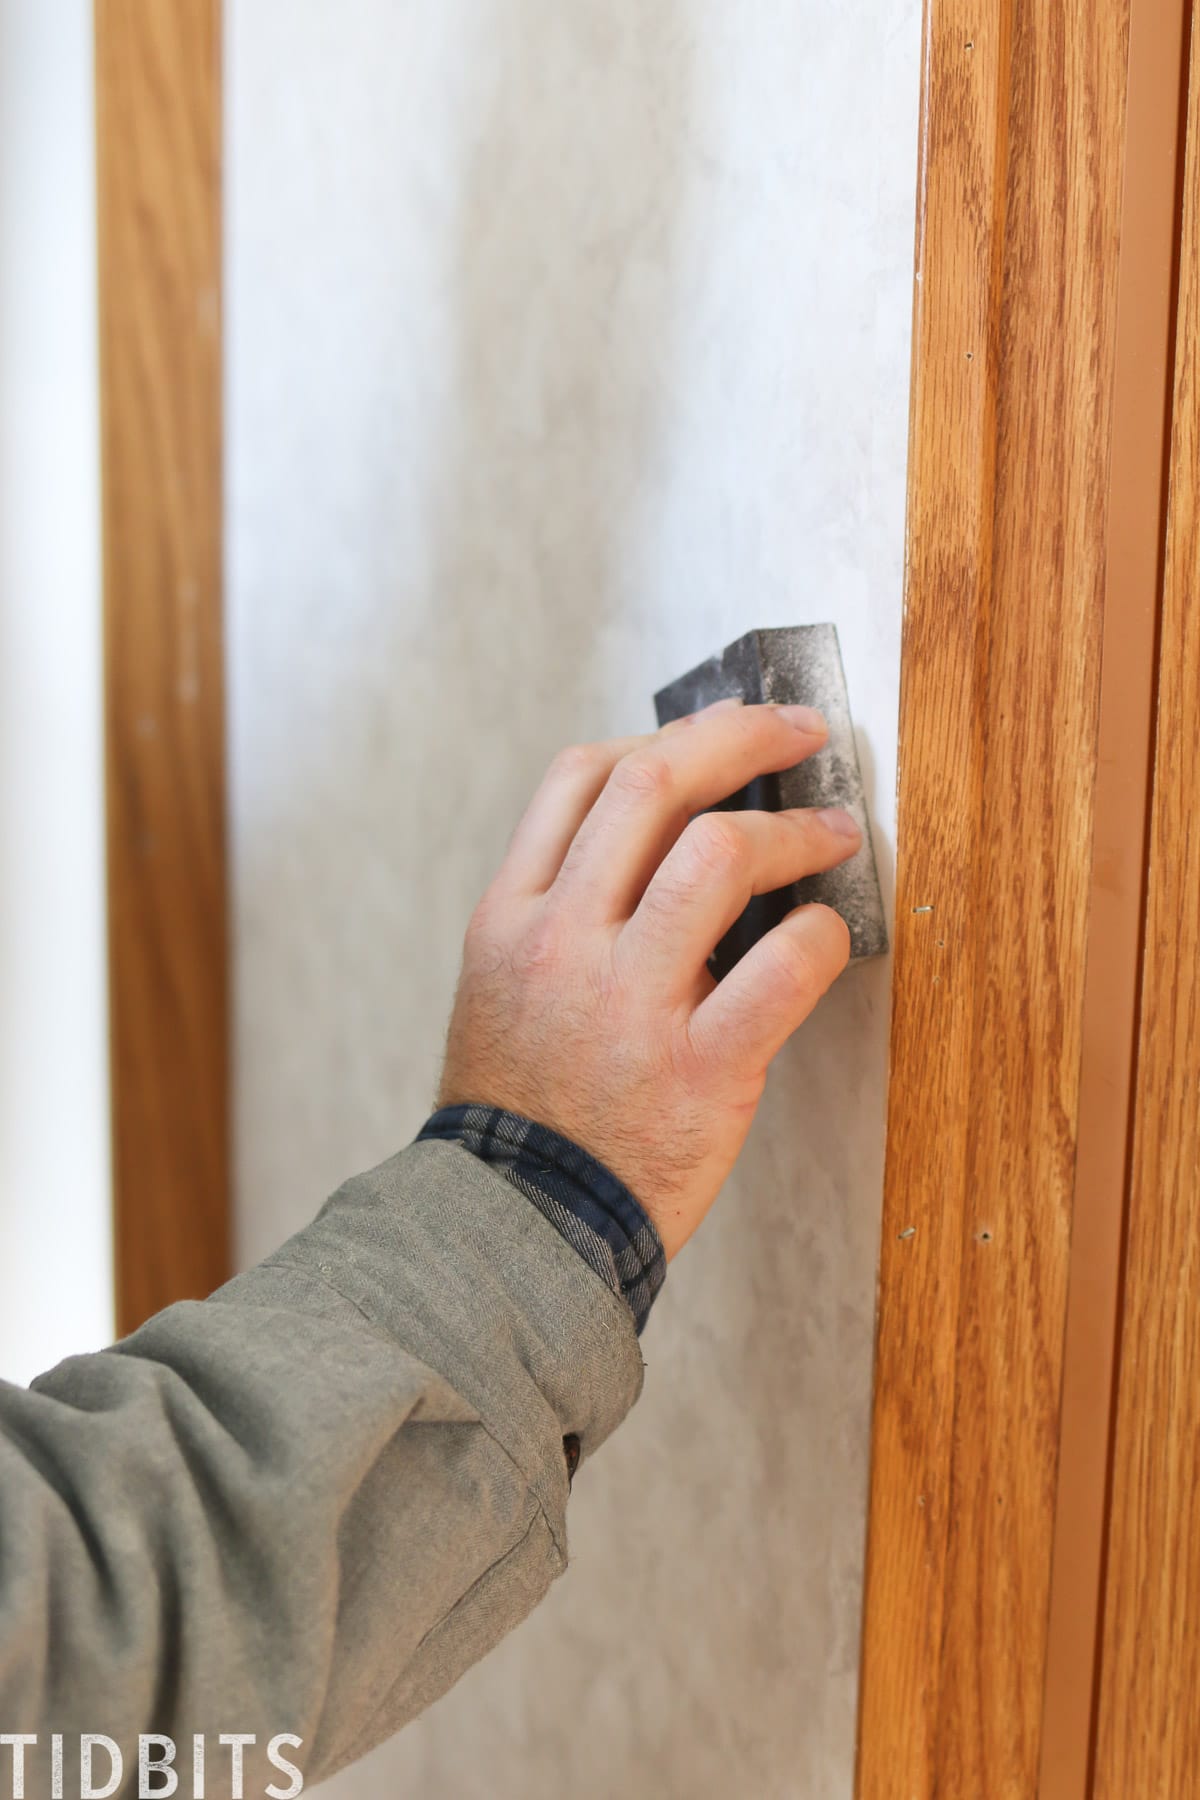
My husband carefully patched any holes and sanded the walls to a smooth surface, preparatory for the many wall treatments ahead.
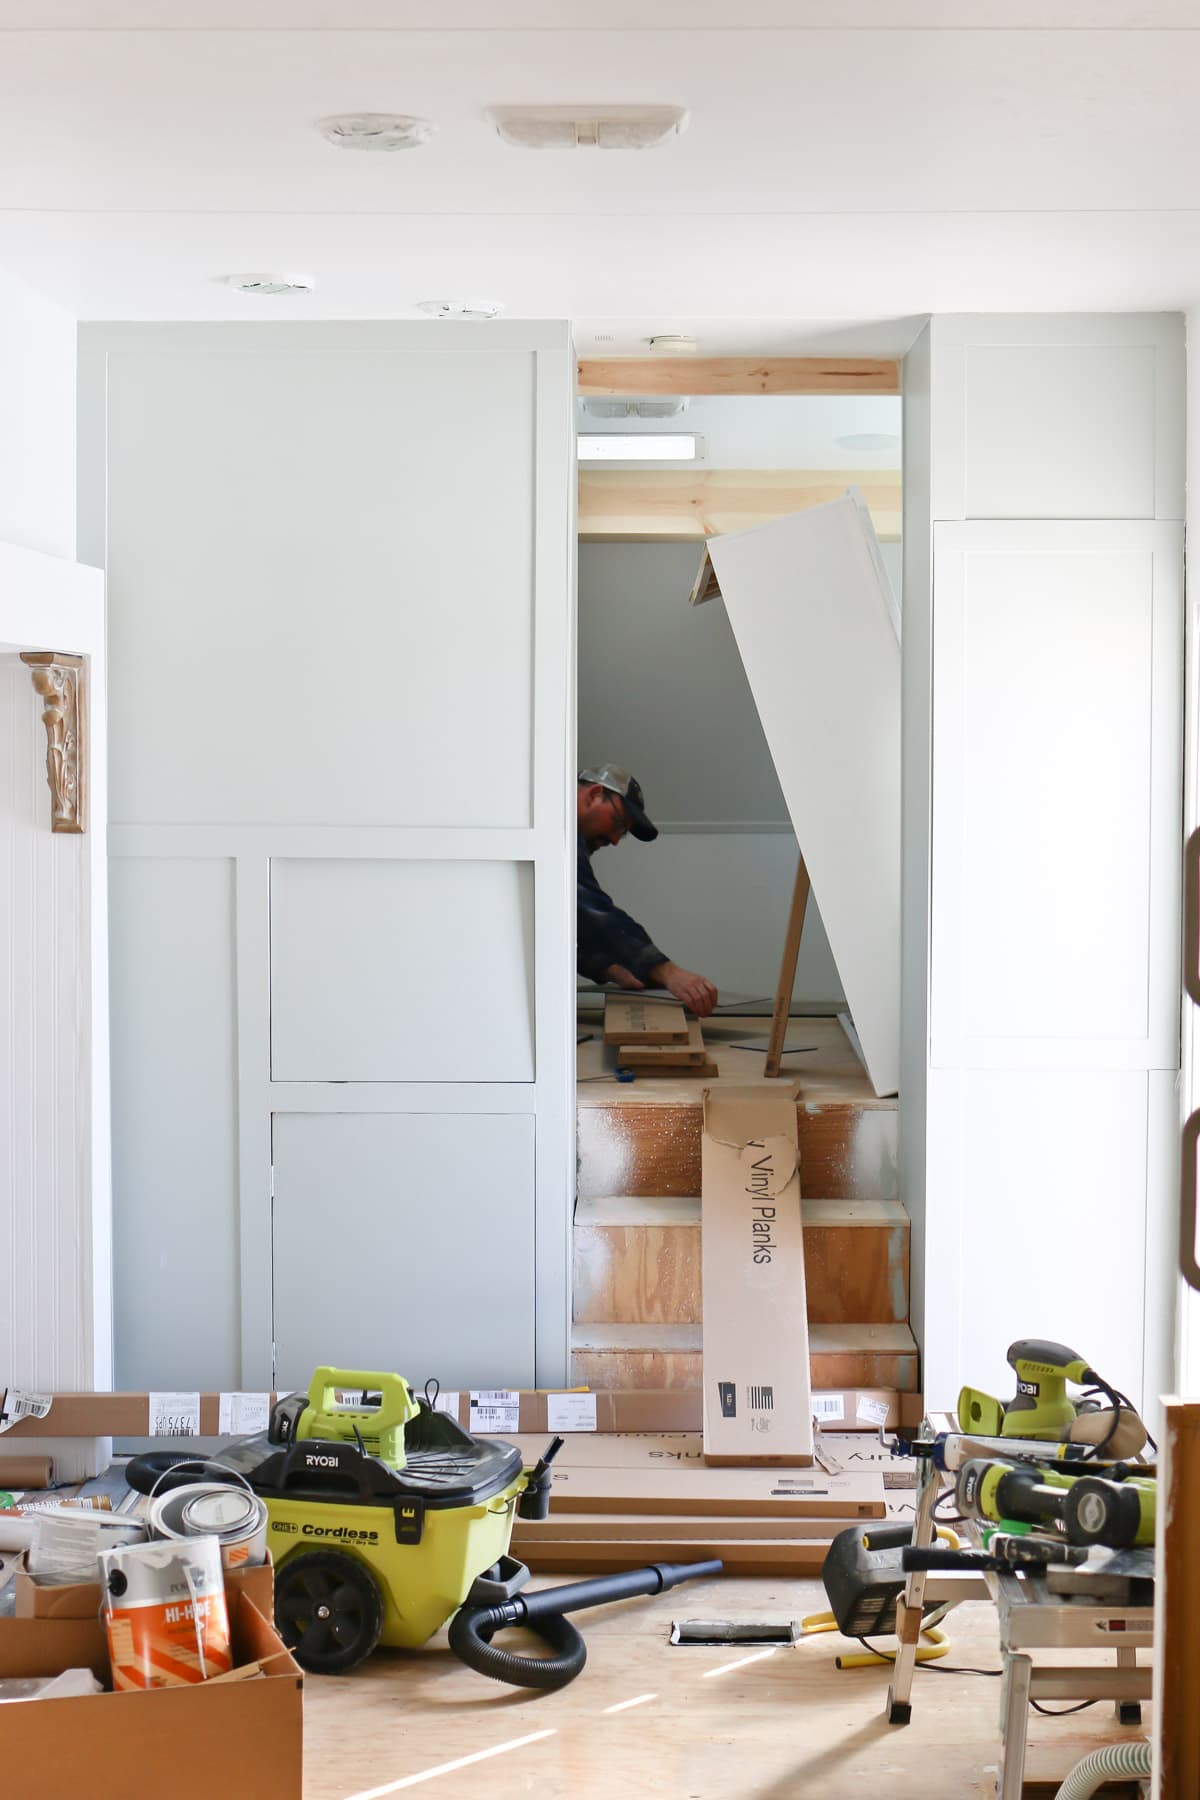
PAINTING THE RV WALLS
Before painting any surface, we sprayed every surface with primer. We have the most knowledgable and helpful local paint store, and they highly recommended to layer all the cheap wood, new wood, and manufactured wallpaper surfaces with Porter Paint’s Stain Blocking Primer Finish. We’ve used this stuff so many times, and it never disappoints.
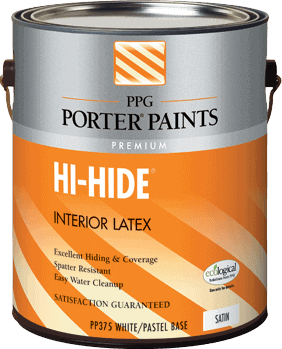
Then most of the painted surfaces were covered with tinted varieties of Porter Paints Hi-Hide, another paint we use frequently.
When I share the reveal, I’ll be sure to share all the paint colors when you can see them better, but most of the RV is a cool white, Chantilly Lace by Benjamin Moore.
There was not a whole lot of surfaces that were going to be paint only, but we quickly discovered the challenges of working in such tight quarters. We’ve been moaning about our backs for weeks!
And yes, you absolutely can paint right over the RV manufactured wallpaper. Don’t even try to remove it! It is pretty permanent. Borders come off easily, but the rest is better covered with wallpaper or primed and then painted.
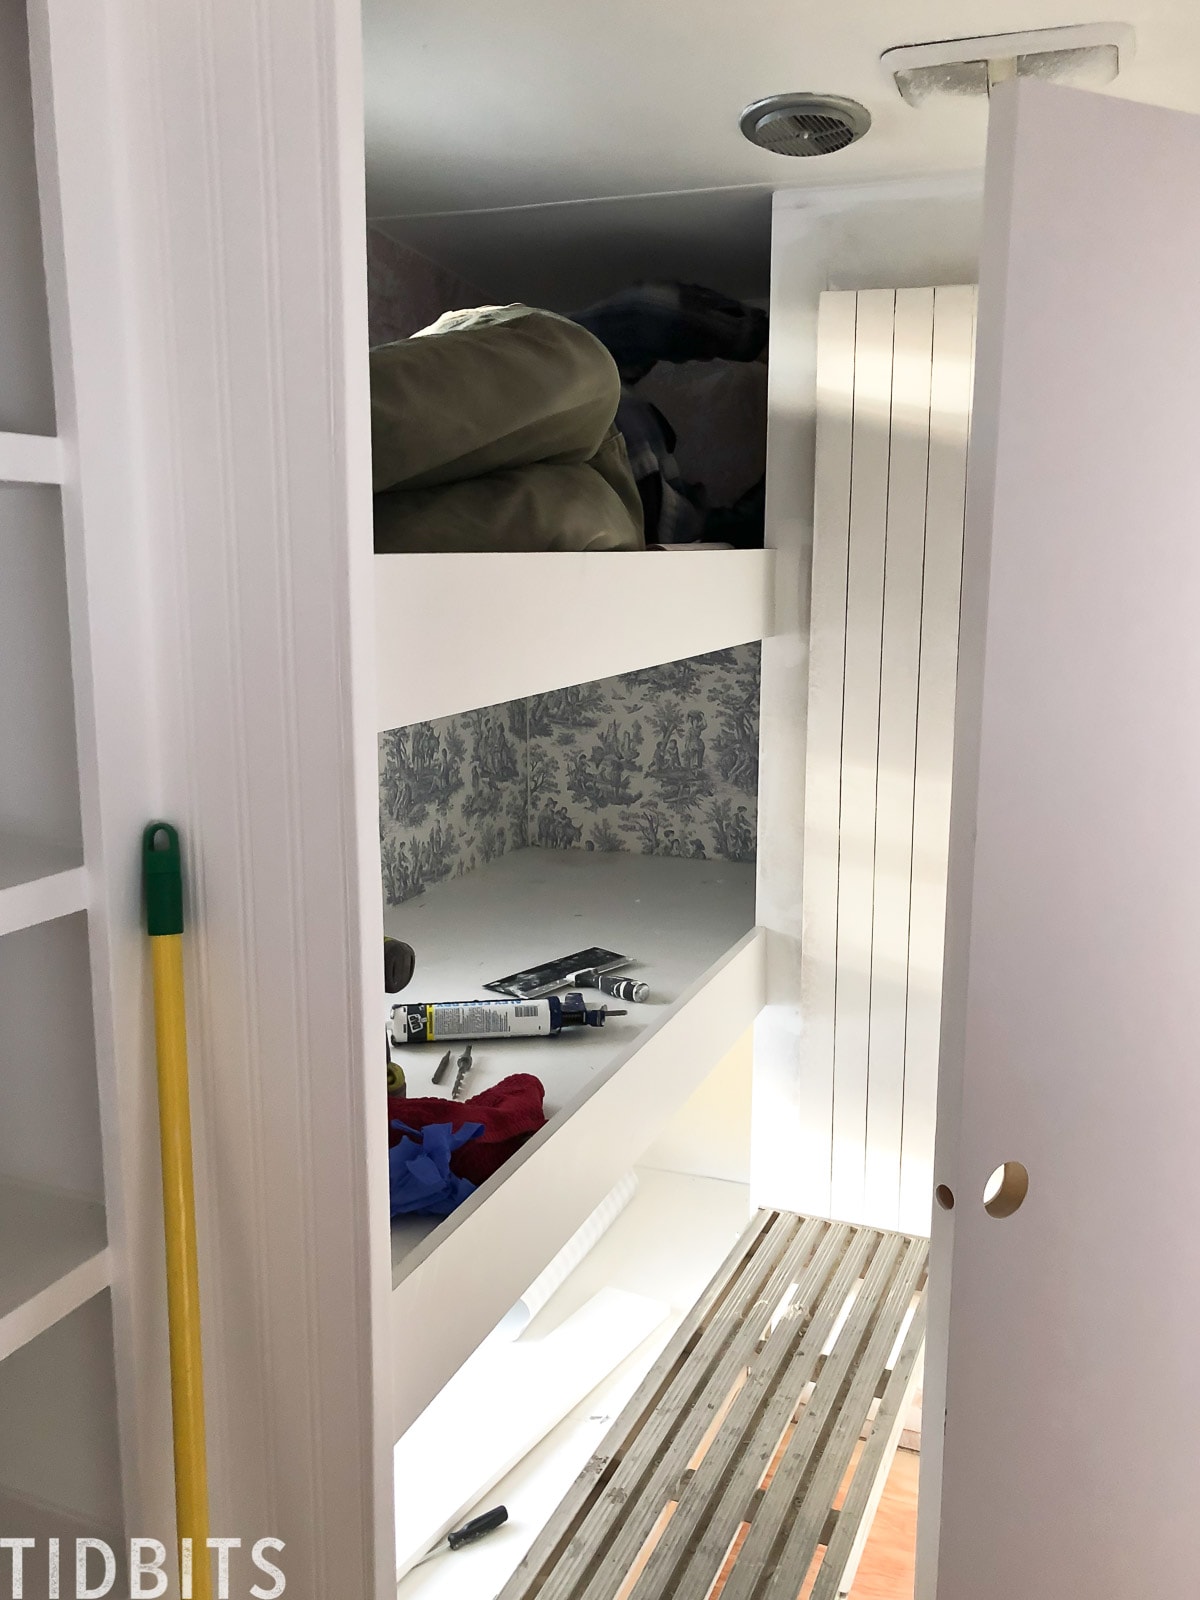
CUSTOM RV WALL TREATMENTS AND DETAILS
There were a few awkward nooks and crannies in this RV that I felt would work better and look better if we rebuilt and redesigned. Actually . . . that was the case for most of it. I’m most excited about our hidden storage compartments and the new look of what I am calling our “entertainment walls”.
Be sure to check out the video above, as I was able to take you through the details of this spot much better.
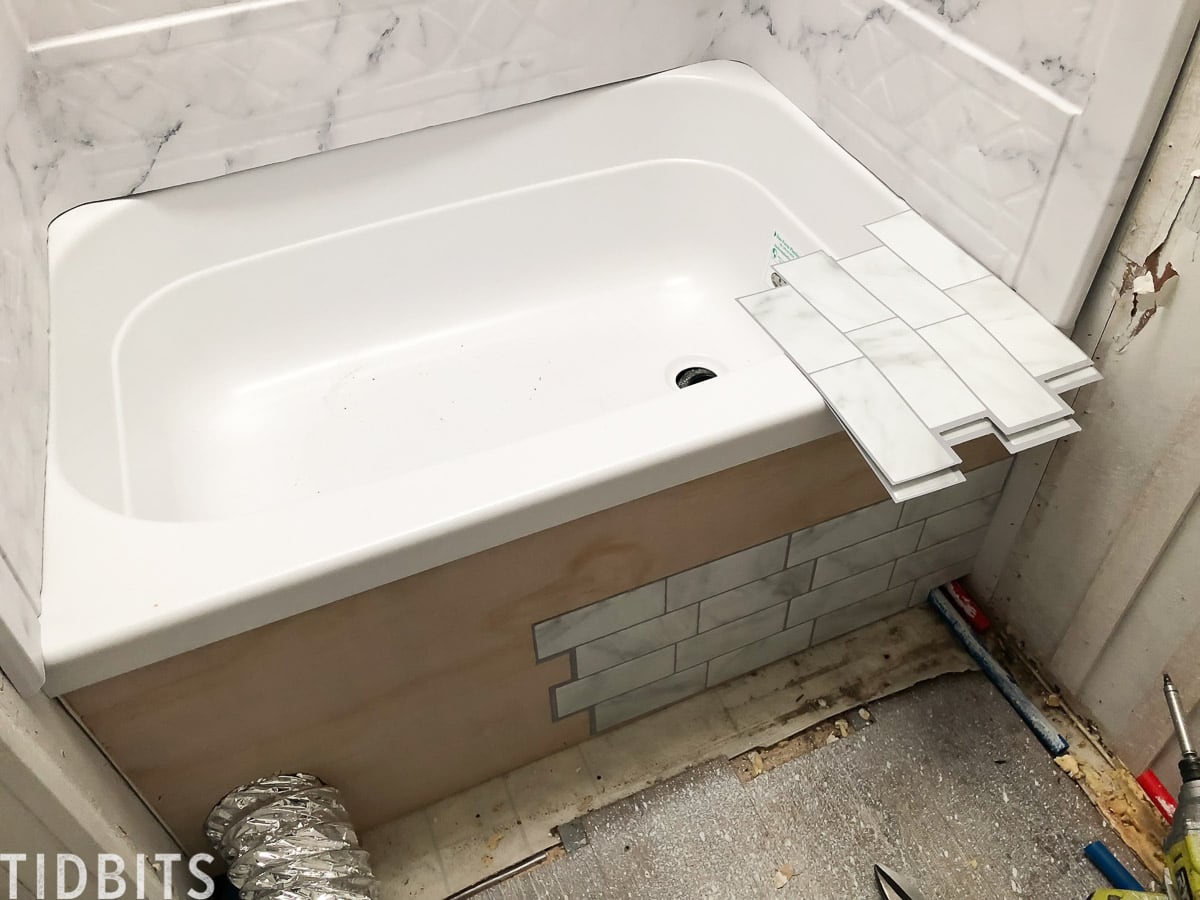
We also started working on the wall surfaces in the tiny bathroom. We purchased an upgraded faux marble shower surround, which is a huge improvement to this space. We also added some heat and humidity proof Smart Tiles to the the tub front. The marble peel and stick is a piece of cake to install and looks so good! Both of these items were sourced for us by my friends at Dyers Online, an incredible resource for RV parts and they have been a huge help for me during this project.
RV WALLPAPER SOLUTIONS
Admittedly, the thoughts of wallpaper usually make me shudder. However, I found a variety of wallpaper that proved to be the perfect solution to hide unsightly walls, add detail and provide loads of character to our RV.

We’ve used 3 different types of wallpaper throughout the RV:
- Pre-Pasted Wallpaper
- Paste Wallpaper
- Peel and Stick Wallpaper
Our favorite has been the pre-pasted. It is easy to wet and apply, and still allows for maneuvering and readjusting once you get it on the wall. The peel and stick is super sticky and can be challenging to reposition if needed. The paste is just kind of messy.
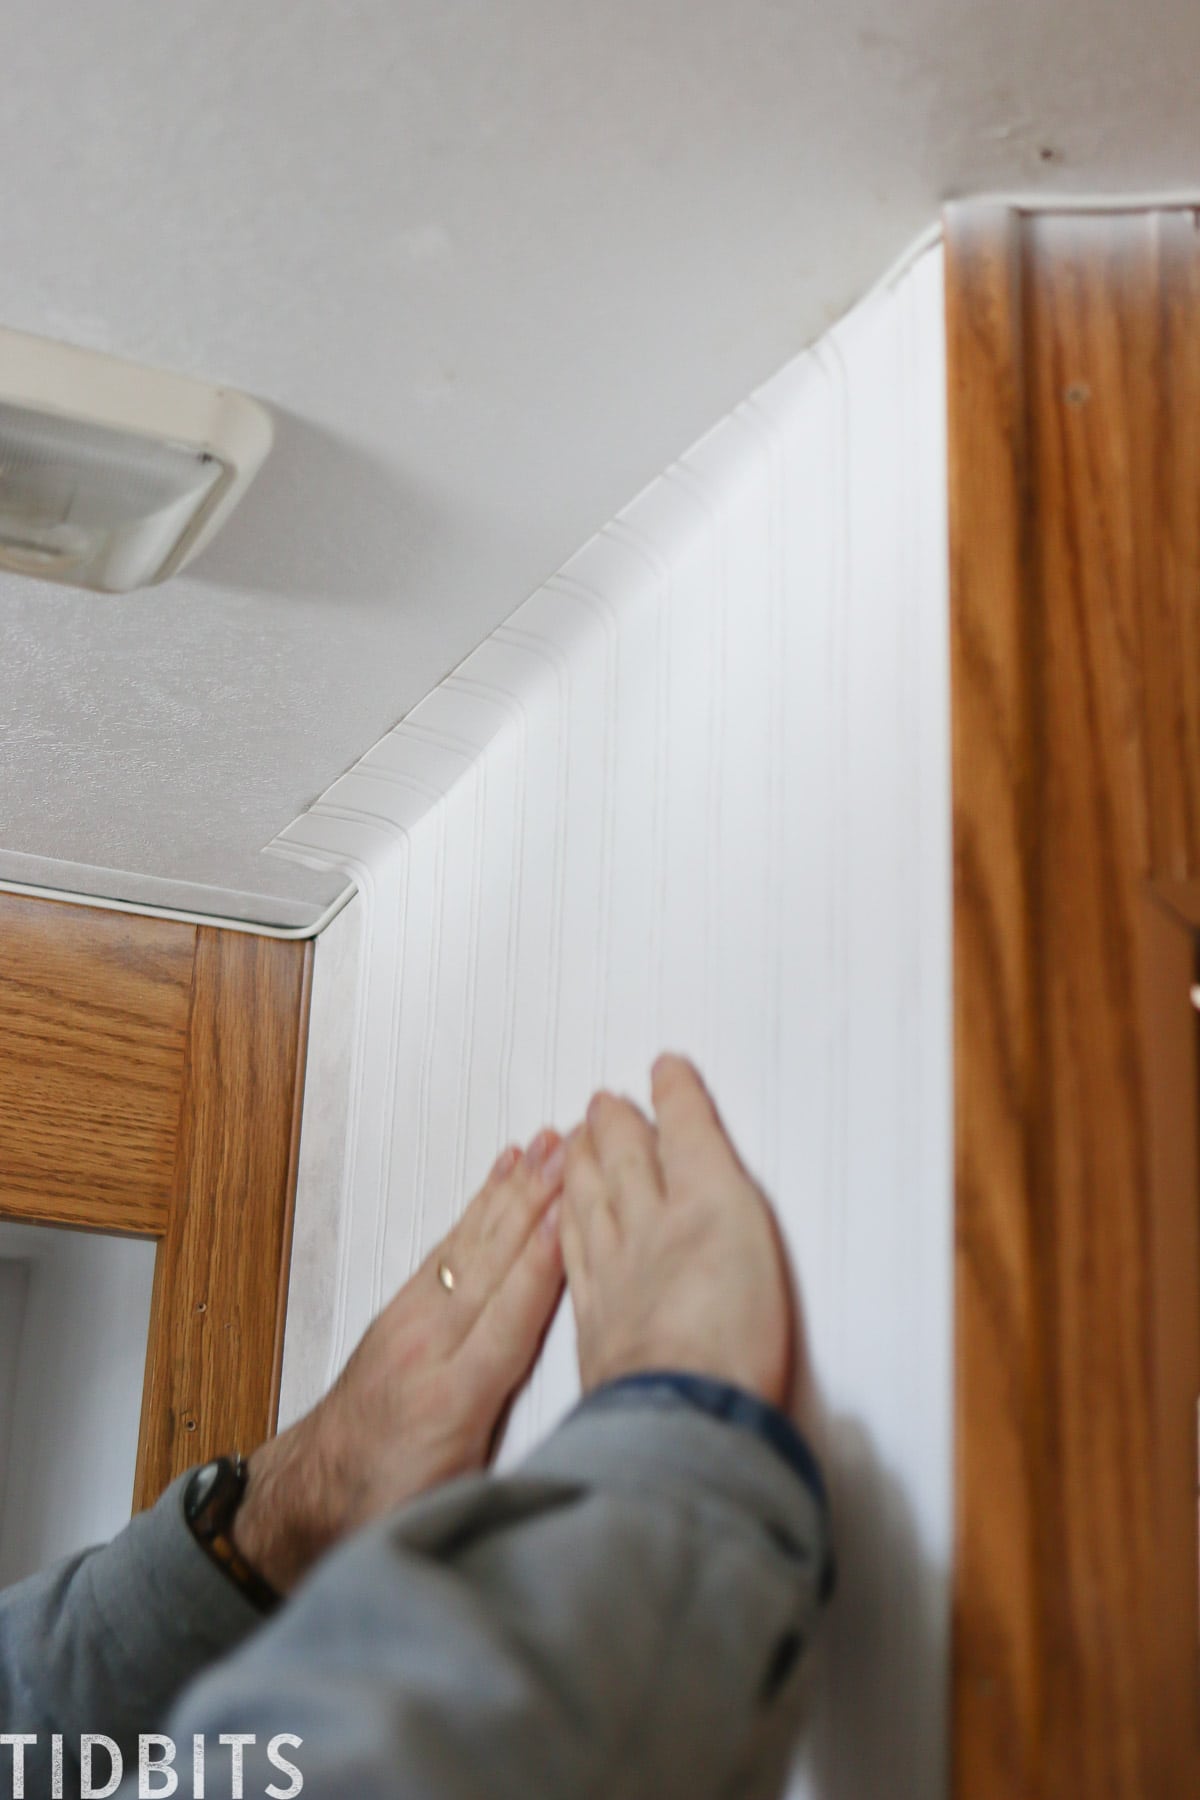
Paintable beadboard wallpaper covers most of the wall surfaces, which I felt was a stroke of genius on my part (so humble 🙂 ) It has given a nice cottage vibe to the RV, and has still allowed me the pleasure of choosing my own paint colors without too much color and pattern (because too much color and pattern stress me out . . . apparently).
Better yet, it hides any wall flaws perfectly.
This pre-pasted paintable beadboard wallpaper came from Home Depot, and was so easy to wet and apply.
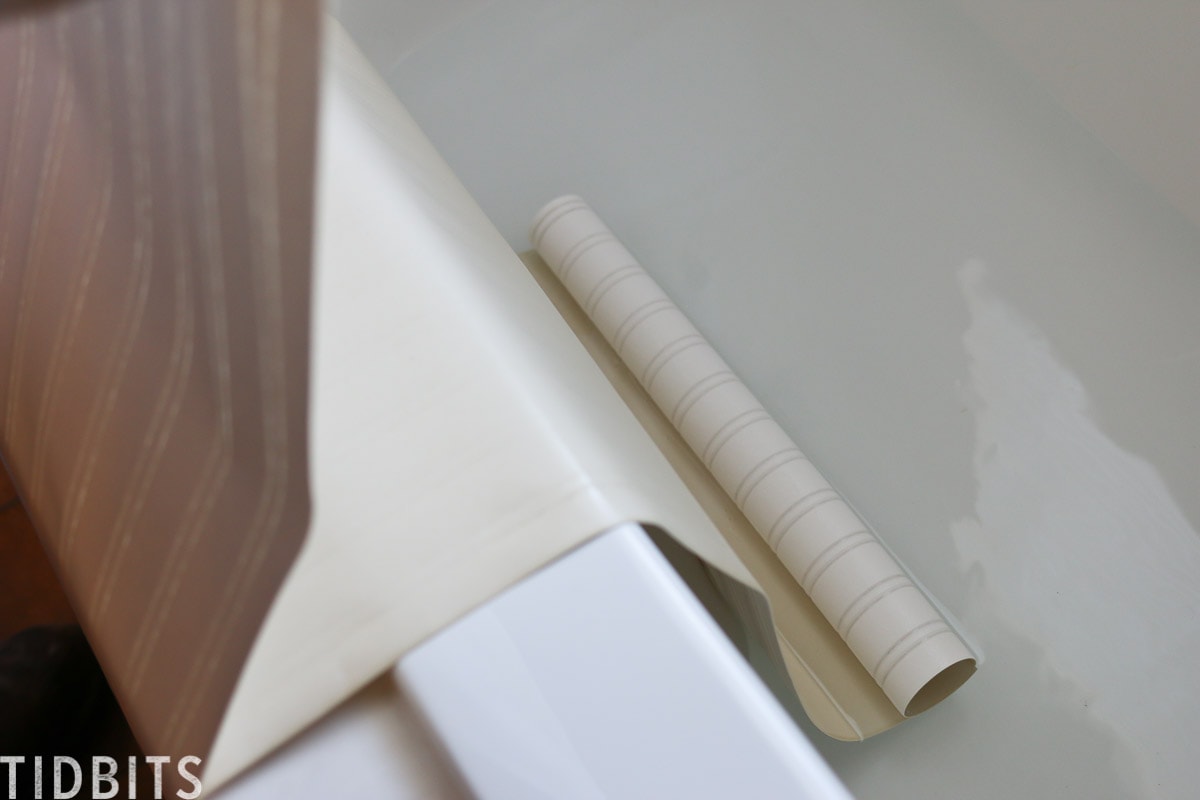
We simply filled a tub with some water, slowly un-rolled the wallpaper out of the water, and then folded it into itself while we brought it out to the RV. This is called “booking”.

Then you can stick it up and wiggle it around to the exact spot you want it. We found it best to overlap in the corners and edges and then come around later after it has dried, and with a scraper and blade trim the edges. We were sure to scrape out any bubbles as well. Once it is dry, you can paint right over the wallpaper!
Working around windows and outlets makes the job a bit trickier, but can be done with care.
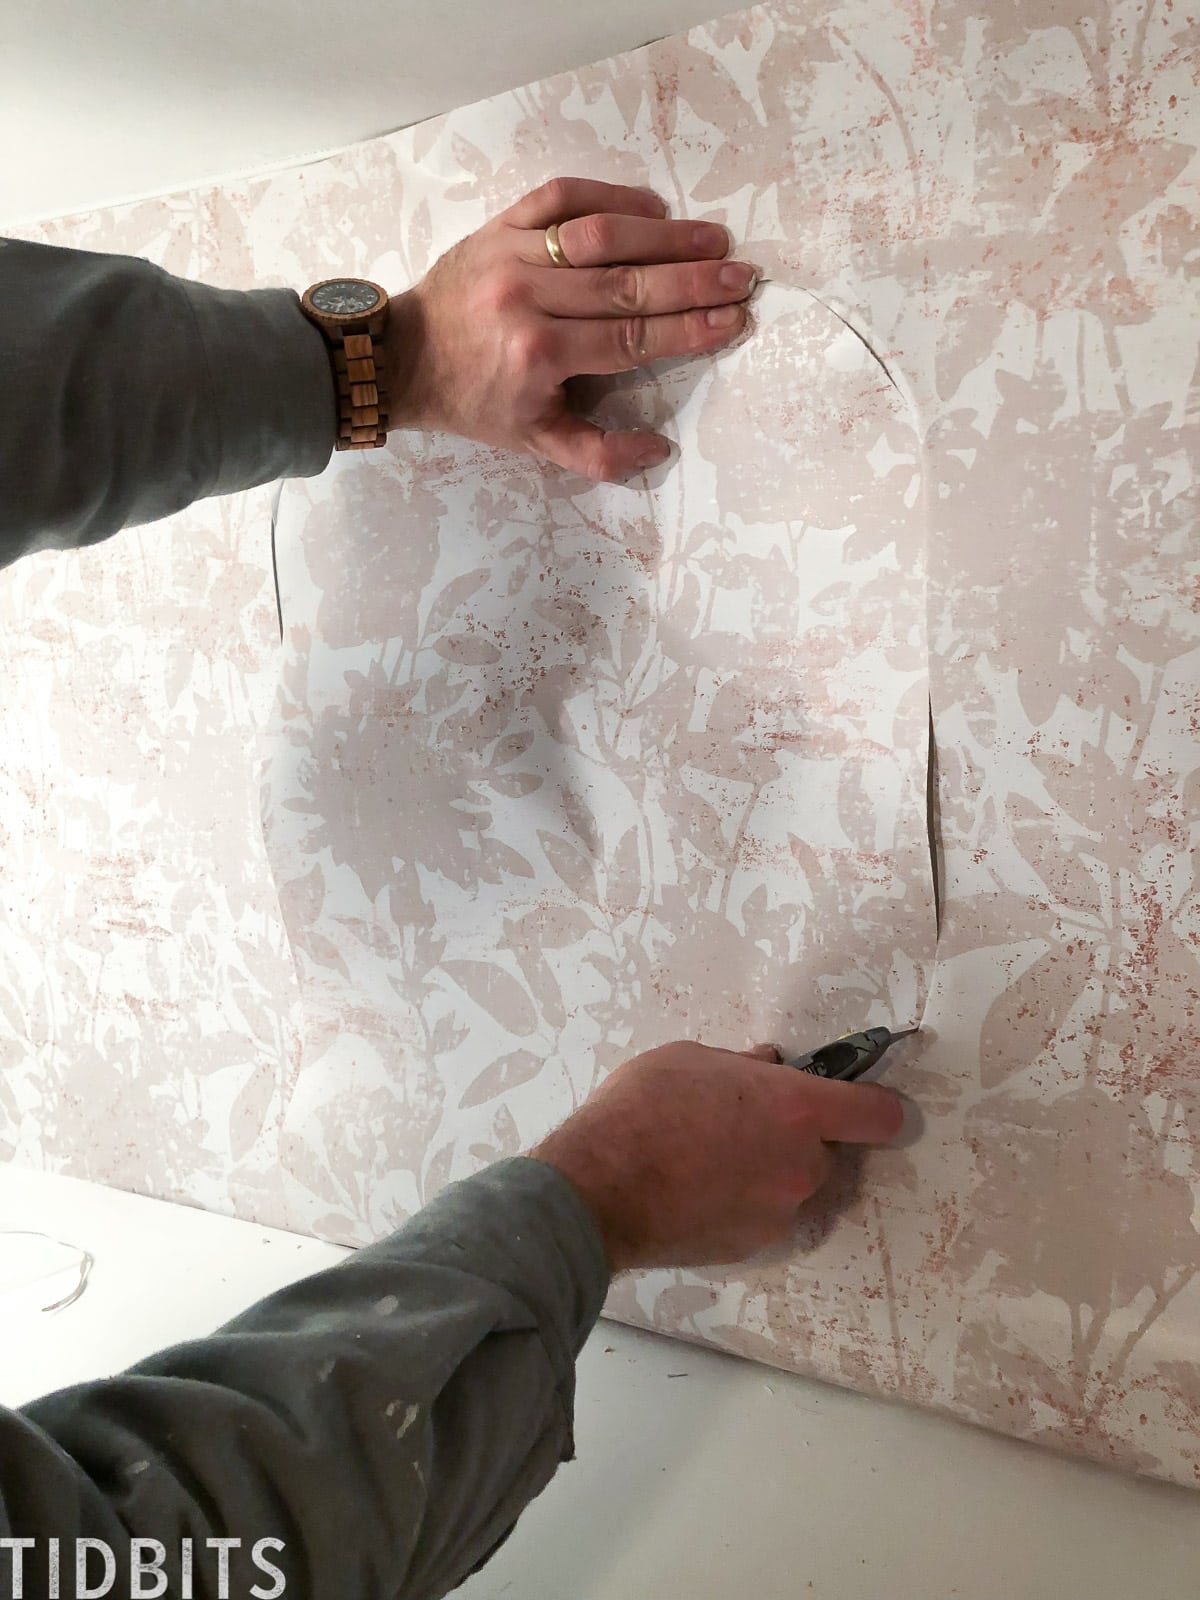
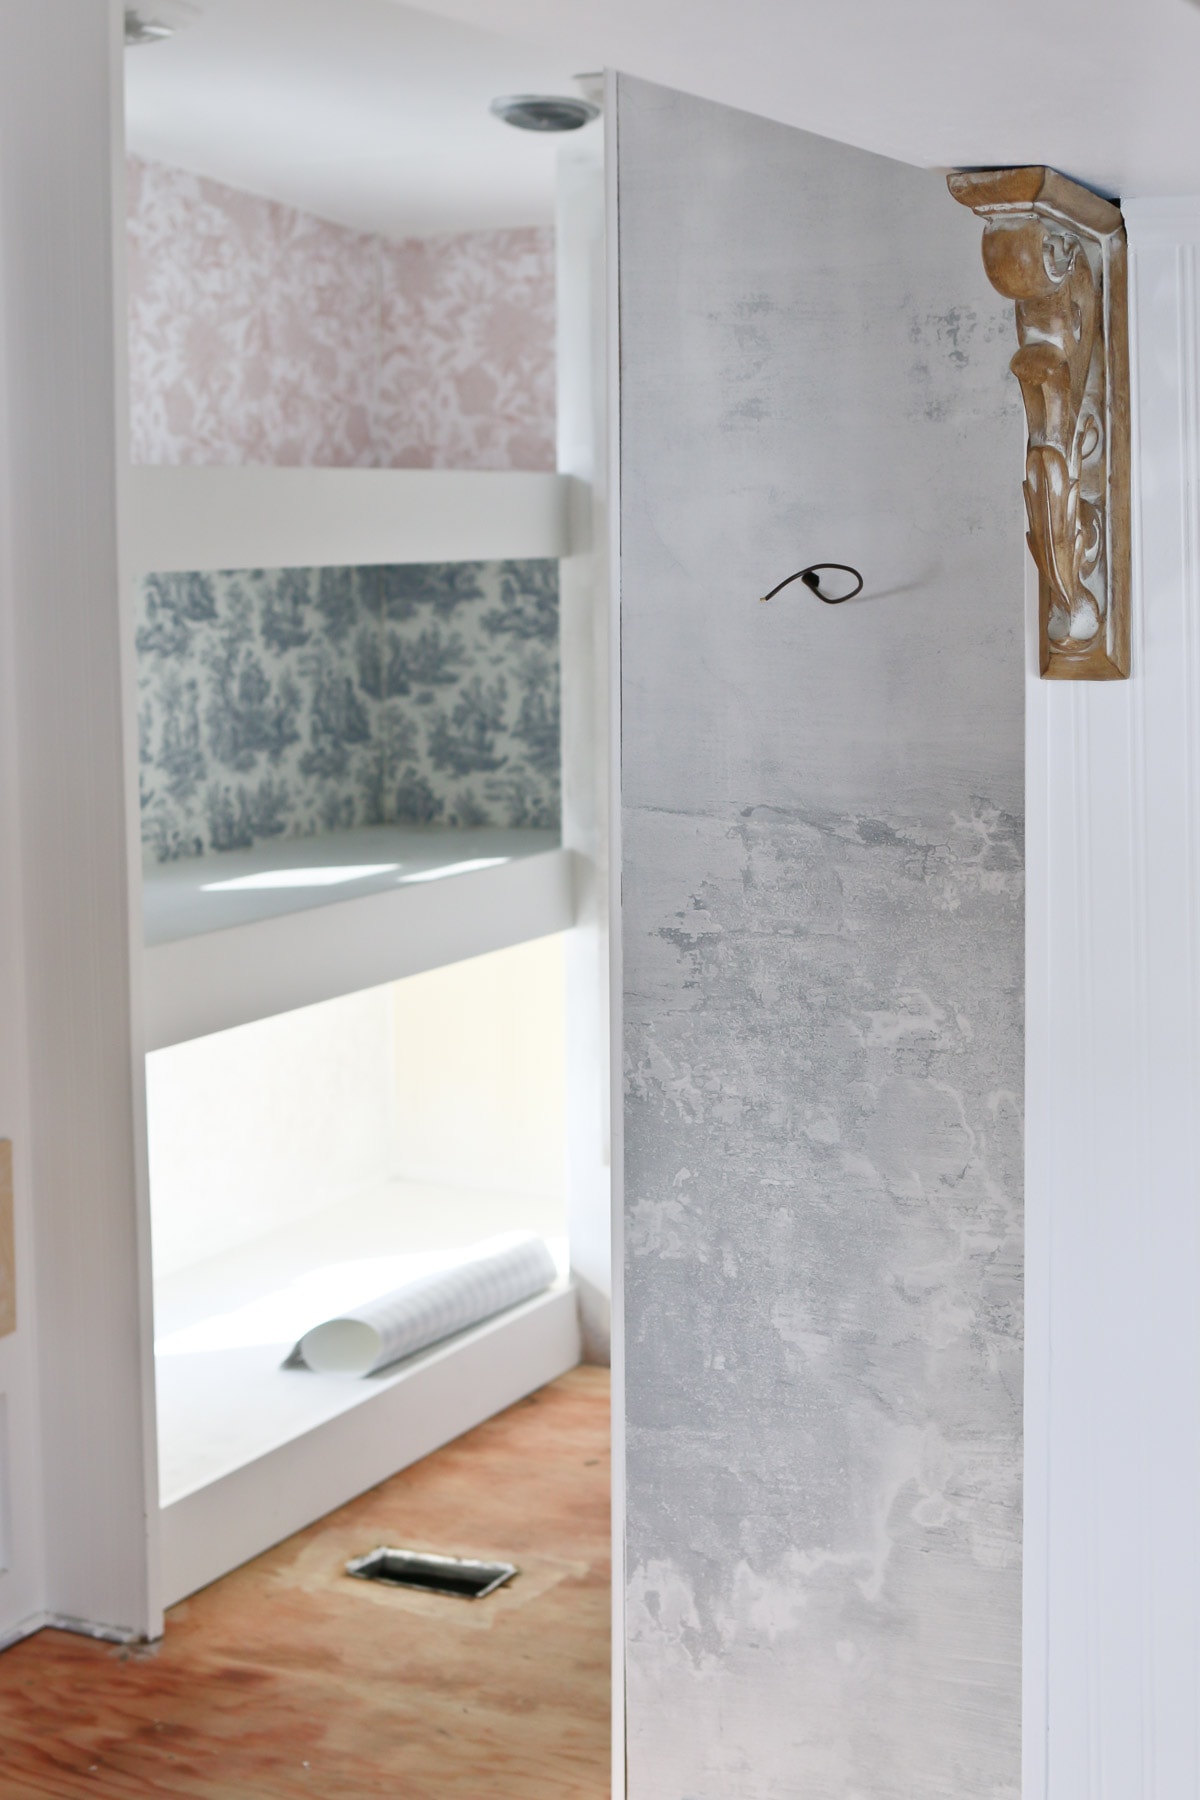
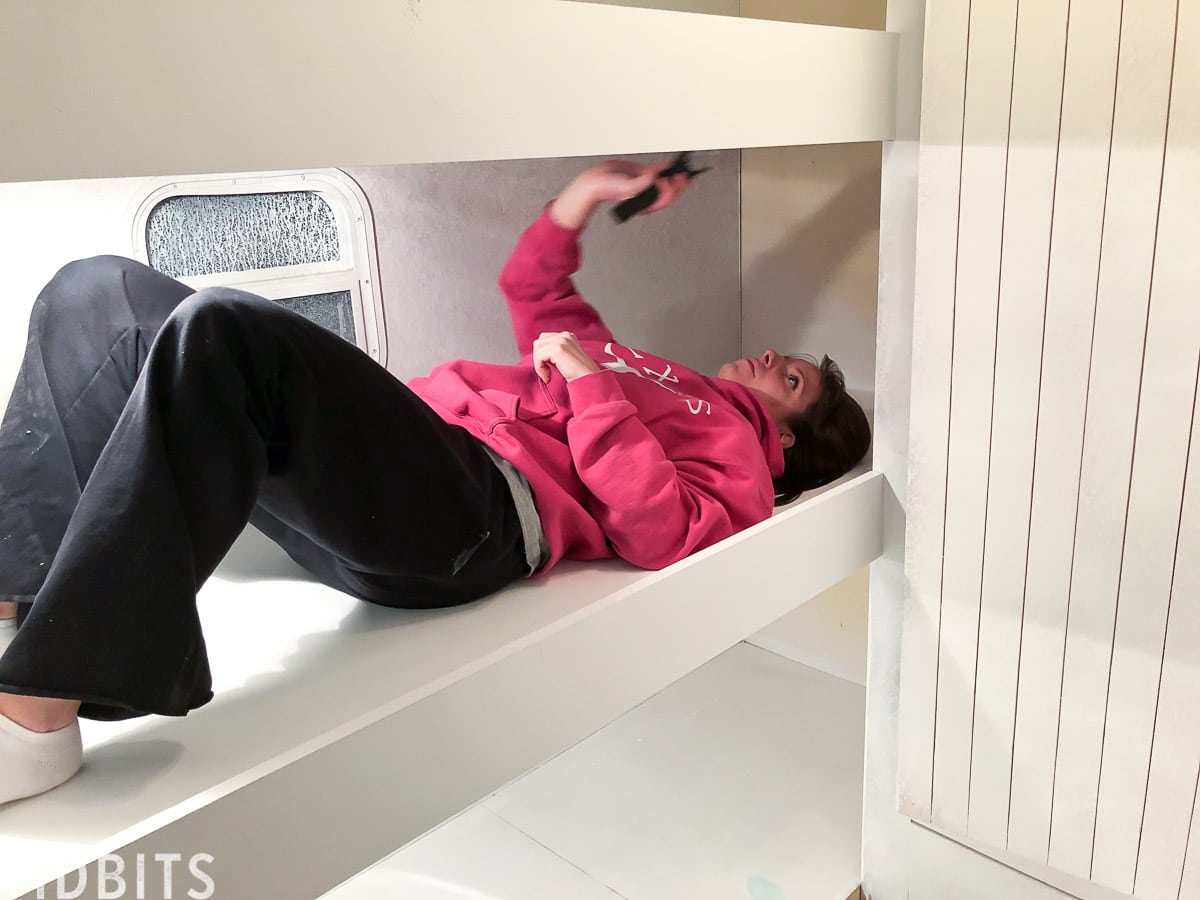
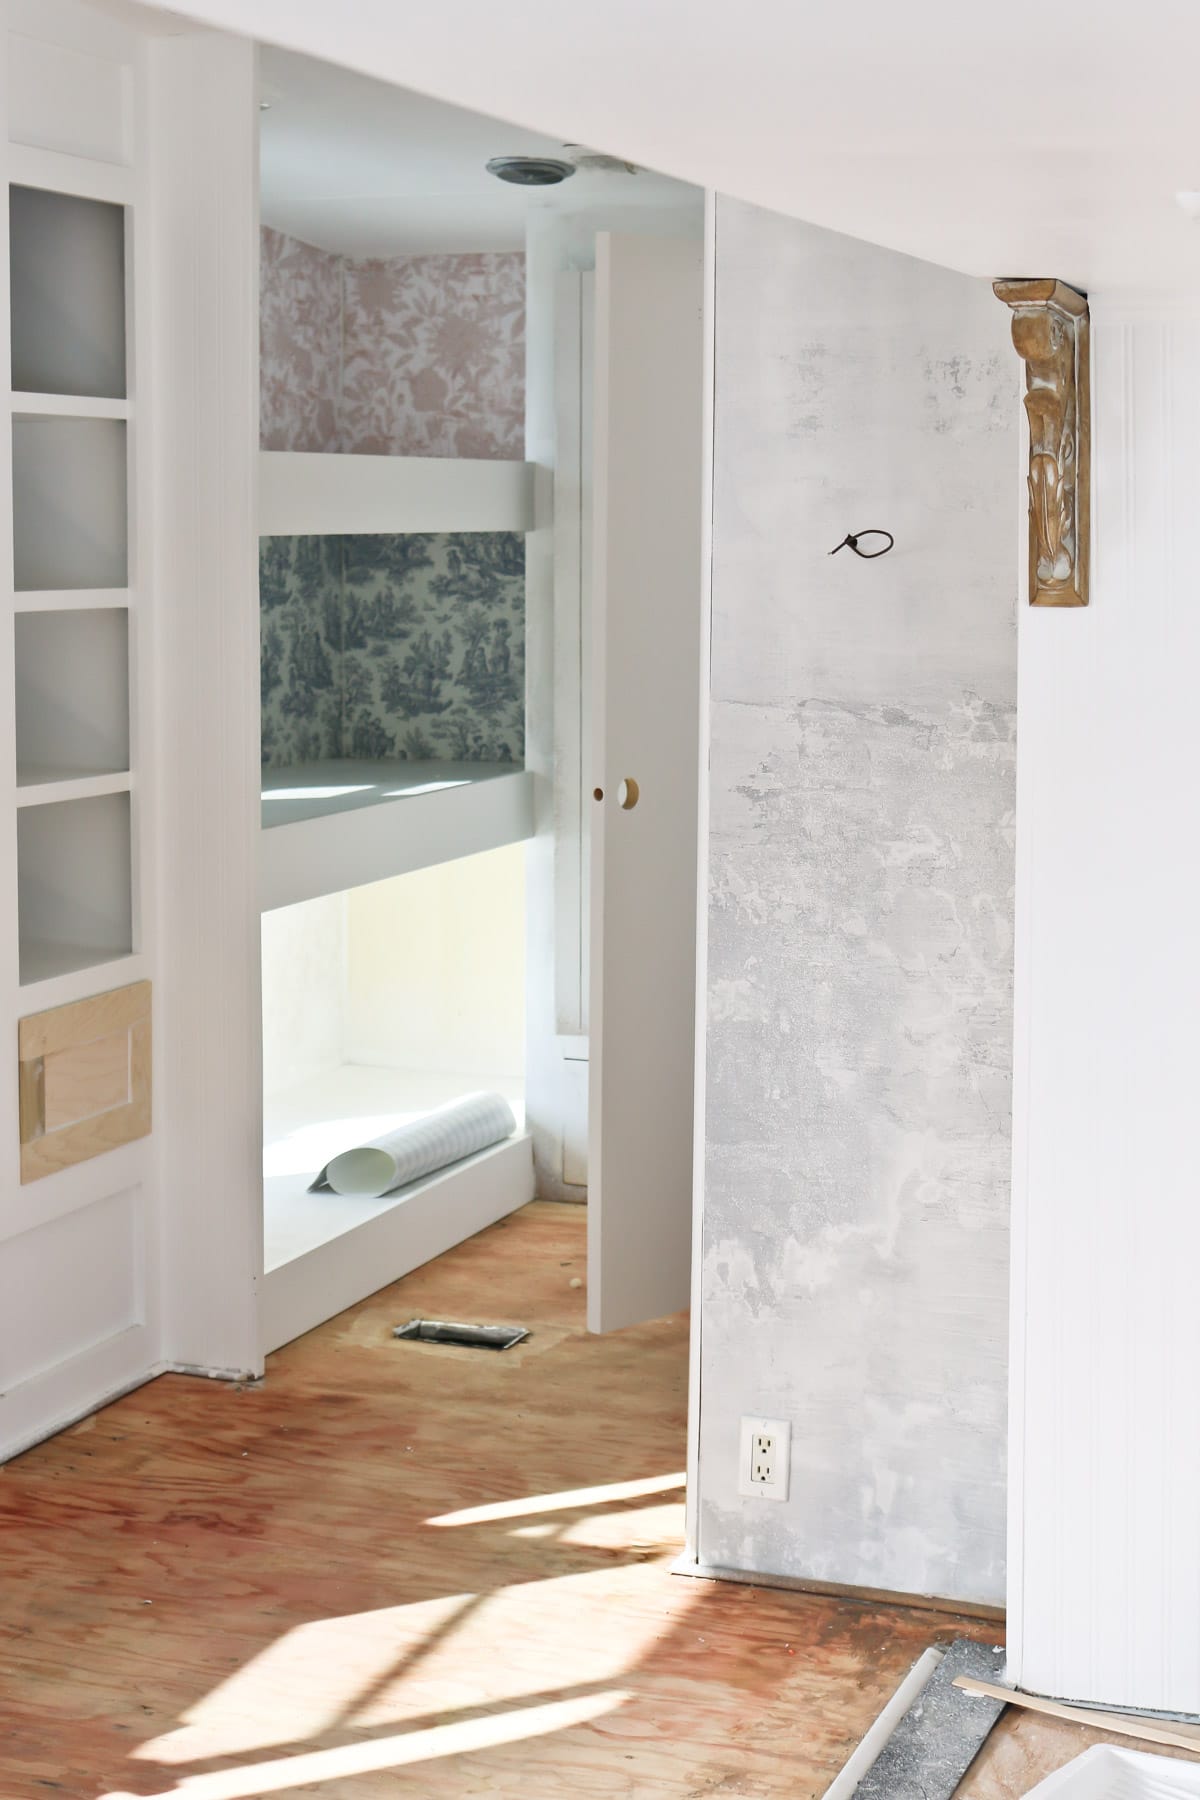
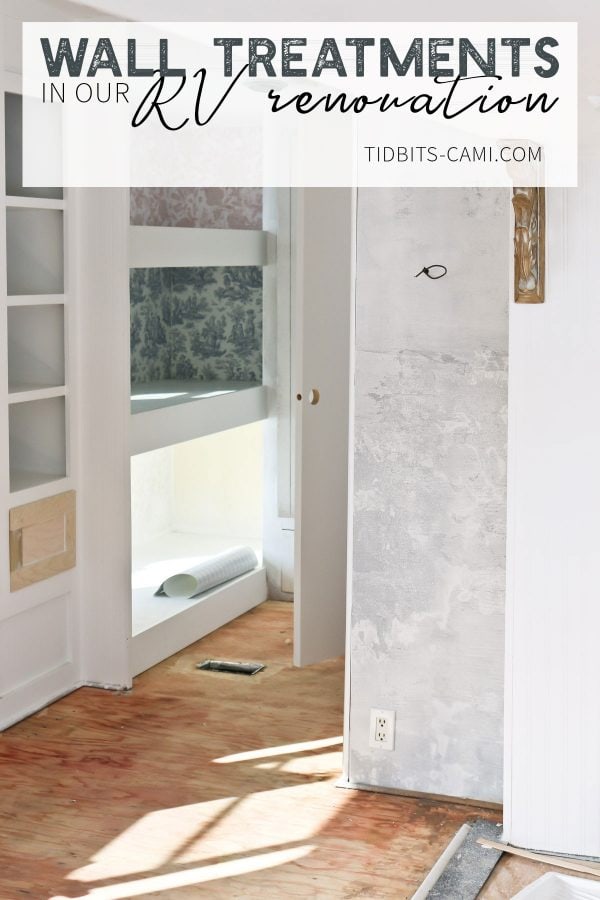
We applied 3 different varieties of wallpaper to the little bunk bed spots, which my kids helped me pick out to their liking.
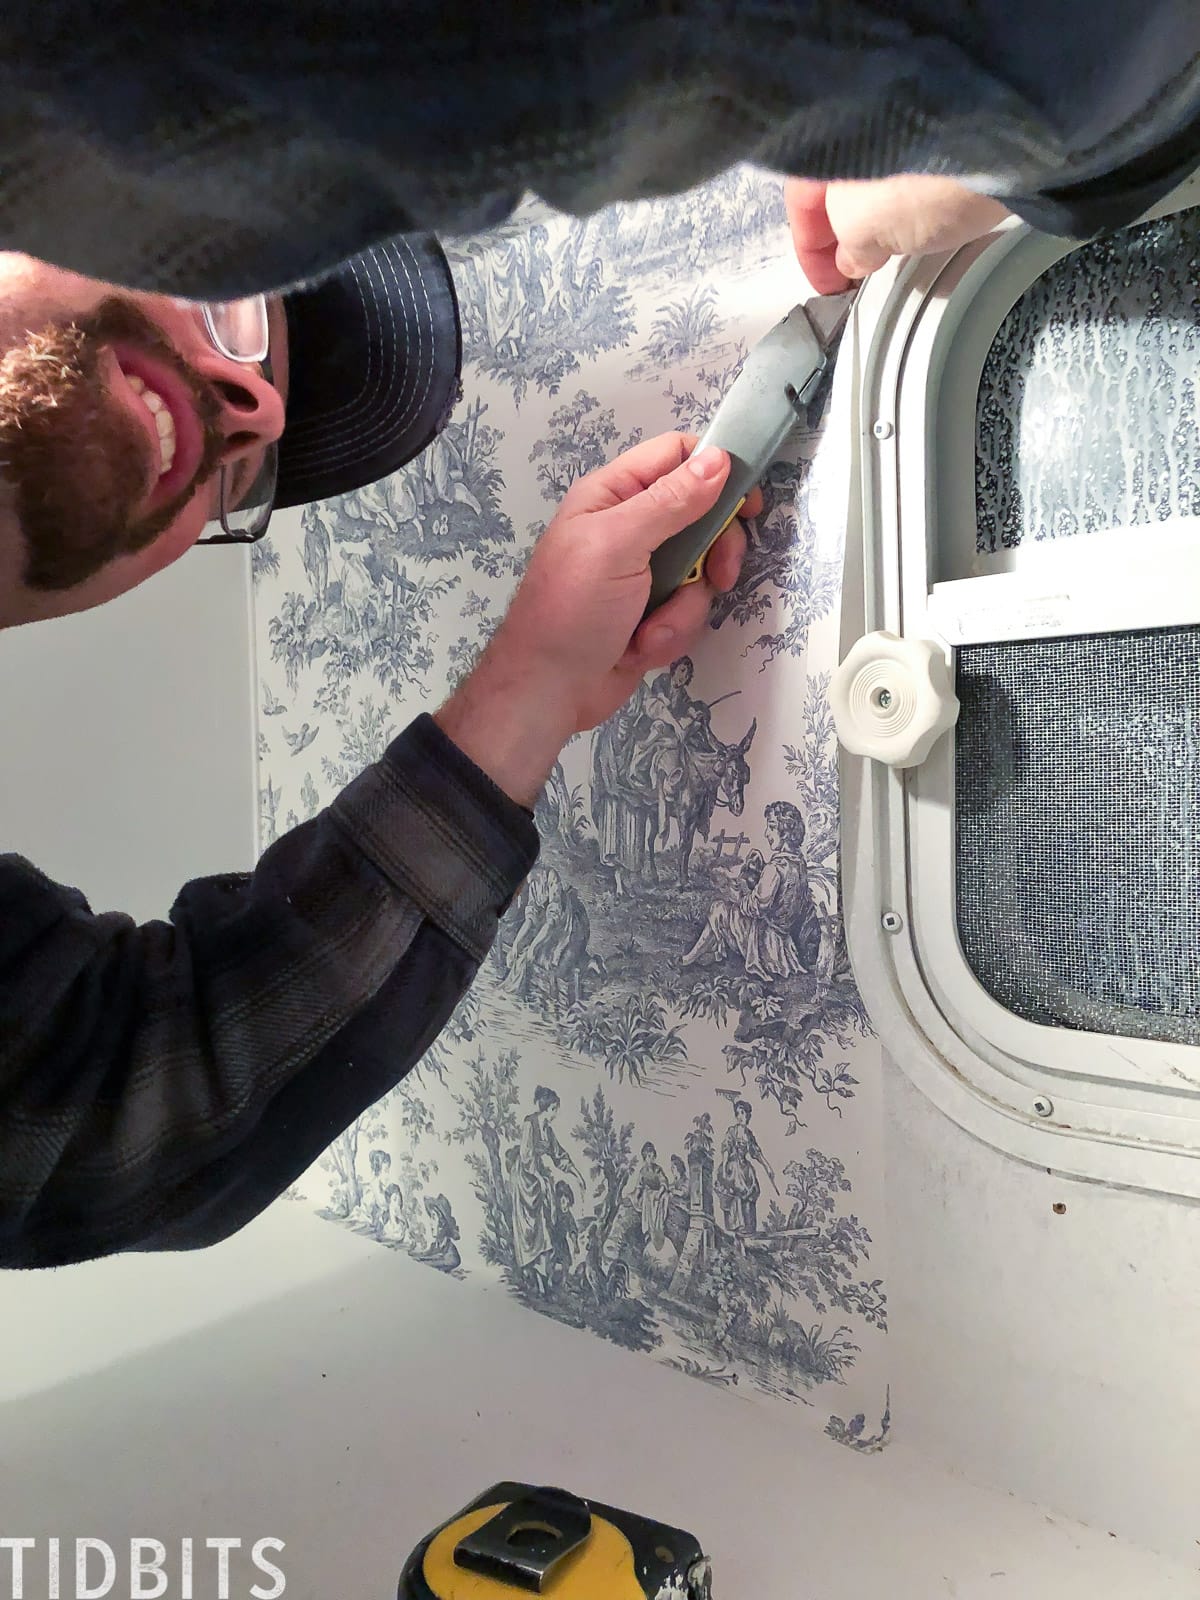
Installing in those tiny places was no easy task! (Too old for this stuff!)
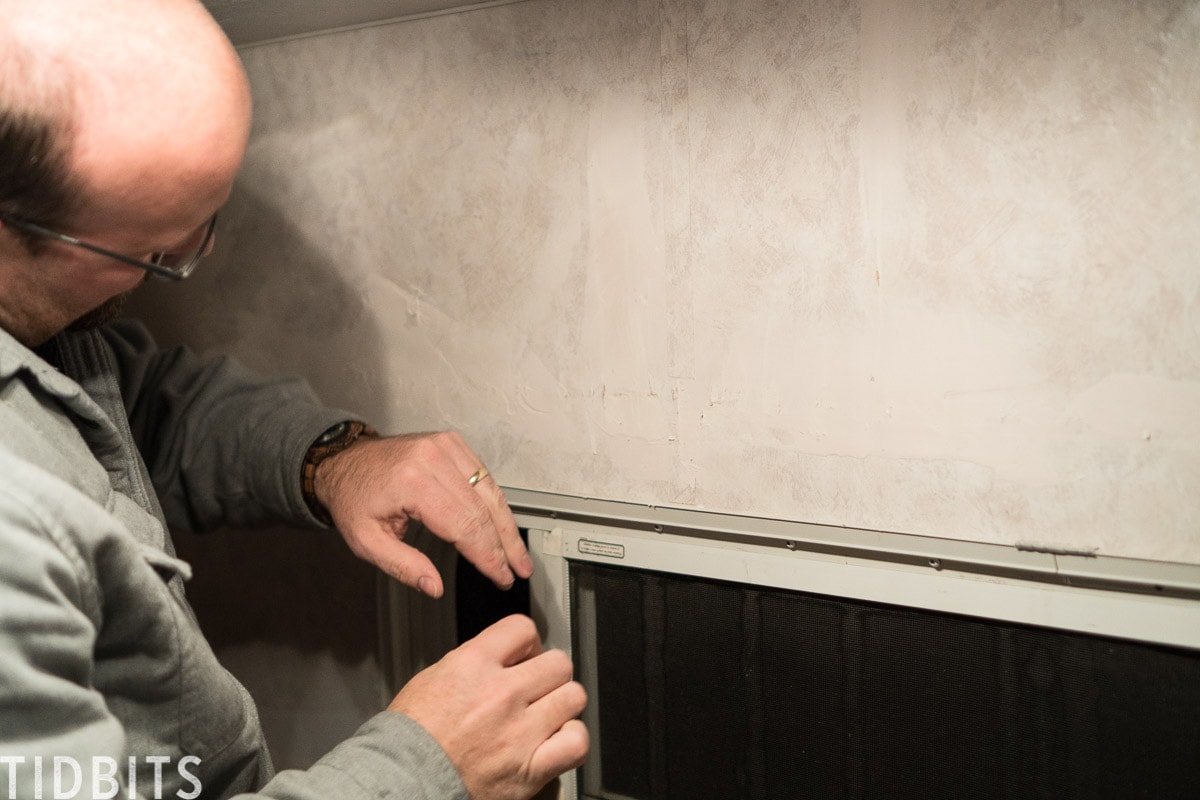
Hands down, my favorite wallpaper is this faux distressed concrete wallpaper. I wanted this spot to serve as a tiny accent wall, and help me achieve a bit of cottage romance style for our home on wheels.
It’s all in the details!
I hope you’ve enjoyed seeing our process so far! There is much work to do and little time to do it! The blog posts will probably trickle out slower than the work, but I’ll do my best to keep you up to date. Again, follow me along on Instagram to see more recent updates and changes.
I’ve begun to set up an RV Shop page with all my resources for this project. Hopefully that will help direct your questions clearly. Just click the graphic when you see it!
I’d LOVE to hear what you think! Who here thinks we are crazy for doing this much work and change in an RV? Who thinks we are crazy for trying to live in and RV with 4 kids? I’ve got both my hands up! 😉
Thanks for reading and following along, my friends!


Where can I buy the faux distressed concrete wallpaper? Thank you!!
I have a 99 Keystone Montana with major water damage. The larger of the two slides has sunken down into the main floor and needs to be removed completely for both the main floor and the slide to be repaired. I was wondering if you guys had any experience with that or pointers on how to get the slide out.
Thanks!
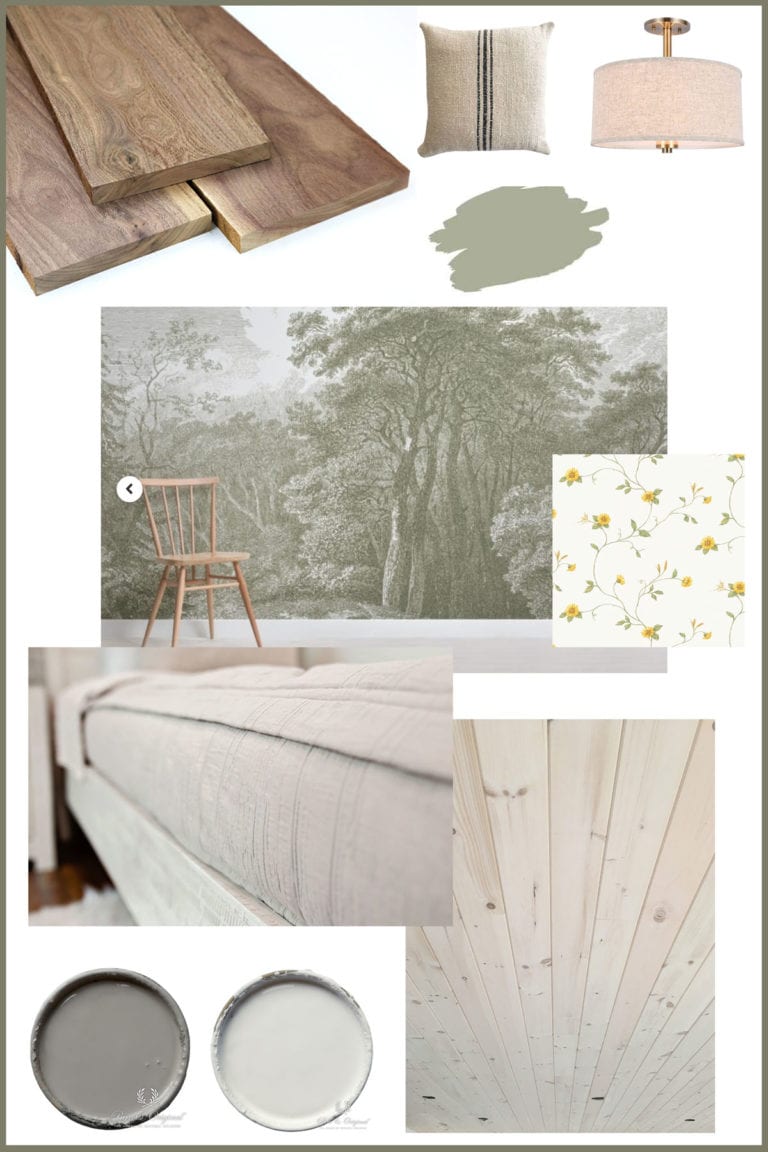
Hi there this is gorgeous! May I ask what is the grey colour on the wall with the painting? Thanks!
Motorhome and travel trailer renovation is totally doable; all you need is a couple of good ideas to start with. Many people manage to pull off camper remodel projects that leave their space looking adorable and feeling more open and comfortable than an RV would ever feel off the lot.
Living in RV sounds like a dream!
Thanks, Cami For Sharing! I am putting my room for renovation but the tricky part is windows. About to follow up you on Insta for your ongoing build. Great Info.
Hi, I found your blog while searching for diy Corian countertops and you’ve convinced both of us to do it. I’ve seen a few rv rot rebuilds on rv forums and it always amazes me. I hope you got yours finished before your move out date. We have been living in an RV inside our barndominium for 2 years. The end is finally in sight for us. Good luck with your build and try to enjoy the process. At least living in your own RV, when you get burned out or tapped out, you can take a long break and no harm done.
We just got a 30′ camper for free and it has water damage to the roof and the walls. i just started tearing into it today! Was curious start to finish about what was spent doing it? We will be doing a boho theme on the inside of ours! Im nervous to see what its going to take to get it fixed and still learning lots on what to do to fix the roof. Your progress is amazing! my other half thinks hes going to tear it all down and get a car trailer out of it.
I love all your insights to solving problems and your decorating ideas.
Really nice. You made a lot of progress and work with that limited space. Really good job.
I have done a great deal to your new home. Even if you had bought a house sometimes things like this are hidden especially if older, but you guys fixed it and hopefully you won’t have anymore problems. I love the different wallpaper it makes the kids bed area more personal. This will be a memory to share for a long time.
Thank you Marlene! I am hoping for great memories!
Finally!! Yay! I was so excited to follow along with your RV reno. I had you number 1 on home page and checked back every day since your announcement. I gave up and moved your icon. I hate social media and dont have Instagram (there are bunches out there like me) so…please dont forget those of us who first found you through your blog. Everything looks great so far!!!! Cant wait to follow the progress!
I am so flattered Debbie! And sorry my updates aren’t coming fast enough. I feel pretty overwhelmed at the moment with everything going on and can’t keep up with posting as much as I would like. Hopefully I’ll be able to get some updates out soon! Thanks for being patient.
OMG! I’m soooo excited to see the outcome! We’re planning to buy our own RV too.. SOOON
Hope to get some updates out soon! It’s been a fun project – for the most part! Hope you find one for you too!
Hi Cami,
I’m wondering how long you are planning to live in the RV?
My family bought a new RV in 2000. We planned to travel in it for a year with our family of six. It had 2 sets of bunks and a slide-out with a queen bed in it. We bought it out-of -state and spent a week or so bringing it home. We began our travels in June of 2011, and had a lovely summer, making some wonderful family memories. Unfortunately, we had a death in the family, followed soon after by 9-11, and decided to cut our trip short. We greatly enjoyed our 4 months in our RV. (By the way, at the time, our kids were 13, 14, 16 and 17.)
I hope you find this encouraging! I know the RV is a lot of work right now, but it will be so cute when you’re done with it–and think of the adventures to come!
I loved hearing your experience! So sad that it had to end sooner than you planned, but I imagine you see the purpose in it all. It will probably take us 6 months to get our house built, so longer than I wanted to be in there, but I hope to make some good memories as well. Thank you so much for sharing that with me!
I am sure it has been quite the adventure so far, and it will continue to be just that- how wonderful for your entire family! You will be closer than ever, and the struggles will bring so many lasting memories. Great memories for sure! I think your entire family is amazing. Thanks for taking us along on this ride!
What a kind comment Julie, thank you! Struggles and joy, we are signing up for it all!
So So interested in RV renovations (as are a million other people right now!)!!! I don’t own a RV, but would love to & redo the whole thing as you are! For now I’ll enjoy living vicariously through you!
Go ahead and live through me! Just know – we are exhausted at the moment! I wish we could do this at a slower pace, but it will be nice to have it done. I hope you get a chance to do it someday as well!
You will definitely have a masterpiece when you’re finished! I have one I wish you could come work on ?
This RV reno thing – it is a labor of love! At the moment, my hubs and I are sooooo done! Haha!
Beautiful! I can’t imagine working in those tight spaces! You guys are doing a great job!
Oh, it is tricky for sure! Wish I could turn some of it over to my kids! Thank you!
you could have paid much more for an RV and would have more likley than not have encountered serious water damage issues. Having been on the side of a business that repaired them, it has to be the number 2 issue. No 1 was always from someone driving under something a few feet lower than they thought. Always appreciate the projects that show the whole story. So much better that a DIYer know what they are really going to encounter. THANK YOU
I was so glad to hear you say that! I wondered if we would have had the same problems with the ones we were contemplating that were thousands more. They just don’t seem to be built to withstand too much weather. I am glad we saved and bought a dump so we could just start fresh anyway. I’m glad you are enjoying seeing the process!
This is just the most wonderful thing ever! This needs to be a Netflix series! Nice work sis, I can’t wait to see what else you do with it.
Netflix series! To late! Never doing this again!
Please keep me in the Loop through my e-mail.im getting me 1 soon.