This post may contain affiliate links, which means I get a small percentage of the sale at no extra cost to you. I only recommend items I love and have had a positive experience with. Thank you!
Are your butcher block countertops in need of a refresh? Join me as I walk you through our DIY butcher block countertop refinish project plus the addition of a new kitchen upgrade!
It’s a new month and that means a new project here at the TIDBITS homestead. This time around, the current project has been refinishing our DIY butcher block countertops.
But wait, you might be wondering – didn’t we just install these countertops? Well, yes and no.
More ways to watch
Find this post on Youtube!
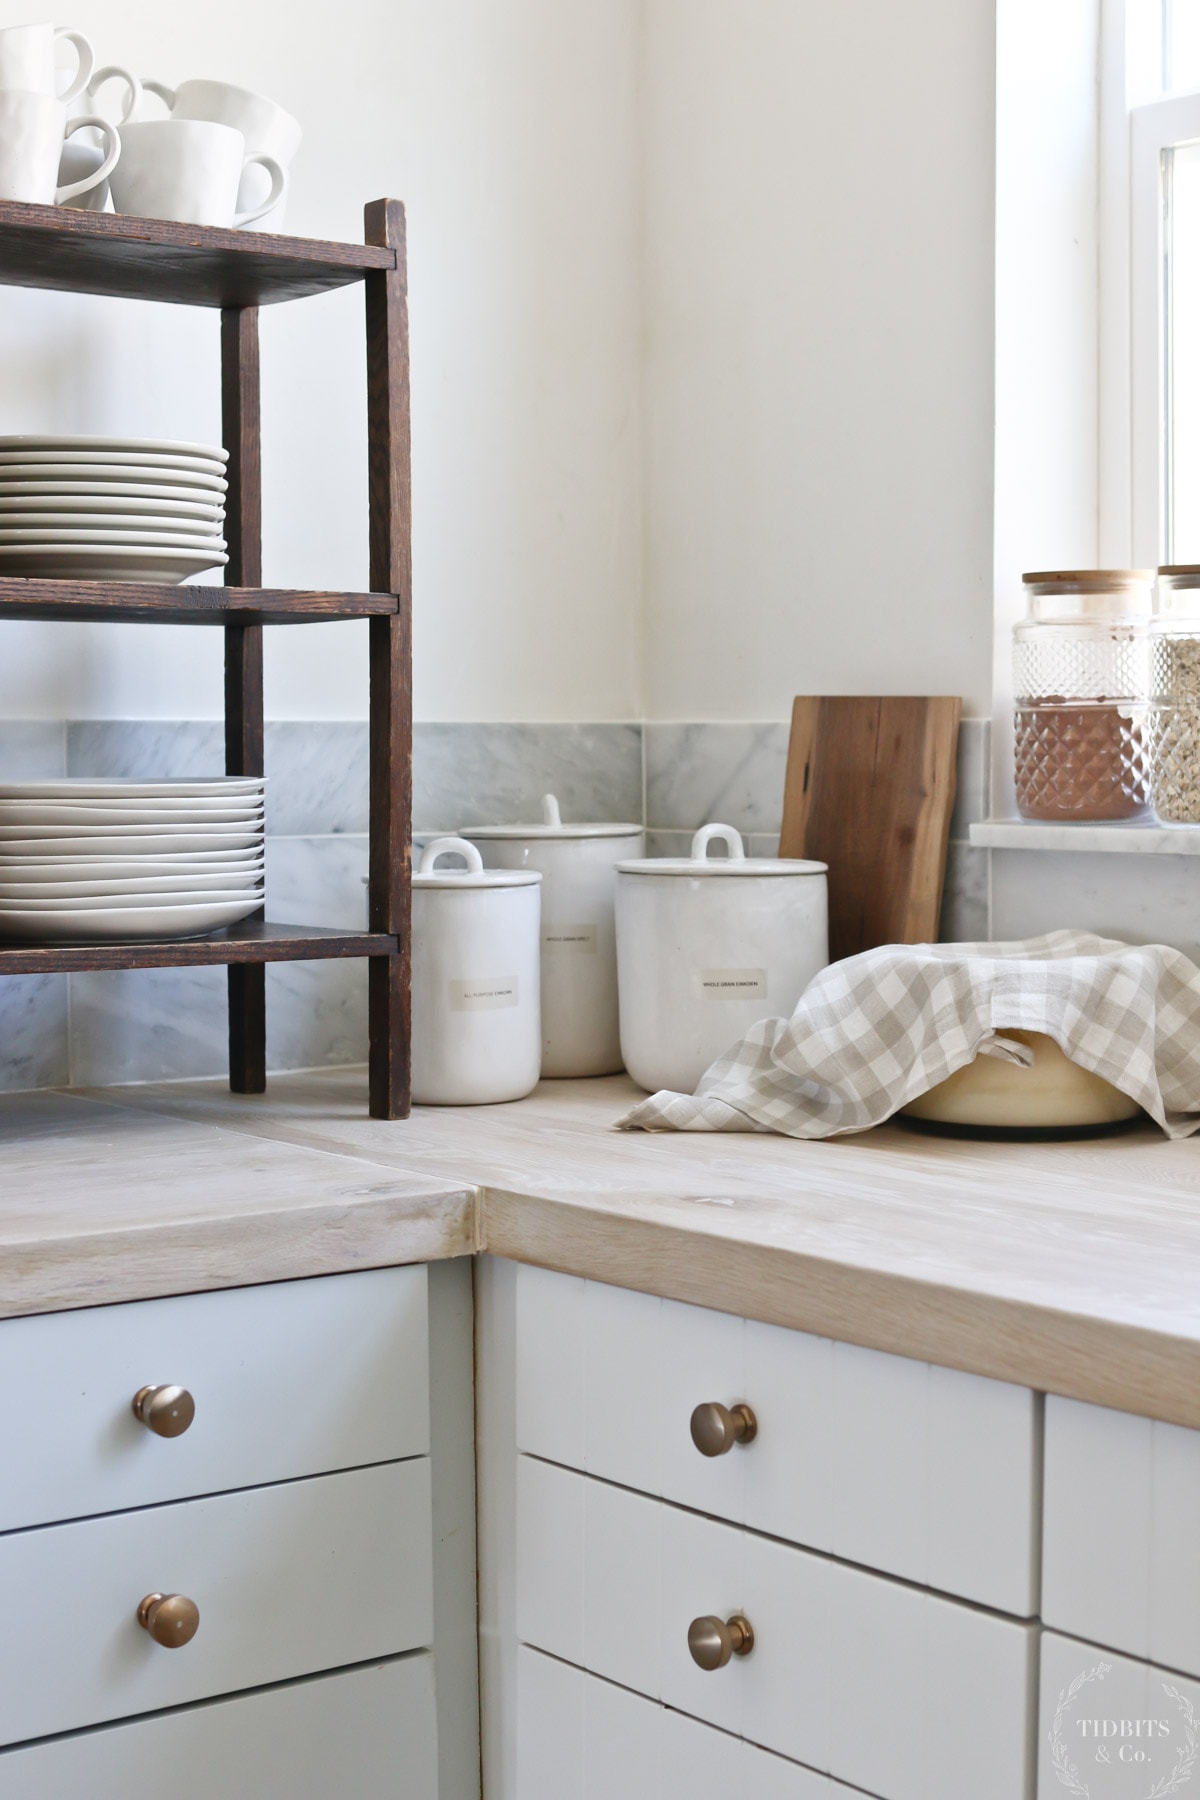
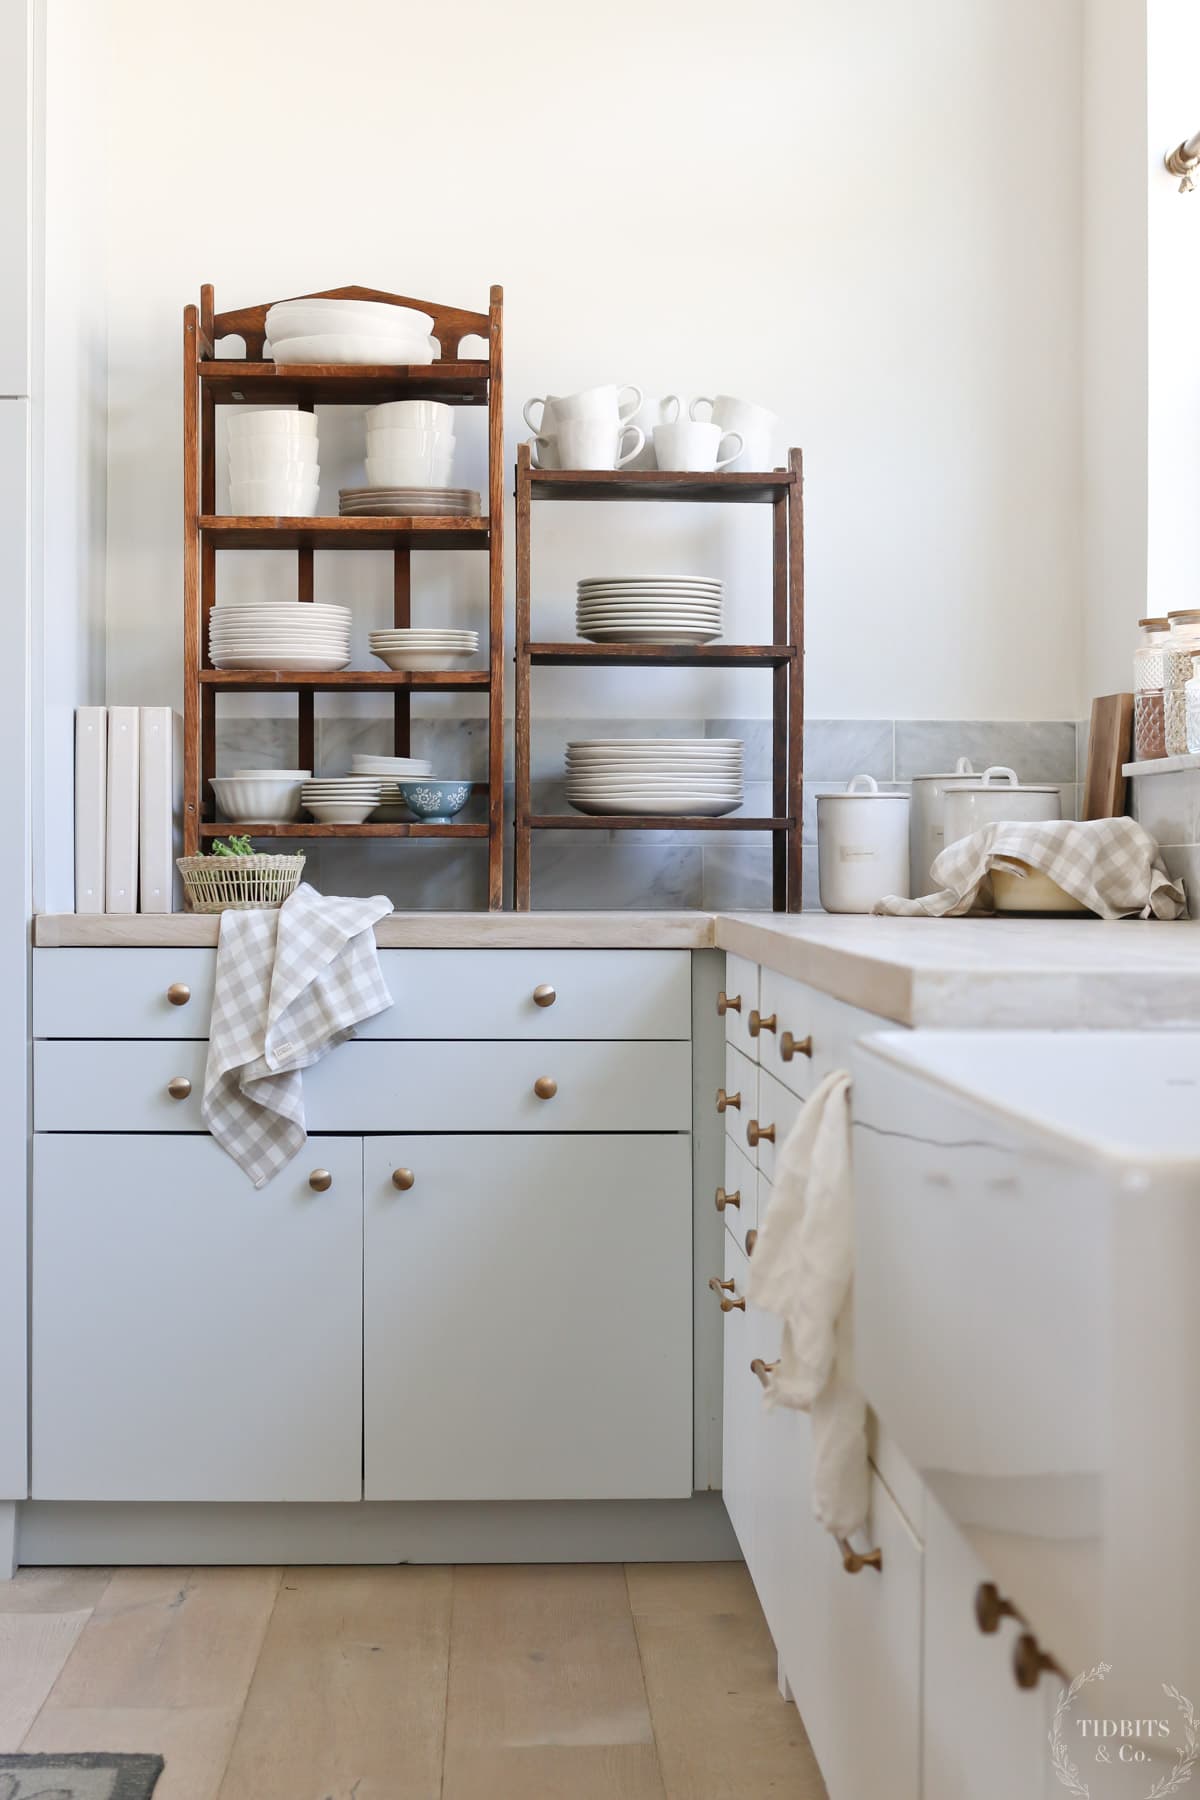
I showed you these DIY butcher block countertops a few years ago when we first finished our European farmhouse kitchen. We knew when we installed them that the butcher block countertops would require some regular maintenance. Since then, they’ve been hard at work, getting used daily in a kitchen that never rests.
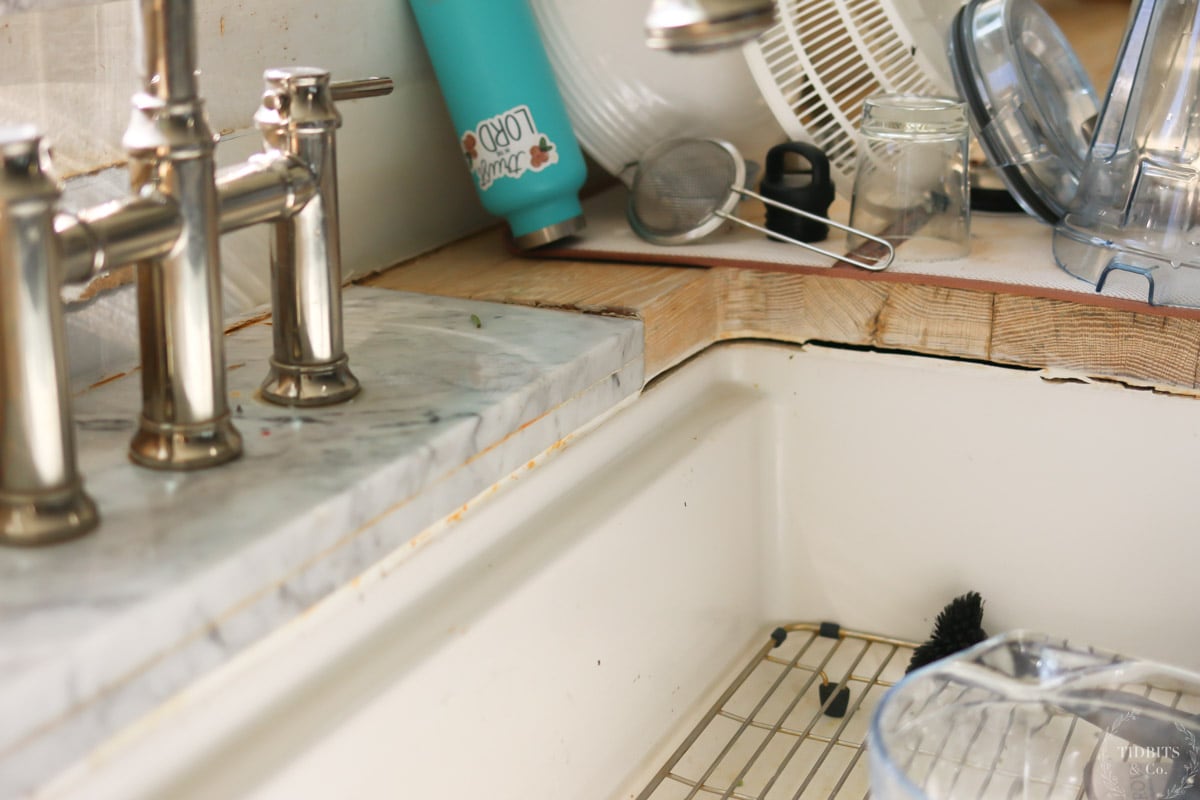
The wood of our butcher block countertops was still in good shape overall, but we’d been noticing some yellowing of the wood grain, separating caulk along the underside of the countertop, a few small cracks in the wood on the side of the butcher block, and some trouble spots that collected hard water deposits.
Because of these issues, we decided it was time to roll up our sleeves (or rather, Mr. TIDBITS sleeves) and get to work maintaining our butcher block countertops. We want these beautiful countertops to last for many years to come, and with proper care they will.
Why I love DIY Butcher Block Countertops
DIY butcher block countertops are one of my favorite ways to bring farmhouse charm to any kitchen. They are one of the major design trends that I talked about in my farmhouse kitchen ideas post.
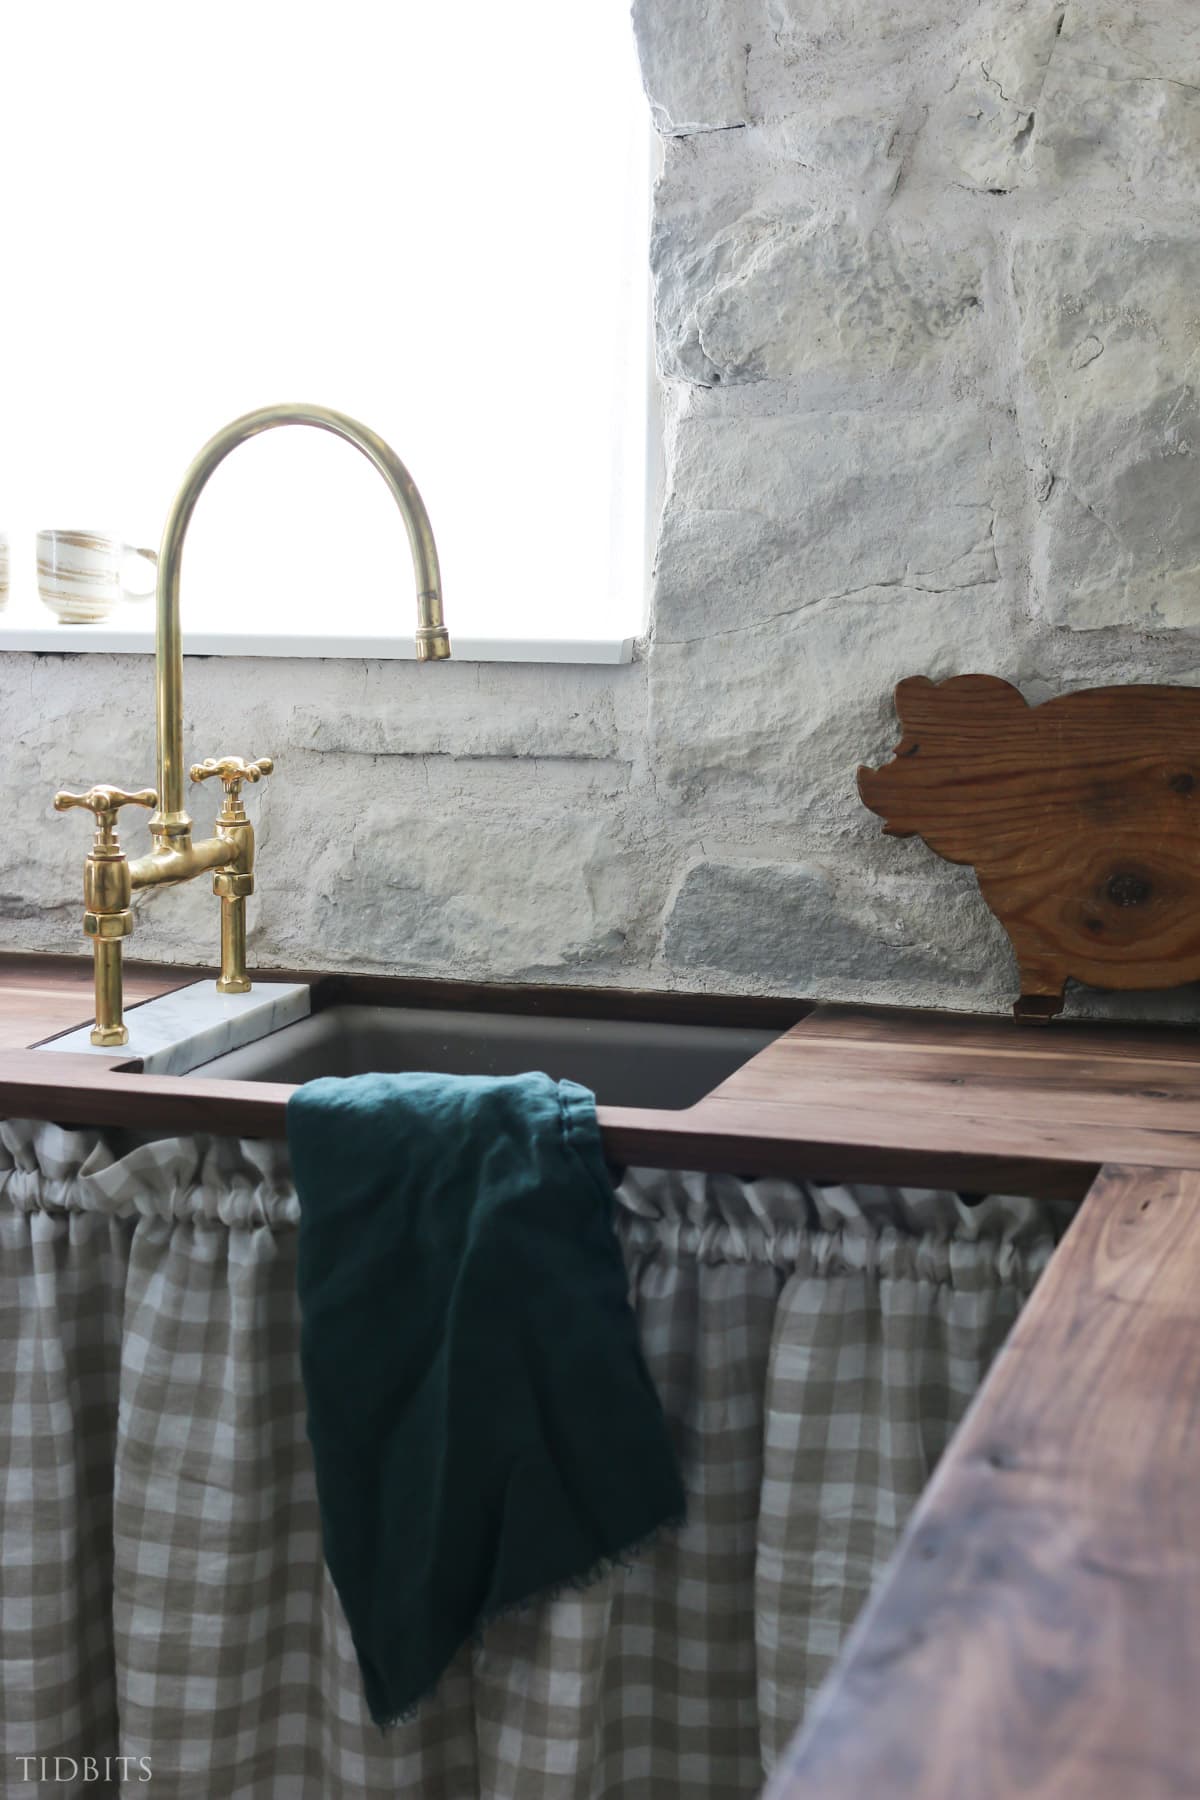
I love the old-world feel of butcher block counter tops. In fact, we liked them enough in our European farmhouse kitchen that we also decided to install DIY butcher block countertops in our butler’s pantry.
Butcher Block Countertop Advantages
I’m certainly not alone in my love for butcher block kitchen countertops! Butcher block counters are gorgeous and many people choose the look for it’s warmth and character. The little nicks and dings that wood countertops develop over years of use can be totally charming.
Butcher block countertops are also DIY friendly and not as hard to install as you might imagine. Check out my DIY butcher block tutorial if you want to learn how to make some for yourself.
DIY butcher block countertops are very adaptable. Unlike laminate or stone surfaces, wooden countertops give you the ability to swap stain colors if your preference changes. There are large variety of colors to choose from in wood stains, so this is a great advantage if you like to switch up of the look of your home.
Finally, DIY butcher block countertops are cost effective. By using wood for our kitchen countertops, we were able to get the look we wanted for a fraction of the price of marble or granite.
Butcher Block Countertop Considerations
Butcher block countertops are durable, but all wood countertops require regular maintenance. You’ll likely need to sand and seal them every few years. This regular maintenance work is something you’ll want to keep this in mind if you’re considering butcher block countertops.
Wood countertops can also collect imperfections over time. Scratching and cutting can leave marks, much like you would see on a wooden cutting board. While many people adore this lived-in look, it might not for everyone, so keep this in mind.
If you decide to install butcher block countertops in your home, look for hardwoods like oak, walnut, maple or birch to give you the best durability over time.
DIY Butcher Block Countertop Refinishing Process
Now that you know the story of our countertops, let’s take a look at how we refreshed our DIY butcher block countertops to get them back to looking fresh and new!
Preparing the Surfaces
First, we prepped all of our countertop surfaces. This meant removing the wooden backsplash piece that we had previously installed with our countertops. We wanted to be able to cut out all the old caulk that had separated and gotten gummy over time.
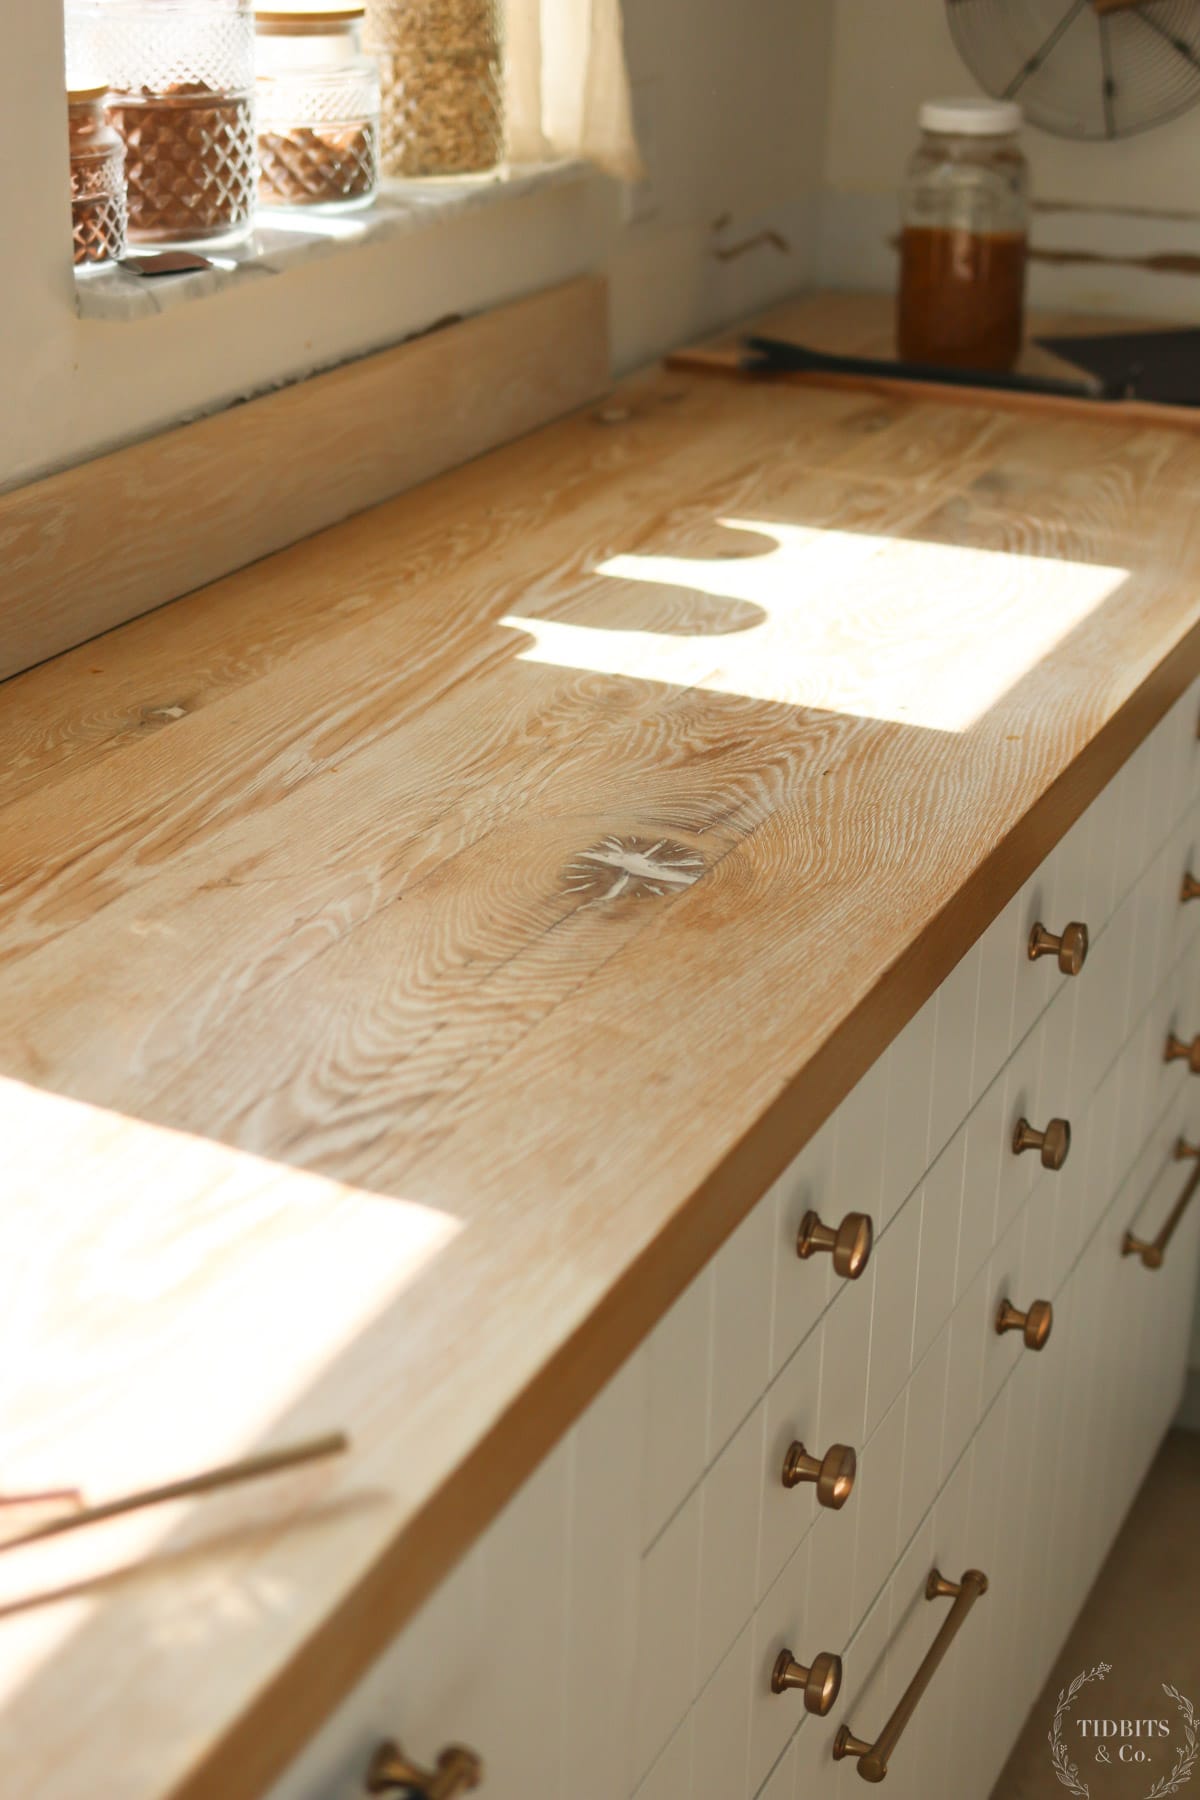
Next, Mr. TIDBITS used his orbital sander to strip the yellowing finish and give us a fresh, new surface to work with.
If you want a saw dust-free sanding experience, attach your vacuum hose to your sander like Mr. TIDBITS did in our YouTube video. It will suck away all the excess sawdust and leave you with very little dust to wipe up. It’s a total game changer and you’ll wonder why you never thought to do it before!
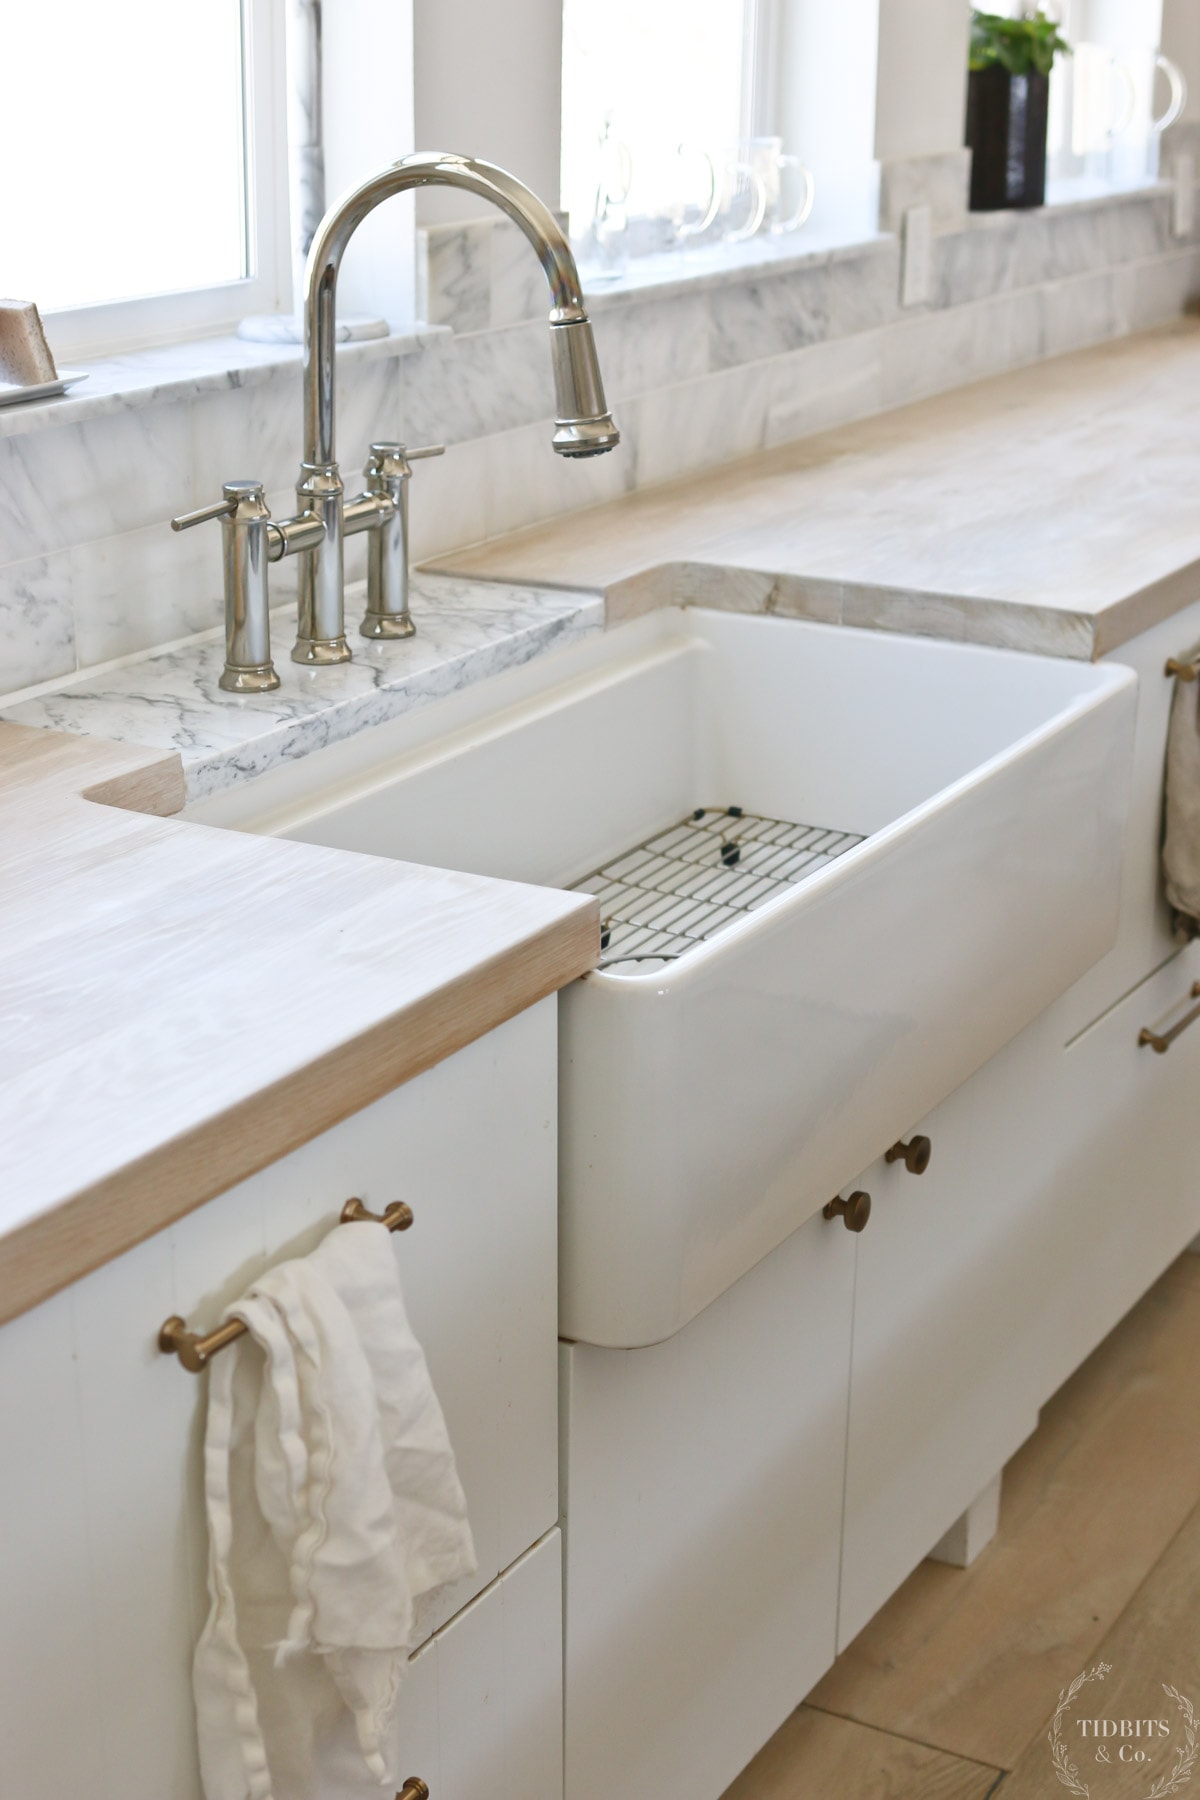
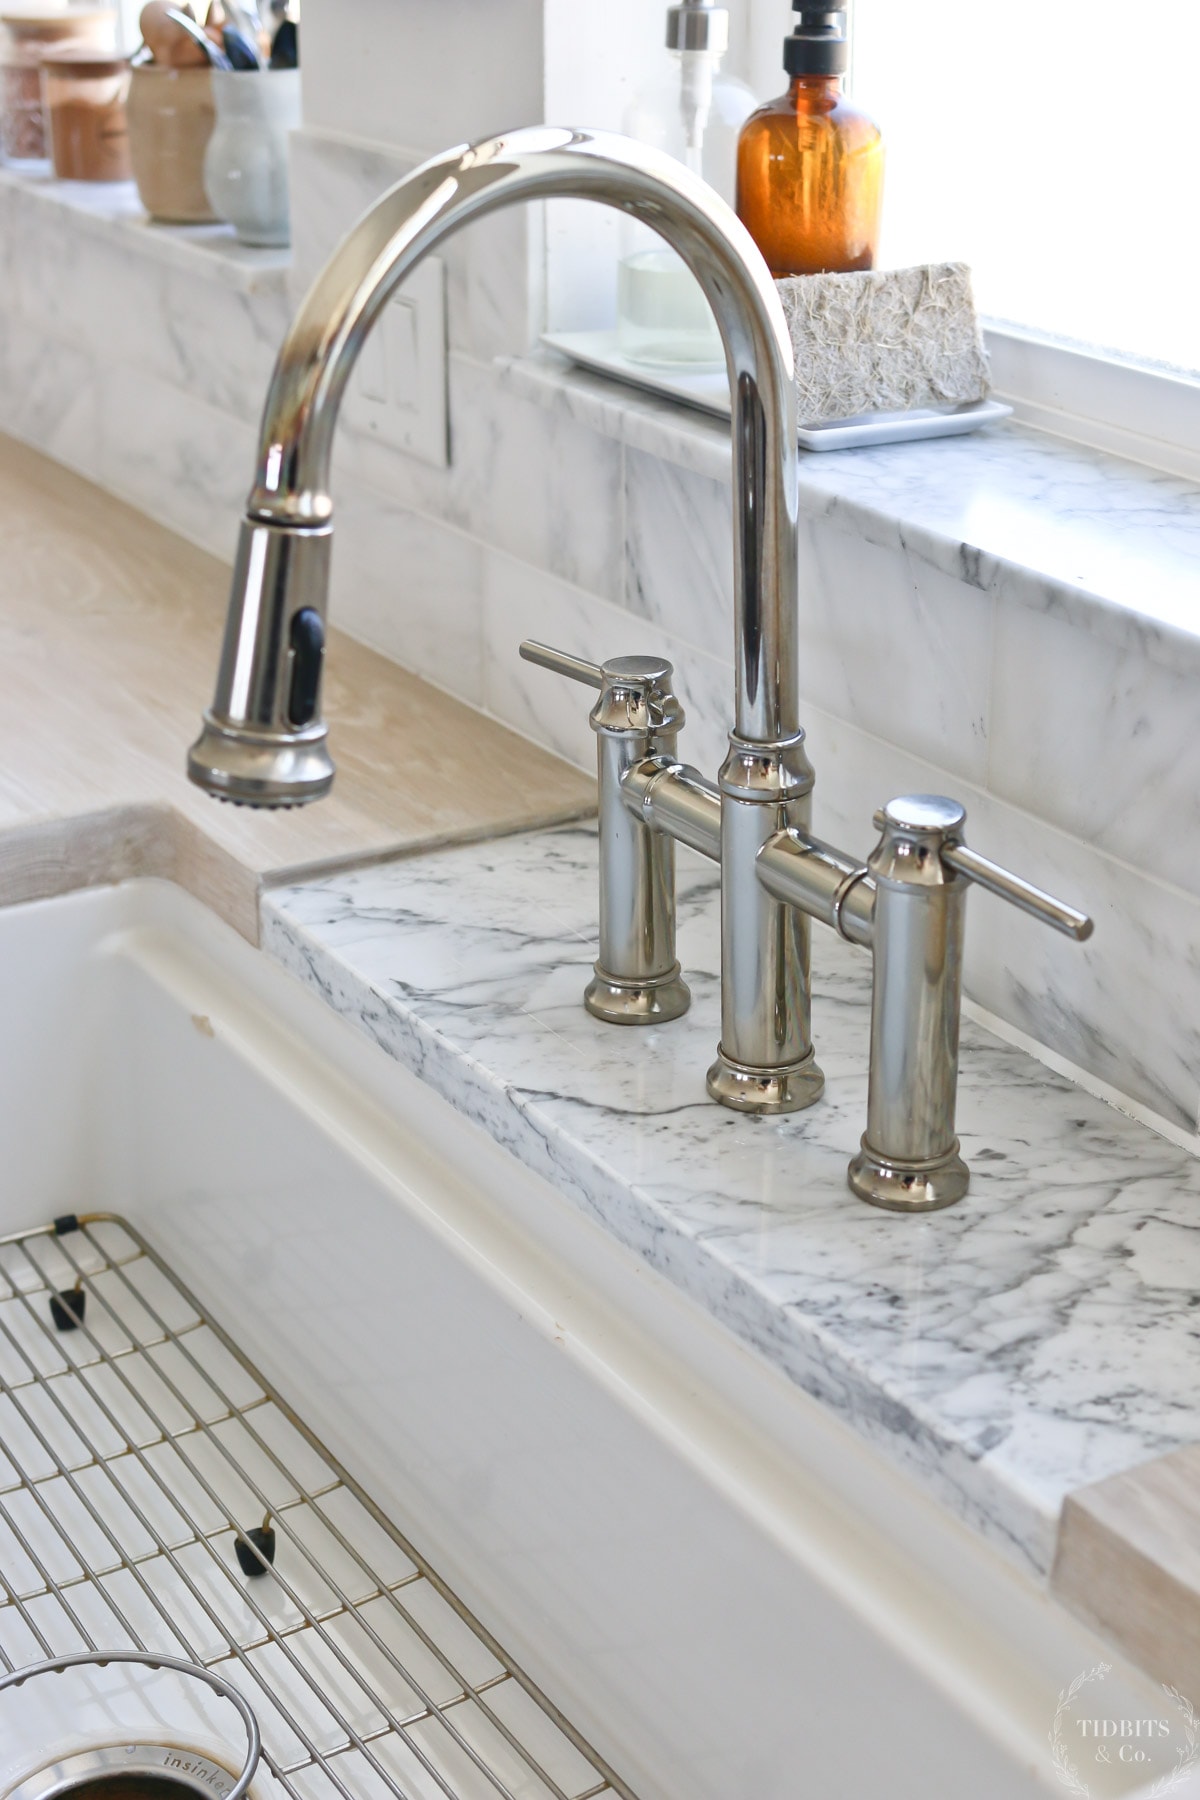
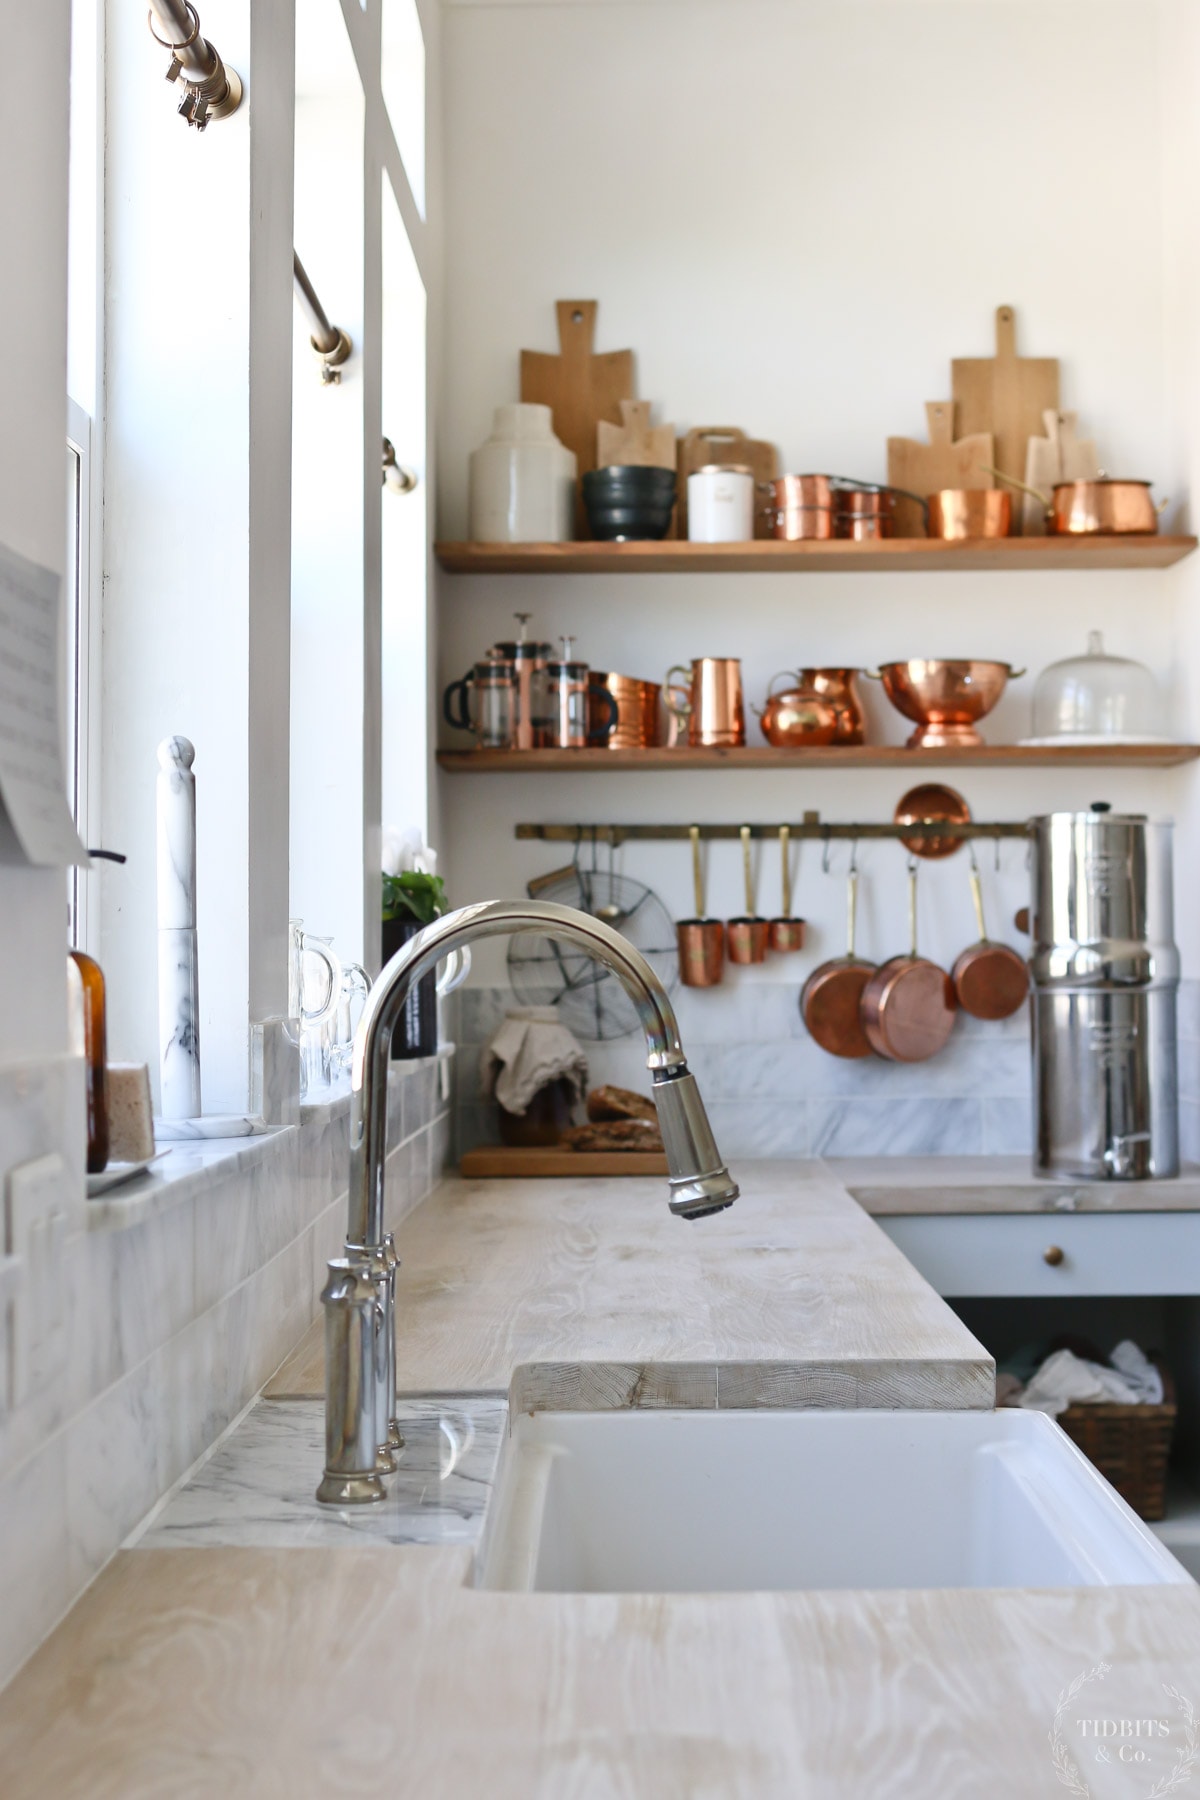
New Marble Tap
With the countertops stripped, we turned our attention to the marble tap or stone tap beneath our faucet. I love the look of a marble tap, but ours had not been in our original kitchen plan.
We had already made our DIY butcher block countertops before deciding to use a stone tap for the faucet. Therefore, it wasn’t possible to find a marble piece that lined up evenly with the depth of our countertops.
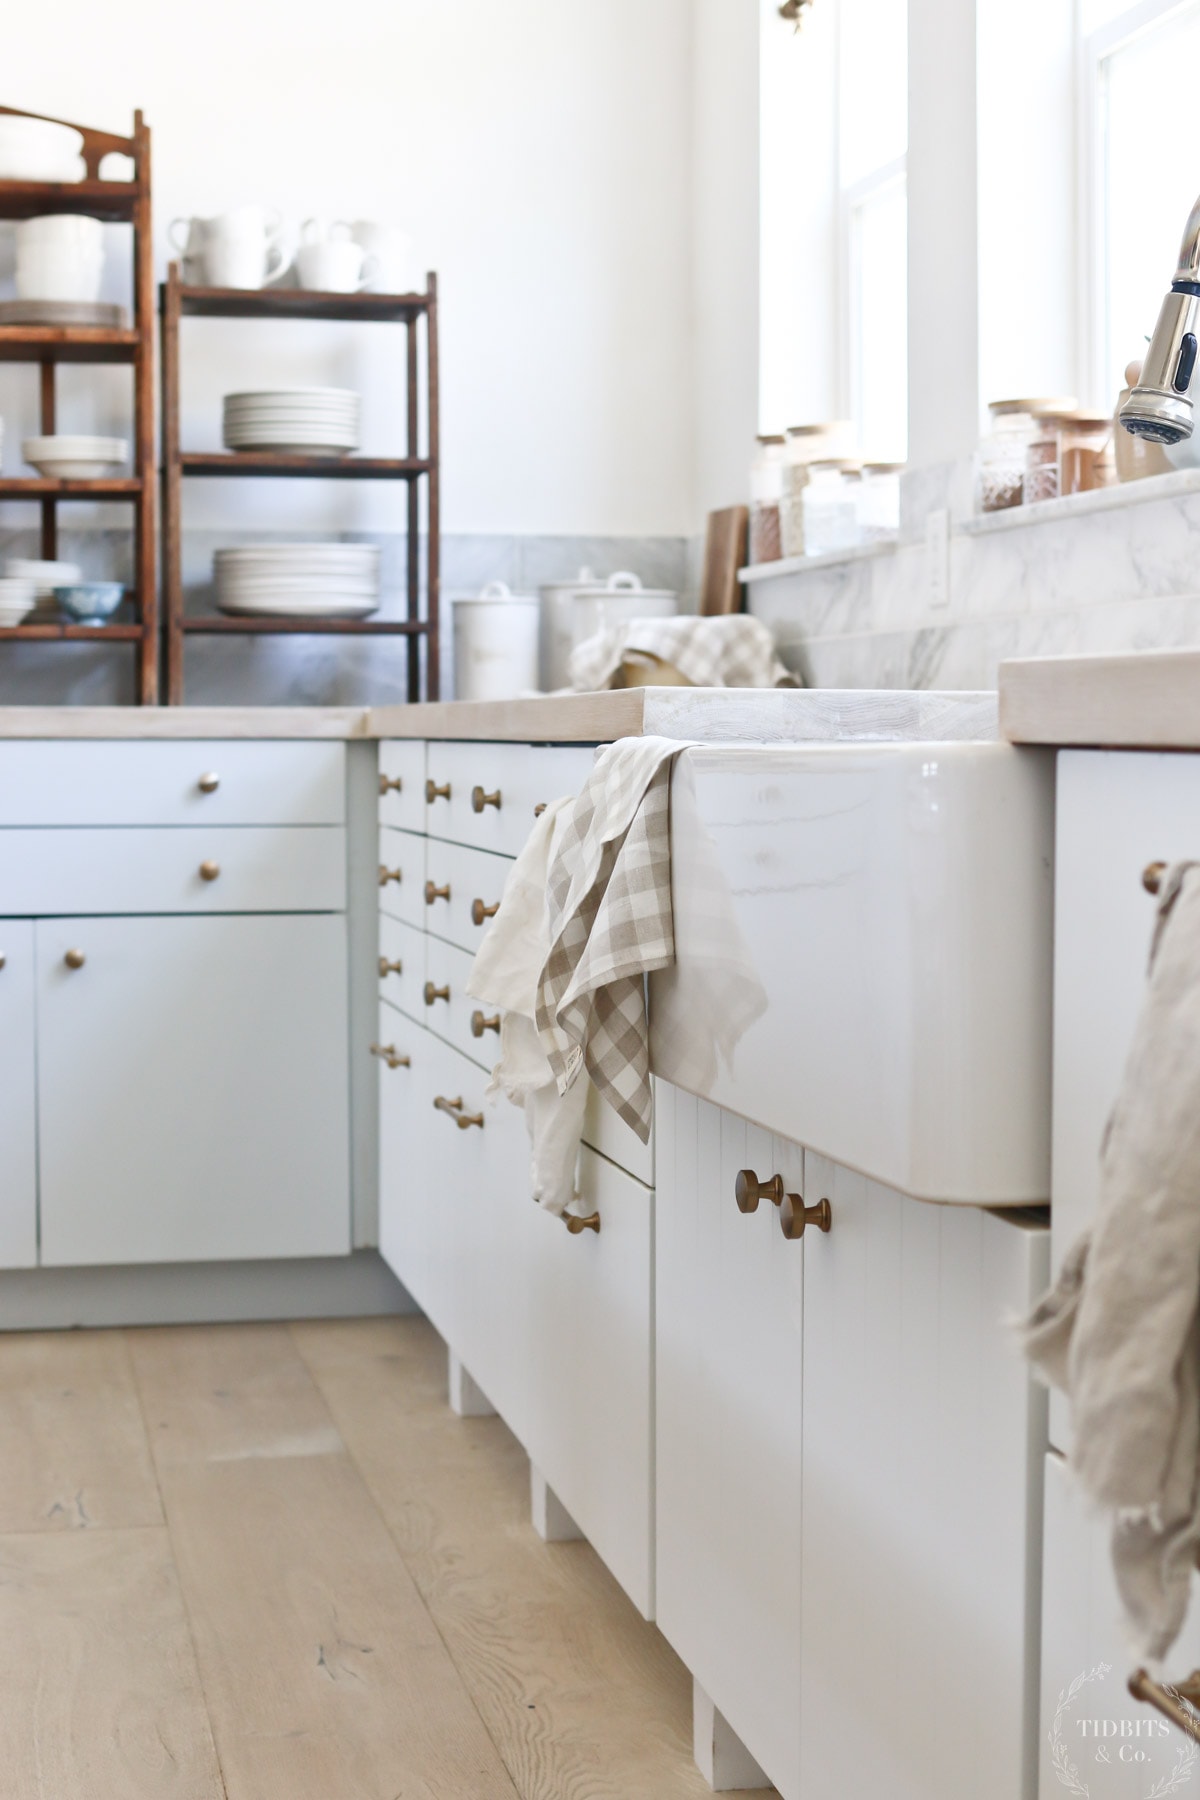
To remedy this height difference between countertops and tap, we had glued two marble slabs together. While this worked well for a while, the seam eventually began to collect iron deposits and hard water. We knew it would be a constant problem so Mr. TIDBITS took advantage of the opportunity to put in a thicker, single piece of marble.
If you are planning to install DIY butcher block countertops with a stone tap around your faucet like we did, I recommend choosing a single stone tap piece first and then matching the thickness of your countertops to the tap for a smooth transition. It’s much harder to find a marble or stone piece that lines up perfectly with a pre-existing countertop.
The new marble tap does have a slight ledge, but it still looks great and should be much easier to keep clean.
Staining and Sealing
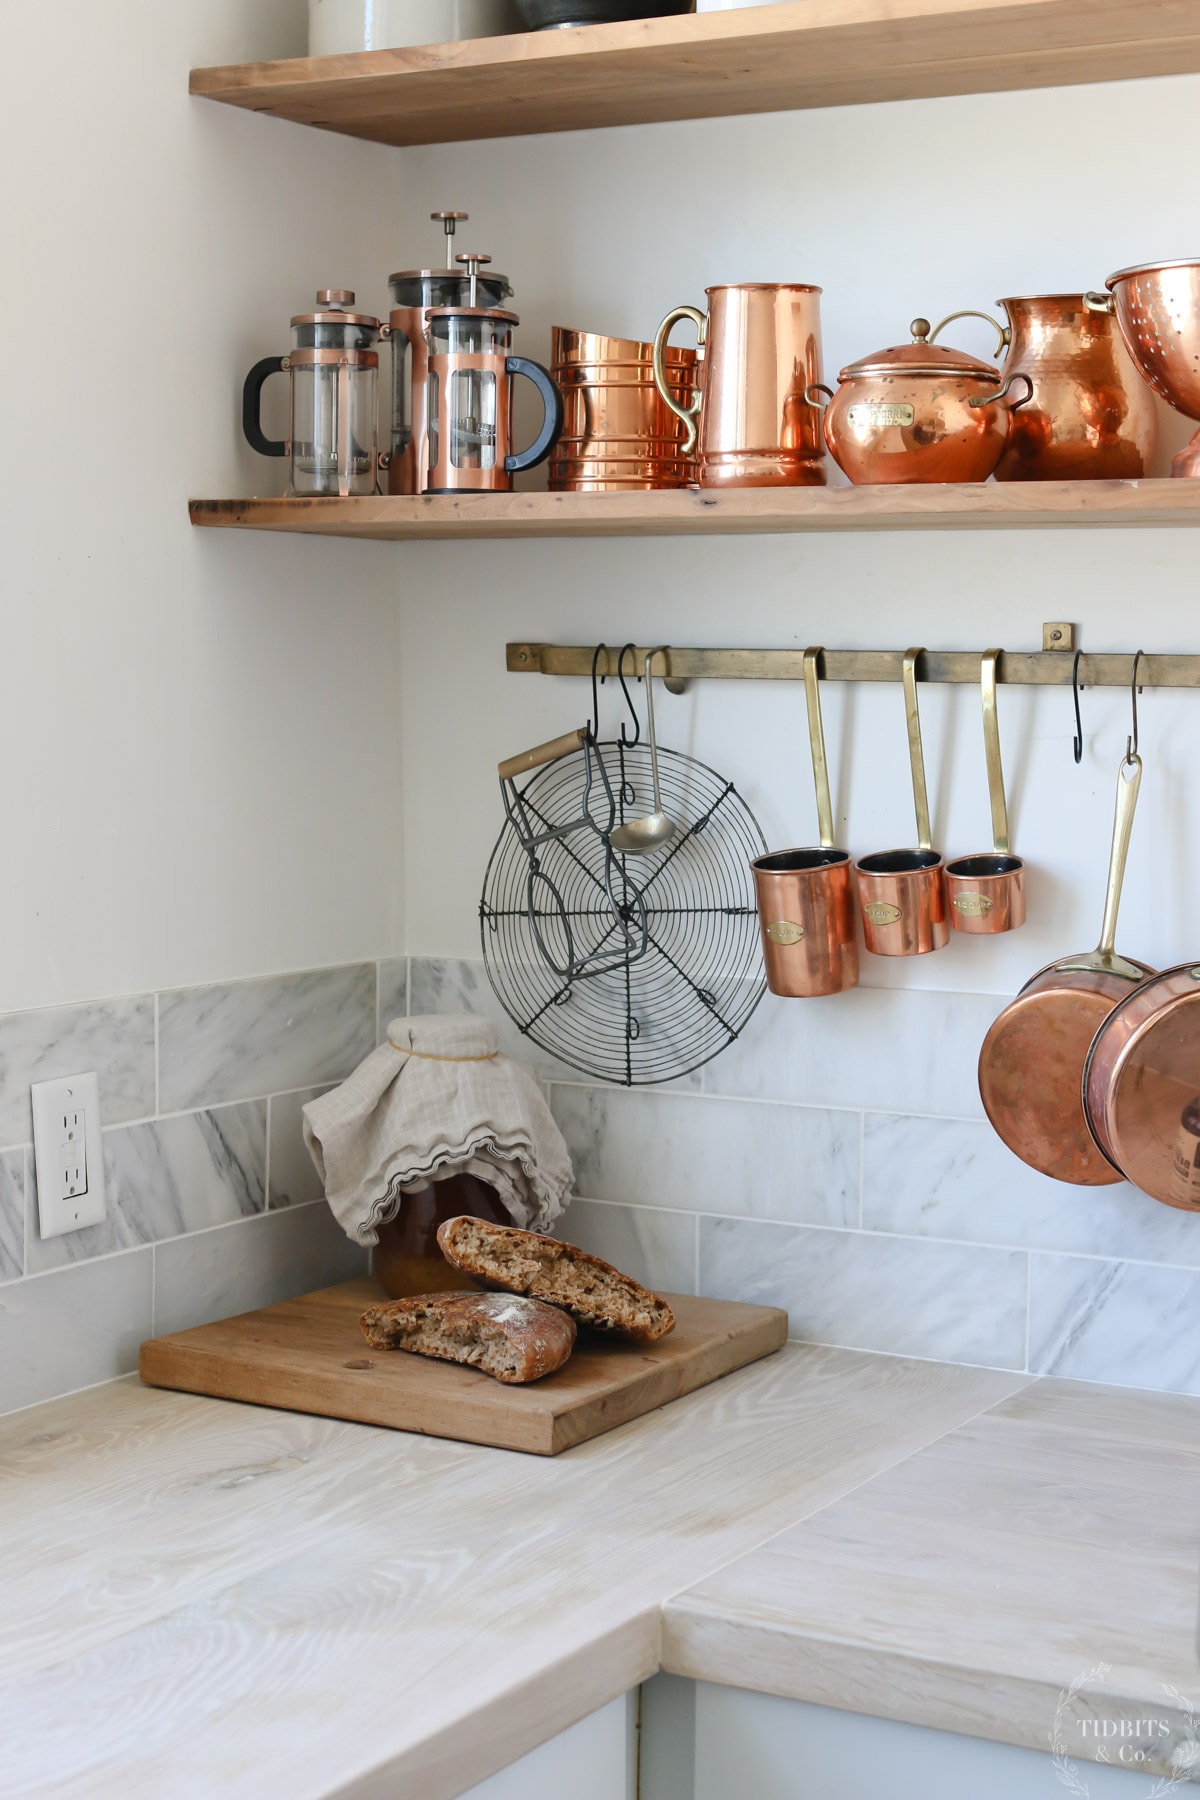
After installing a new marble tap for the faucet, it was time to stain and seal the butcher block countertops. We opted to brush on a coat of this white pickling stain again to lighten the look of our white oak countertops.

We considered trying a new sealer since the original non-yellowing sealer had not kept the countertops as light as we had wanted, but after talking to our local paint store, it seemed likely that any wood countertop that sees as much direct sunlight as ours was likely to yellow over time regardless of what product we used.
Because of this, we decided to re-use the clear, food-safe polyurethane sealer called “Benjamin Moore Stays Clear” that we already had on hand from our original countertop installation. Waste not!
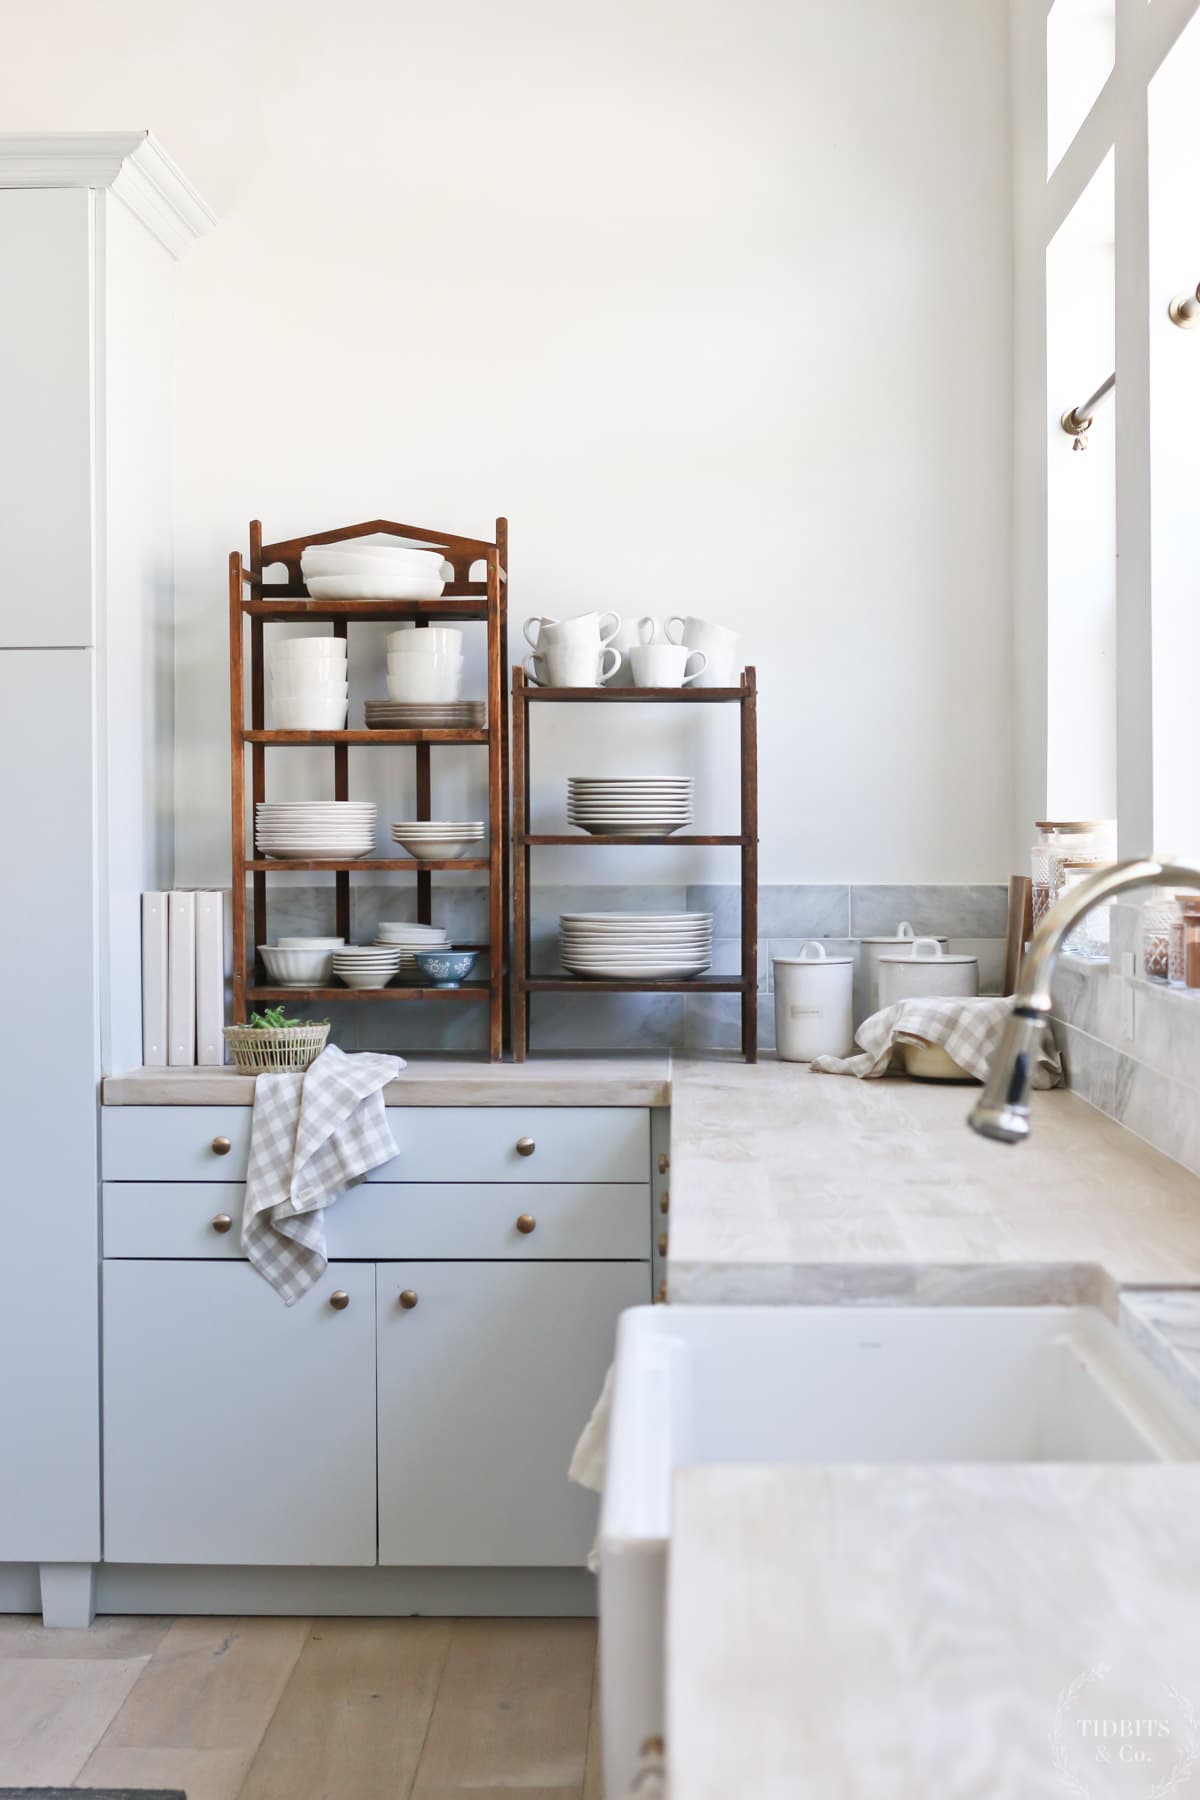
Bonus: New Backsplash!
Finally, after refreshing our DIY butcher block countertops and marble tap, it was time to address the backsplash.
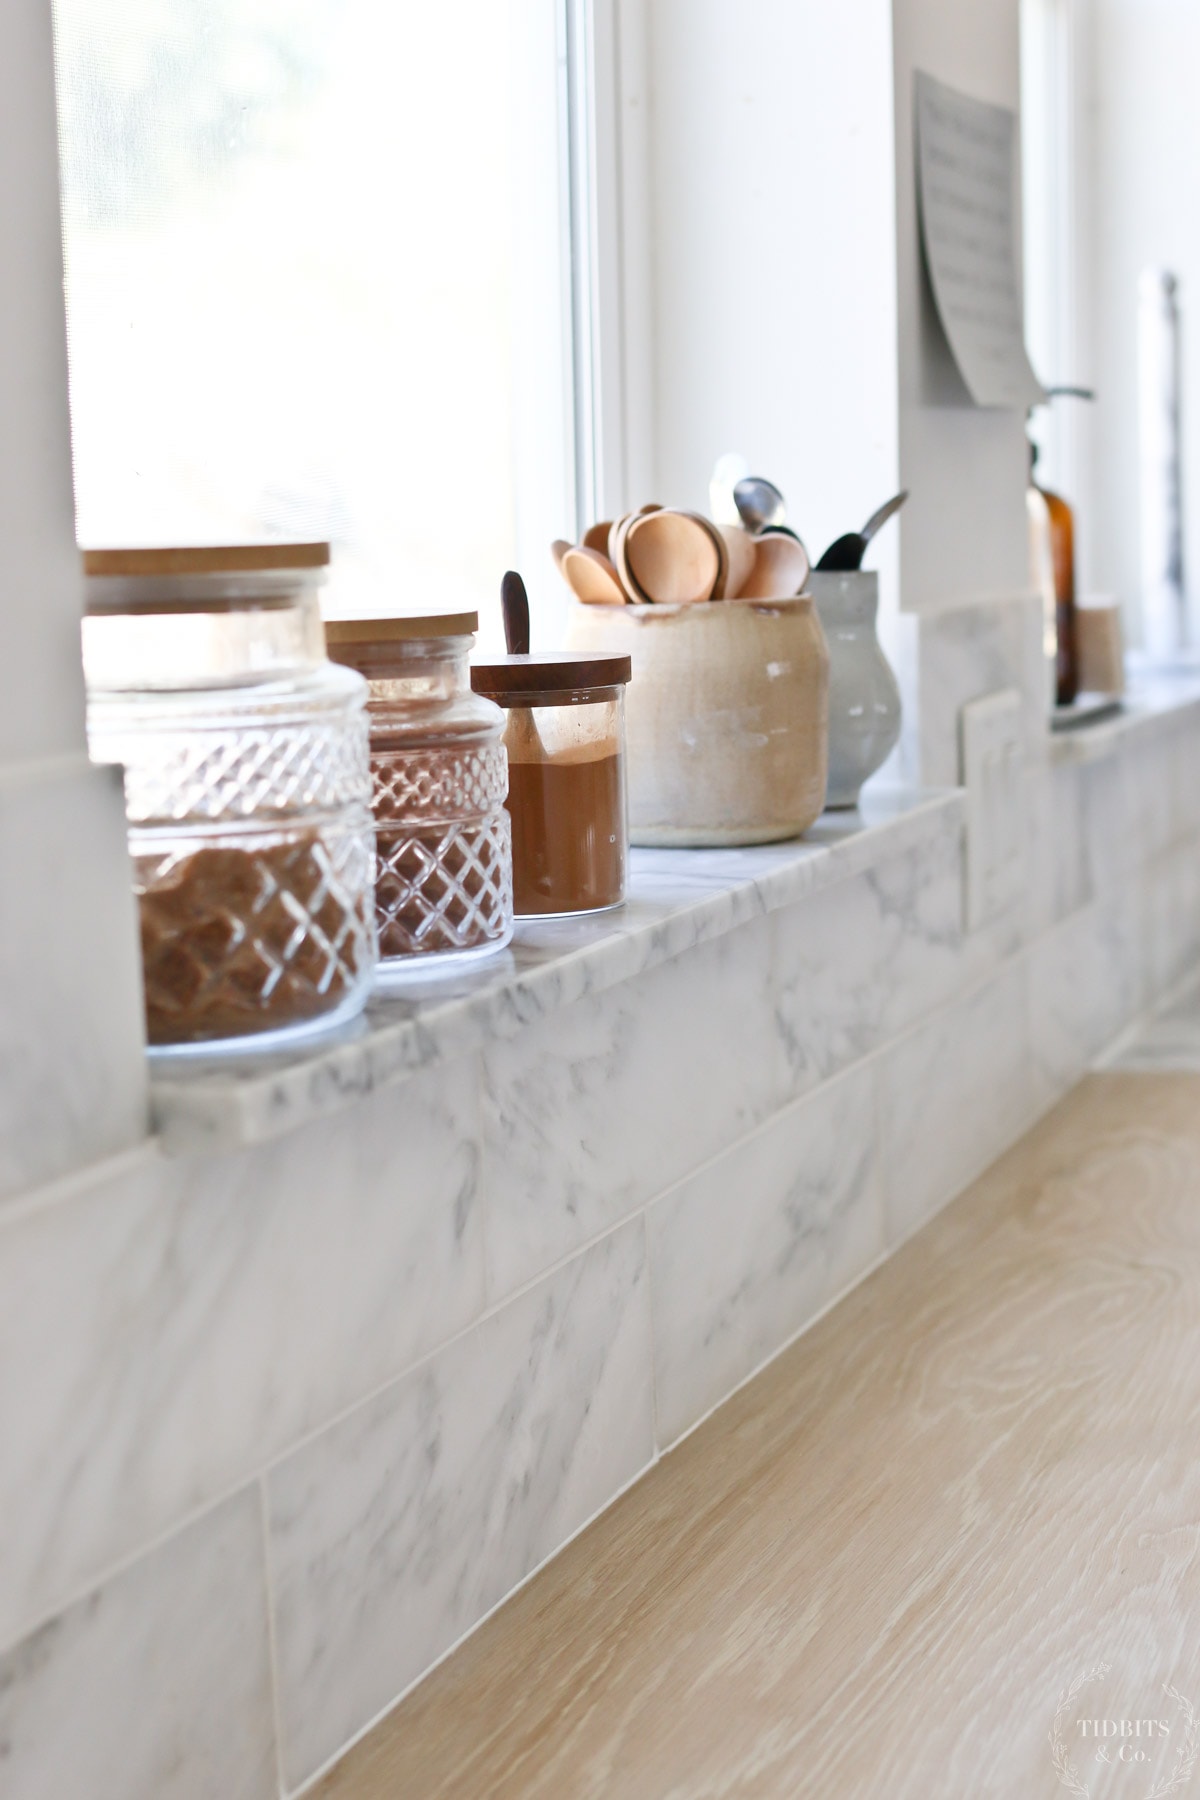
Mr. TIDBITS had the great idea of using some leftover marble tiles from a previous project as a kitchen backsplash. It was love at first sight and we got them installed in no time. A few trim pieces along the top, which you can see in our YouTube video, were our only purchase for this countertop refresh. Low-cost projects are the best projects!
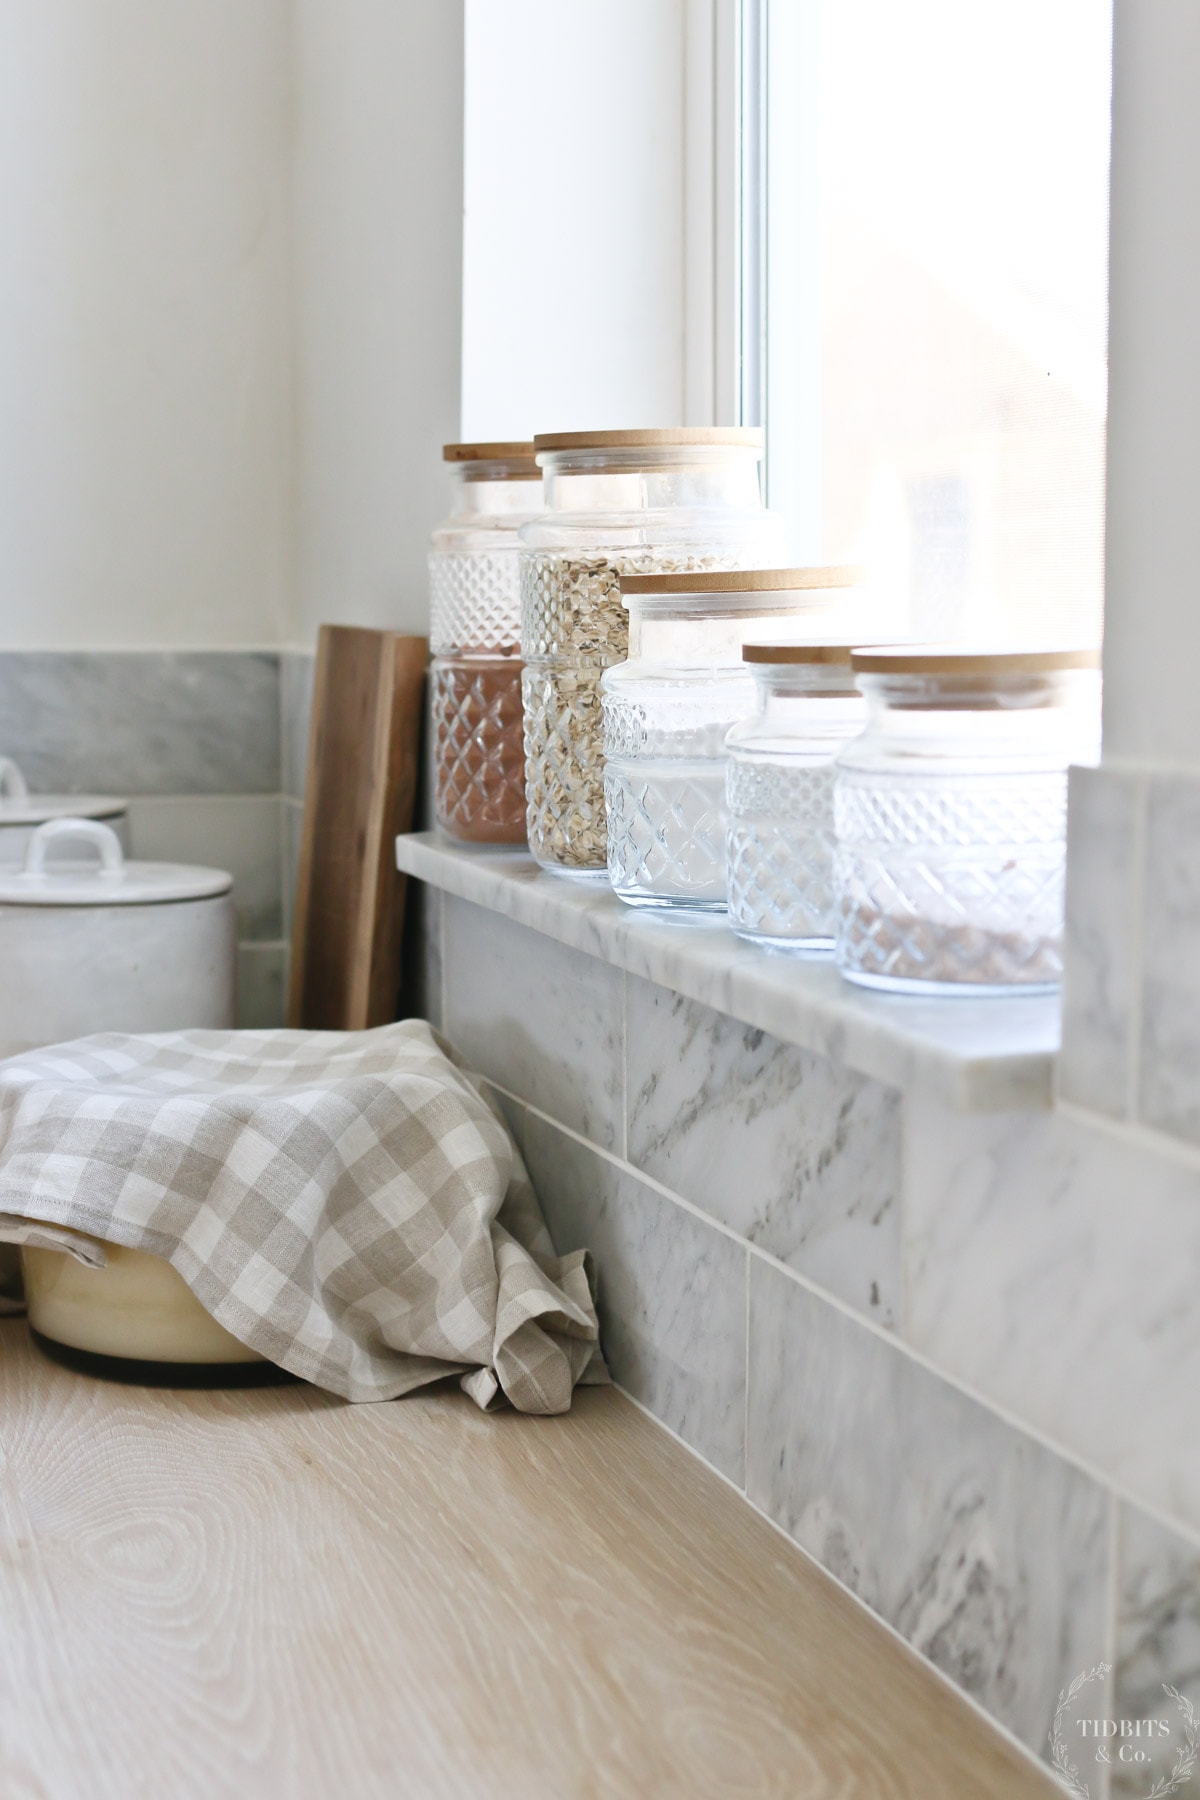
I love how this DIY butcher block countertop refresh turned out! The countertops are looking fantastic, and the new backsplash turned out to be the finishing touch that our kitchen needed.
After a little decorating, we’re back in business and ready to put this kitchen to work!
If your butcher block countertops need to be refinished – don’t despair! It’s easier than you might think. A little regular maintenance will keep your kitchen countertops feeling fresh and new for years to come!
More from Our Farmhouse Kitchen
I’d love to know how you feel about butcher block countertops! Do you have some in your home? Do you love them, hate them? Let me know below!
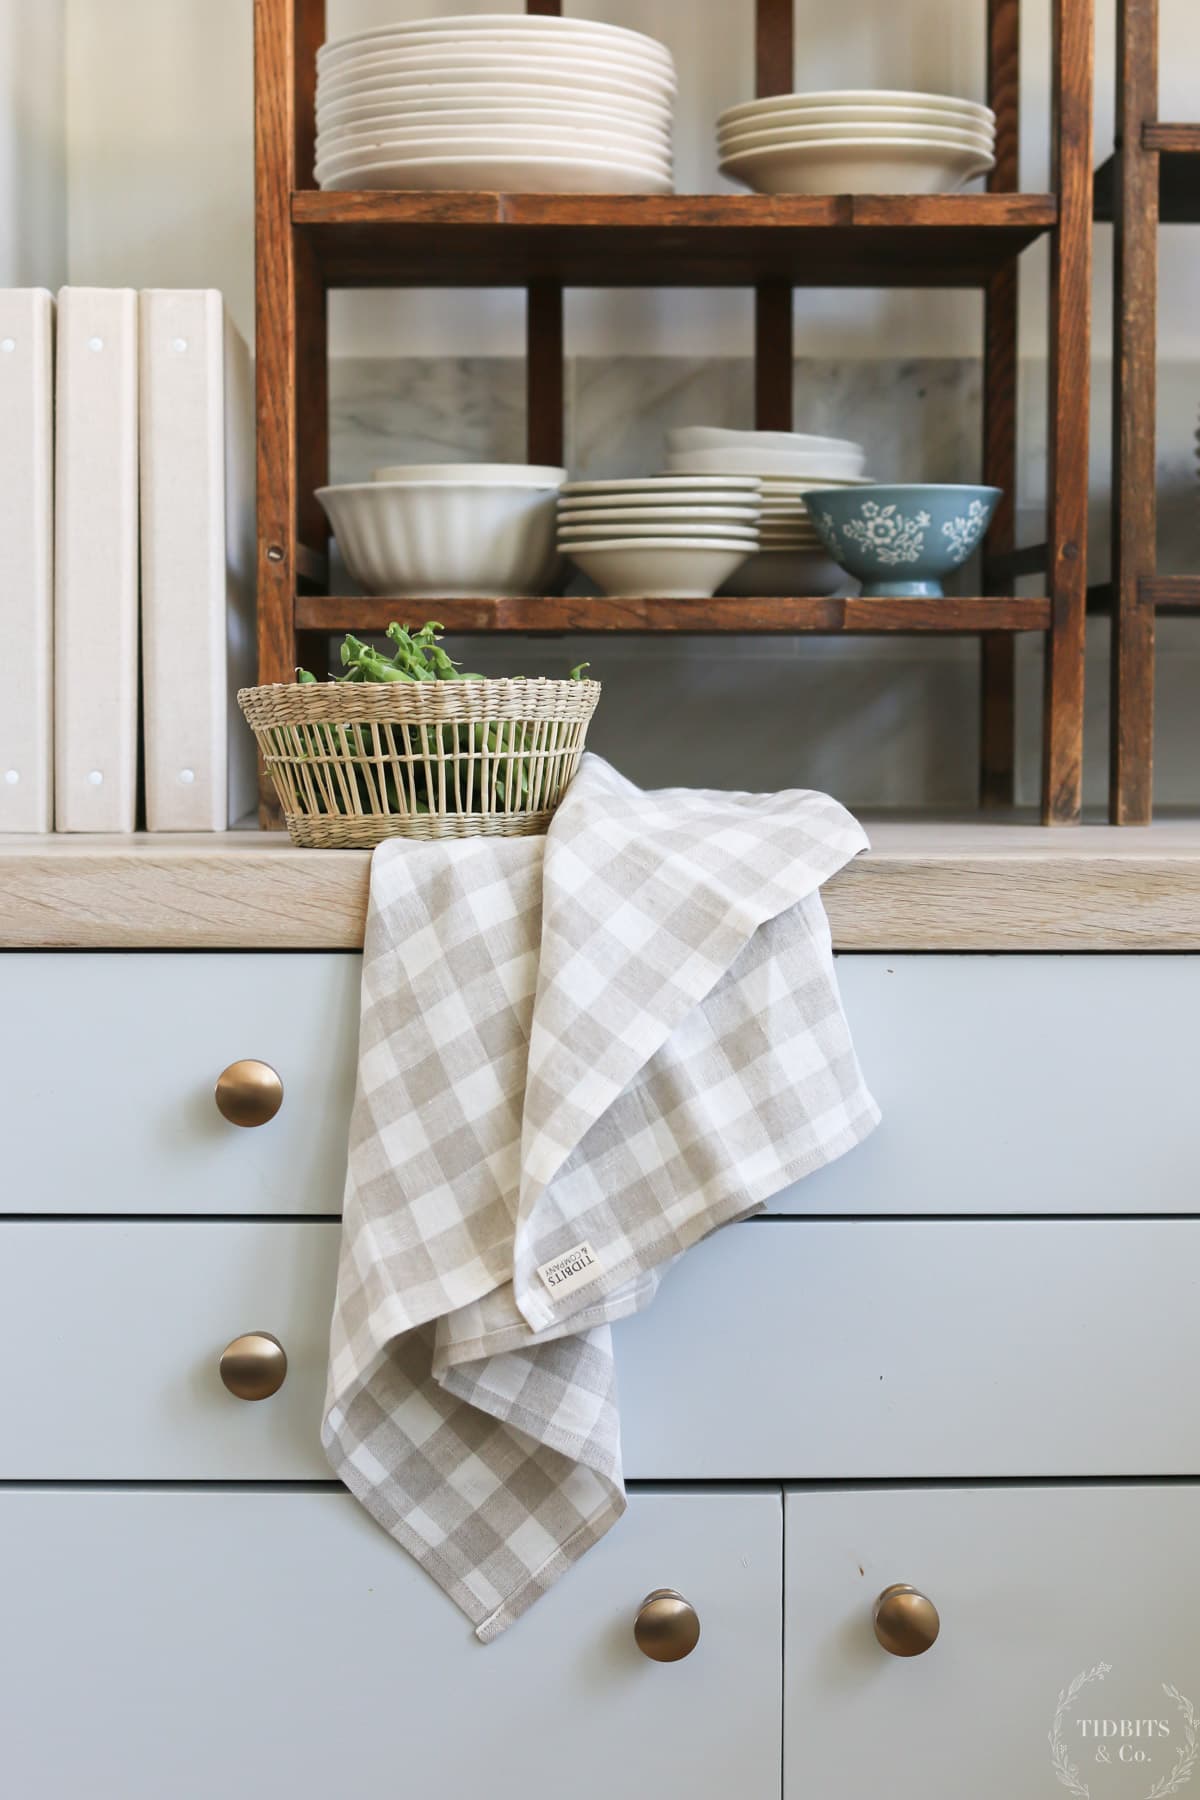
You can also purchase some of our USA made pure linen tea towels on my TIDBITS & Company shop!
If farmhouse kitchens are your thing, you might be interested in these other posts:
- European Farmhouse Kitchen Design | Reveal Tour
- Our Butler’s Pantry Reveal with English Country Charm
- Farmhouse Kitchen Ideas: Rustic Charm and Timeless Elegance
- 5 Reasons I LOVE my Large Single Basin Sink
- How to Cut, Hone and Install Marble Yourself – Get the Look for WAY Less!
- DIY Butcher Block Countertops | Oh YES You Can!


When resealing the butcherblock were the products used safe for cutting on? Or are they just for use as regular countertops not butcherblock/cutting compliant? Just trying to figure out what to do with mine 🙂 Thanks!
Can you share where you got the binders on your counter?
Oh yes. I got those from a company called rag and bone bindery. They are beautiful!
Oh Cami your kitchen is lovely and that marble backsplash is the cherry on top! I’m one envious girl! You have a good man there!
My father taught me many years ago to preserve wood so it doesn’t dry out. First get BOILED linseed oil, put in on with a brush or rag let sit 2 to 3 days to soak in. Then with clean cloth wipe excess off. Leave for a day or so then varnish. Over years wood will dry out, but the linseed oil keeps the wood moist inside. Hope this will keep your counters from drying and cracking.
What an awesome hack! Thank you for sharing that with us!