
This post may contain affiliate links, which means I get a small percentage of the sale at no extra cost to you. I only recommend items I love and have had a positive experience with. Thank you!
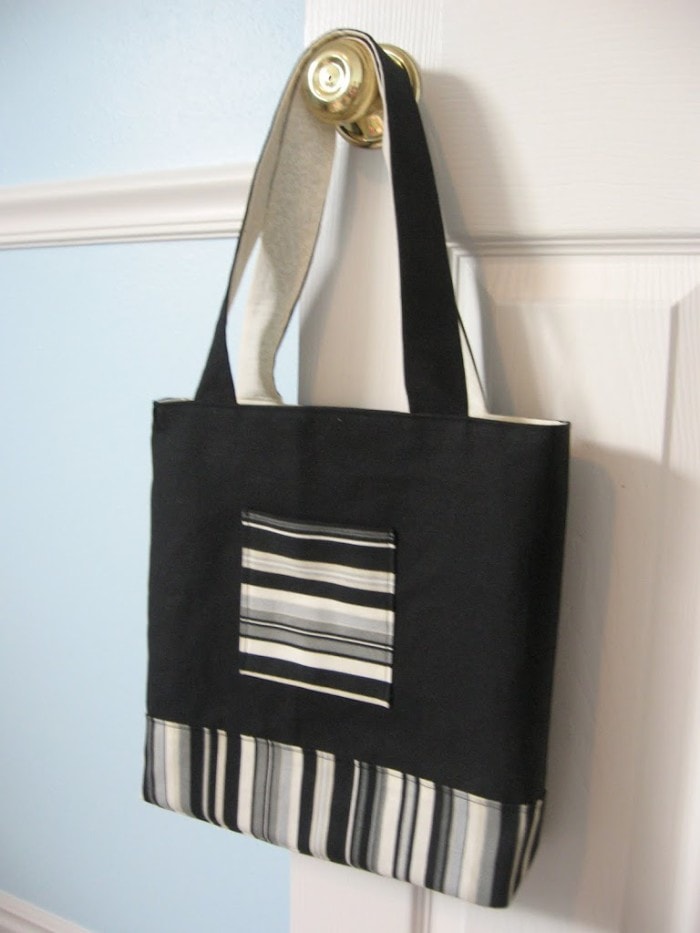
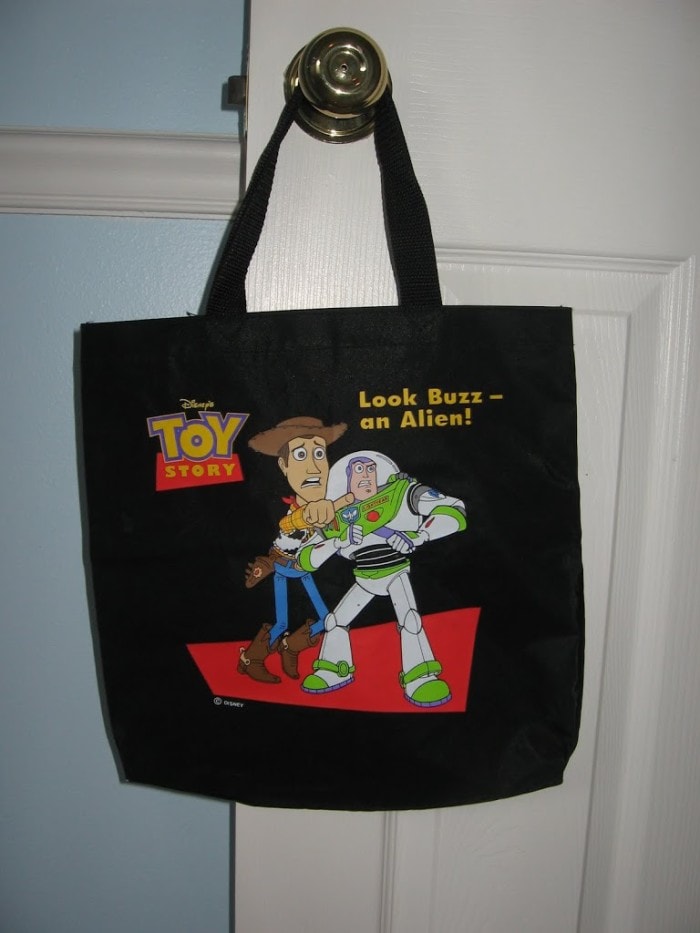
Here is a tutorial for a basic tote bag. My mother needed one to carry her binders and books for church on Sunday. She came to me with this cute little Toy Story bag (she got from who know’s where) and said she needed a cute bag this size. I wonder why she didn’t want to just use Buzz Light Year. But being the obedient child I’ve always been, I said “I’ll give you a bag mother”. So after she set some rules (nothing flashy, or teeny boppy), I went to work on my mama bag.
 Here’s how you do it:
 Supplies:
1 Yard (though I had plenty left)
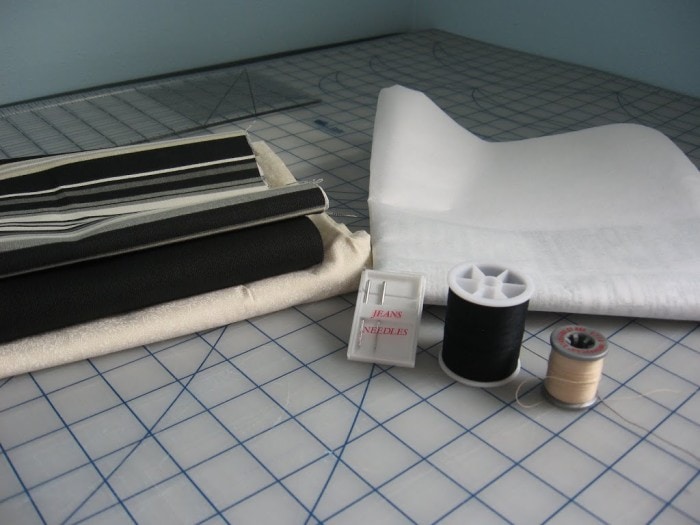
- Bag Fabric (something thick like home decor fabric or a twill)
- Liner Fabric (I used cotton)
- Fusible interfacing
1/4 Yard Contrasting Fabric
Matching threads
Needles suited for the job
Sewing machine, of course
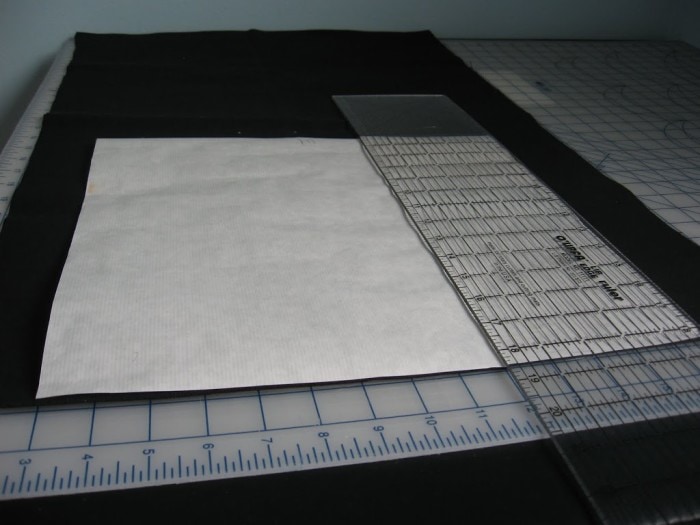 I began by making my pattern. Of course it had to meet the size of the bag I was matching, but you can really make this any size. Mine was 13 1/2 by 14. However, I would make it longer if I were to do this again. This size fits a binder pretty good. Then you are going to cut your pattern out on the fold with your outer fabric piece, liner, and interfacing.
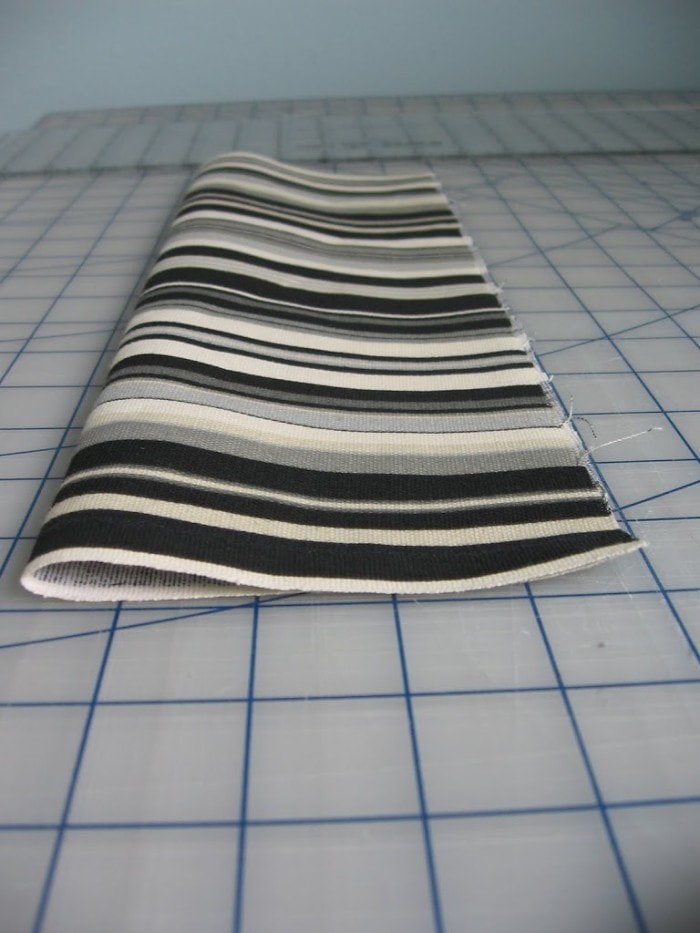 The contrasting fabric can be any size, but as you can see mine was cut 5 inches on the fold, or 10 inches by 14 inches.
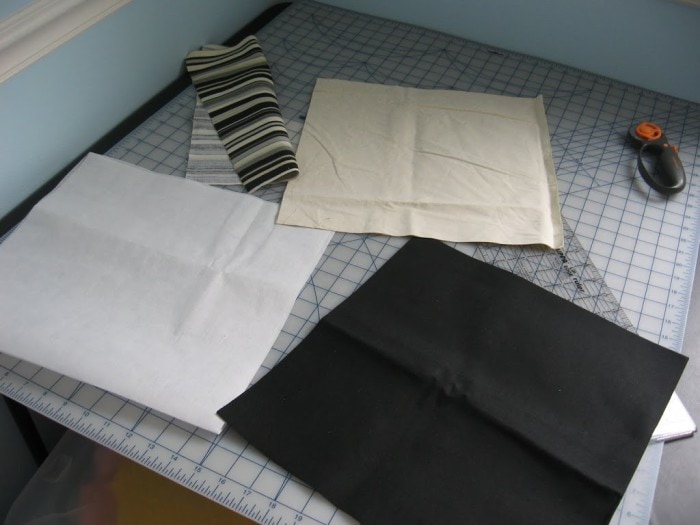 Here is my cut pieces.
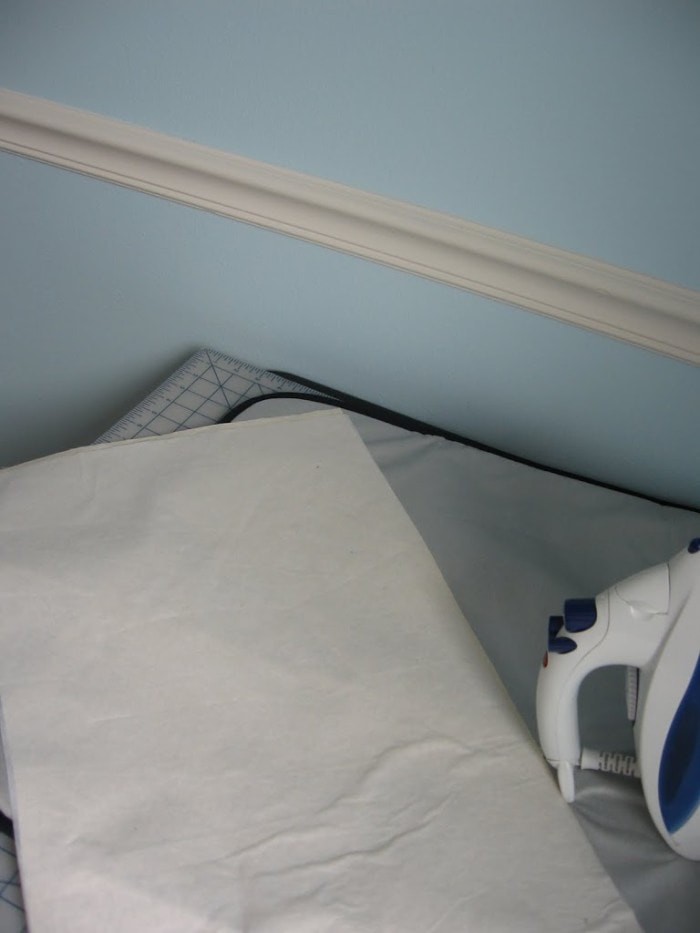 First you need to press the interfacing to the back side of the lining piece.
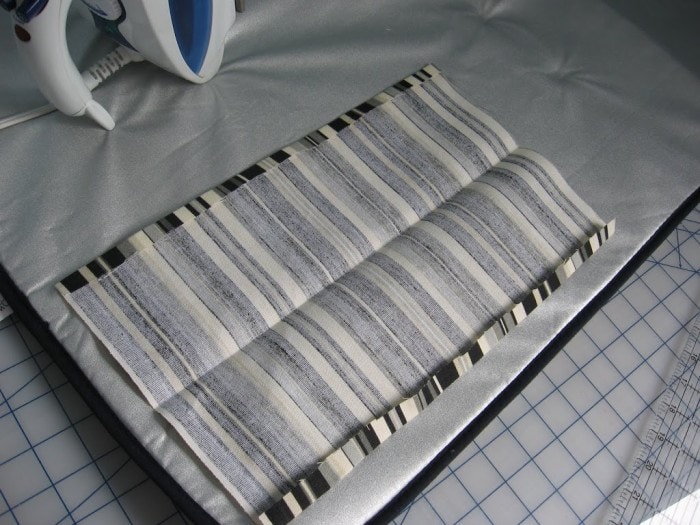 Press the edges on the contrasting fabric 1/4 inch.
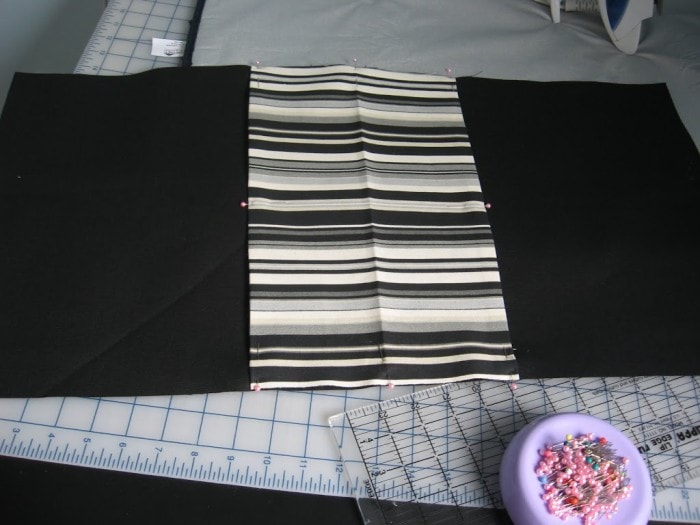 Open up the folded piece of the outer bag material and pin the contrasting fabric to the bottom, matching centers.
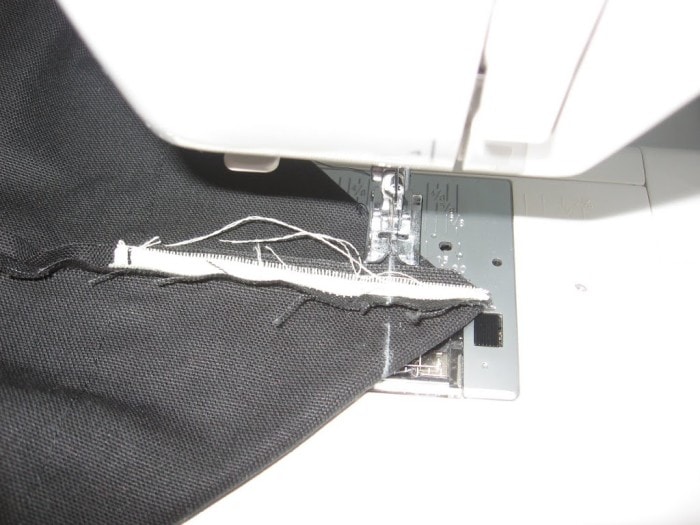
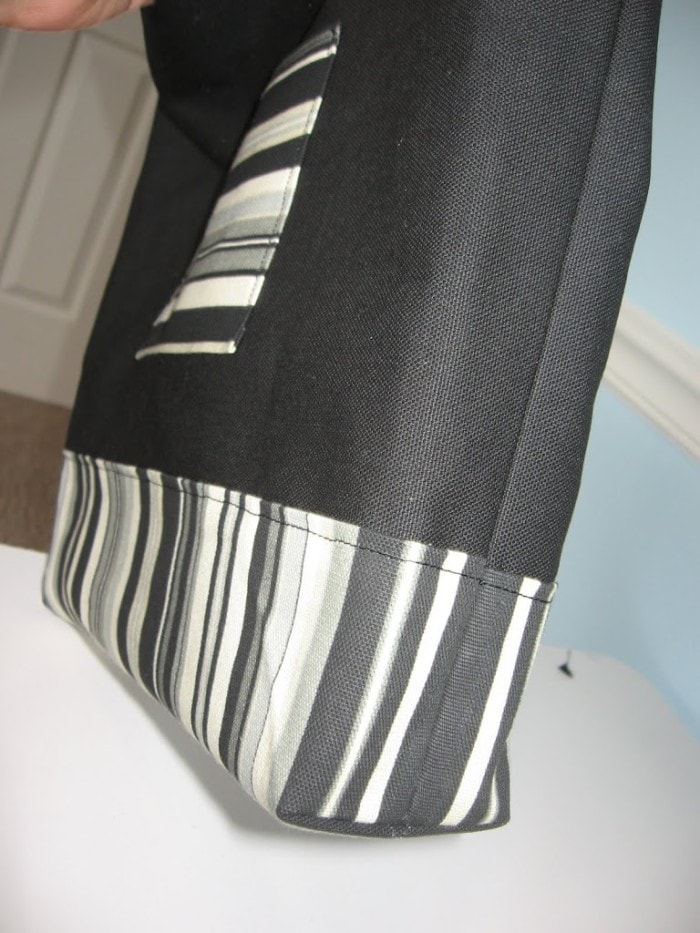
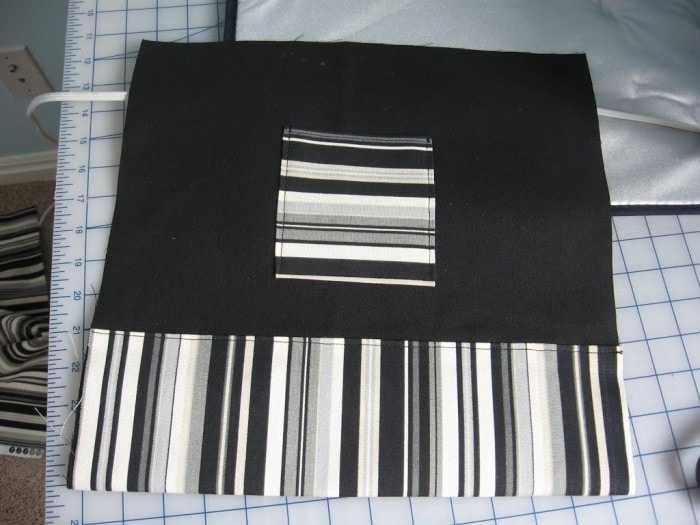 Sew it on. Though I didn’t mention before, I did sew on a pocket for my mama’s keys, glasses, or whatever else she wants to put in there.
 Then you will put right sides together and sew 1/4 inch. Press the seams. If you don’t have a pressing tool like I have above, you need one. Great for sleeves and many other things.
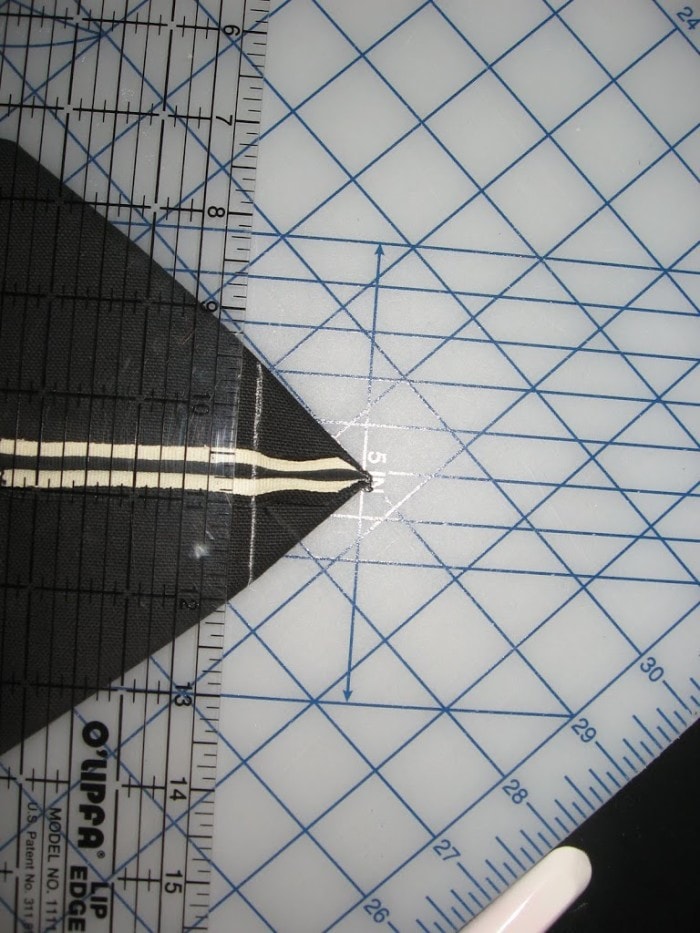 Next is squaring off your corners. Not sure of the best way to explain this but I hope the pictures helps. Form a triangle at the corner edge, and mark with chalk roller or whatever you have. I marked about an inch from the tip, the farther you mark, the wider your bag will be. Do this for both sides.
 Now sew on that line. Clip excess fabric and press.
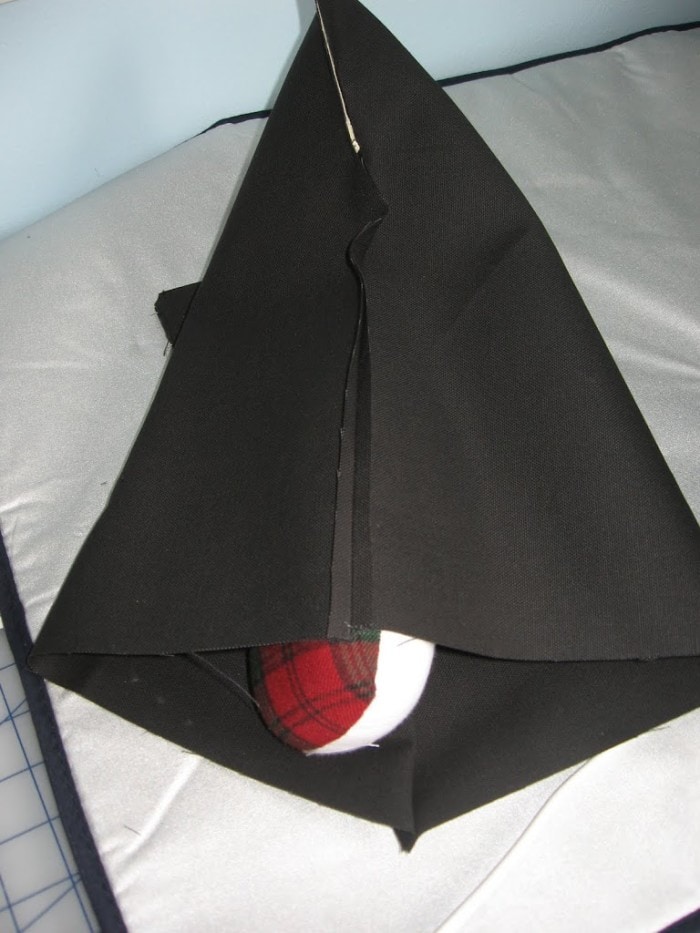
 Here’s what your corners will look like.
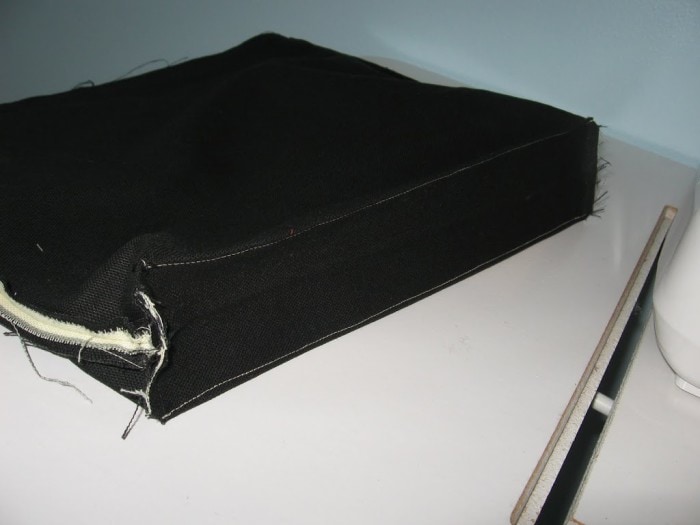 I wanted the bag squared off good, so I sewed from corner to corner, like shewn above. Do this on the wrong sides.
You now need to repeat these steps with the liner fabric also.
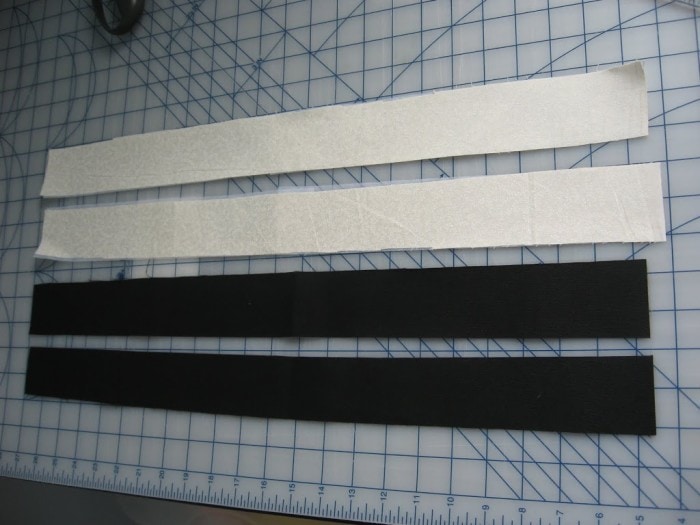 Now you need to make your handles, any length you choose. Mine were 22 inches long and 2 inches wide, I believe. Cut with a lining and an outer fabric. Interfacing is also pressed onto the cotton fabric to give the handles more stability.
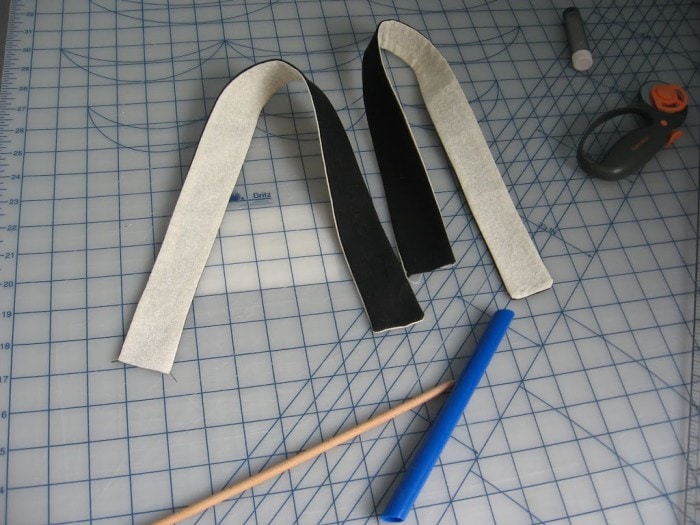 Sew them together, leaving both ends open. Though I think I did close an end above, that isn’t necessary. Turn them right side out (I love my fabric tube turner) and press.
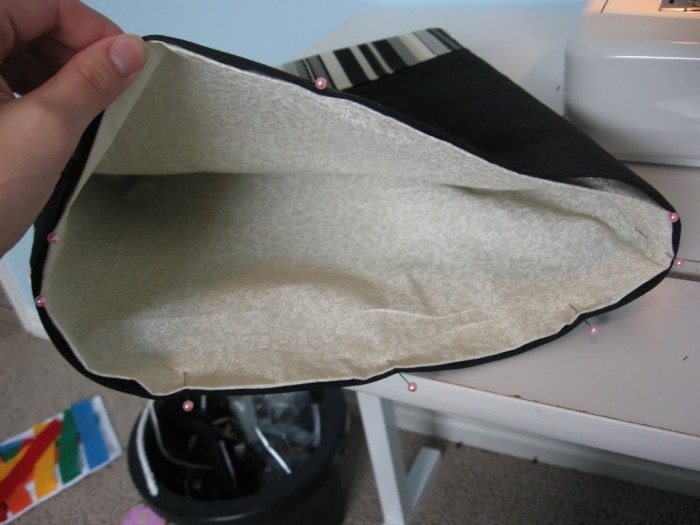 Though there isn’t any pictures for this next step (oops) you need to press the tops of the liner and outer fabric 1/4 inch to the wrong sides.
Then carefully place your liner fabric inside the bag. Pin together matching seams.
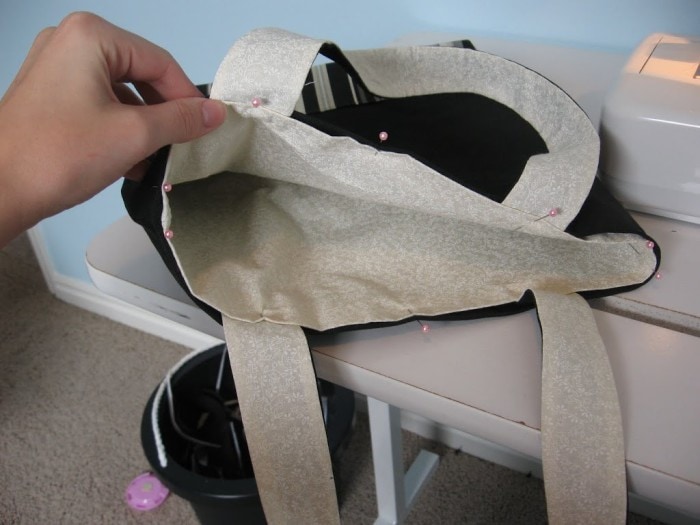 Pin the handles in place, where you want them.
 Carefully sew along the top. Press.
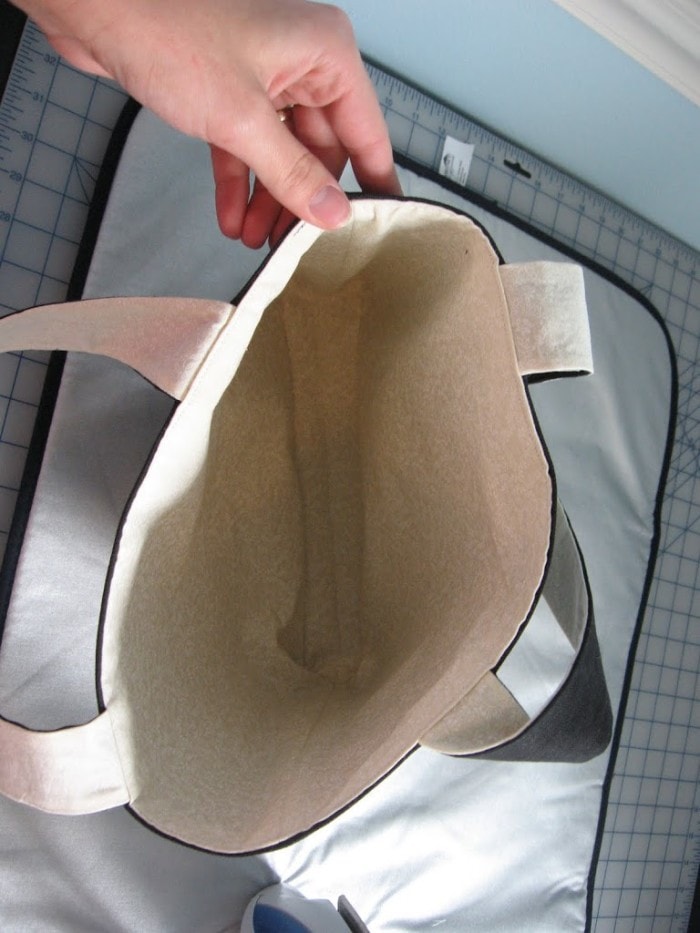
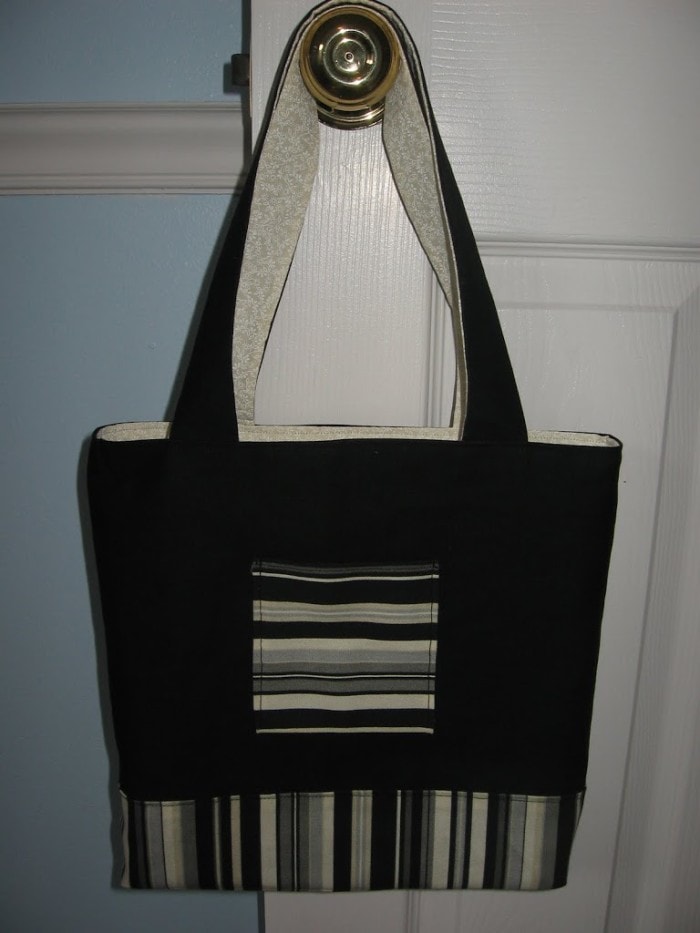 And you are finished.
 My mama loves her new bag, at least that is what she tells me!


awesome tote.. very neat and precise-looking. that bag looks like it should be in showbiz!
I love that she said not too flashy makes me smile…
So cute, I wish I could sew! I love all things crafty, but sewing just isn't my thing. I am sure that your mom loves it!
What's not to love! The bag turned out fantastic! : )
What an awesome transformation! Looks like you are a great seamstress! Come stop by my Favorite Things Friday Party if you would like to join in!
Thanks for visiting my blog. I love yours! Your towel holders are way cleaver and I LOVE your quite book. simply amazing!