
This post may contain affiliate links, which means I get a small percentage of the sale at no extra cost to you. I only recommend items I love and have had a positive experience with. Thank you!
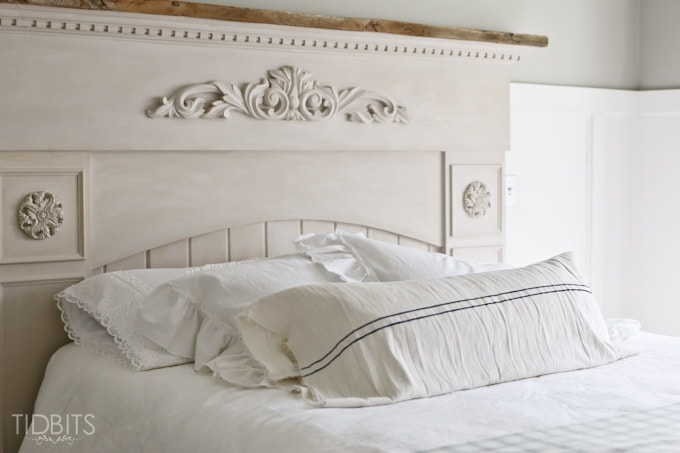
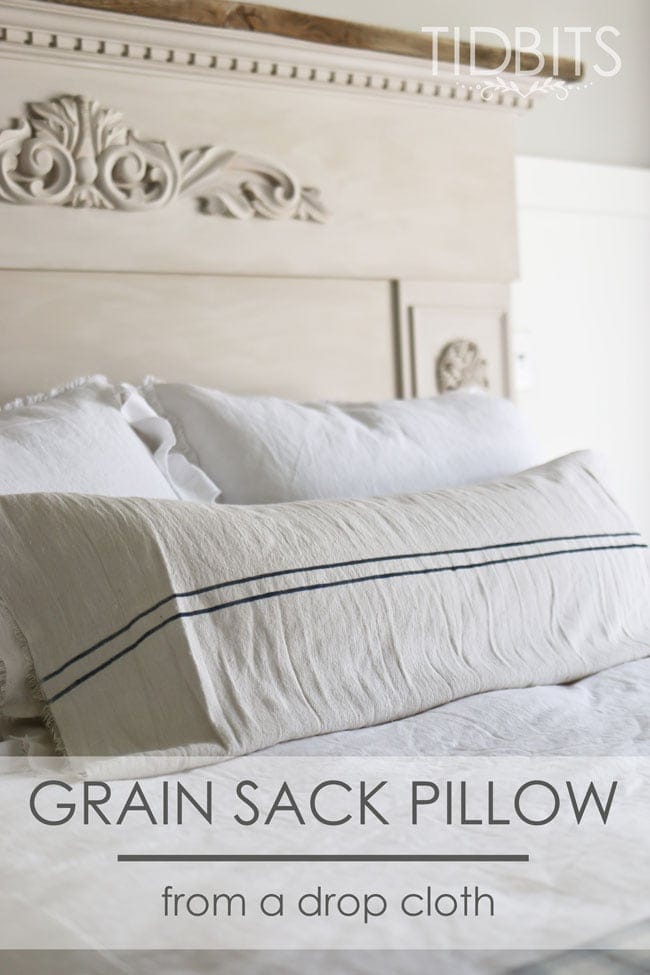
When considering all the items I made to complete our bedding ensemble, this grain sack pillow was by far the quickest and easiest.
Ironically enough, it is possibly the one piece of the bedding that I love the most.
I love that it ties in a bit of French, a bit of sloppy comfort, and a touch of vintage – all in one.
It really was the farthest thing from complicated to make, and I meant to throw it together so imperfectly in hopes that it would speak to antique grain sacks everywhere.
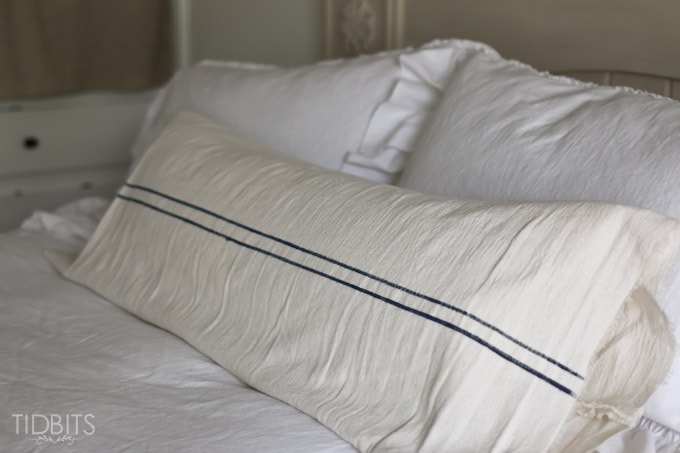
And that it would fool everyone to think it was genuine, when really – it is made from my bleached drop cloth stash 😉 (How I bleach my drop cloths, HERE).
So . . . because I love to write tutorials, let me show you just how easy it was to throw this together in about 1/2 hour.
Materials:
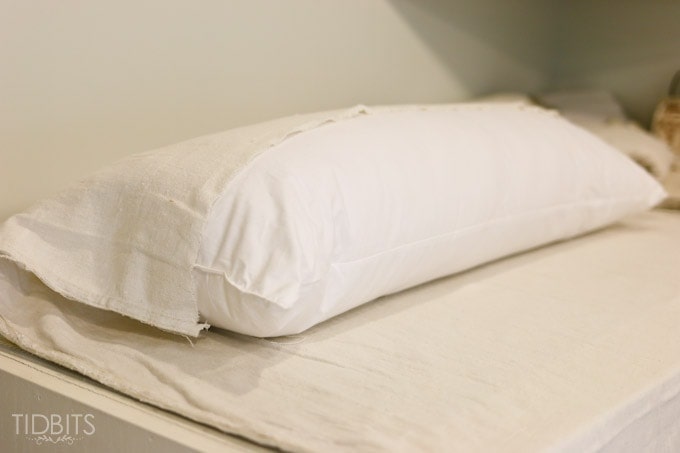
- You’ll need your pillow form.
- I ordered this boudoir pillow from Amazon. I liked that it was long, but not too long like a body pillow, and shorter. This would be a wonderful accent pillow for a couch as well.
- Bleached drop cloth (or any fabric)
- I ransacked my stash, but you will need enough to go around your pillow form, plus a little.
- Painters tape
- I used frog tape
- Fabric paint
- Or you could use acrylic paint and add my favorite fabric medium.
Instructions:
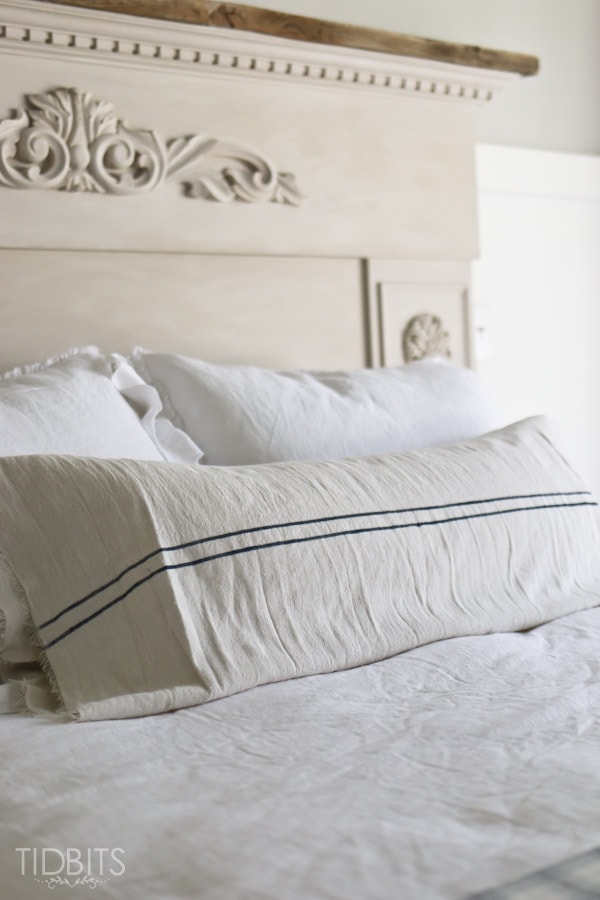
I wanted a very loose cover for my pillow form, and I wanted to leave both the sides open with a hang off the ends of about 3-4 inches. I simply placed my pillow form down onto my drop cloth, allowing some hang on the ends.
Then, just like I would measure for wrapping paper, I figured where to cut my fabric so the seam would meet in the middle of the back of the pillow. I figured it to hang very loosely on the pillow. Then I ripped rather than cut my fabric, so I was sure to have frayed edges. It was the look I was going for 😉

I also ripped the ends of the pillow to create a nice fray.
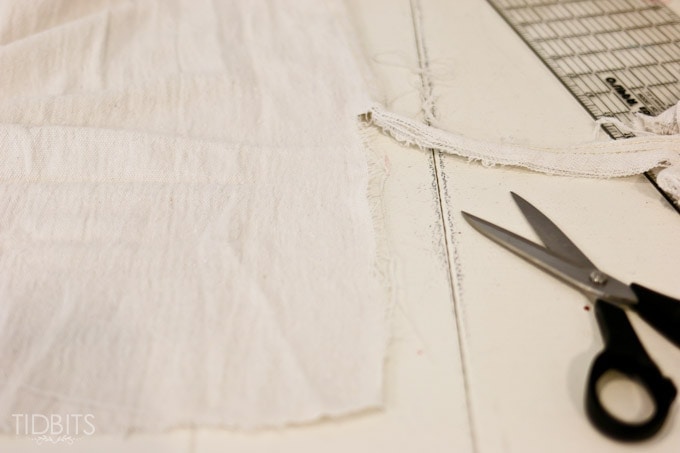
On both my ends I added a reinforcement stitch 1/4 inch away from the edge. I wanted it to fray, but not forever.

Then, with right sides together (if you have a right or wrong side, which drop cloth does not), I seamed together the 2 long ends, essentially making a large fabric tube. I didn’t worry a stitch about finishing my seams or cleaning them up.
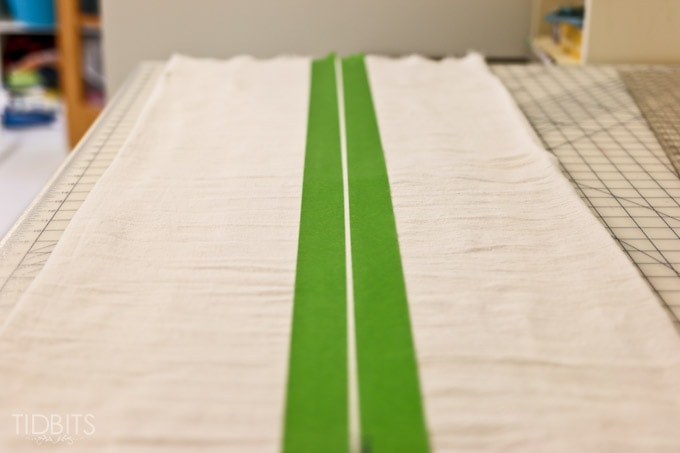
Now I prepped for painting my lines. You could really do this before you made your seams, but I wanted to be sure I could find the center line accurately.
With right sides out and the seam laying in the middle back, I inserted some thick paper between the layers. This was to prevent paint seeping where I didn’t want it.
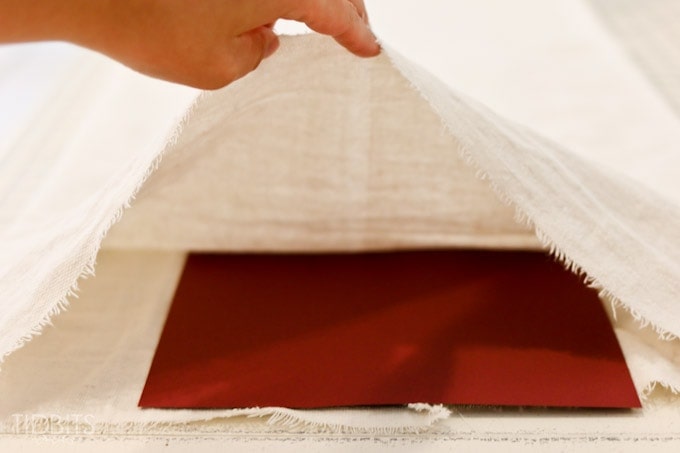
Then I measured and marked a center line with a fabric marker.

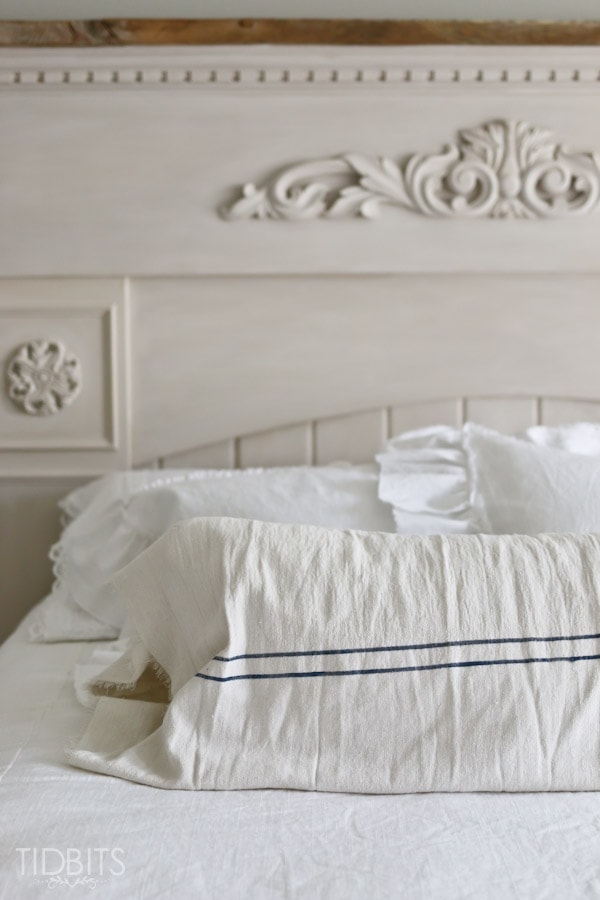
Using my frog tape, I taped off 1 very fine line all the way down the pillow cover, using my marked line as a guide. You could use my tutorial for a grain sack stamp, HERE if you plan to use the same grain sack pattern over and over. This one was probably a rare stripe for me, so I opted to just tape off my lines.
Then I dabbed some fabric paint into that line, hoping to create a time worn paint job.
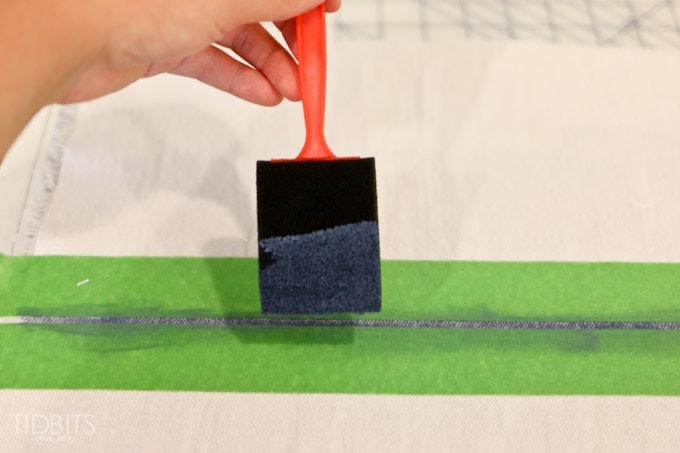
I dried that paint quickly with a blow dryer, and measured and taped off my second line. I completed the pillow by giving the paint a quick heat set with an iron, then stuffed my pillow form inside.
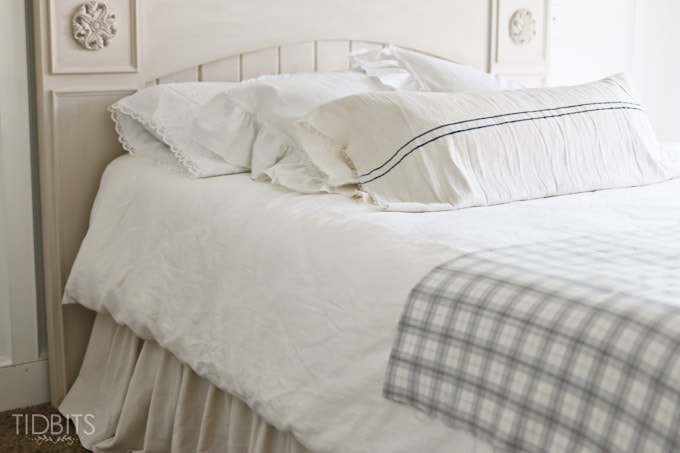
That was really all there was to it!
If you like the grain sack stripe as much as I do, you could add it to some inexpensive flour sacks like I did HERE.
Or perhaps on a French Inspired Hot Pad.
Or on a thrifted wood stool for your kids room.
Or on a DIY fold up hamper.
Yes. I know. I am slightly obsessed.
I hope you’ll give this simple DIY grain sack pillow a try! I would love to hear if you do.
Thanks for reading!
*Linking up to these parties, HERE.
**This post contains affiliate links. But rest assured, I only recommend products I use and love.


I want to thank you for your tutorial on the grain sack pillow… I’ve made two and they were both so easy!
I have a question for you. You had a tutorial on how to make the stripes using a stamp kit. Where did you find the stamp kit? Thanks
The stuff is rather unique
Is the drop cloth pillow case just for decoration or do you sleep on it?
Betsy
Love the pillow! Just my style. However, the first thing that caught my eye was your gorgeous HEADBOARD? Do you have a tutorial for that?
Subscribed!