
This post may contain affiliate links, which means I get a small percentage of the sale at no extra cost to you. I only recommend items I love and have had a positive experience with. Thank you!
I’ve received so much kindness and support with our master bedroom makeover so far – and it just brighten’s my day. Your kind words and visits make this picture snapping/blog writing {thing} rewarding beyond words.
I really do love creating. But what truly makes me happy is sharing my skills and knowledge with you and encouraging you to make things with your own two hands and save money while doing it.
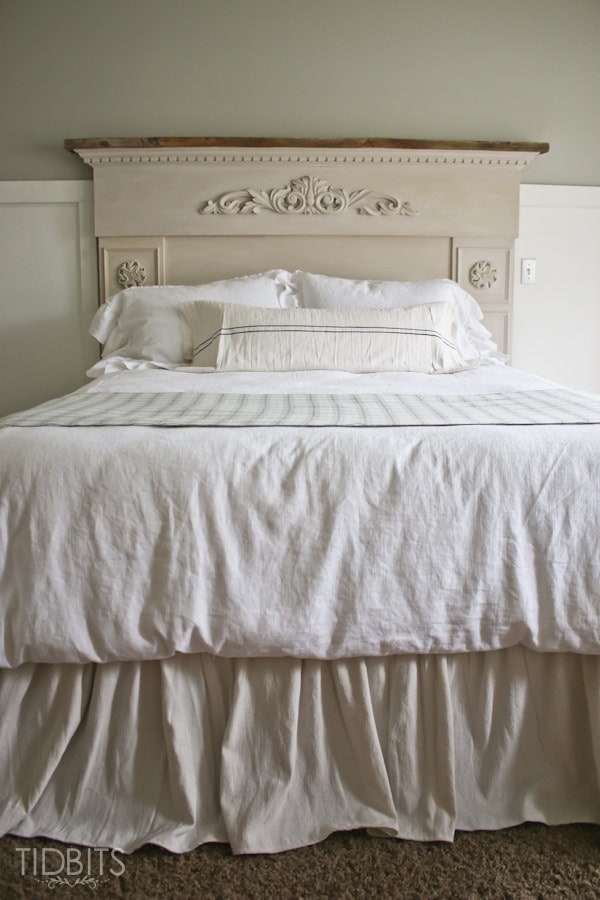
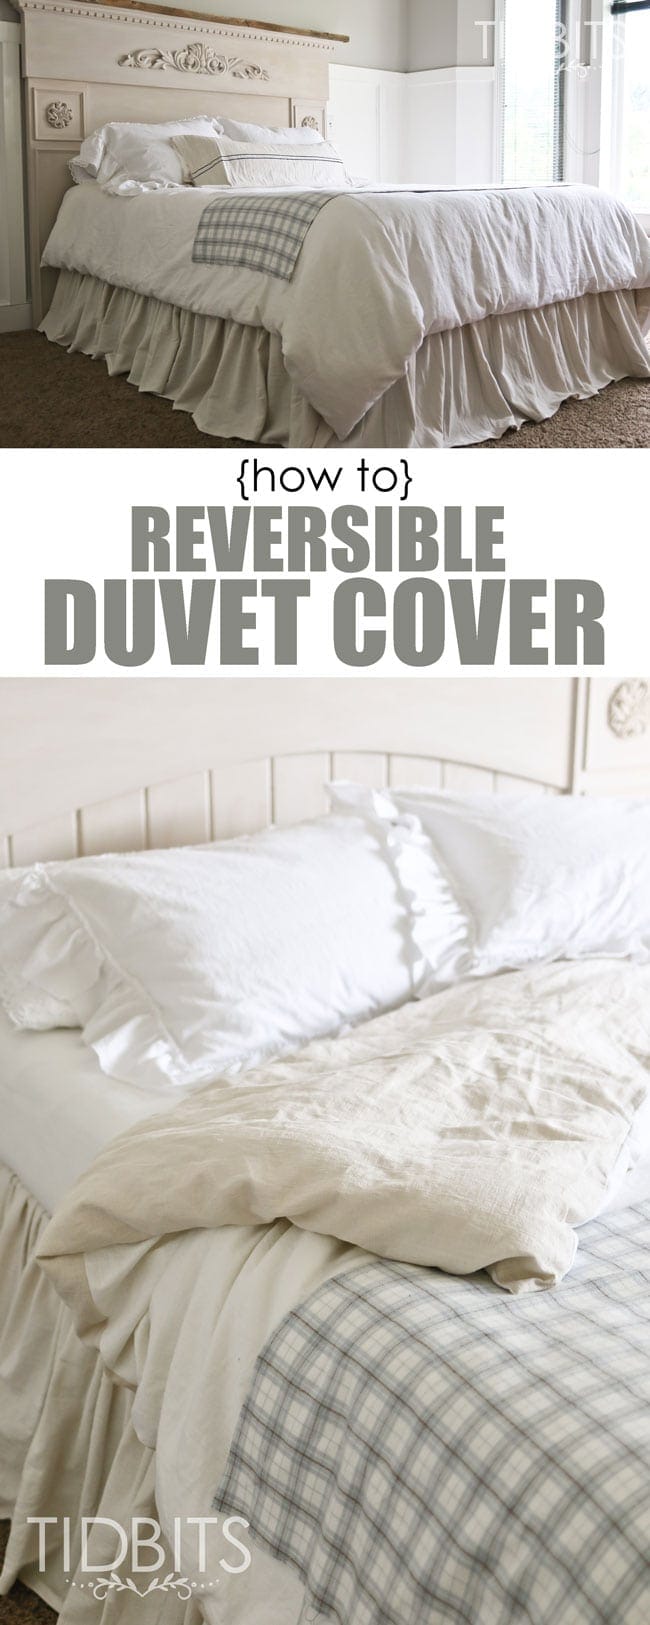
So if you’ve liked what I’ve done to the bedding I showed in the last post HERE, I’m going to share all I can to help you duplicate the look or use the tutorials to create your own unique look – starting with the reversible duvet cover.
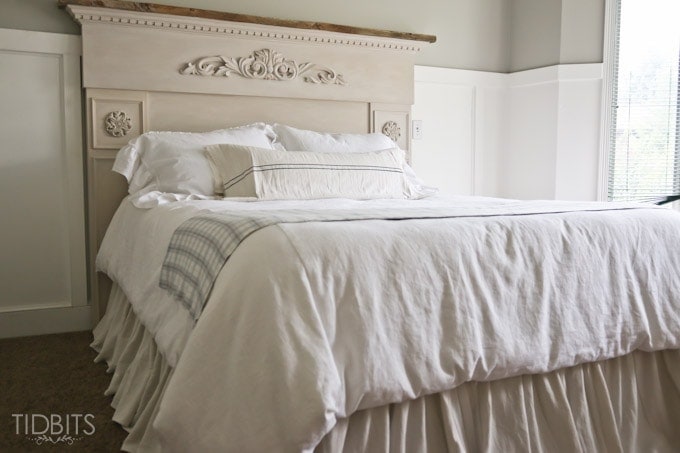
And trust me – I’m working real hard to convince my husband to make wood plans for that headboard. But in the meantime, dust off that sewing machine and toss the I-can’t-do-this attitude – because I am going to show you every step of the way.
Now, of course you don’t have to make this duvet cover reversible. You could easily use the same fabric on both sides, or I’ve even seen others find fabric at thrift stores or use inexpensive sheets to make duvet covers. It is really just a big old pillowcase, in theory.
While viewing the options for methods behind making duvets, what bothered me was that each included a pocket opening of sorts that was hard to hide. You have to stuff a comforter inside it, so naturally it needs an opening – but I didn’t want it to be super noticeable if I could avoid it. I wanted the crinkly, flow-y, fluffy seamless look of a duvet without an awkward opening to try and hide.
My method is as simple as inserting an invisible zipper along a seam and stitching the 2 fabrics together. They do it with pillows all the time – so why not a duvet?
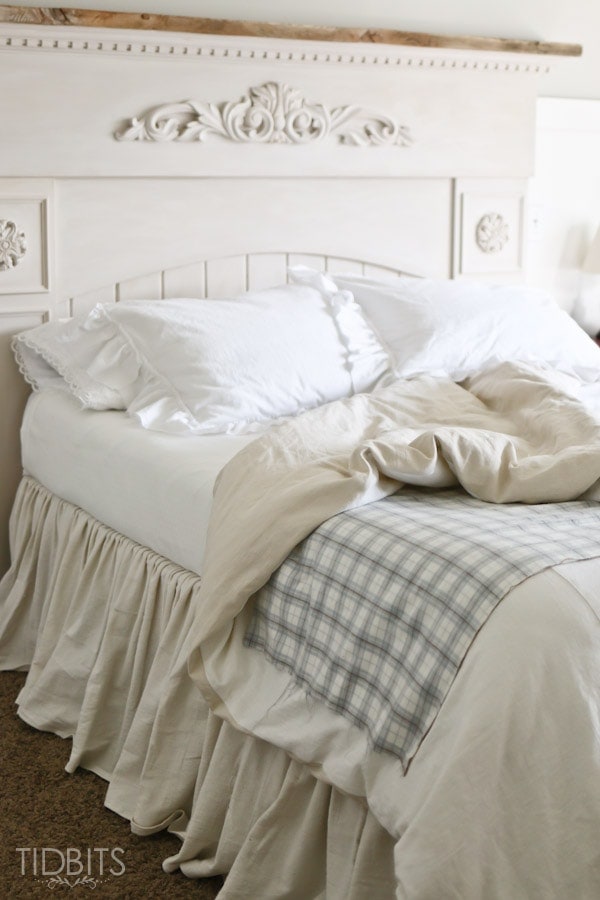
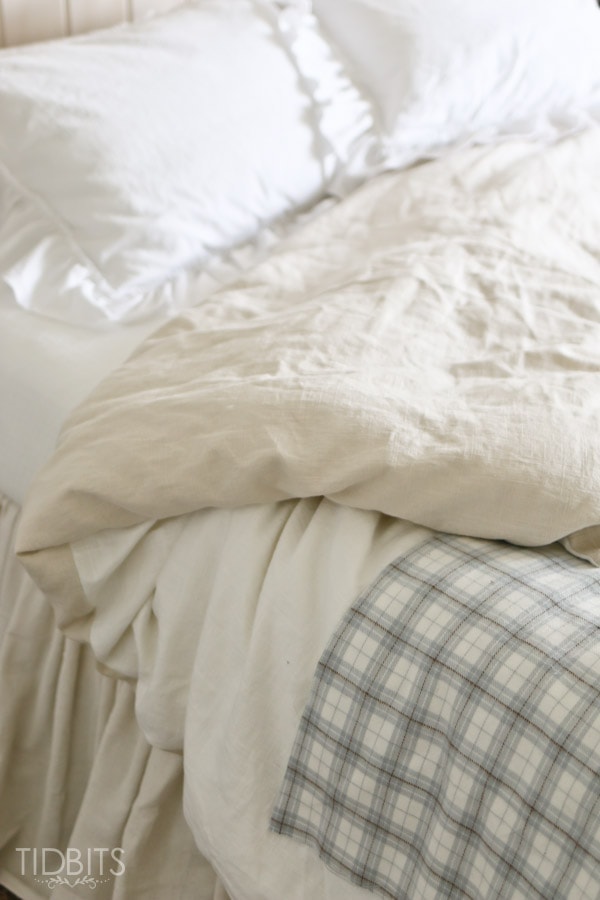
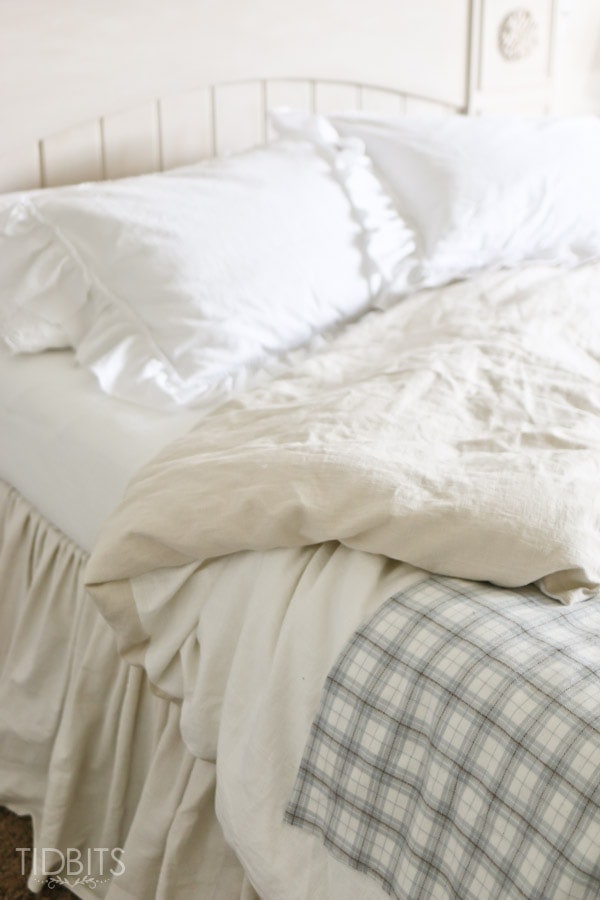
I keep the zippered side at the end of the bed, and no one the wiser would notice it. I can use the white or off-white side on the top or bottom and not blink an eye. When washing time comes, as it most certainly will with a house of 4 bed-flopping kids, I simply unzip, pull-out the comforter, and wash.
So lets talk about what you will need first.
If you need a comforter, or you are starting from scratch with a bed – I cannot recommend this product enough. (and I’m sorry if you have heard me recommend it enough 😉
It is called a “Bed-in-a-bag“, and it is from the company Linenspa.
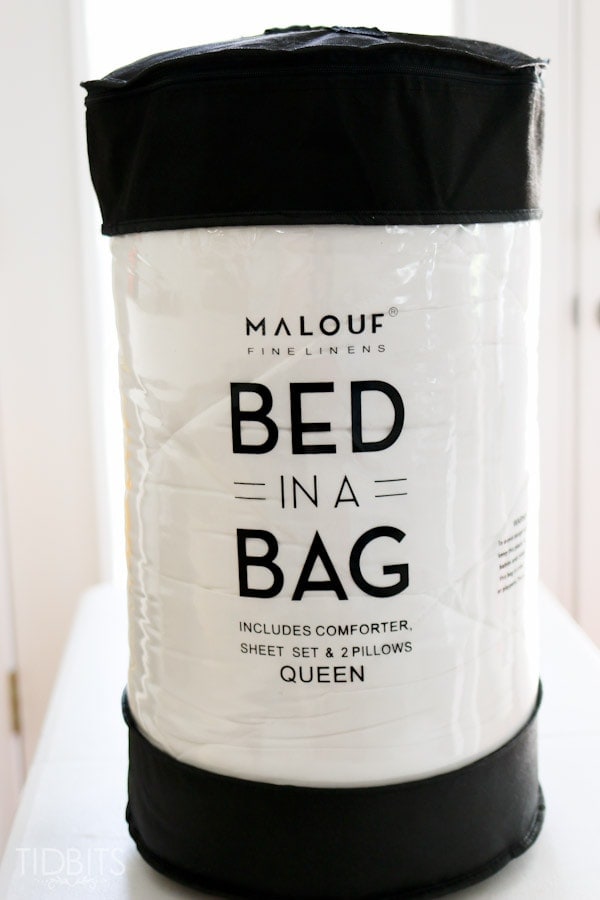
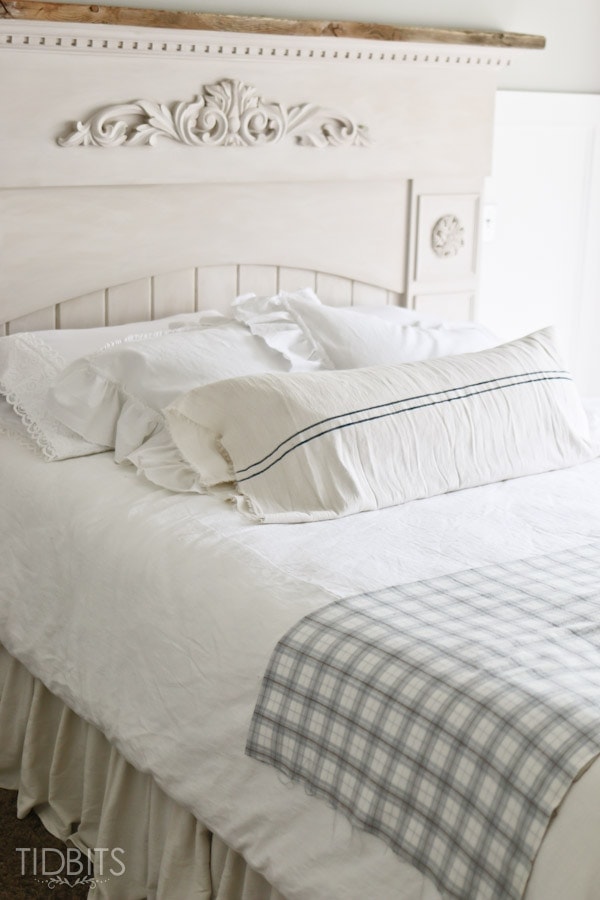
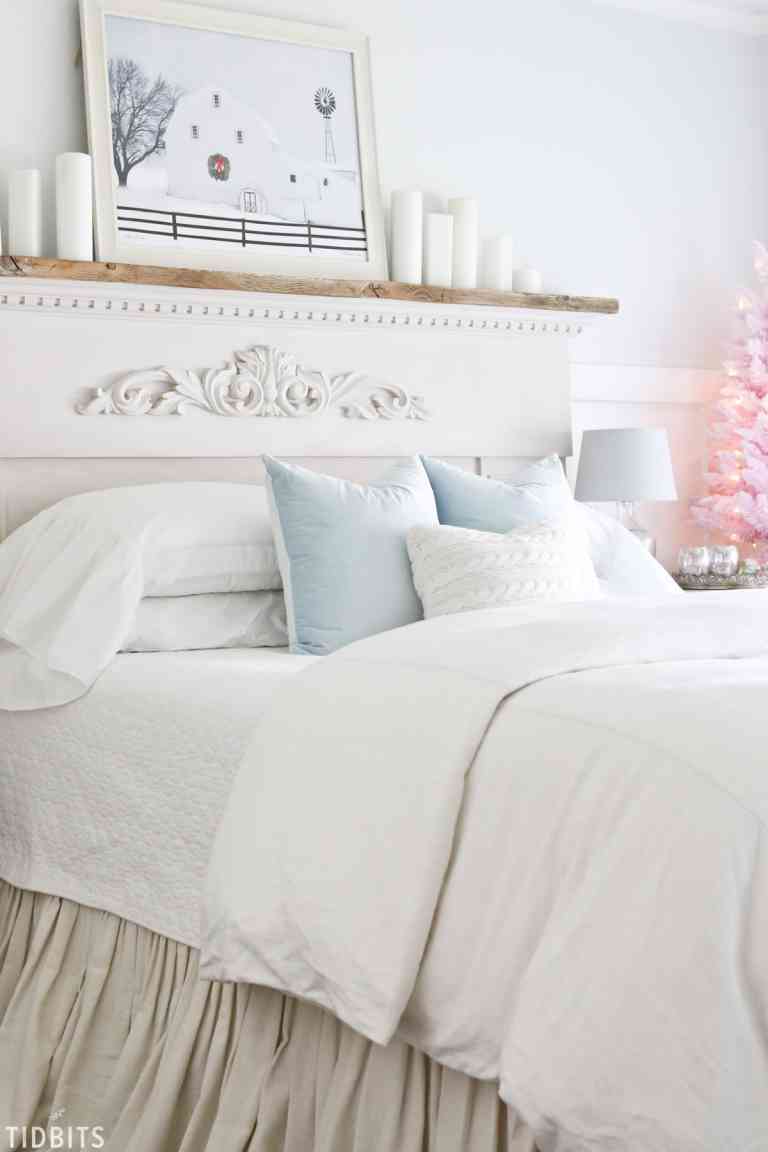
You will not only get a comforter which is perfect for inserting inside a duvet, but also 2 pillows, a complete sheet set and 2 pillowcases – all for only $129.79 right now (for the queen)! If you decide to start here for your bedding, I do believe you will love it. The only thing I might suggests is, if you are picky about the pillows you sleep on – use the pillows they provide in shams or as decorative pillows like I did. They are the type that sink into your head like a cloud – and I personally prefer a little more stability in the pillow to rest my head. But they hold a nice shape for a sham. (p.s. I LOOOOOVE this pillow). Be sure to use the code they gave me for my readers to save 15%. Just type in “TIDBITS” at checkout.
Any way . . .
You’ll need the comforter before you can decide how much fabric to buy. For a queen I estimated 6 yards of both the top and bottom fabrics, but you’ll have to measure your comforter and take into account if you are buying 45 wide or 54 wide (or other) types of fabric. If you are a bit confused of what to measure, read on how I cut the fabric and it should make more sense . . . if not – shoot me an email.
So here is a complete list of supplies:
- Comforter
- Fabric
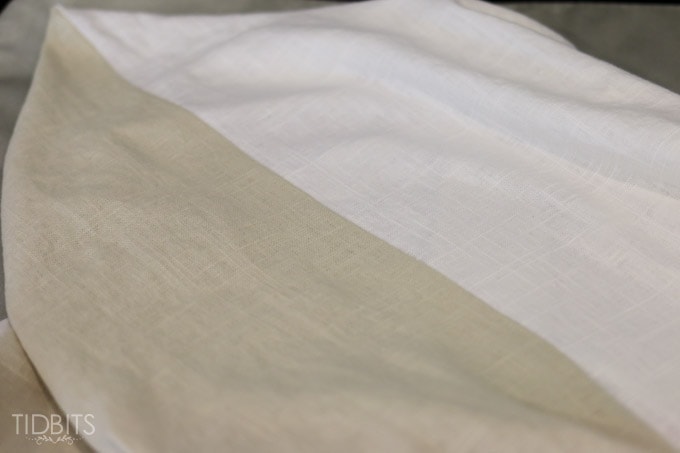
- I used linen which was a linen and rayon mix. (found at Joann’s). It is a tad heavier than 100% linen (though hardly noticeable) and cheaper. I feel as though it also feels more luxurious to the touch and has more defined weaved threads like I drool over in linen. But really – anything will work if it is the look you want.
- Invisible zipper
- Get the longest one you can find. The best I could see was 22 inches, and I was worried that it would be a super small opening to fit the comforter in – but it turned out just fine.
Prep:
Be absolutely certain you pre-shrink your fabric by washing and drying it once. It is also helpful to snip the threads and iron out any super wrinkly edges before you begin cutting.
Cutting:
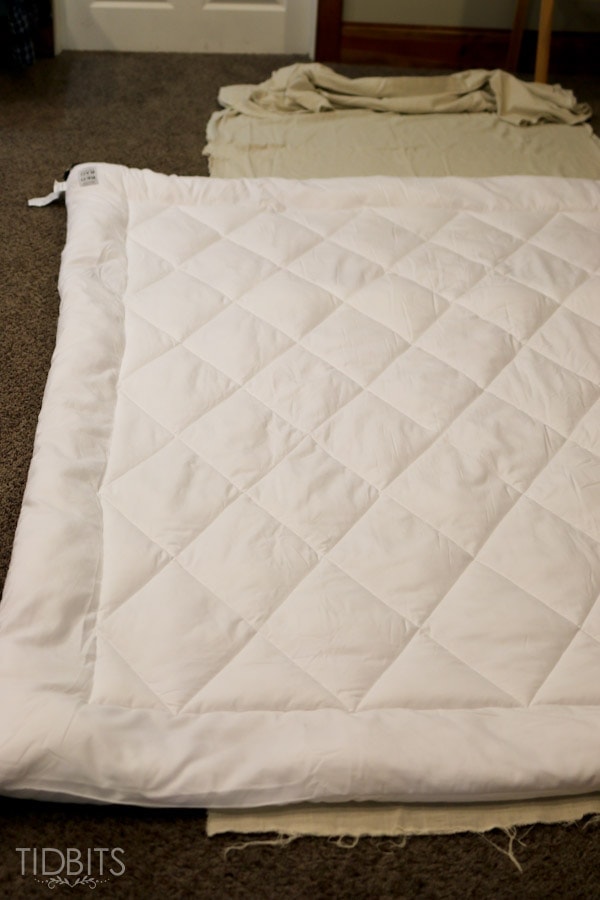
What I will show you below is my own method of madness. I seem to get better fitted results when I cut around my objects rather then measure and cut separately. So begin by finding an open area that will fit your duvet, even if it is a dark basement full of kids and clutter (it’s not all pretty around here, I assure you).
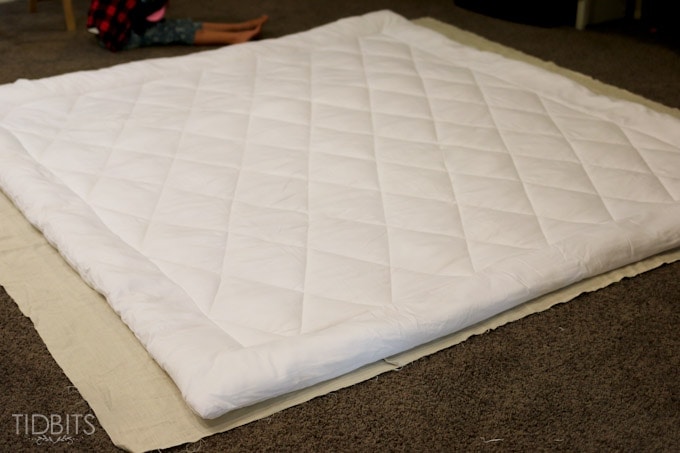
Lay the first side of fabric down on the ground (right side, wrong side doesn’t matter too much right now. Linen is reversible so I didn’t pay much mind to that any way.) Straighten it out enough that you can fit the comforter down flat on top of it with the top edge of the fabric laying about 1 1/2 inches past the top of the comforter.
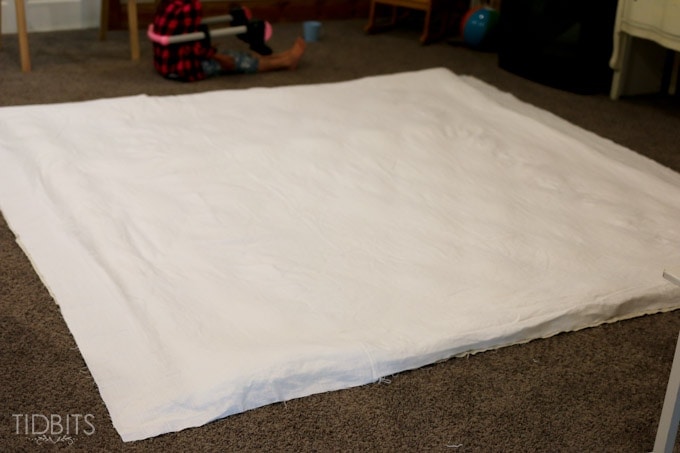
If you bought the 6 yards of fabric, it should go way past the comforter. Simply cut at the bottom with about 1 1/2 inches past the comforter.
Then remove the comforter from the scene for a moment, and cut the remaining fabric to match the first cut – and remove the excess. So you should have 2 pieces the same length and width (which the width was the width it came off the bolt).
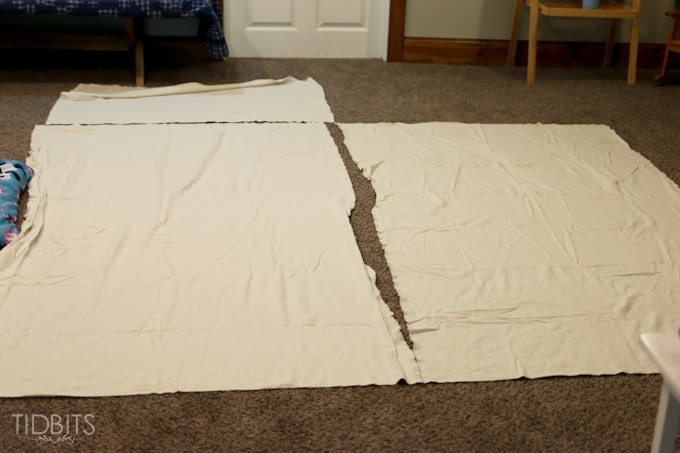
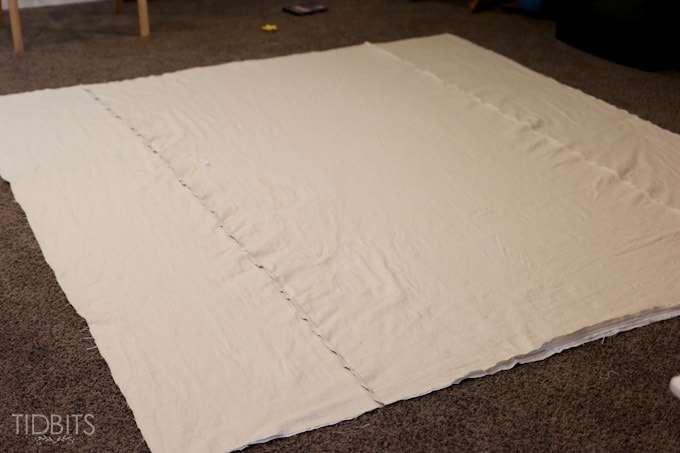
You need 2 cuts because the fabric is not as wide as the comforter. However, you do not want a seam right down the middle to join the fabric, but placing 2 seams to the side of the bed looks much better and generally what they do for all store bought duvets. So fold one of your cuts down the center, and cut right down your fold.
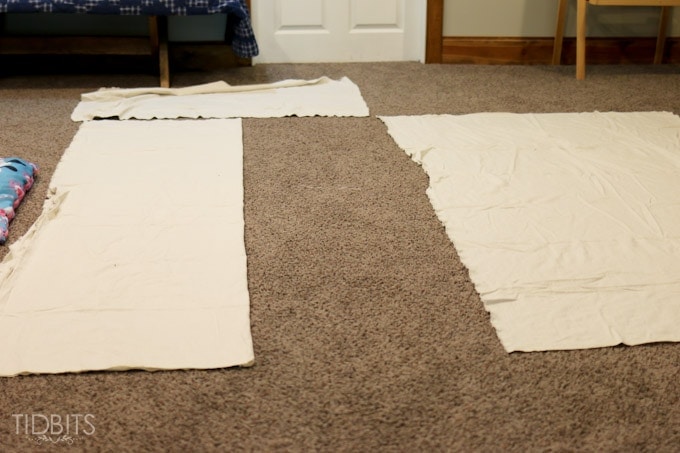
This leaves you with one main section and 2 end sections which will be seamed together to make 1 very large section plenty wide for the comforter.
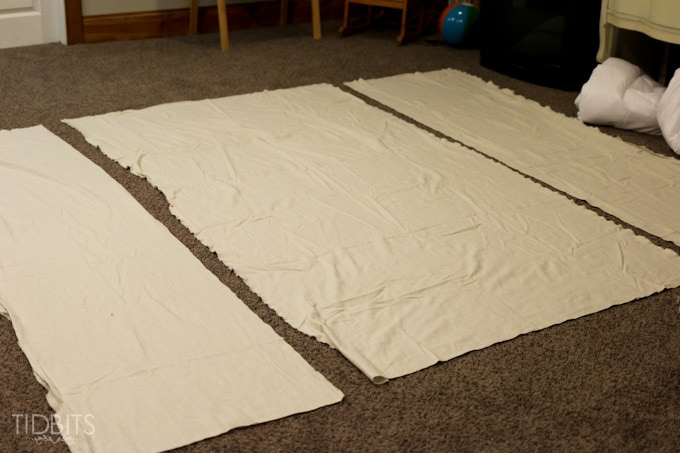
Before I seamed them together, I pulled out the fabric for the reverse side of the duvet and measured and cut it the exact same.
Then you can seam all the same pieces together. Be sure to finish the seams with a serger or zig zag stitch (or other method of choice).
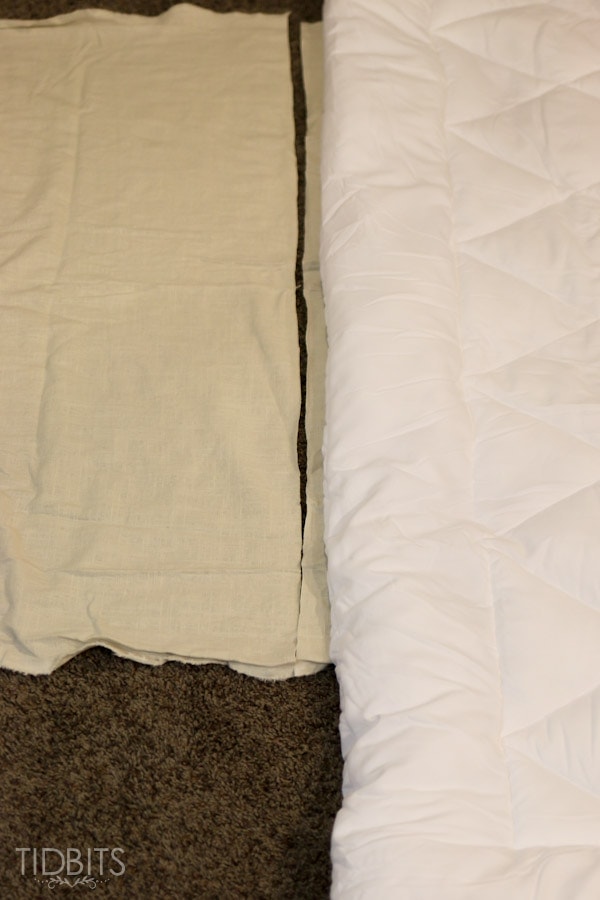
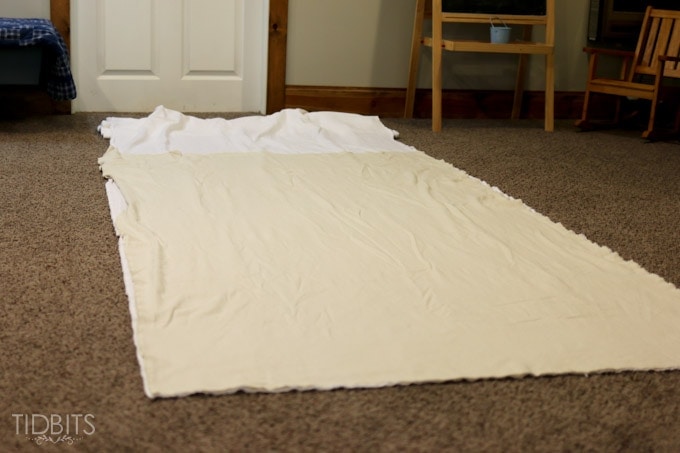
Now you want to get the width cut just right for the comforter, so lay 1 of your fabric pieces down and place the comforter back on top of it.
Place the other fabric piece on top of the comforter. Then cut 1 1/5 inches off of the excess width of the fabric from the edge of the comforter. Basically you are getting your fabric to match up with your comforter with a generous seam allowance around.
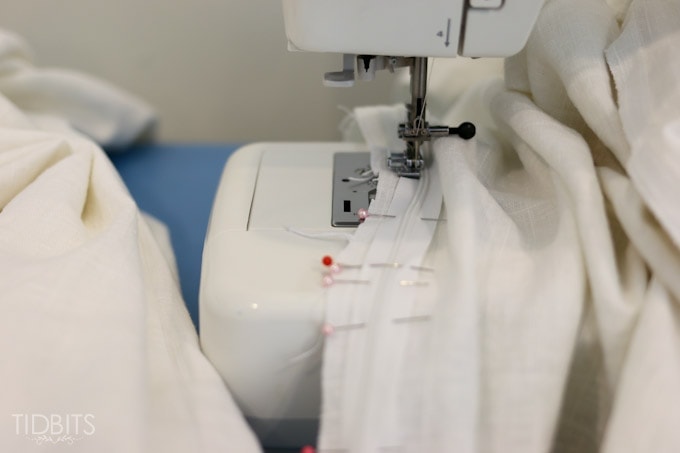
Now is the part to sew in the invisible zipper. You can google correct methods or make it up as you went – like I did 😉
Decide which side and spot you want the zipper closure. I selected the side that would sit at the end of the bed. With the fabrics facing right sides together, pin one edge of the zipper to one edge of whichever fabric.
I let the fabric hang past the zipper edge a bit, just for mishap purposes (which luckily I didn’t have any). I know – I’m not very good at installing zipper confidence, am I?
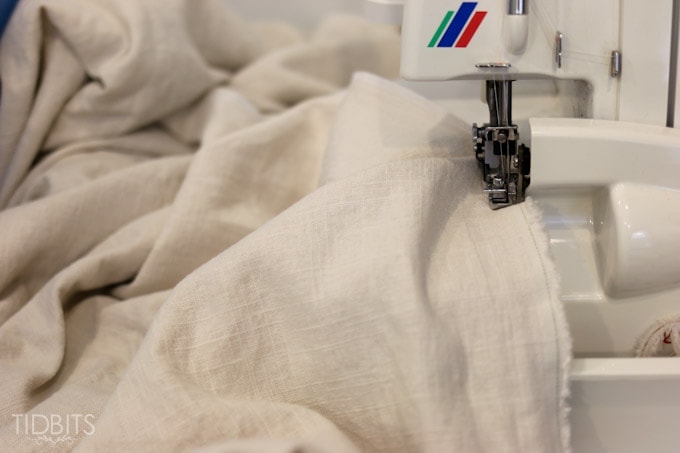
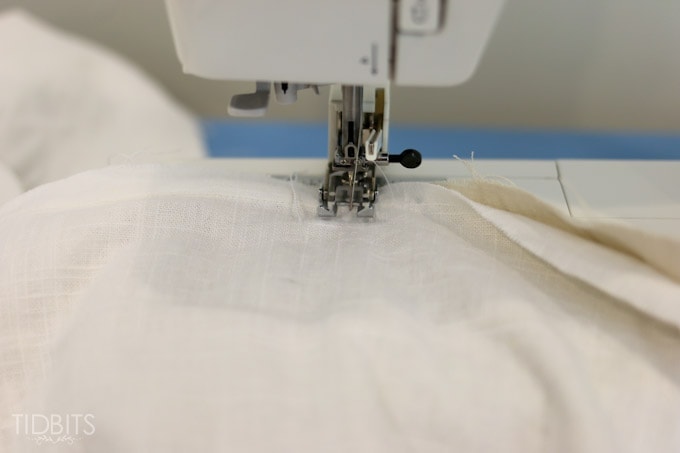
They make special feet for invisible zippers, but I just had a basic zipper foot – which doesn’t get as close as the zipper as is supposed to be intended to make it truly “invisible”. – but it was good enough for me. You will simply be sewing along the zipper teeth all the way from the top to the bottom of the zipper. I had it zipped up at this point.
Then you’ll find the matching center point for the other side of the fabric, and wrestle all that fabric around to pin the other side of the zipper to the other fabrics wrong side as well.
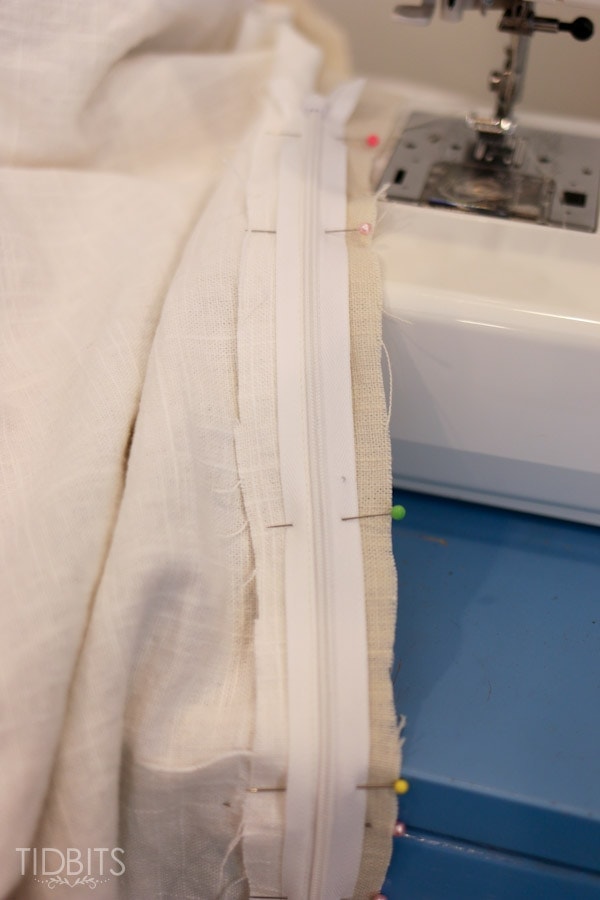
Stitch it down just as you did before. Now your 2 fabrics are attached at the zipper only. (Be sure the zipper pull is coming out at the outside of the duvet.)
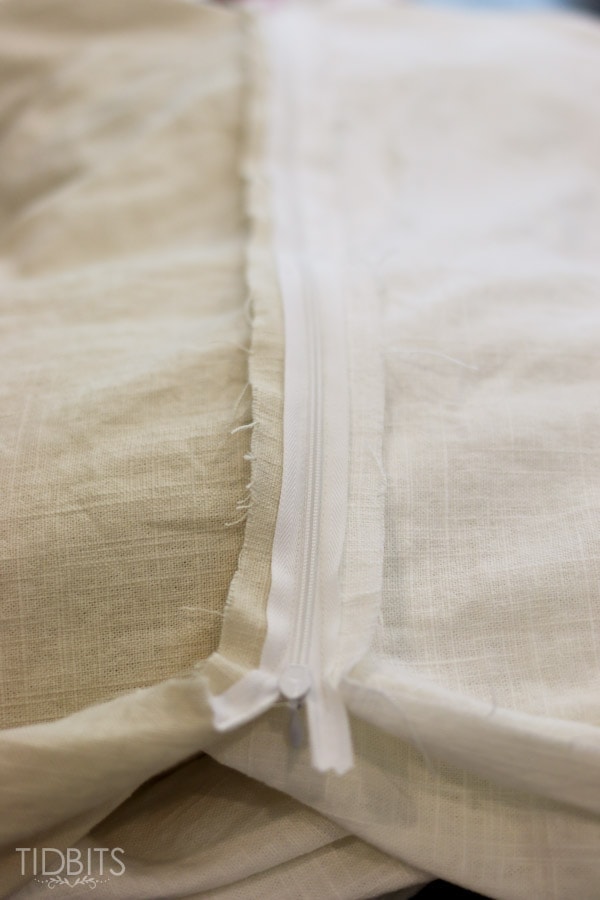
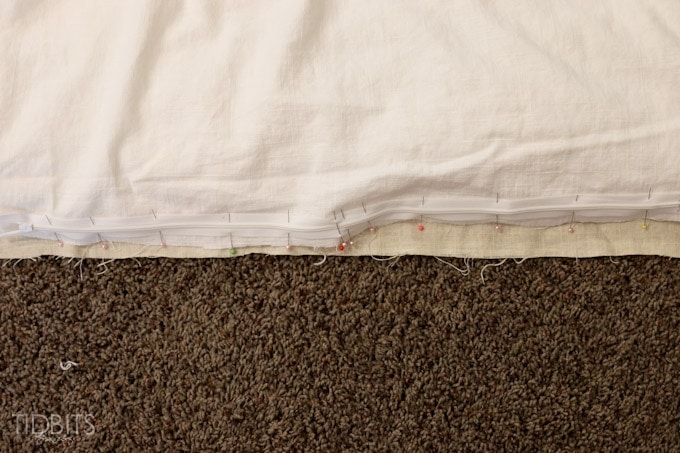
Lay them evenly right sides together again, and pin around the edges to keep from shifting while sewing.
I found it best to start at one zipper end and finish at the other. But be sure your zipper is open some before you stitch the layers together. You’ll need that when it comes time to flip right side out. I began by coming at my zipper seam perpendicular to the stitch. Make sure your zipper tails are not sticking towards the bulk of the fabric, rather ensure them coming out of the seam. I secured this small stitch through the zipper tails with a few back stitches.
Then rotate your fabric so you are ready to sew around with a half inch seam allowance.

Once you’ve made it all the way around, reinforce the seam at the zipper just like you began. Press all your seams.
Now you can google lots of fun tricks for inserting a comforter inside a duvet, but my preferred method is to stuff it in and have a super cute little body climb in and match all the corners and smooth it out.
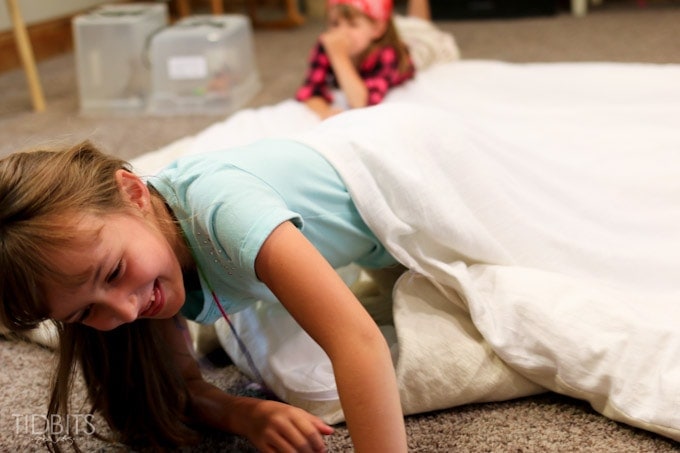
Loads of fun and giggles – combined with a strict warning to not do this without my instruction.
Alright – it’s late – and I’m hoping I didn’t miss anything. Please let me know if you have questions, and I’ll do my best to answer them. I hope you enjoyed this tutorial, and I would appreciate any shares and pins you could offer.
Thanks for reading dear friends! And next up I’ll show you how to make the bed skirt! It’s a ton easier!!
* Linking up to these parties, HERE.
* This post contains an affiliate link to Linenspa. But I really, really love them and even recommend them to my mom 😉 Your support is appreciated!


I have the same question about the actual fabric you used
Thanks
I have a question about the duvet cover. Can I use drop cloth to make the duvet cover? I’ve made the bed ruffle using the drop cloth, which was simple and even made pillow shams. I also made your bolster farm pillow cover for my bed. Thank you for such a great blog. I love DIY projects and you inspire me! Thanks
Love it! Can you tell us specifically what fabric you used? I found a linen/rayon blend at Joann’s online, but there’s only one shade. It looks like the lighter one you used, but reviewers say it’s darker than it appears. It’s called “Sew Classic Linen Fabric 52″-Natural.”
Question: how thick are the comforters? I live down south where heat is always an issue. Thanks!
Hi! I am going to do this! I am so excited! Quick question, where did you get your bed skirt? Thanks!
She made the bedskirt. Tutorial can be found under the master bedroom makeover link ( I can’t remember the exact title). Super easy and great instructions
I love all of your remodels and think you and your husband are so talened and creative, I’ve pinned some of you ideas, Thank you, by the way for the tip on the duvet cover. I’ve been stuck on what to to do for a while now on this particular project, and now maybe I can move forward with it. Ive also got some great ideas for the bathroom storage.
Very neat tutorial, I will definitely try this, I also love your head board, where did you buy it, thank you for sharing.
Finished both my duvet cover and dust ruffle. The process for gathering was a life saver. The dust ruffle was for a king size bed so there was alot of gathering. Wish I could show you a pic of my bed. It is beautiful. Thank you for the great instructions.
Oh, this makes me so happy to know I was helpful for you! I truly appreciate you sharing with me. Nothing is quite as rewarding to me as knowing I actually helped someone make something they love. Thank you!
You make it seem so easy. I’ve been wanting to try making a duvet but had not worked out the details. Your easy and simple instructions were great! Thanks!
Cami, your duvet cover will be featured at the Moonlight & Mason Jar link party this evening! Nice work.
You gave neat and very practical instruction.
I recently made a duvet covers out of two sets of bed linen, using the flat sheets and keeping the fitted sheets as they were. My duvet was smaller than the sheet and so I could use the “left-over” to make extra pillow cases, which I always need, as I prefer sleeping with small pillows and often alter the pillow cases, which come with the sets.
Using the flat sheets you could up-cycle some of your old[ish] linen sets. Also, you do not have any extra seams, and safe yourself the piecing if the store bought fabric is not wide enough.
Being German, however, instead of using a zipper, I made the closure with buttons and [machine-made] button holes. Which took me not “much longer”,, than a zipper. I am used to this kind of closure …. but I am alos not having four children whose bed linens I need to be changed.
🙂
What a sweet comment! Thank you! I love to hear of others making the best use of what they have – and I especially love to hear of readers far far away from me! Thank you for coming by!
I just found your blog, and I enjoyed this post very much. I just purchased the bed in a bag in a Cal-king and the price out the door was only $133 and change. Thanks for a great recommendation.
I have a tip for duvet covers and inserting the comforter and keeping it aligned within the “big pillowcase”. I do this to all comforters and duvets as soon as I purchase and bring them home. Across each corner of the comforter I sew a 3-4 inch piece of grosgrain ribbon it will be on the diagonal. Then at each corner of the duvet, on the inside I take a 12 inch piece of the same ribbon fold it in half and stitch it to the duvet. You end up with two six inch tails to tie to the diagonal piece of ribbon on the comforter. I try to stitch it to the seam allowance so nothing will show outside and it is still pretty when on your bed. Then when inserting the comforter I line each corner up with the correct corner of the duvet, tie the six inch ties to the comforter. The comforter will stay in place within the duvet and you can fluff and shake it out easily.
I find grosgrain ribbon will stay tied better than if you use a slick satin ribbon, which may start to untie.
Sorry this is such a long post but I find this makes assembling your bedding so much easier
Probably not cool to reply to your own comment. Just read the linen spa information again. The comforters already have a corner loop sewn on the comforter corners. Didn’t notice that detail before.
Sorry
I really appreciate your input! Funny thing – I was unsure about what those ribbon pieces were at the corners – but now I know! Thank you!
Cani,
Your idea with the invisible zipper is a great idea. I didn’t know they made them 22inches long. Thanks for all the step by step pics and writing of the tutorial. I am going to give this a try.
Hi Cami,
I love your blog. Your home and family are beautiful.
I tried the link for the bed in a bag and the price I am getting is not for the queen set. It seems like that price is only for a twin set. Am I doing something wrong?
Thanks,
Janie
My goodness. I am so sorry about that. It appears their sale went off from the 2 days ago that I checked this. I appreciate you letting me know about this problem. I am definitely going to change my price list, and sorry about the misleading info. Totally bumbed that it is now twice that price – though still a great product to consider – just not a steal any more!