
This post may contain affiliate links, which means I get a small percentage of the sale at no extra cost to you. I only recommend items I love and have had a positive experience with. Thank you!
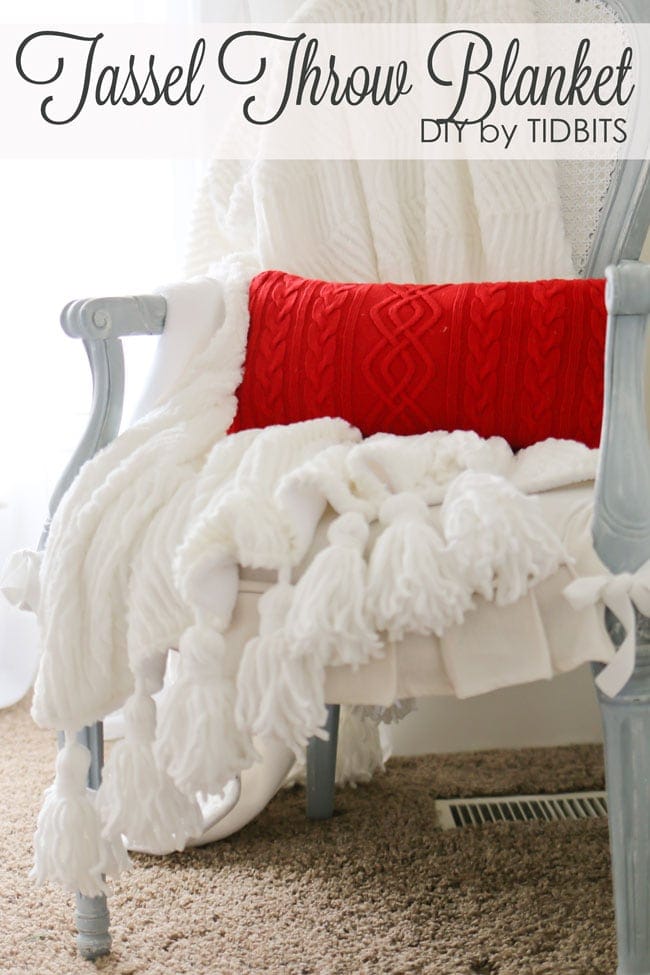
Tassel Throw Blanket DIY – sponsored by “My Own Fringemaker“
Sometimes, it works out that when I finish making something with my own two hands – I say to myself, “Wow. Did I just make that?”
And sometimes I say to myself, “I hope no one looks too close – because eeeeek – I hope this holds together”.
But I really know it is a slam dunk kind of project, when I show my husband and he says, “Wow! Did you just make that!?”
And I grin from ear to ear and say, “Yep. With my own two hands – and I rock”.
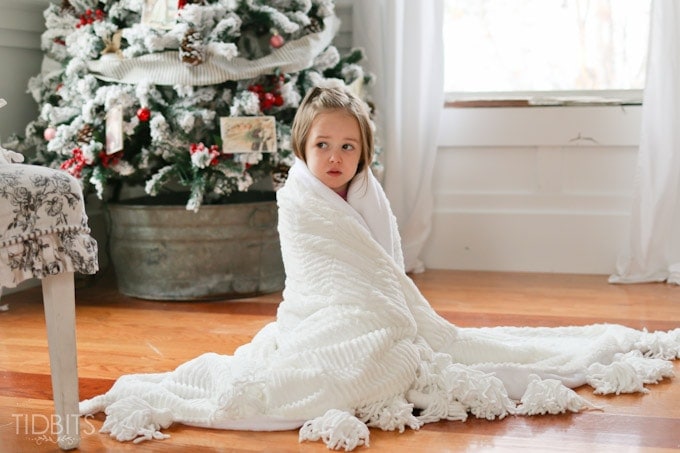
I’ll let you guess what the reaction was with this tassel throw blanket. 😉 But let me assure you – you are going to feel pretty darn amazing once you finish making it – with your own two hands.
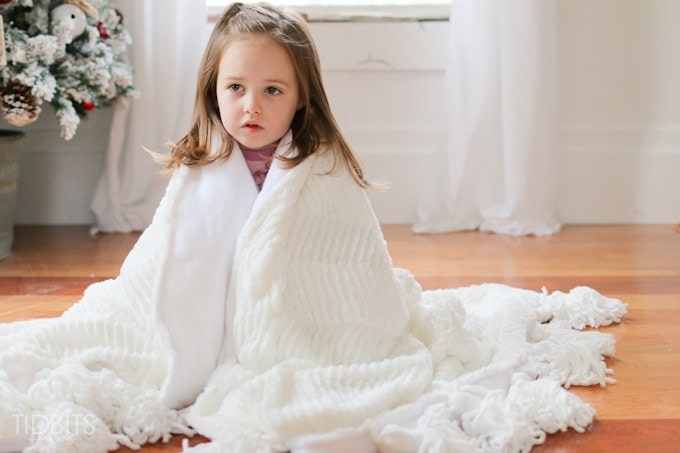
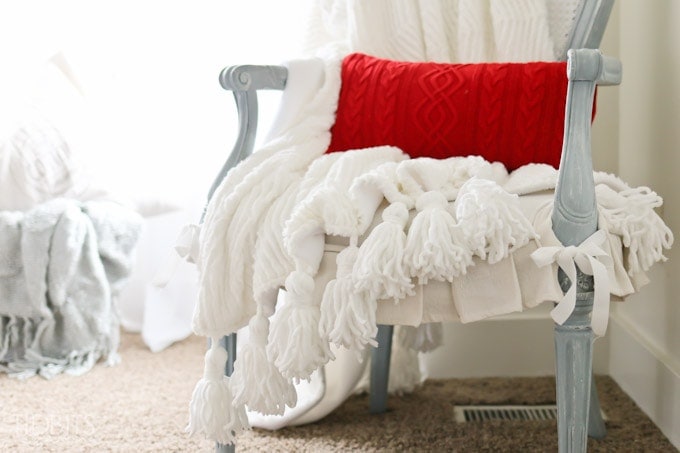
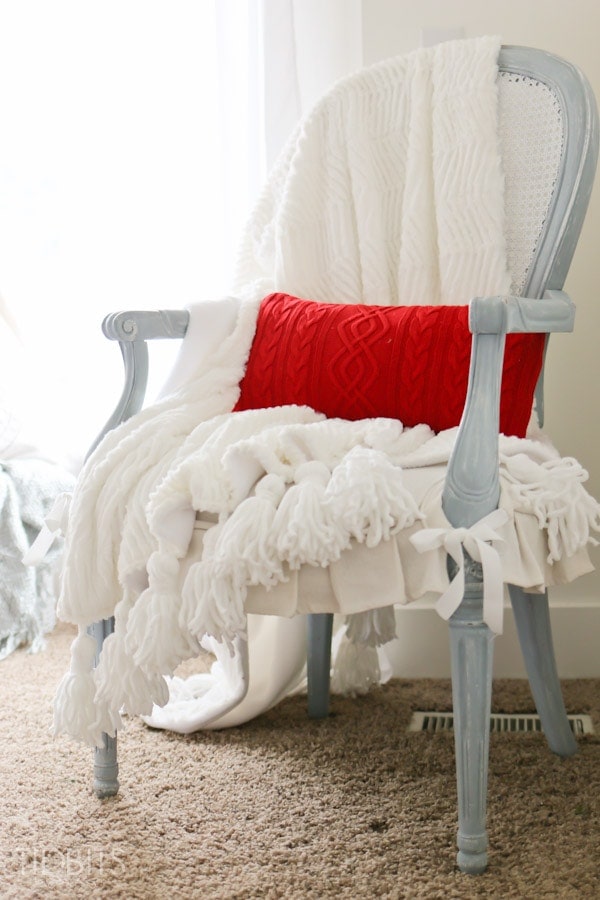
It will be the most perfect snuggle buggle kind of blanket for the upcoming winter days.
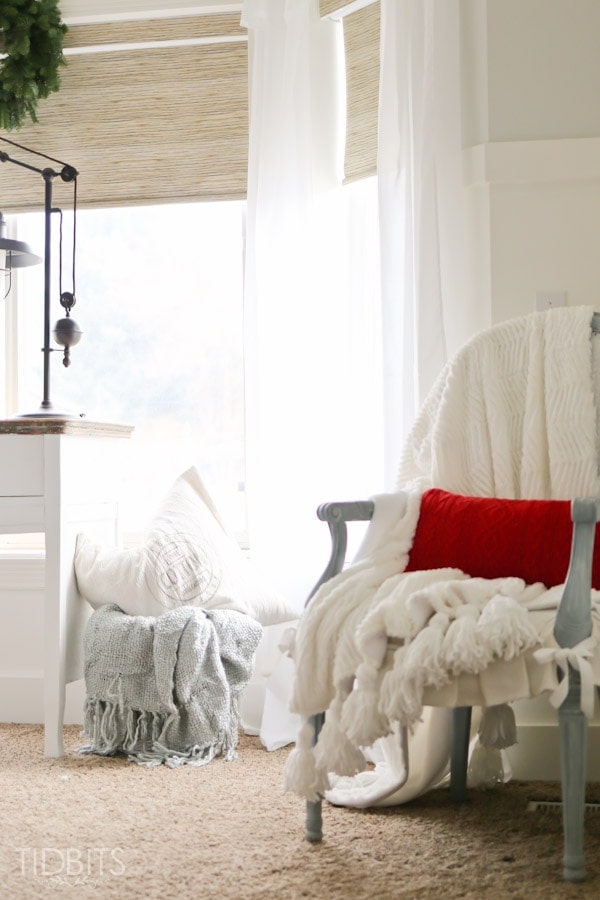
And it will dress your couches or beds in better-than-pottery-barn style.

I’m going to first show you how easy it is to make tassels from any type of yarn of your choosing, and then how to sew them between 2 pieces of super soft fabric.
Here we go!
Supplies:
- Yarn
- The yarn is for your tassels. I used a full large skein of baby soft yarn to make enough for 2 ends of the blanket – about 22 tassels. Just pick the type of yarn that will coordinate with the fabric you choose and make sure it doesn’t unravel horribly.
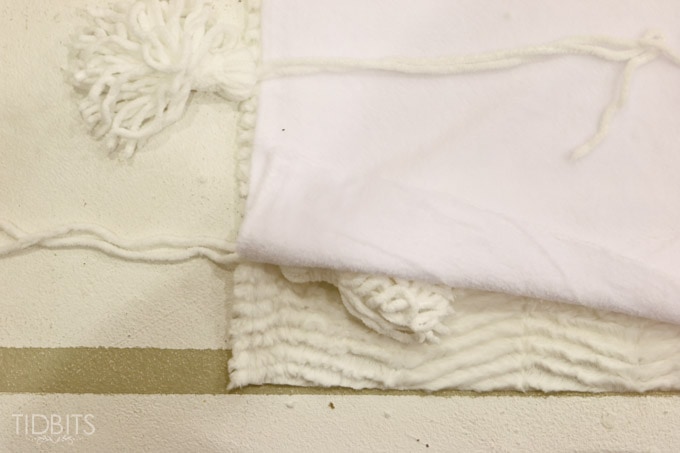
- Fabric
- I used 1 and 1/2 yards of fabric for both the front and back piece of the blanket. If you want a larger blanket – buy more fabric. 1 1/2 yards is a good size for a throw. You can essentially use any type of fabric, but I choose the softest most lovely plush white and off whites I could find at Joann’s.
- Safety Pin
- All sewing essentials

If you read my tutorial on how to make a Pom Pom Wreath, you’ll already know about the “My Own Fringemaker” product. It is a really handy tool if you plan to make a lot of pom poms, fringe, or tassels – as I’ll show you how below. You can probably set up some kind of contraption of your own to hold your yarn for making your tassels, but if you plan to make a lot I highly recommend the “My Own Fringemaker.” I’ve really had a lot of fun with it!
To Make the Tassel’s:
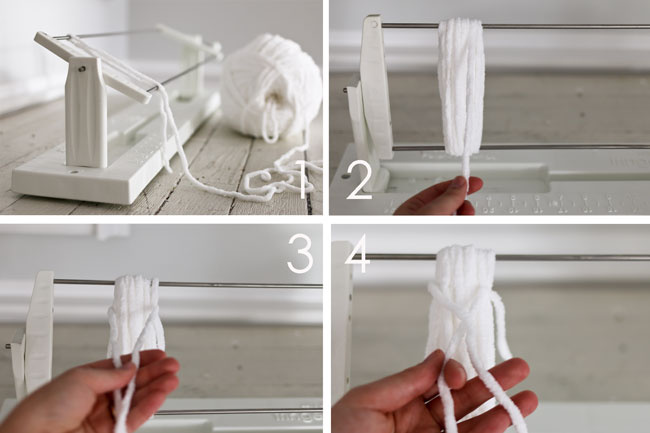
- Wrap the end of the yarn around both the metal poles and tie a knot at the bottom.
- Wind your yarn around and around the metal poles until you’ve achieved the bulk you desire for your tassel. Cut the end off at the bottom pole.
- Cut a separate piece of yarn about a complete arms span in length. Wrap it around your wound up yarn and find the center point and line in up about an inch down from your wound up yarn.
- Cross the separate piece in the front, as if you were going to tie a knot.
5. As tight as you can, wind the yarn on the left going up, and the yarn on the right going down, until you’ve achieved the bulk of the midpoint which you desire.
6. Take your safety pin and wrap the end of the piece of yarn hanging on the right through it. Then you will poke this piece through the center and top of the wound up yarn until it comes out to the left, using the safety pin as a guide. (I have a paper clip shown here, but I quickly discovered a safety pin worked better).
7. Pull it all the way through and do the same to the left side yarn, pulling it through to the right.
8. This will make it so both your strings are coming out evenly at the top.
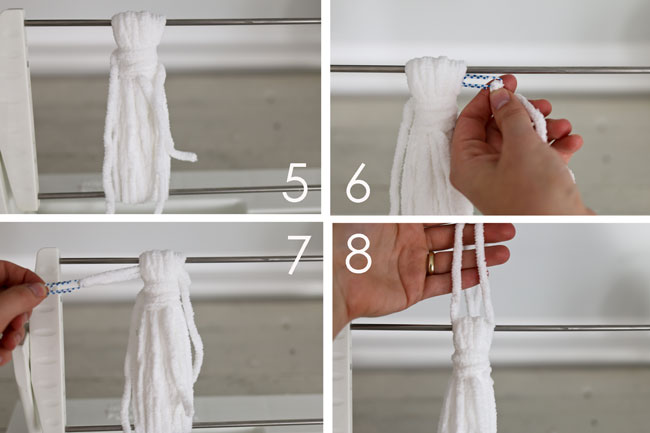
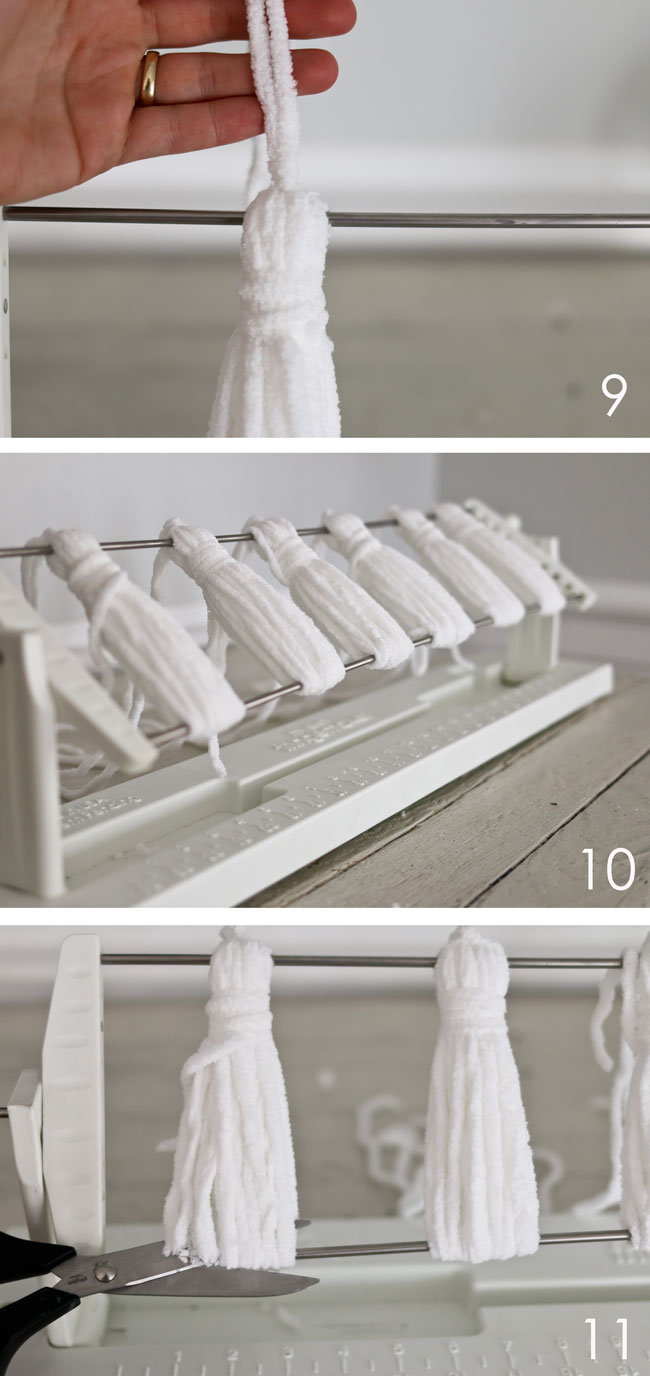
9. Tie those ends together in a double knot at the top. This will secure your tassel and leave you with hanging ends to work with.
10. If you are making multiple tassels, continue to do so along the rods until full.
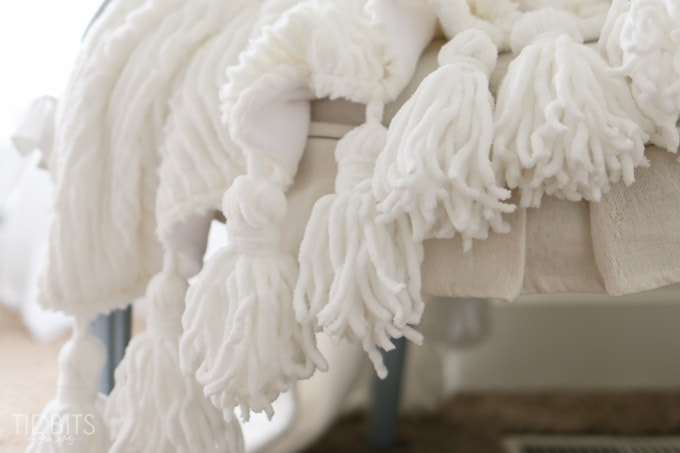
11. At this point, you can slice through the bottom of the tassel and remove them from the rods (as shown in your “my own fringemaker” manual. You could also leave your tassels ends looped if that is the desired look. In that case you would not cut the bottom.
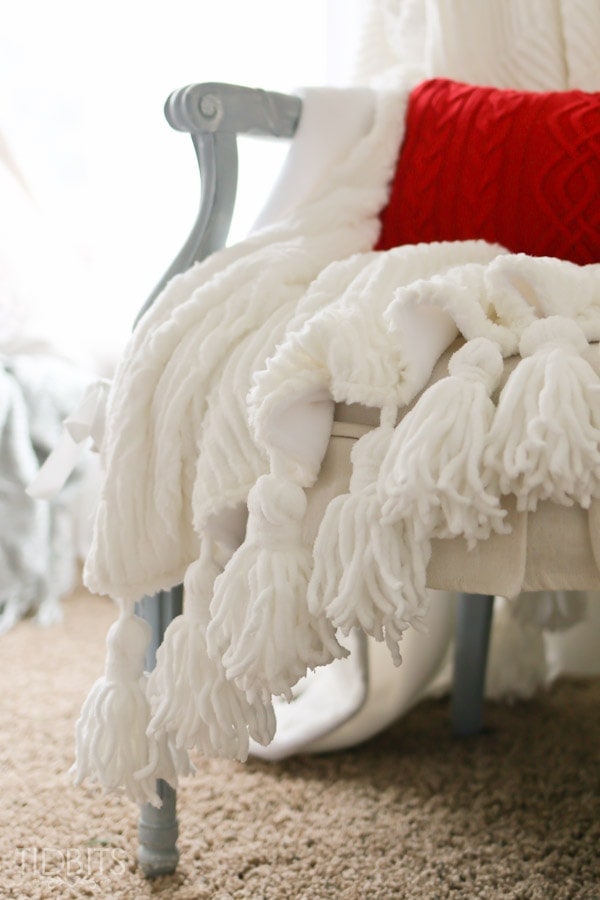
Once you’ve made enough tassels, you are ready to sew them into your fabric. I ended up using 22 tassels, with 11 on both ends – but how many you make with be determined by how you do the spacing.
To Make the Blanket:
Lay out your fabric on a completely flat surface, with right sides together. Make sure both pieces are cut evenly to match. The tassels will only go on 2 ends of the blanket so select which ones you would like that to be. Before you pin the tassels in place, it is important to determine the spacing between each tassel. Mark accordingly.
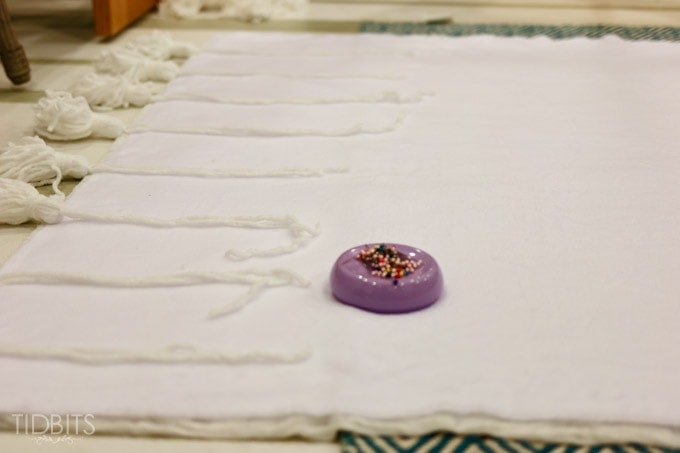
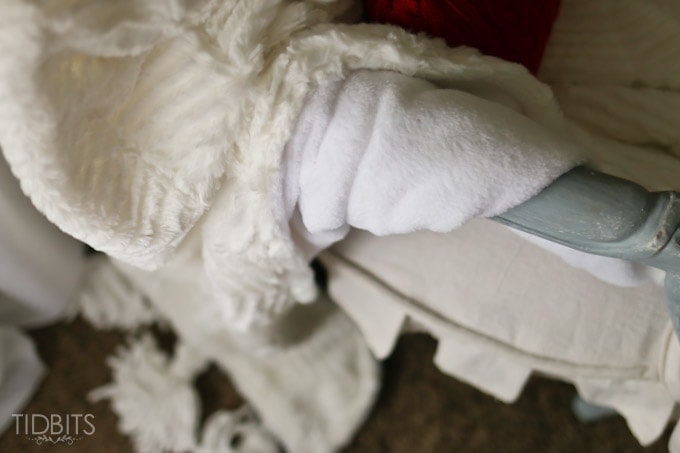
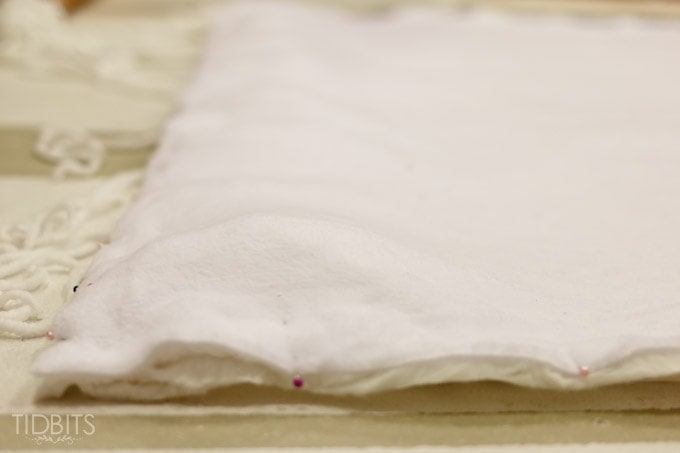
Once your places are marked, you can begin to pin your tassels in place. You will be putting the tassel itself inside of the 2 fabric pieces, with the tassels tails hanging out. You need to allow enough tail inside so that your sewing machine foot will not go over the lumpy tassel. This was about an inch for me to feel comfortable.
Pin this tassel sandwich in place, and don’t pin sparingly. You wouldn’t want them shifting around.
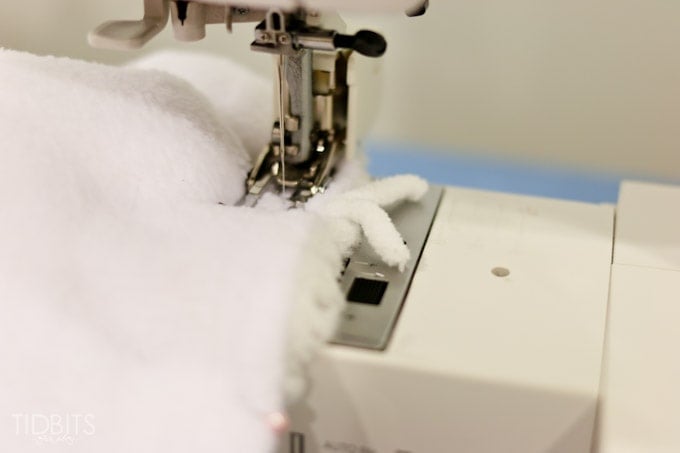
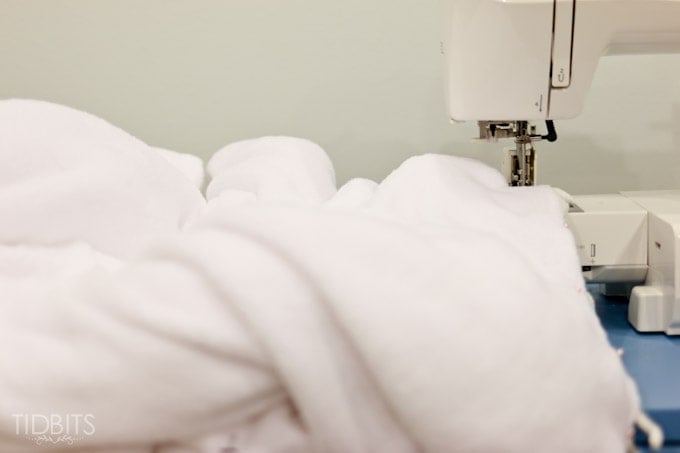
Now you will be sewing all the way around the blanket at the edges, while leaving a small opening for turning. The tassel tails were bothering me, so I clipped them smaller at this point. Be sure to back stitch when you come to a tassel. This will secure them in better. I might also suggest you use a walking foot for very plush fabrics. It is very helpful to avoid shifting and if you are serious about sewing, I highly suggest finding the right one for your machine. It will save a lot of frustration.
Once you’ve sewn all the way around, turn your blanket right side out through the opening.
You can then press your seams and make it look even and nice. I also suggest you top stitch around the edges to give it a finished off look and to close up that opening.
This is easily my favorite blanket I’ve ever sewn and it adds such lovely texture to our living room. I will admit – I’m a bit nervous about washing it because of the tassels, so it may be a very special blanket and treated as such and I will have to gently hand wash it when it becomes soiled.
I do hope this tutorial was helpful for you and that you’ll give it a try!
If you are looking for a tutorial for how to make a sweater pillow like I have shown, I have one HERE.
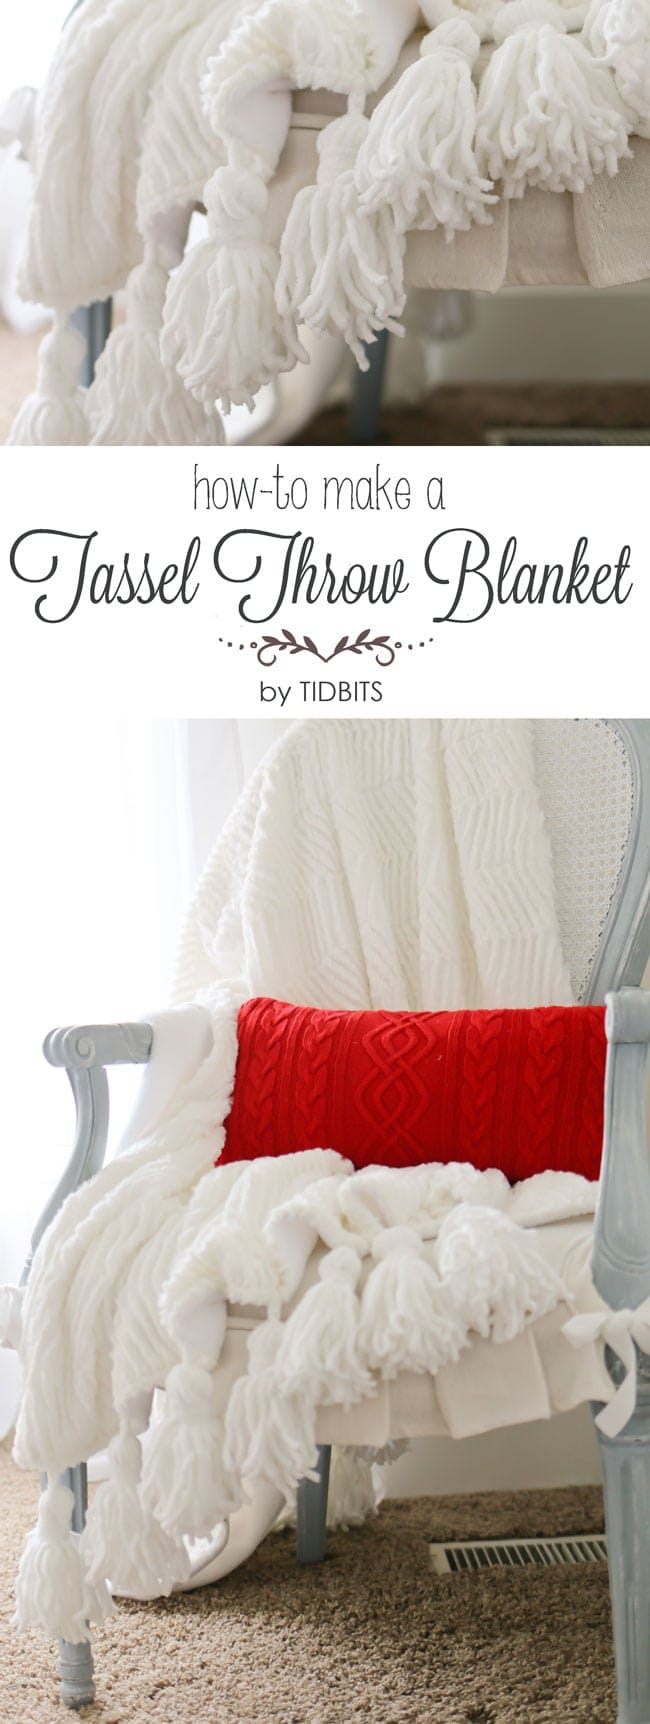
I would also very much appreciate any social shares you could send my way, and I’ve provided some social network friendly images below.
Thank you!

*Linking up to these parties, HERE.
**In full disclosure, The “My Own Fringemaker” was provided to me for the purpose of this post.


Love this blanket! My questions. 1. You showed 2 different colors for your blanket. Did you use both for the same blanket? 2. Do you have a link to where I can buy the fringe making tool? Thanks!!
Amazing blanket collections !Loved all those displayed here.
nice blog post! the blankets are Adorable tasseled and Perfect to stay warm during chilly winter weather. thank you very much for this important blog here.
This throw is gorgeous and would be perfect in my all white bedroom. Have you thought about making one and selling it? Please consider making a custom order, you could name your price. (Within reason!) let me know. Thanks
Beverly, I’m so flattered that you like it! It’s one of my favorites! At the current time, I am so limited on time, I am not taking custom orders. I’ll let you know if that ever changes. Thanks!
Wow- this looks so comfy! I want to snuggle up in one right now! Thanks for linking up to The Handmade Hangout. I will be featuring you on my blog when our new linky goes live Thurs at 6pm ET. I hope you’ll stop by and check it out!
What a great tutorial and a yummy blanket! Featured you at Be Inspired this morning. Thanks so much for sharing!
Thank you so very much! Really appreciate the share.
You should give it a try! Wish I had someone to sew for me 😉
This is really beautiful. I don’t think I’m talented enough to attempt it but I sure would love to get one!
Thank you for your sweet words! I bet you could pull it off 😉 I wish I had the time to make a dozen or so for those who really love it!
Adorable tasseled blanket! Perfect to stay warm during chilly winter weather. Was that Cinderella modeling – she looks very cute as a model. Can’t wait to see what you come with next, very clever.
This is lovely! I want to make one for our home now!
It is unique and stunning.
This may be my favorite thing you’ve ever done! That is absolutely beautiful!