
This post may contain affiliate links, which means I get a small percentage of the sale at no extra cost to you. I only recommend items I love and have had a positive experience with. Thank you!
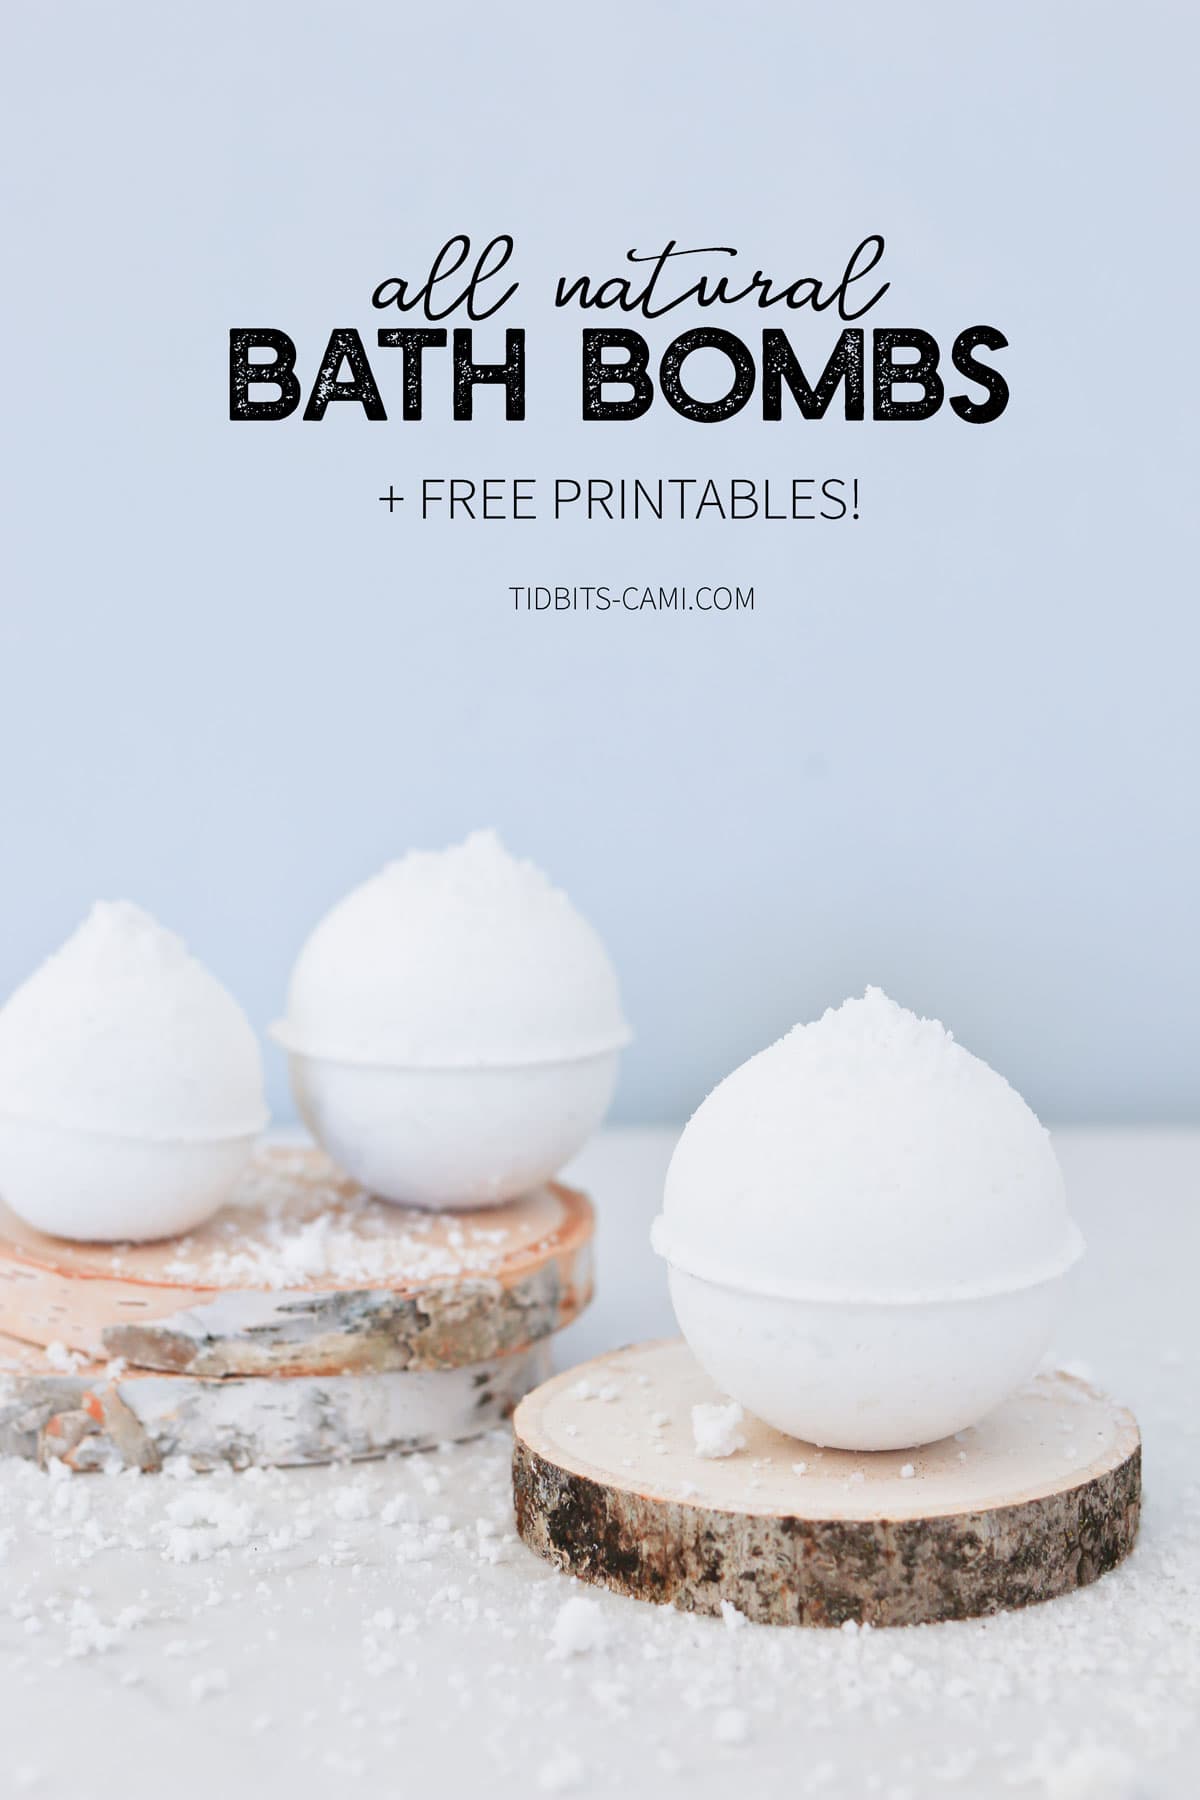
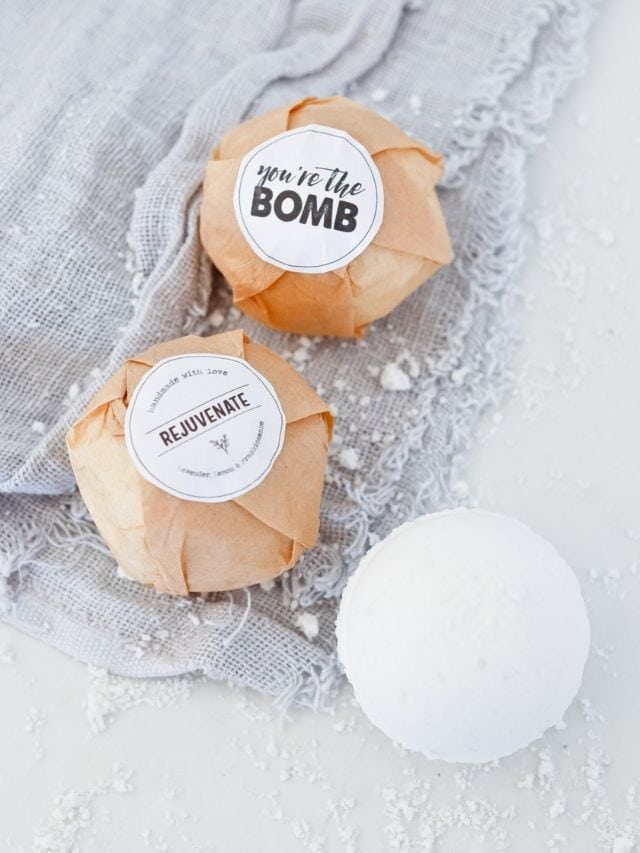
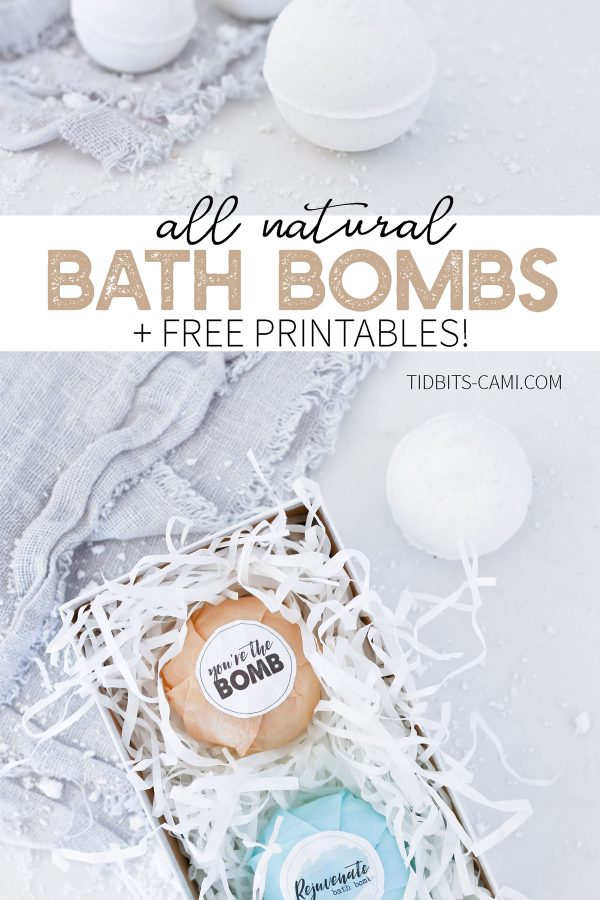
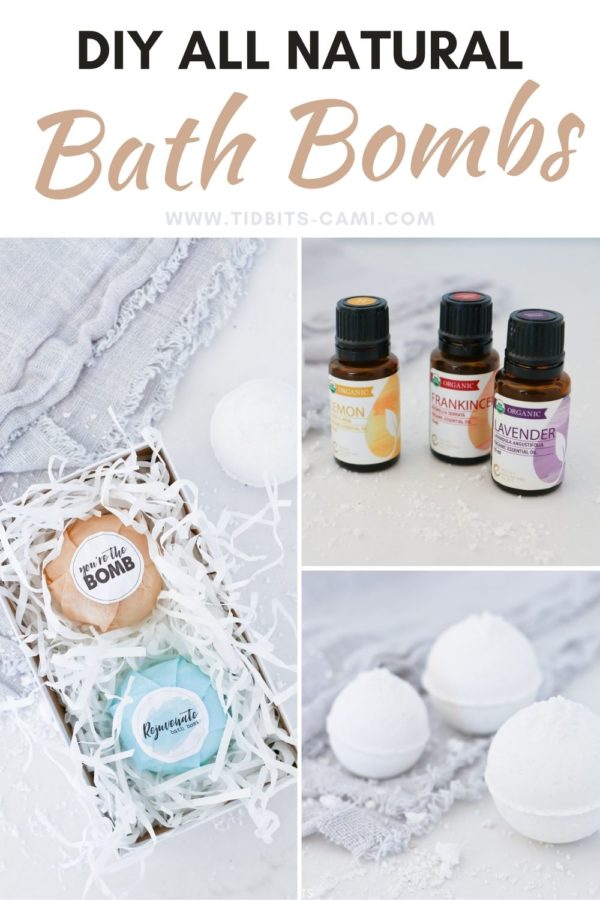
DIY your own All Natural Bath Bombs using essential oils and other natural ingredients. Bonus! This natural bath bomb recipe comes with FREE printable labels or gift tag options for any occasion.
Oh momma, don’t we all need a little rest and relaxation in our lives, right about now?!
Let me recommend a simple solution – a nice warm bath complete with an aromatic and moisturizing bath bomb!
Once you get your fill, go and spread cheer and rejuvenation in the lives of all those other tired souls who could use the same treatment!
I’m sharing this tutorial for making an all-natural bath bomb as part of my “Handmade Holidays” DIY gift blog series.
But the real icing on the cake is being able to partner up with my favorite graphic designer and dear friend, Kendra from Kendrajohn.com.
I kept telling her that together we could make some pretty incredible content, so she came up with the idea of me showing you how to make bath bombs, and she would “blow us away” with all the printable options you might ever need for any gifting occasion.
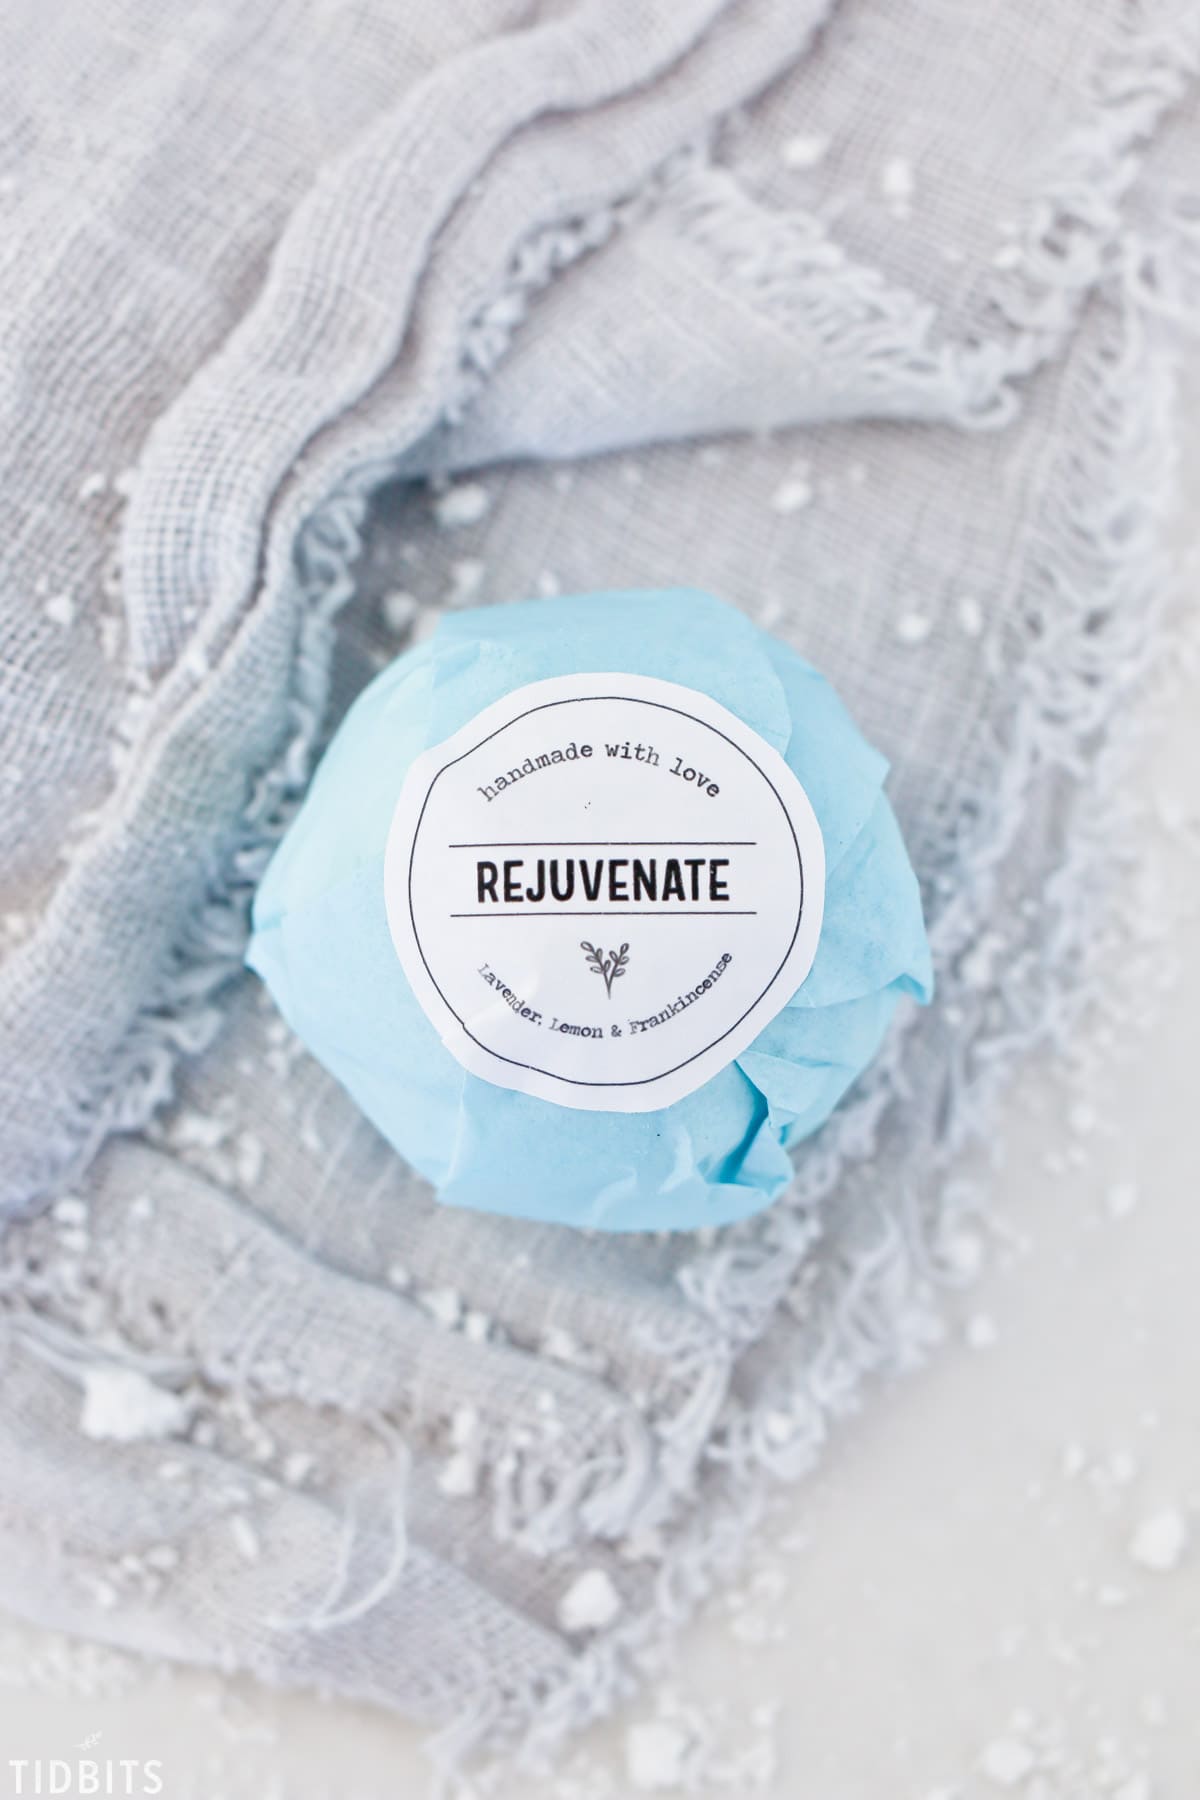
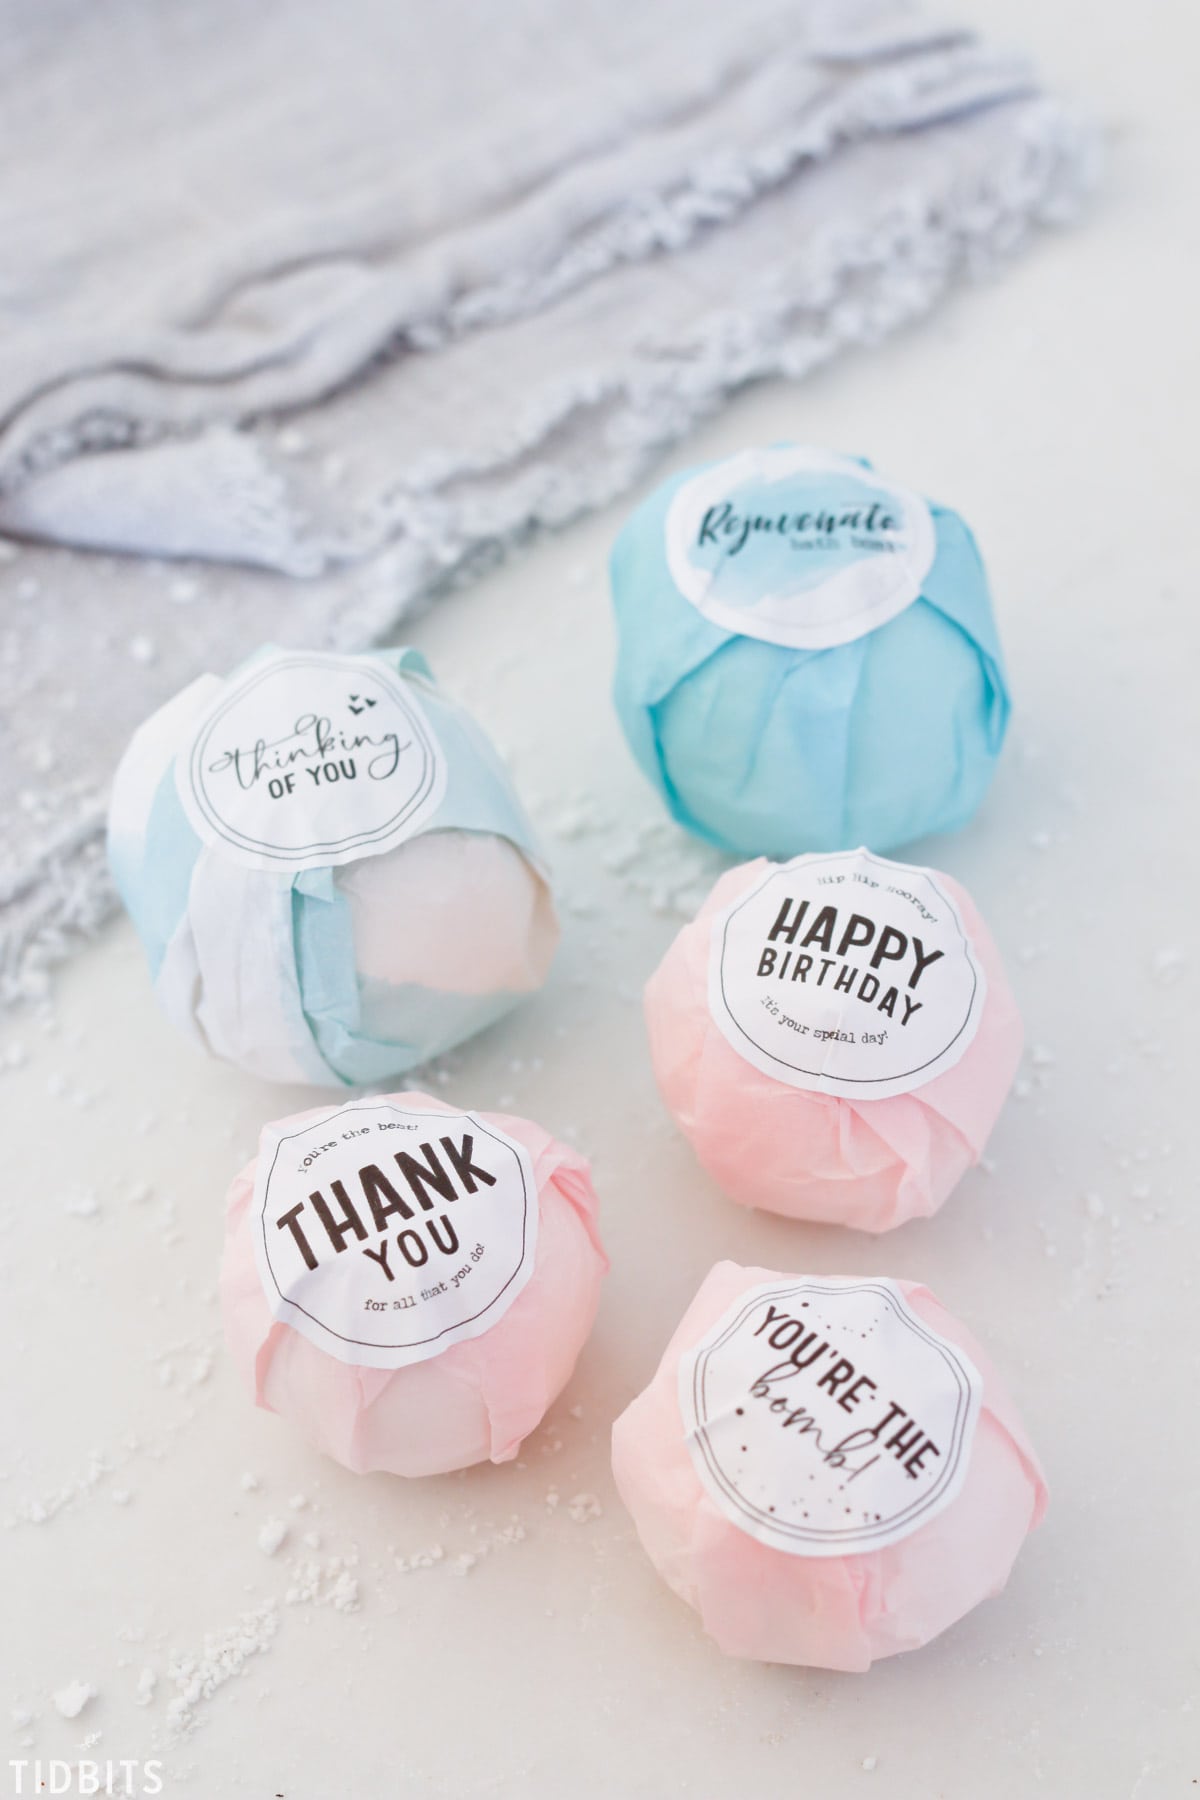
Kendra doesn’t ever disappoint, and she not only made us specific bath bomb gift wrap tags with my name of choice -“Rejuvenate” – but she has many occasion options for you over on her post.
Just imagine, Bath Bombs for Holidays, Birthdays, as a thank you, and just to make someone feel special no matter the day. She has you covered!
Bath bombs are also great gifts for kids!
I will make these with my girls so they too can package and gift some adorable bath bombs to their friends for Christmas. I use my mini mold specifically for kids.
Now, I see bath bombs popping up all over stores, but I typically cringe at the price and the ingredients.
I know they are cute and smelly and all, but I don’t know about you… I would much prefer to soak my body in pure ingredients that make me feel super good.
Not to mention, once you gather your basic ingredients you can make many many bombs . . . so it feels less like watching money fizzle dry in your bathtub 😉
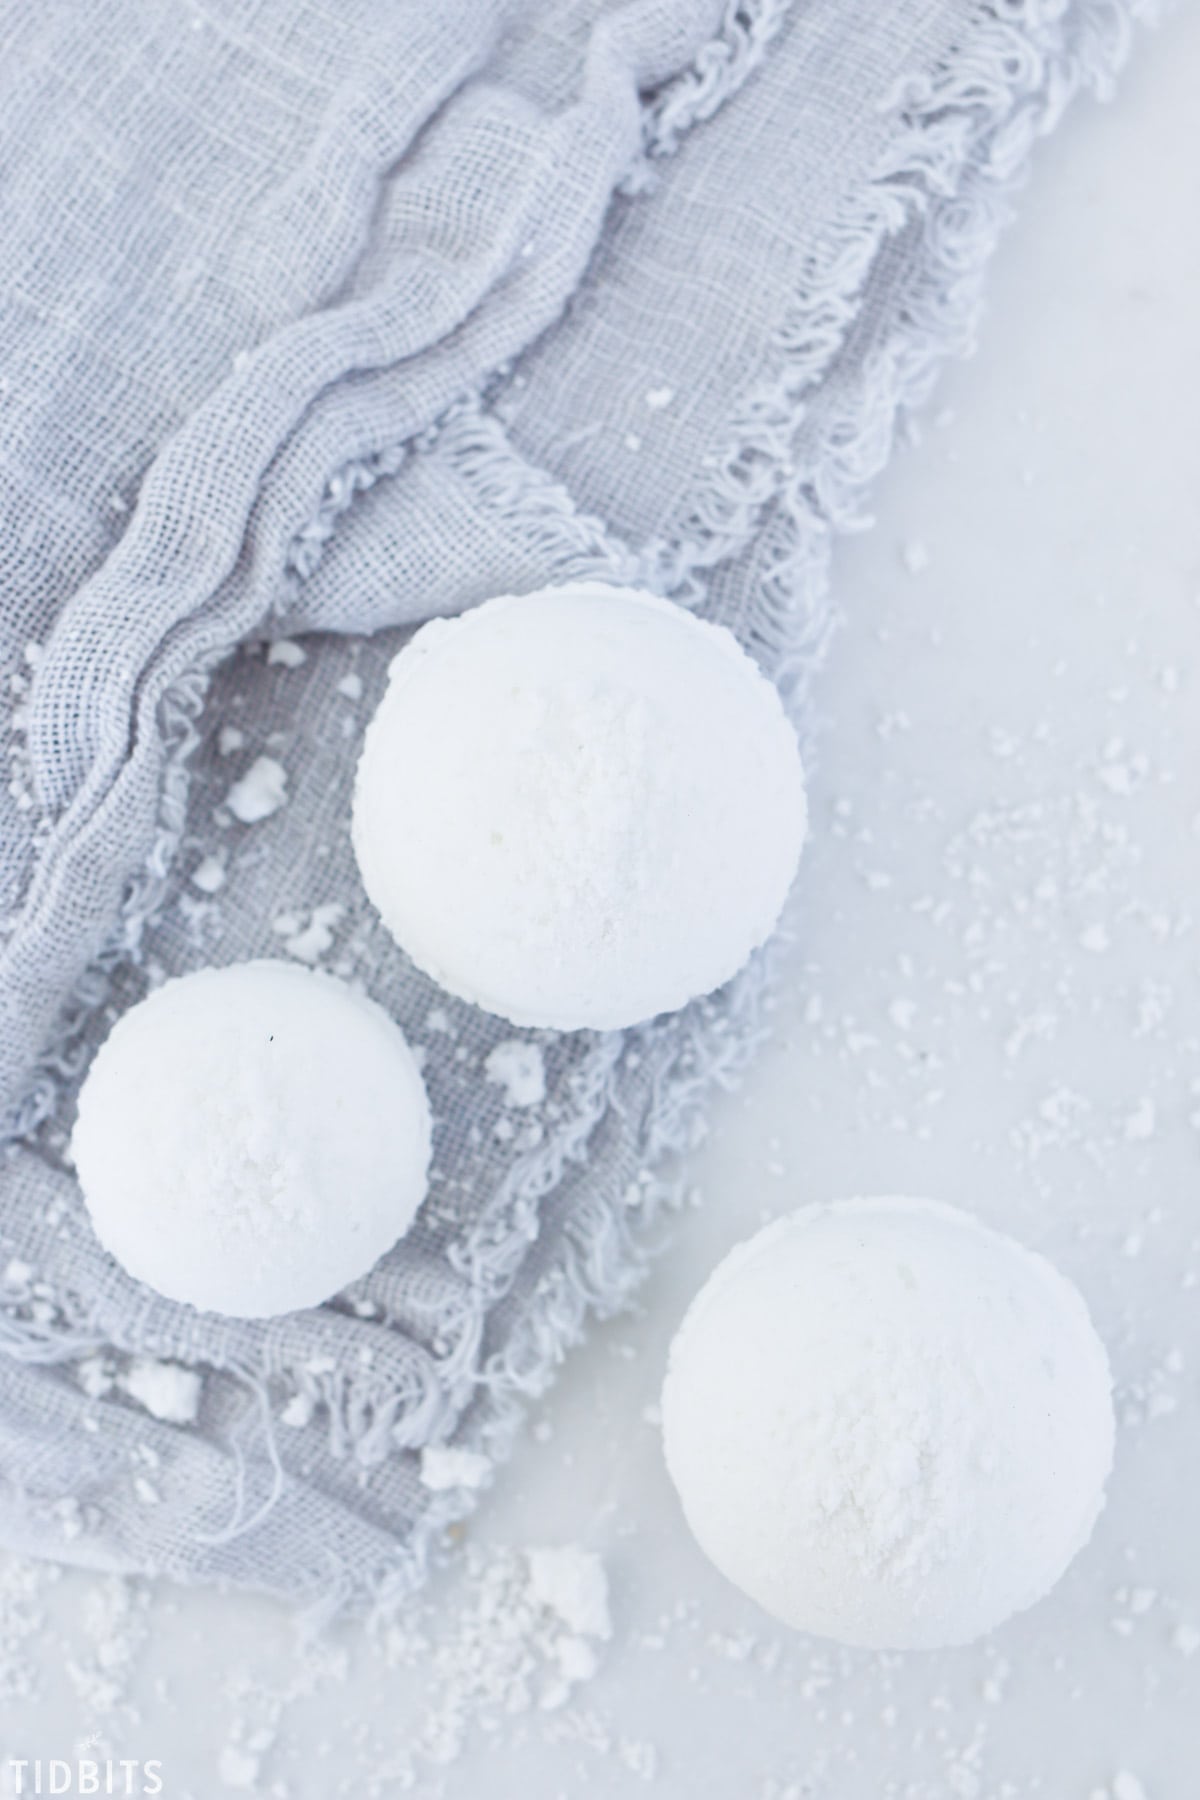
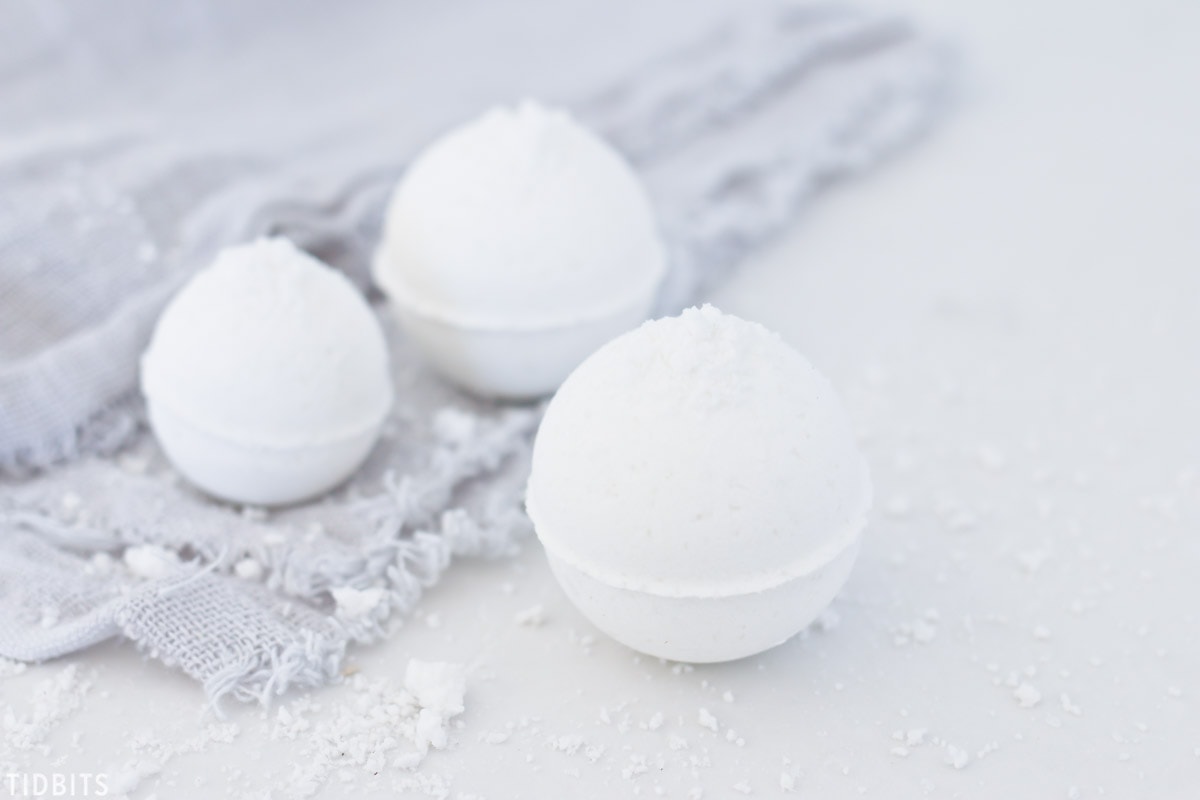
This is why I decided to leave out all colorants and artificial fragrances. My recipe will leave you with a bomb that is purely white, clean, refreshing, moisturizing, and delightful.
Rest assured, both my kids and I have “tested” them out for you and we’ve given them a solid 12 thumbs up.
Of course, you are judgment-free safe to spruce them up with whatever colorants or additives you so desire!
I’ve seen glittered bombs, multi-colored bombs, and even bombs with a surprise in the middle.
(Pssst . . . I think I am going to make those for stocking stuffers!).

My recipe is a great base to start with, and I’ve made it successfully many many times while testing this out.
Let’s talk about essential oil blends you can experiment with.
ESSENTIAL OIL BLENDS FOR BATH BOMBS
My favorite recipe and blend are great for my “Rejuvenate” bombs. It makes use of my favorite ever oils.
I love to buy my oils from Rocky Mountain Oils. This company sells pure oils without the added cost of MLM marketing or membership requirements.
Always free shipping, always great prices, and always pure. And usually, they have great freebie or discount offers! Be sure to watch for those!
REJUVENATE BATH BOMB
- Lavender
- Lemon
- Frankincense (or sub for peppermint)
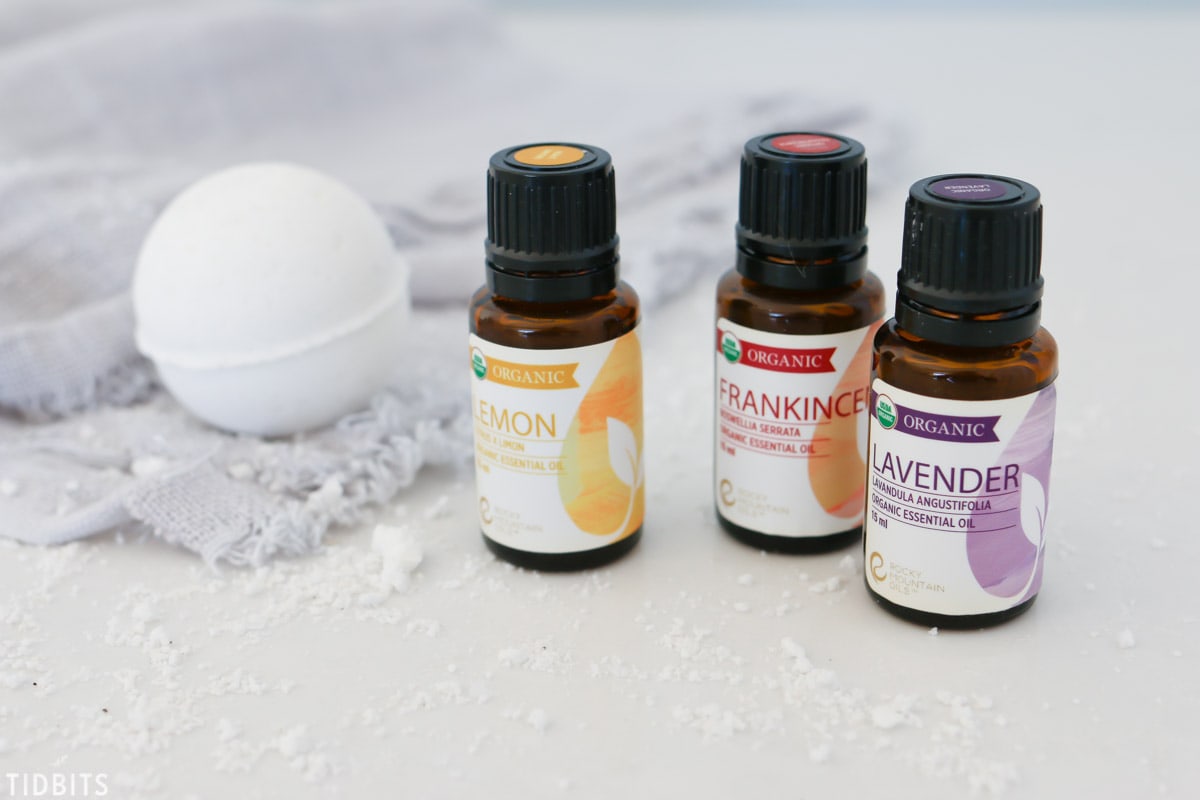
Lavender is well known for its calming properties. Lemon is so refreshing and uplifting.
Frankincense is well known for mindfulness, peace and is excellent for the skin – however – it can be a pricey bottle so if you can’t make that investment, I would suggest either just using lavender and lemon (still so delicious!) or subbing in peppermint for an added cooling, calming effect.
Really, you could use any of those oils singly as well for a delightful bath bomb.
Here are some more blends that would do well together:
Refreshing Citrus
- Lemon
- Orange
Decongesting
- Peppermint
- Eucalyptus
Sleepy Time
- Just use lavender!
Manly Soak
- Cedarwood
- Sage
- Clove
Detox
- Ginger
- Rosemary
- Lemon
Headache
- Lavender
- Peppermint
Seasonal Allergies
- Lemon
- Lavender
- Peppermint
As you can see, there are all sorts of goodies for what ails you!
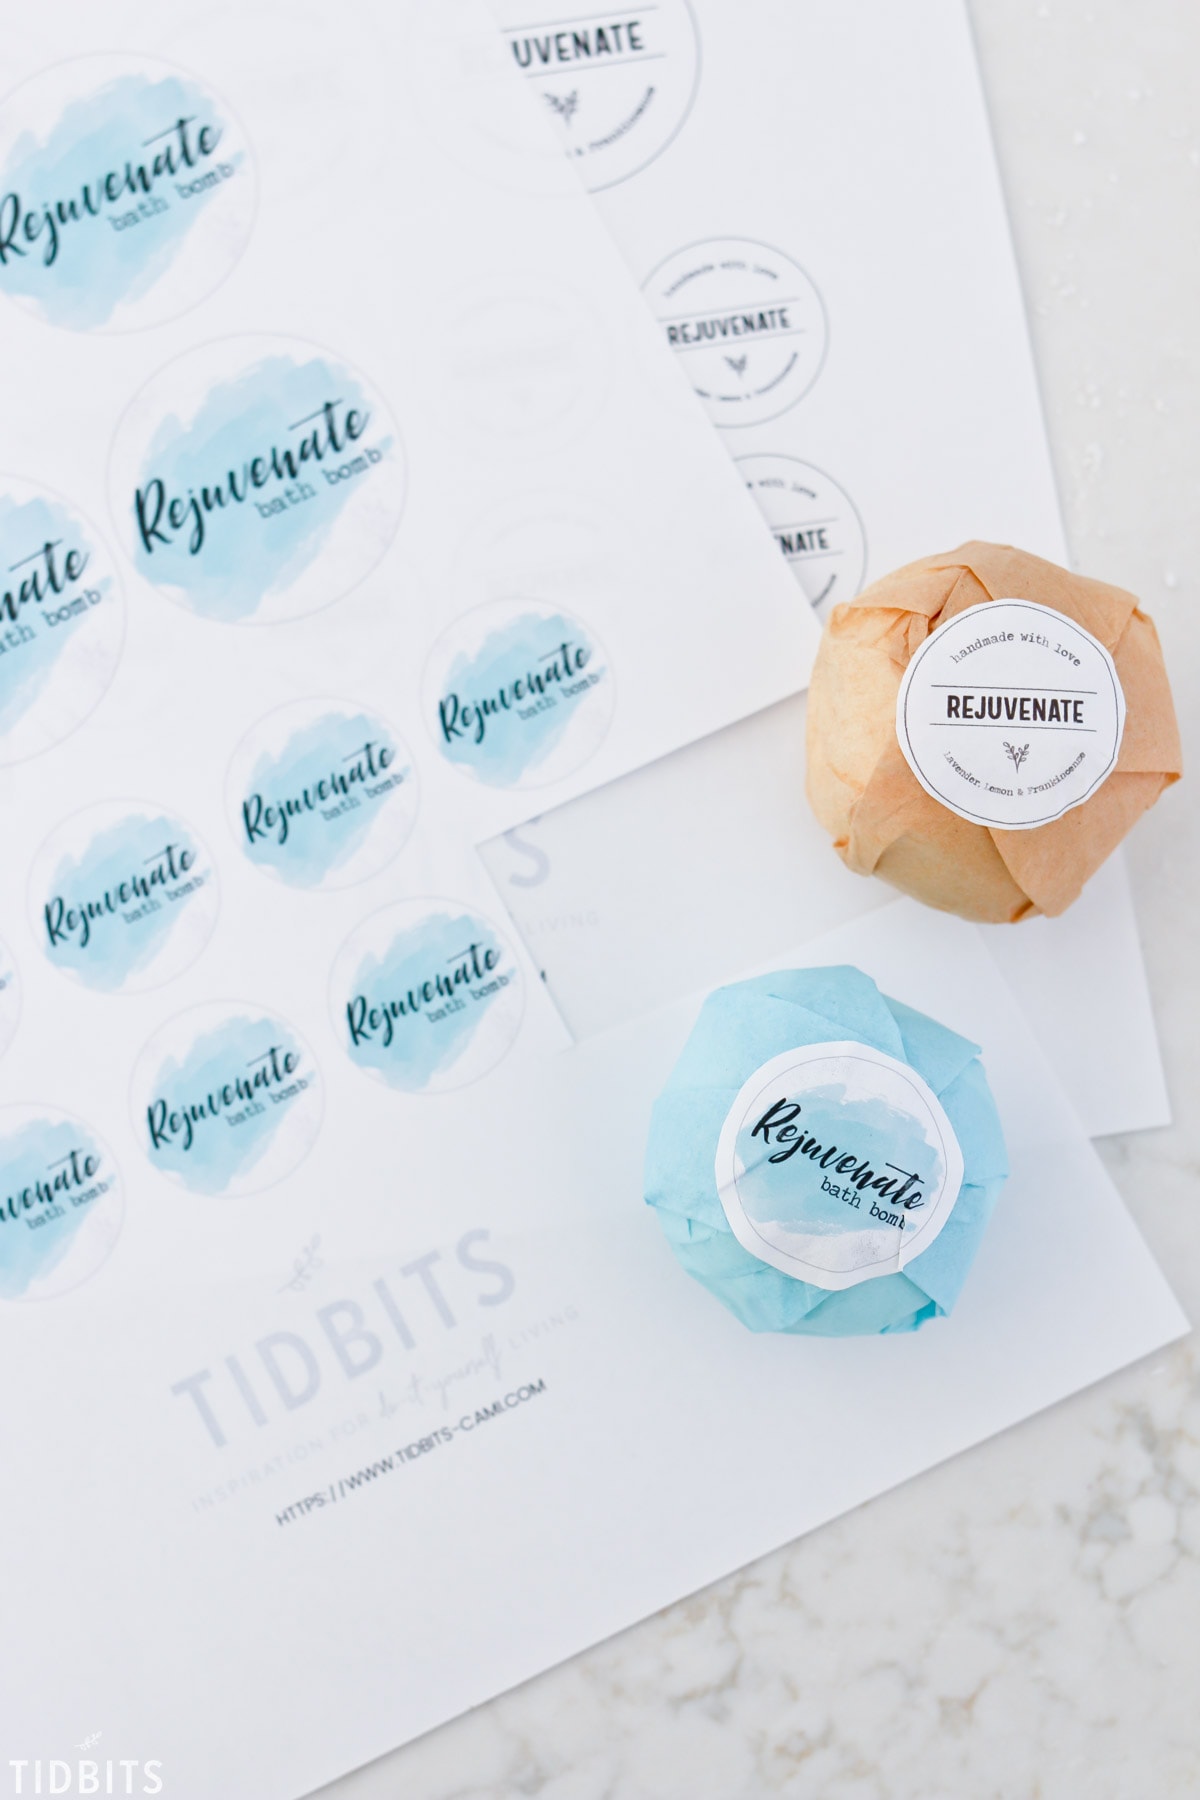
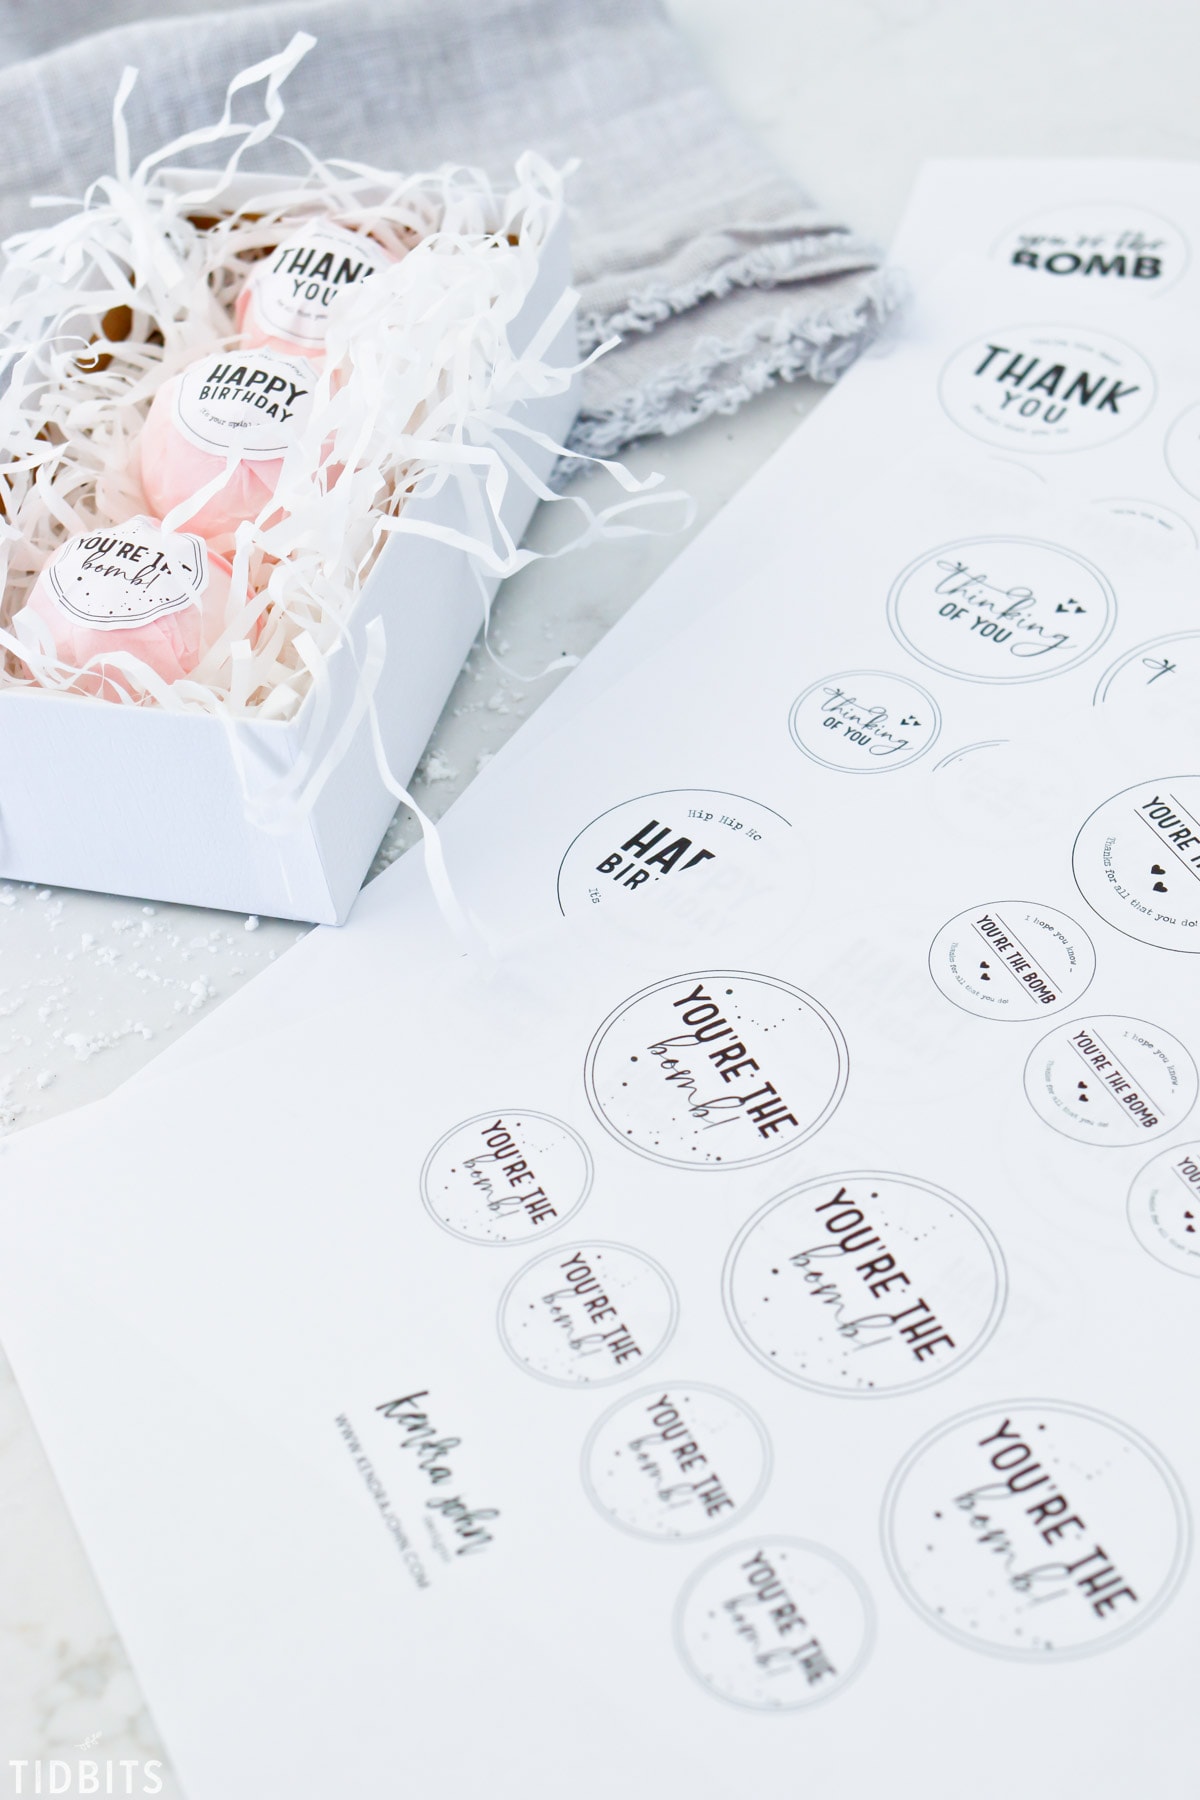
FREE PRINTABLES FOR BATH BOMBS
As you may already know, I reserve all my FREE printables for my email subscribers! I love them so! Please fill out the form below to get your Bath Bomb “Rejuvenate” printables and instant access to the TIDBITS SUBSCRIBER LIBRARY where you can cruise all my free printables.
*Already a subscriber? No need to fill out the form again. The link and passcode will be found at the bottom of every email I send.
For your all occasion bath bomb-free printable tags, go visit my dear friend at Kendrajohn.com. She has many options for you!
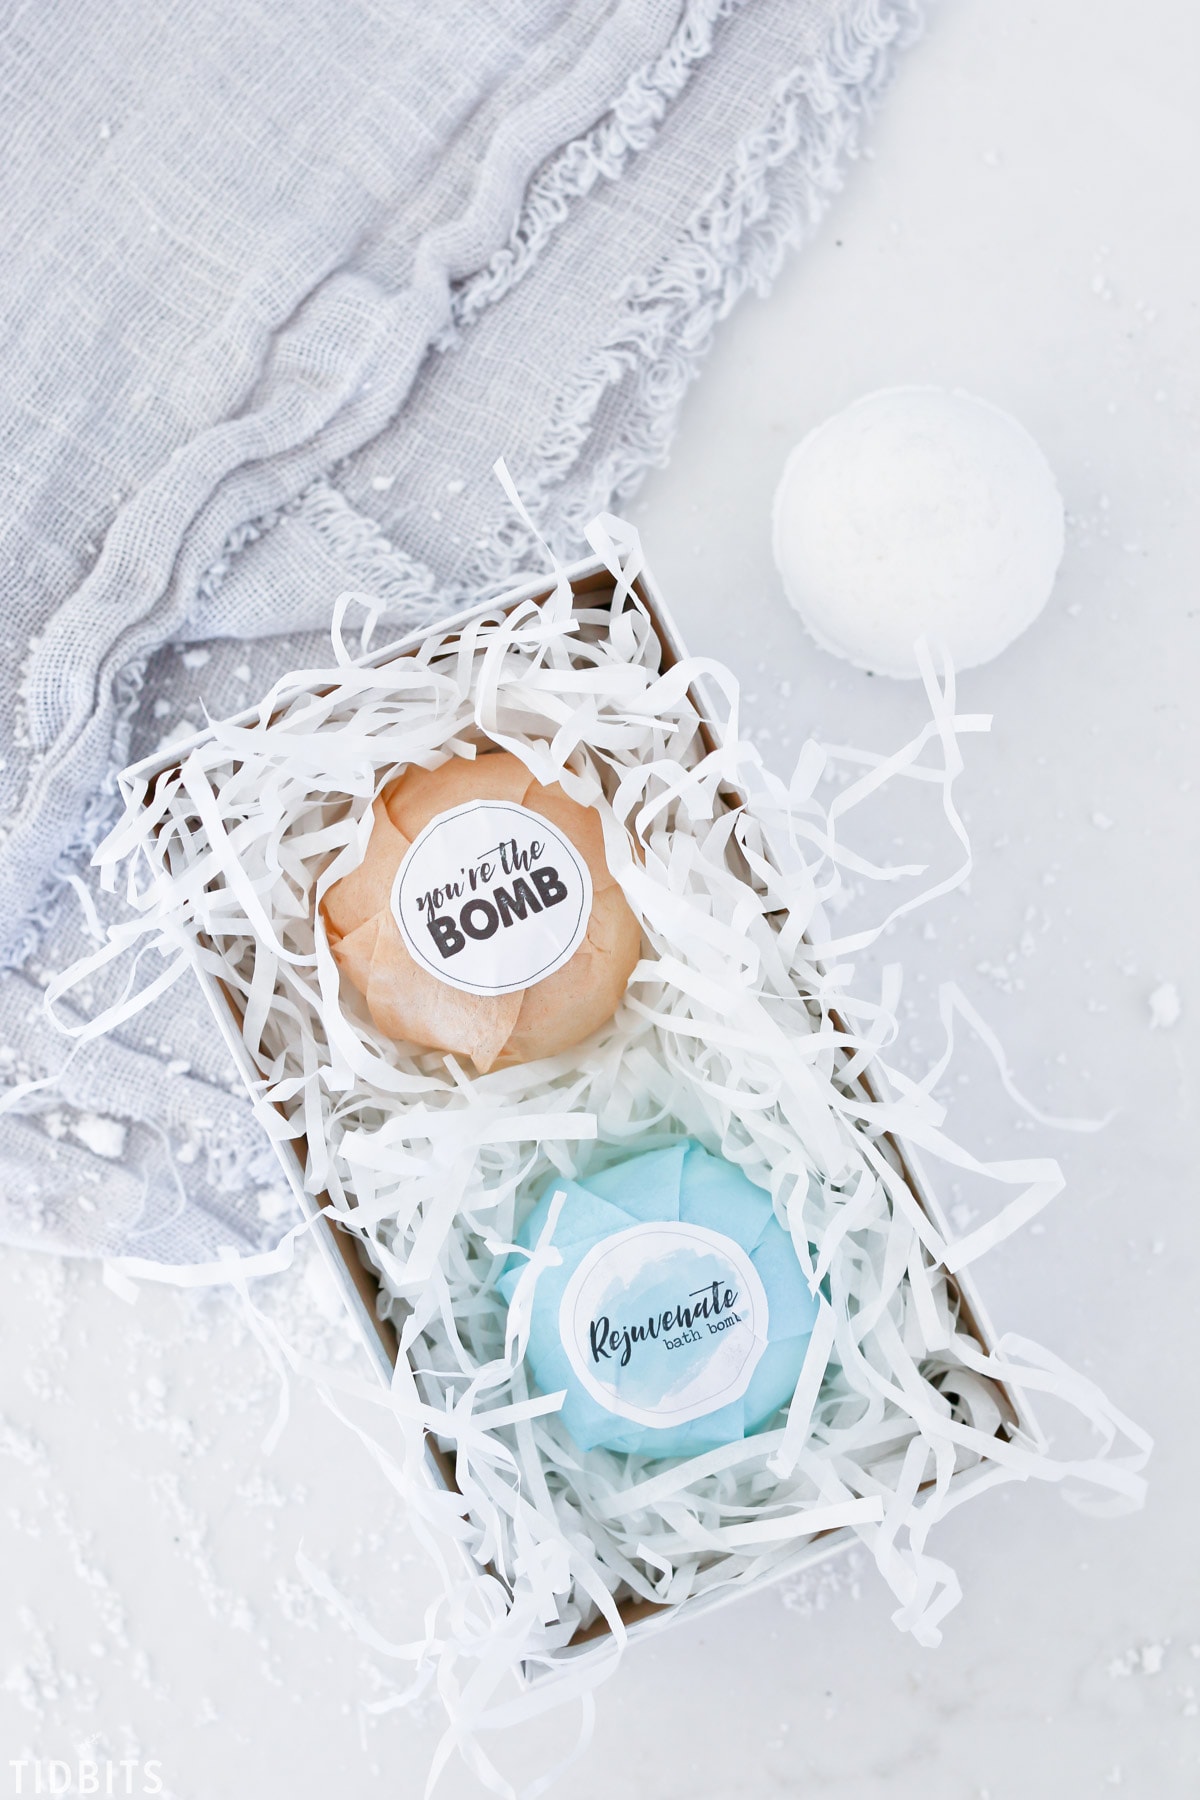
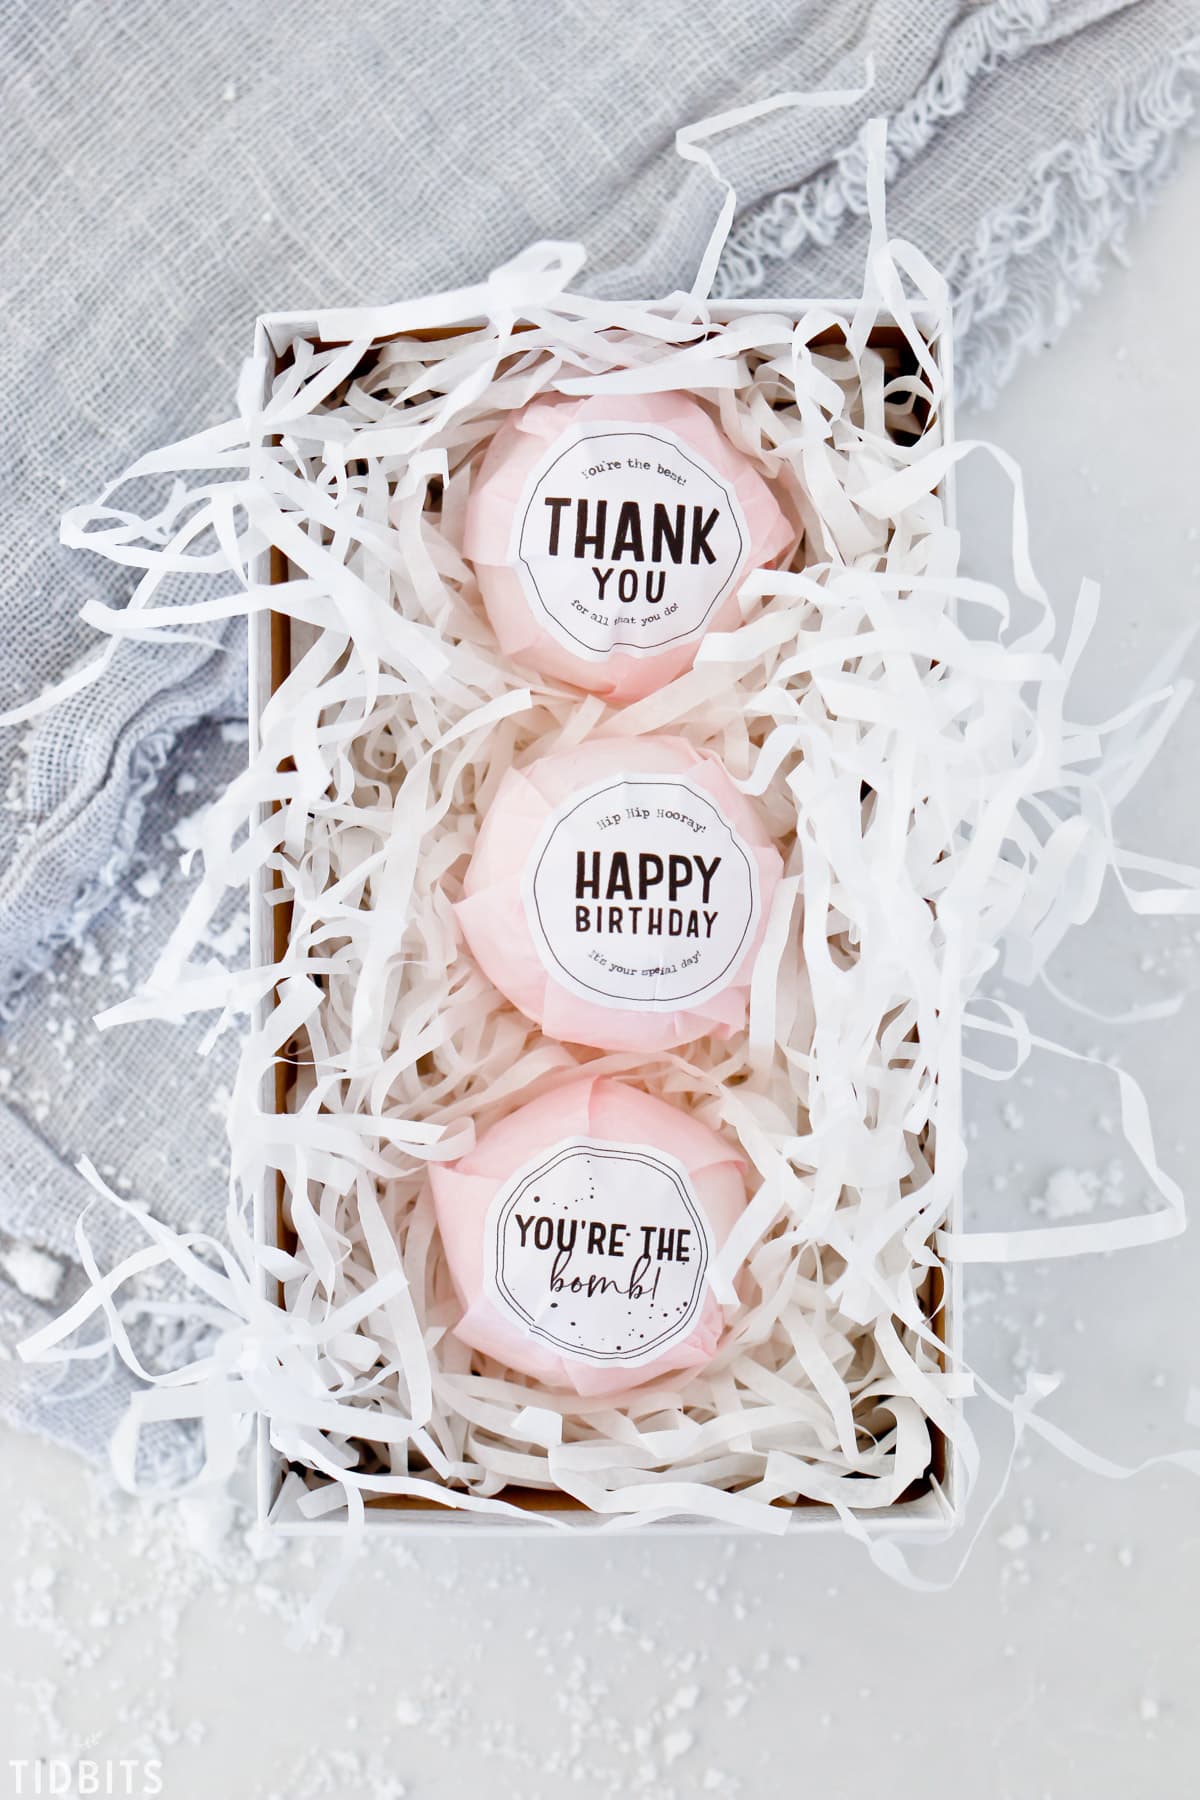
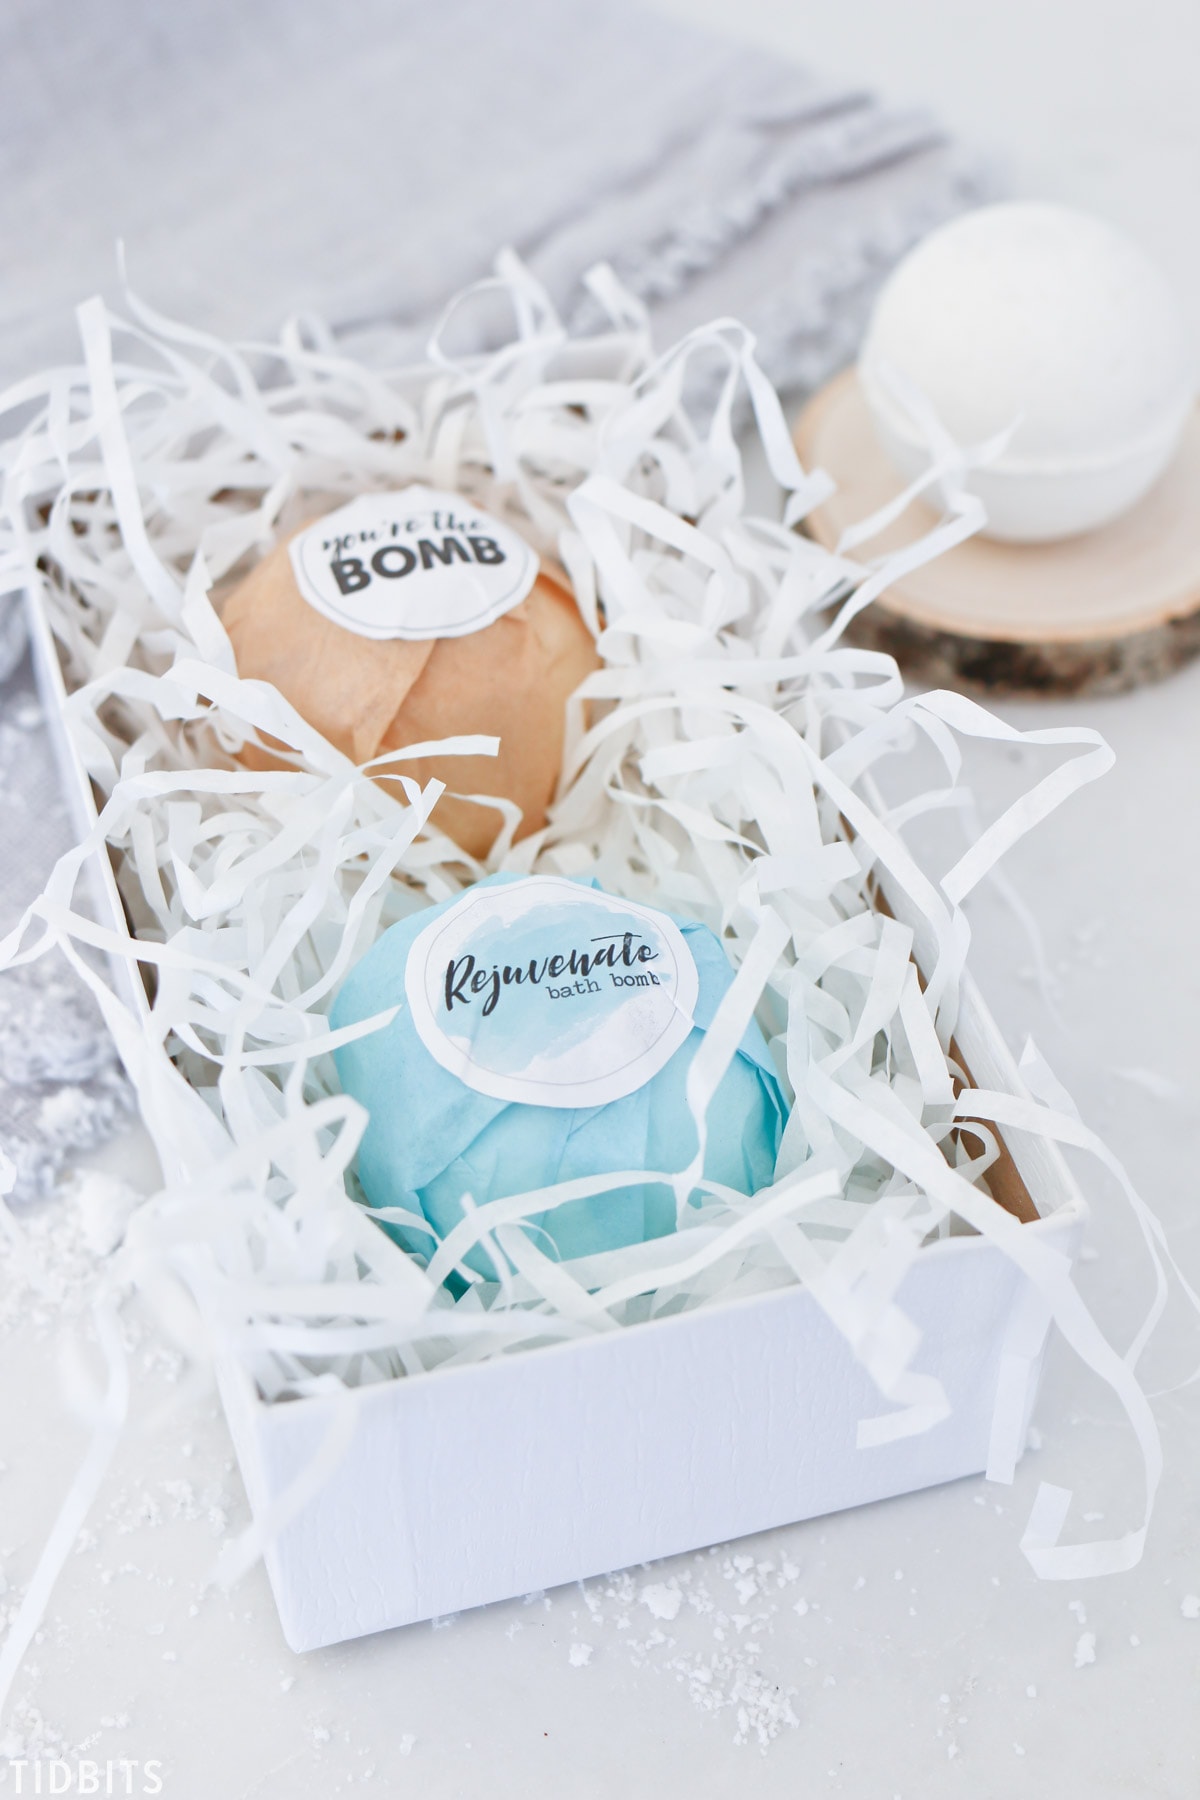
HOW TO PACKAGE A BATH BOMB
How you decide to package your bomb can really be what makes it feel special (hence why we made so many tags!). Wrapping them is very easy to do!
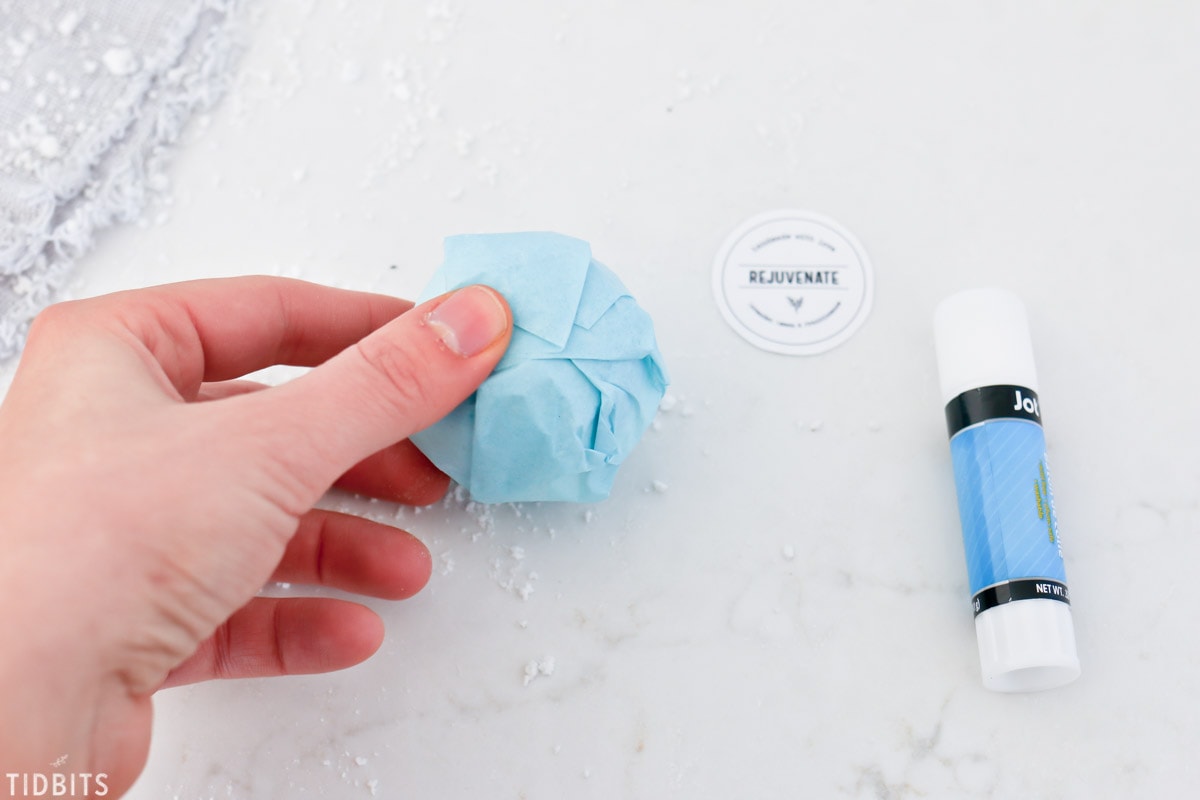
Simply cut a small square of tissue paper a couple of inches wider on all sides than your bomb. Bring up a corner at a time until it is wrapped up nice and tidy.
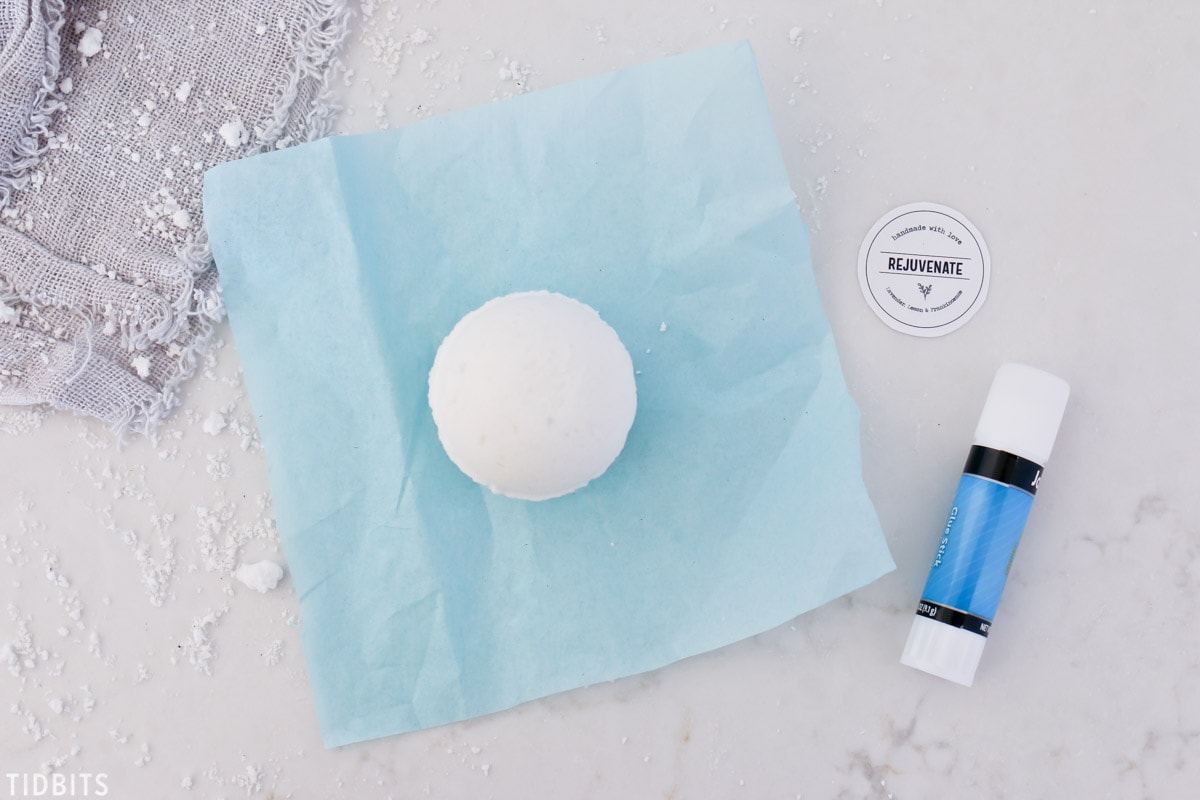
To adhere to the tag, cut it out and apply glue with a glue stick. Place the tag over the gathered tissue paper.
If you have sticker paper to print on, that would be a good option too, but we felt the print and glue was more feasible for most of us, and you still get beautiful results.
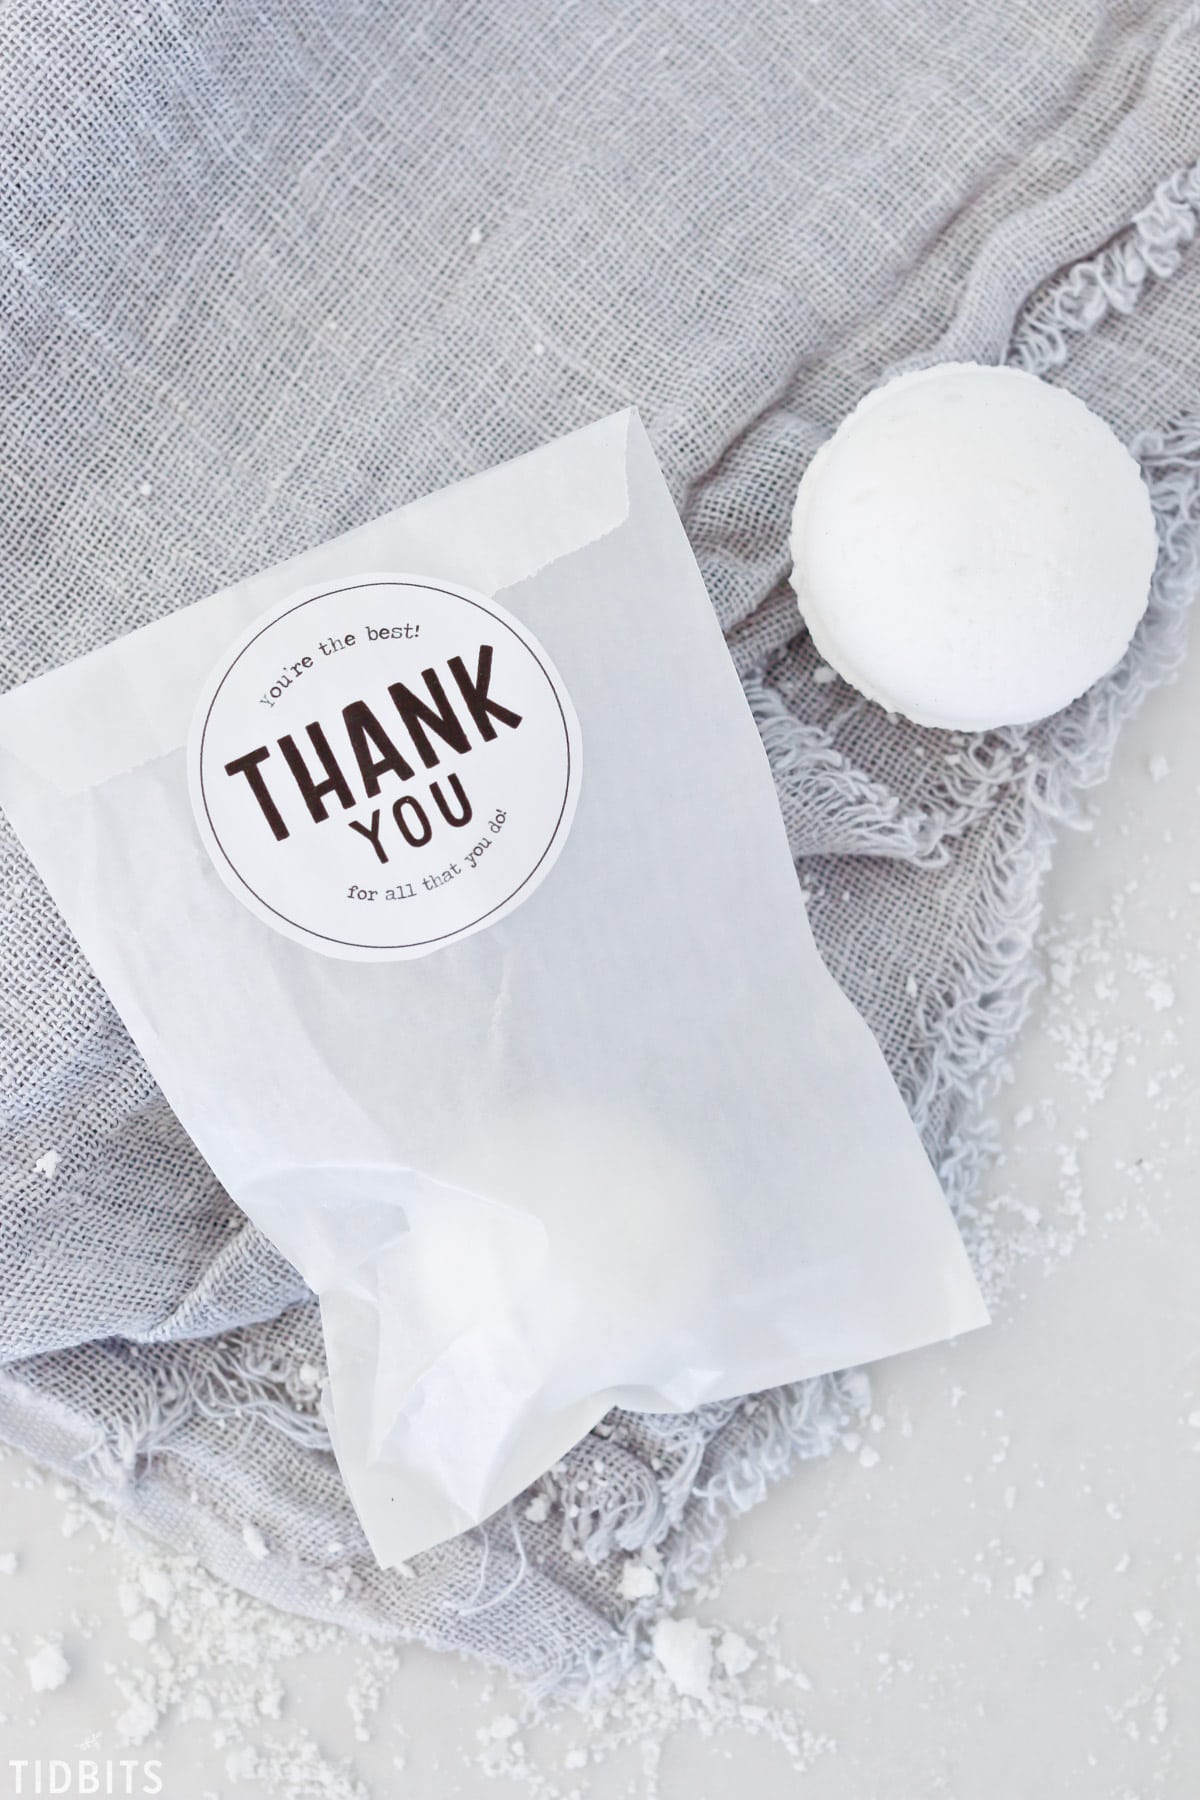
Another option is to simply place the bomb in a small paper baggie, and seal it with the label.
INGREDIENTS FOR MAKING A BATH BOMB
Let’s chat about all those good-for-you ingredients! Again, this is a good base recipe I am sharing. Add to if desired.
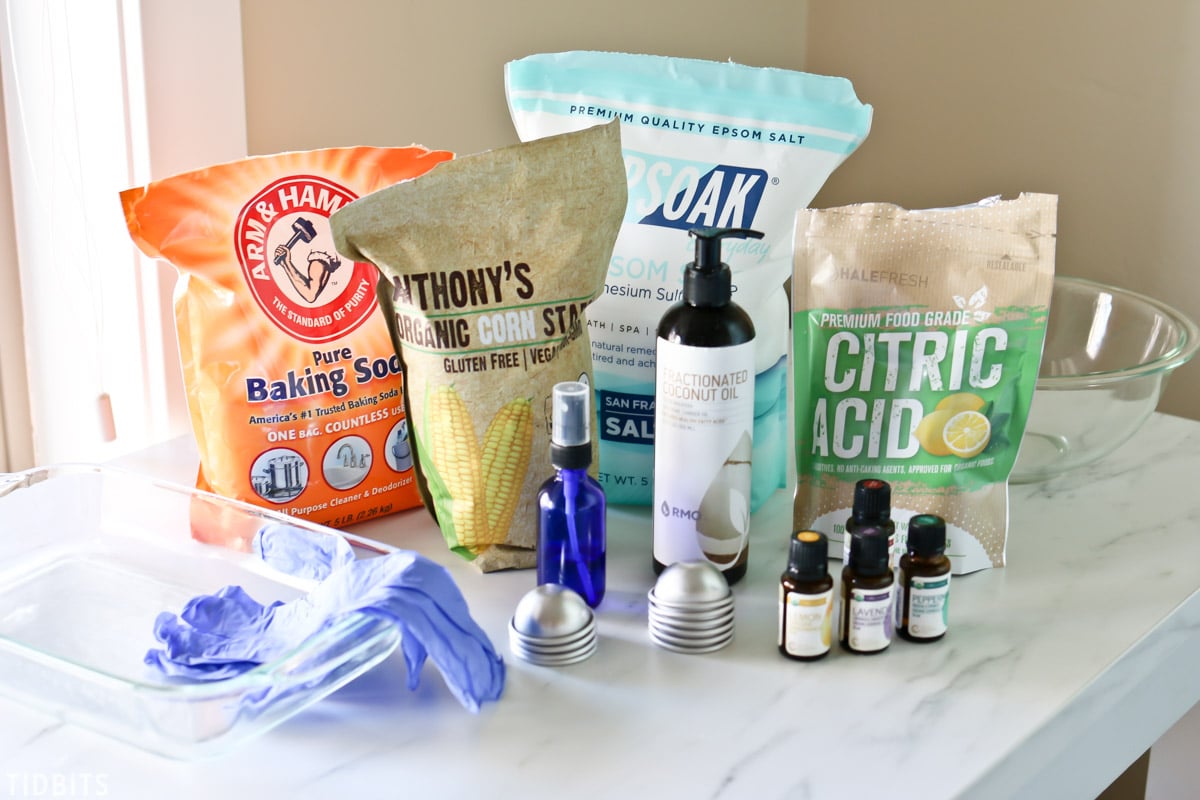
- Pure Baking Soda (calms itchy or irritated skin, and makes the bomb fizz)
- Corn Starch
- Citric Acid
- Epsom Salt (soothes achy muscles, detoxifies and relieves stress)
- Moisturizing oil (to help save dry skin and can kill bacteria)
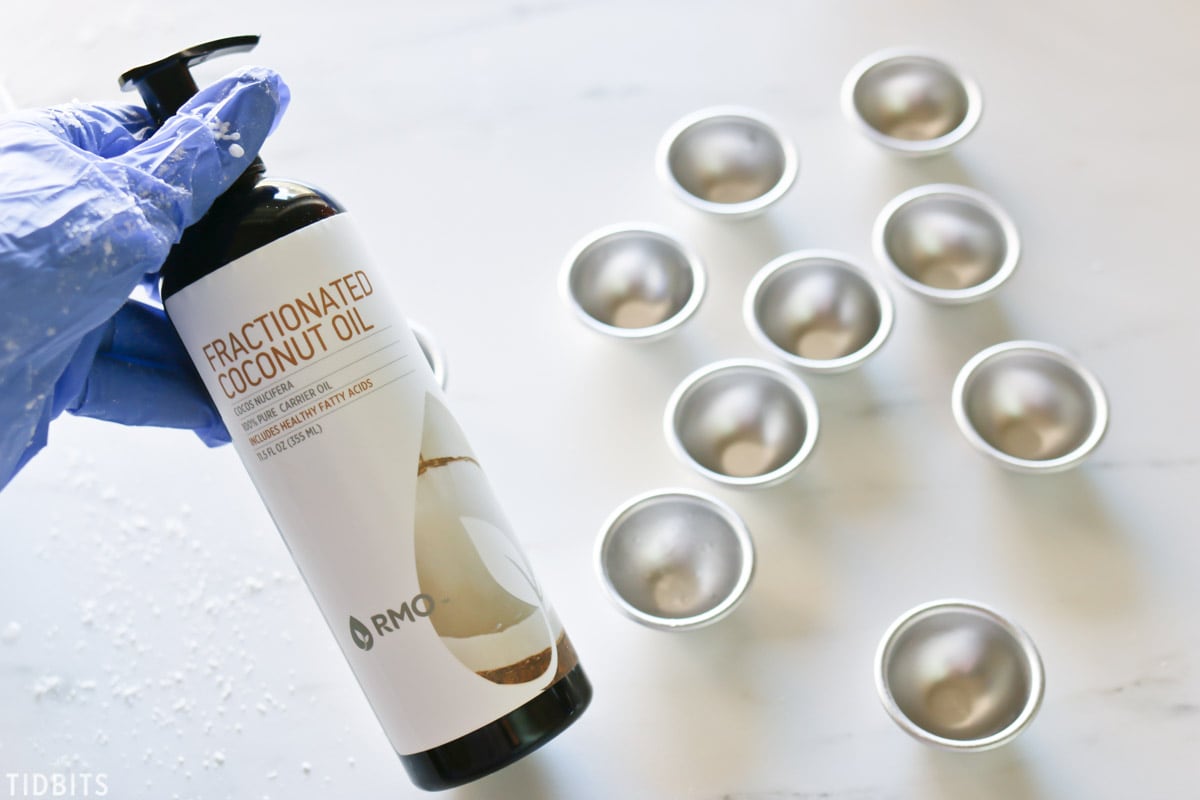
- I prefer to use fractionated coconut oil. Other options would include:
- Almond Oil
- Melted and mostly cooled Coconut Oil
- Jojoba Oil
- Grapeseed Oil (good for not clogging pores)
- I prefer to use fractionated coconut oil. Other options would include:
- Pure Essential Oils
- I love to buy my oils from Rocky Mountain Oils. This company sells pure oils without added cost of MLM marketing or membership requirements. Free shipping. Great prices. Always pure.
- Water in a spray bottle
- I’ve seen folks use Witch Hazel in place of water. But water works great for me!
SHOP INGREDIENTS

SUPPLIES FOR BATH BOMBS
- Latex gloves
- Glass mixing bowl
- Tray or pyrex dish for molded bombs to set
- Whisk
- Measuring Cups
- Measuring Spoons
- Bath Bomb Molds
- You can also use those clear plastic ornaments that break apart for molds. That’s a fun option for a beautiful round bath bomb.
- The set I bought comes with 3 mold sizes. I love the mini molds for kids, middle size for gifting, and the big bombs for going big 😉 . The recipe yield will vary with what size you use but I estimated about 11 mini bombs or 3-4 big bombs.
- Tissue Paper
SHOP SUPPLIES
HOW TO MAKE BATH BOMBS
Fear not the making of bath bombs! It’s so much easier than you think and after one batch in you’ll be a bomb pro. Easily printable recipe at the bottom of this post.
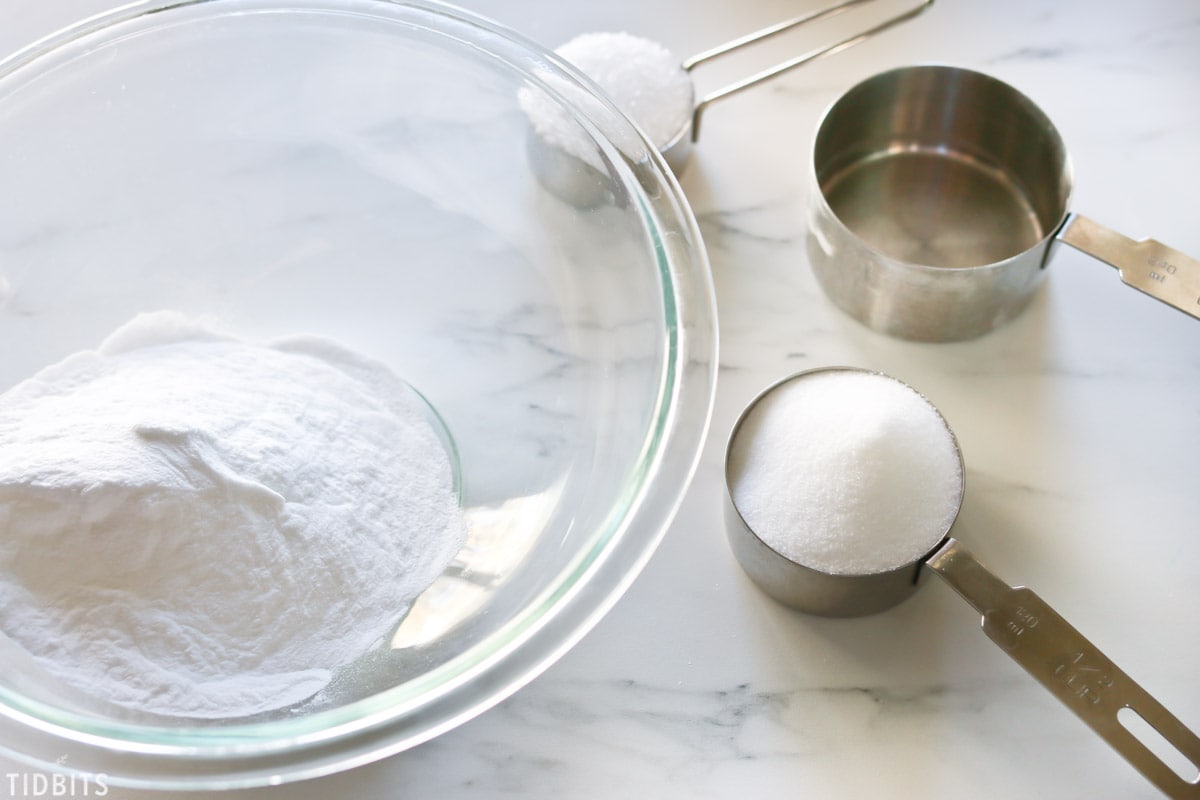
Measure and add to your bowl the dry ingredients:
- 1 Cup Baking Soda
- 1/2 Cup Citric Acid
- 1/2 Cup Cornstarch
- 1/4 Cup Epsom Salt
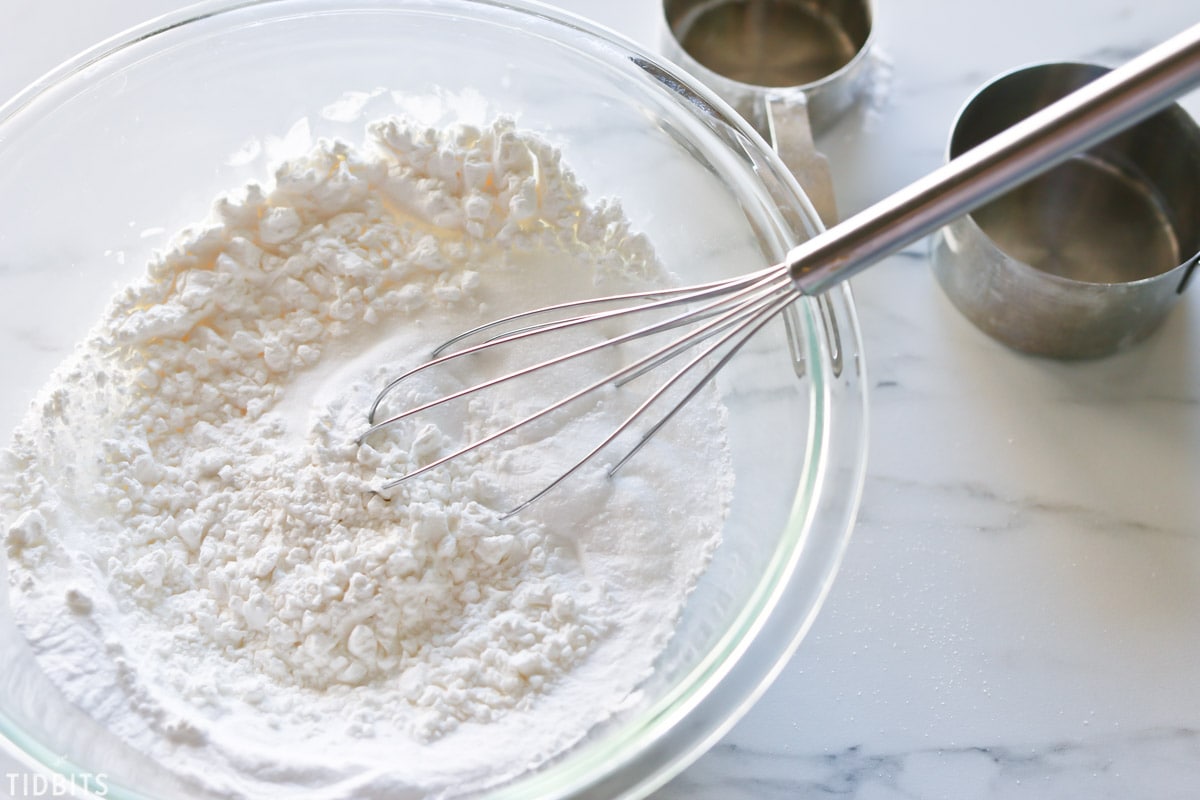
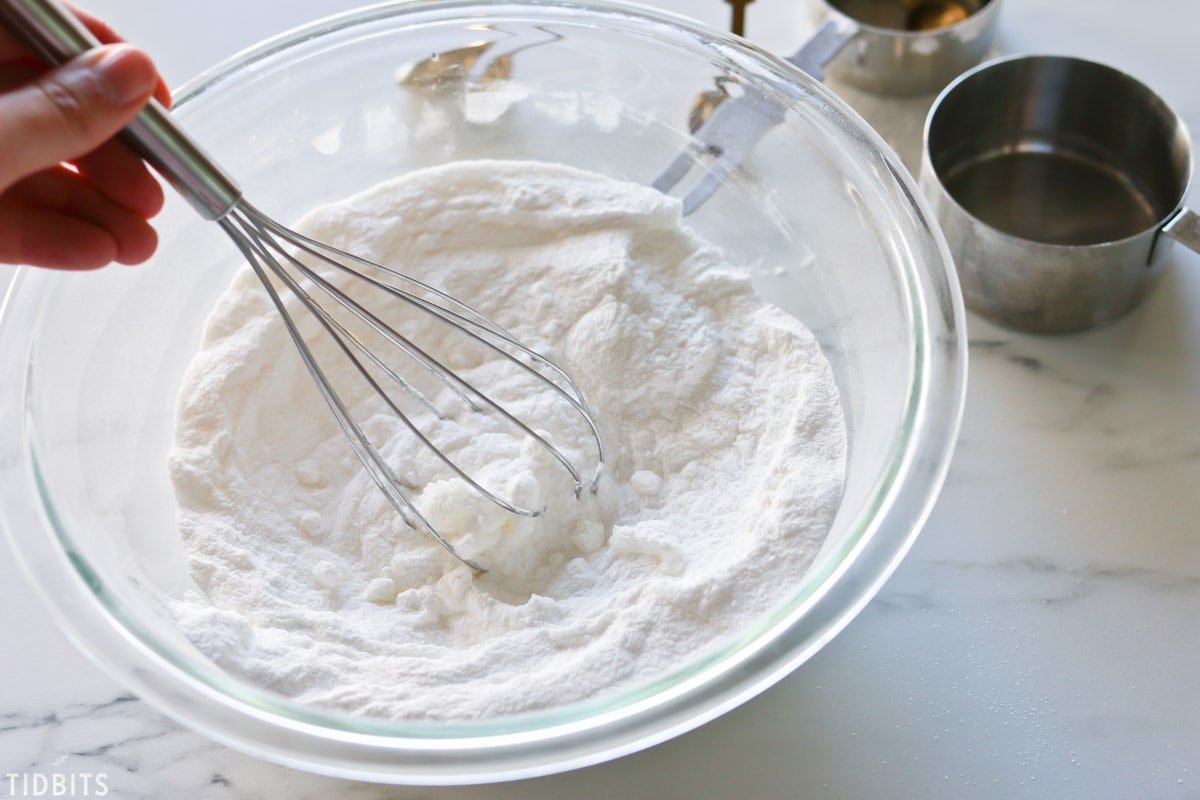
Mix the dry ingredients together with a whisk.
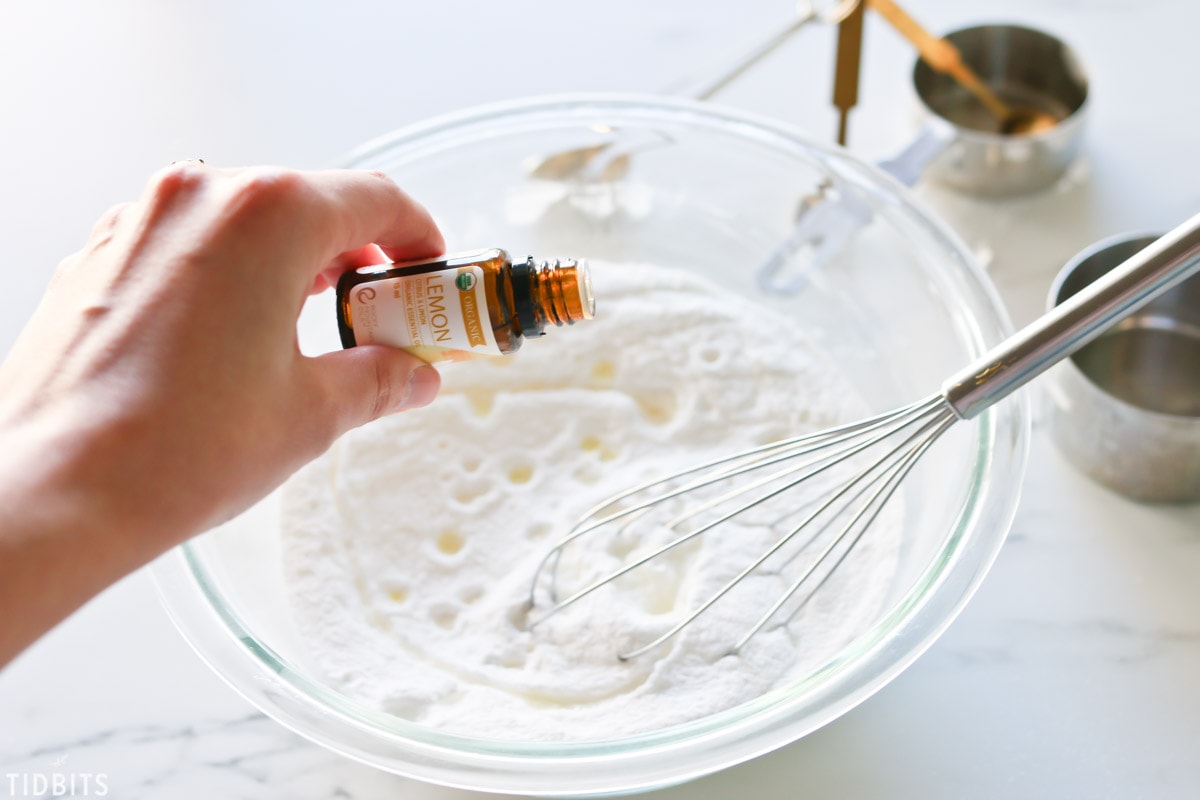
Add in 2 teaspoons of Fractionated Coconut Oil (or moisturizing oil of your choice as suggested above).

Add 10-20 drops of essential oil. I do 10 for kids and 20 for adults, and evenly divide out my drops if using different kinds of essential oils.
*I am not a certified advisory expert on the safety of oils. Nothing I say about the use of oils is backed by any institution. Simply my recommendation based on my experience. Proceed with your own caution and research.
Whisk together again thoroughly.
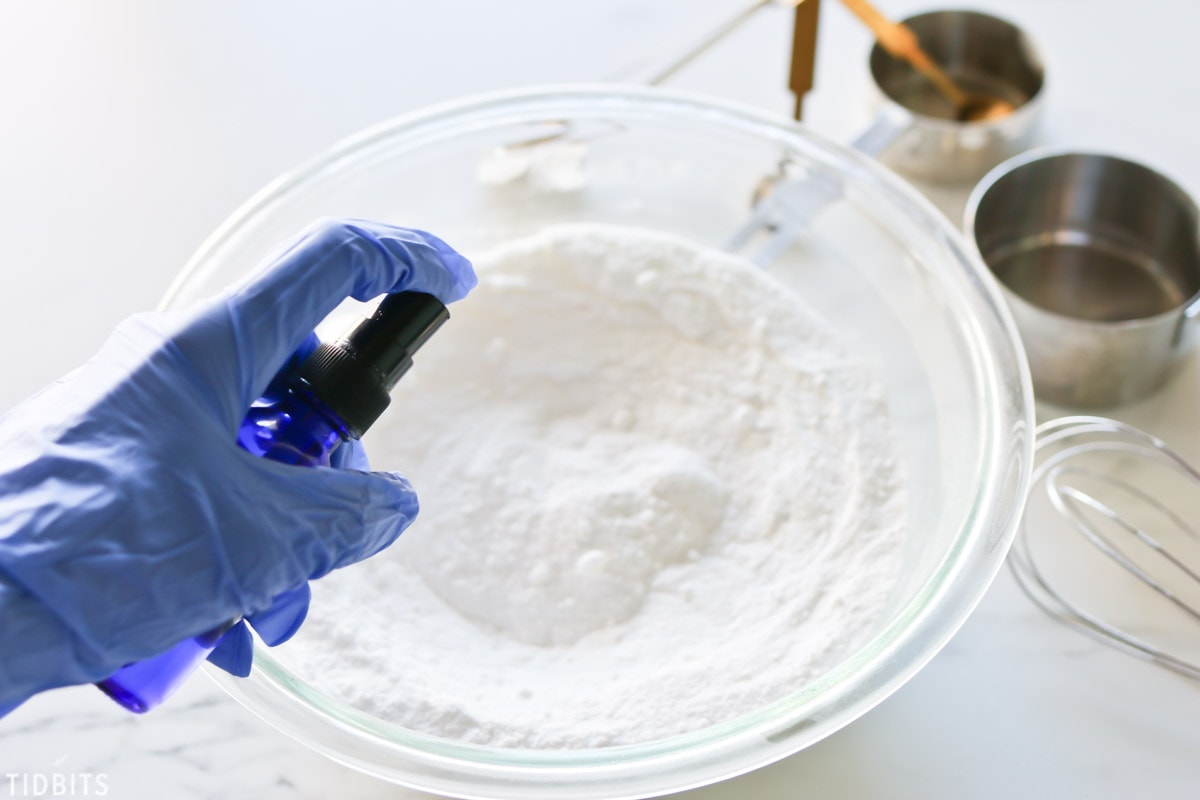
I’m not listing a measurement for water, and I recommend you do NOT just dump in the water.
It will most likely cause a fizzy reaction, which is what you want to save for the bathtub!
It works great to spritz the water on as you mix until you get the correct consistency. Begin by spritzing and mixing slowly.
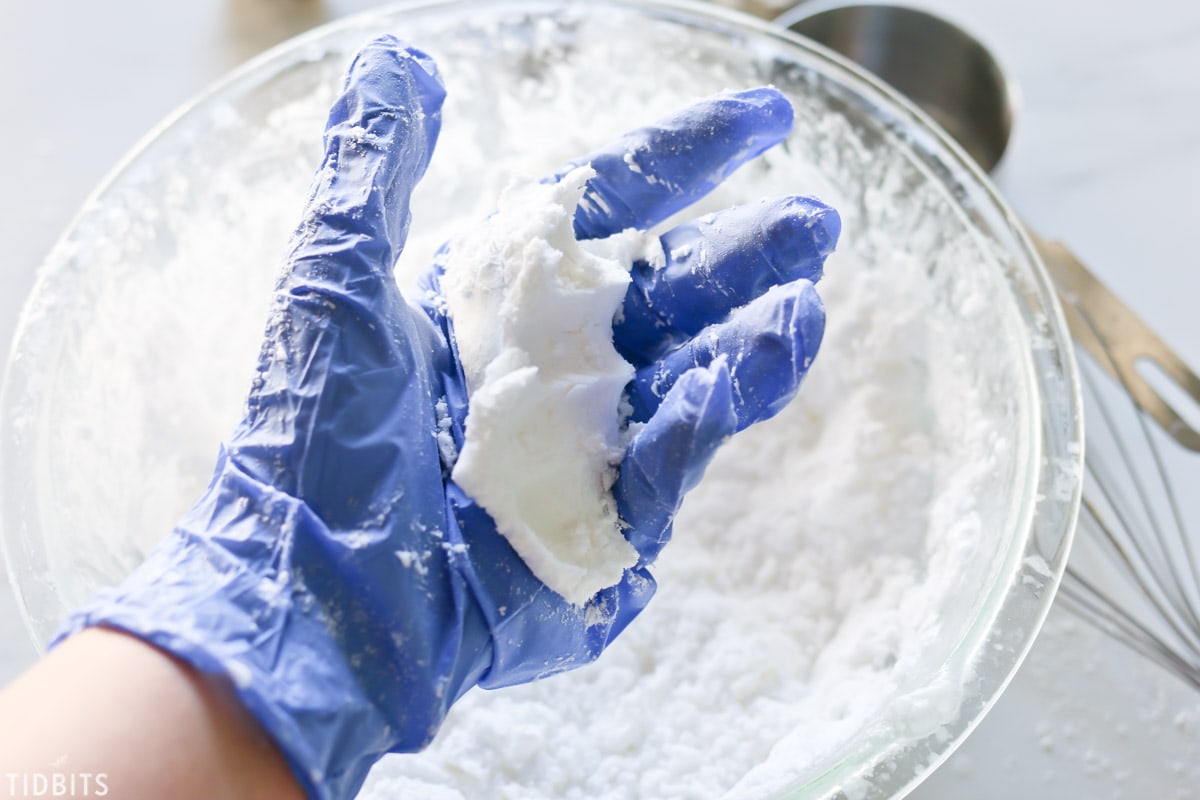
Mix by hand until the powder holds its shape when squeezed.
Below is an example of what it will look when it is NOT quite ready. It still separates when I release my squeeze.
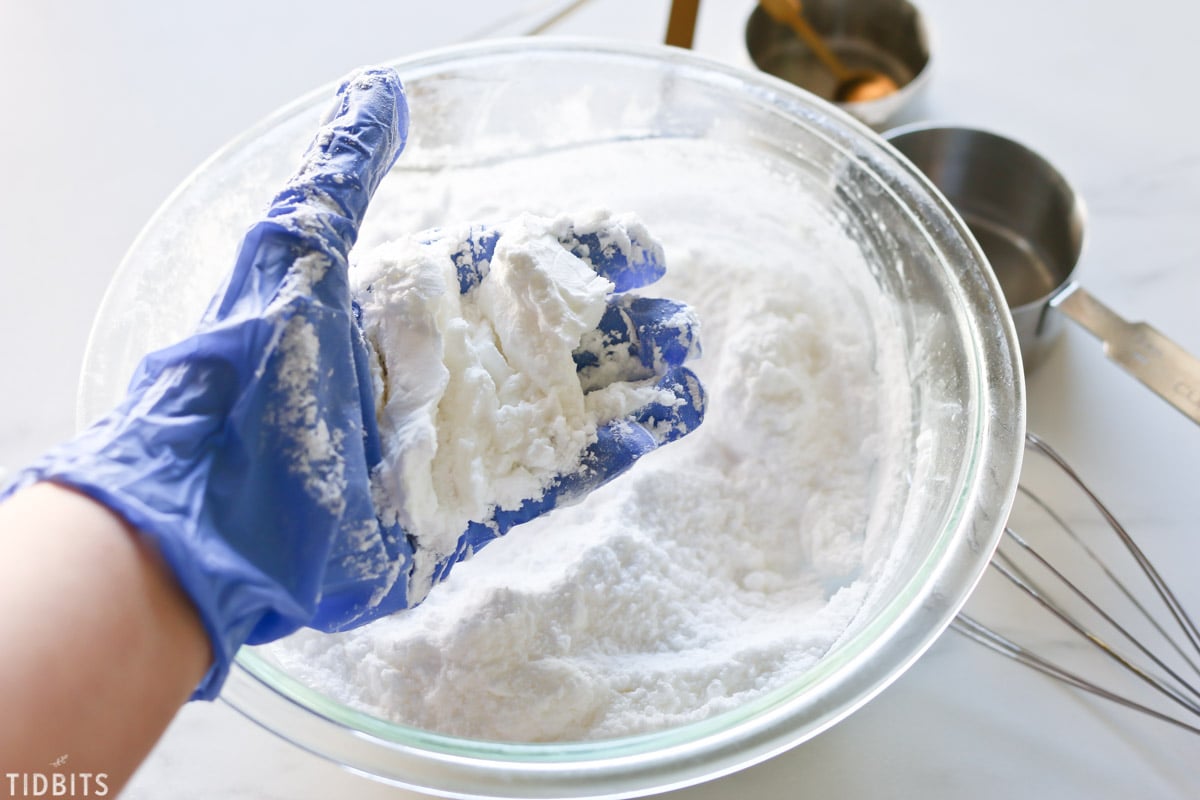
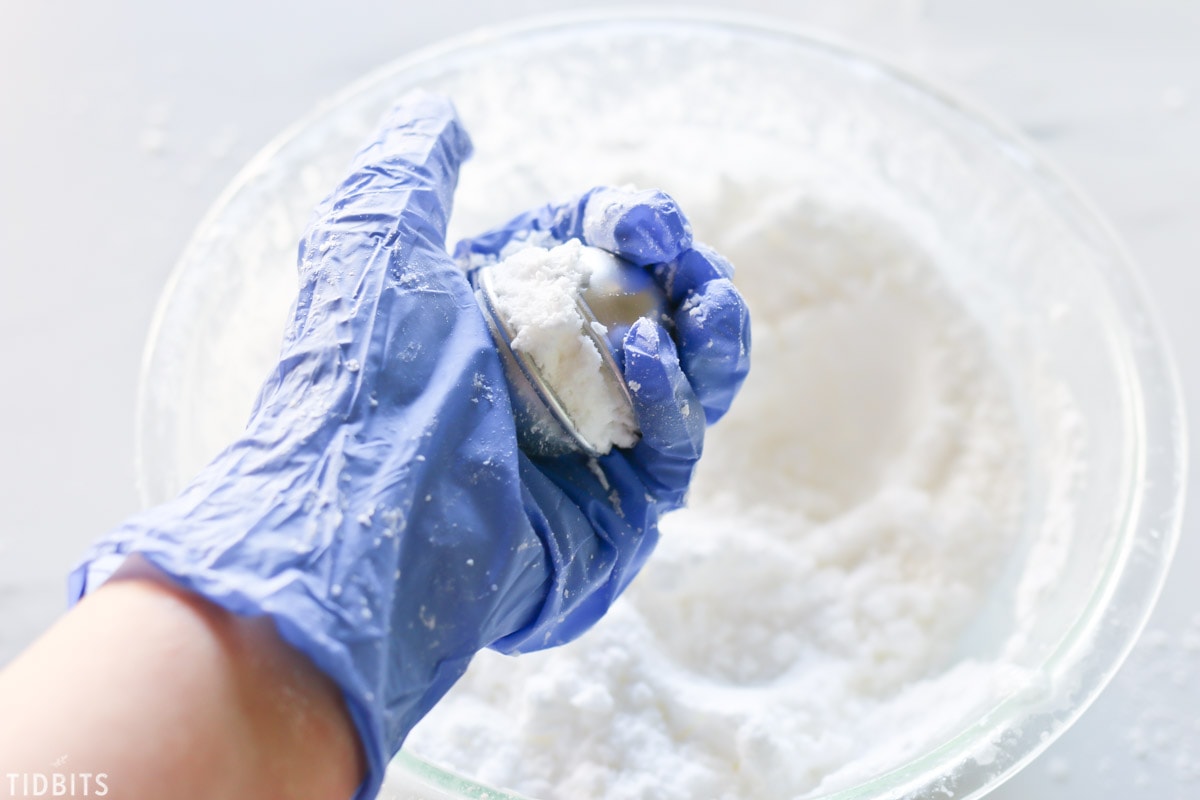
Below is an example of what it may look like when it IS ready. It will easily hold its shape when I release my squeeze.
Continue spritzing with water and mixing until you achieve the same results.
Once the mix is ready, prep your molds.
I’ve found they release from the mold much easier when I grease them slightly with my oil.
To shape your bombs, you’ll fill and press together two of the half molds until the middles meet.
I would have done this with two hands in the picture below if I wasn’t also taking the image.
Brush off the excess powder from the sides and promptly remove the top half of the mold.
It should look like this. If it separated, try molding again, making sure you have a sufficient pack.

VERY IMPORTANT!
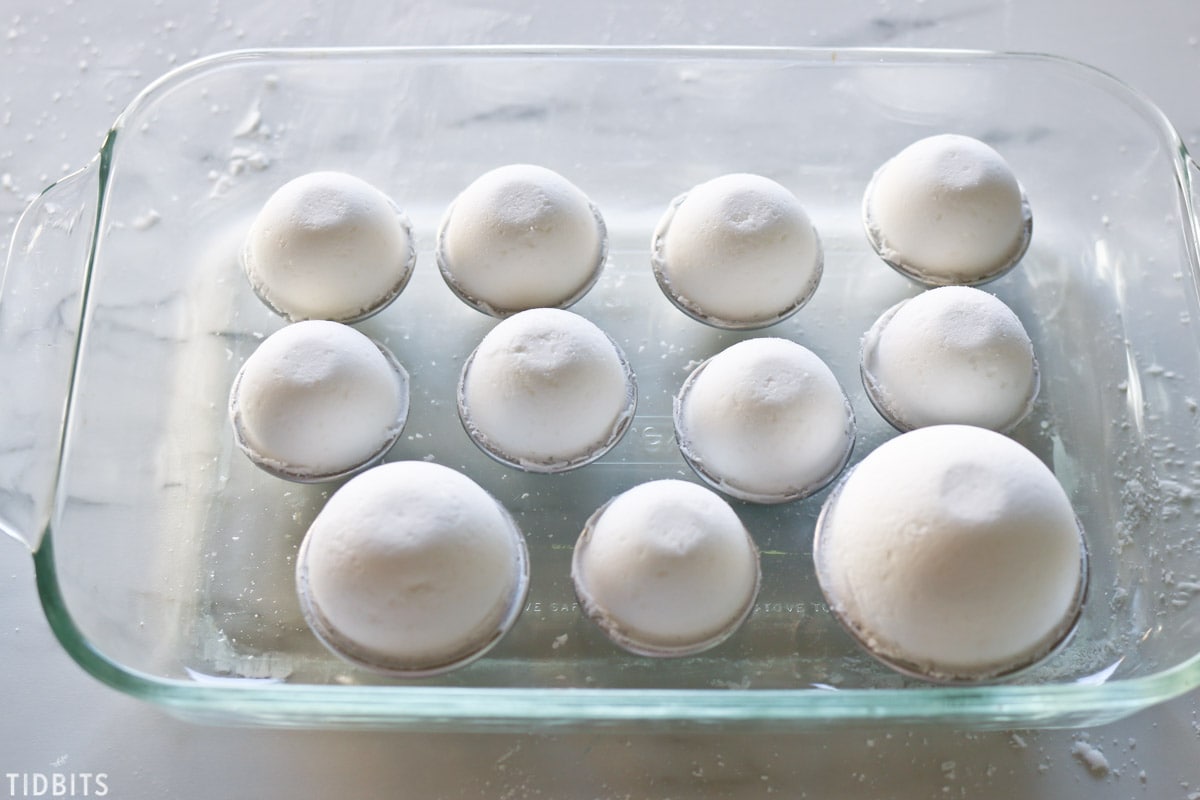
Set aside the bombs in a glass dish with half the mold still attached at this point.
Place them in a cool, dry place for 48 hours.
I’ve seen most people recommend 24 hours, but I had some crumbling after that time, but 48 hours gave me a solid rock of a bomb.
You can then remove the second half of the mold to reveal your cute little bath bomb.
You can then wrap and package your bombs for later or for gifting. From experience, they are better packaged individually. They can occasionally adhere and set together when stored together.
I hope you’ve enjoyed this post and please let me know if you give it a try! They are so fun to make, use and gift!
Looking for other naturally wonderful products to make? Try this Holiday Room Spray, Citrus Room Spray, or Milk and Honey Soap.
Be sure to PIN THIS POST and share it with your friends! Thank you!

DIY All Natural Bath Bombs
Ingredients
- 1 cup Baking Soda
Instructions
- Whisk together all the dry ingredients in a glass bowl, baking soda, citric acid, cornstarch, and epsom salt.
- Add the coconut oil and essential oils. Whisk together again until thoroughly combined.
- Spritz the water in a few spritzes at a time. Mix it together with your gloved hands. Continue to spritz and mix until the powder holds its shape after squeezed together.
- Pack both mold halves full and shape together in the center.
- Remove 1/2 of the mold and set aside the remainder to set.
- Wait 48 hours before removing the other half of the mold.
- Package and gift!


Cool ! It’s amazing tutorial. Thank You for sharing something great.
Aside from the Fragrance- are these safe
For dogs?
Hi. I left the bottom mold on like suggested and now all bath bombs are stuck in the molds. Any suggestions? Yes, I coated molds with coconut oil.
Thanks so much for the awesome, natural recipe! I was just wondering if these bath bombs fizz really well? Thank you.
How do I access the free labels? I have everything.
Cami-
I love your process and the ingredients chosen for your bath bombs. I’m going to pick up the rest of my ingredients today to get started with my first time making bath bombs.
I’d like to add some color to them, as well. What would you suggest? I’m considering Mica power.
Thank you. You’re the bomb!
Lisa
Hello, I have a Guick guestion in regard to Instant Pots. I want to buy one for mainly me but will cook for guests sometimes. I noticed there’s 7 in one and 9 in one in different sizes. So what one would you recommend. I also am not very techno savvy. Thank you for your help
Hello, I tried to make your bath bombs but they are growing in size soon after placing them to dry. What did I do wrong?
From what I’ve read, that is a too much water problem. Are you spraying the water on bits at a time? If there is too much it can activate the reaction too soon.
Cami, loving your Holiday DIY posts. I especially love the bath bomb idea. Could you suggest where I might find citric acid. Thank you and looking forward to more great posts.
I’m so glad to hear that! It’s readily available on Amazon, if you saw my links up there. Also, you might find it in the canning and food preservation aisles of the grocery store. Also seen it in kitchen specialty stores. Hope that helps!
Love this step by step tutorial!! Thank you, we buy lots of bath bombs around here, might as well start making them!!
Yes! Might as well! You’ll save a ton of money! I’m so glad you liked the tutorial!
Thanks Cami for the recipe! Nothing nicer than a relaxing soak! Enjoying your Homemade for the Holidays series. Hugs, Cecilia
Thank you Cecilia! And I hear ya, could use one right now! Glad you are enjoying it. It’s been really fun for me coming up with ideas.