
This post may contain affiliate links, which means I get a small percentage of the sale at no extra cost to you. I only recommend items I love and have had a positive experience with. Thank you!
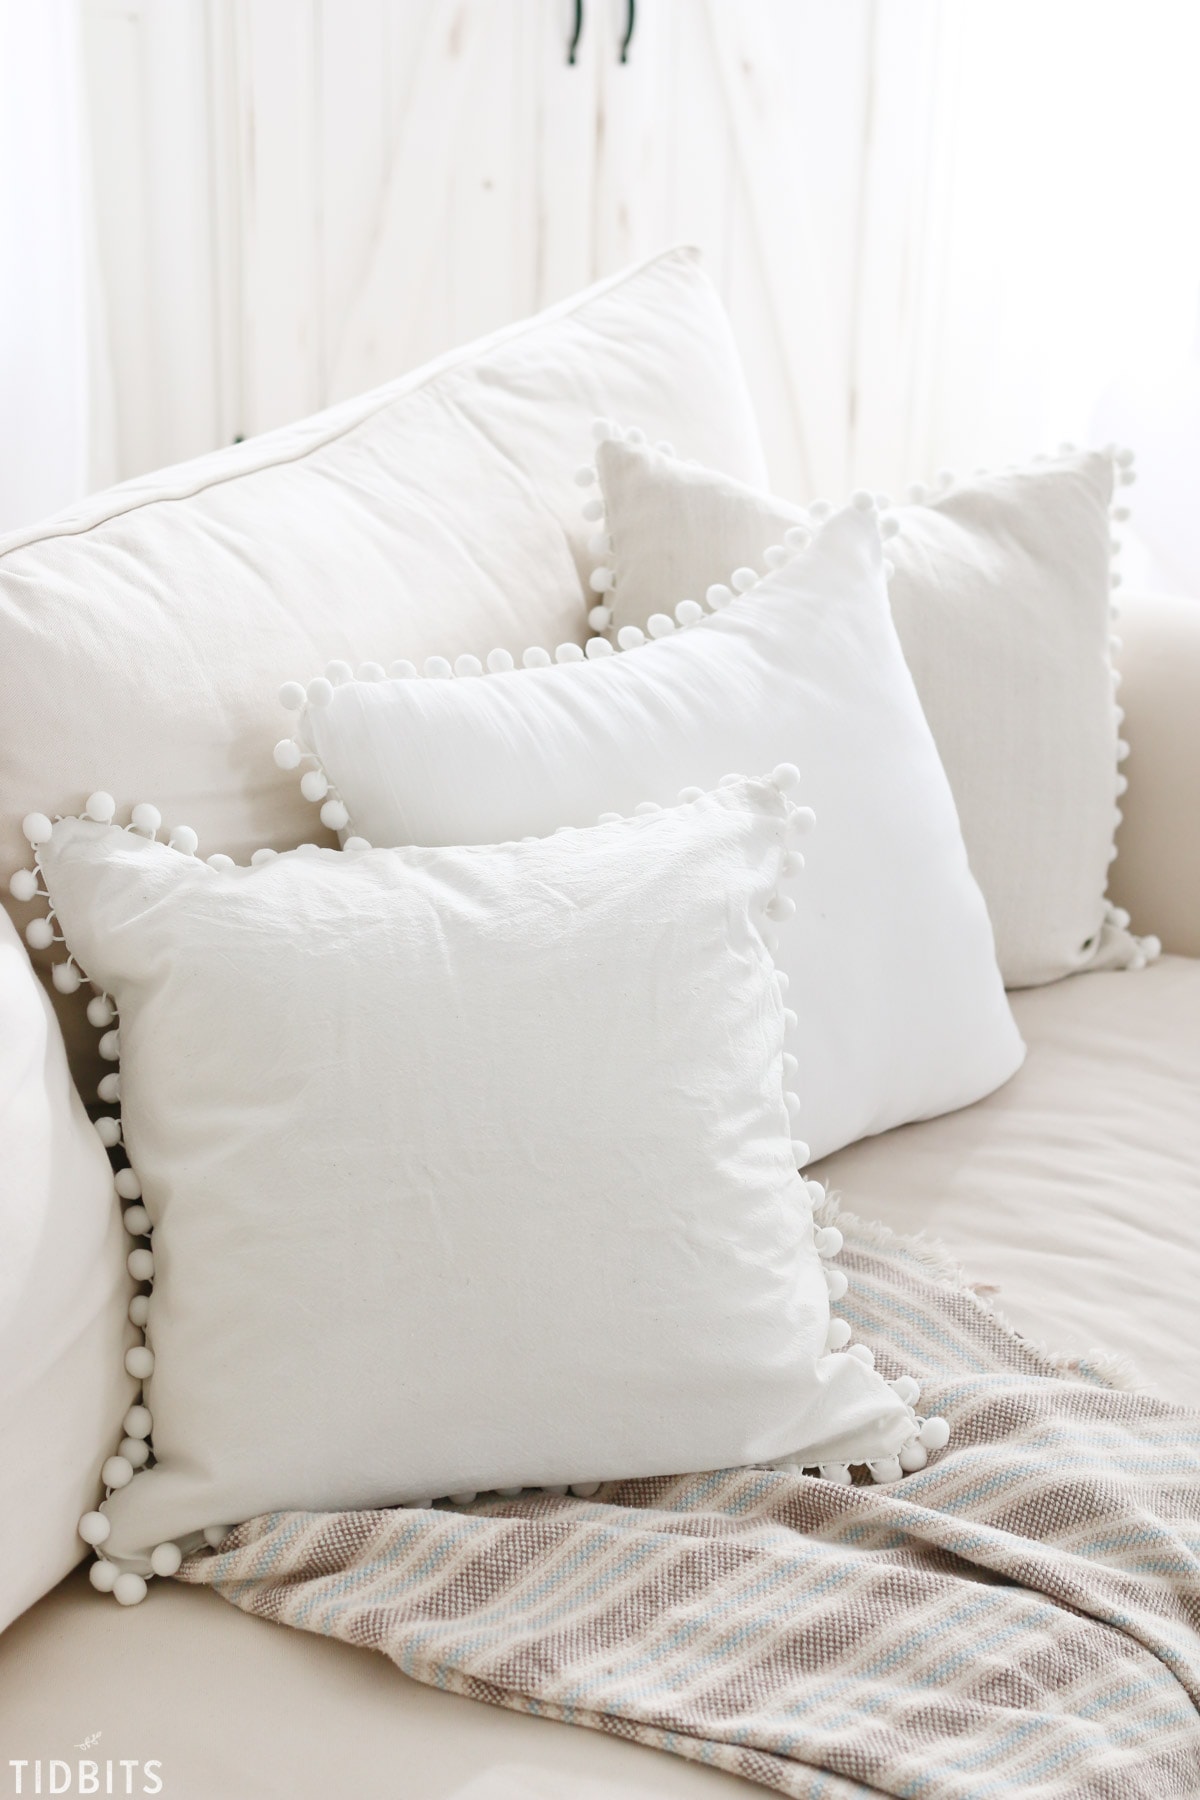
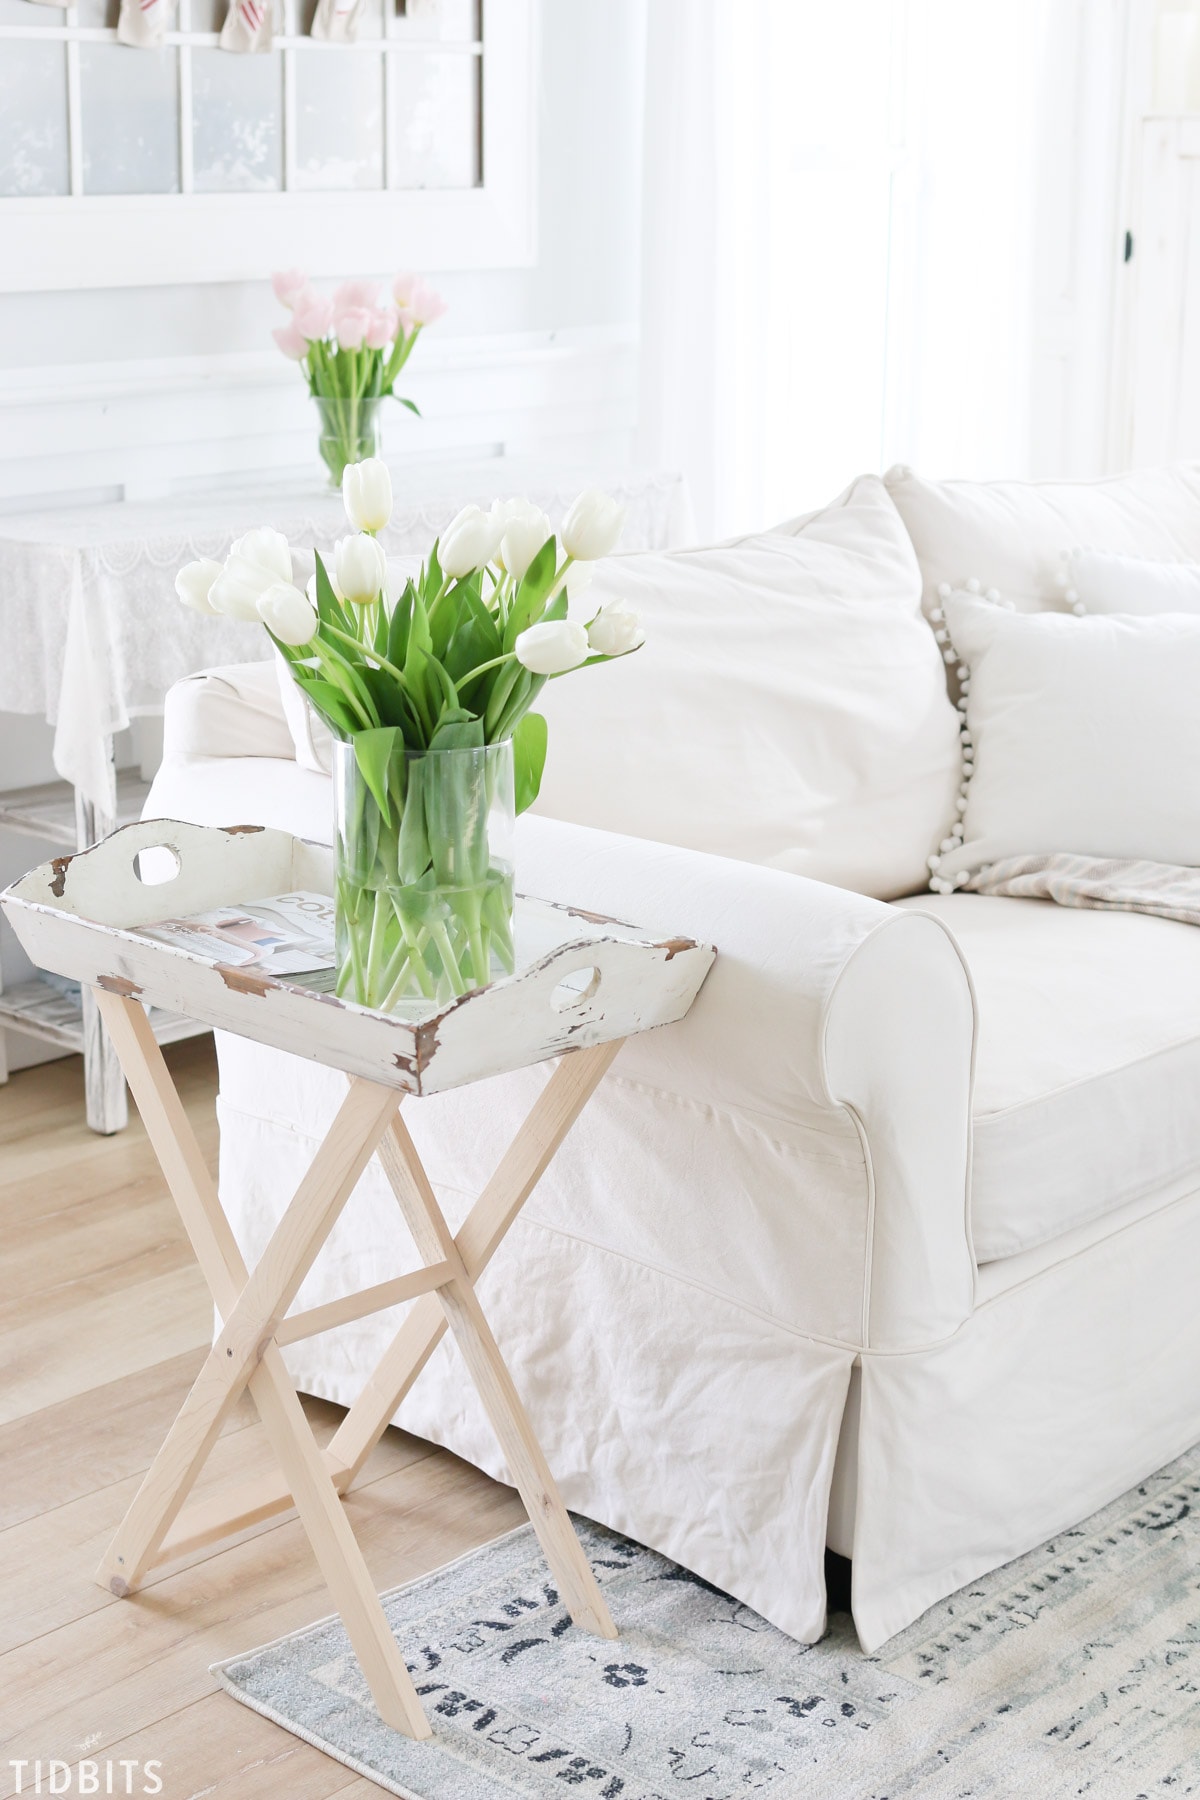
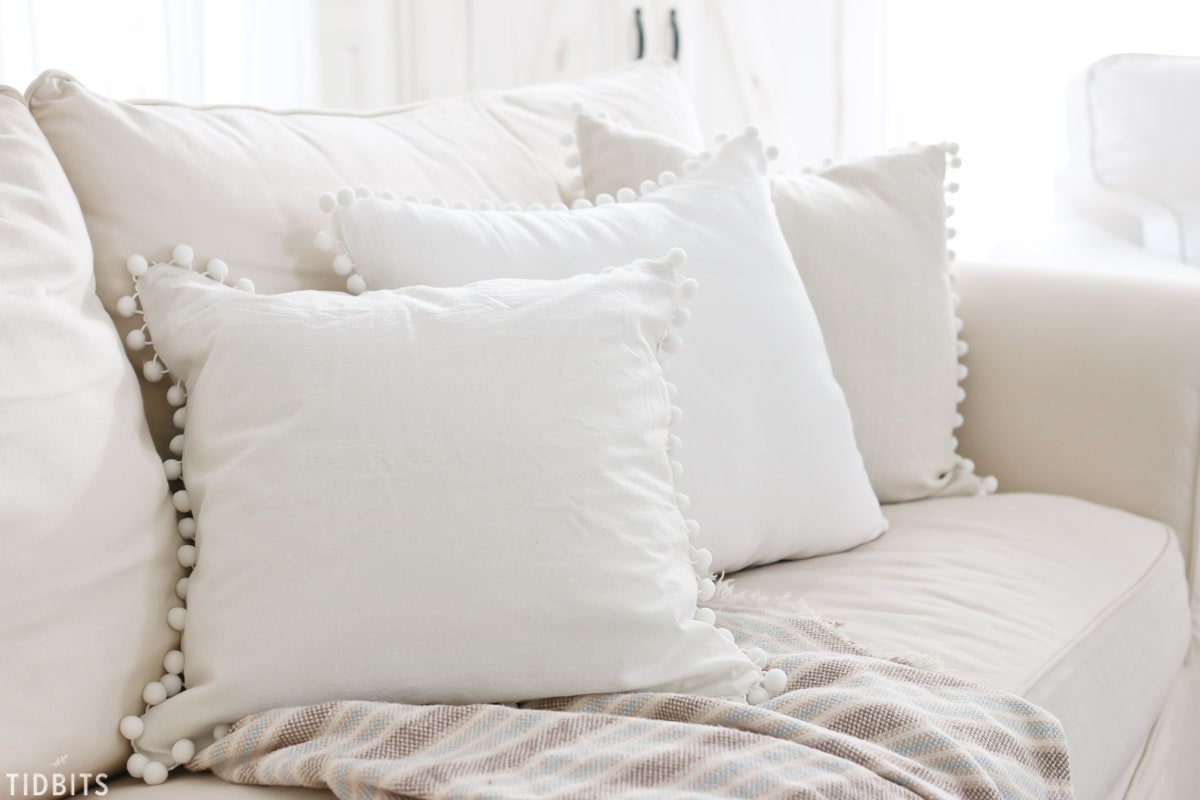
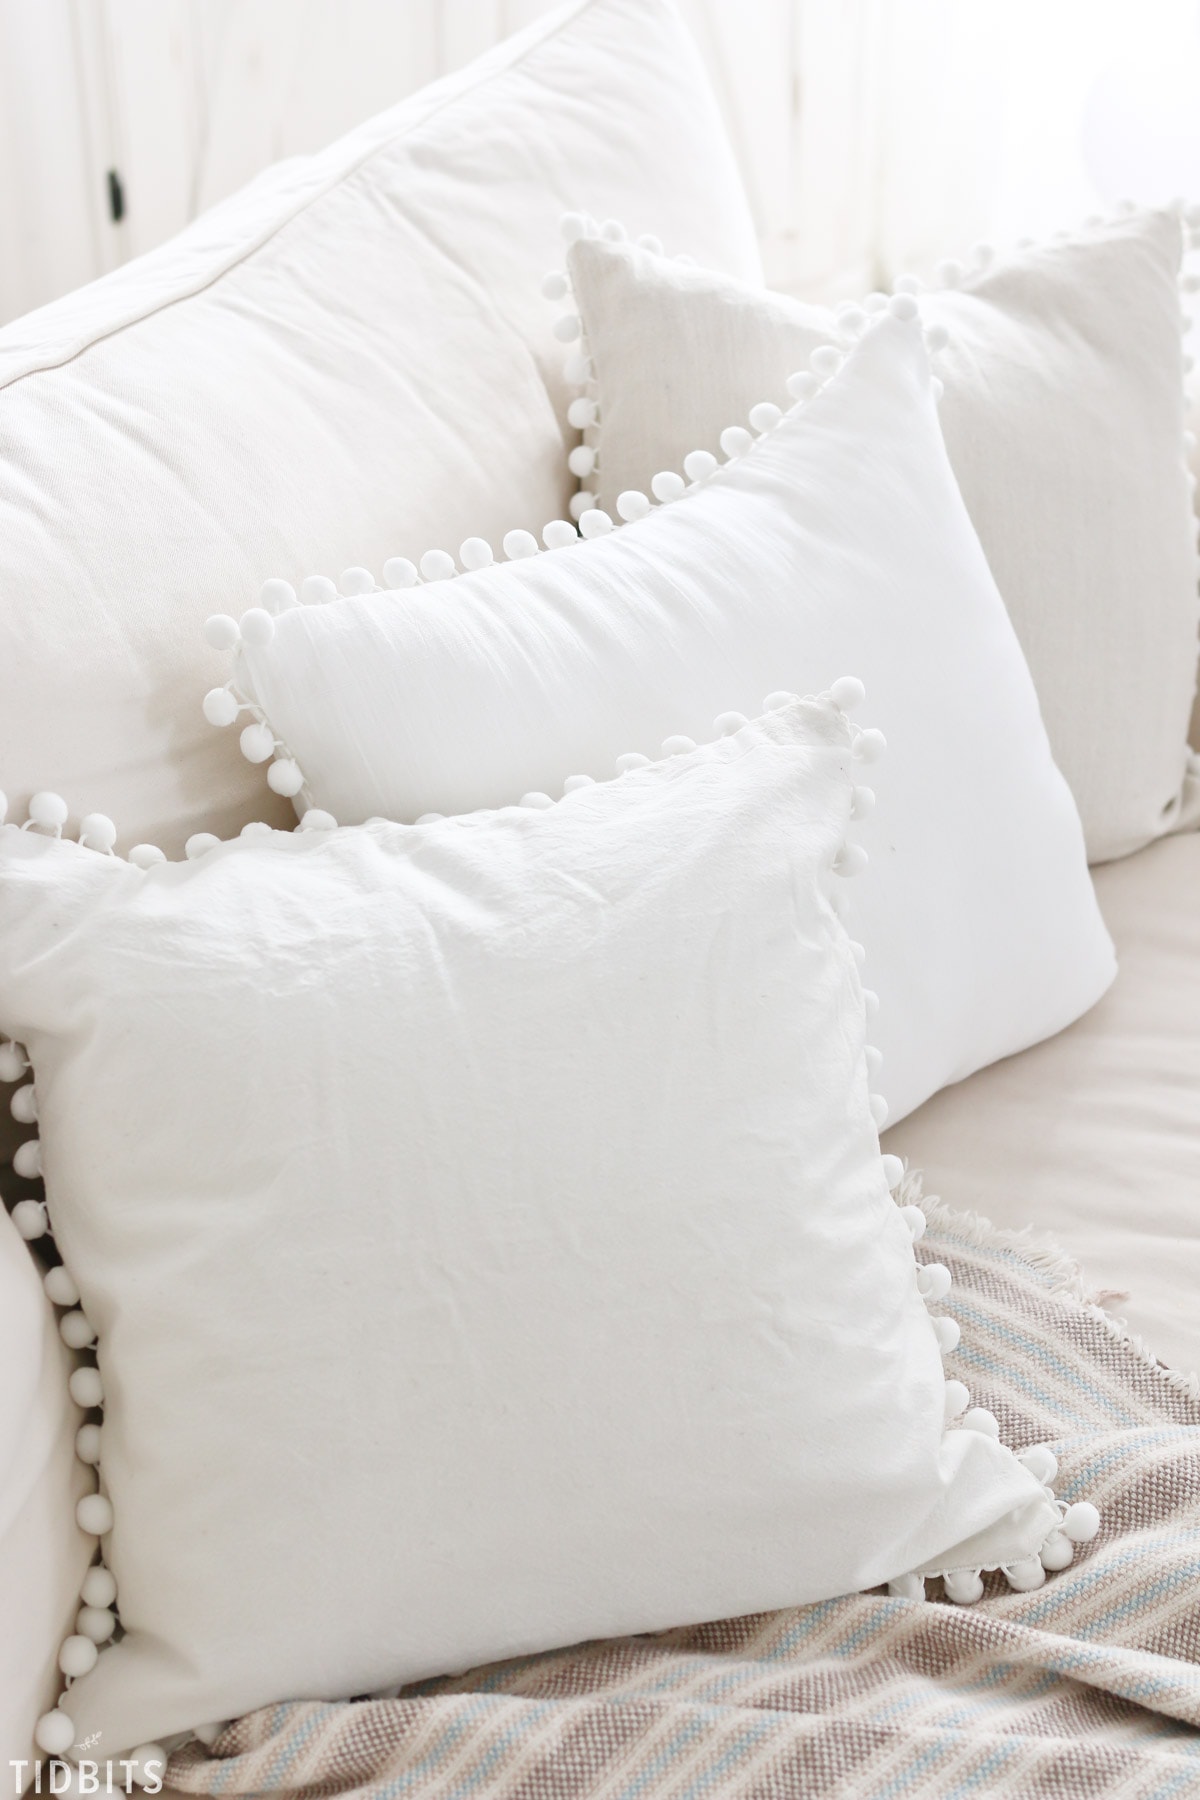
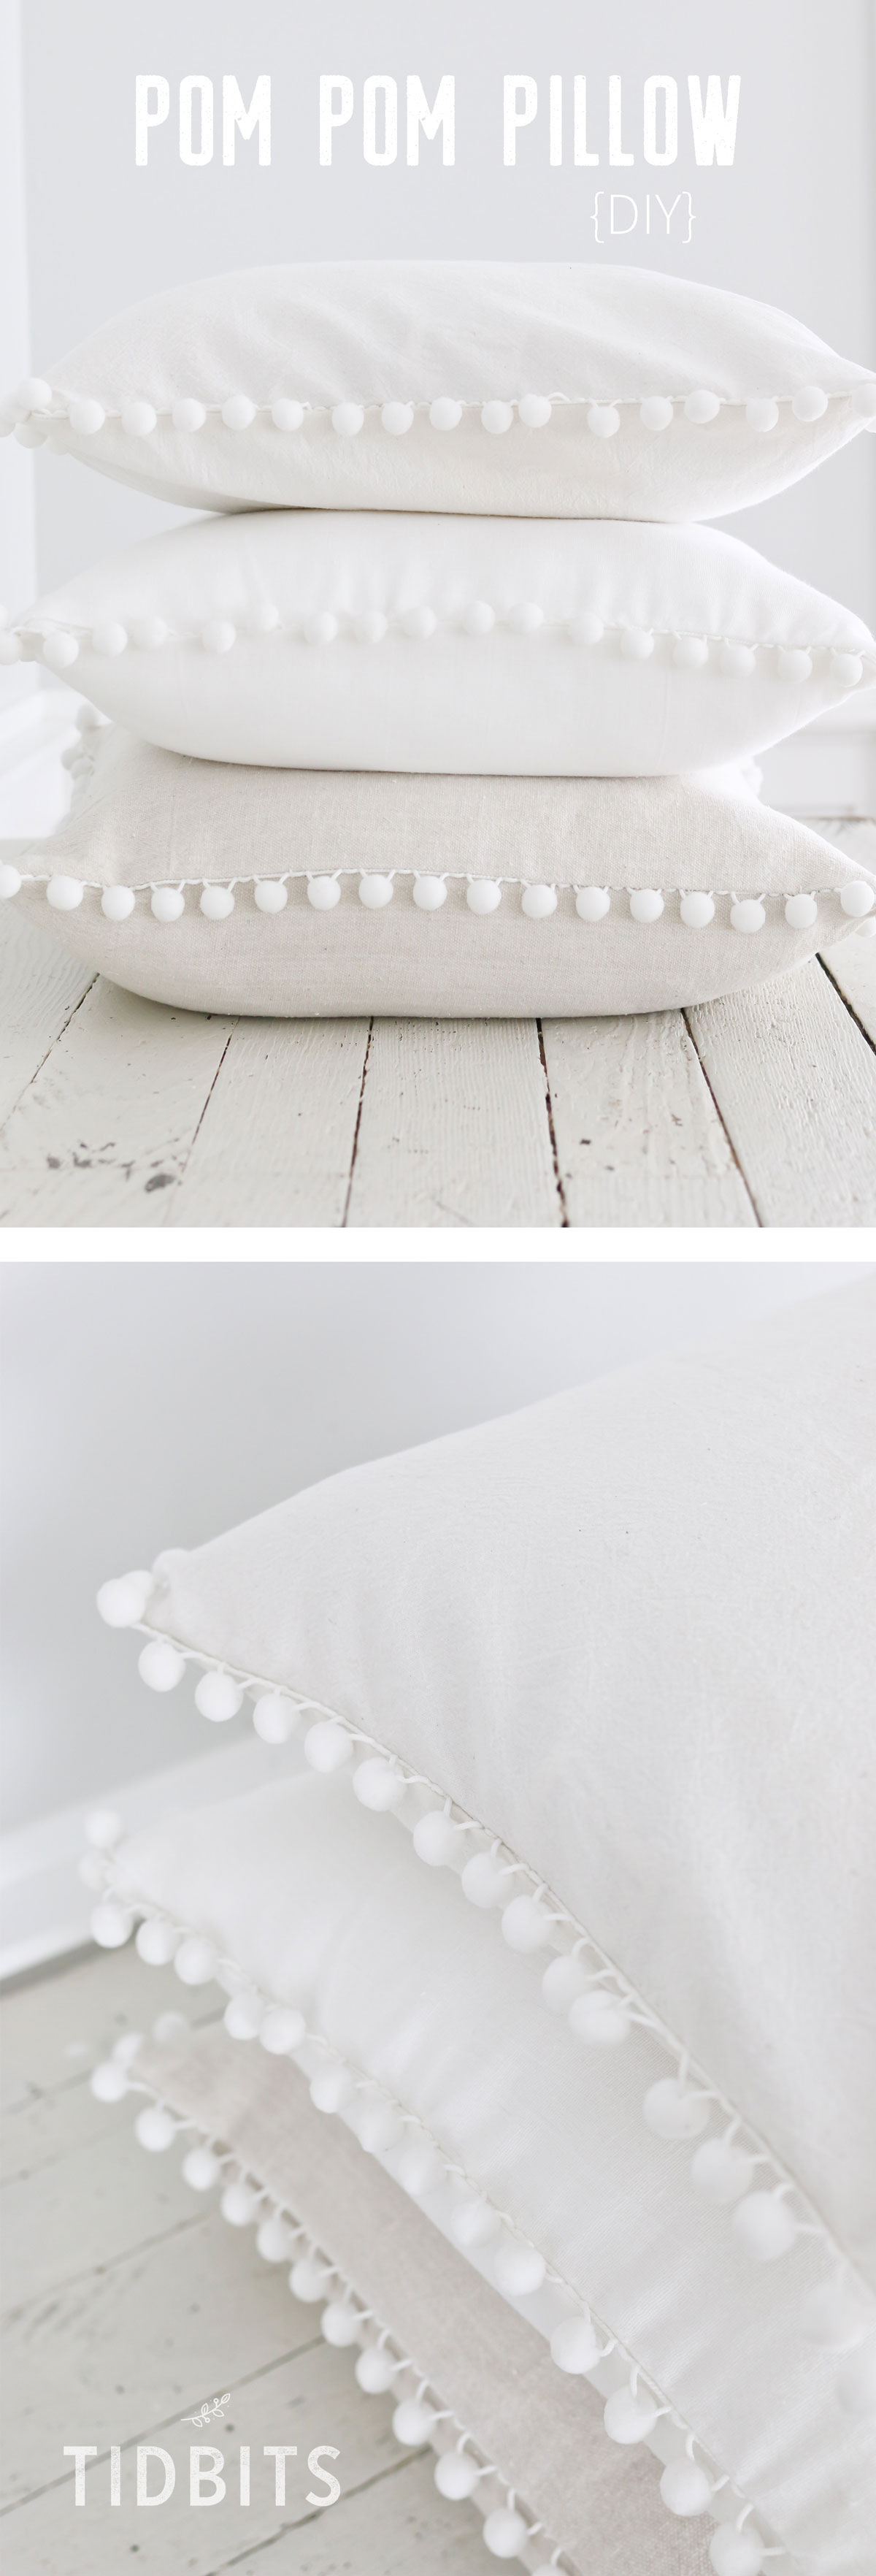
Meet my new favorite throw pillow – the DIY pom pom pillow – in soothing shades of white. If white is not your thing, get as colorful as you wish and let me show you how to make your very own pom pom pillow. . . or two . . . or three.
Did you all catch the glimpse of the pom pom pillow in my recent post on how to sew a lace throw blanket? Folks all over Instagram were dying to know where it came from.
And you know what? My favorite thing in the world to say to the “where did you buy that?” question is . . . “I made it! Tutorial on the blog!”
It’s not because I want the blog traffic. It’s not because I’m tooting my own horn.
It’s because I absolutely love to create, and even more so, I love to inspire others to create. Nothing beats that feeling of knowing that what you made is one of a kind, and can’t be bought in a store. You might be lucky enough to find similar items while shopping, but you’ll likely pay more for them. I want to empower others to create and customize, all over my little reach on the world wide web.
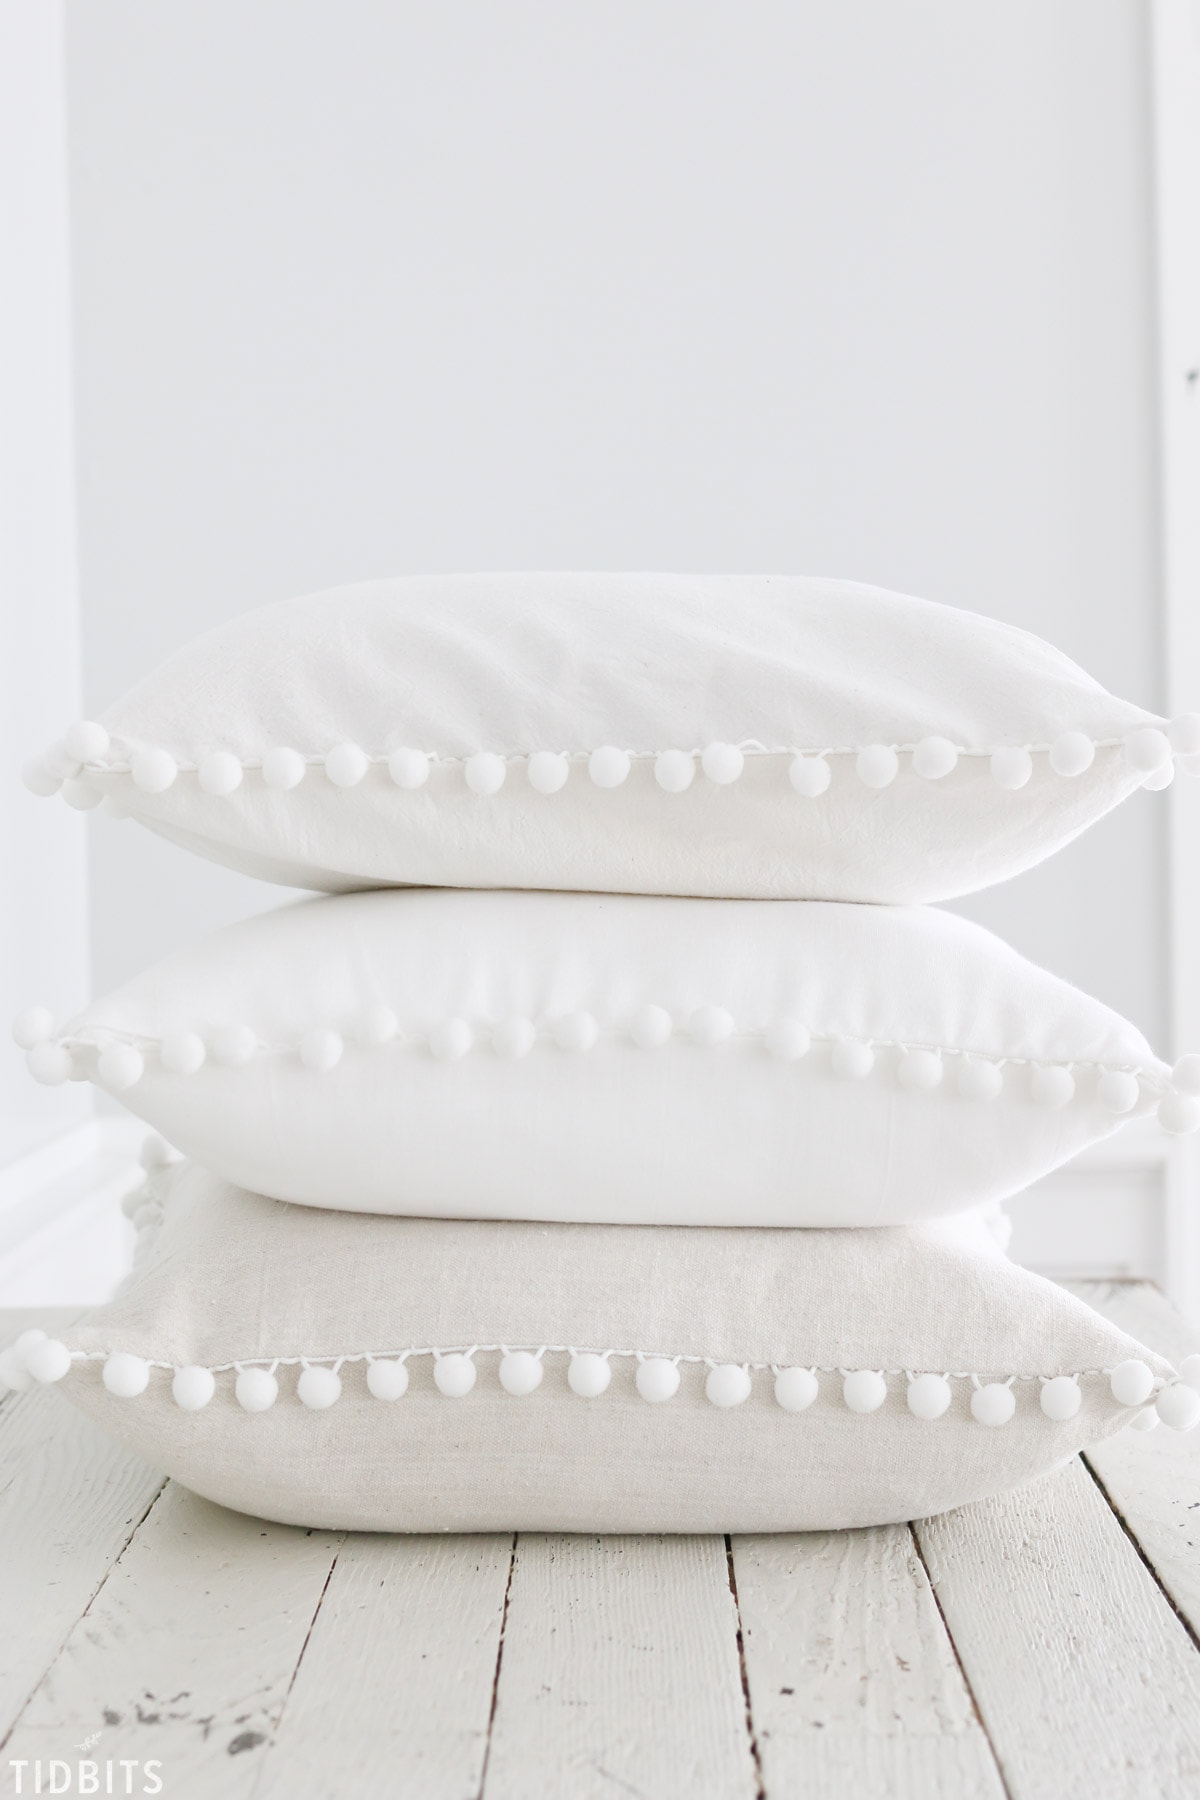
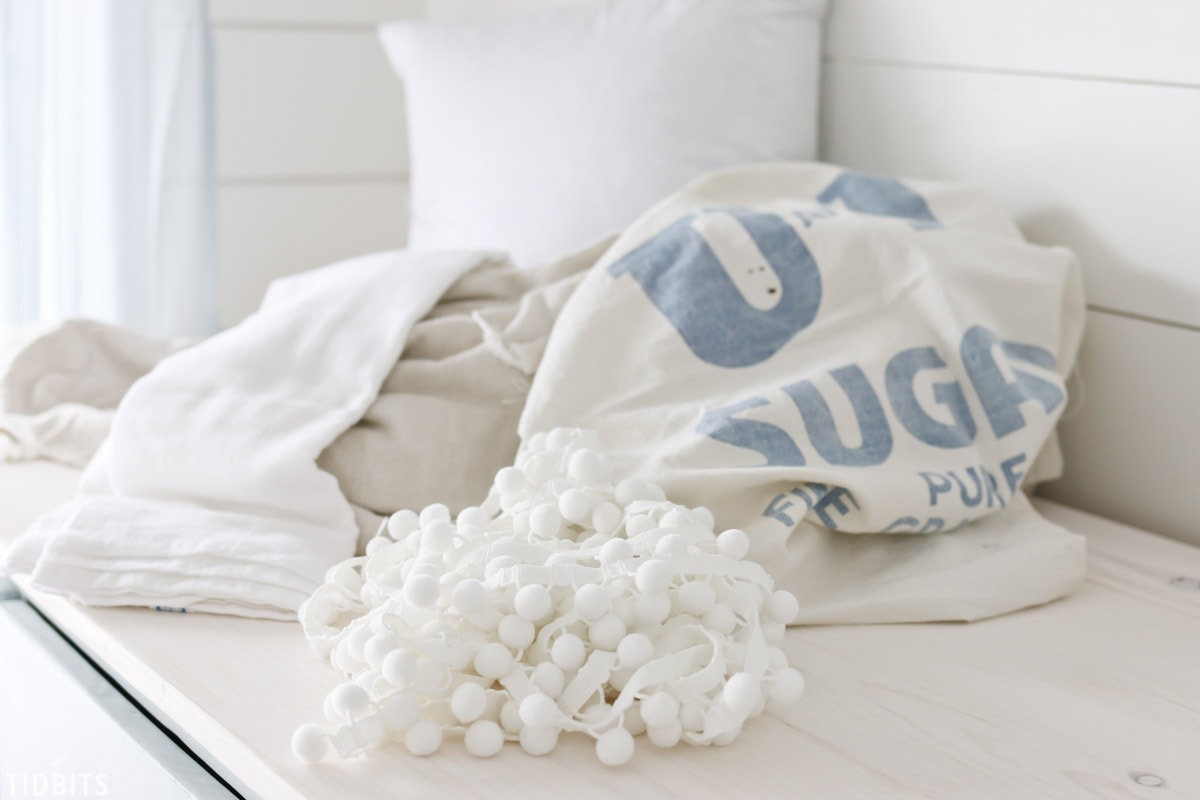
I had it stuck in my mind to make a pom pom pillow after I found some pom pom trim I’d bought on clearance years ago. Instead of heading to the fabric store, I checked my stash. #fabrichoarder
What I found was some bleached drop cloth (I have lots of that from other projects), some white tea towels, and an antique grain sack I’d bought at a flea market.
The lovely shades of white and oatmeal were screaming to be united, so 3 pom pom pillows I did sew.
(Found the throw blanket at a thrift store)

Sure, I could spend my days sewing lots and lots more and selling them online . . . but what real pleasure would that give you?
Perhaps a little, but I’d likely rip my hair out making the same thing over and over again.
Which is why I share tutorials, whenever I possibly can.
If you like it, love it, gotta have it – let me show you how to make it! This pom pom pillow is a great beginner – intermediate sewing project, and can be finished up in a couple hours.
It’s the perfect indoor project while your are patiently waiting for Spring to reveal itself.

So first check your stash of linens and see if there is anything you could cut up. Then head to the fabric store for the rest of the supplies you will need.
VIDEO TUTORIAL below, for the visual learners. All steps are explained in detail below.
Let’s get started!
*Note: This tutorial will show you how to make an envelope style closure in the back. I didn’t want a zipper to interfere with the pom poms.
SUPPLIES:
- Pillow Form
- Any size you desire or have
- Fabric
- Upcycled or fabric by the yard. 1 yard should do you just fine, unless your pillow form is HUGE!
- Pom Pom trim
- Measure your pillow form around all 4 sides, and add 5 inches for good measure.
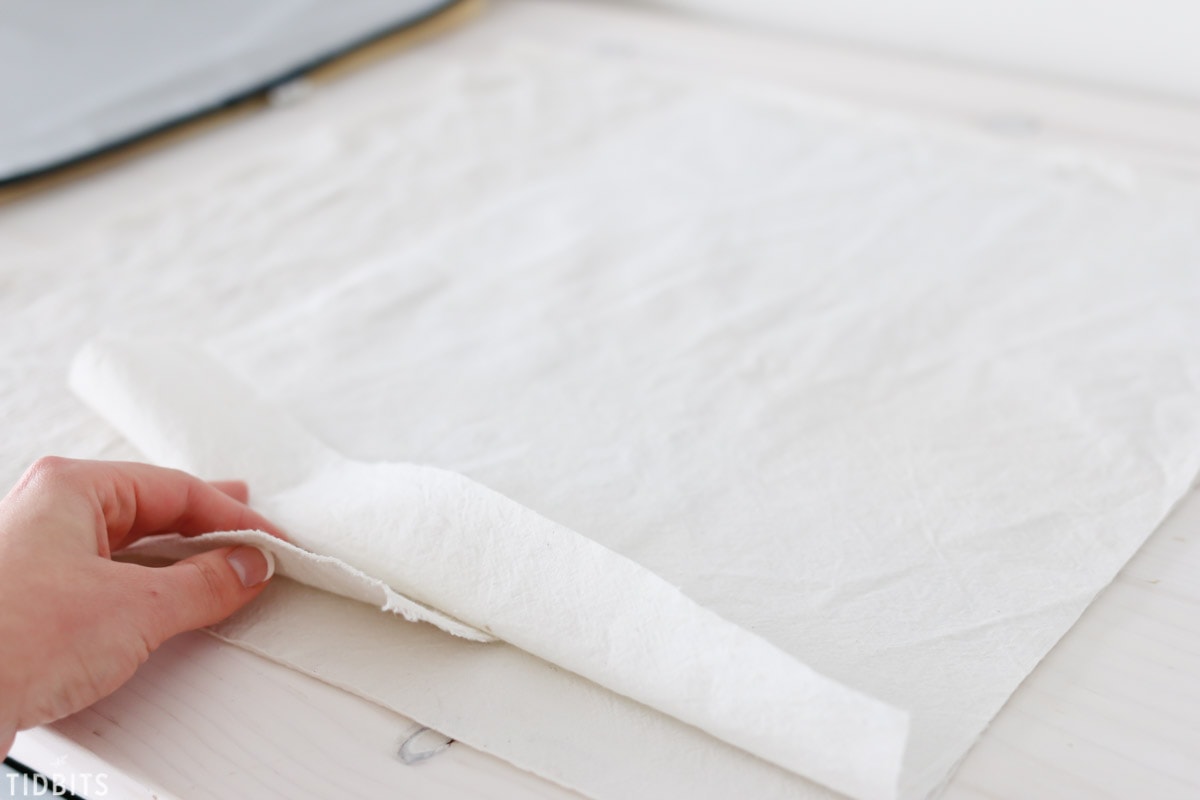
I have found a better fit when I can fit my fabric right to the pillow, rather than measure and cut. Lay your fabric right over your pillow form.
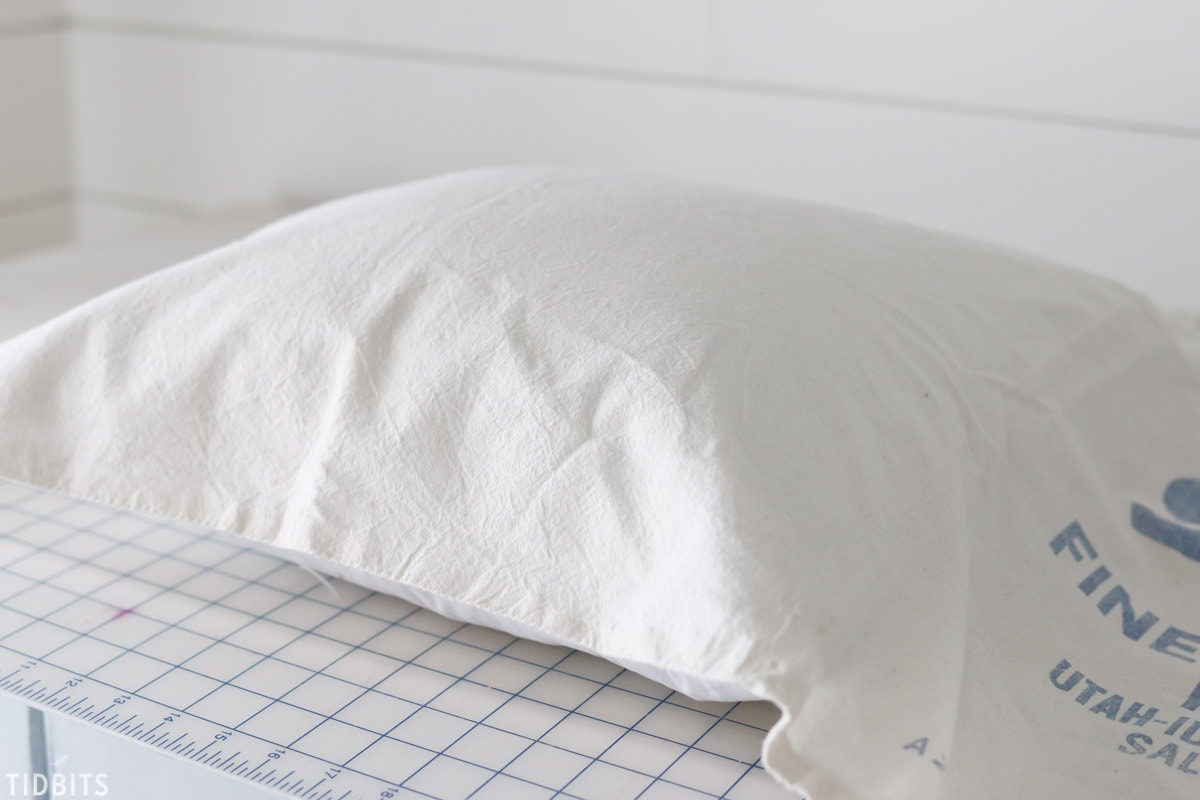
Make a small snip where you need to cut. I figure this out by placing my fingers where the side seam of the pillow is and adding about 1/2 inch for the seam allowance.
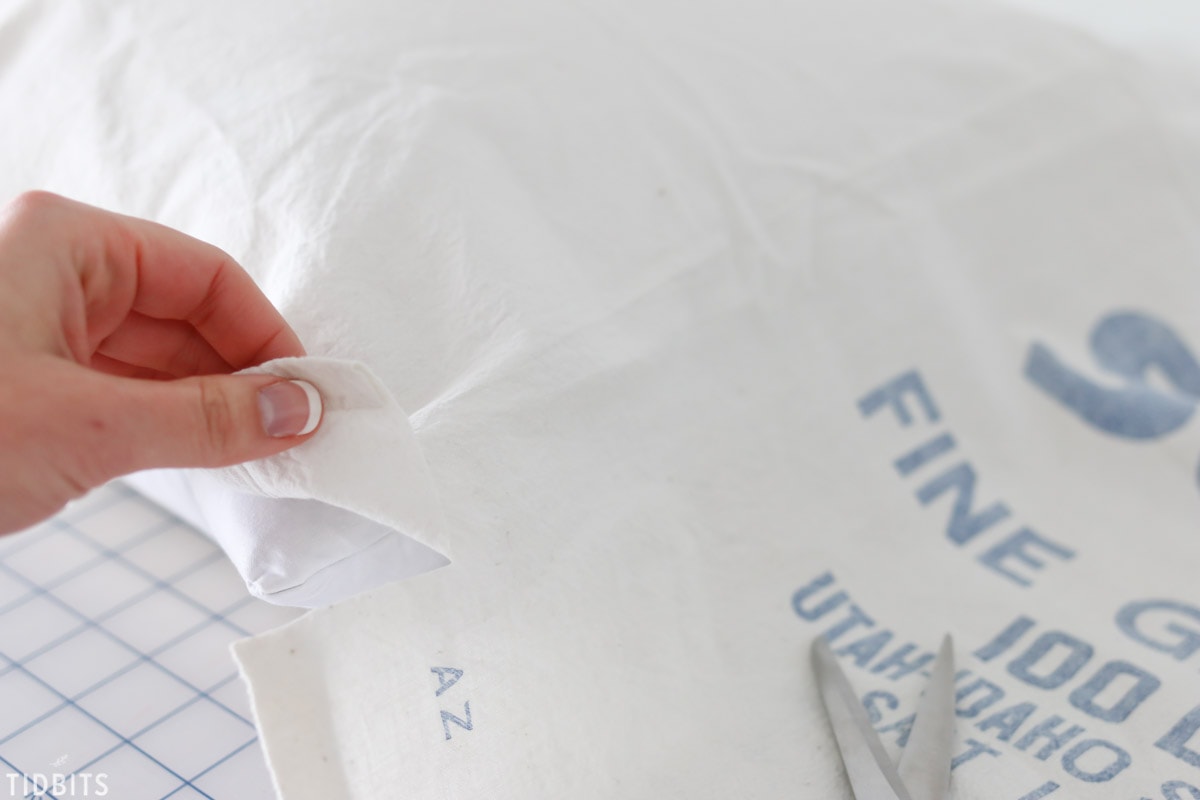
Then remove your pillow form and make a straight cut. Do this for all sides that need to be cut out.
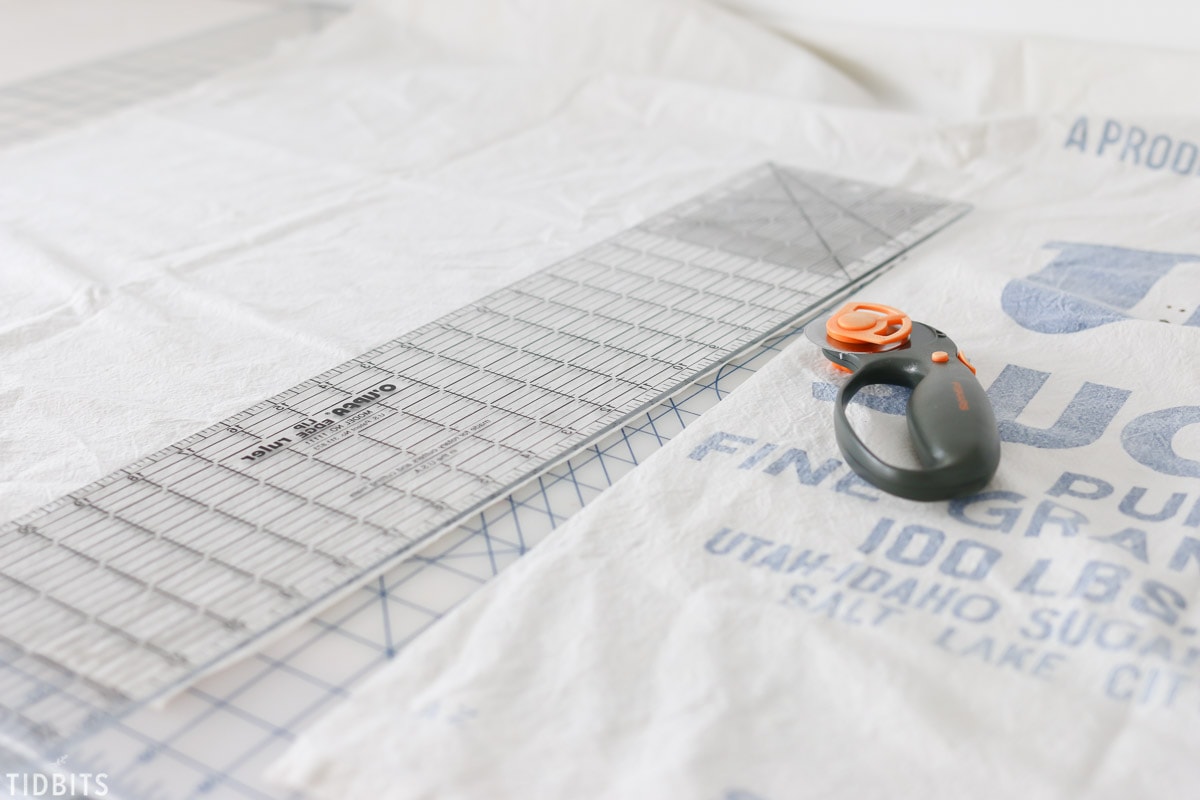
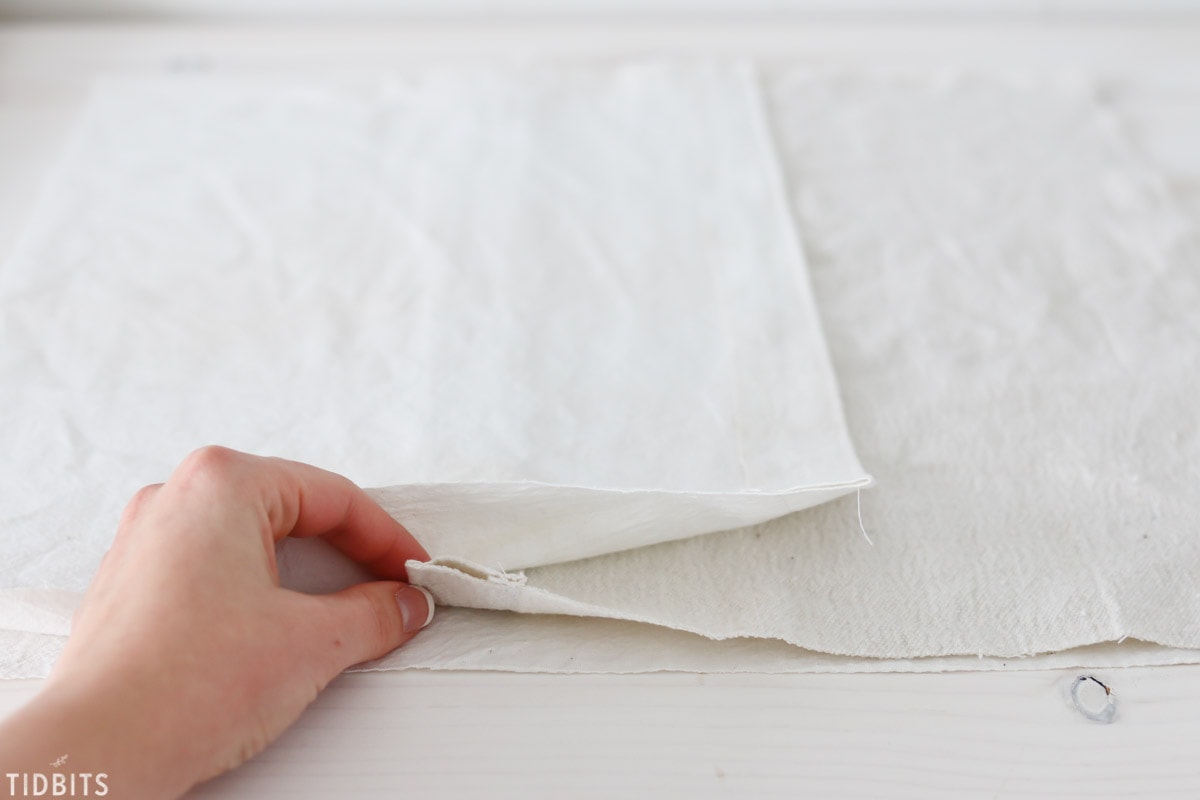
Once you have that front piece cut, you can cut the back panels, which will be the same length as the sides, but only approximately 3/4 the width of the pillow. Cut two pieces for the envelope back closure.
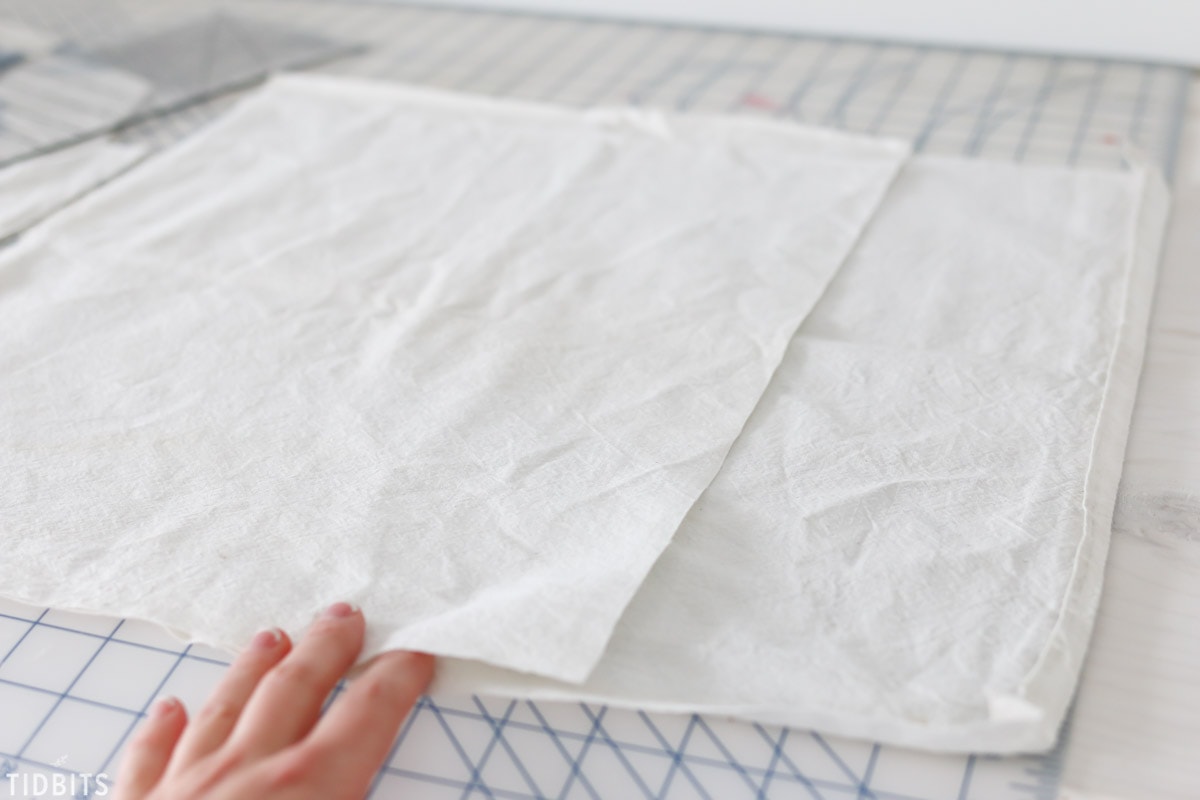
You can see here in the picture below how they stack together on top of the main front piece.
You’ll want to hem or finish off the opening of the envelope closure, which I like to do by pressing the hem down first, wrong sides together. I like a good wide 1 inch hem here.
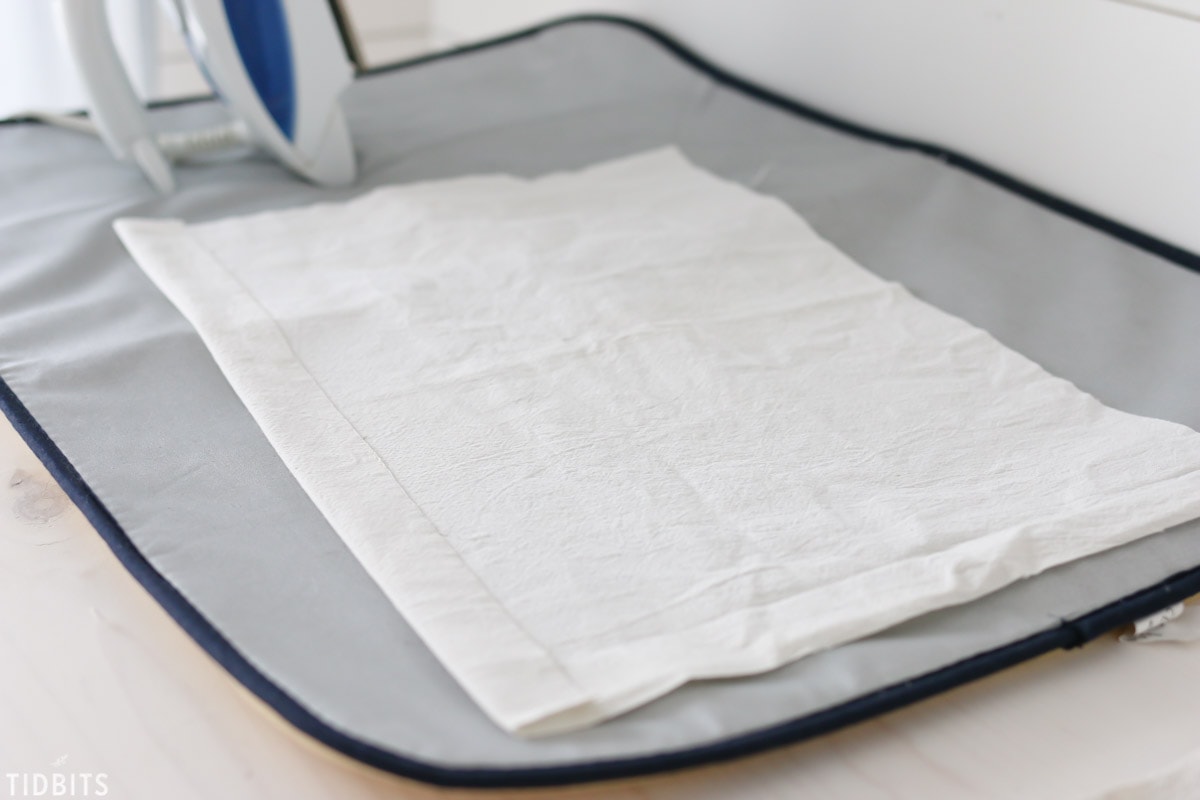
Then topstitch that down with two running stitches. For the best looking stitches, work on the right side of this panel piece.
Create this pretty hem for both panel pieces.

You can see here how they will now be sewn up together. But first – the pom poms.
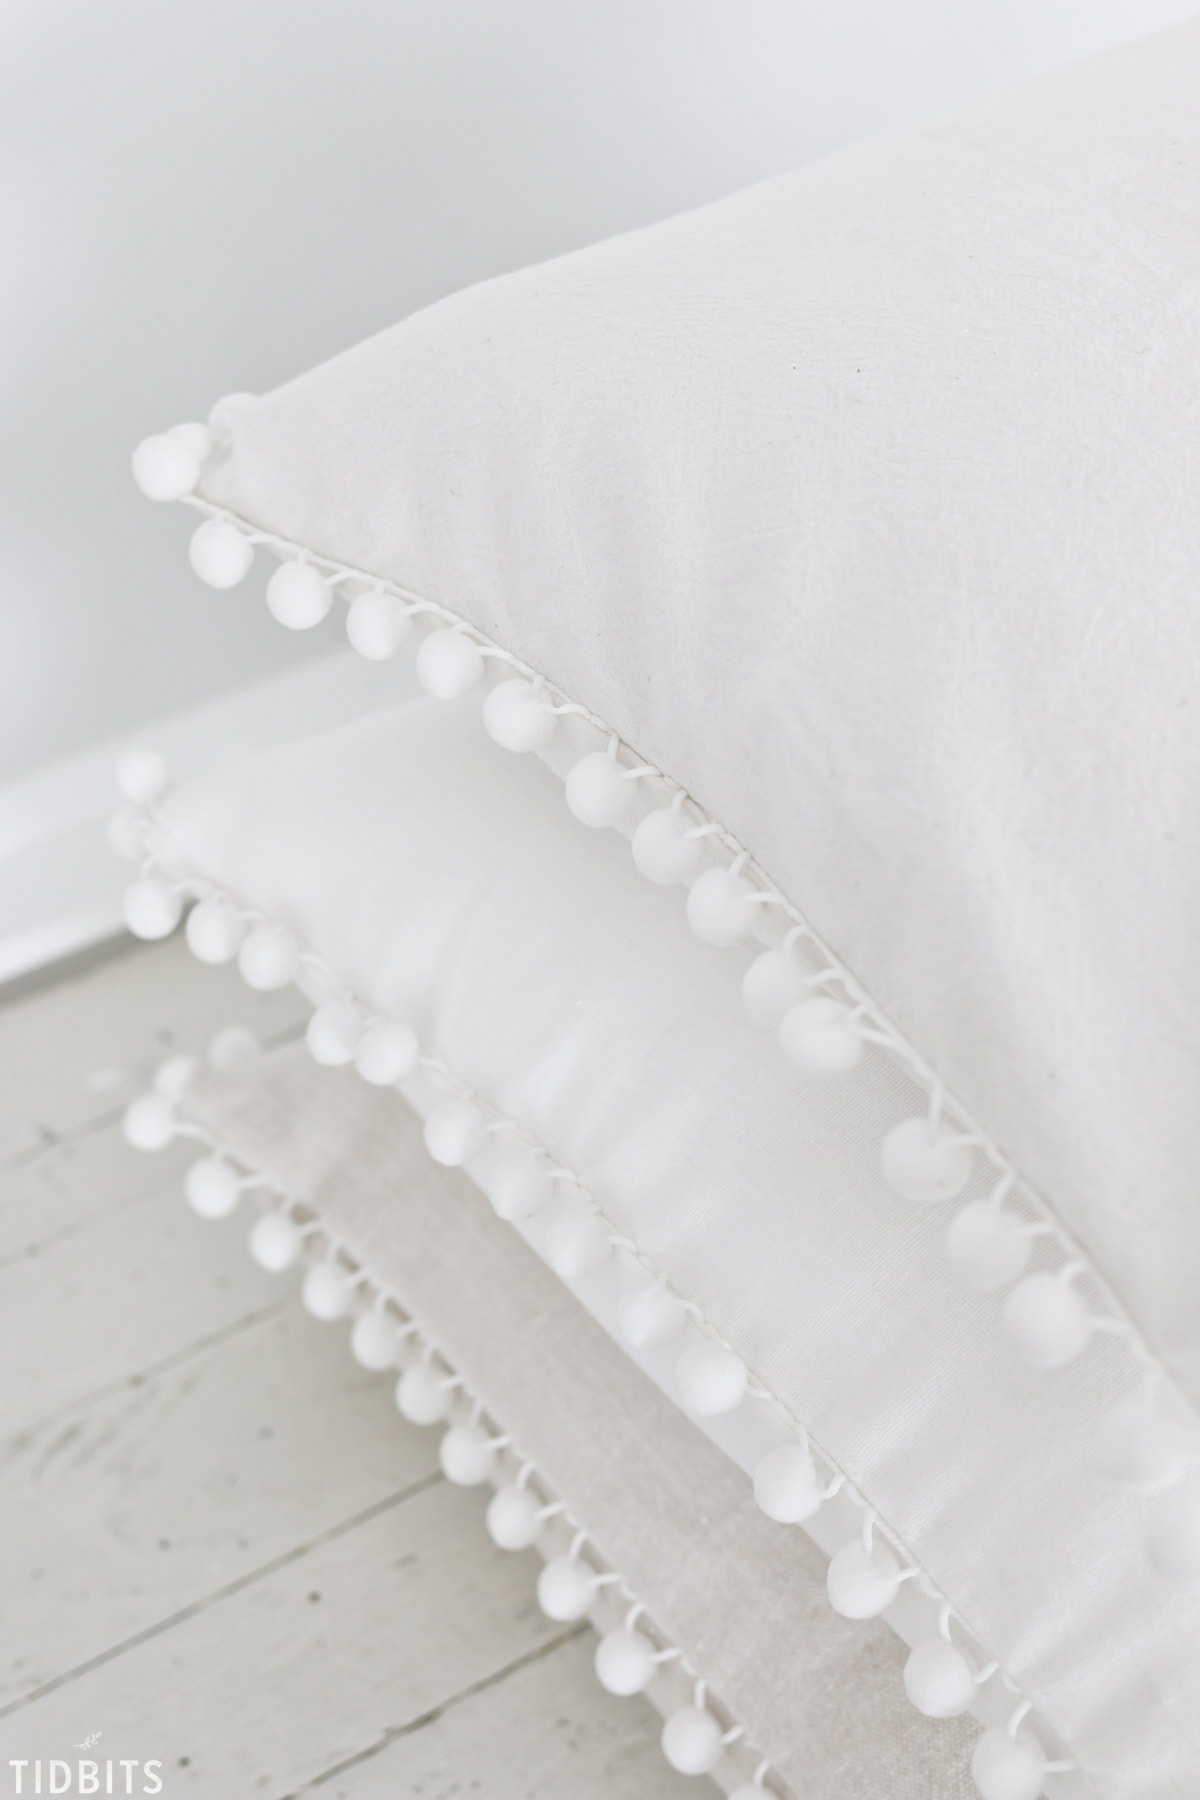
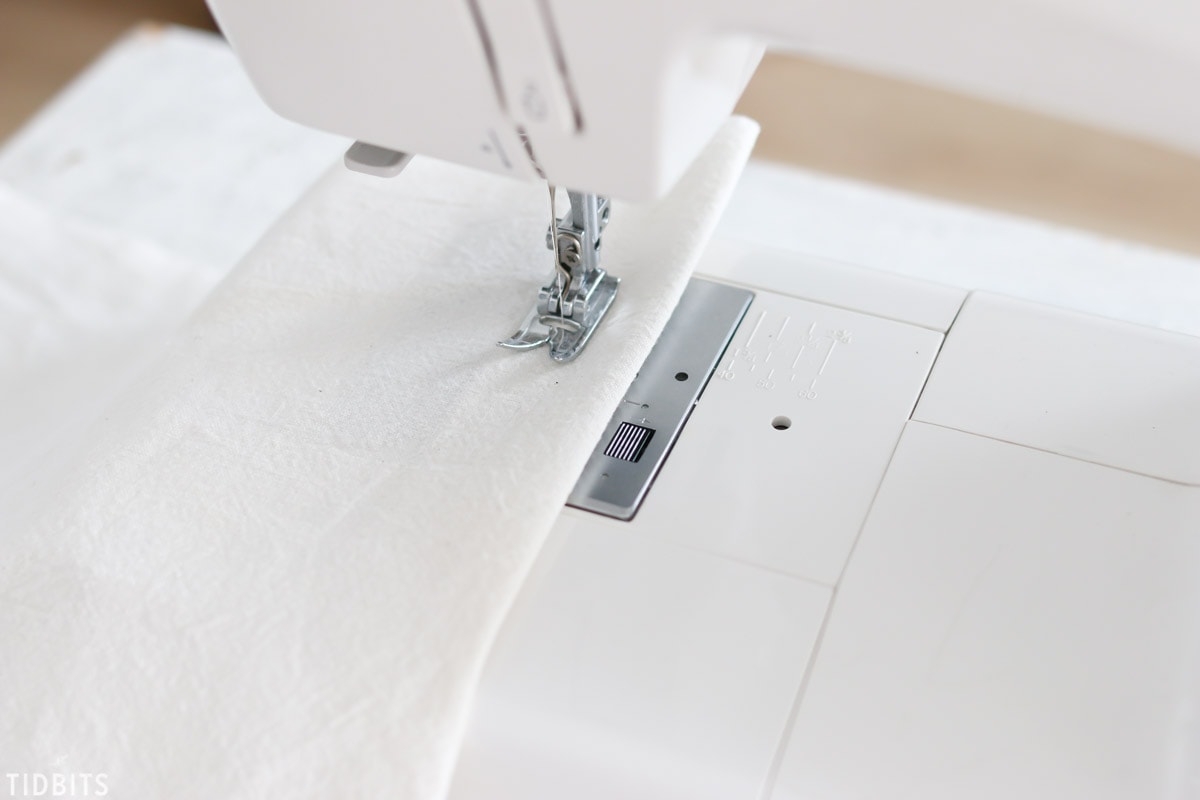
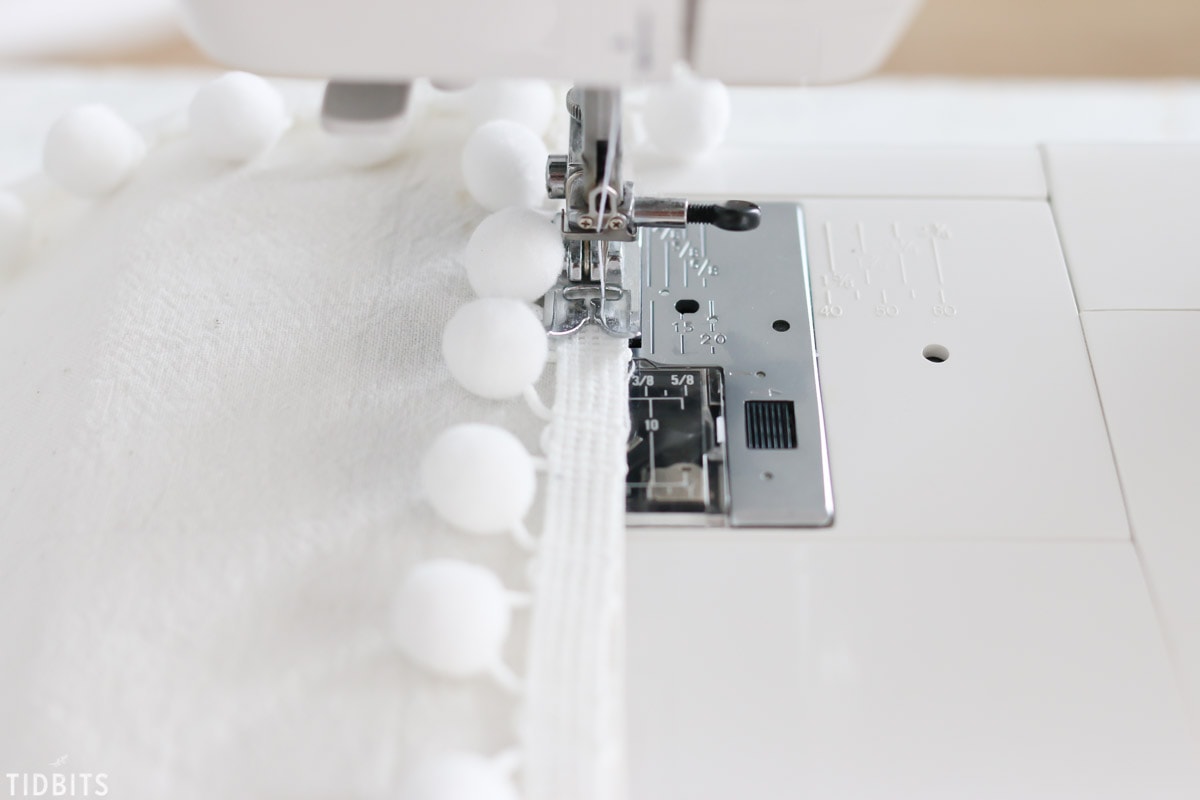
Working with the front piece only, lay it down wrong side against the table surface. Begin pinning the pom pom trim, right sides together, on the edges of the front pillow piece. Carefully overlap the corners with new cut pieces of pom pom, rather than trying to bend and curve the pom pom.

Sew the pom pom with as small of a seam allowance as possible. I had the edge right up against the right edge of my presser foot, and moved my needle all the way to the right.
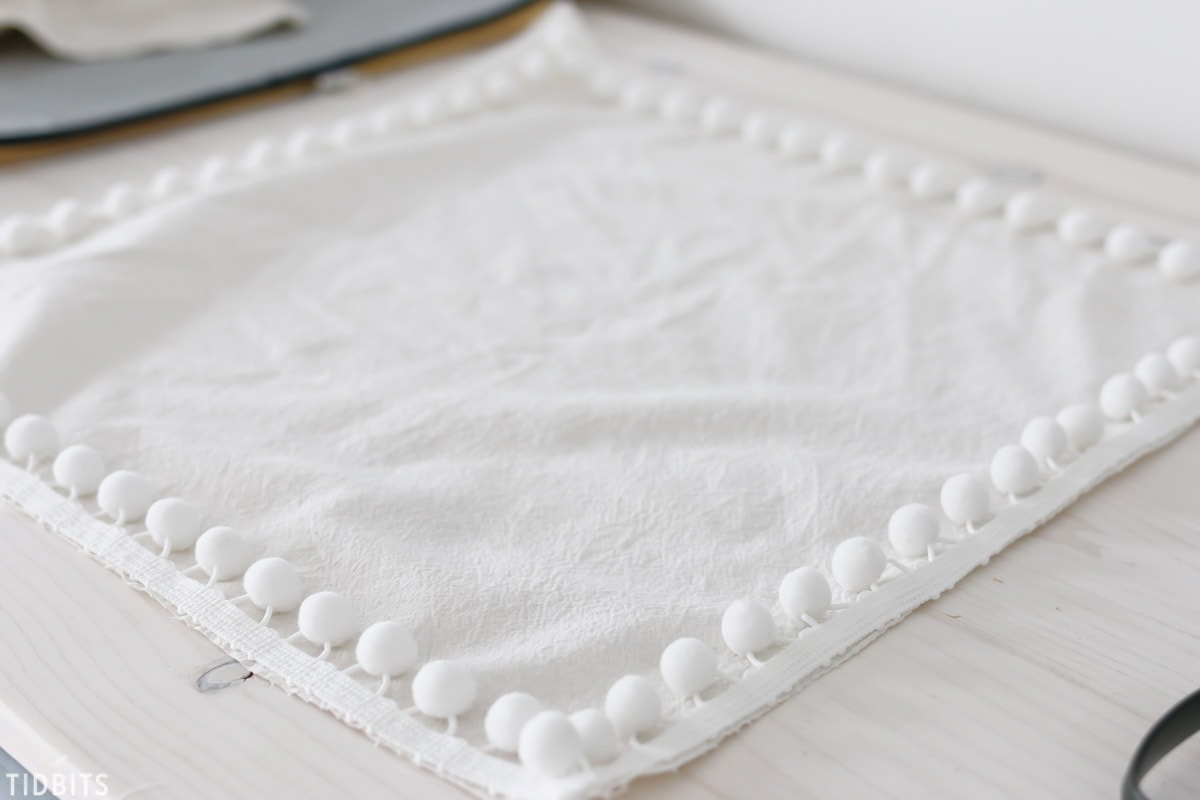
Once all the pom pom is stitched in place, lay the front piece wrong side on the surface
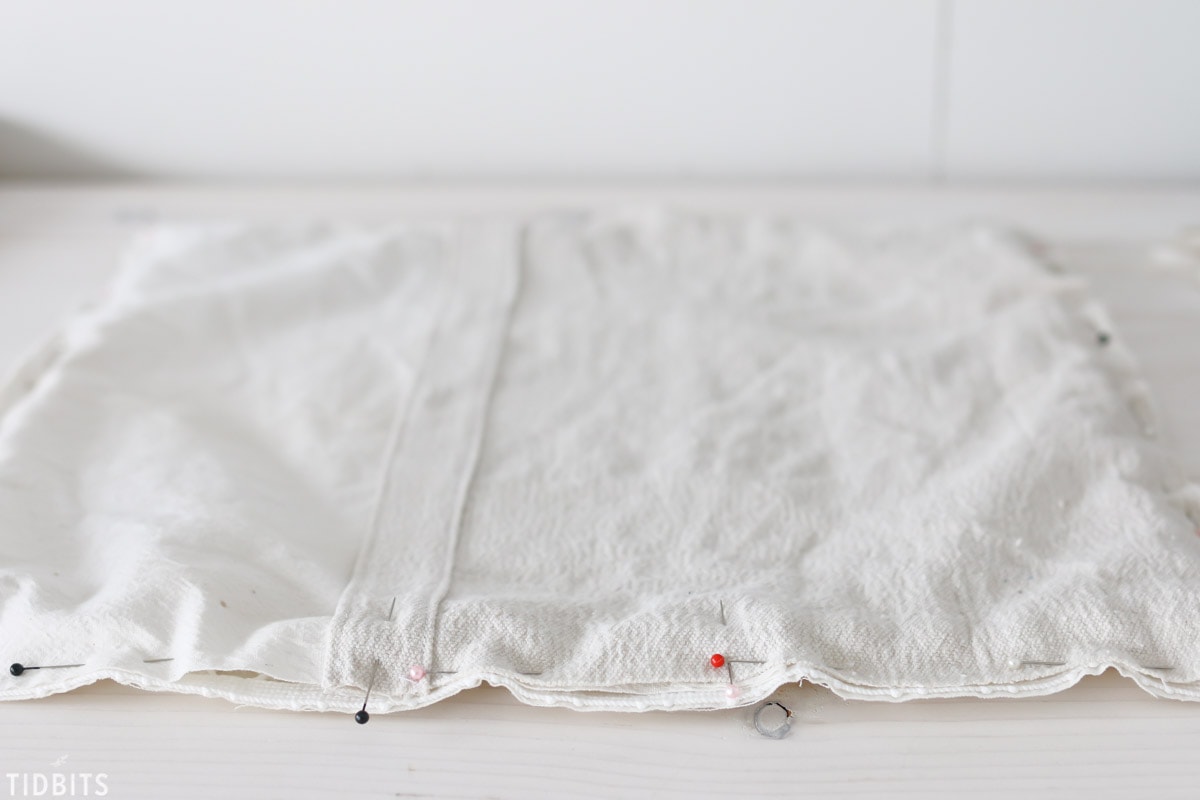
Pin your two back panels together, so they fit the same dimensions as the front piece. I like to pin that overlap securely together.
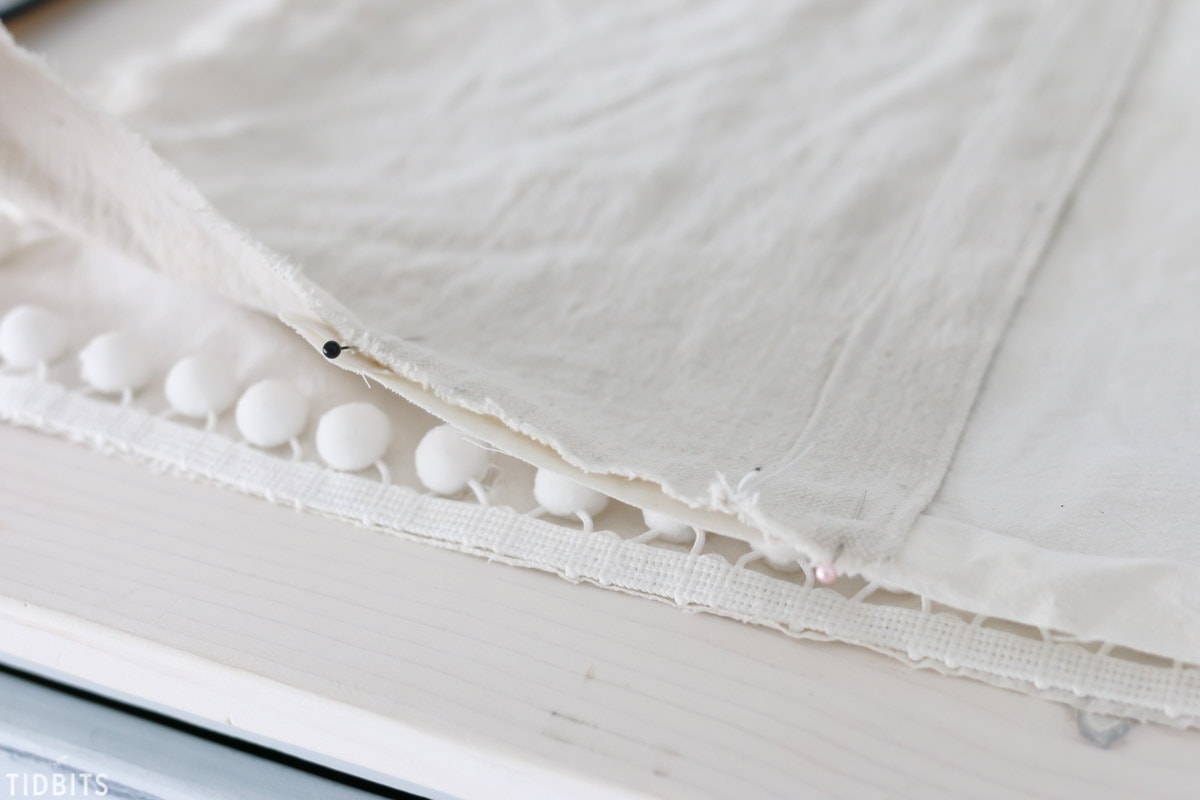
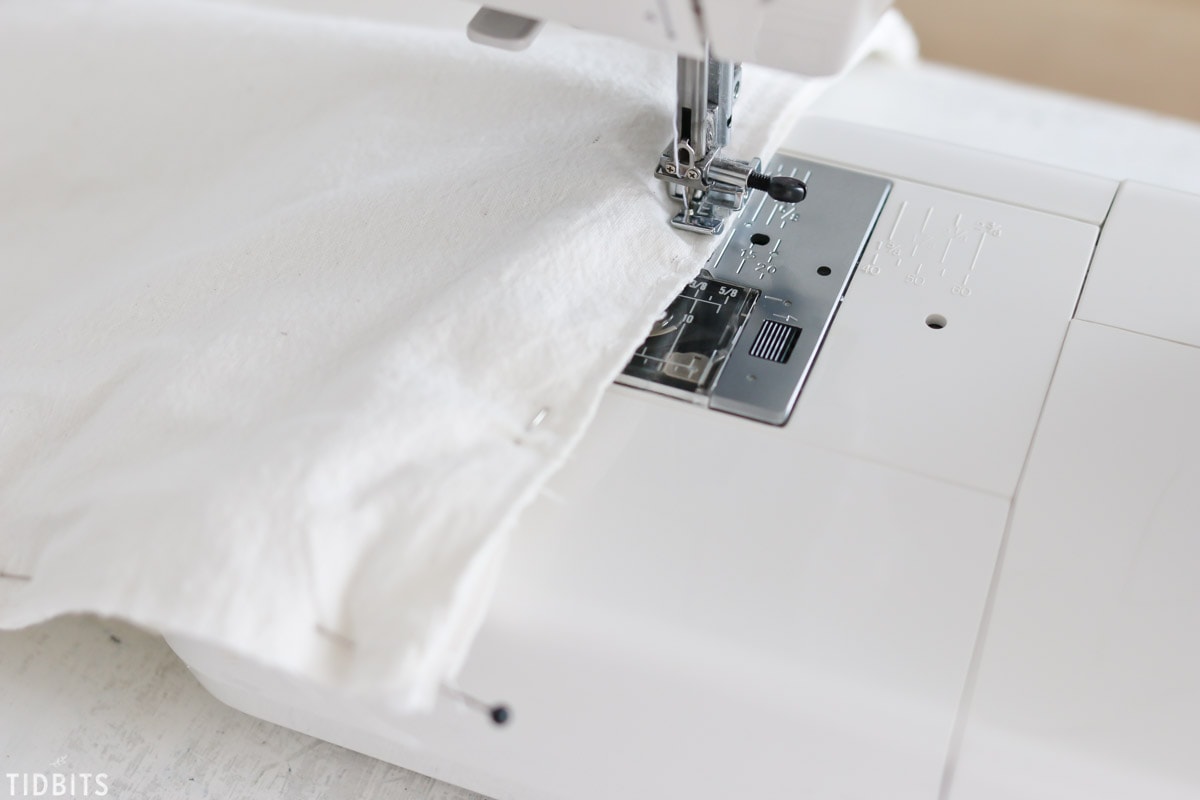
Then pin generously all around the edges of the pillow cover, right sides together.
If you have a zipper foot, it would be best to put this on your machine before this next step.
Sew around the entire edge of the pillow, making sure you are not stitching on the pom poms, but also that you are sewing inside of the first stitch you made when you sewed the pom poms down.
Flip your pillow cover right side out and press along all the edges.
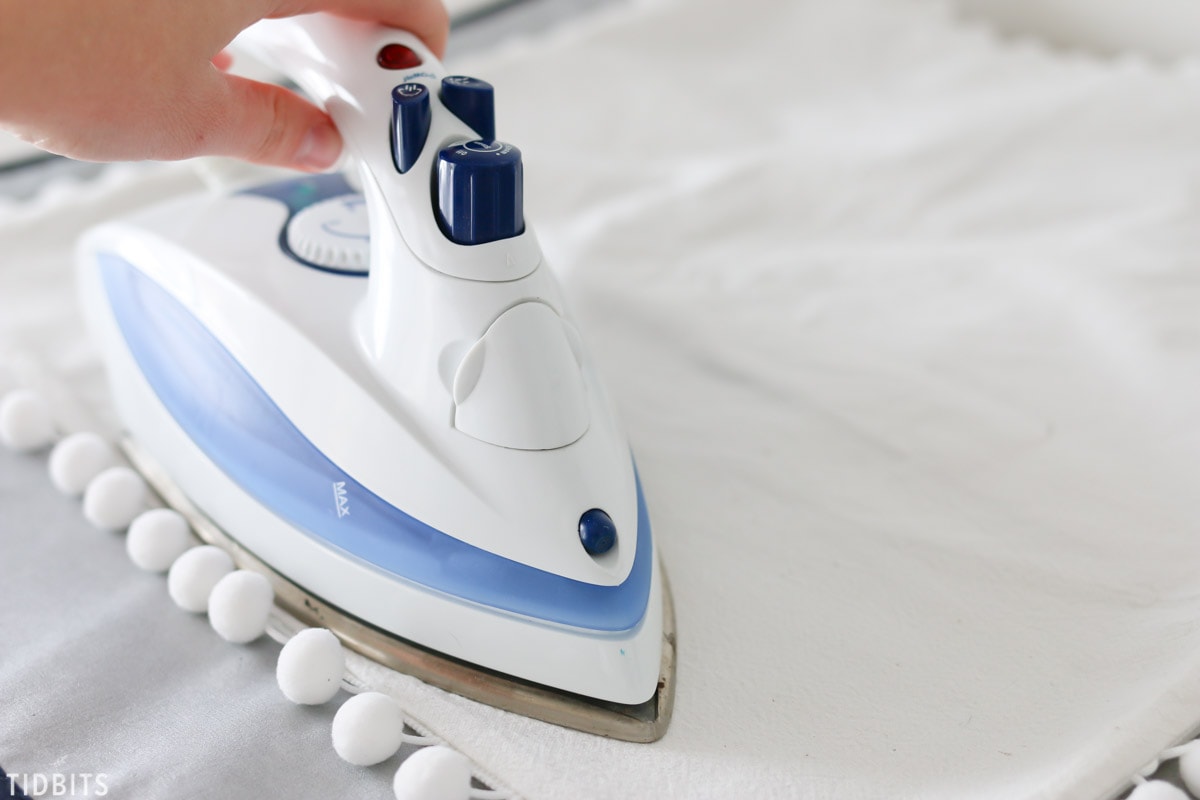
Insert your pillow form inside the cover, and admire your handiwork.
I hope you’ve enjoyed this tutorial! If you give it a try and share on social, would you please tag me @camitidbits so I can see your creation and share it with others?! It would make me so happy!
Now let me ask, are you one who prefers to DIY as much as you can, or is shopping and finding the perfect thing your jam? I would love to know.
For my shopper friends (I enjoy that a lot too), here are some pom pom options for you.
*Affiliate links are included in this post.
SHOP THIS POST

Please pin this post, so you don’t forget it!


I love love your pompom pillows … I will have to try
I love your sewing, please don’t stop your home is beautiful.
Thanks, I love these pillows.
This is do-able! Thank you so much for sharing!
Very, very pretty….these look beautiful in your home. I wish I was crafty. I would love one ………ah,
maybe someday…..