• Skip to primary navigation
  • Skip to main content
  • Skip to primary sidebar
  • Skip to footer

Tidbits

Inspiration for the Keeper of the Home

  • Home
  • About
    • About Me
    • Work with me
    • Media Kit
    • FAQ
    • Disclosure and Policy
  • Project Index
    • All
    • Decorating
    • DIY
    • Homesteading
    • Printables
    • Sewing
    • Crafts
    • Holidays
    • Recipes
    • Woodworking
    • Photography
    • Crafting with Kids
    • Other
  • Home Tours
  • Seasonal
    • Winter
    • Spring
    • Summer
    • Fall
  • Shop
  • Contact
You are at Home and DIY
Home and DIY
Food and recipes

You are here: Home / Decorating / How-to Make Your Favorite Foaming Hand Soap Look Pretty

How-to Make Your Favorite Foaming Hand Soap Look Pretty

April 25, 2016 • Decorating

3 shares

We are going to call today, “QUICK TIP TUESDAY”!

It sounds like a really good idea to give you a quick tip every Tuesday.  But in all honesty – that probably won’t happen.

But it did so happen that I have a quick home decor tip for you today – which happens to be Tuesday!

But first – I have a question for you.

Did anybody else happen to go crazy-town during the Holidays and buy yourself and your mom a year supply of discounted, yummy smelling foaming hand soap?

Quick Tip! - How to easily make your favorite store bought foaming hand soap look prettier.

No?

Well maybe you were logical and bought one or two????

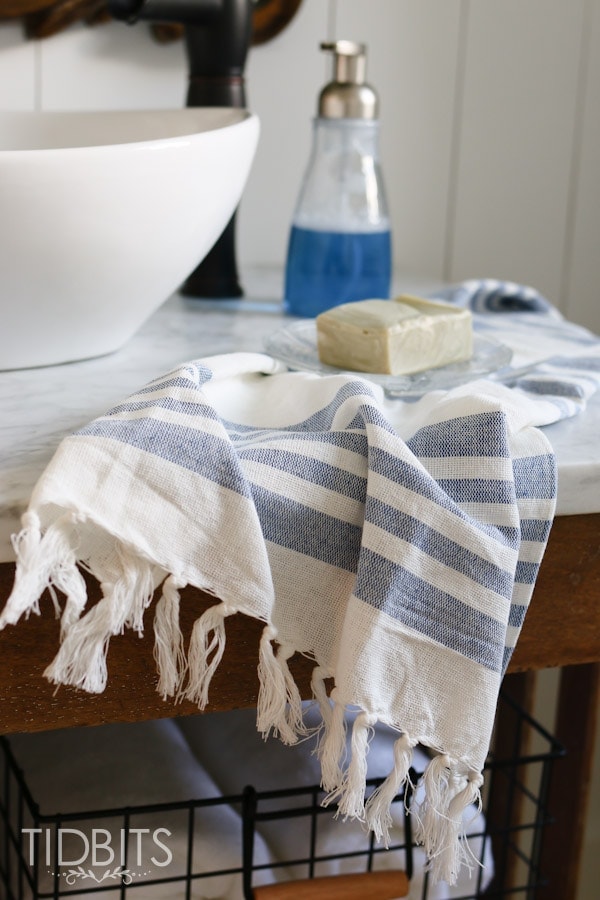
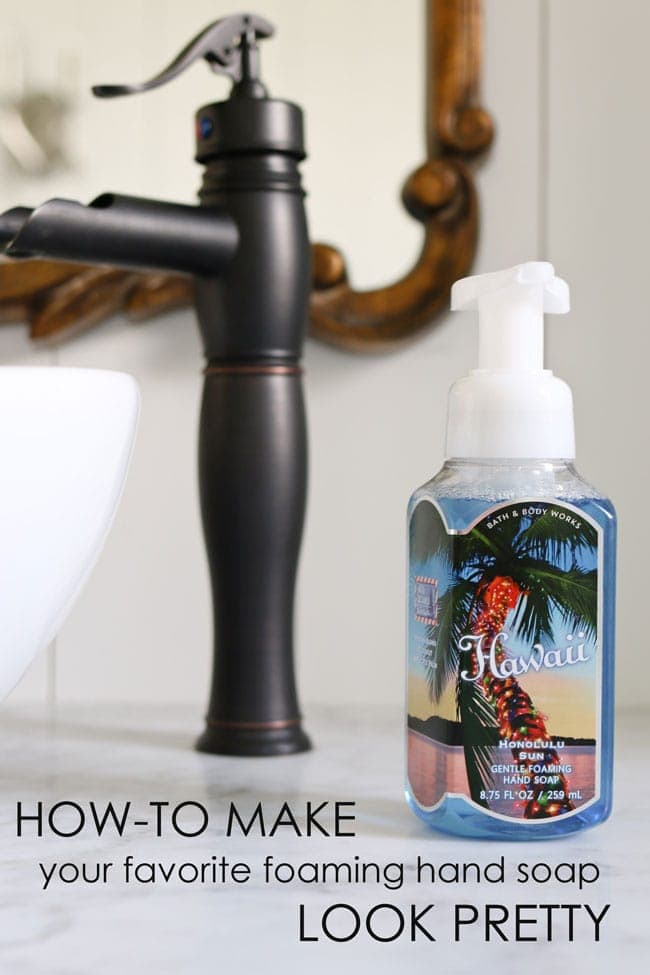
Logically or illogically – no matter how pretty your bathroom is – those big ugly labels just don’t look very pretty.

Am I right?

I had a total ah-ha moment, and figured out the most brilliant, innovative and easy way to make my favorite foaming hand soap look pretty.

Are you ready for it?

Don’t blink – or you might miss it.
Quick Tip! - How to easily make your favorite store bought foaming hand soap look prettier.

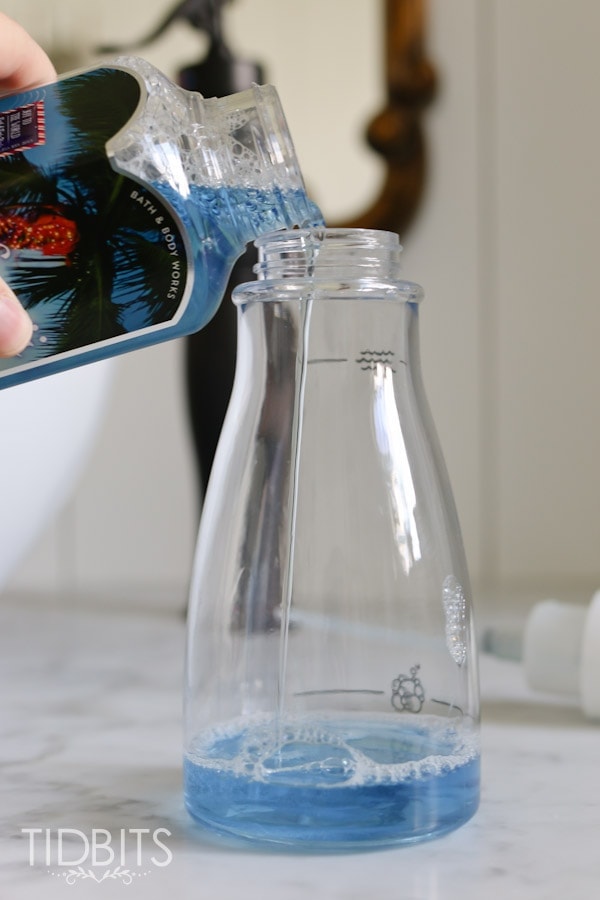
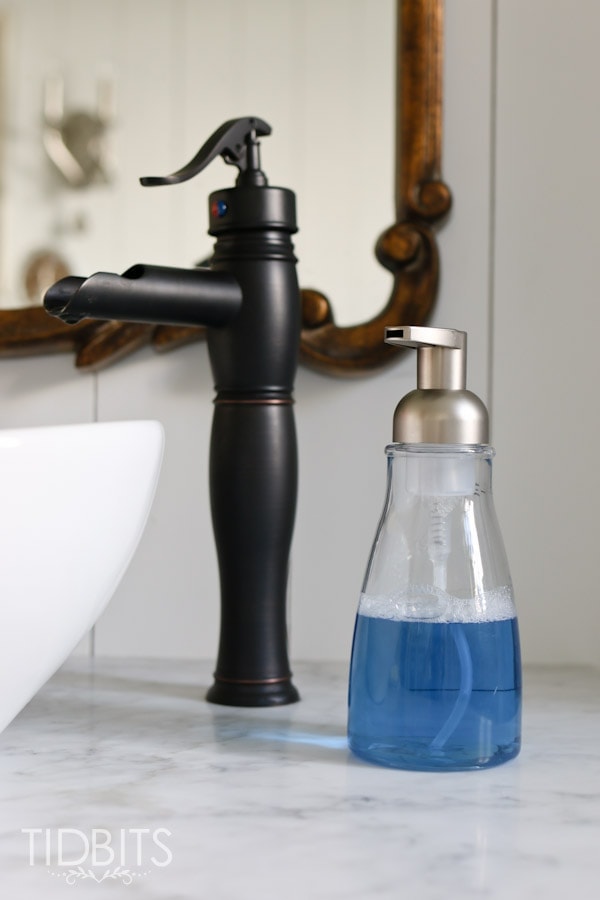
POUR IT INTO ANOTHER BOTTLE!

Quick Tip! - How to easily make your favorite store bought foaming hand soap look prettier.

I know.  I know.  The best idea you’ve heard all year.

Quick Tip! - How to easily make your favorite store bought foaming hand soap look prettier.

Okay – maybe it was a tad bit obvious and you may have already figured this out before I did.

In my book – that makes you pretty smart 😉

Quick Tip! - How to easily make your favorite store bought foaming hand soap look prettier.

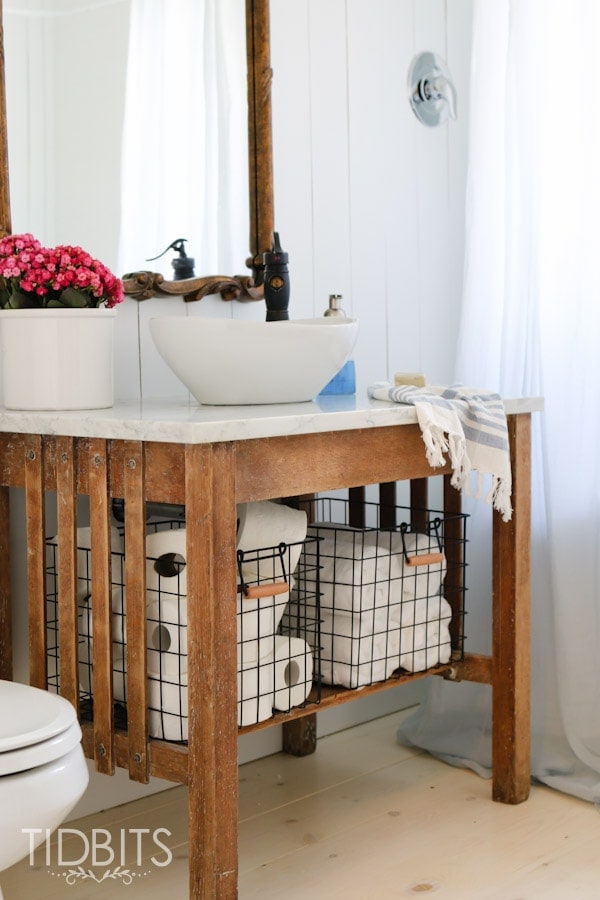
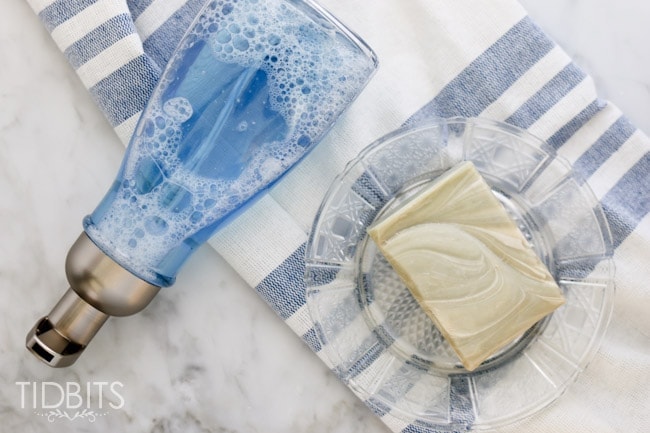
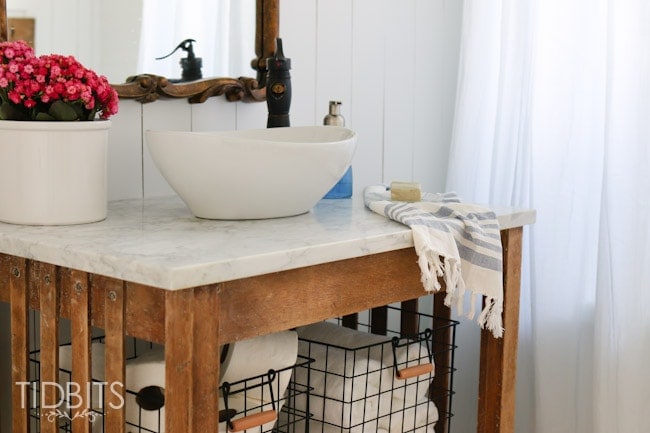
I’m just thrilled to have found a way to have the delicious scents of my favorite soaps match the aesthetics of our bathroom now.

Quick Tip! - How to easily make your favorite store bought foaming hand soap look prettier.

All year long too.  Because I bought enough foaming hand soap to last all. year. long.

Quick Tip! - How to easily make your favorite store bought foaming hand soap look prettier.

And next year, when I’ve learned my lesson from extravagant impulse expenditures, I can use this new pretty bottle to make my own handmade foaming soap.  You just fill it up about 1/4 of the way of liquid soap and fill the rest with water.

Quick Tip! - How to easily make your favorite store bought foaming hand soap look prettier.

Instant foaming hand soap!  And big money savings.

Quick Tip! - How to easily make your favorite store bought foaming hand soap look prettier.

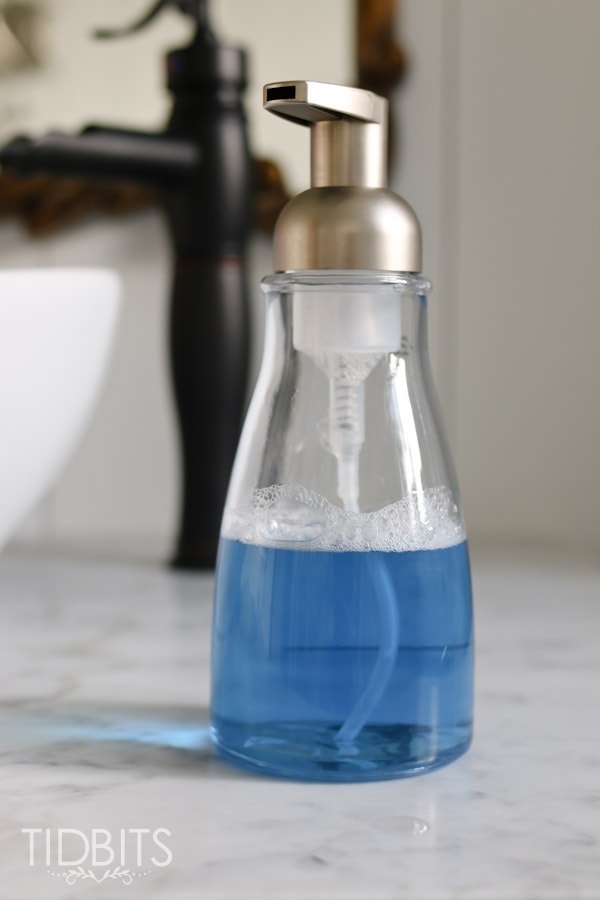
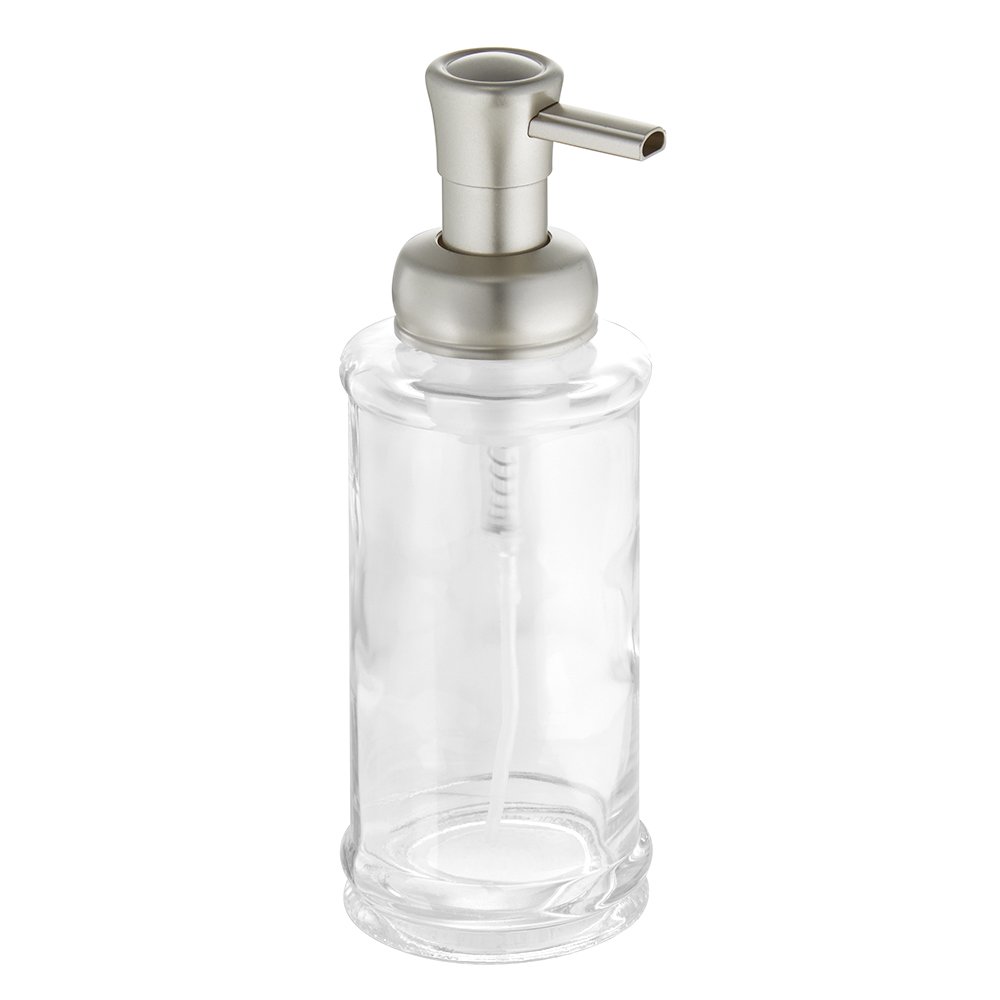
I got my particular foaming hand soap dispenser at Target, but I want to show you my favorites on Amazon – just in case you think this idea was brilliant too ;).

(Click the image to take you to the Amazon listing for each item)

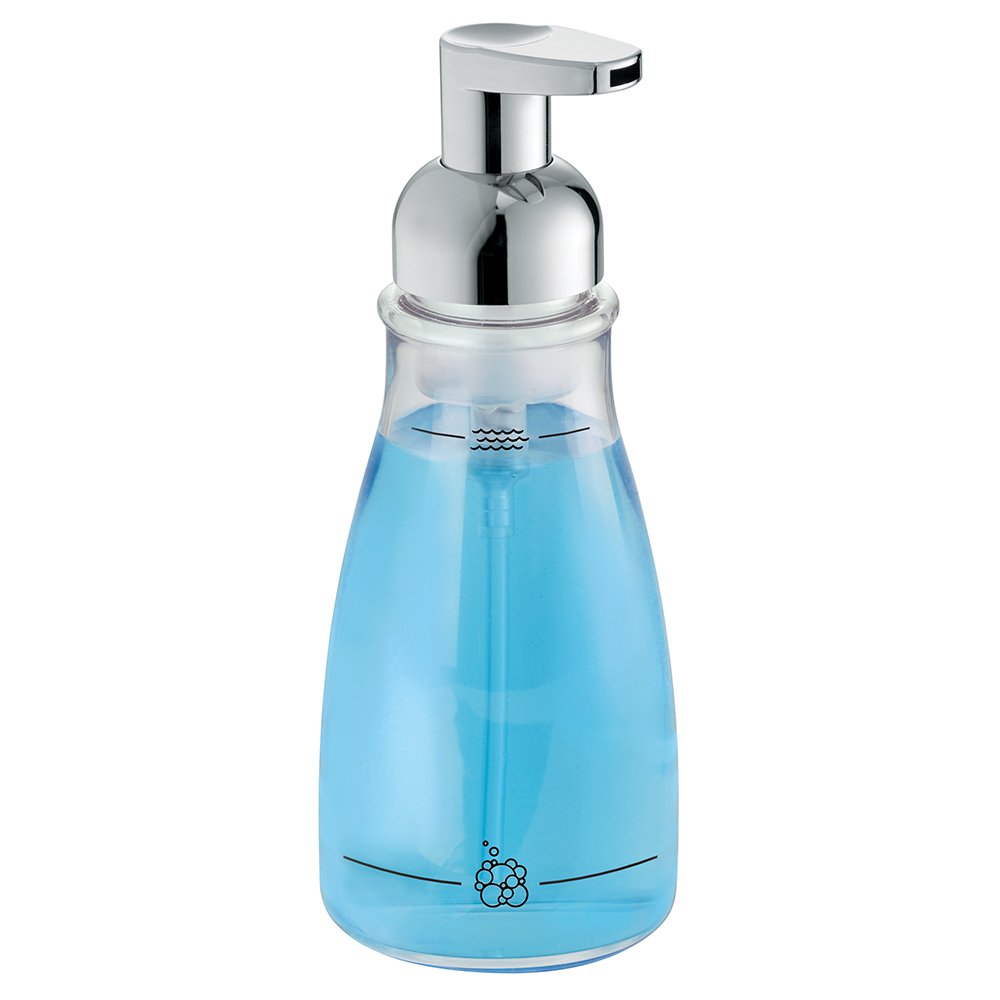
This is the exact one I have pictured in my images.  I wish I would have known Amazon had different top options.  I would have choose the one that matched my sink faucet to make it even more prettier!

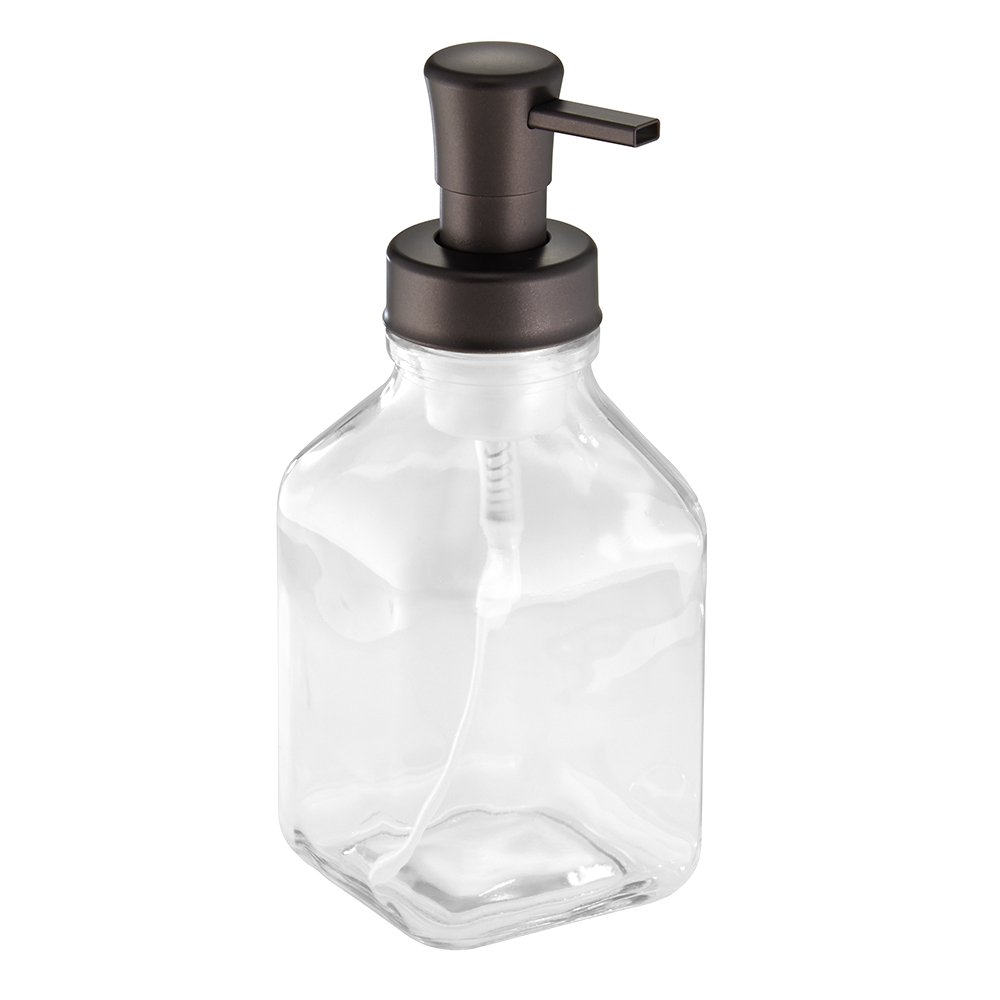
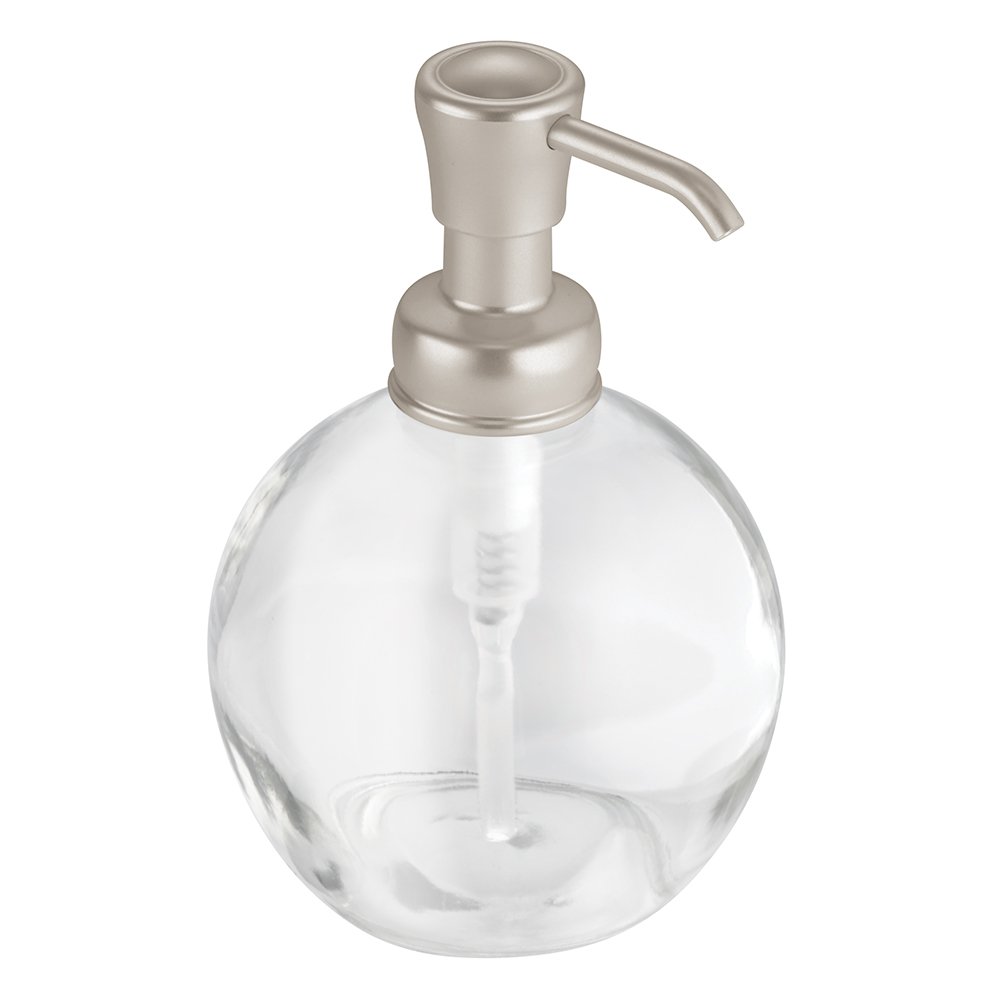
This one is so soooo pretty!  I might have to get it anyway.

Next year.

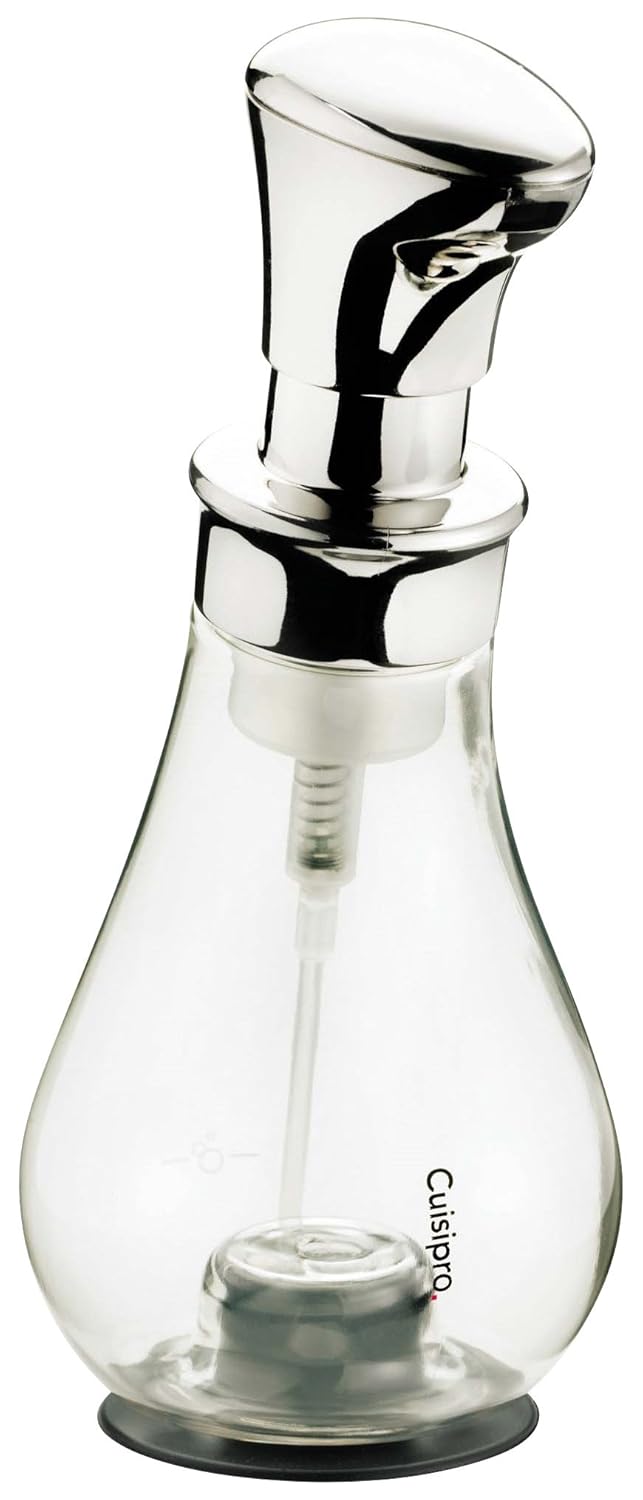
This one has a real fun and unique shape to it.

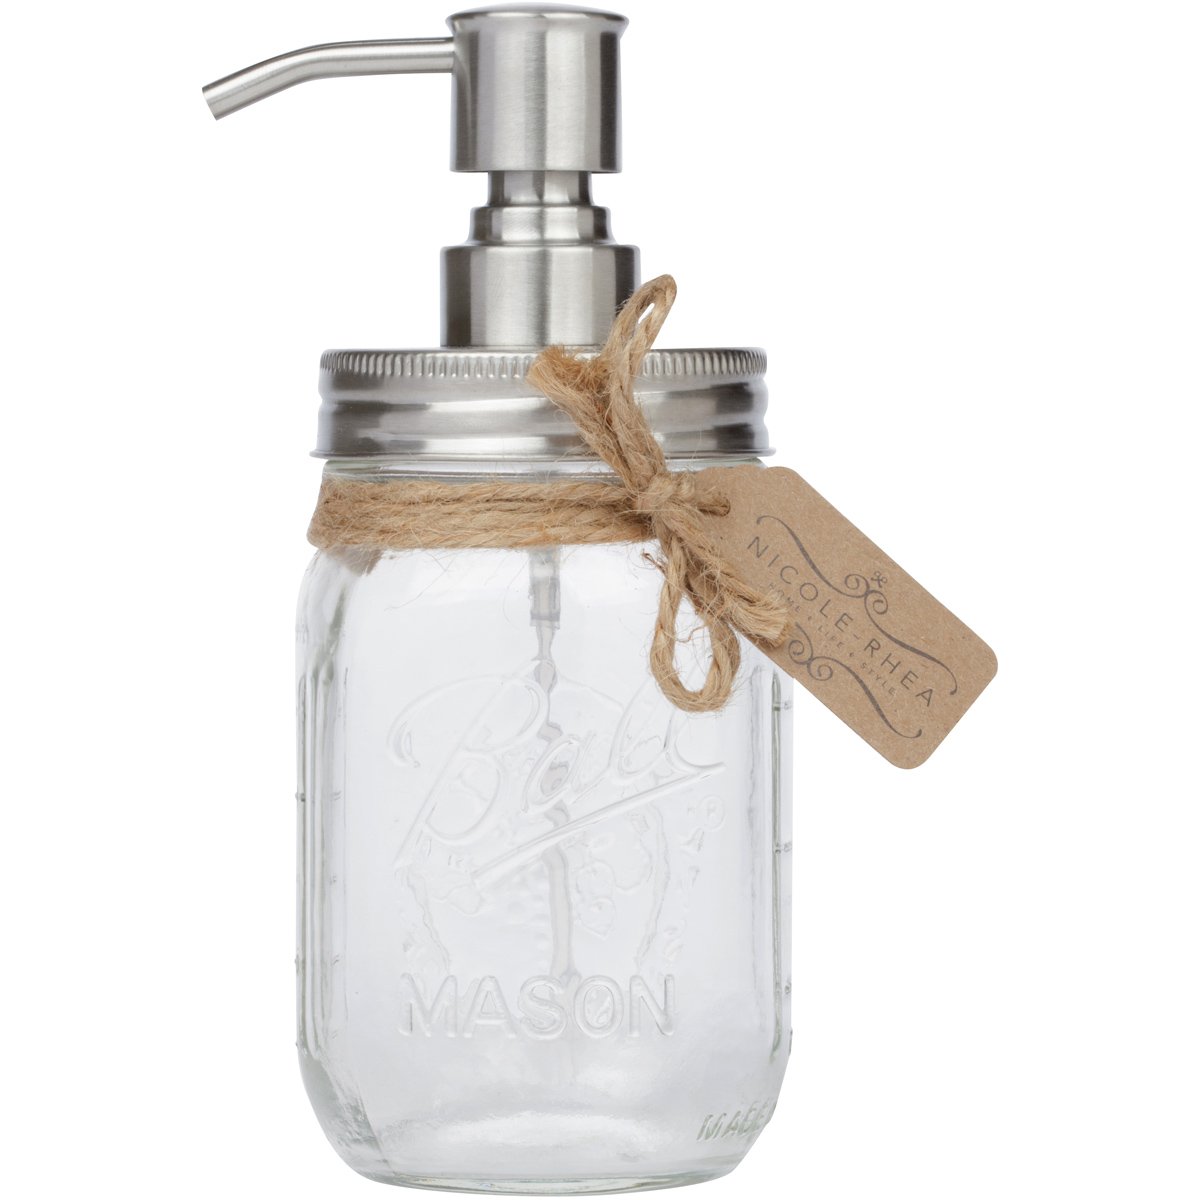
And who doesn’t love a mason jar soap dispenser!

I think this one is simplistically sleek, and probably my favorite.

Actually it is a toss up between this round one.

I hope that gave you some good resources so you too can make your favorite foaming hand soap look pretty.

Quick Tip! - How to easily make your favorite store bought foaming hand soap look prettier.


Thanks for joining me for “Quick Tip Tuesday”!  😉


*Linking up to these parties, HERE.

*This post contains affiliate links for products I use and/or love.  I hope they are helpful and thank you for using my affiliate links.

I’m Cami! Welcome to my blog TIDBITS. Follow me along for beautiful home decor ideas and inspiration for do-it-yourself living
Thank you for Subscribing to TIDBITS! Talk to you soon.

There was an error submitting your subscription. Please try again.

3 shares

Tags: bathroom, Foaming hand soap, Home Decor, quick tip
Leave a Comment

You might also like

  • European Farmhouse Master Bathroom RevealEuropean Farmhouse Master Bathroom Reveal
  • Master Bathroom Progress | Installing Marble Tile and TrimMaster Bathroom Progress | Installing Marble Tile and Trim
  • Master Bathroom Design Plans | Marble & Gold BathroomMaster Bathroom Design Plans | Marble & Gold Bathroom
  • 10 Summer Essentials for Your Home10 Summer Essentials for Your Home

Reader Interactions

Comments

  1. shagun jain says

    August 13, 2020

    I seriously need to try this! I think it is a great idea . Thank you for sharing!

    Reply
  2. Julie Briones says

    August 10, 2017

    Ordered one! The pretty sleek one! We’ll see how it works! 😉 Thanks for the great tip!

    Reply
  3. marymary says

    April 29, 2016

    Did you know that once your stash runs out, you can make your own foaming hand soap from regular liquid hand soap? Put 1-1 1/2″ of liquid soap in the foaming hand soap bottle, fill it the rest of the way with water, then stir it up well–carefully so you don’t make too many suds (I use a chopstick). Super economical! But won’t smell as amazing as what you’ve got, of course.

    Reply
  4. Janet McQueen says

    April 26, 2016

    I did some soap dispensers by recycling bottles that I liked the shaped or label that was on them by purchasing a pump from the local beauty supply store for the bottle. Works great and you can create some really unique looks. For instance,I made one from an empty Jack Daniels liquor bottle for a bar area. I used clear packing tape to cover the label to help protect that from water.

    Reply
    • camitidbits says

      April 26, 2016

      So brilliant! I just love that idea. I bet the liquor bottle looks amazing. I’m seriously going to be on the hunt for cool bottles now. Thanks for sharing with me!

      Reply
  5. Shawnna says

    April 26, 2016

    hey girl love the bottles! So cool! I need to do this! Thanks! Have a great day!

    Reply
    • camitidbits says

      April 26, 2016

      Hey girl 😉
      You are always so sweet and it is always noticed. Thank you very much!

      Reply
  6. susan says

    April 26, 2016

    I do the same Cami! I have a cute one I found at Target that I refill 🙂

    Reply
    • camitidbits says

      April 26, 2016

      Ahh. Great minds think alike 😉 But you definitely beat me to it!

      Reply
  7. Susan W. says

    April 26, 2016

    Actually, I didn’t know the pretty bottles would make it continue to foam. So yes, you did help. ? Thanks for something simple even I can do.

    Reply
    • camitidbits says

      April 26, 2016

      Haha! Great! Tad embarrassed that I hadn’t thought of it before. You do have to buy the bottle dispensers that say foaming hand soap. They magically make it foam every time 😉 Thanks for commenting!

      Reply

Leave a Comment Cancel reply

Your email address will not be published. Required fields are marked *

CommentLuv badgeShow more posts

This site uses Akismet to reduce spam. Learn how your comment data is processed.

Primary Sidebar

Hi! I am Cami. My passion is to help you, as the keeper of your home, to feel inspired to create a home you love and to learn the homemaking skills to help you do so.


About Cami

My product lines

TIDBITS Planners
TIDBITS Linen

Our books

Front cover of 'Master The Electric Pressure Cooker' cookbook

Hot off the press
tidbits.
Right to your inbox.

Sign up to get post updates, monthly subscriber only content, and inspiration for do-it-yourself living
Thank you for Subscribing to TIDBITS! Talk to you soon.

There was an error submitting your subscription. Please try again.

Archives

Follow on Facebook

Footer

Welcome to my blog, TIDBITS! I am a homeschool Mom to 4 and a fanatical DIY'er. I absolutely love home - and I love to inspire others as the keeper of their homes!

Subscribe

Thank you for Subscribing to TIDBITS! Talk to you soon.

There was an error submitting your subscription. Please try again.

Privacy

Copyright

I love sharing my ideas and tutorials! I ask that you respect my work and follow these guidelines. 1. All images are property of Tidbits blog. 2. Feel free to use 1 or 2 images on your own webpages, provided a link back to my blog is clearly available. 3. Do not remove any watermark or crop/edit my images in any way, unless given written consent by myself. 4. All tutorials/ideas/designs are for personal use only and are not to be copied and distributed in any way. 5. Sharing and pinning through social media is always welcome!

An elite Cafemedia Home/DIY Publisher
Branding + Website By Coded Creative

3 shares
We use cookies to ensure that we give you the best experience on our website. If you continue to use this site we will assume that you are happy with it.OkRead more