This post may contain affiliate links, which means I get a small percentage of the sale at no extra cost to you. I only recommend items I love and have had a positive experience with. Thank you!
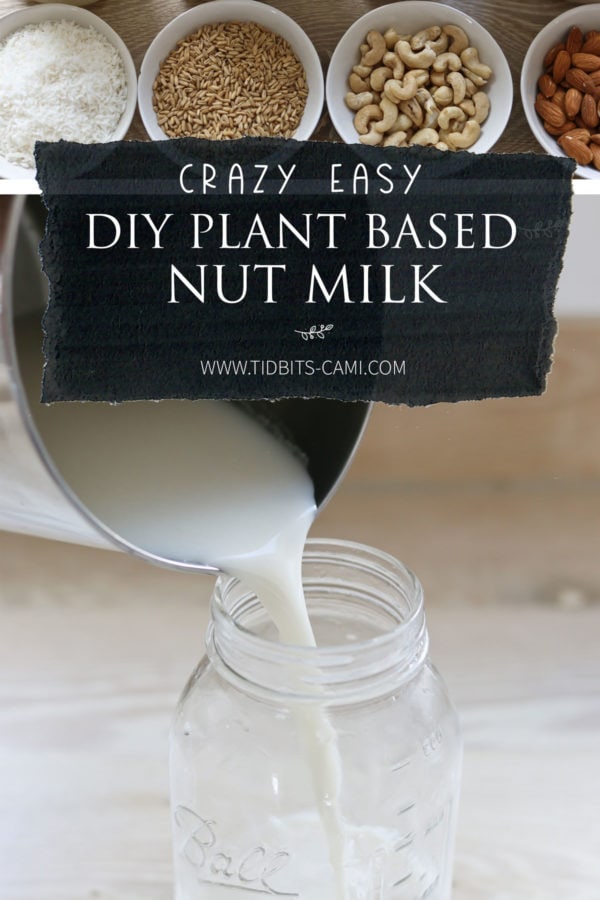
Skip the store bought filler ingredients and make your own vegan plant based nut milks from home! The Almond Cow is the quickest, easiest and most delicious way to do this – hands down!
* This post includes an honest review and demonstration of the Almond Cow. I did receive product as a gift from Almond Cow, to write my experience. All thoughts and opinions are from my own perspective. I hope it helps you determine if this might be a product that would benefit your life. Feel free to use the promo code “CAMIG25” to get $25 off your purchase.
While I love to share mostly DIY’s for the home – I also love a good DIY food hack, especially if it saves me money and helps me control the ingredients in my food.
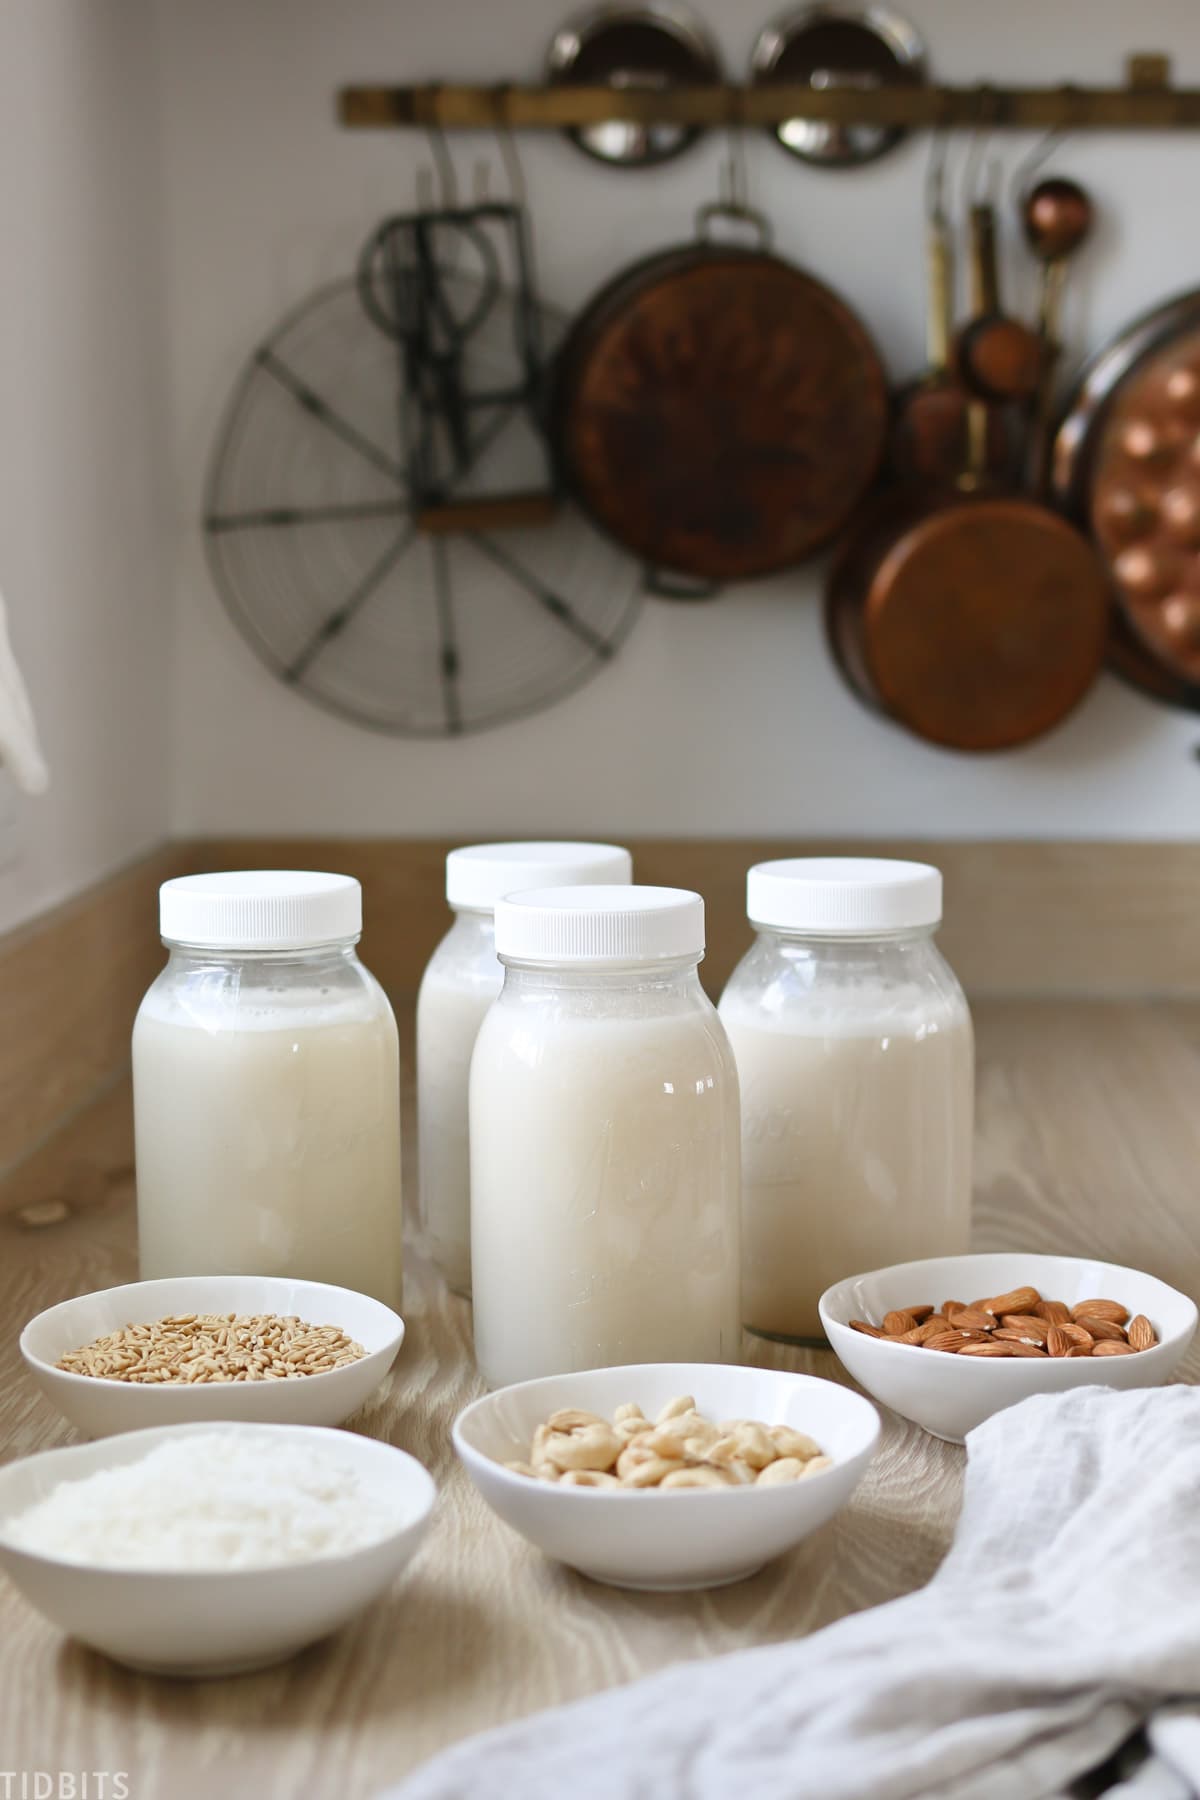
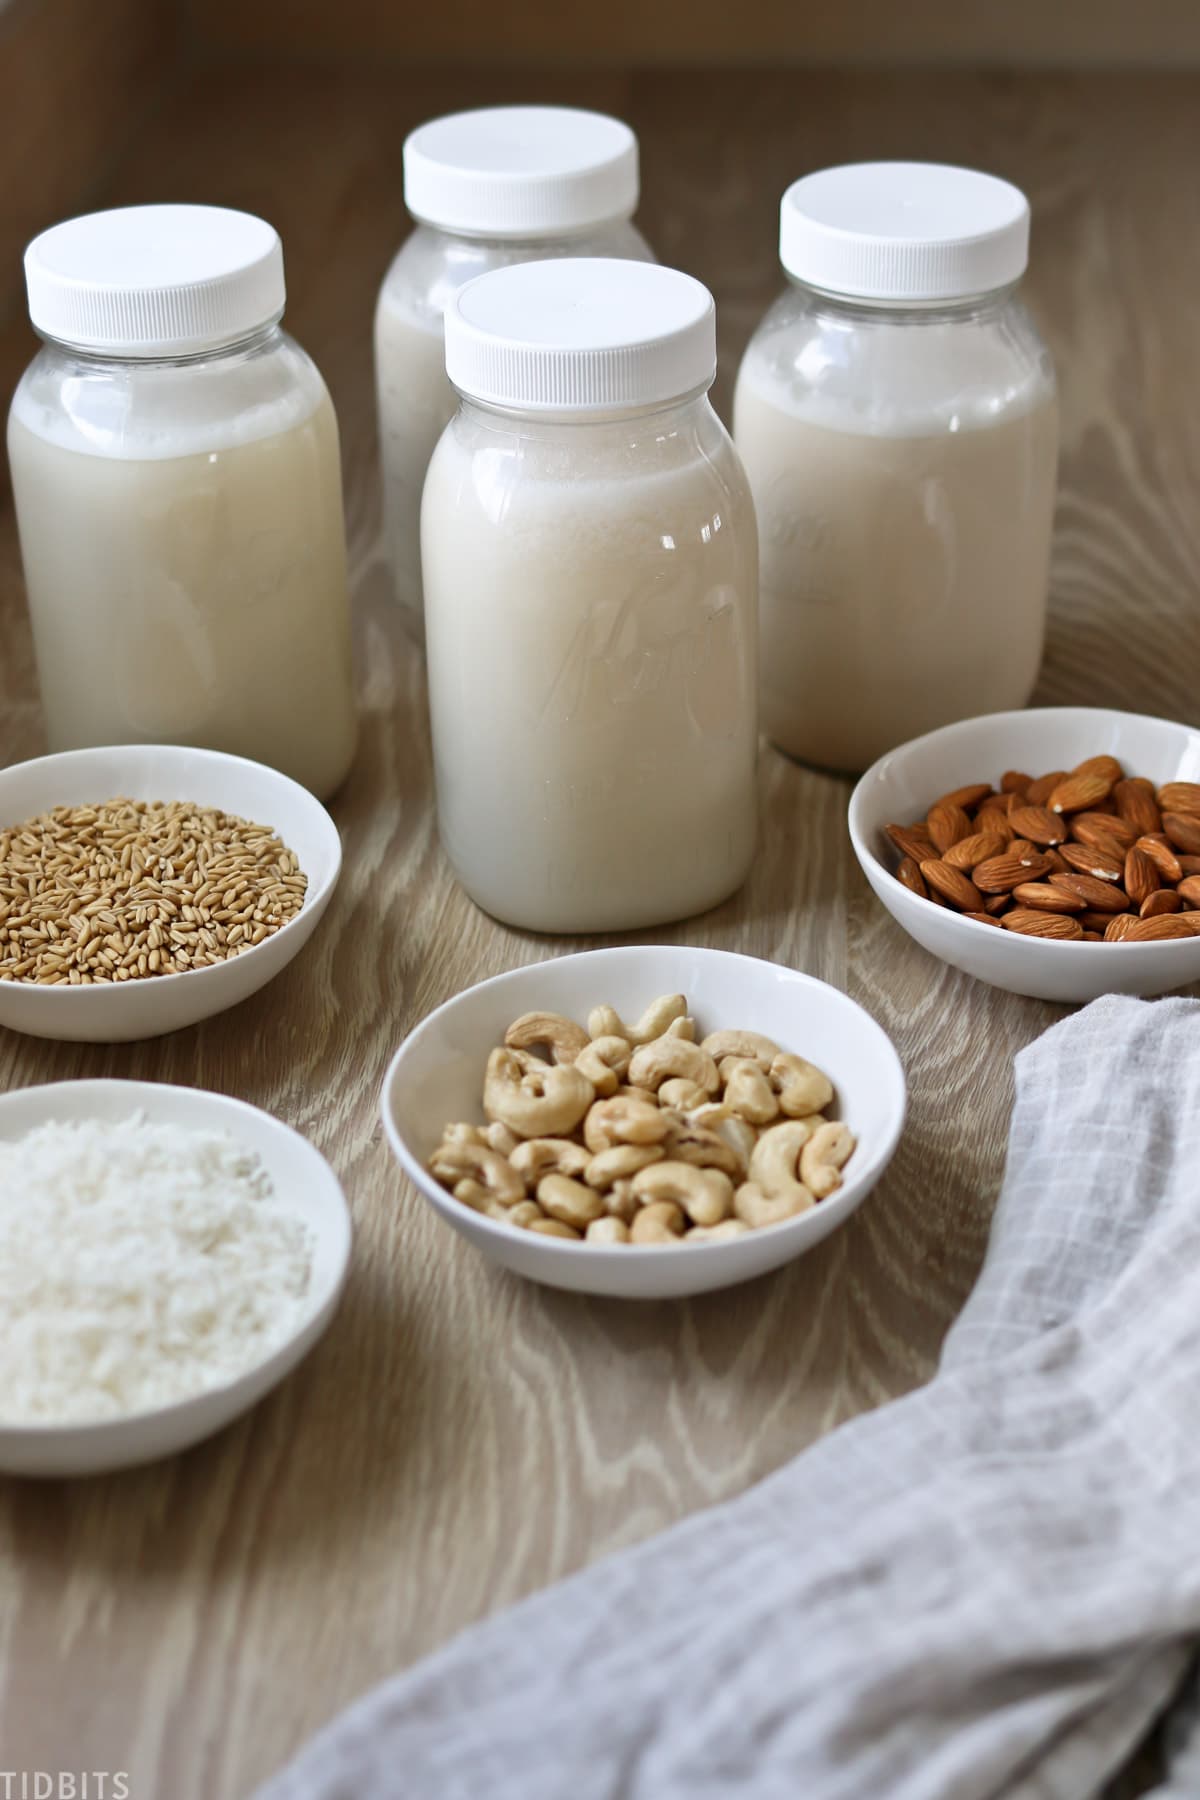
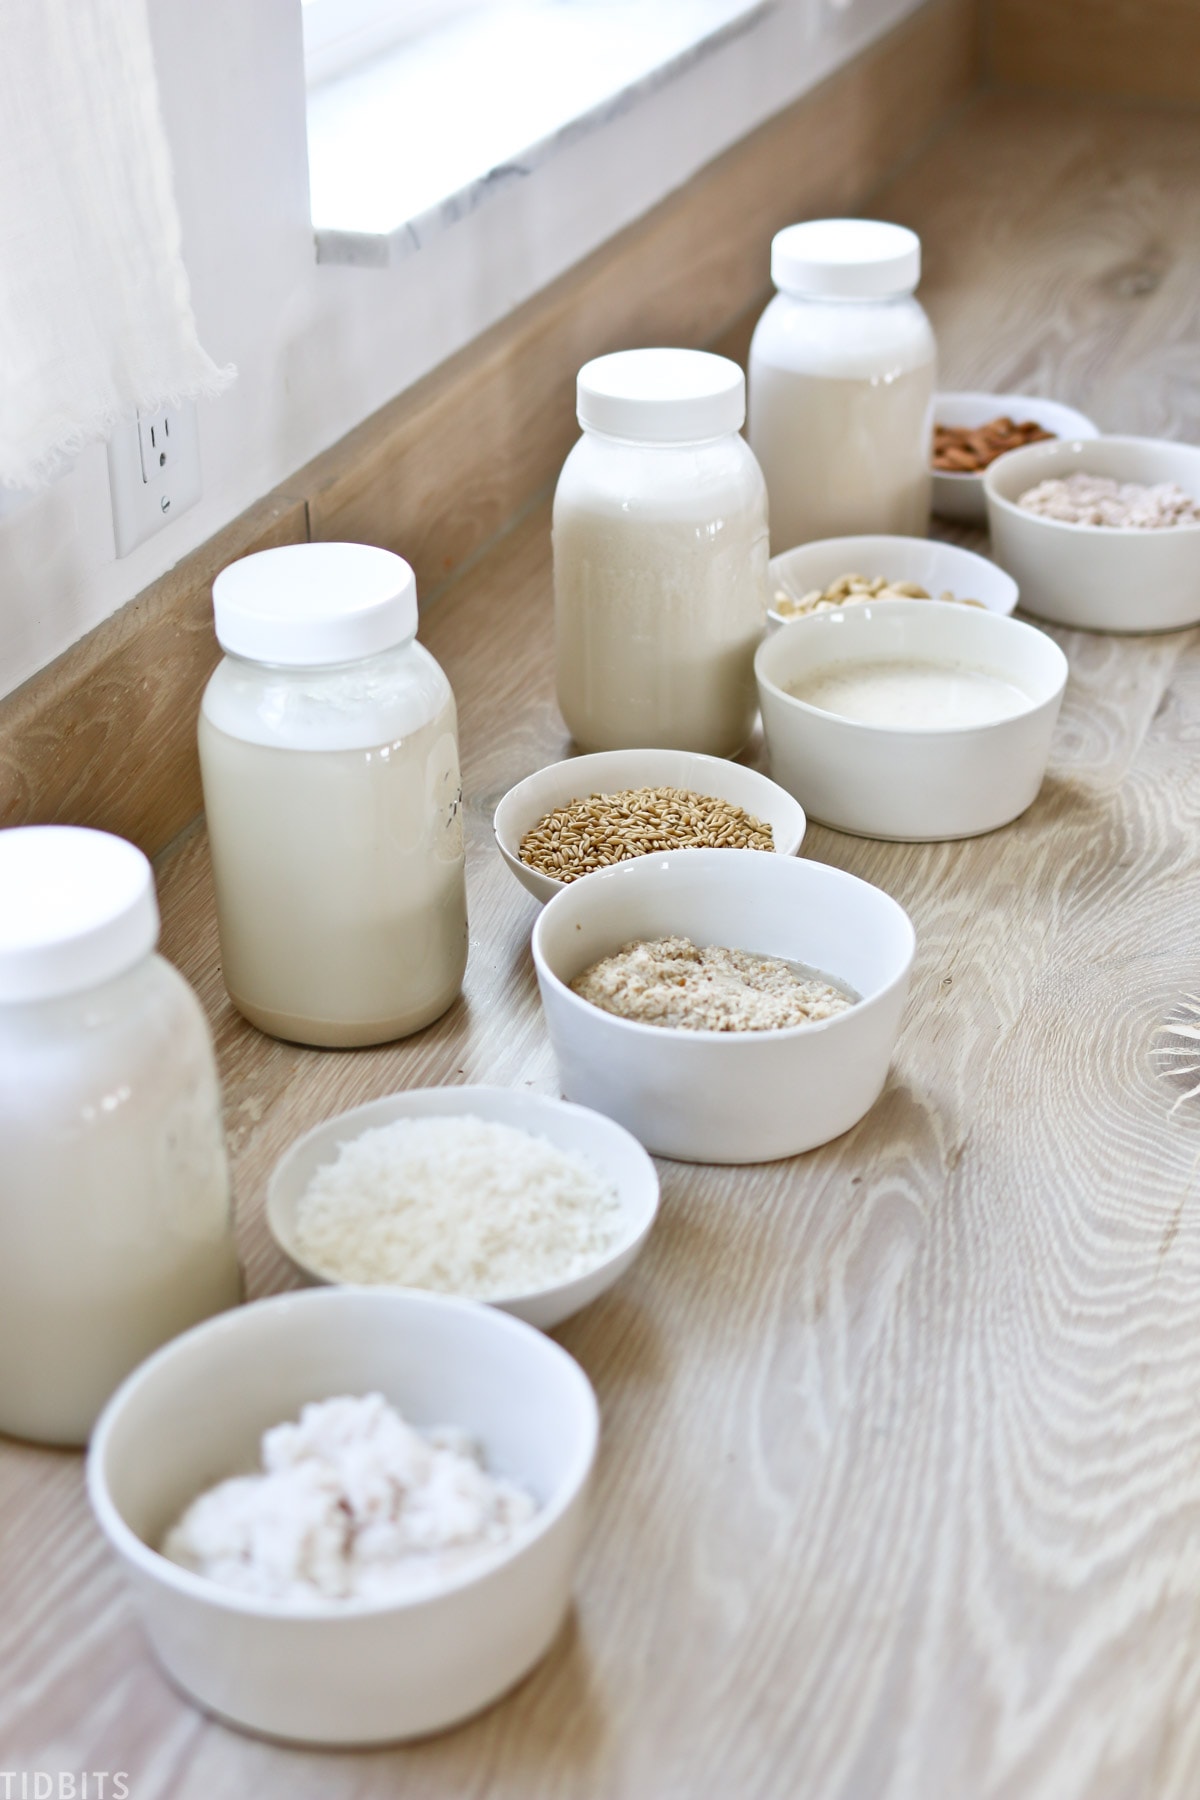
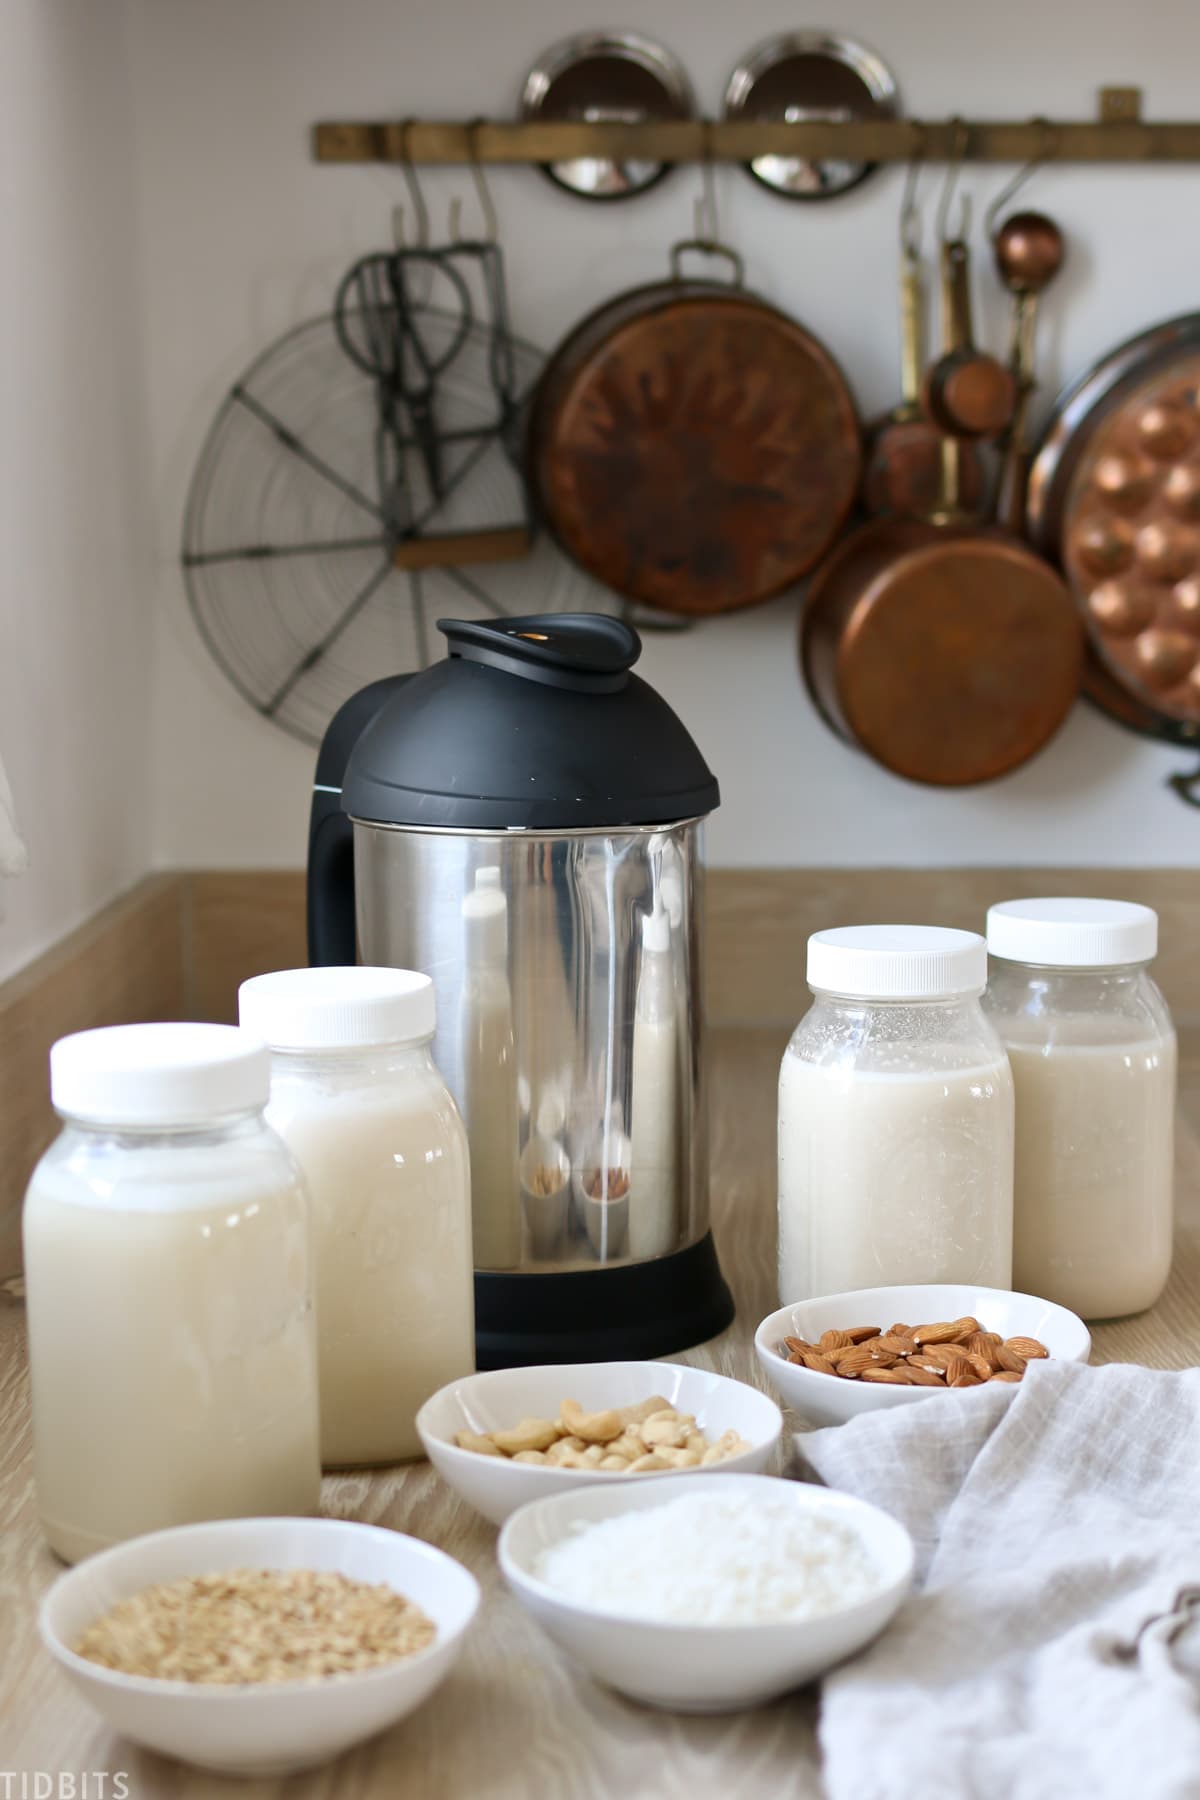
Today I want to share with you how to make 4 homemade plant based nut milks, that I’ve been obsessed with making, since it became so incredibly easy with my beloved Almond Cow.
WATCH THIS POST!
To see the Almond Cow in Action, feel free to watch my video too!
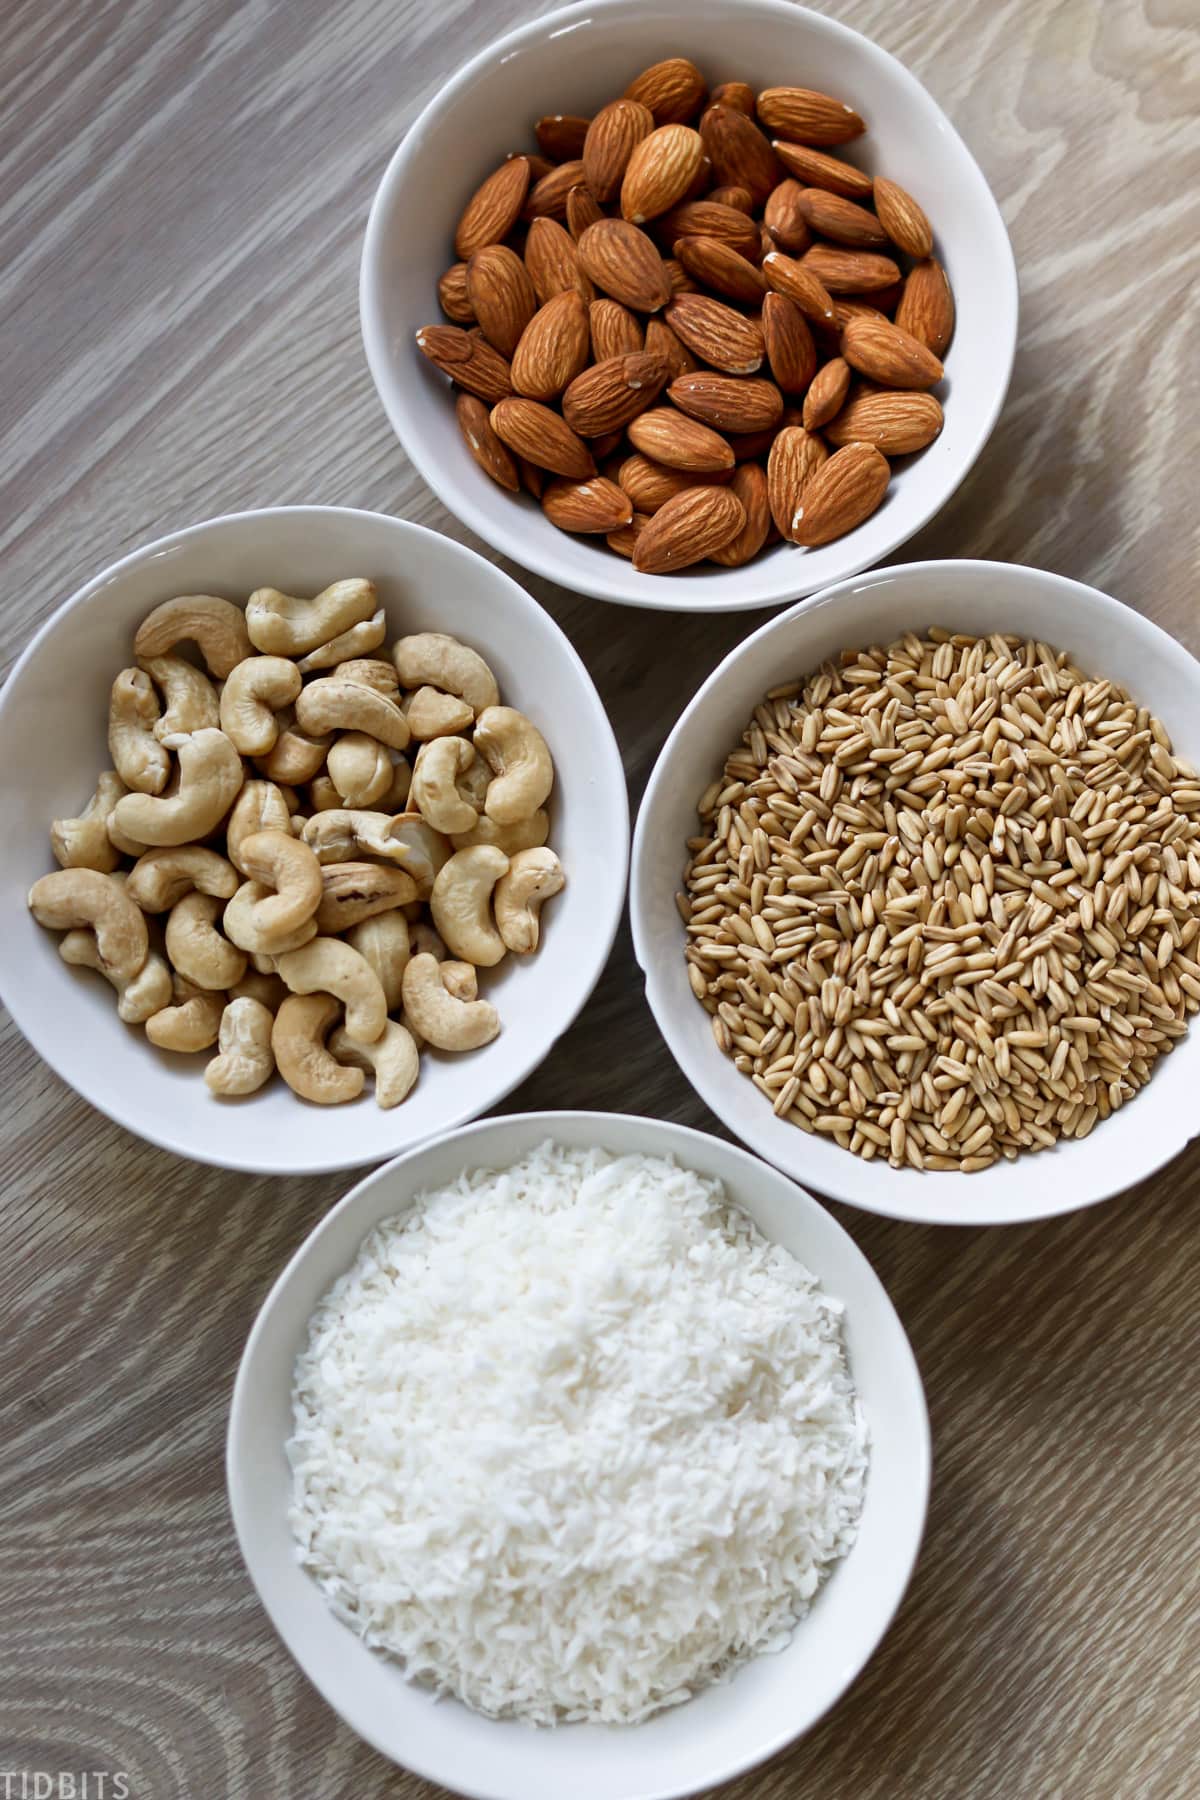
Before I show you how to make almond milk, cashew milk, oat milk and coconut milk, let’s talk briefly about why you might want to make your own plant based nut milks.
WHY MAKE YOUR OWN NUT MILKS?
1 – You might have a Dairy allergy or intolerance
Nut based milks are a great alternative to dairy milk, if your body can’t tolerate dairy foods. You still get the creamy white texture, but in a form your body can digest happily.
While no one in my family has been diagnosed with a milk allergy, I highly suspect my youngest boy does not feel great after he eats dairy foods but he will happily drink a cup of almond milk and feel just fine. This was a huge motivating factor for me to pursue other options for him.
For me, I just prefer nut milks, as I find dairy leaves a coating in my mouth and throat that causes me to have to clear my throat for a long time after drinking milk. So whether it is medically necessary or you just prefer it – nut milks are a great alternative to dairy products.
2 – Homemade Nut Milks are Low Calorie
I am not here to argue the benefits of real milk versus nut milks. Real milk does undoubtedly contain more protein and vitamins than plant based milk, but it also contains way more calories and processing.
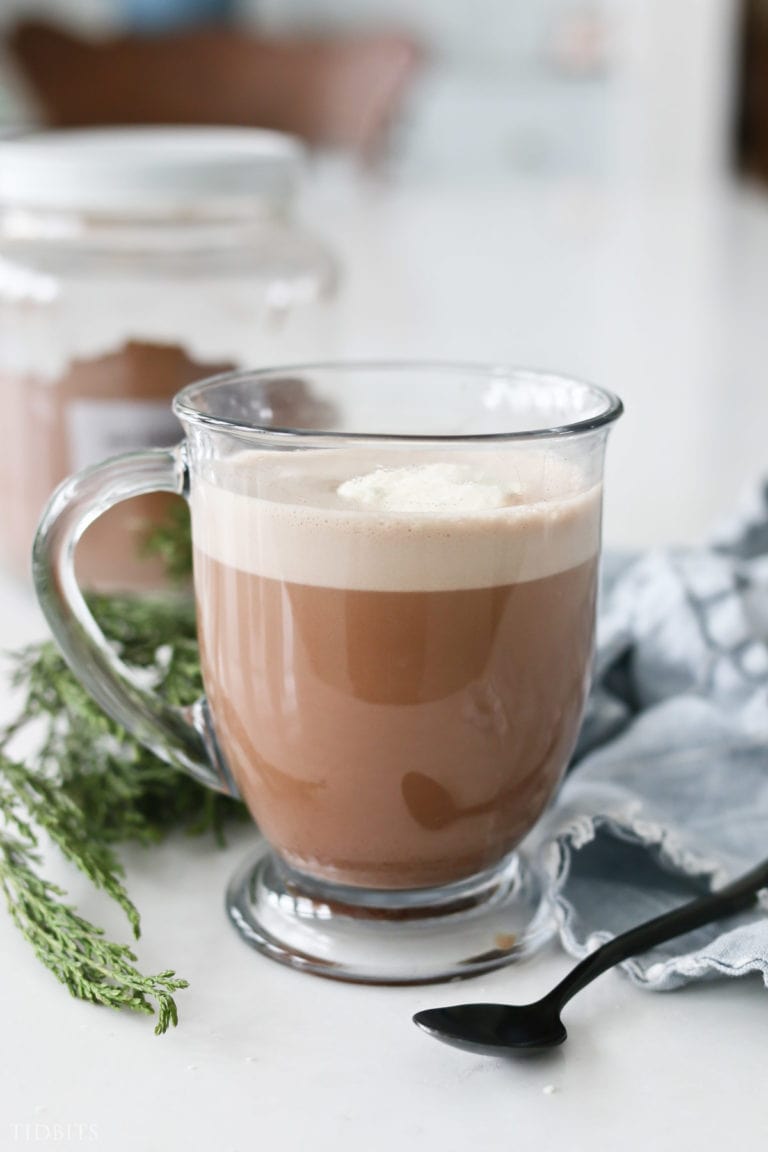
For this reason, I prefer to use plant based nut milks in my fruit and veggie smoothies (which we make up daily), and to make my Crio Bru creamier without the calories. Basically, I get to have my treats, without the guilt. If you haven’t heard of Crio Bru, that’s another topic for another day, but you can click here to learn more about my favorite healthy chocolate indulgence.
3 – Control the Ingredients in your Nut Milks
If you take a look at store bought nut milks, there is a long list of filler ingredients to increase shelf life and to appeal to more people. If you buy nut milks sweetened, there is also added processed sugar. By making it at home, you control the ingredients.

You can sweeten in naturally with dates or pure maple syrup. You can add vanilla, salt or even cocoa powder or strawberries for a real treat. Or you can keep it simple with only 2 ingredients – nuts and water. It tastes deliciously fresh and simple, with only the ingredients you want.
4 – Easier to Store Nuts than Milk
There are many more reasons to love homemade nut milks, but the final reason I’ll point out is that you can store almonds, cashews, and oats much longer in your home than you can store fresh nut milk in your fridge. I like to buy my almonds and nuts in bulk, which saves money and then I have fresh milk whenever I want it.
Because of the oils in nuts, they will go rancid after some time. If you are worried you won’t use your stash fast enough you can always freeze or place them in your refrigerator to make them last even longer.
TOOLS FOR MAKING NUT MILKS
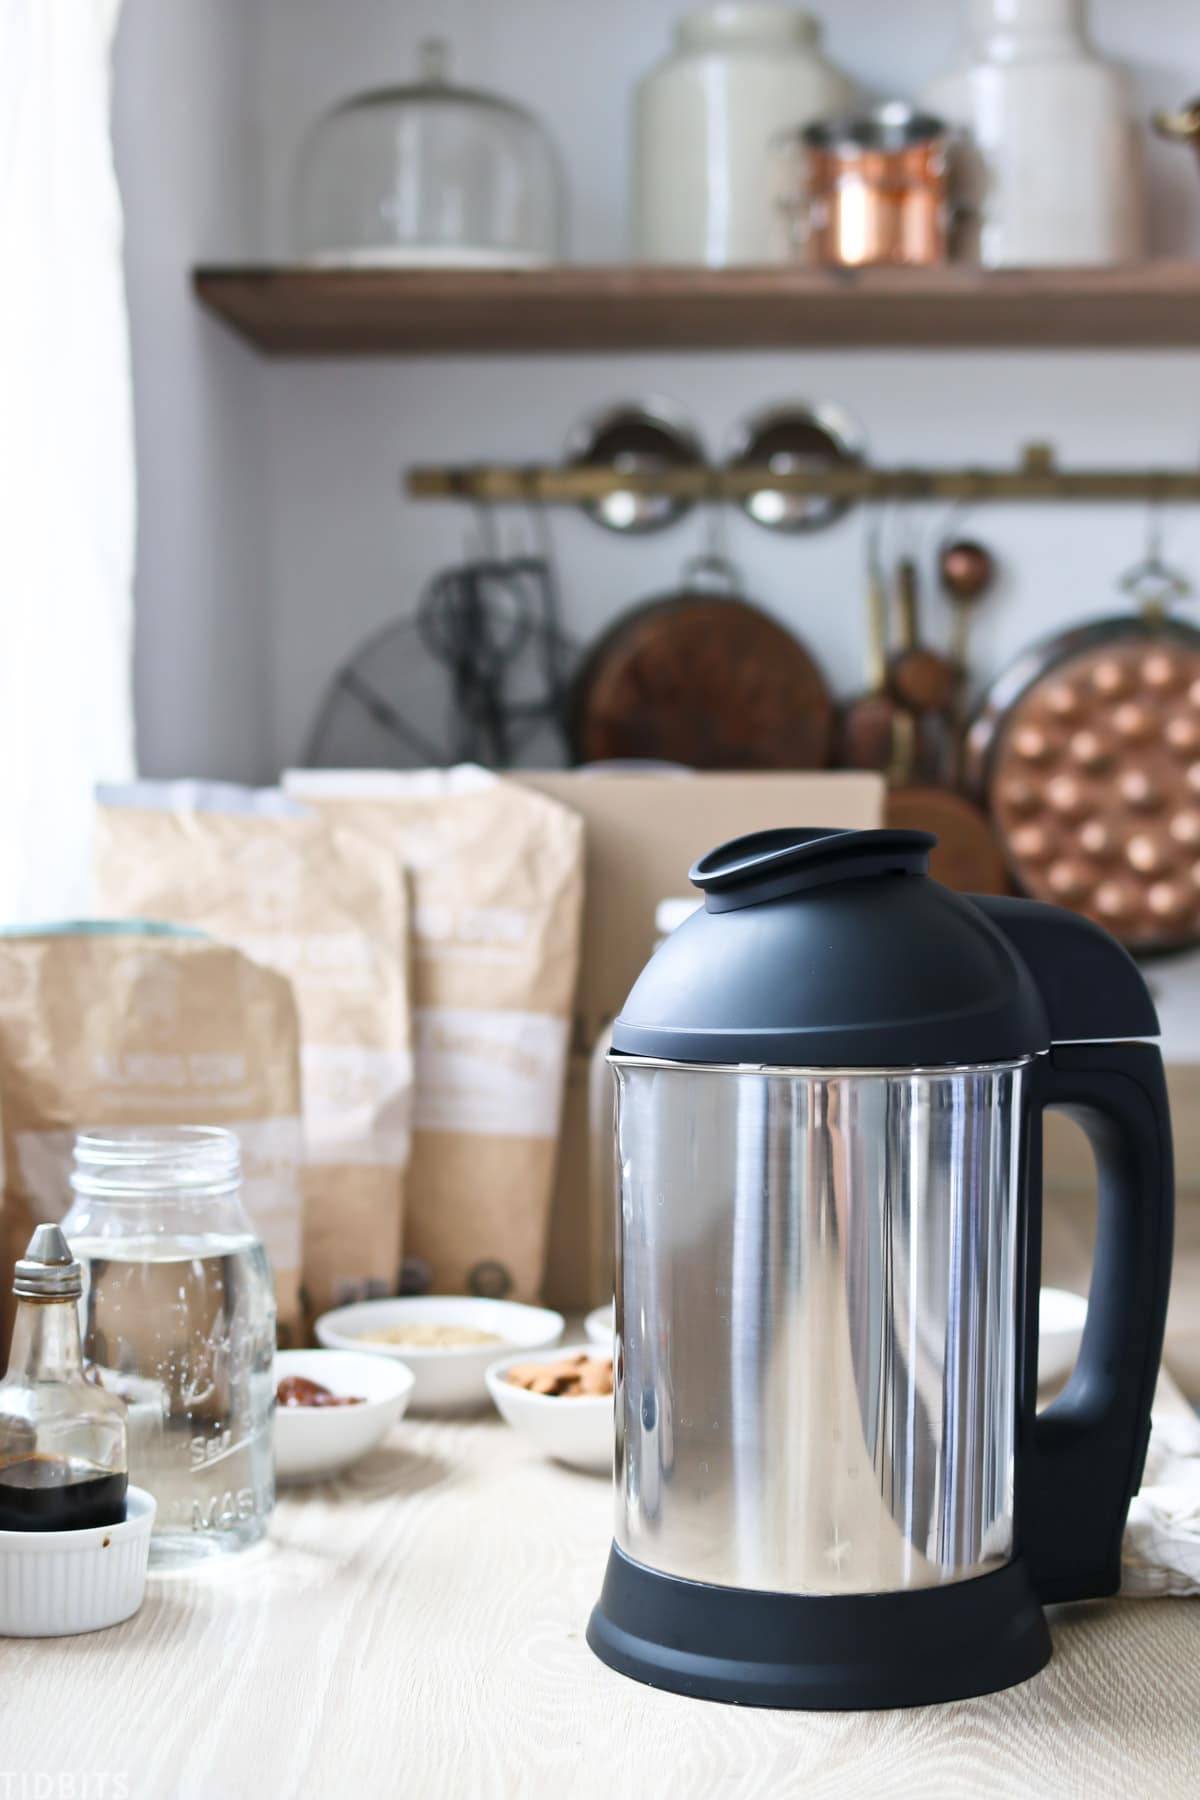
You can use a high powered professional blender and something to strain the milk, like nut milk bags or cheesecloth – but when I tried that I quickly tired of the mess and process – and stopped making it from home altogether.
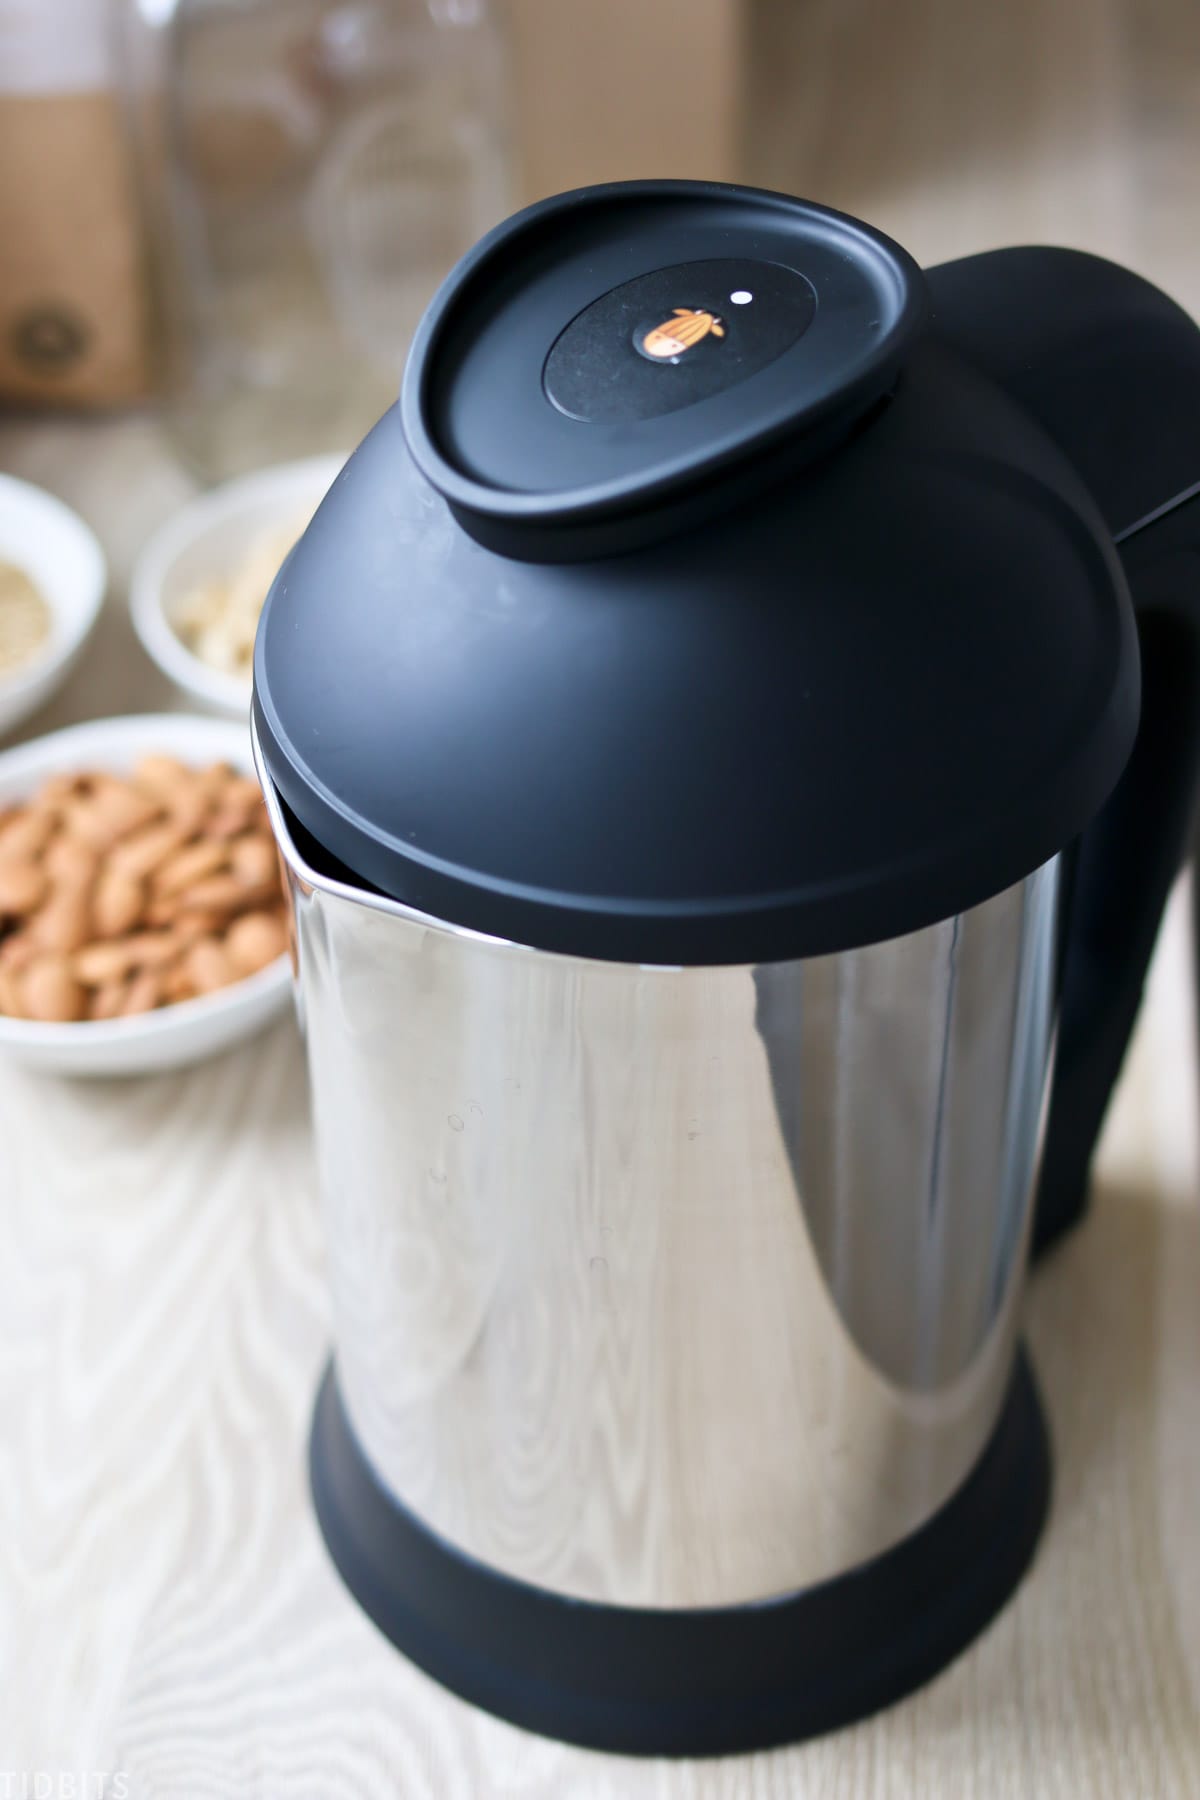
Once I discovered the Almond Cow – I became obsessed! This machine makes it so easy and effortless – if you plan to make it frequently, it is well worth the investment.
WHERE TO BUY THE ALMOND COW AND ALMOND/NUTS
You can click here to check out this product, and you can also use the code “CAMIG25” to get $25 dollars off your purchase of $200 or more.
You can also get a bundle deal with Almond Cow that includes a bag of organic almonds, whole oats and coconut shreds as well as this cute little glass milk jug.
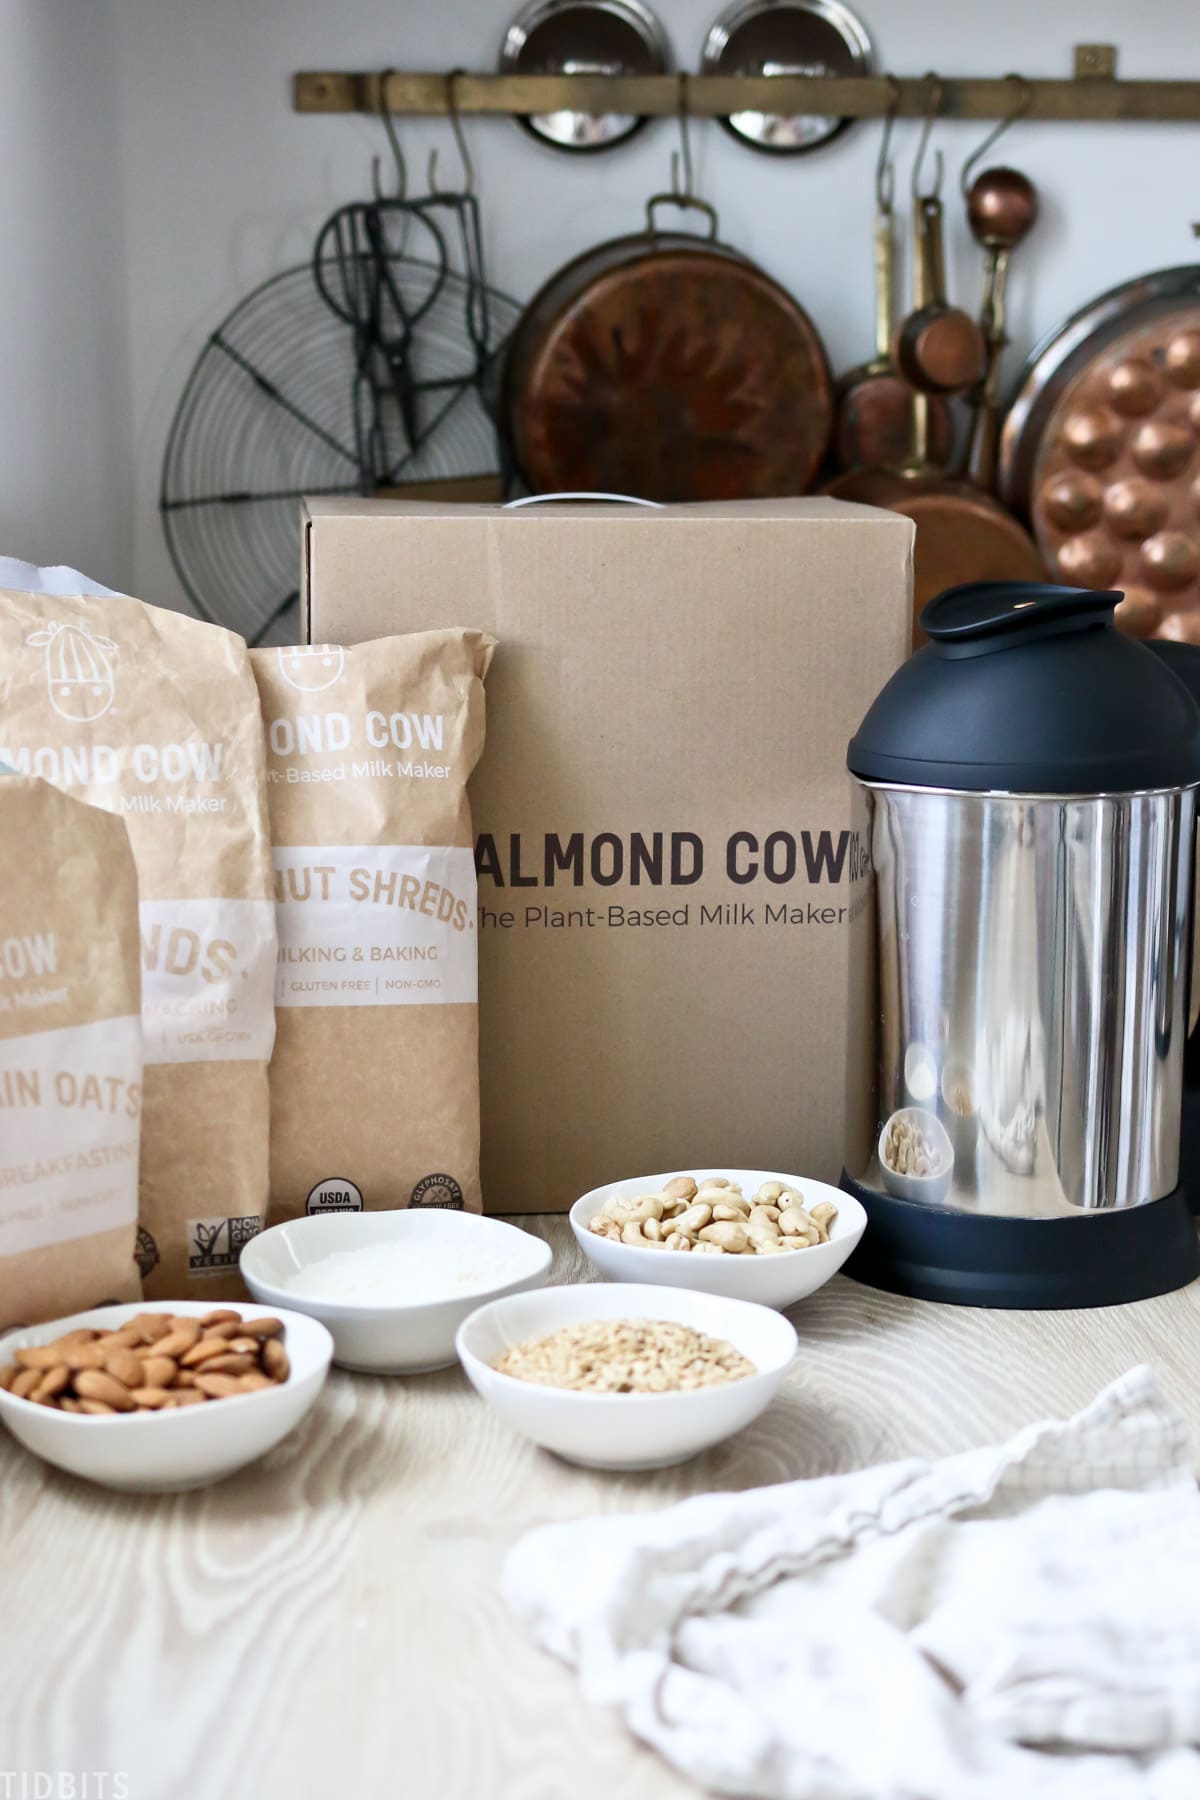
But I also like to find nuts in bulk at places like Costco, Sam’s Club and I’ll also link to some great priced nuts in bulk on Amazon.
HOW TO MAKE ALMOND MILK
Okay, enough chit chat – let’s dive into how to make Almond Milk – the most popular nut milk by far.
The beauty of the Almond Cow is that you don’t have to soak your almonds before making it! You can opt to soak them for 4 hours – but you don’t have to. This machine is powerful enough to get right down to business.
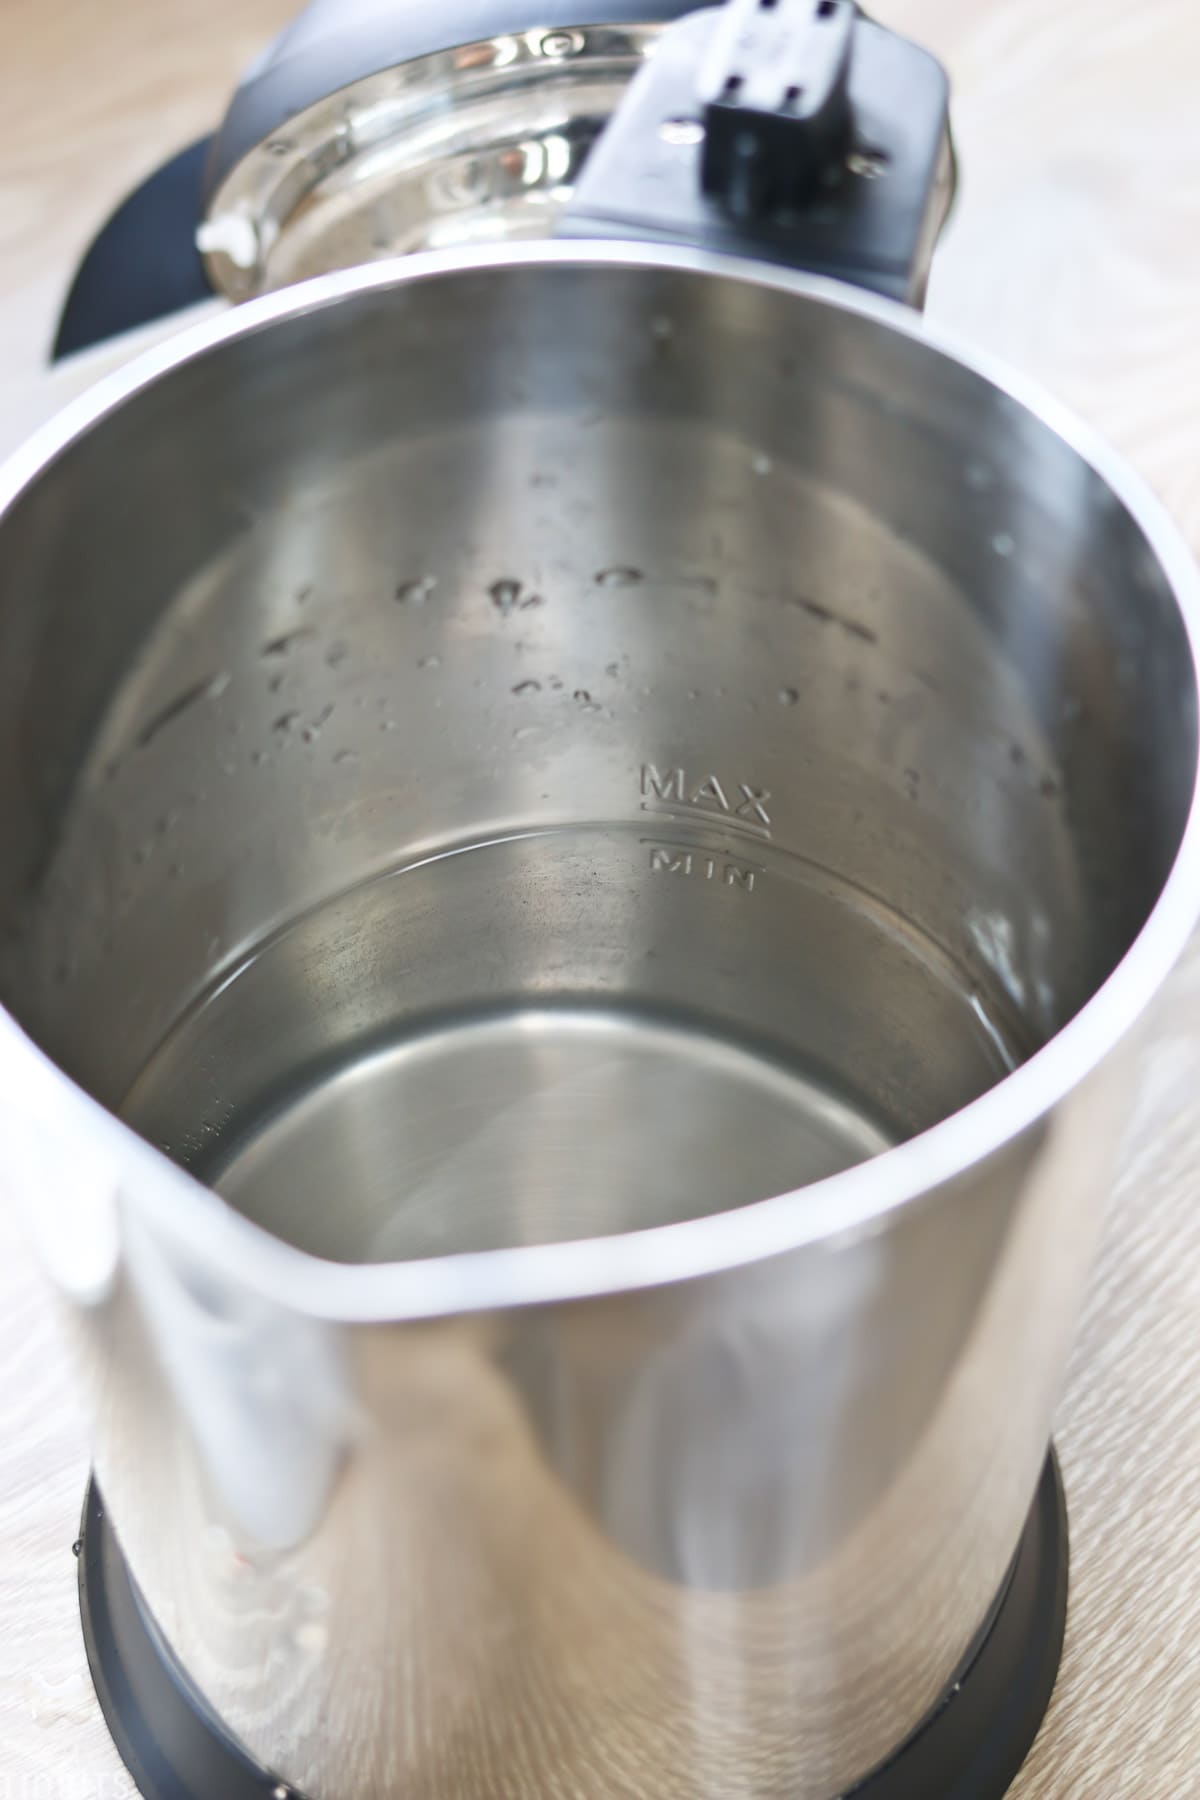
STEP 1: Fill the base of the Almond Cow with water up to the min or max line. I prefer the minimum line because the nut flavor is just a bit stronger.
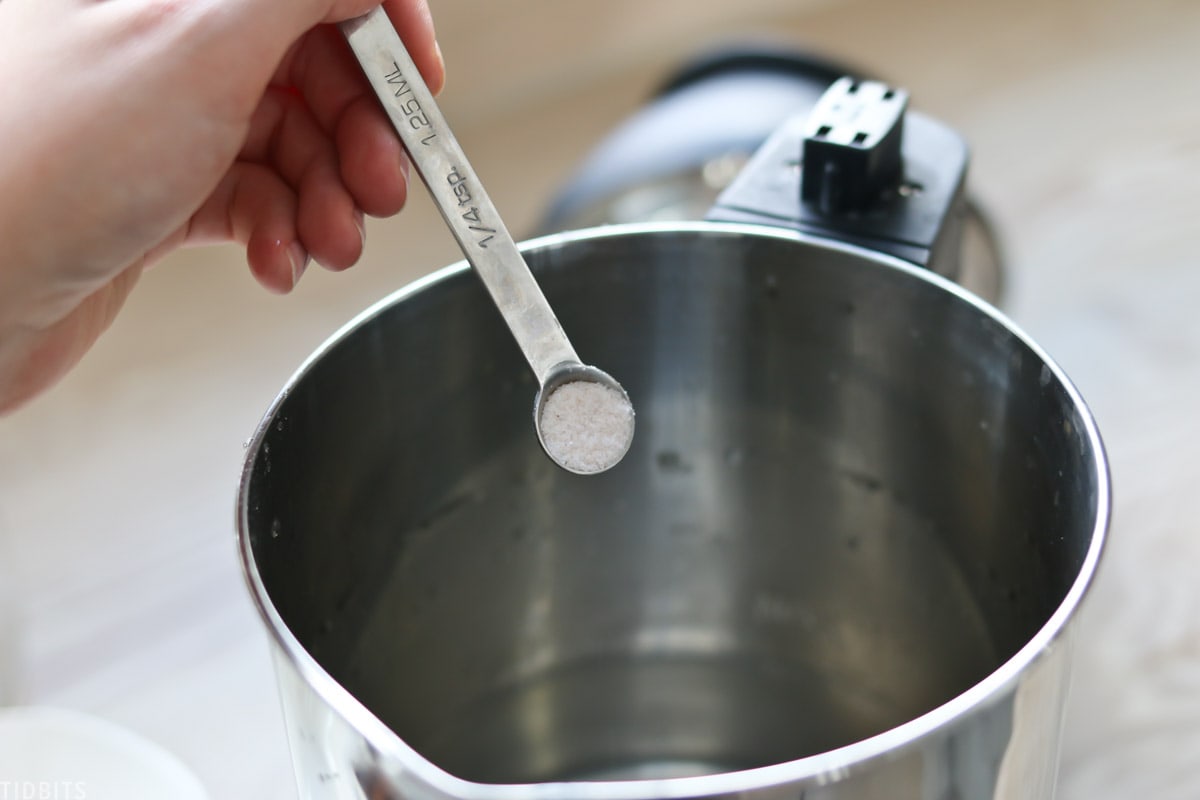
STEP 2: Add salt to your water, and a splash of vanilla if desired. If you are using a vanilla paste you’ll want to add that with the nuts instead of directly into the water.

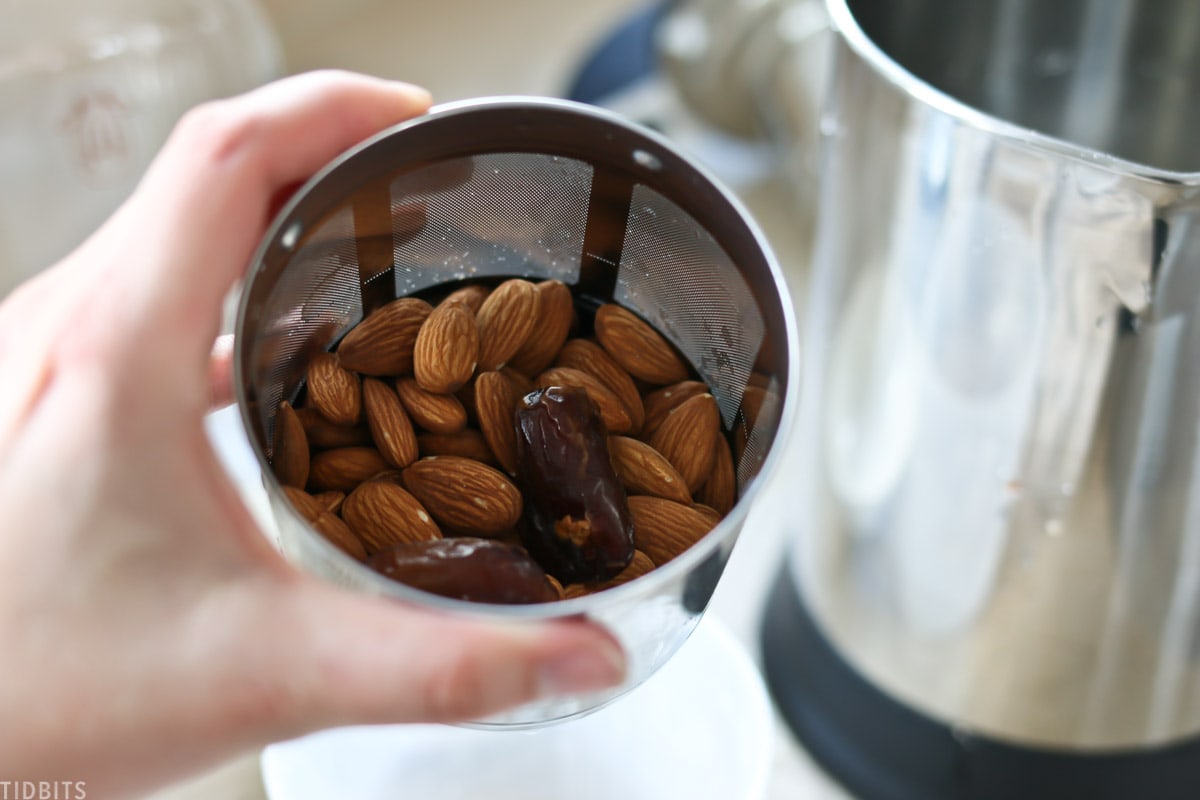
STEP 3: Use the filler basket to add your cup of almonds up to the fill line. I like to add about 3 pitted dates to my almonds, to sweeten it just a bit. You can also add your maple syrup or other sweetener in here as well.
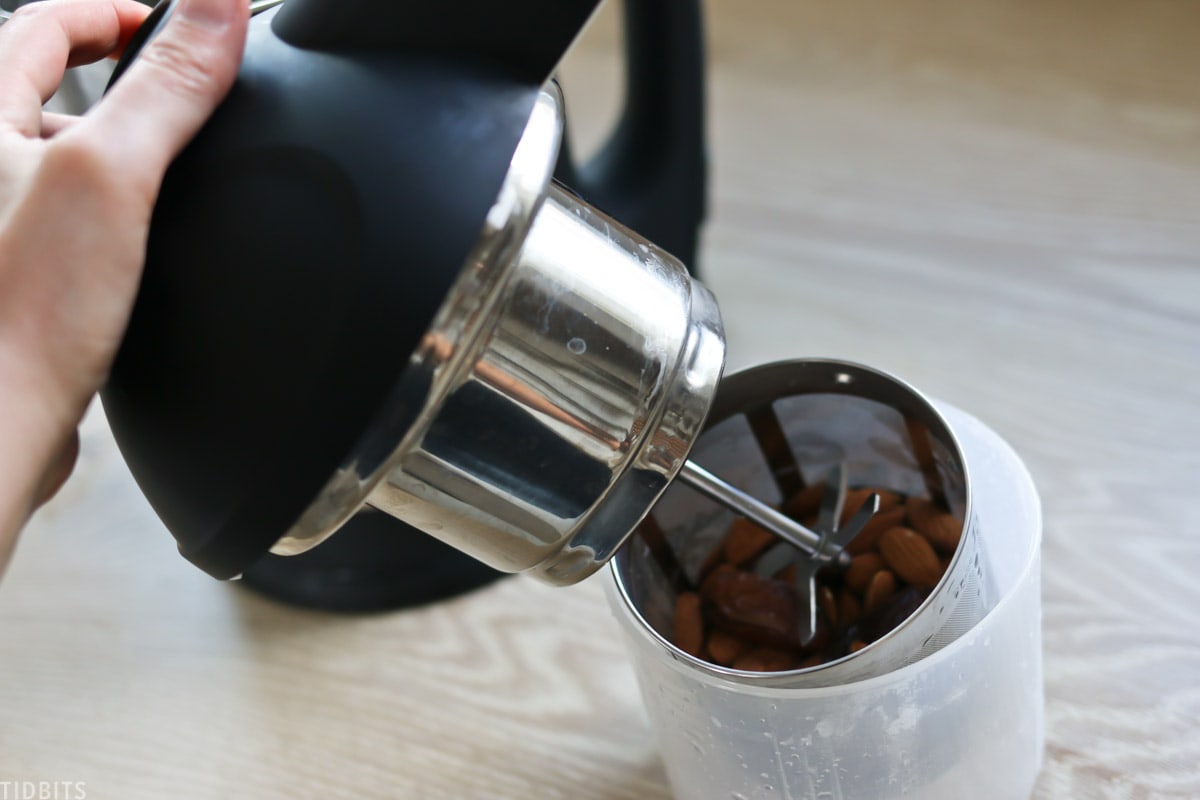
STEP 4: Then you simply attach the filler basket to the Almond Cow. Give it a little shake to work the blade down past the nuts, and twist it closed.
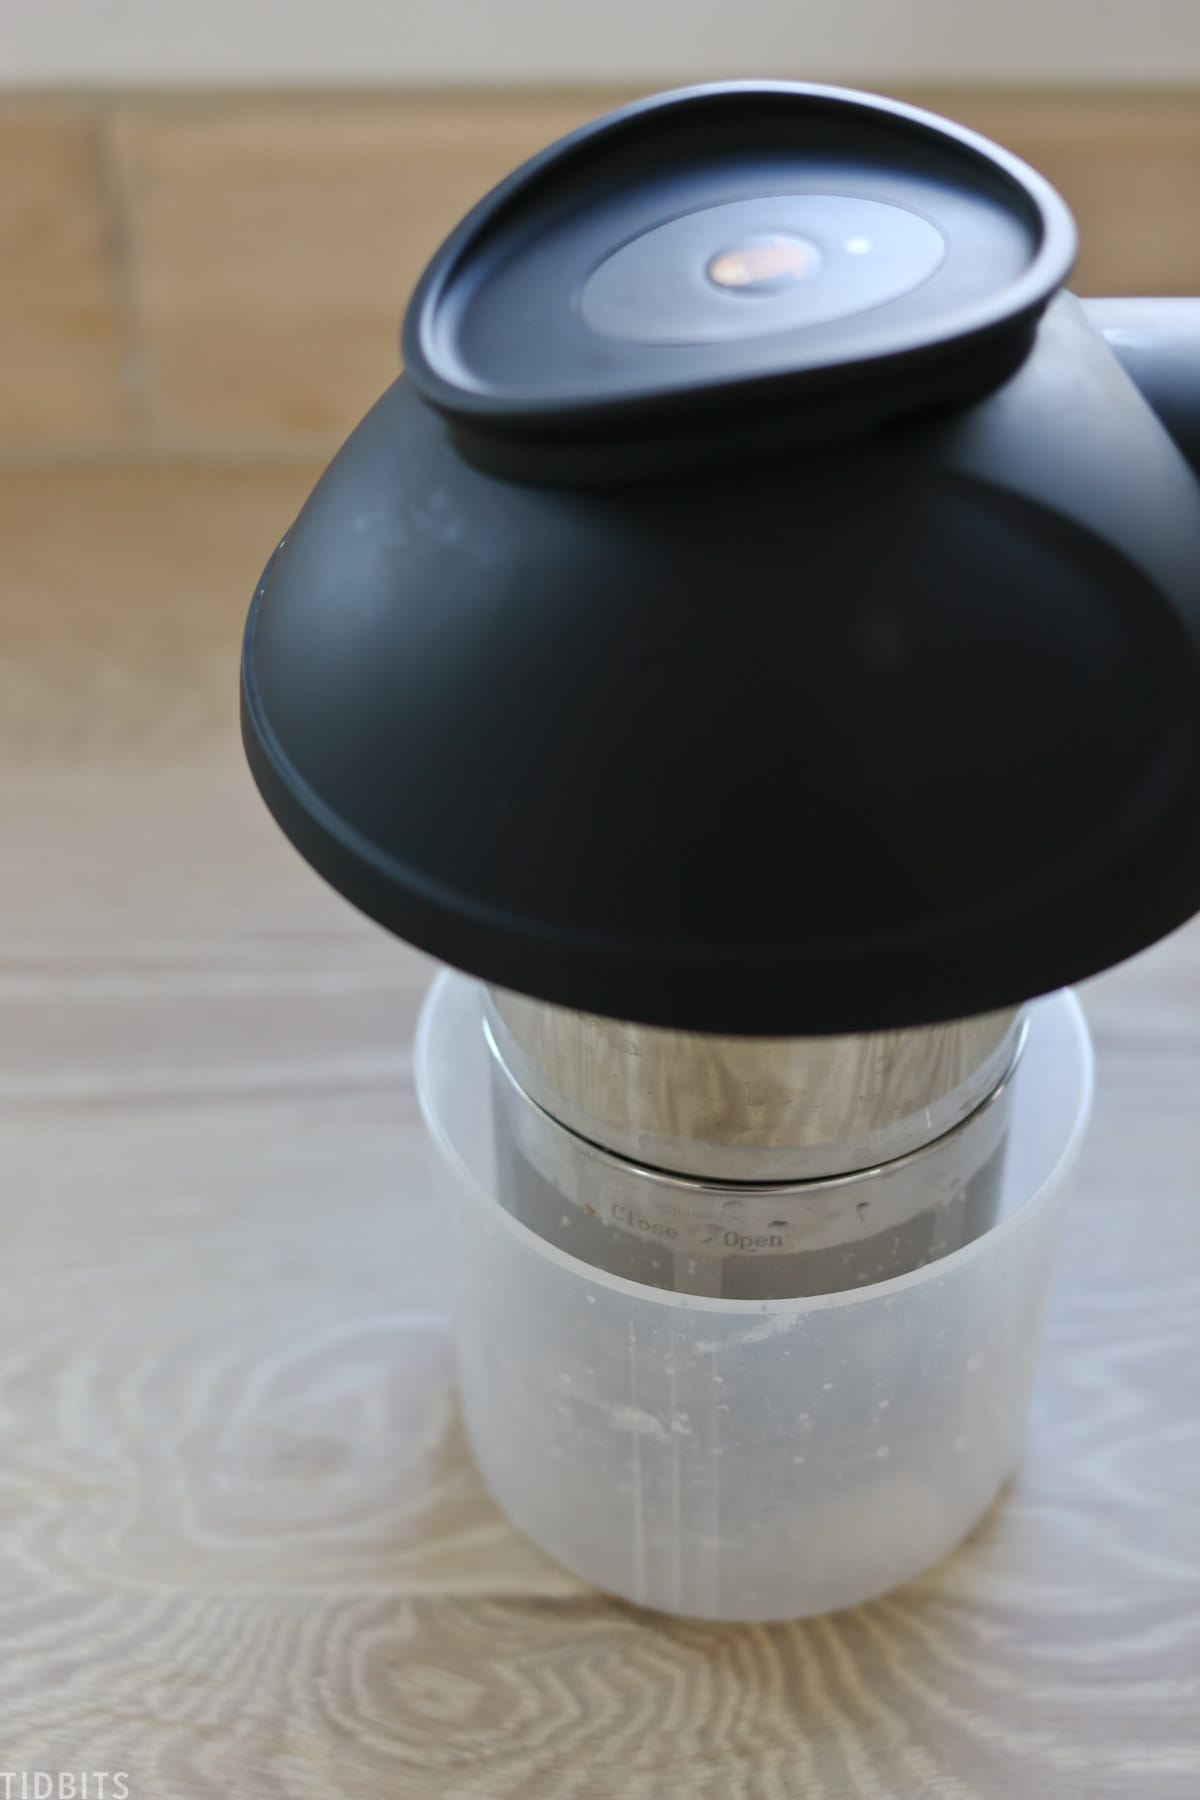
STEP 5: Attach the lid and you are ready to push this top button. The Almond Cow will run 3 cycles, which total less than 60 seconds – then it’s done. It’s incredibly fast!


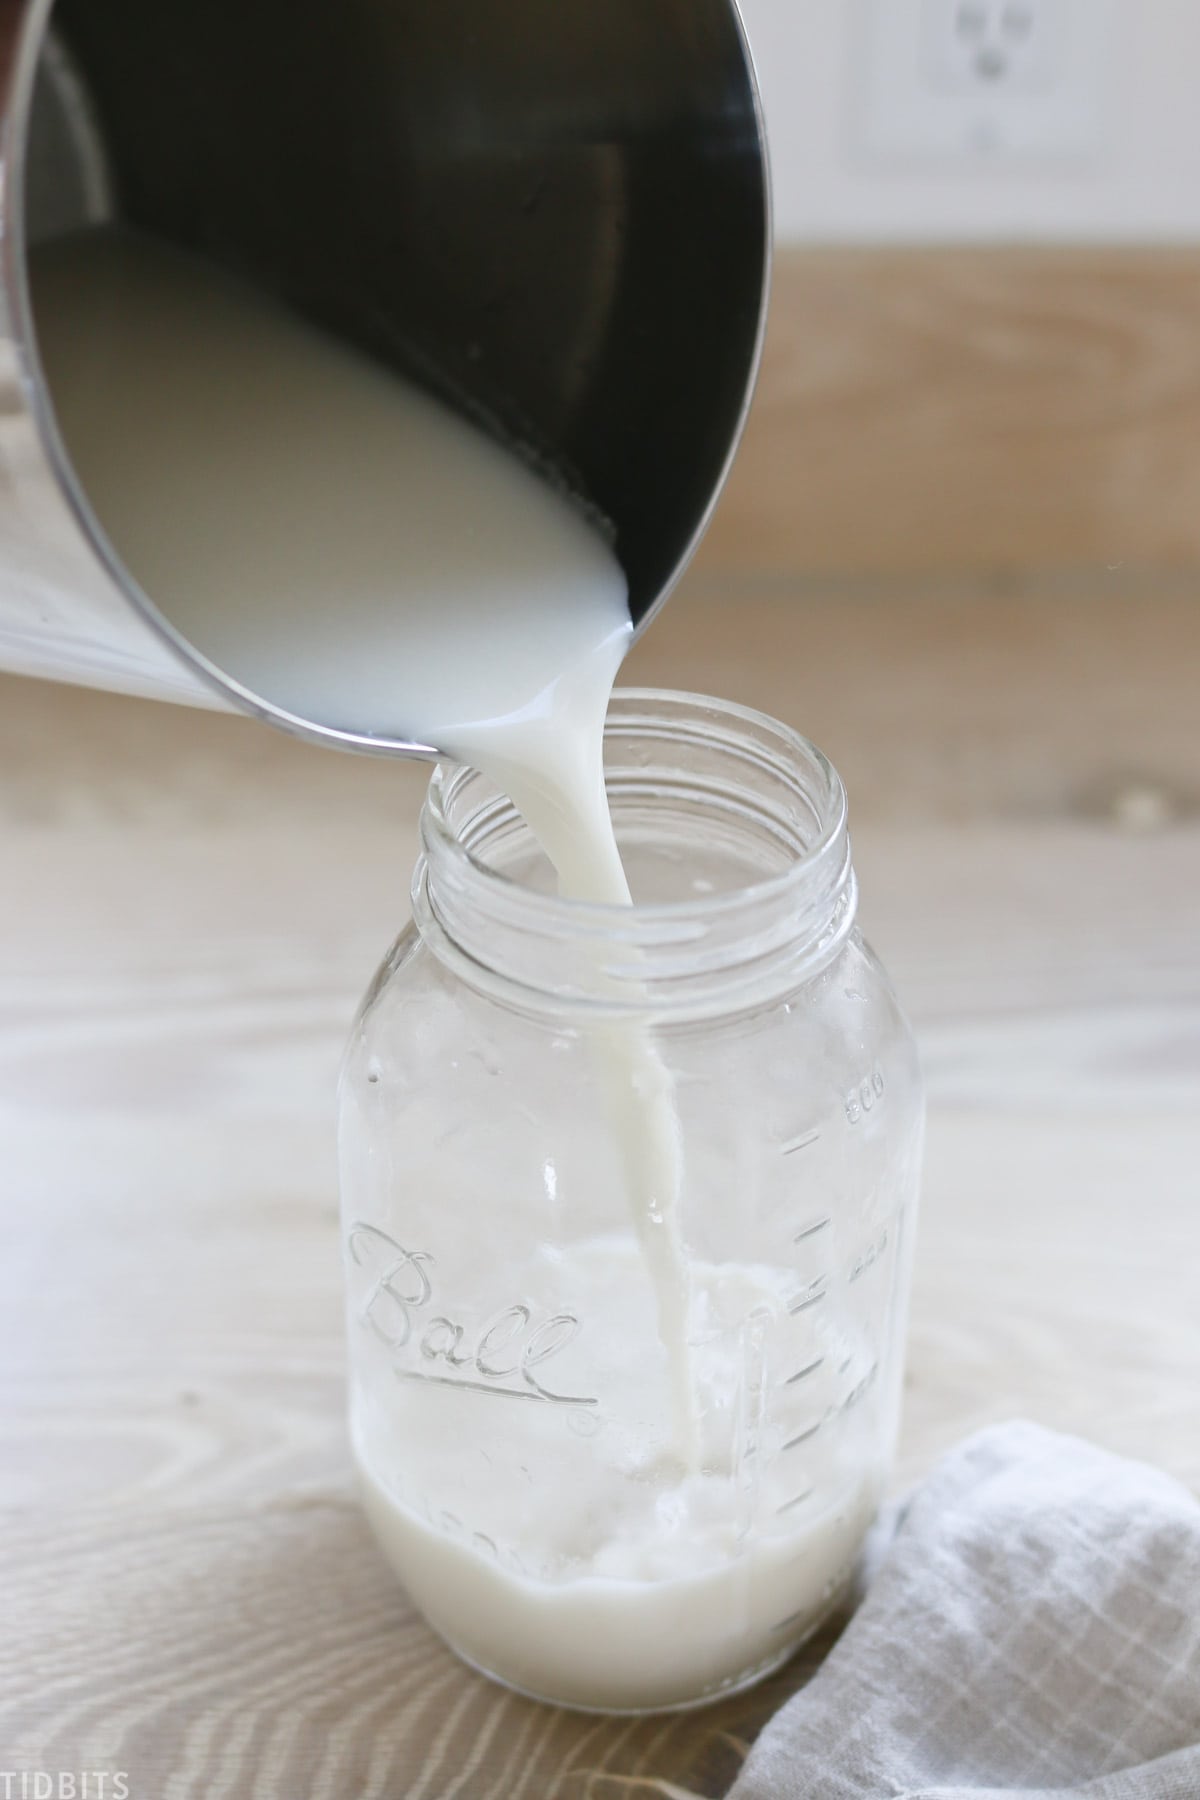
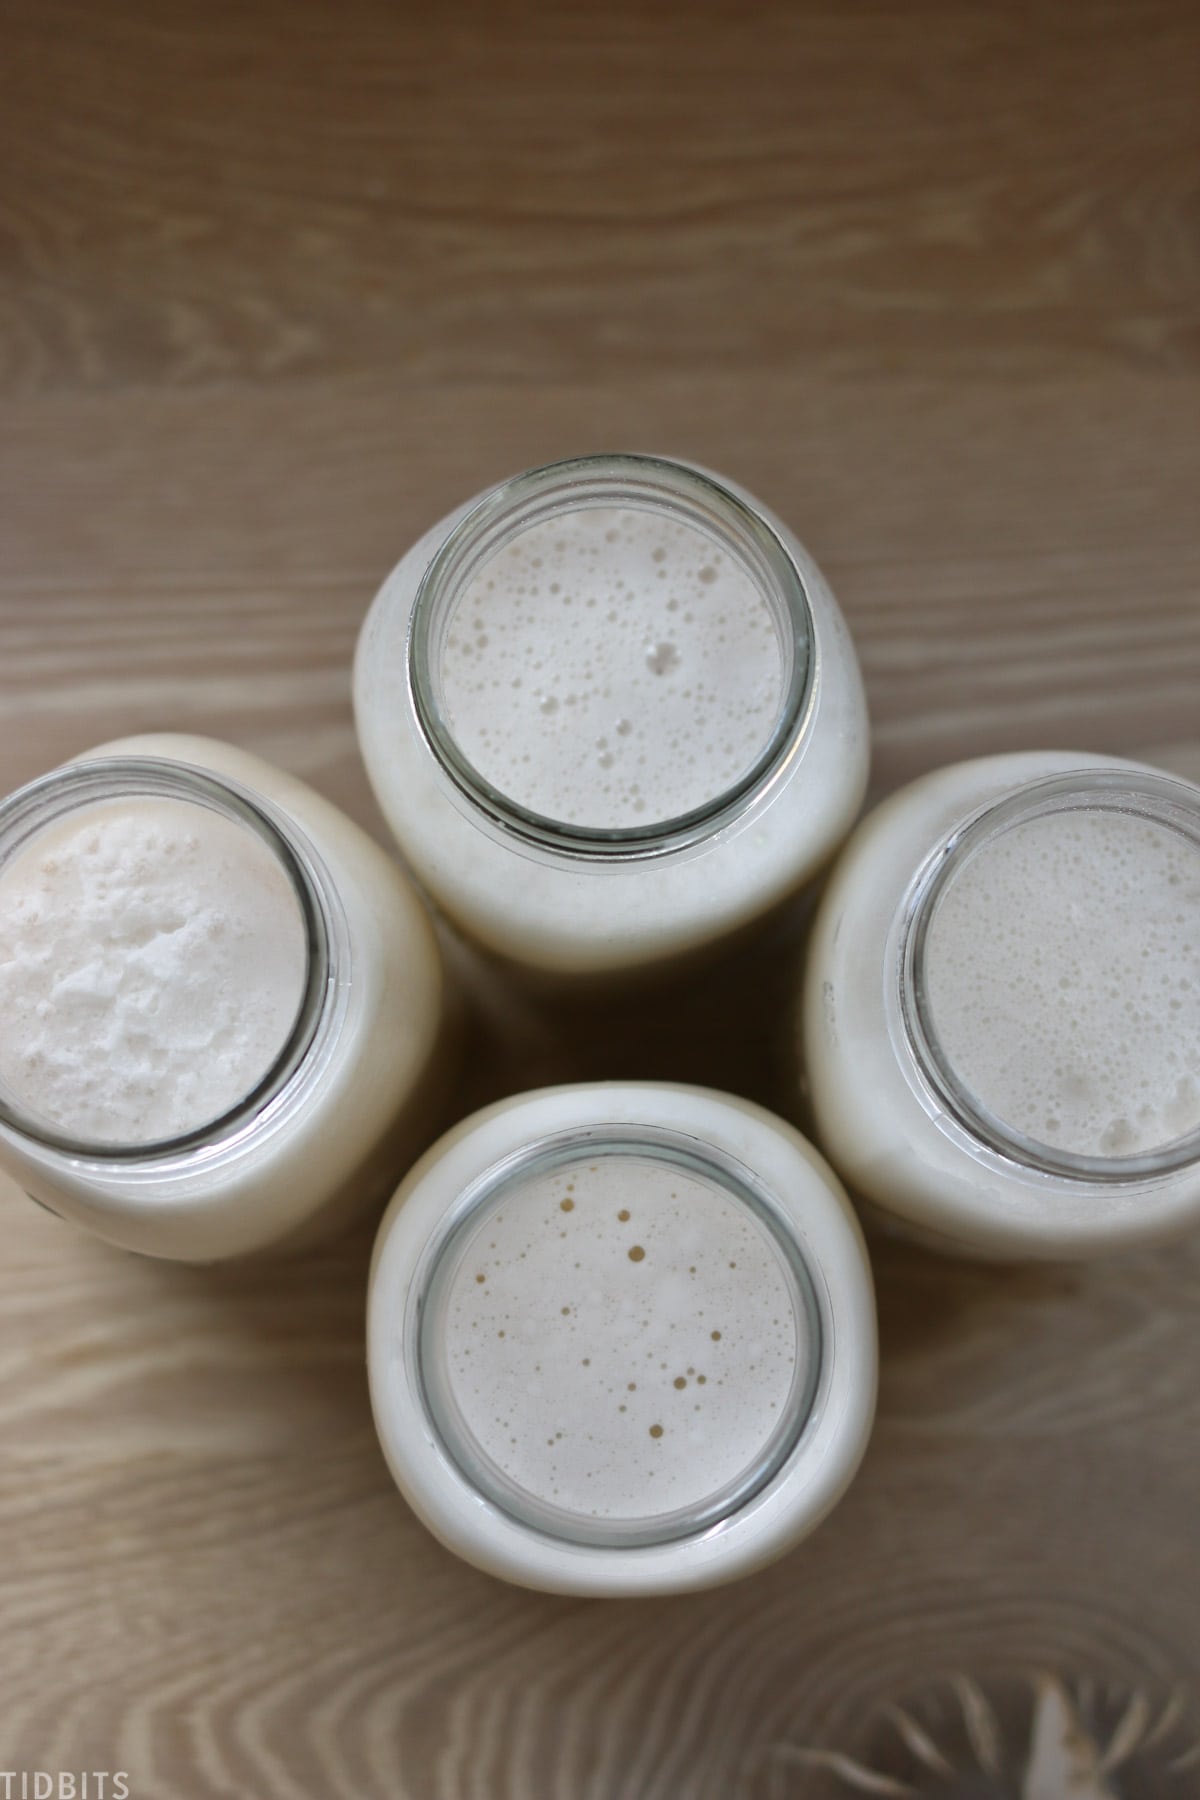
STEP 5: Open it up and you can see your beautiful frothy almond milk.
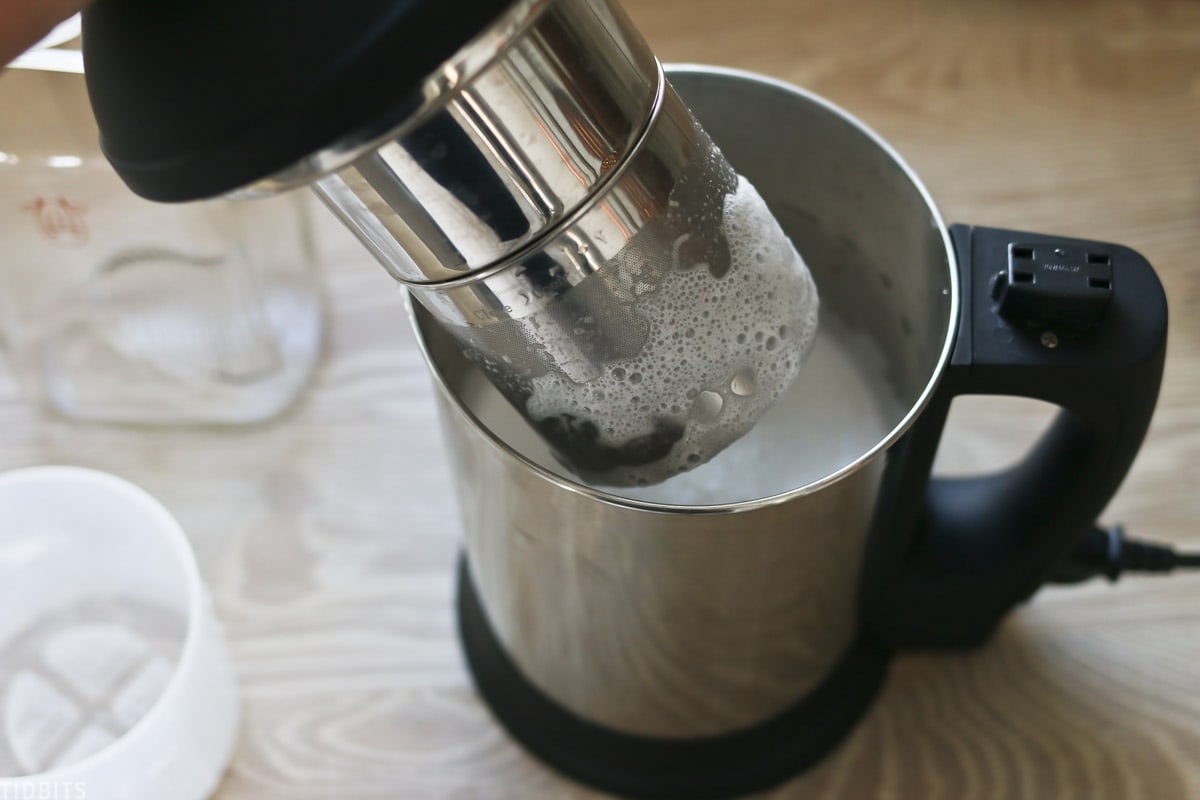
There is a handy dispenser cup where you can let the remainder of the liquid strain.
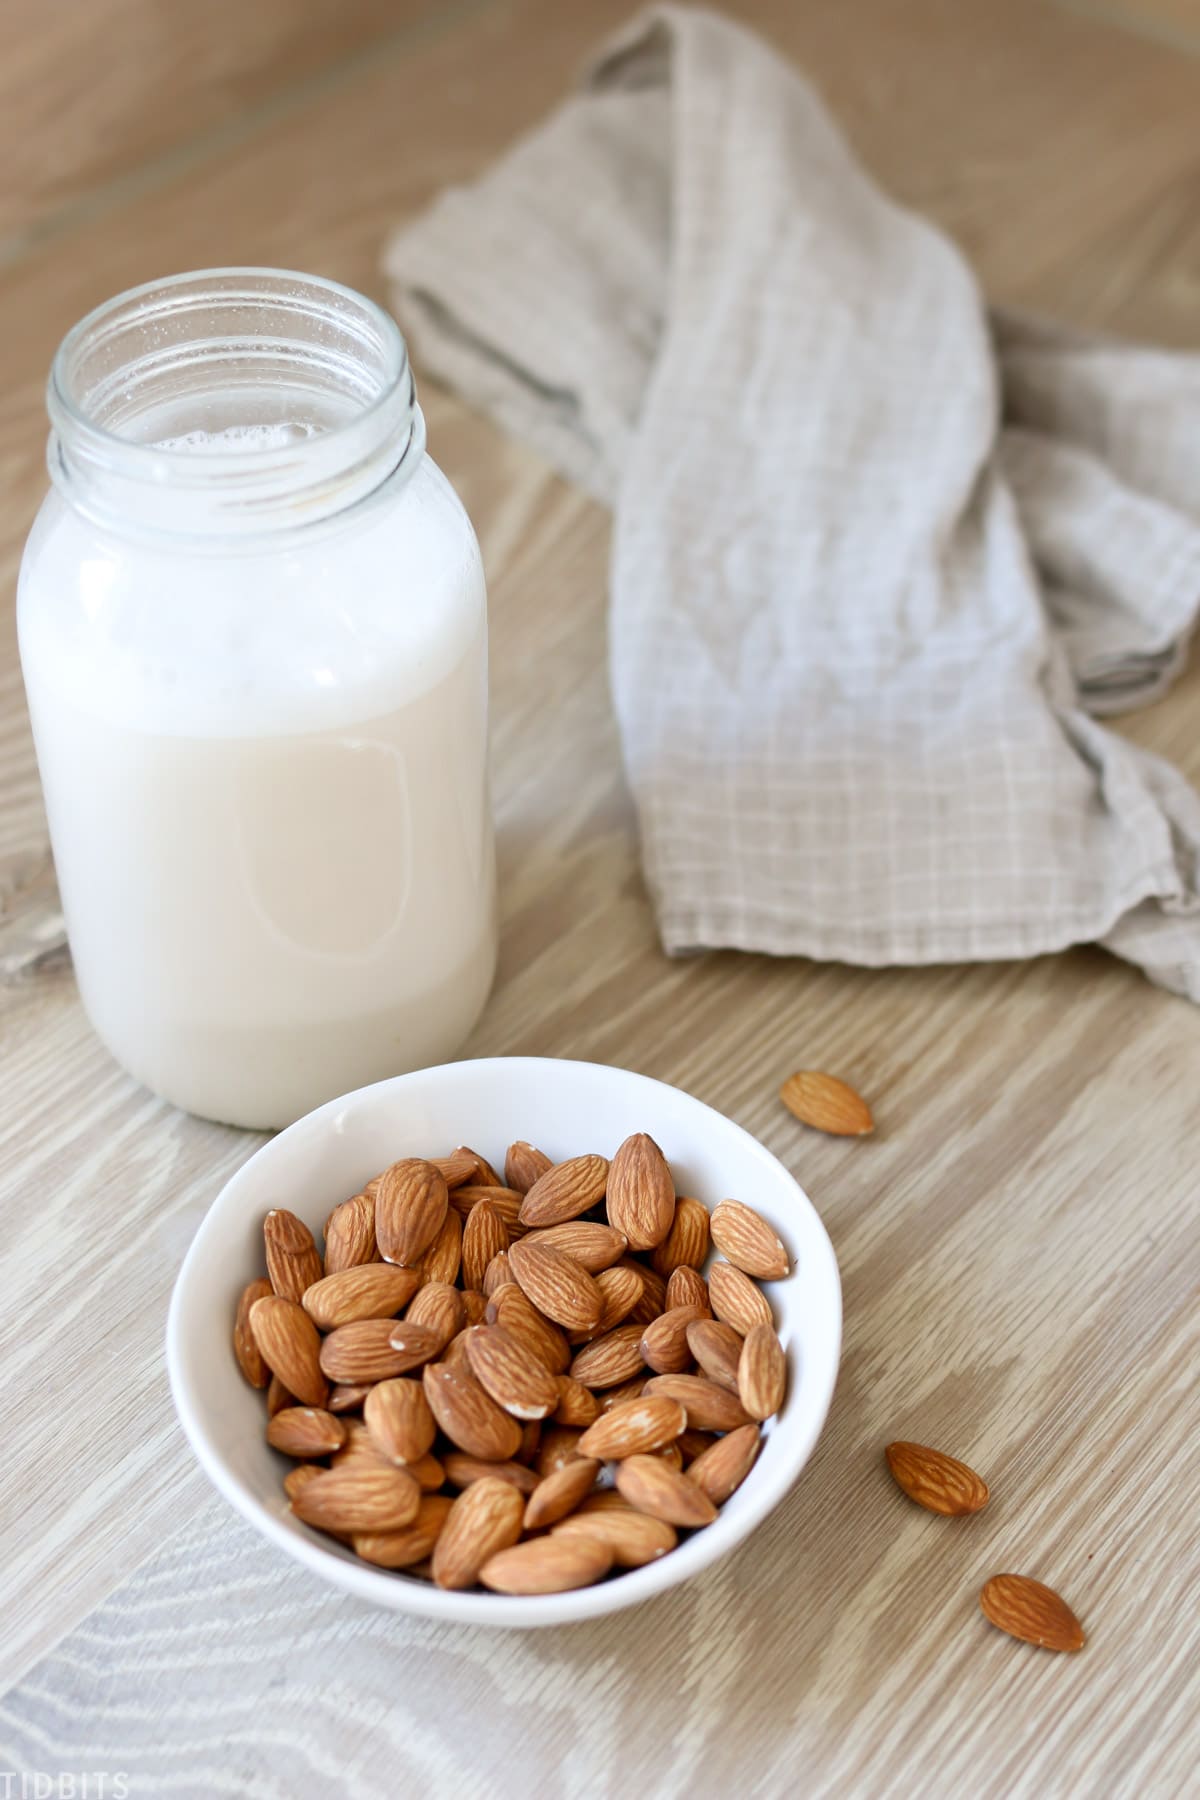
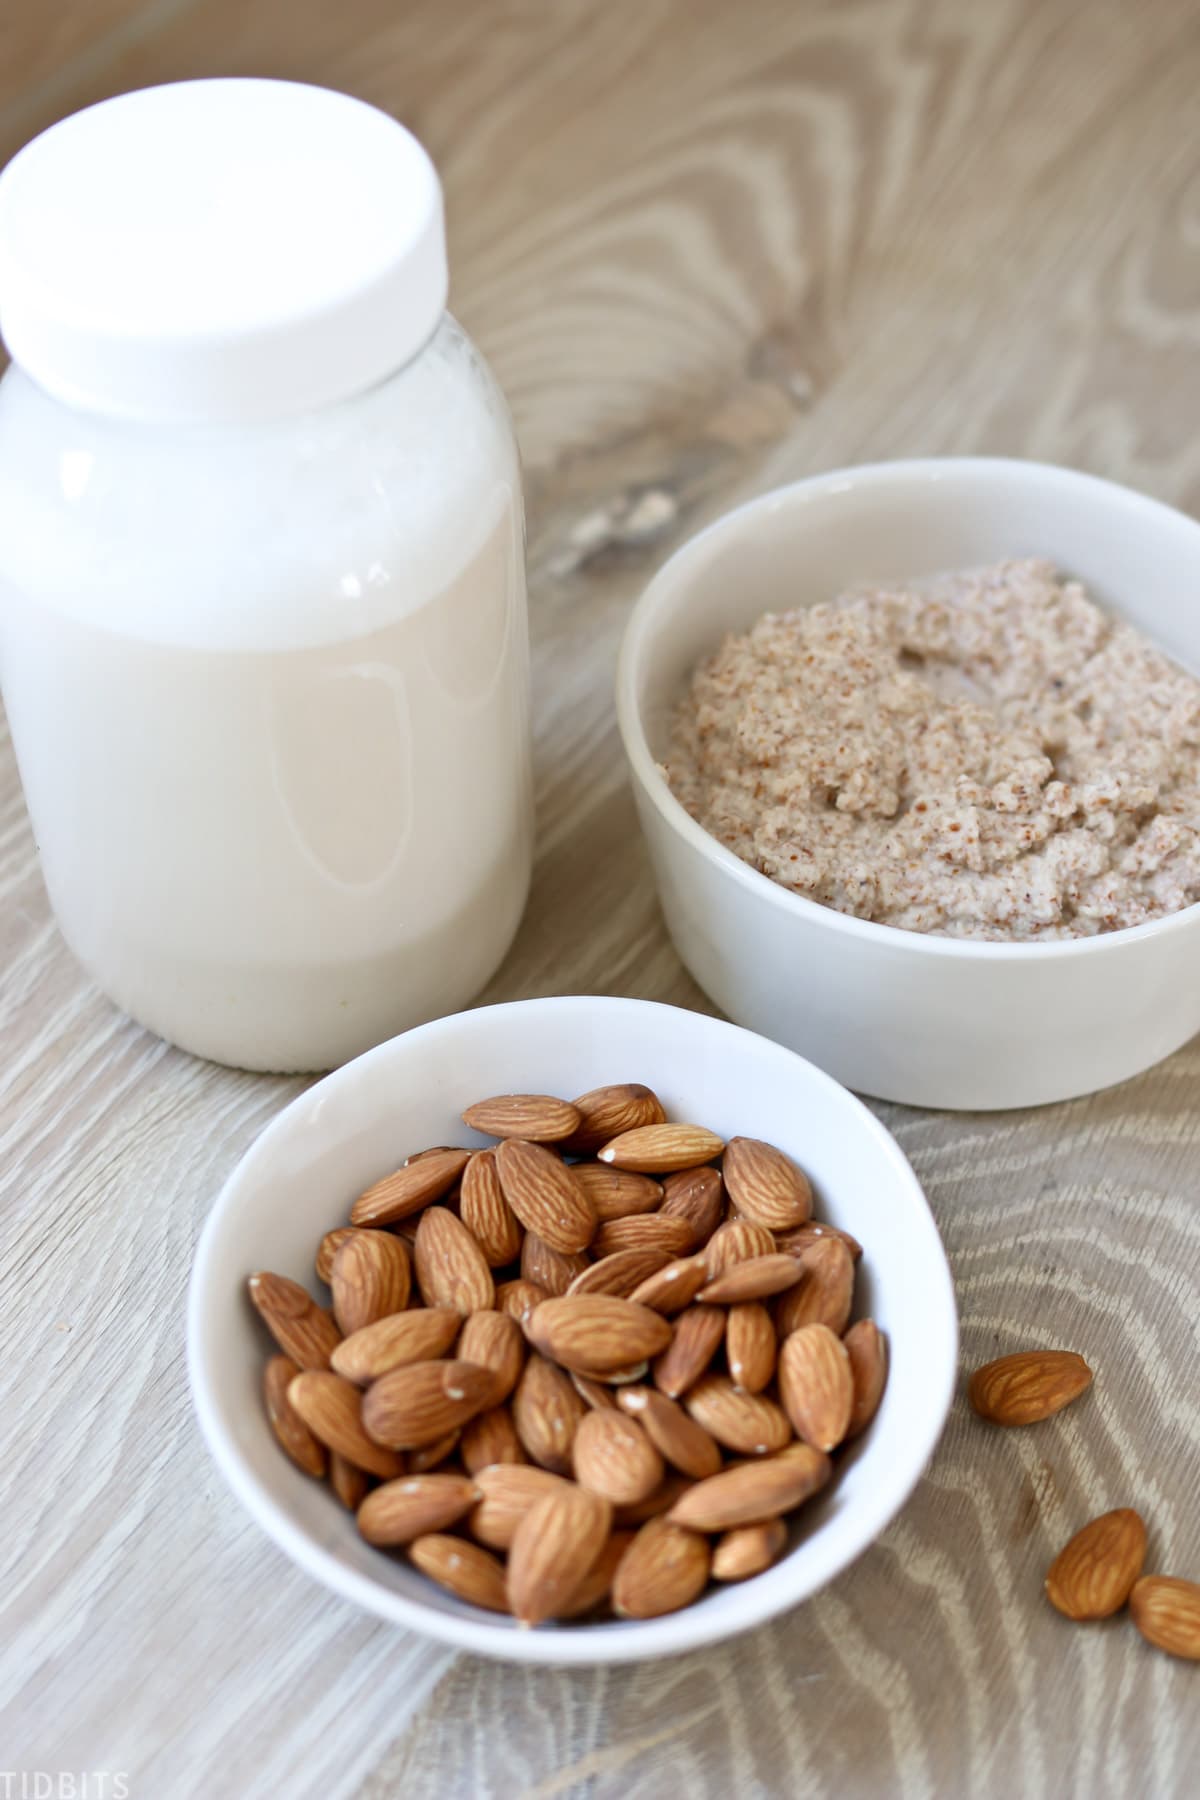
You can just pour your Almond milk directly into your glass container or cup. It can be stored up to 3 – 5 days in your fridge. One cup of almonds will yield 4-5 cups of milk (depending on how much water you add).

Isn’t that amazingly easy!
WHAT TO DO WITH THE ALMOND PULP
Before I show you a quick run down on the other milks, let’s talk about this almond pulp that is left over.
You can use every bit of this in several ways. The Almond Cow website has many many recipes using the almond pulp.
My favorite ways to use it up is to just throw a scoop or 2 into our smoothies for added fiber and texture. I’ve also come up with an easy granola recipe my family loves that I always keep on hand to top our homemade yogurt or for our favorite smoothie bowls.
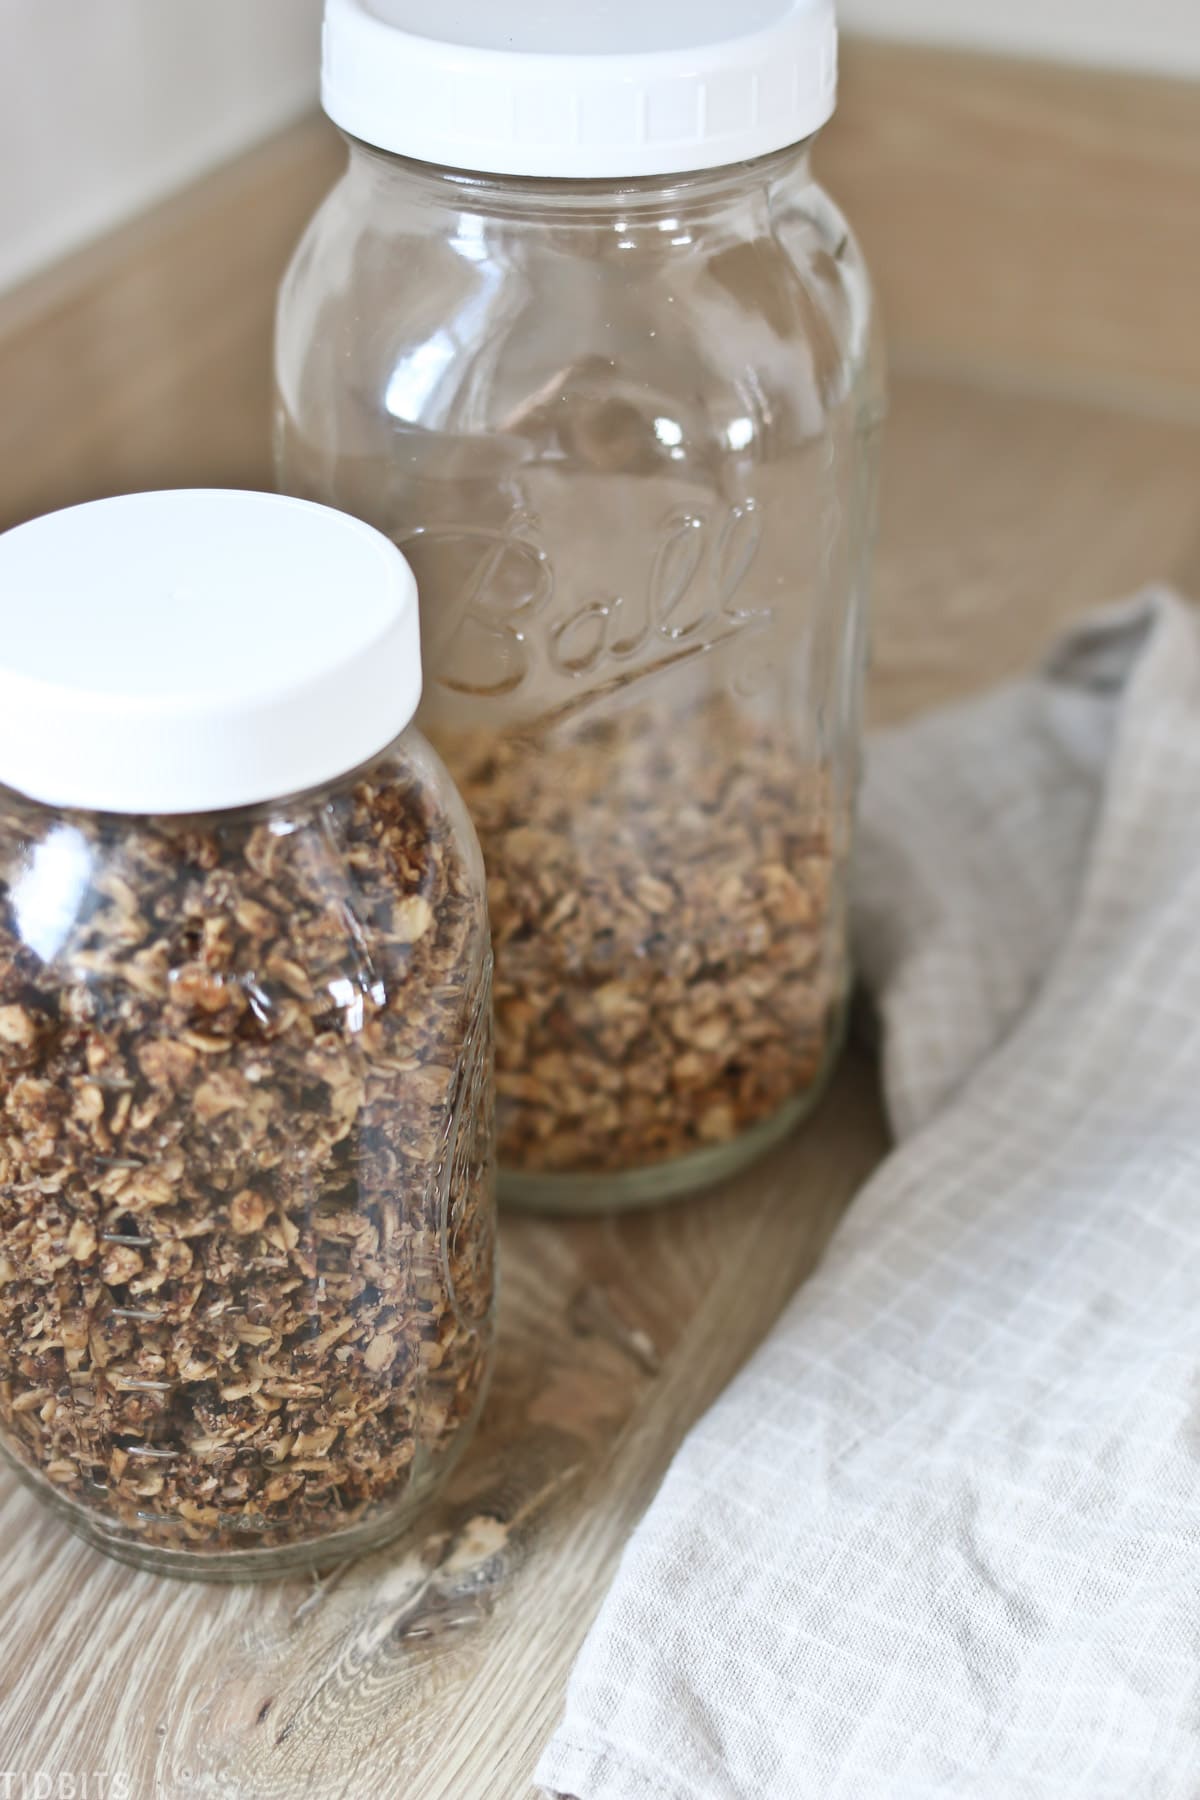
Let me know if that is a recipe you would like me to share, but you’ll also find granola recipes on the Almond Cow website. There really are so many ways to not have any of this go to waste.
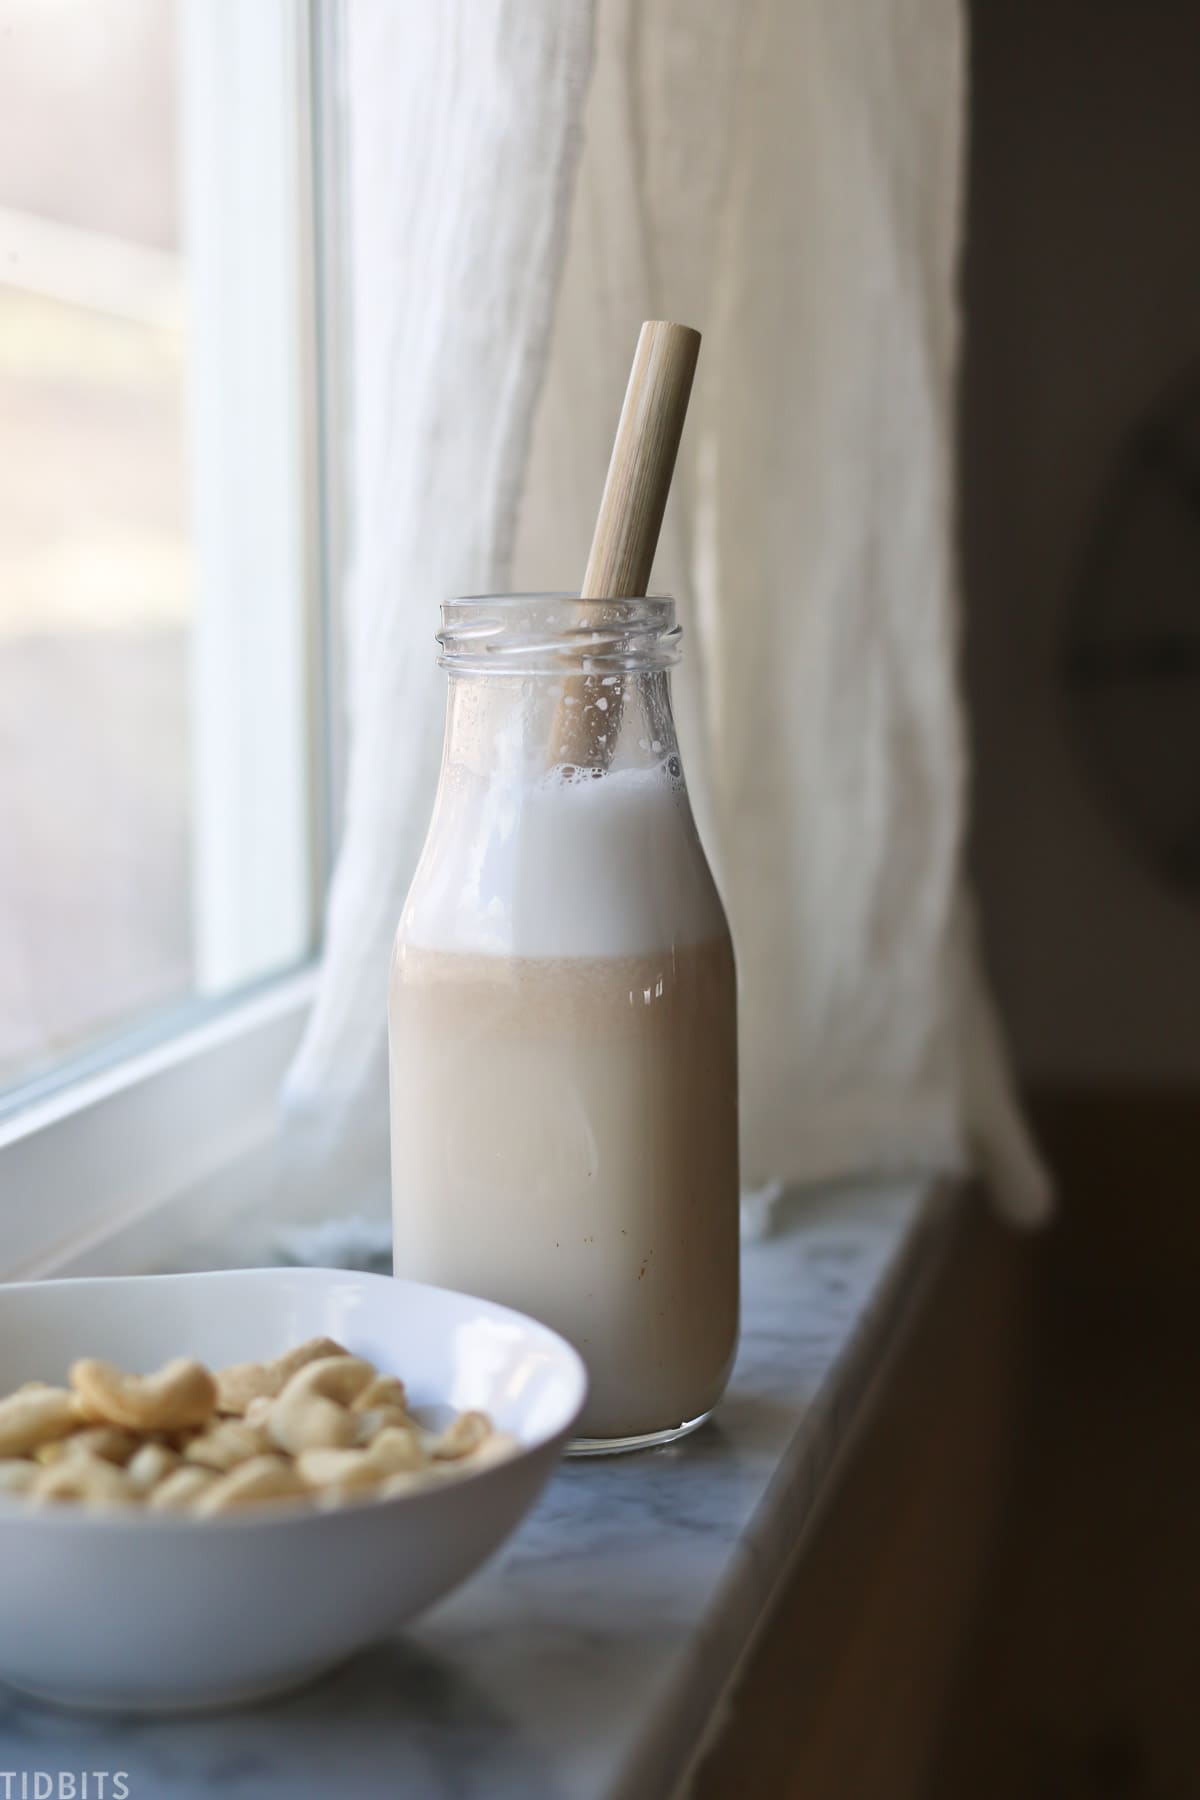
HOW TO MAKE CASHEW MILK
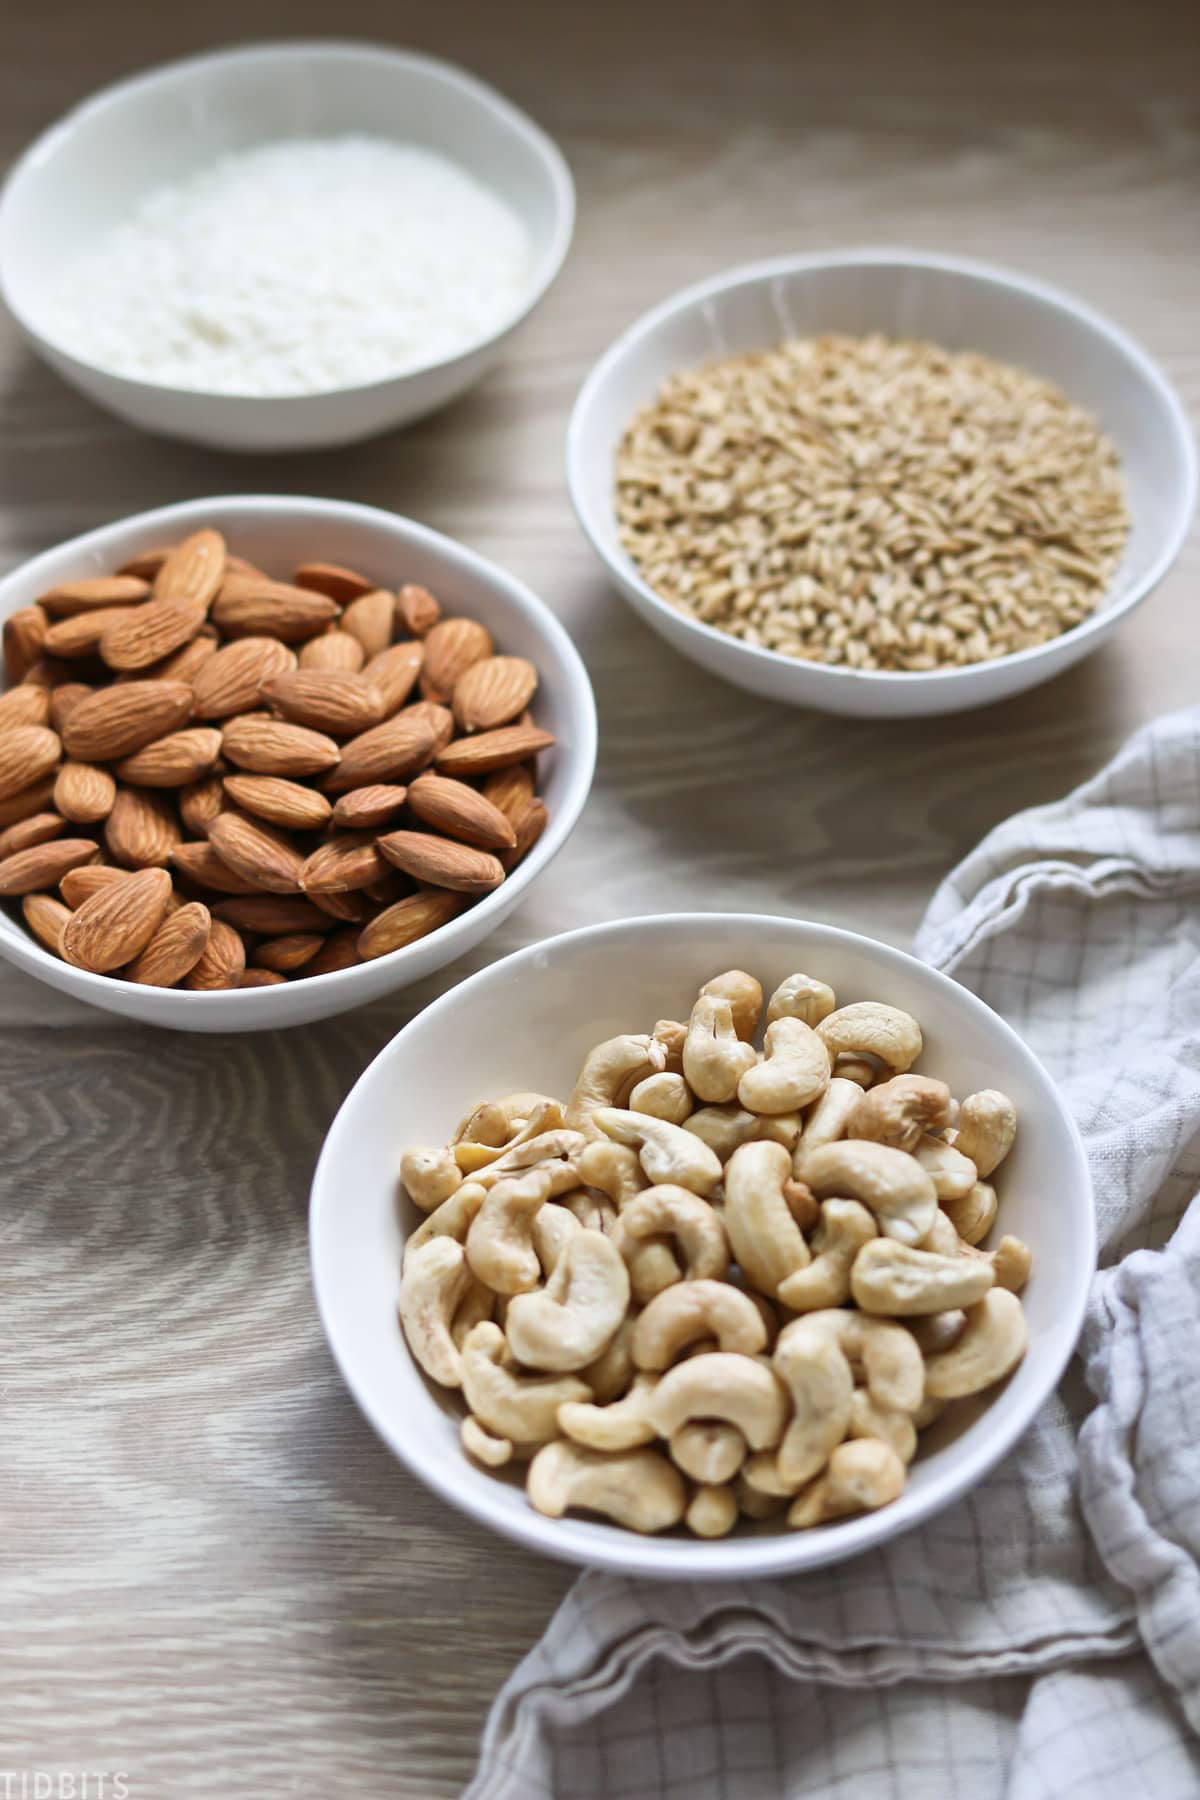
Cashew milk is just the same as Almond. You’ll want raw, unsalted and unroasted cashews to make your milk.
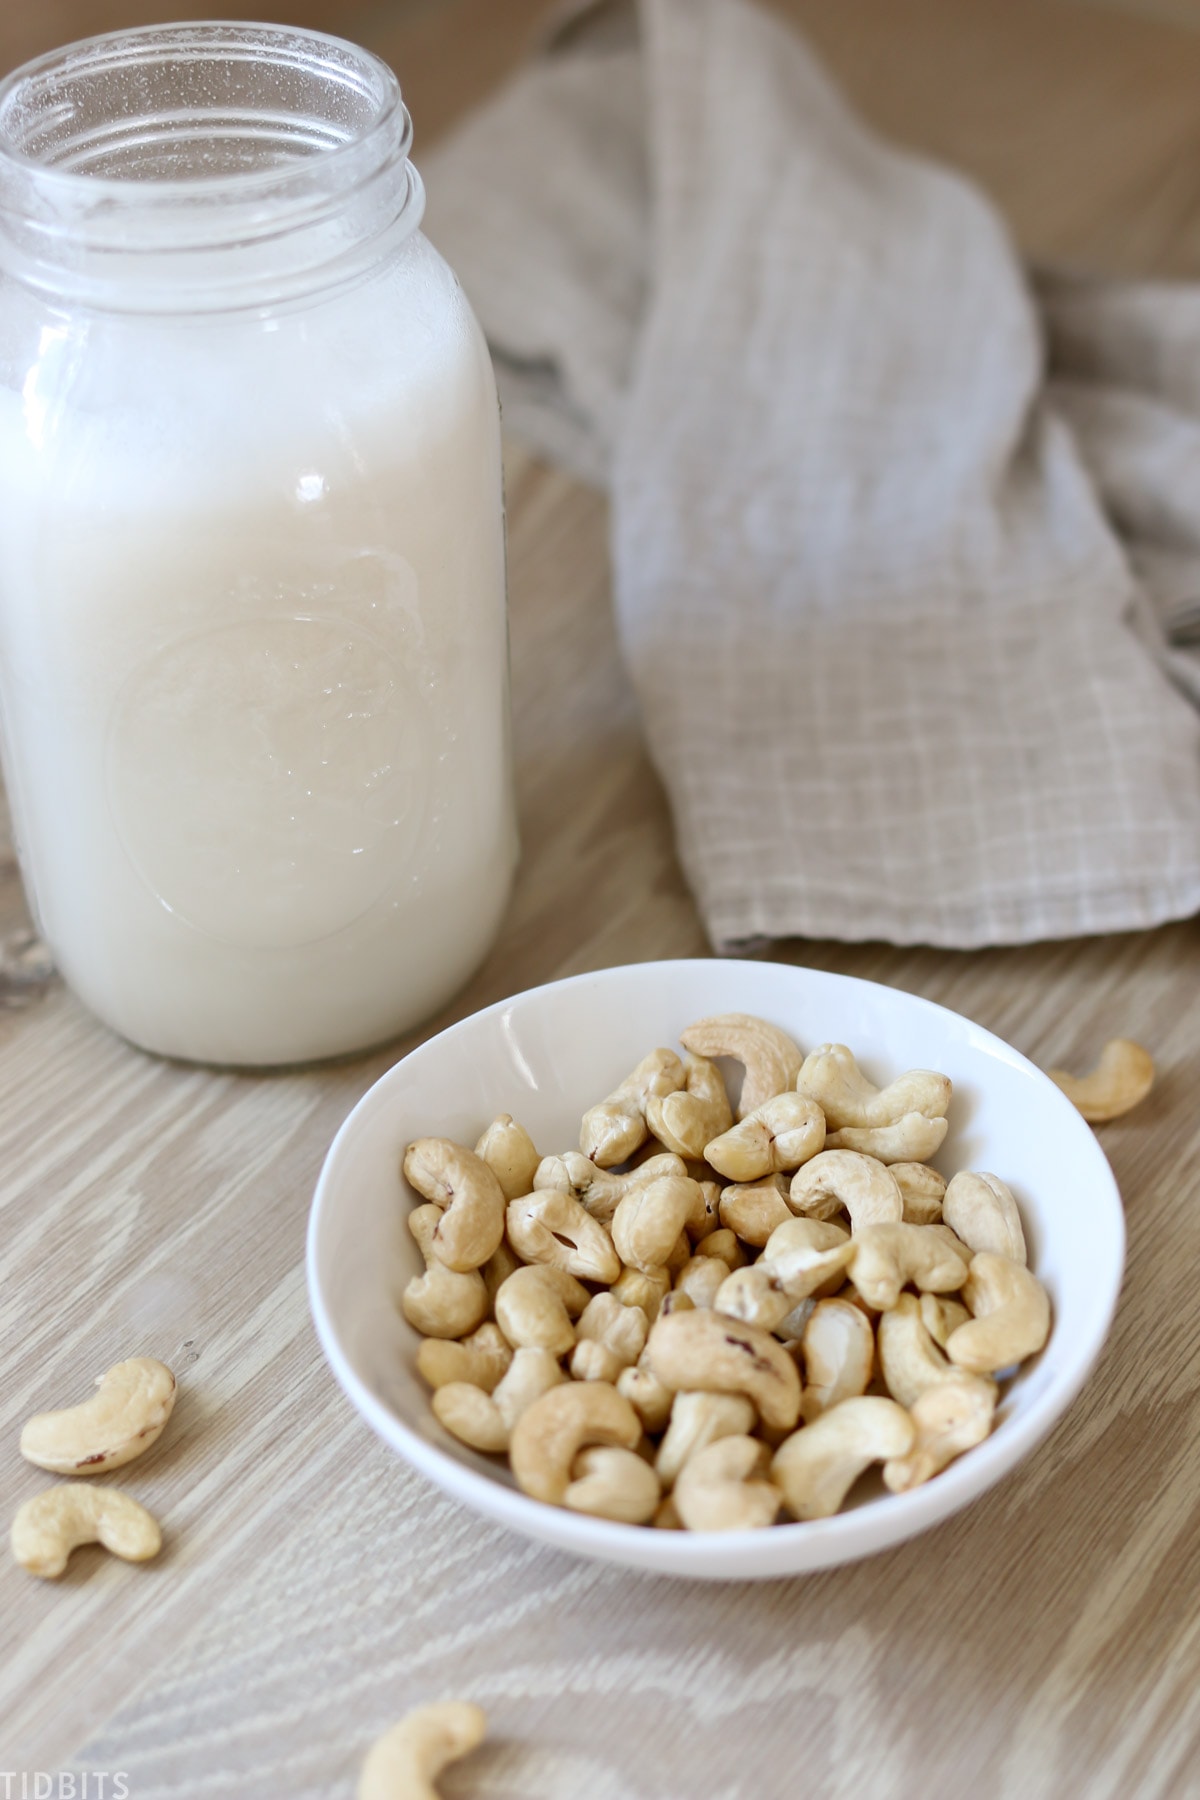
There is no need to soak the nuts and it is made just the same as the almond milk.
Just add your water, salt, nuts, dates or other sweetener to the filler basket. Put on the lid. Press the button and wait for the 3 cycles.
Cashew milk is so creamy and delicious! It’s a favorite around here! I will say, the pulp left over is more runny so I opt to use that mostly just to throw into smoothies.

HOW TO MAKE OAT MILK
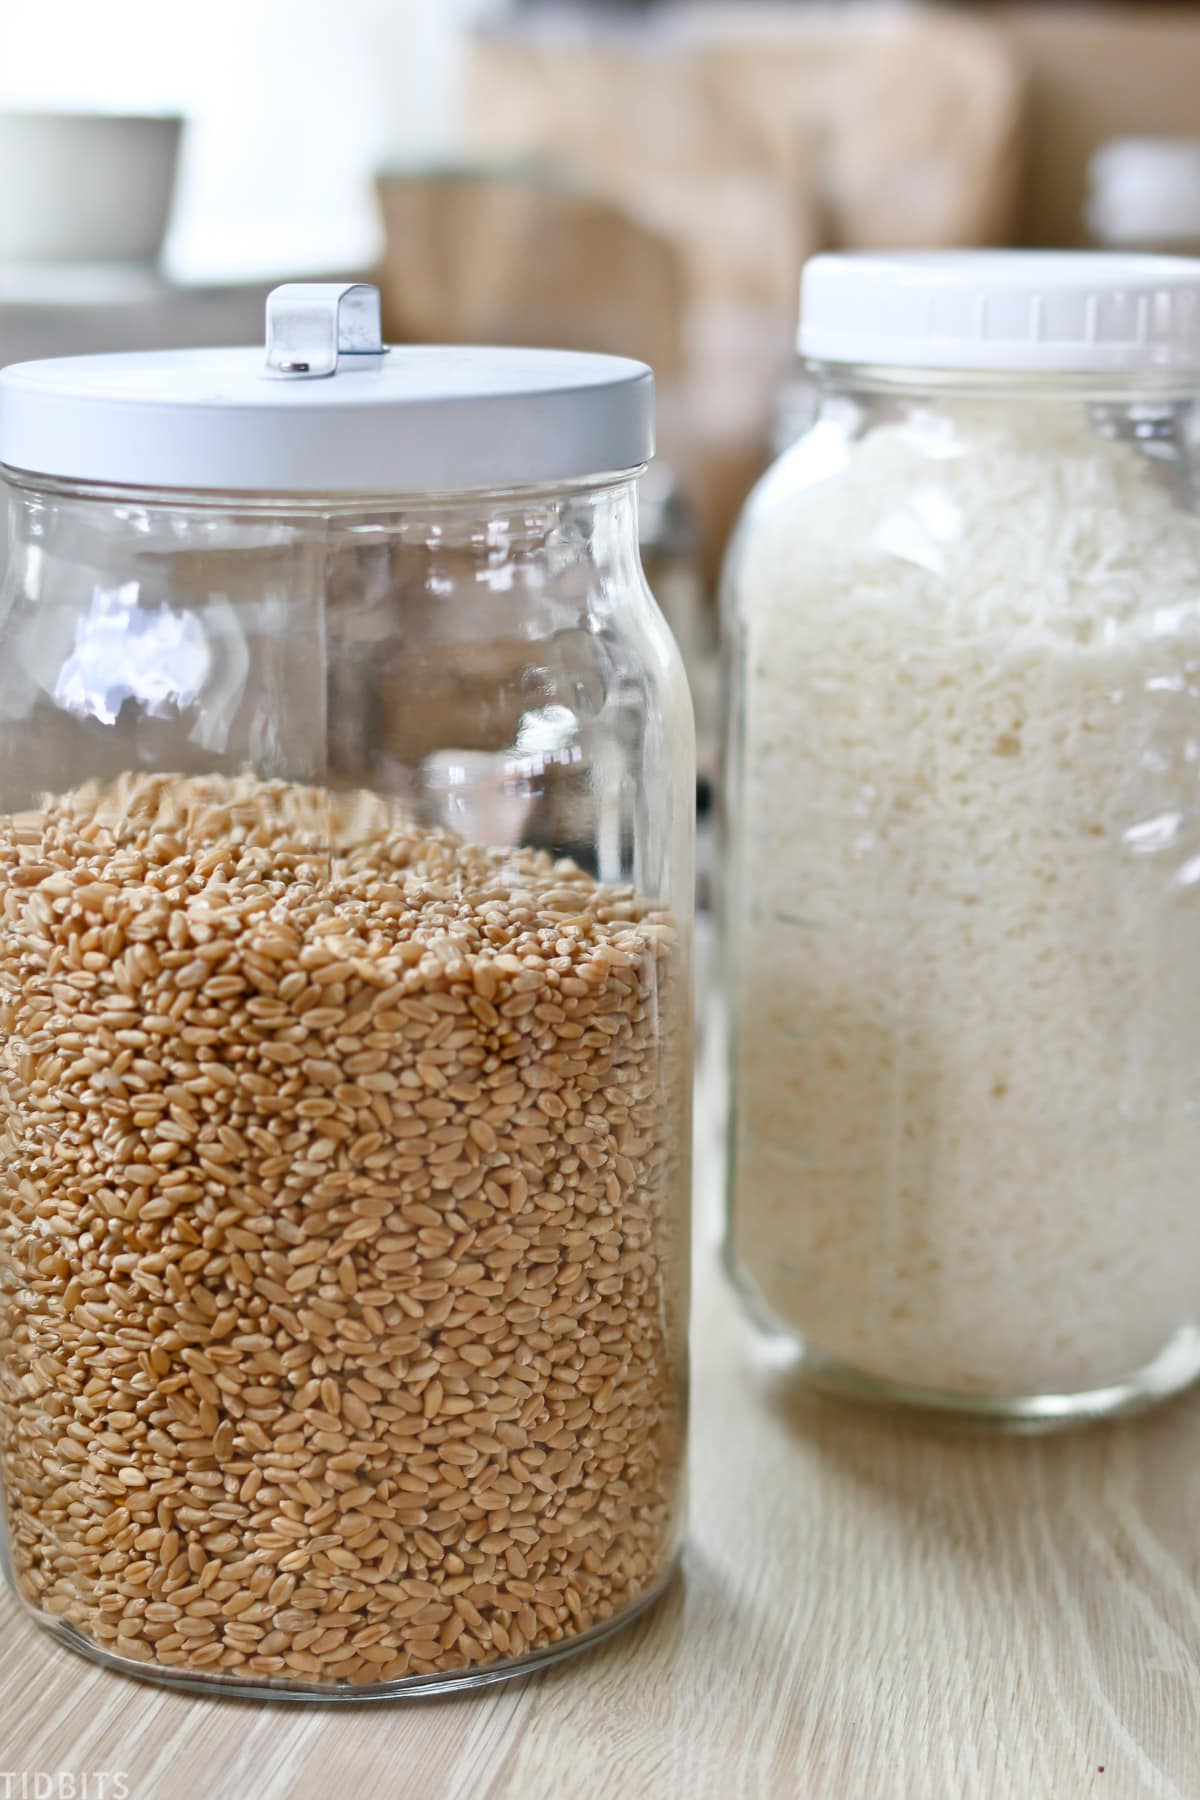
Oat milk has some slightly different requirements. You’ll want to use whole oats, not rolled. Because these are such a hard grain, you DO NEED to soak them.
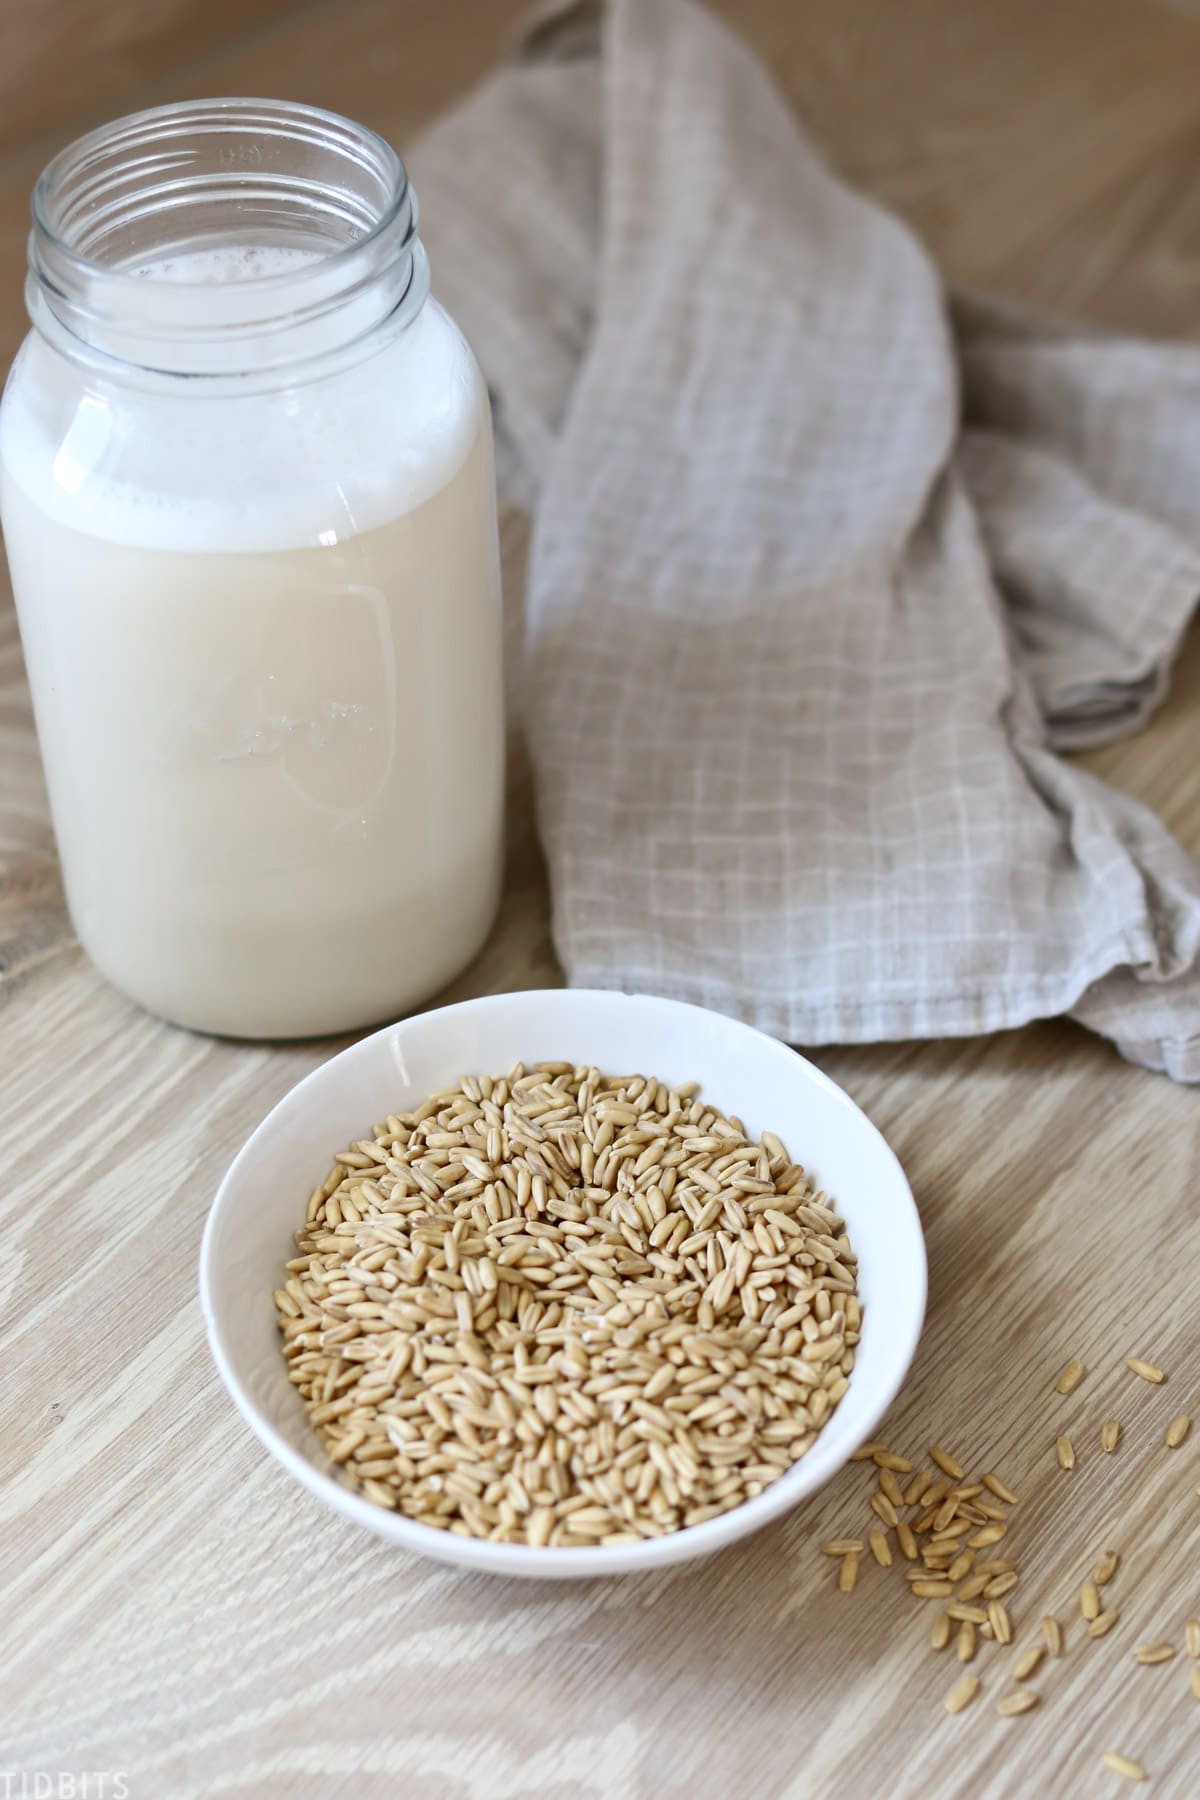
You’ll want to measure out ⅔ cup of dry whole oats and cover them with water for minimum 4 hours, but it is best to soak overnight in the fridge.
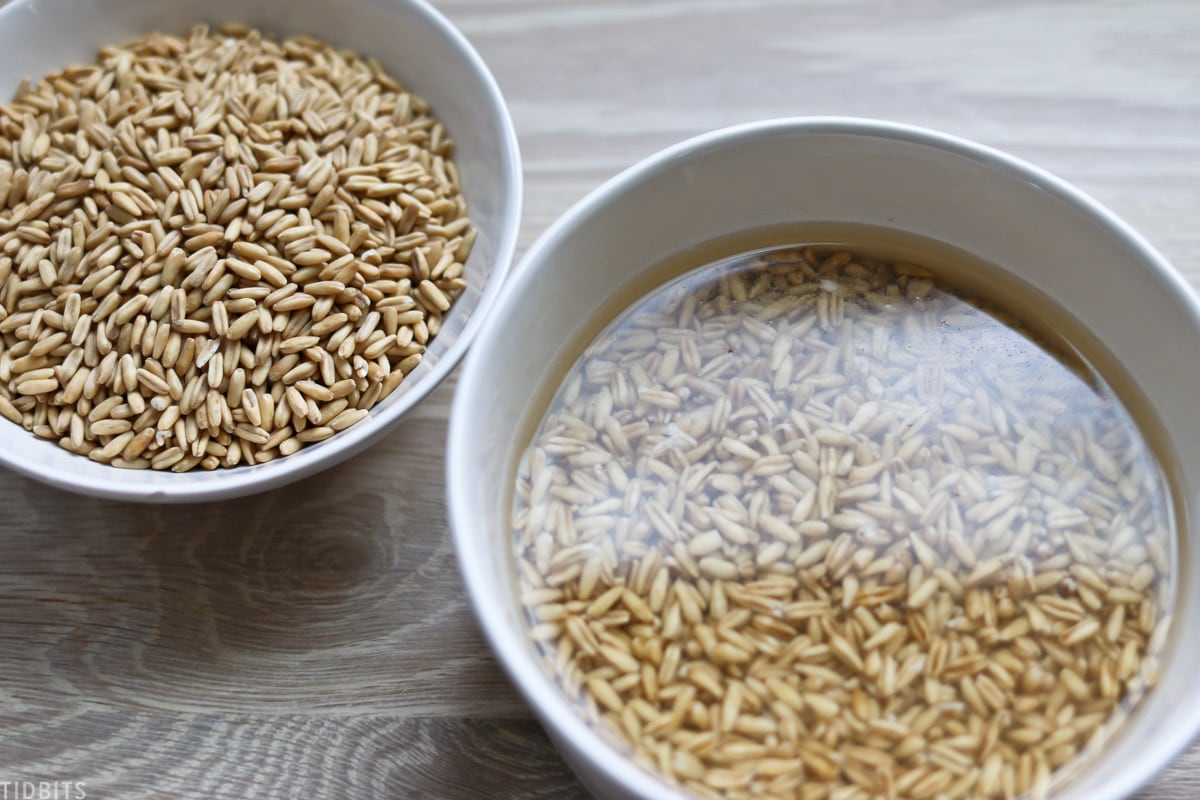
Once they are soaked and strained you can add them to the filler basket with any other ingredient you want. I’ve found that for oat milk, adding a splash of oil such as avocado oil, adds greatly to the creaminess of the milk.
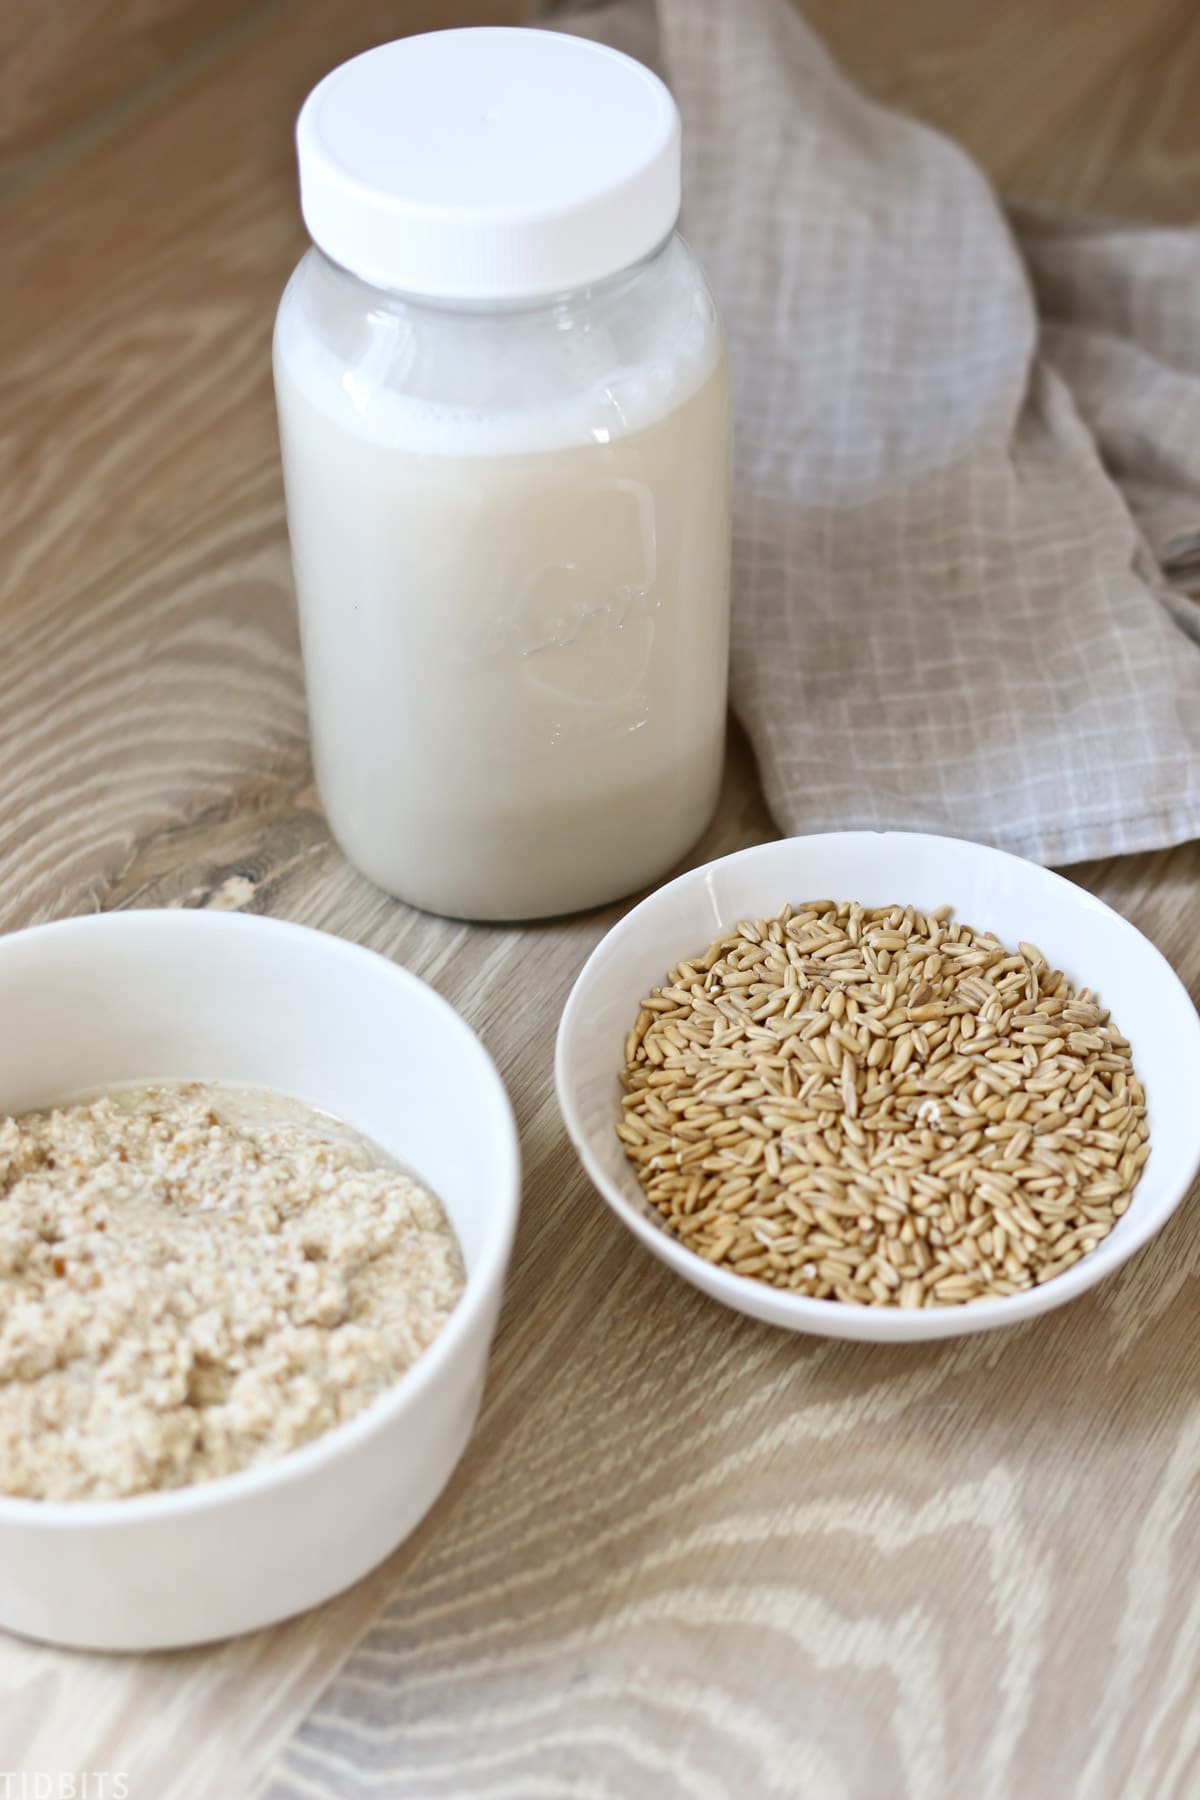
Then you just twist on the filler basket, put the lid in place, and press the button for the run of 3 cycles.
Oat milk is very flavorful and I love to use the oat pulp simply warmed up and topped with milk. It’s a delicious bowl of high fiber oatmeal.
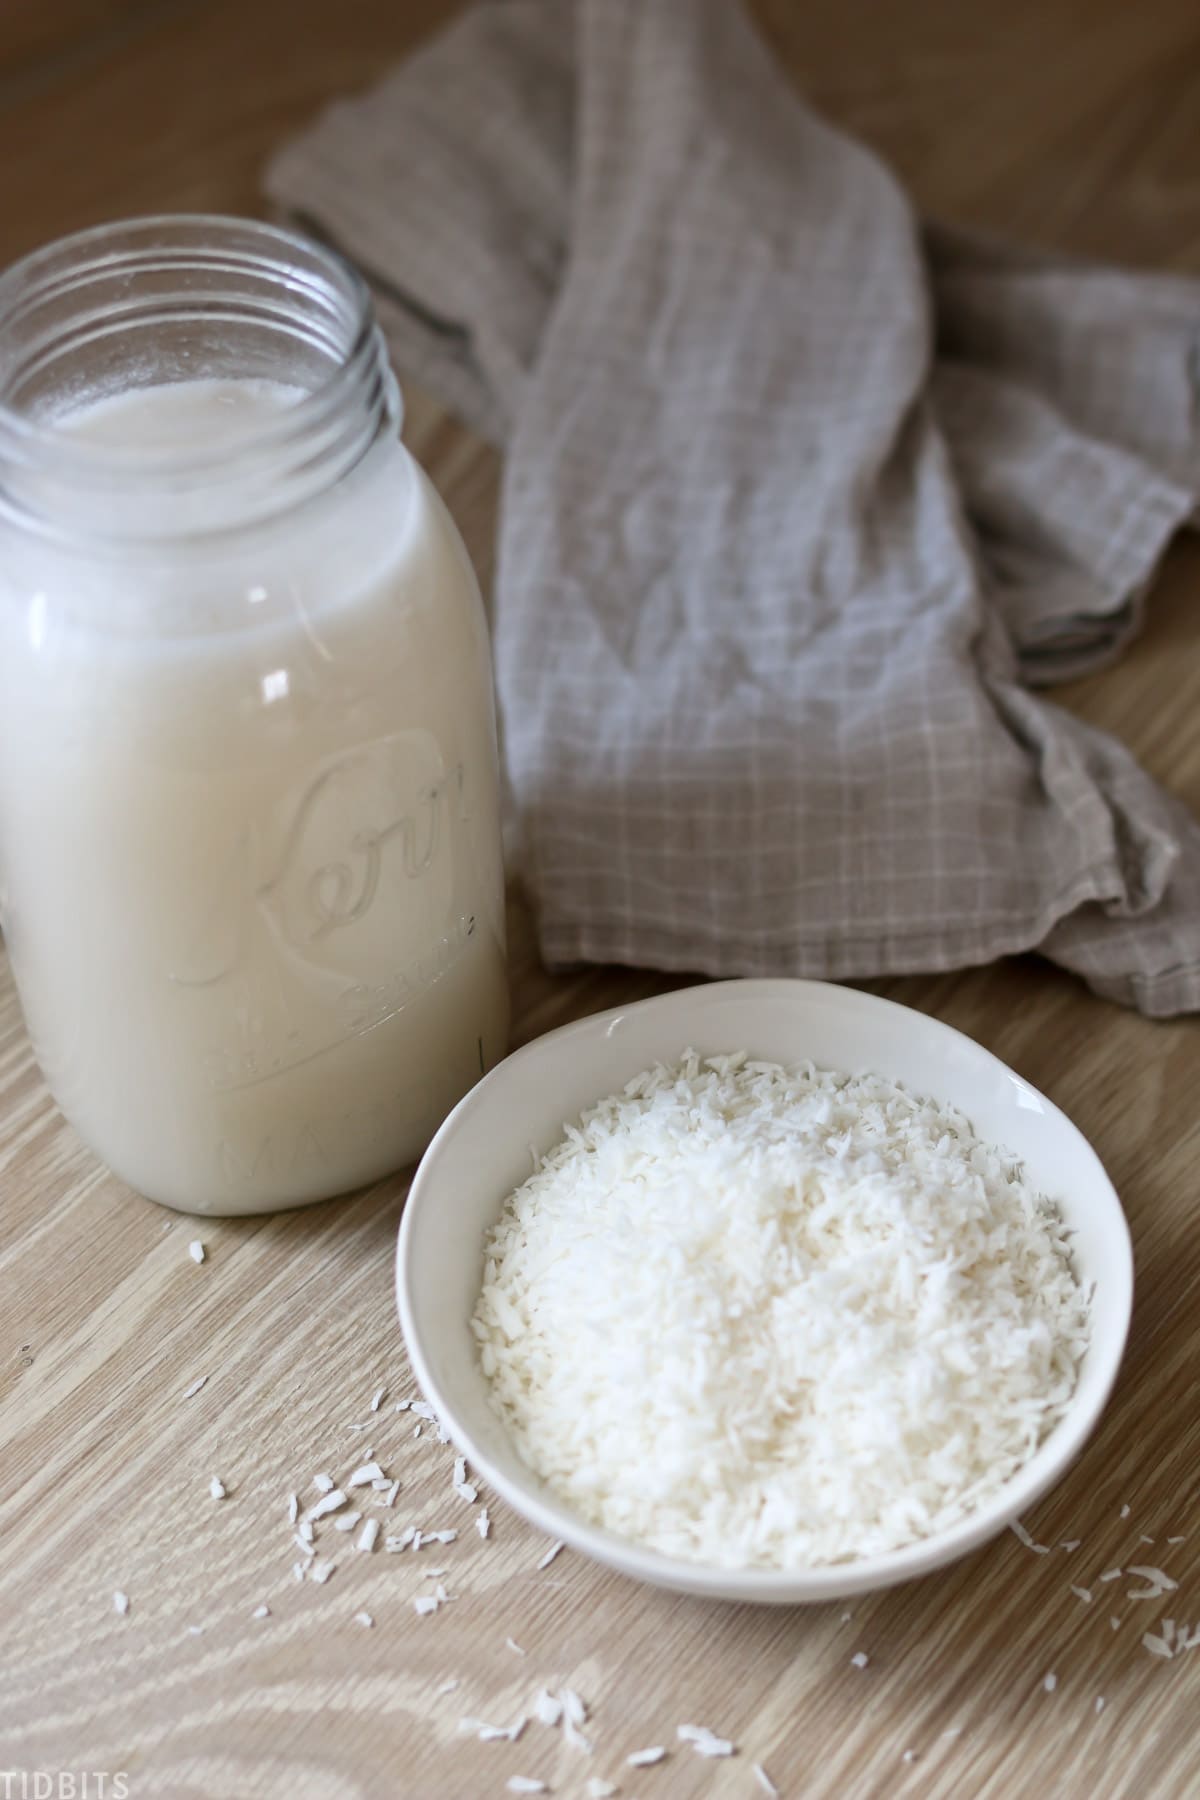
HOW TO MAKE COCONUT MILK
Coconut milk is deliciously sweet! No soaking necessary for these soft coconut shreds! I still like to add a pitted date or two.
Just add your ingredients, twist on the filler basket, put the lid in place and press the button.
Coconut milk separates pretty quickly, but just shake it up before you drink or use it, and it tastes great.
The pulp is so yummy, I get tempted to eat it by the spoonfuls. I’ve seen recipes for homemade almond joy bars or peppermint patties that I am dying to try with the leftover pulp. I’ll have to report back on that when I try it.

There you have it! 4 delicious, creamy, and beautiful plant based milks, that are as easy as pressing a button. Like I mentioned before, if you feel you would make a lot of nut milks from home, you will love the Almond Cow – I’m sure of it! This appliance has become as essential to me as my Instant Pot!
It cleans up so much easier than other options by simply rinsing the blade section, and cleaning the base with gentle soapy water.
I hope you’ve enjoyed learning about how to make nut milks, and be sure to watch my video on YouTube to see it in action.

If you have any questions, please feel free to leave them in the comments below. I’m having so much fun playing around with recipes and ideas, I’m sure I’ll be back to share more!
If you love to make fresh food from home, you may also like these posts I’ve written:
OTHER FOOD FROM SCRATCH POSTS YOU MIGHT LIKE
- I use fresh almond milk in all my smoothies, like my favorite Healthy Pumpkin Smoothie Bowl
- Our family favorite moist and chewy Homemade Whole Wheat Bread
- Make you own Homemade Vanilla Extract – Instantly! Instant Pot Vanilla Extract.
- Top 5 Grains to Mill at Home
- Multigrain Pancake Mix
- Practical and Healthy Breakfast Ideas
Please pin this post, subscribe to my updates, and I’ll see you soon for more inspiration for do-it-yourself living.


I love how easy it is to make. Do you have the recipes for these milks? I’d like to know how much of each nut and grain to use. I noticed you only needed to soak the oats, are there other things to soak. thank you for sharing
Very informative. Thanks for sharing.
Nice article. Thanks.
Great post! Thanks for sharing.
Helpful post thanks for sharing.
Fantastic information.Thanks for sharing.
Your site is very successful. Thanks for sharing.
I love it! Thanks so much for this awesome post.
beautiful post! Thanks.
Wow.. I really love this post. Thanks for sharing.
thanks for sharing . It helped me a lot.
I’m super excited to try this! look so delicious.
That’s a great source of information. Good job! Thanks for sharing! I really appreciate it.
hi,
I like the way you explain how to make ALMOND MILK, CASHEW MILK, OAT MILK AND COCONUT MILK .
it was very helpful, thank you!.
Is there any other way to make a milkshake ?
going to share this blog
Where am I able to purchase the Almond Cow locally…I would love to own one!
Does the plastic cup/stand come with the Almond Cow…?
Yes
Due to nut allergies we can’t do nut milks in our house. We’ve previously tried Oatly milk but found it way too thick to be used as a milk substitute. Does this eliminate that that texture and thickness that you get with store bought?
oooh I’m super excited to try this! Just bought an Almond Cow using your code! Thanks so much!
Brooke – you da bomb! I know you’ll love it! Thank you so much!
Oh my goodness, Cami! This sounds great! My daughter makes nut milk and I thought that’s a lot of work, with soaking the almonds, squeezing the bag and all. I’m definitely checking out the appliance you use. Thank you so much! ❤️
Hi Ramona! Yes, normally it is a lot of work for how little you get that way! This appliance is so worth it if you drink a lot of it! Thanks so much for stopping by!