
This post may contain affiliate links, which means I get a small percentage of the sale at no extra cost to you. I only recommend items I love and have had a positive experience with. Thank you!
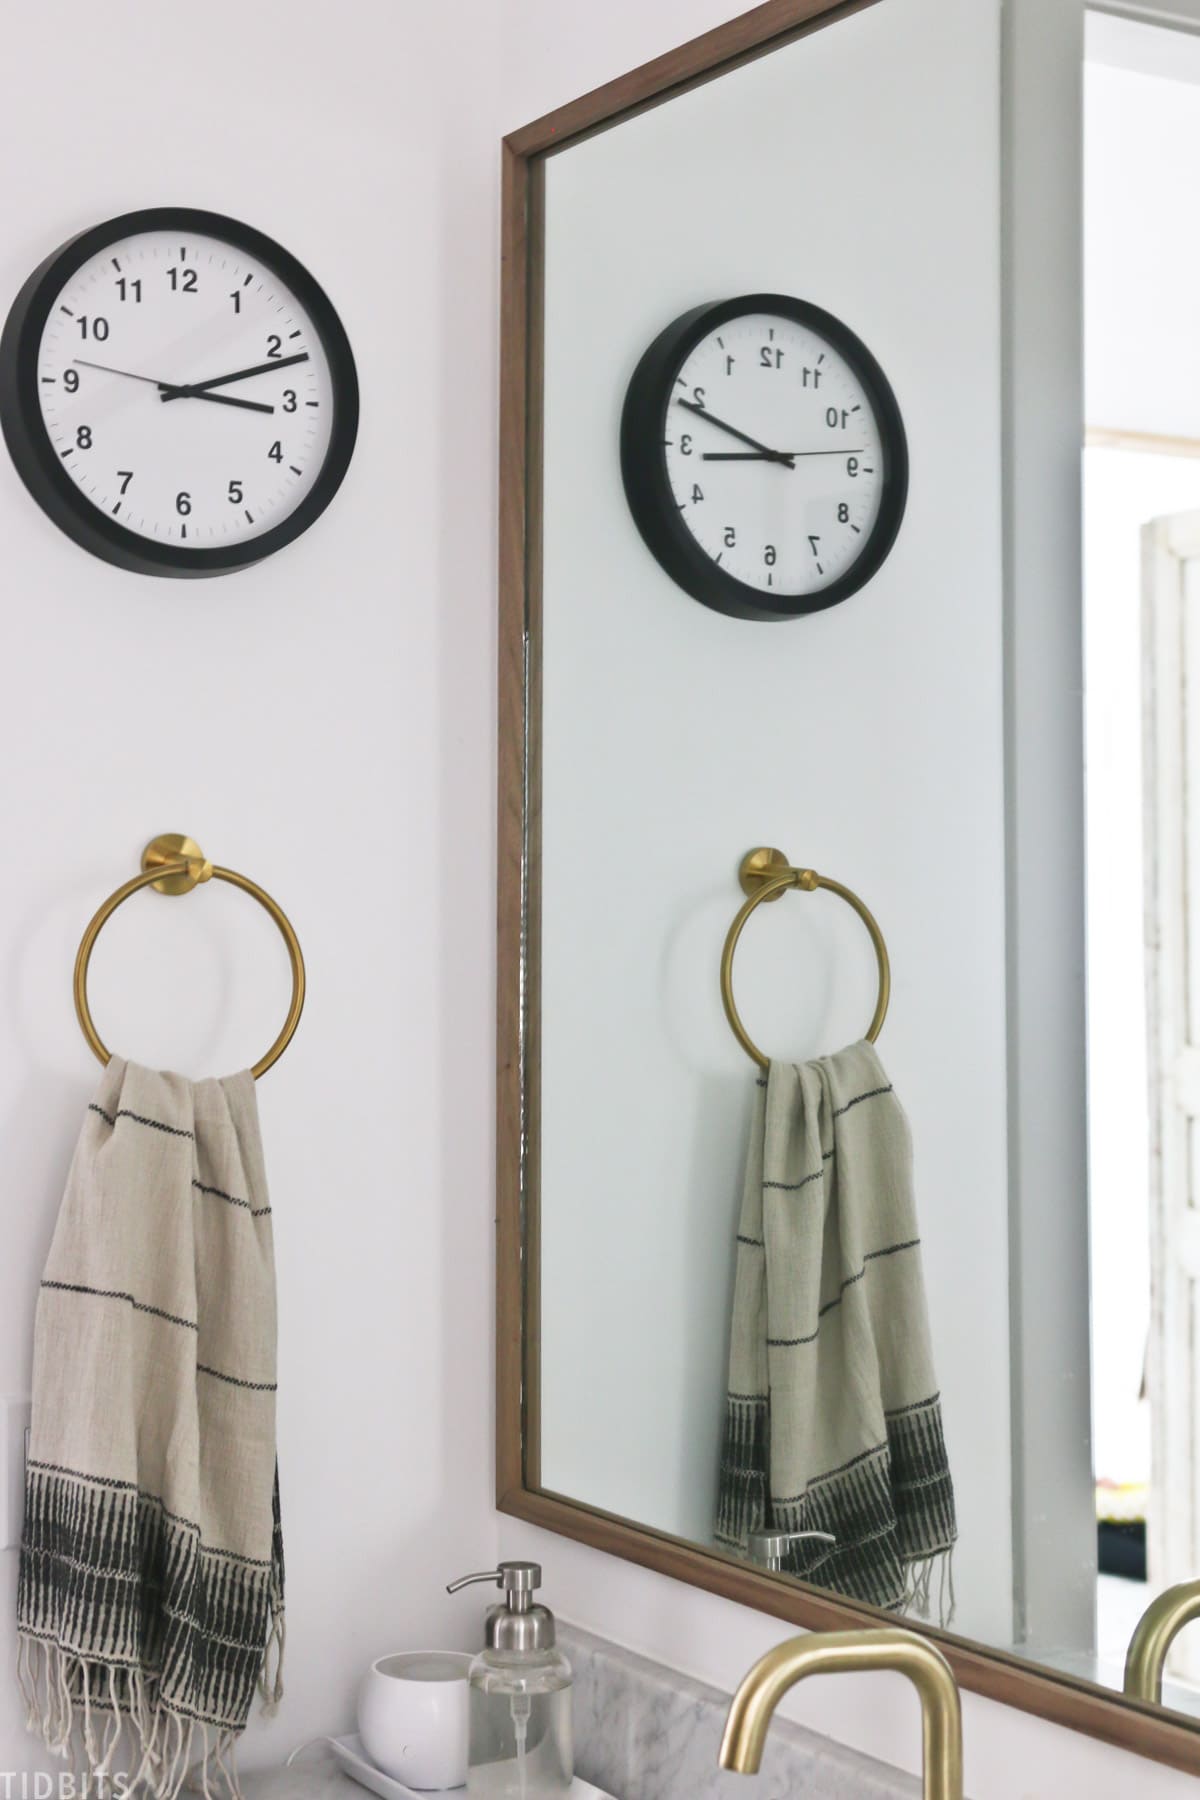
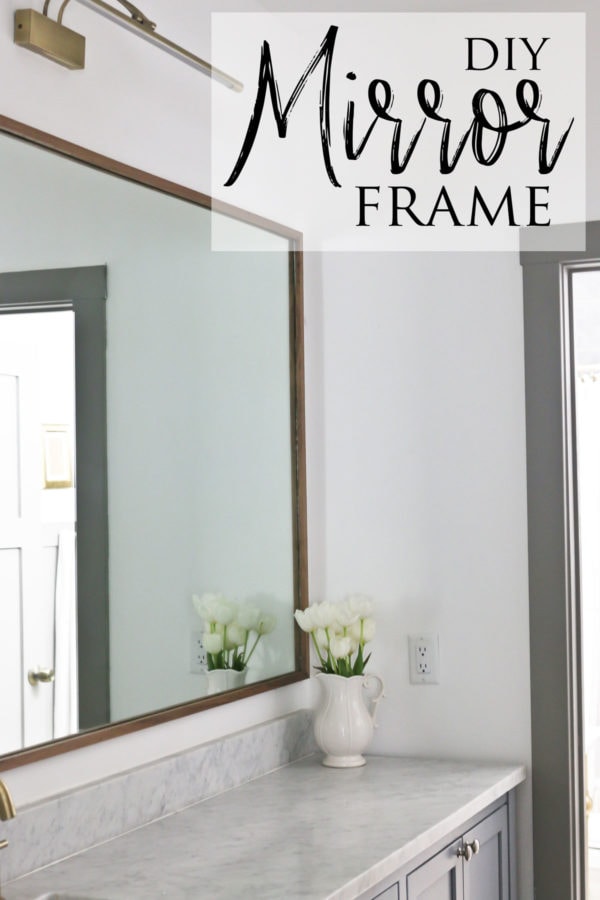
Discover this DIY wood mirror frame that saves you a ton of money and offers a beautiful custom look that just can’t be bought in stores. For a relatively quick and easy DIY project, I think it made a huge impact on the design of this shared split bathroom in our pole barn house.
If you want to see more of our pole barn home, here is a tour of our living room, European farmhouse kitchen, master bathroom, laundry room, homeschool room, and the home exterior.
Watch this Post
With the help of my wonderful Mr. TIDBITS, we are going to show you how to make a DIY wood mirror frame for your bathroom vanity mirror.
Why We Chose a DIY Wood Mirror Frame
If you want to save some money or perhaps you have a space that needs a very custom-size mirror, creating your own mirror frame is a great option.
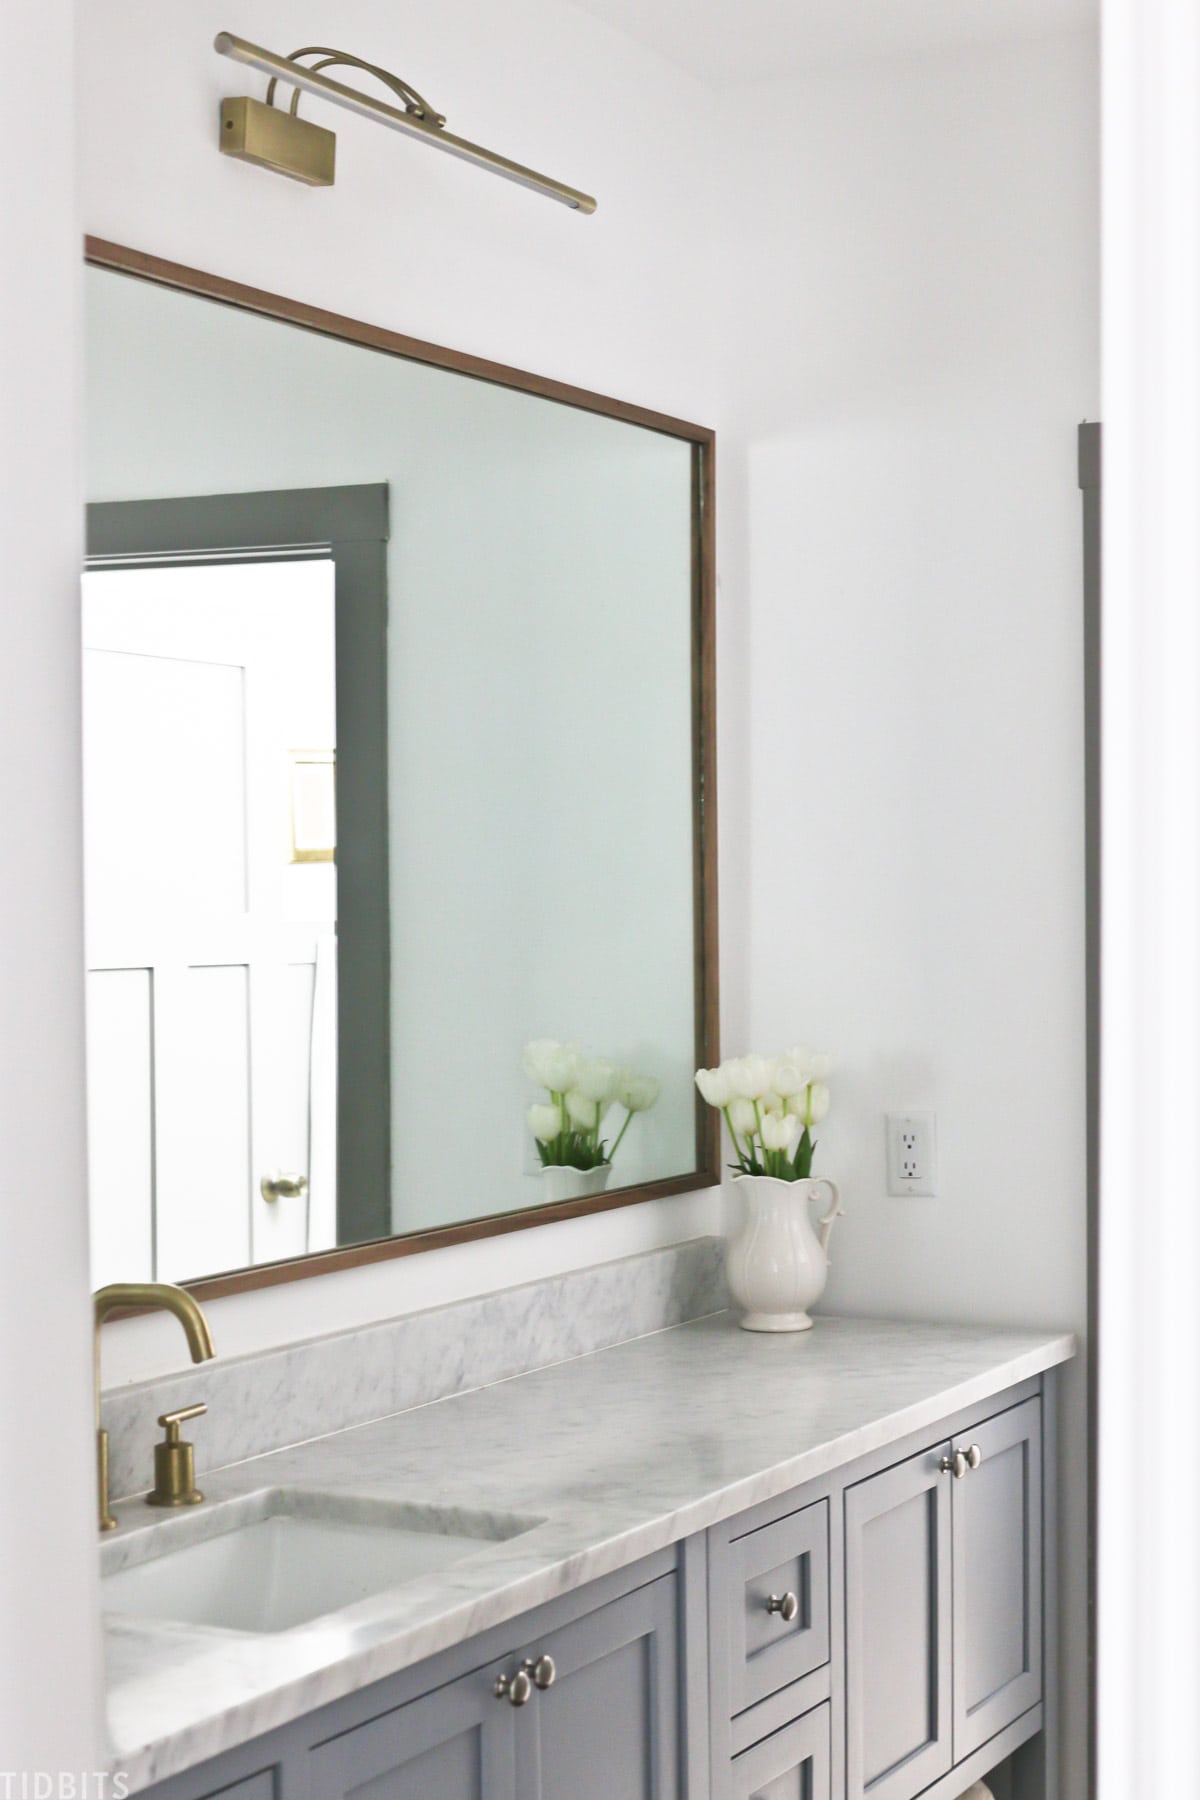
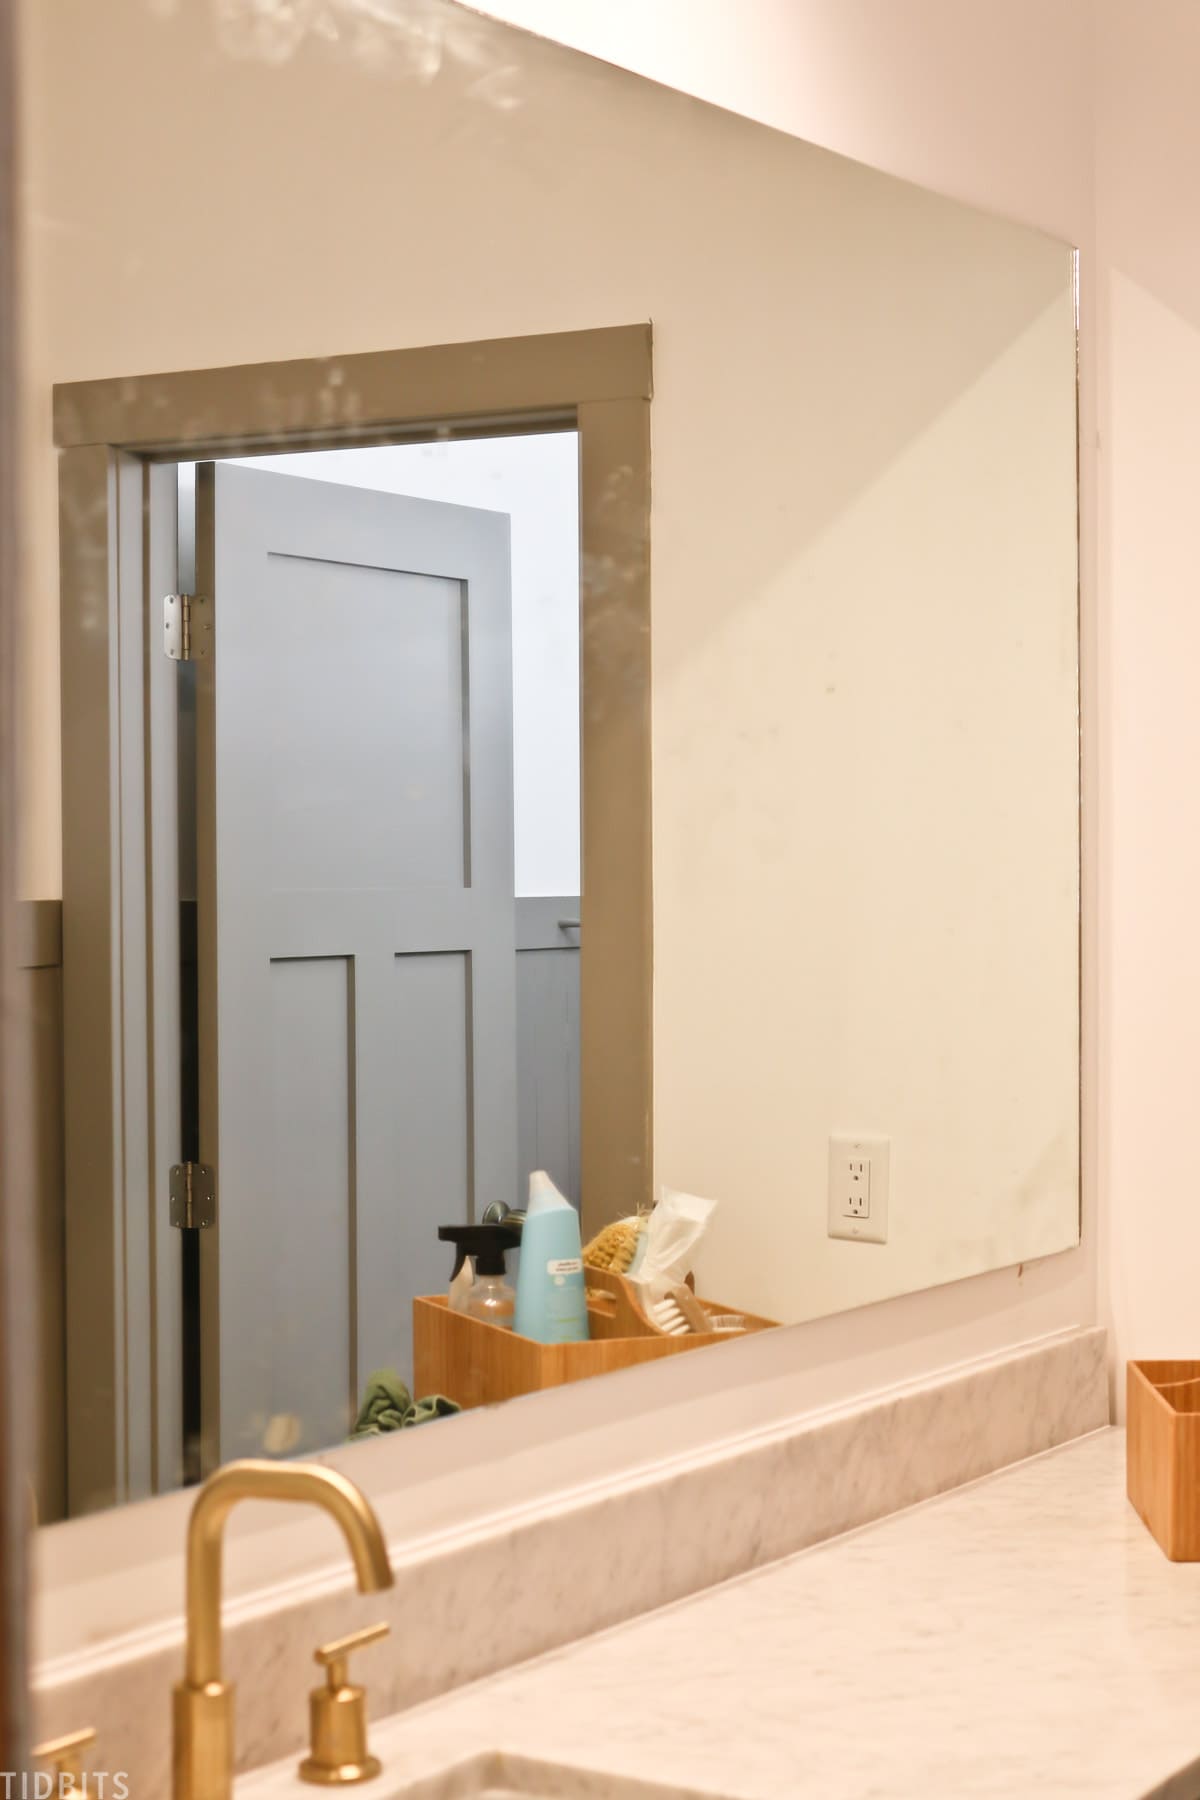
With four kids sharing this “getting ready” area, I wanted a mirror that filled the entire space wall above the vanity. An out-of-the-box mirror was not an option. It had to be a custom size.
Details on the Wood We Chose
I’ve picked my new favorite wood to show you how awesome it can look. It’s also easy to customize this to suit your own style and space.
We went to our local glass and mirror shop and had them cut the mirror to the exact size we wanted.
We didn’t order any kind of special edging or customization since we knew we would be framing it out ourselves. That would have added to the cost anyway.
How to Make this DIY Wood Mirror Frame
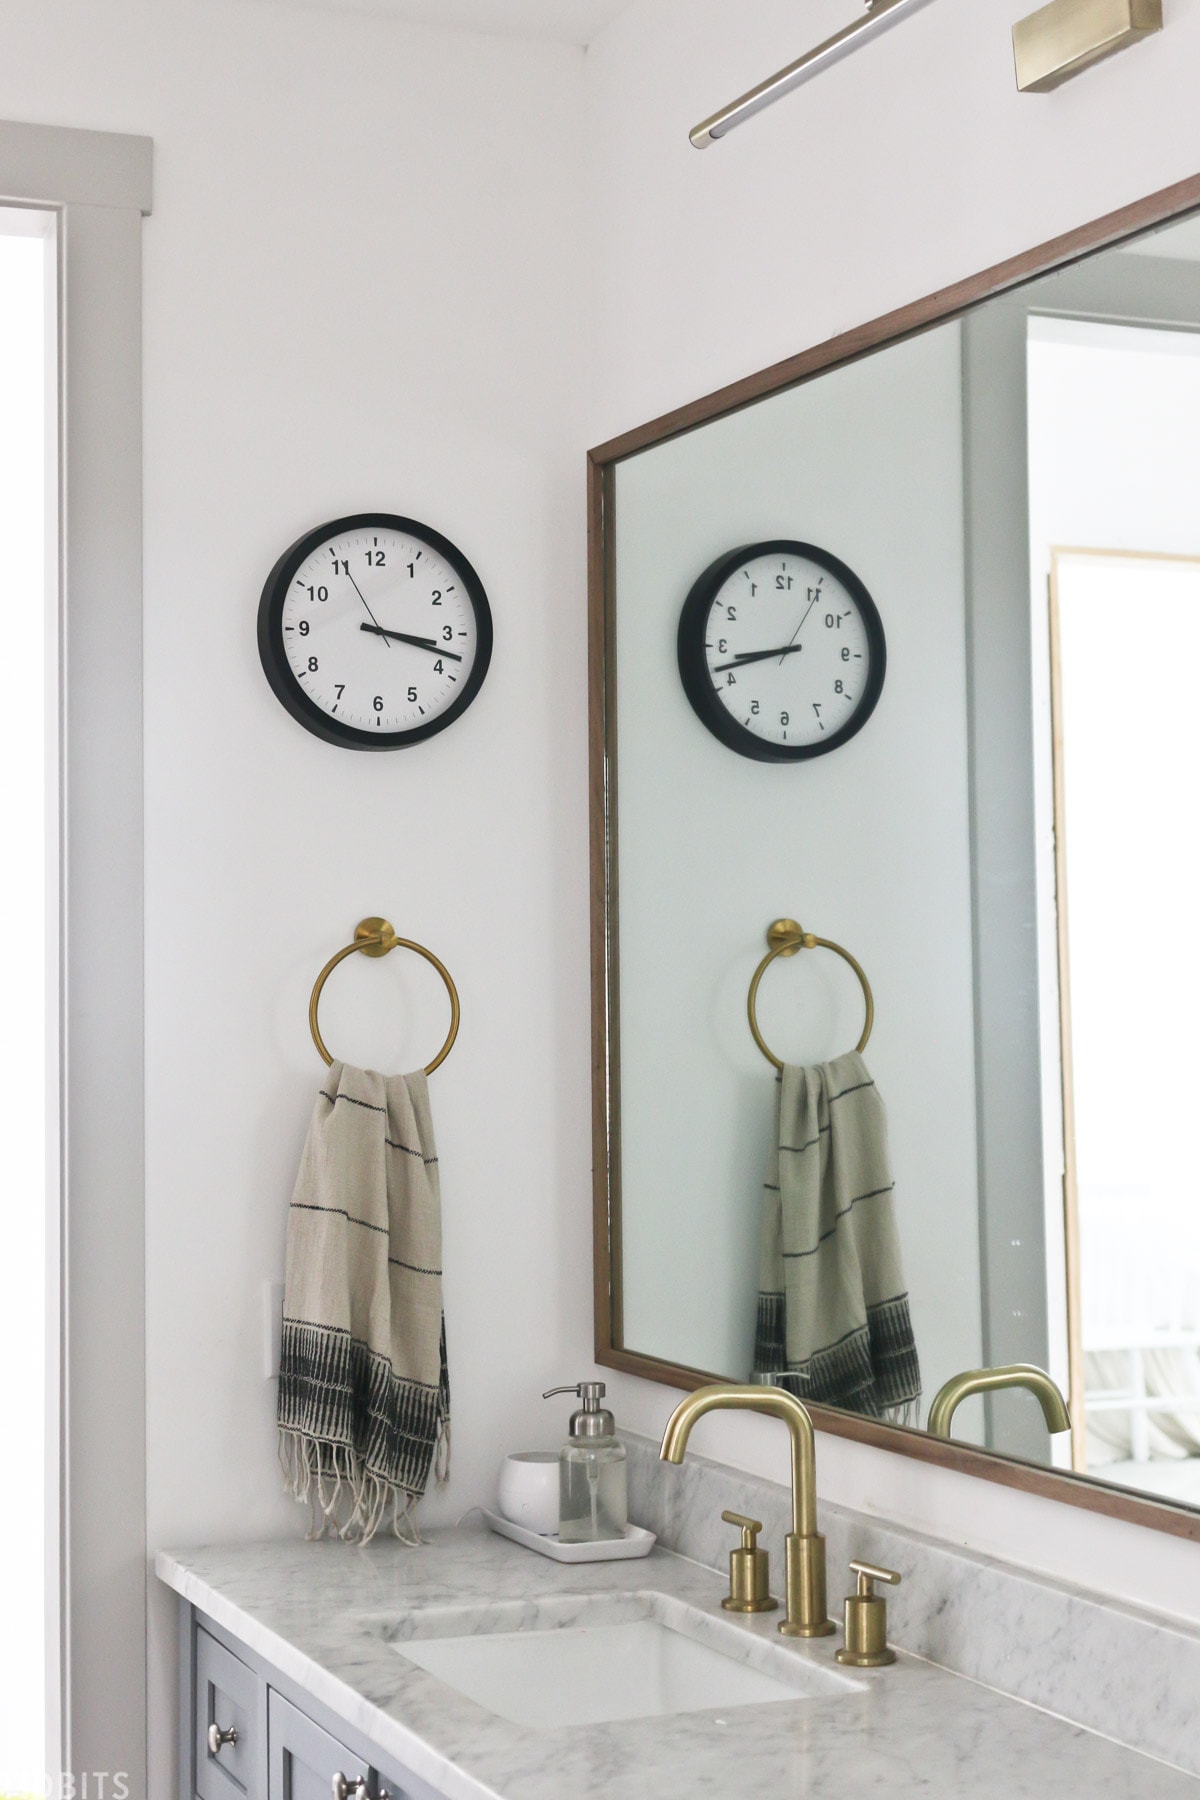
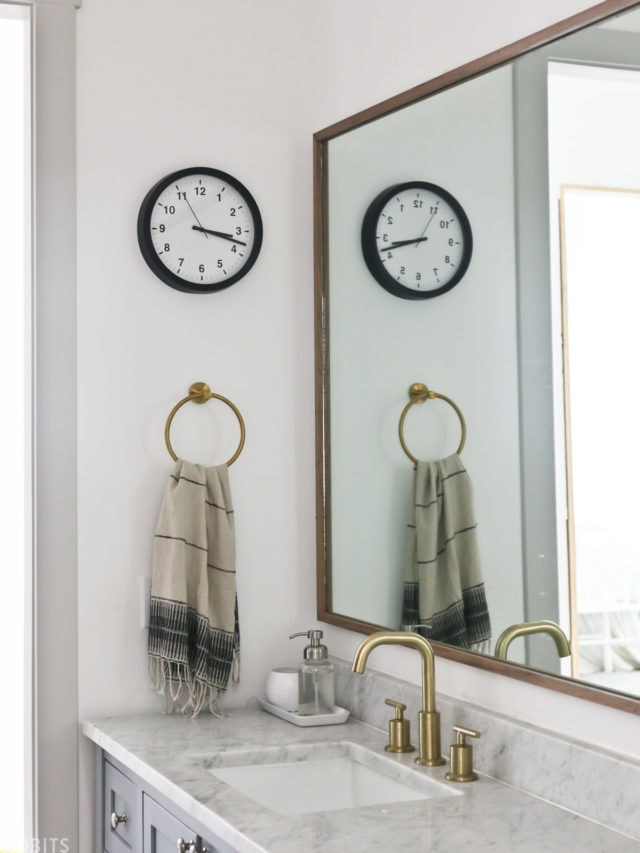
The hubs glued that large mirror up on the wall with construction adhesive. I stepped back to decide the kind of look I wanted for the frame.
I initially thought I wanted a big chunky frame, perhaps 3-4 inches wide, but that just didn’t feel right.
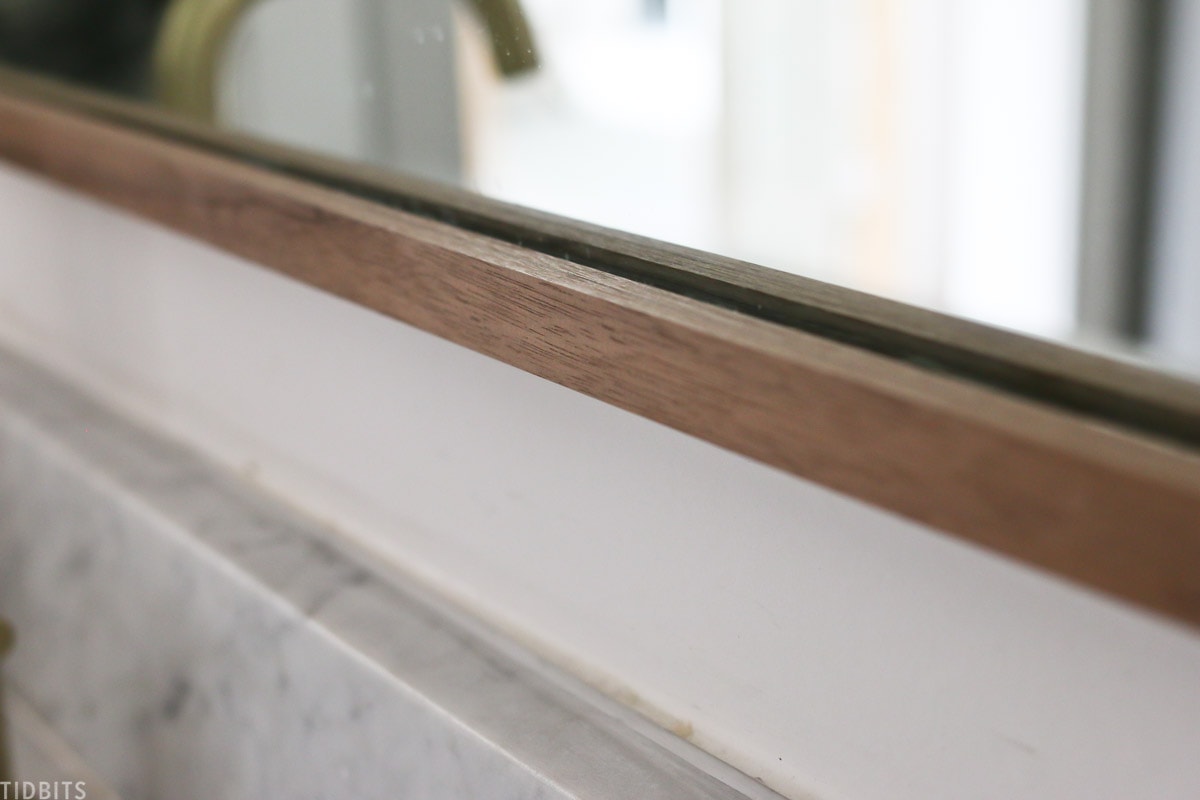
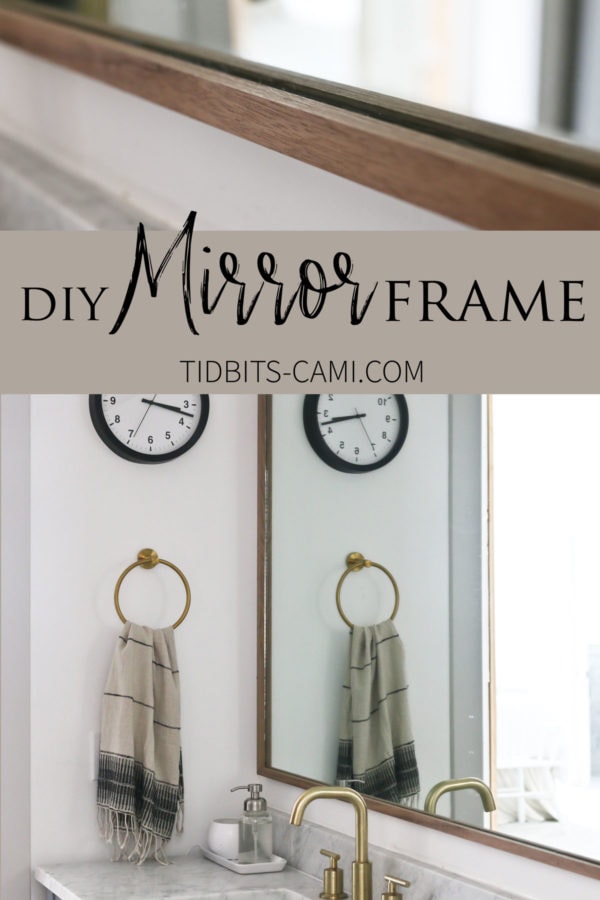
Instead, I embraced the idea of a really slim 1 inch. This is a minimalist frame out of a beautiful piece of dark walnut wood from Home Depot.
TOOLS NEEDED FOR MAKING DIY MIRROR FRAME
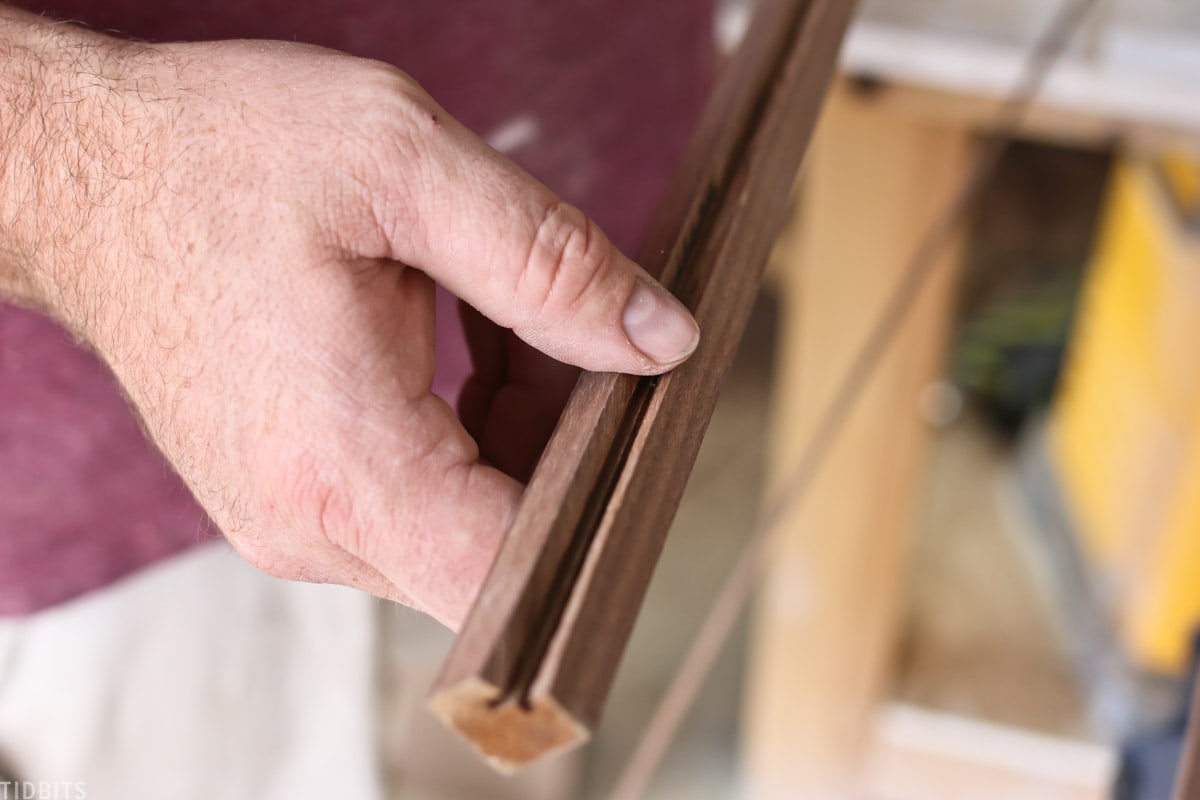
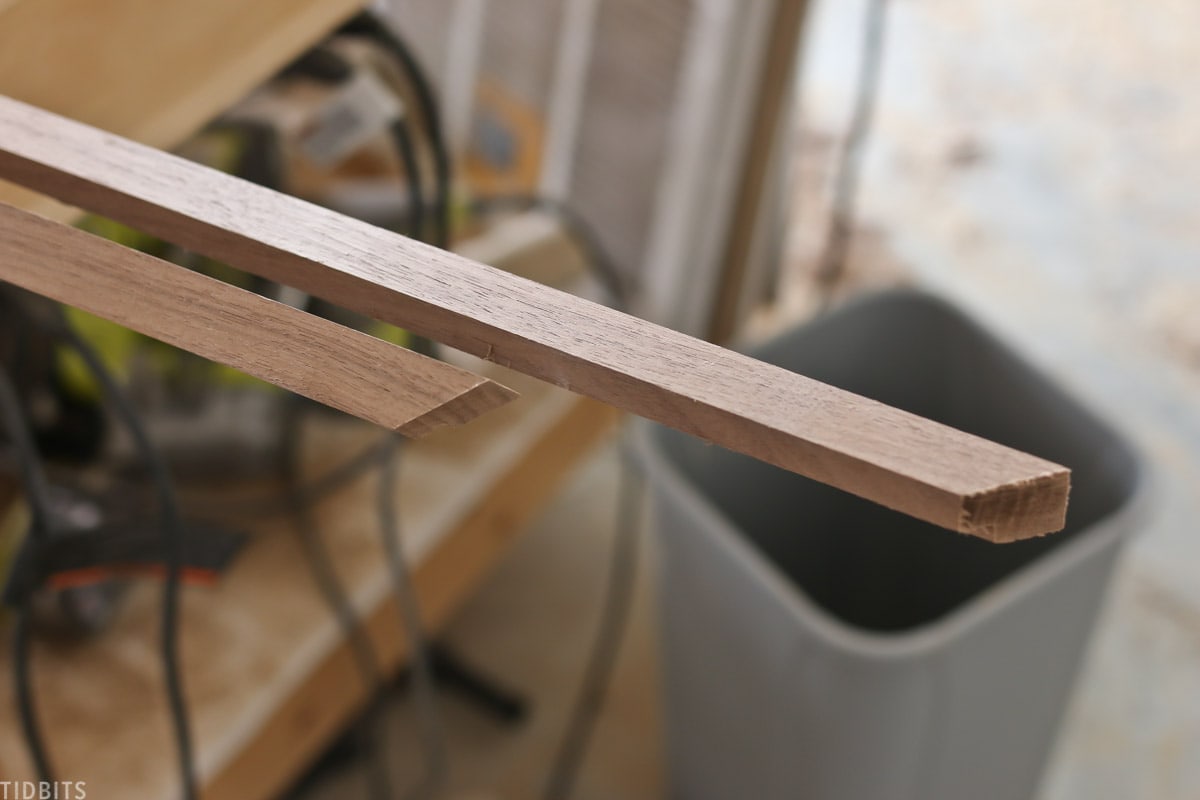
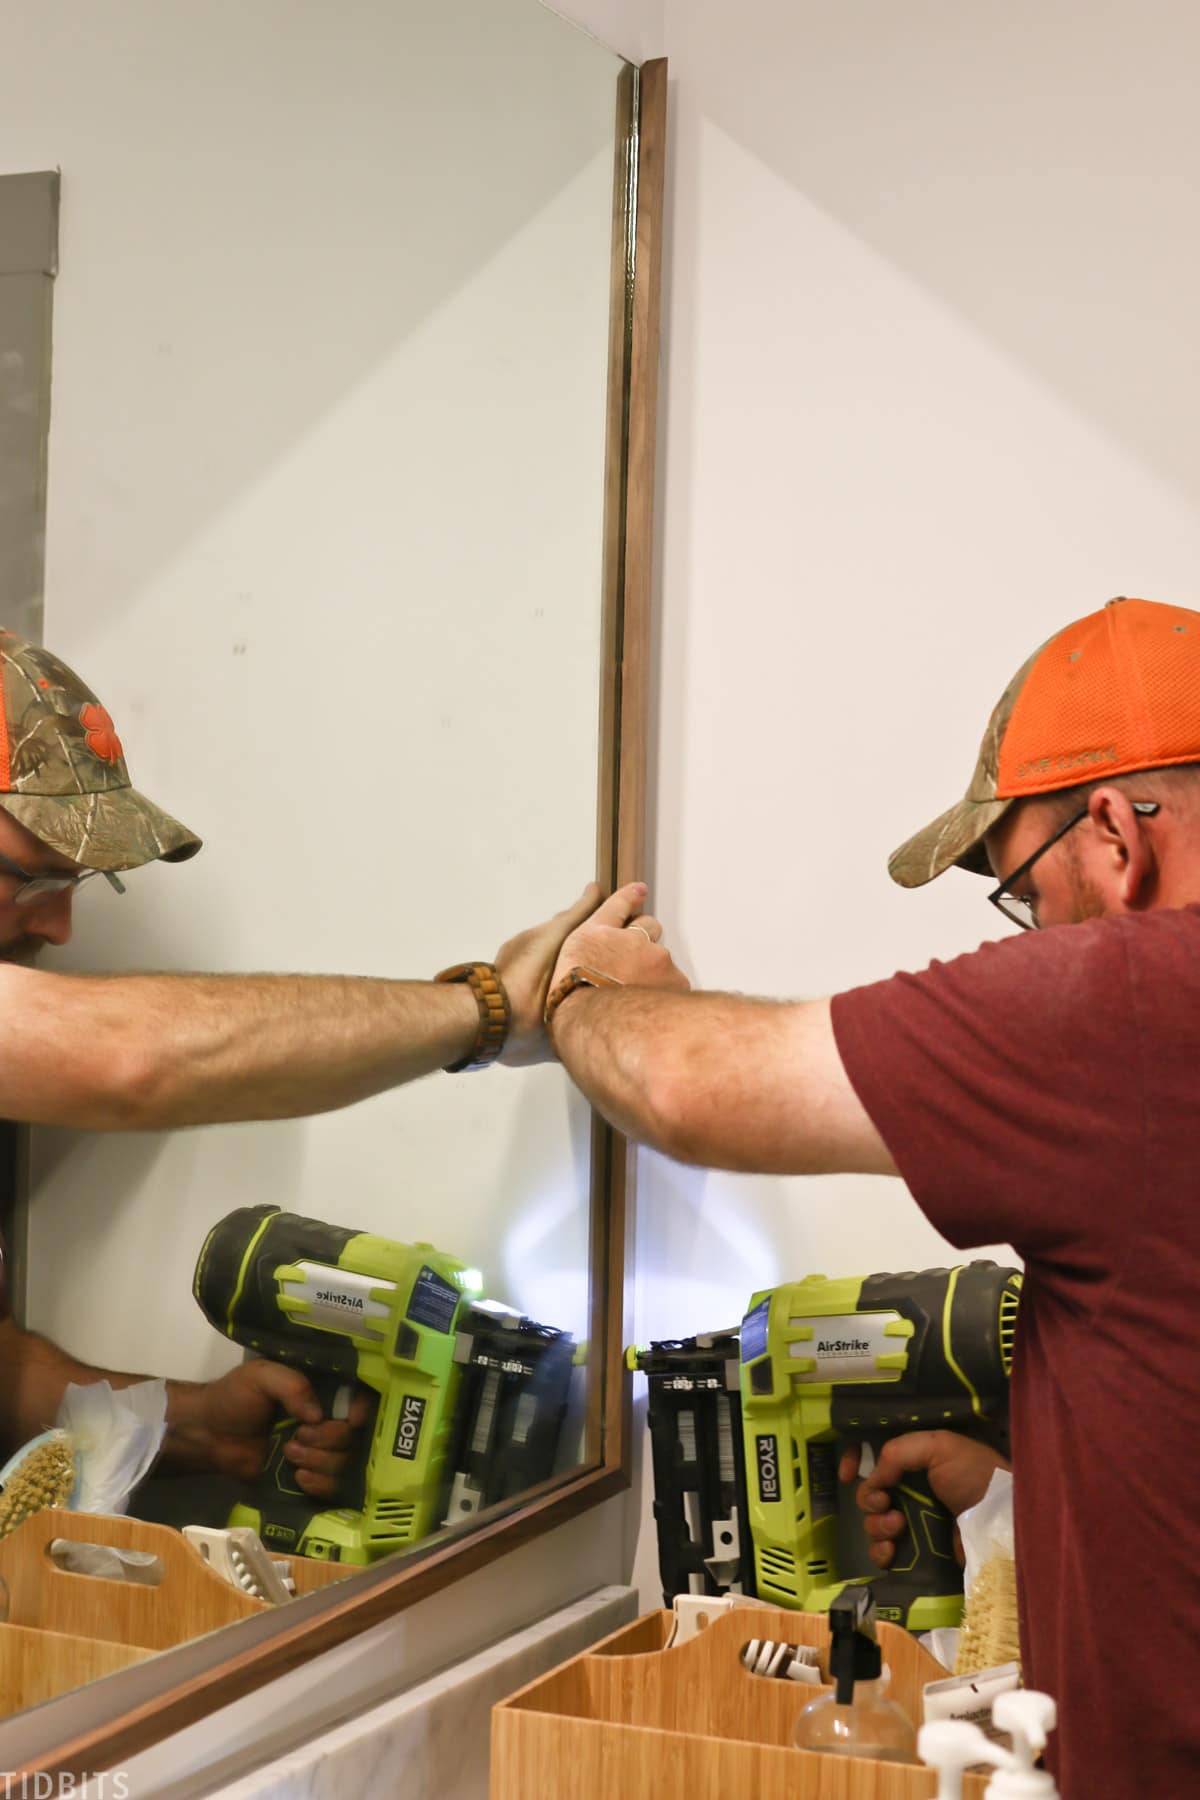
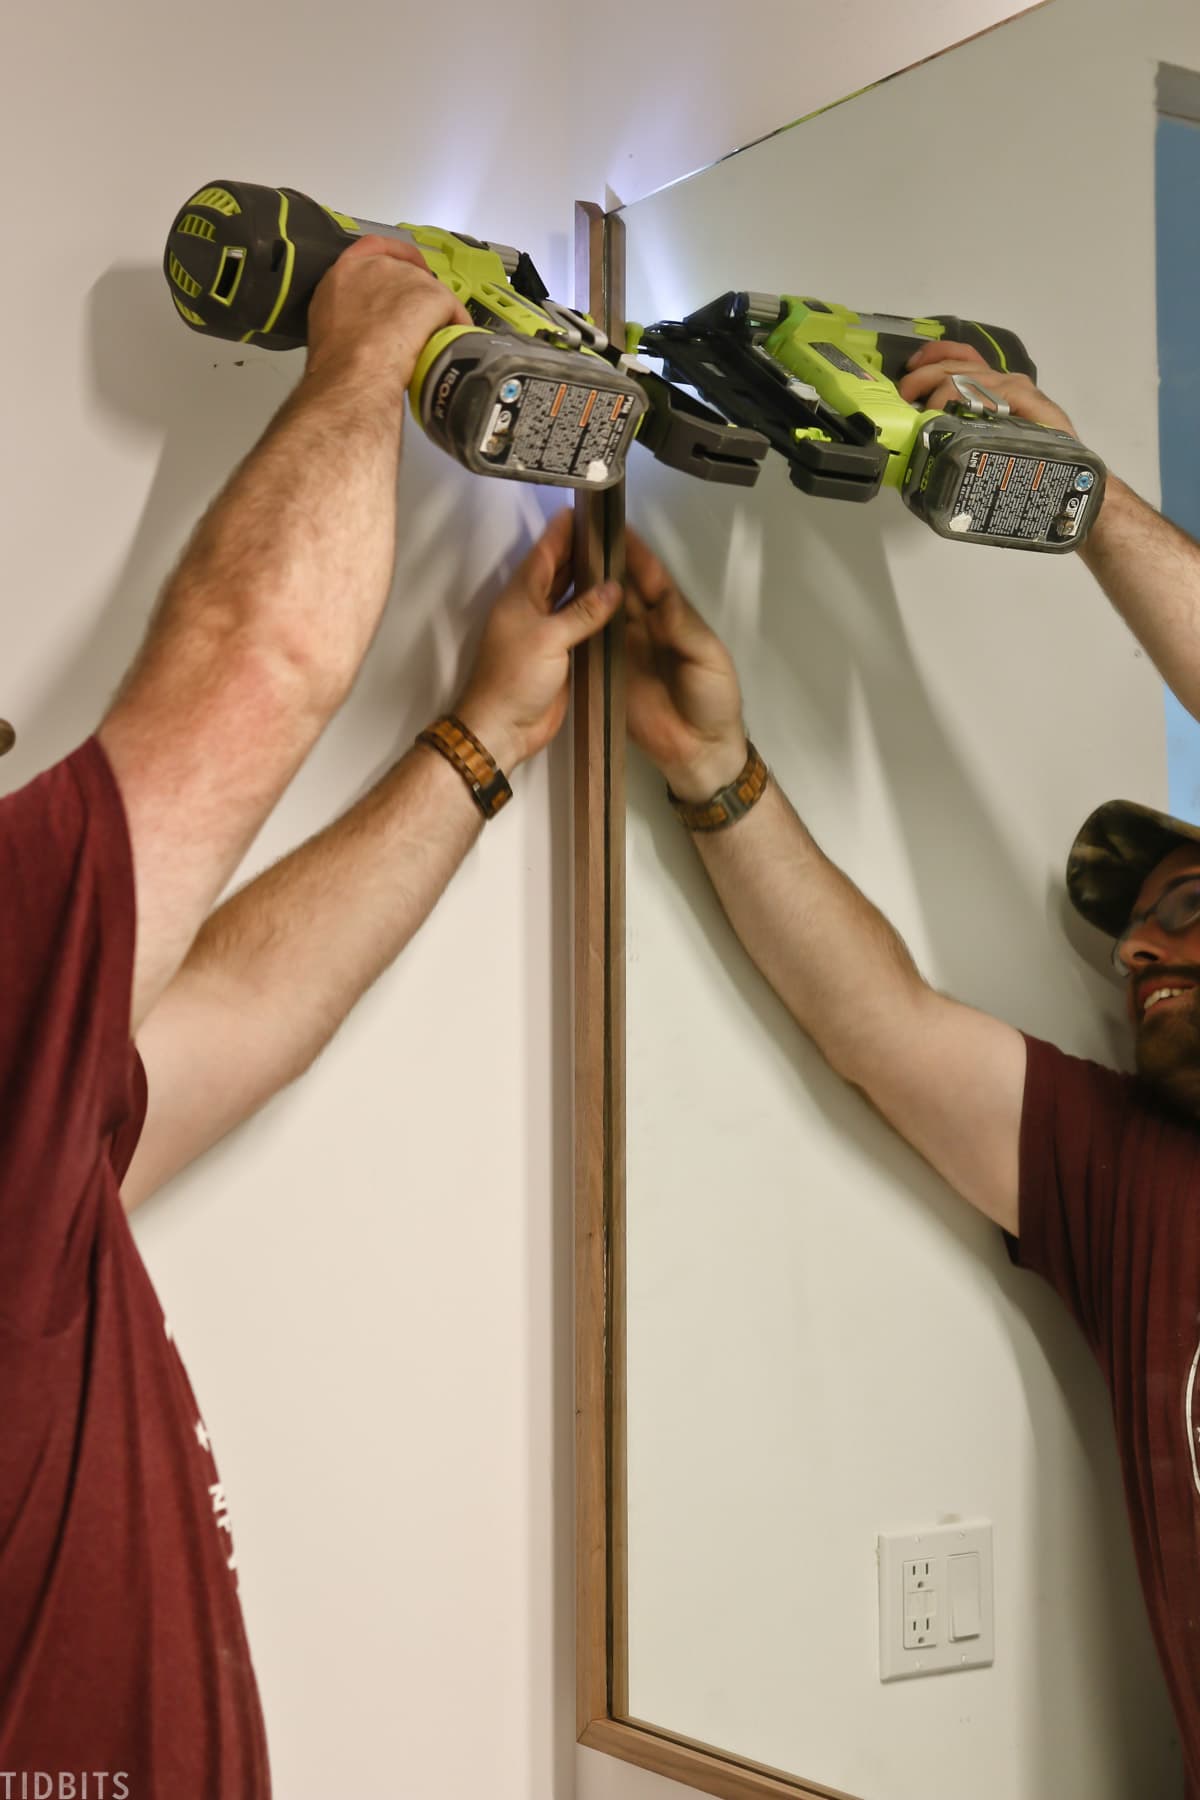
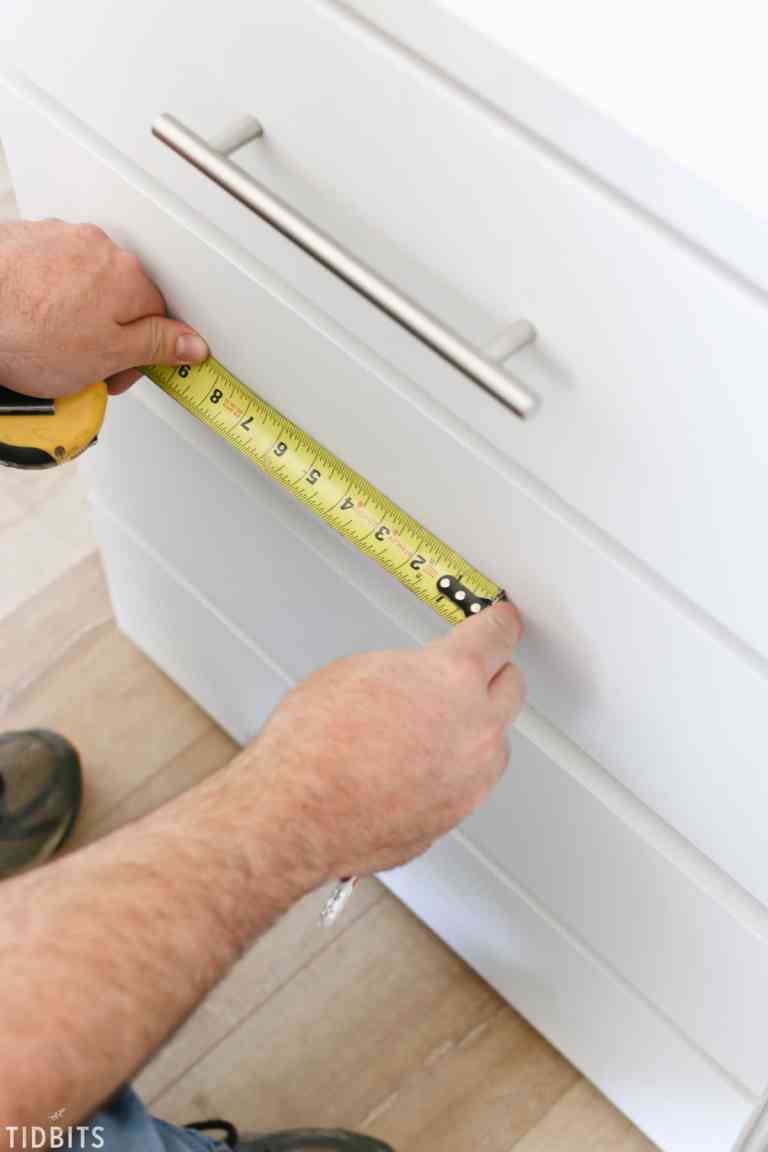
To make the mirror frame, Kevin first used his table saw to cut a 1/4 by 1/4 groove in the corner of the 1-inch square trim piece.
This would create the little notches where the trim would rest on the edge of the mirror.

Then he mitered all the corners of all 4 pieces of wood at a 45 degree angle. He made sure they were flush and level with each other.
He then used a nail gun to attach all the corners together with 1 inch nails. So he essentially formed the frame before he would install it.
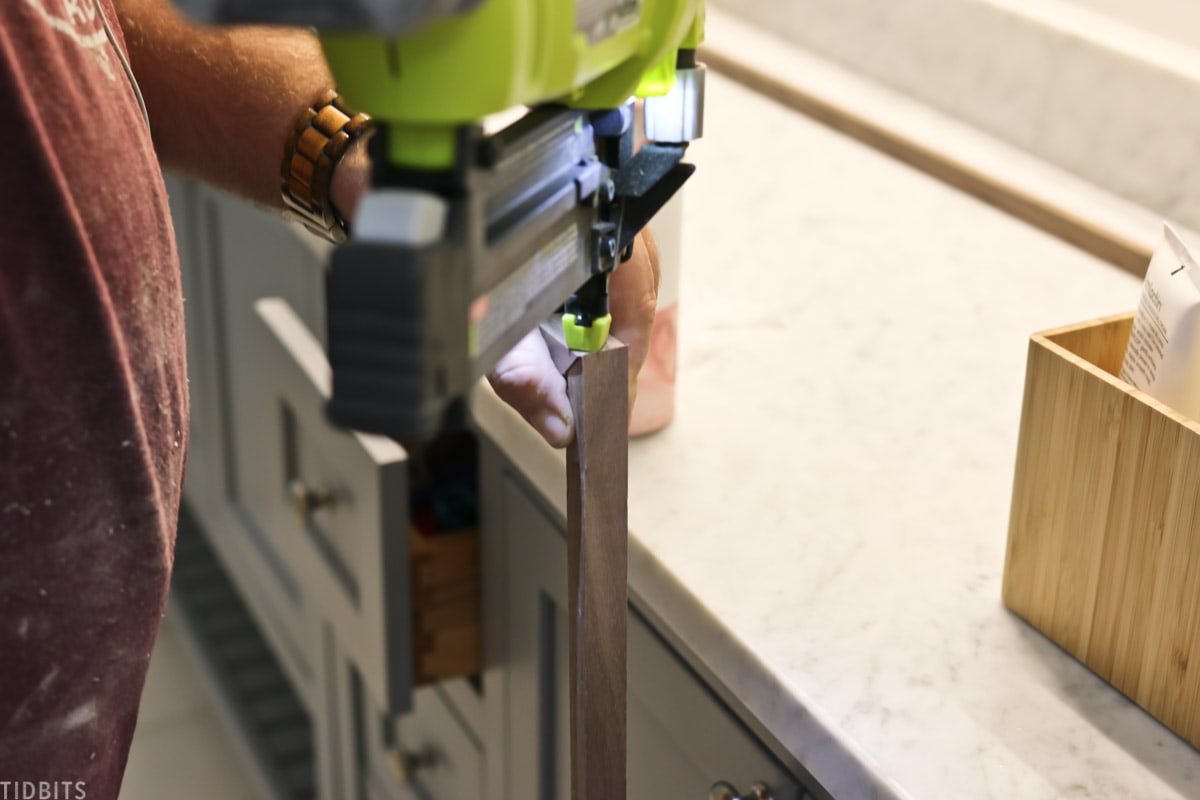
With the grooves in place at the edges of the mirror, he used 2-inch nails to secure the frame around the mirror where needed.
You can get some wood hole filler in the wood color to fill in those nail holes. This will make it all look seamless.
You could also stain or just seal the wood. But I’m not sure what I want to do with ours. I just love the look of raw walnut wood! A sealer would make it more rich and shiny.
I think I can get away with not sealing it, but I’m going to observe it for a while. We want to see how it handles being washed every now and then.
I absolutely love the results of this DIY framed mirror so much. It feels like we can finally add the finishing touches to our kids’ bathroom and get this space wrapped up!
So far it is working pretty well, and I’ll keep playing with the decor and share soon!
Do you like our DIY bathroom mirror frame? Check out some of our other favorite DIY projects:
- Bookshelf Makeover
- DIY Faux Fireplace Mantel
- DIY Multi-Purpose Storage Closet
- Painted Antique Cabinet Makeover
- How to Cut, Hone and Install Marble


Hi, beautiful and smart way to frame a mirror! Do you have a link to the wood you used?
Is there any way to link the wood you bought :)))
Thank you for posting this! I want to frame a large bathroom mirror, but have been looking for a smaller wood frame and everything I find is larger molding. Love the minimalist look!
I too love walnut, such a good choice. On another note I’m curious why you didn’t go with double sinks in there, not my business but was just wanting your idea behind it. Thanks so much! I love your new home.
Hey Linda! Thanks for visiting my blog post! That is such a great question and I gave it a lot of thought. It will make more sense when you see my reveal next week, but I really needed more countertop space for all the girls to get ready. With a sink in the toilet section of the split bathroom, I felt 3 sinks would really be overkill. Hang tight!
Beautiful! I’ve pinned “frame your mirror” posts for years I need to JUST DO IT! Great inspiration here! 😊
Haha! Pin and then go and do (wink).