This post may contain affiliate links, which means I get a small percentage of the sale at no extra cost to you. I only recommend items I love and have had a positive experience with. Thank you!
*This is a sponsored post written by me on behalf of Floor & Decor. All opinions are 100% mine.
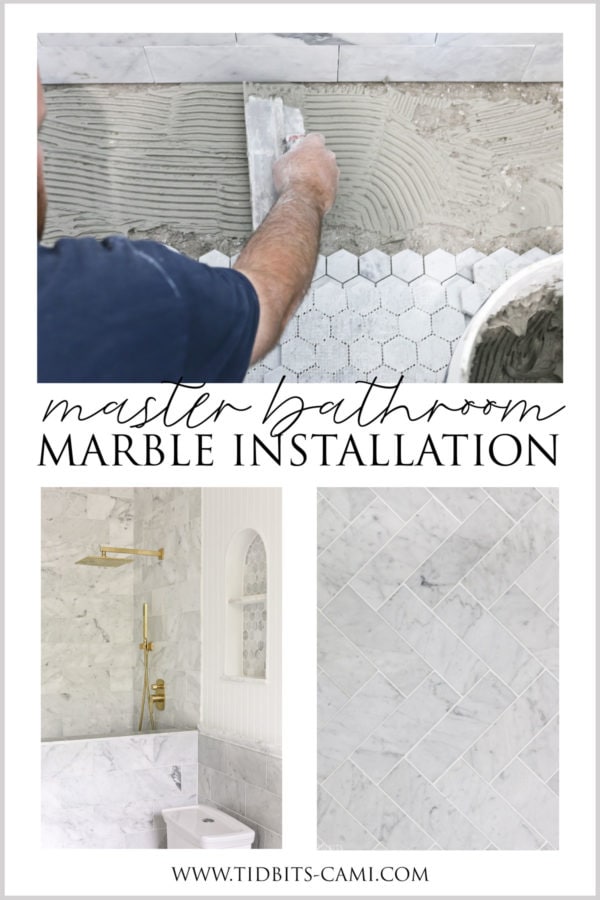
Taking you through our entire process for building our master bathroom, installing marble tile and trim, completing our finish work and more.

We’ve been working hard on finishing our master bathroom! If you’ve ever lived with one bathroom for 6 people, you know why this space became a priority. I want to show you our complete building process from building the walls, installing marble tile and trim, finish work and more. I can’t wait to show you the results so far, even if we are not entirely done yet. This space is what my marble dreams are made of.
WATCH THIS POST
See the marble installation in action! Hope you enjoy my video for this post.
If you didn’t catch my blog post sharing the design plans for this space, you’ll want to know that marble and gold is the theme. I feel like that is such a timeless combo, and one I chose because I don’t plan on redoing this bathroom for many years – if ever!

MARBLE SOURCES
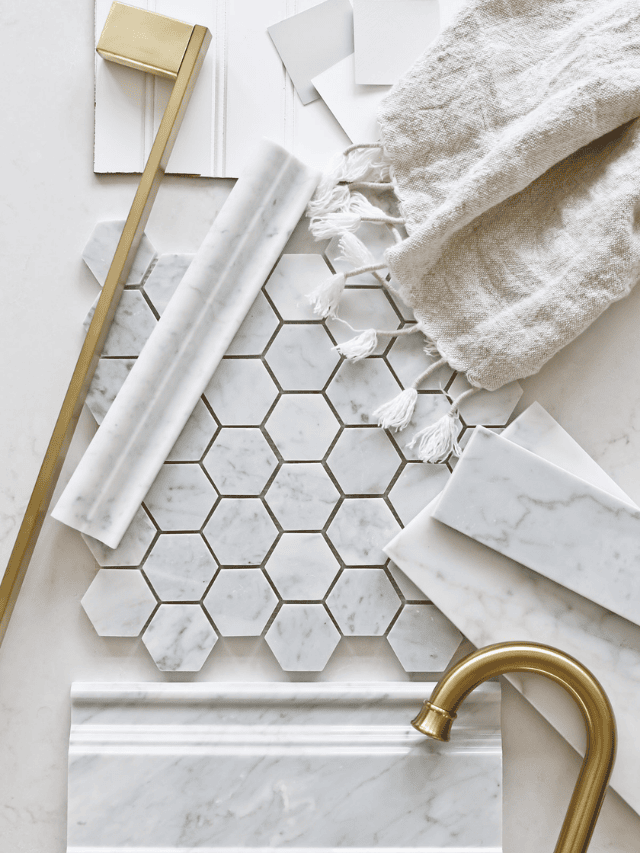
We got all our marble tile and trim from Floor & Decor. If you’ve never been to a Floor & Decor storefront, you’ll be absolutely amazed by the huge selection of flooring and tile they have in stock. It’s the best I’ve ever seen and the prices are incredible. They also have free design services if you need a little extra help pulling a room together.
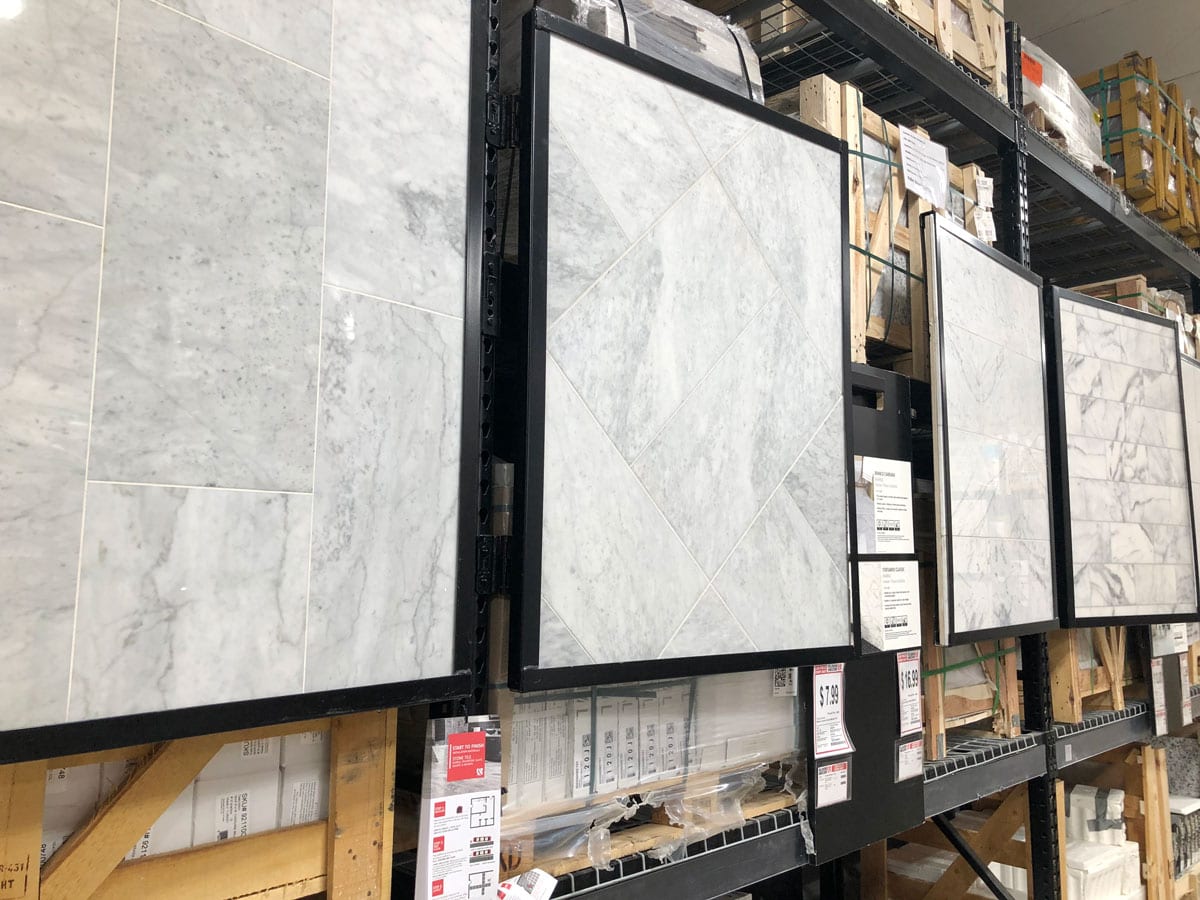
And if you love marble, like I do, you are going to get a really good idea of the many Carrara marble options they have just by seeing what we have put in our bathroom space. I will link to each piece as I talk about them in this post.
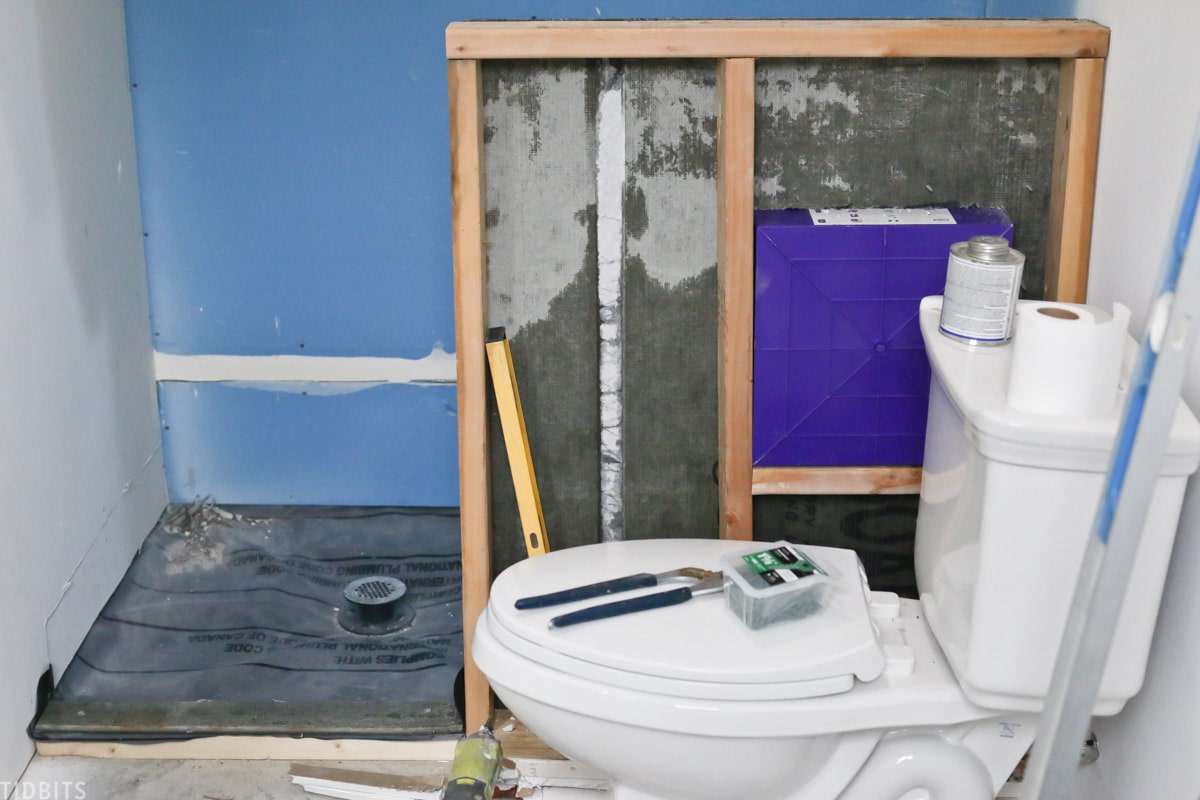
BEFORE
Let’s first take a look at this room before our work, and when it was just sheetrock and a big mess.

It’s really not a huge bathroom space, measuring at just 12 feet by 5 feet. But being on the smaller side for a master bathroom, it allowed us to do tile work that we might not normally be able to afford to do if it were much bigger. So don’t lament your small spaces.
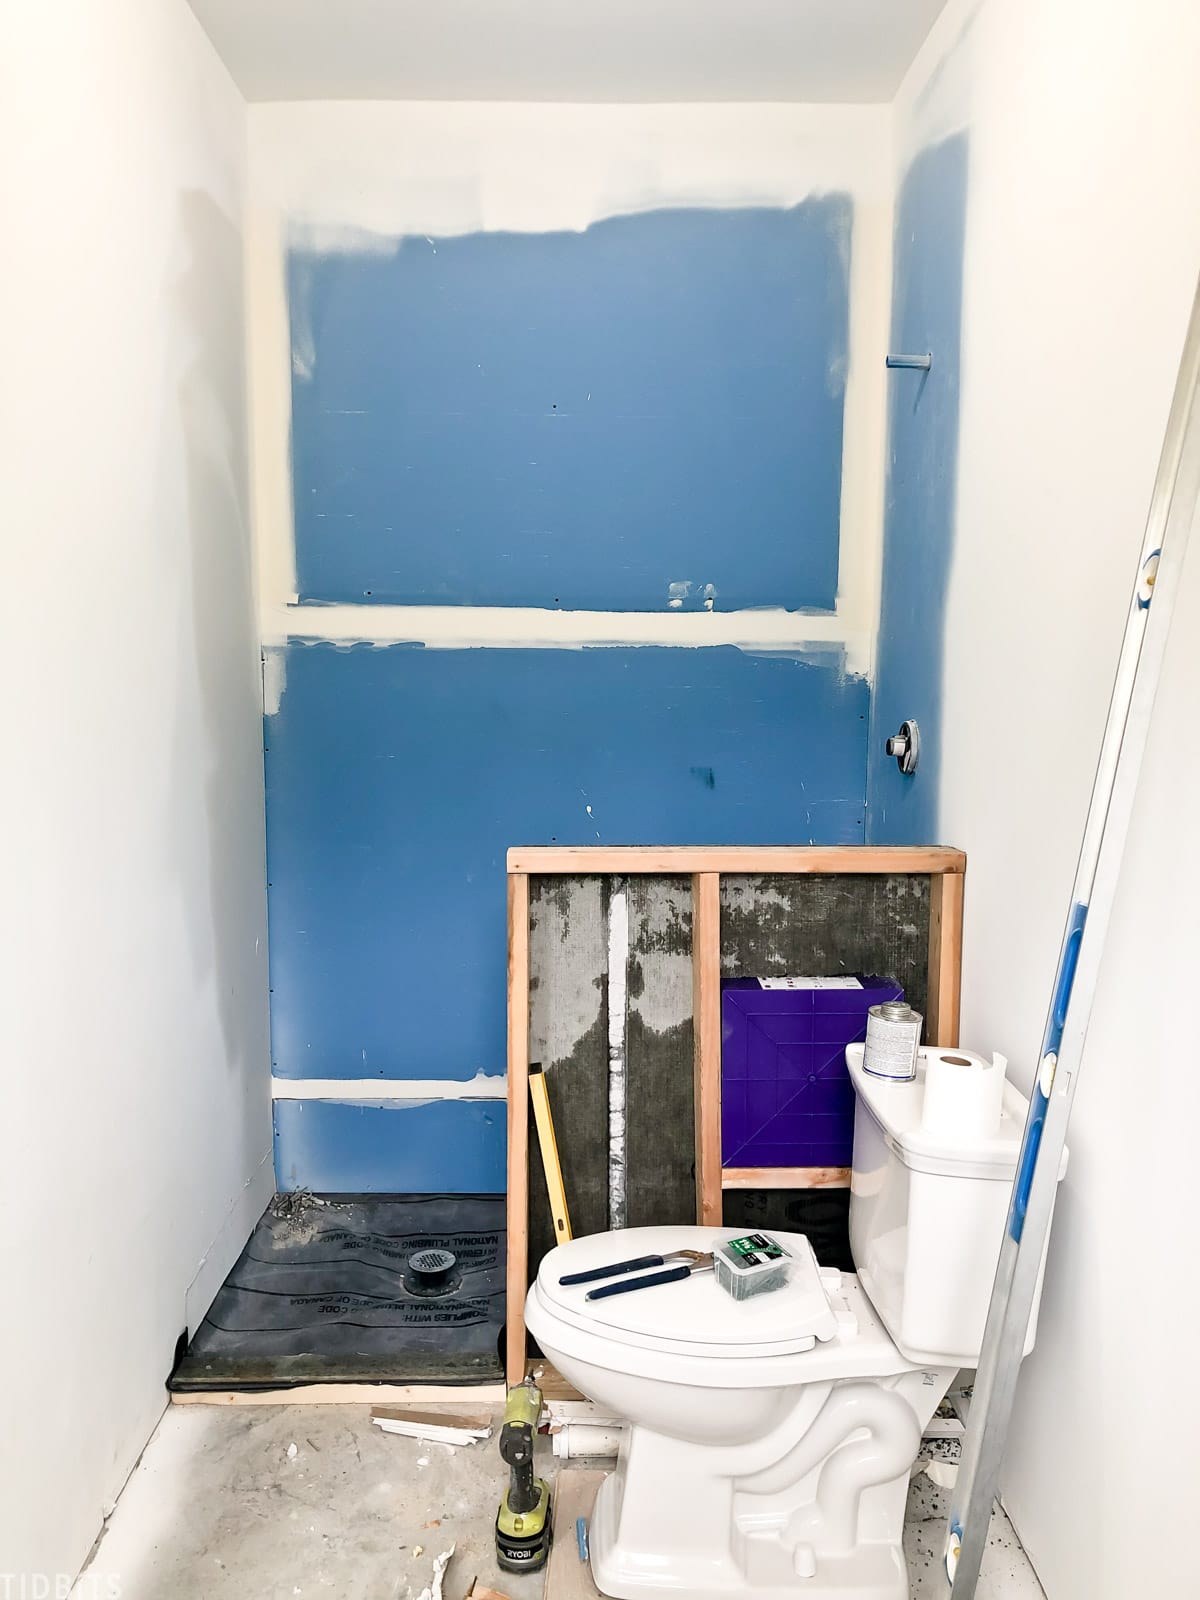
They can often allow you to do more creative designs because you can get away with using less product and still make a unique statement.
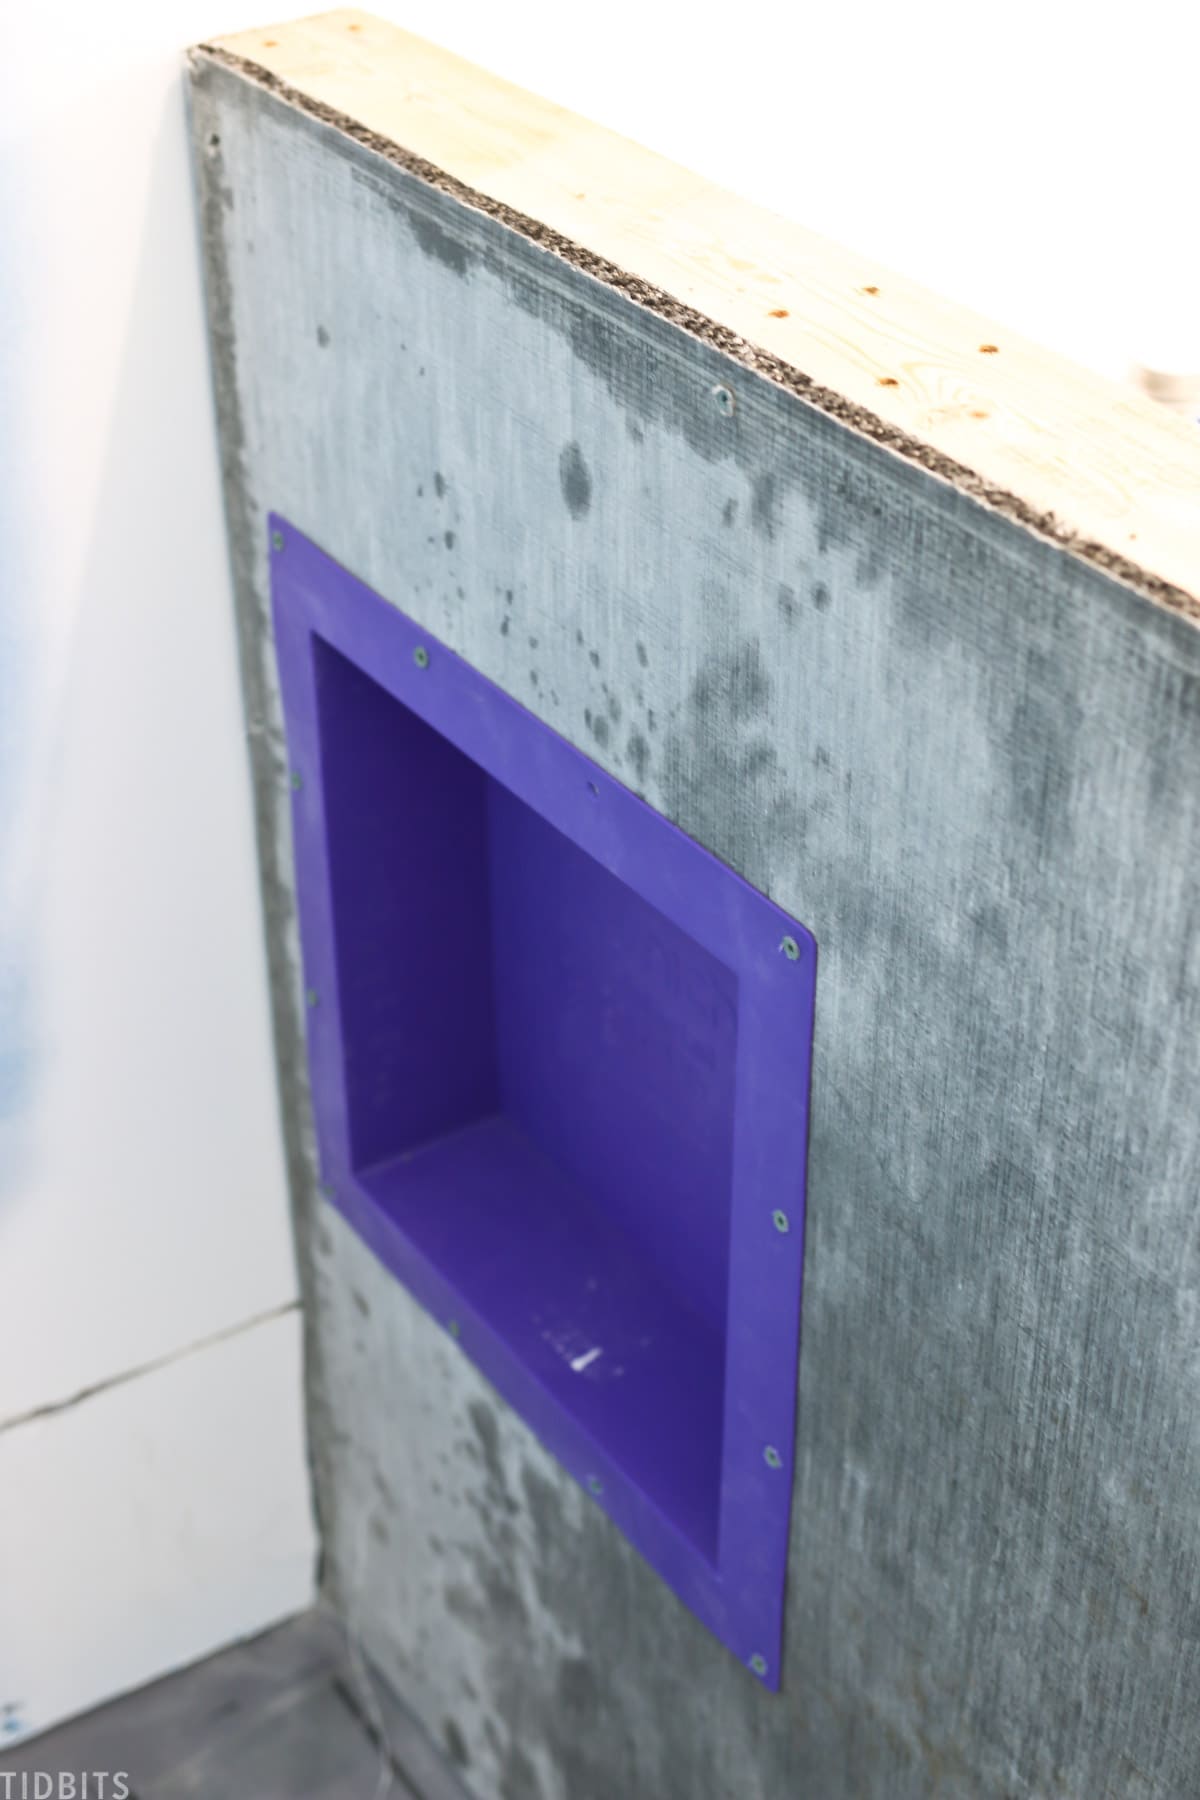
HALF WALL
One of the first things we did was build up a half wall to frame in the shower a bit more.
I really loved the idea of a tiled half wall, so Mr. TIDBITS framed it up with wood studs and then added the cement board which would provide the surface for the tile. On the inside of that half wall, we added a little shelf cubby, which was really easy to do with this mold we picked up from Floor & Decor.
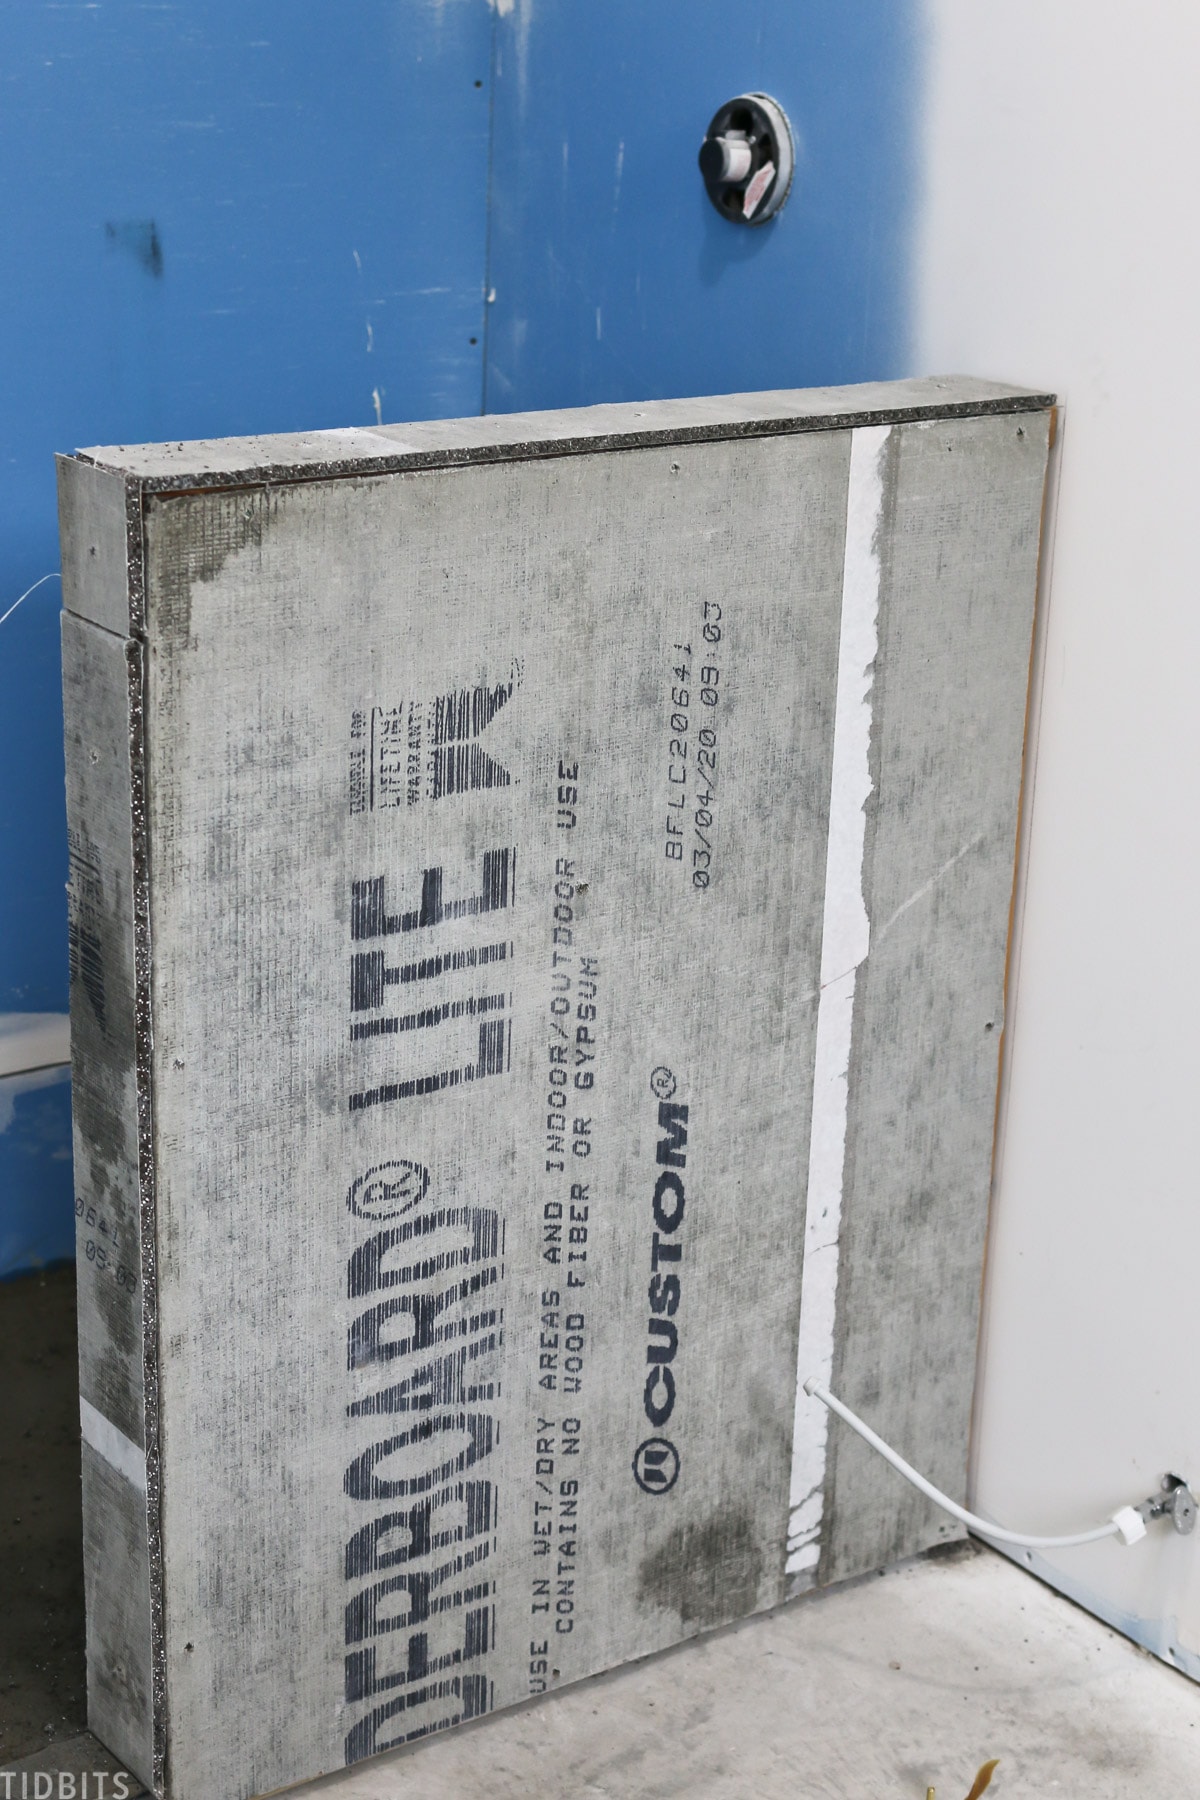
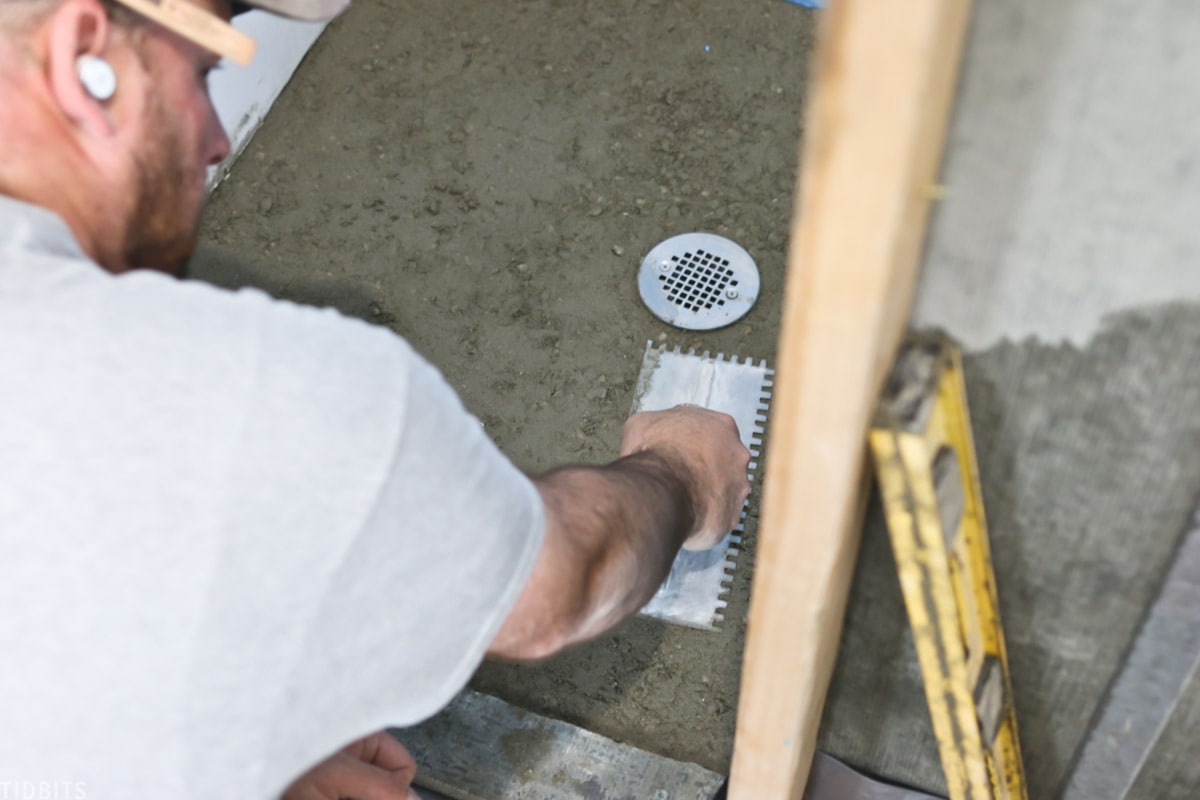
SHOWER PAN
Next up, my husband built our own custom shower pan or shower floor.
This involved laying down a super thick plastic shower liner, and a sandy mortar mixture.
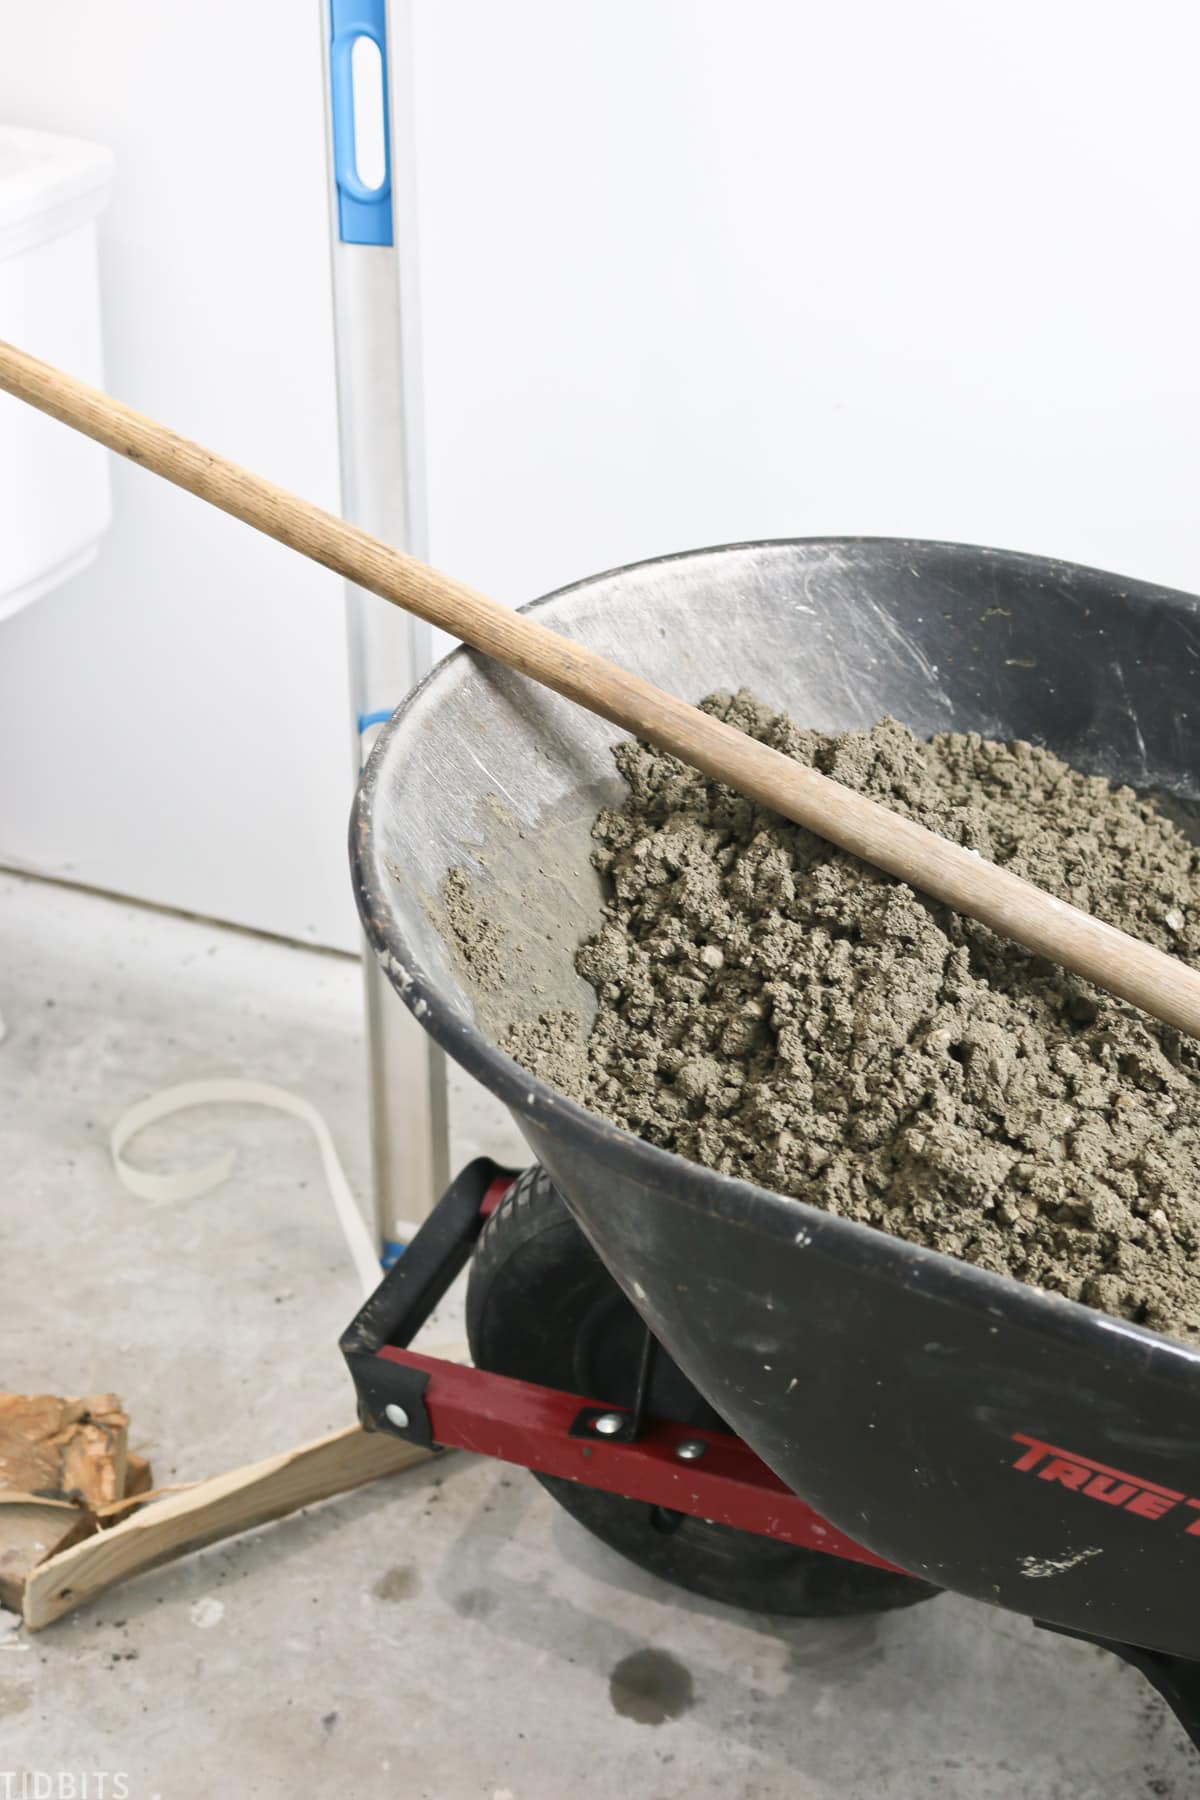
He was sure to slope it slightly so the water would drain appropriately.
BATHROOM FLOOR
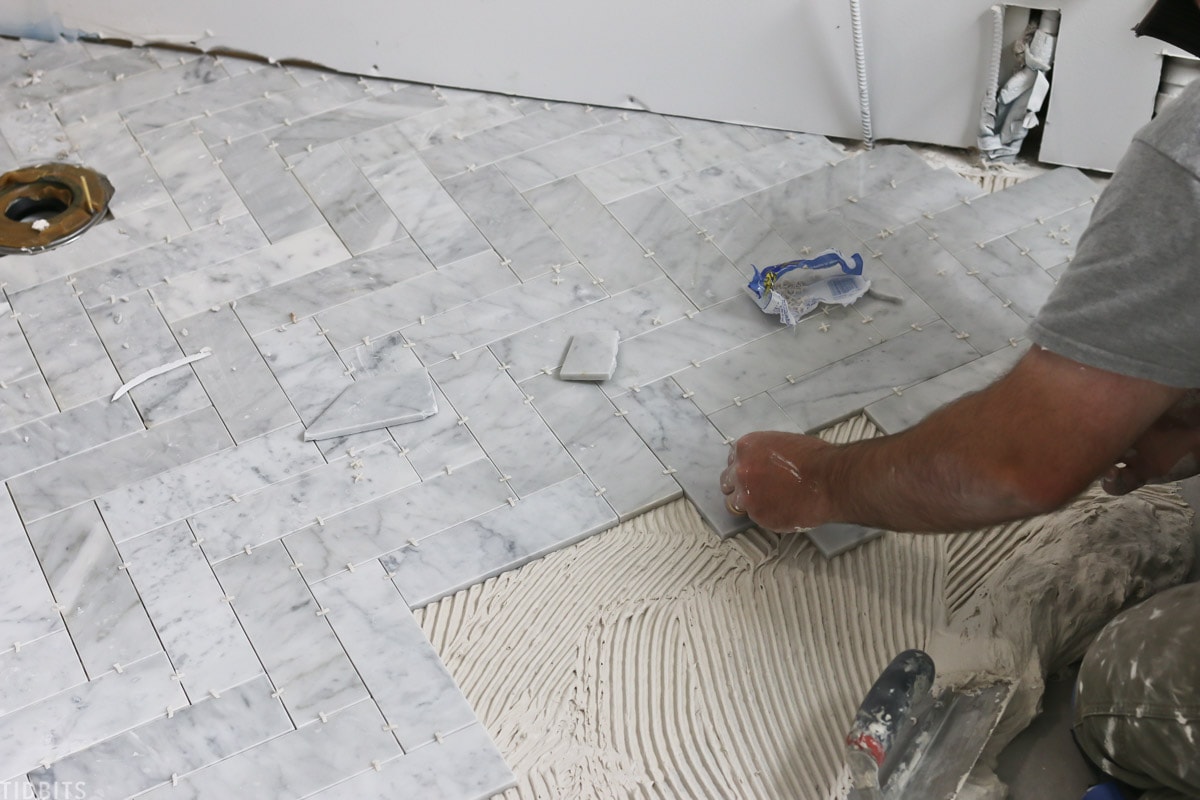
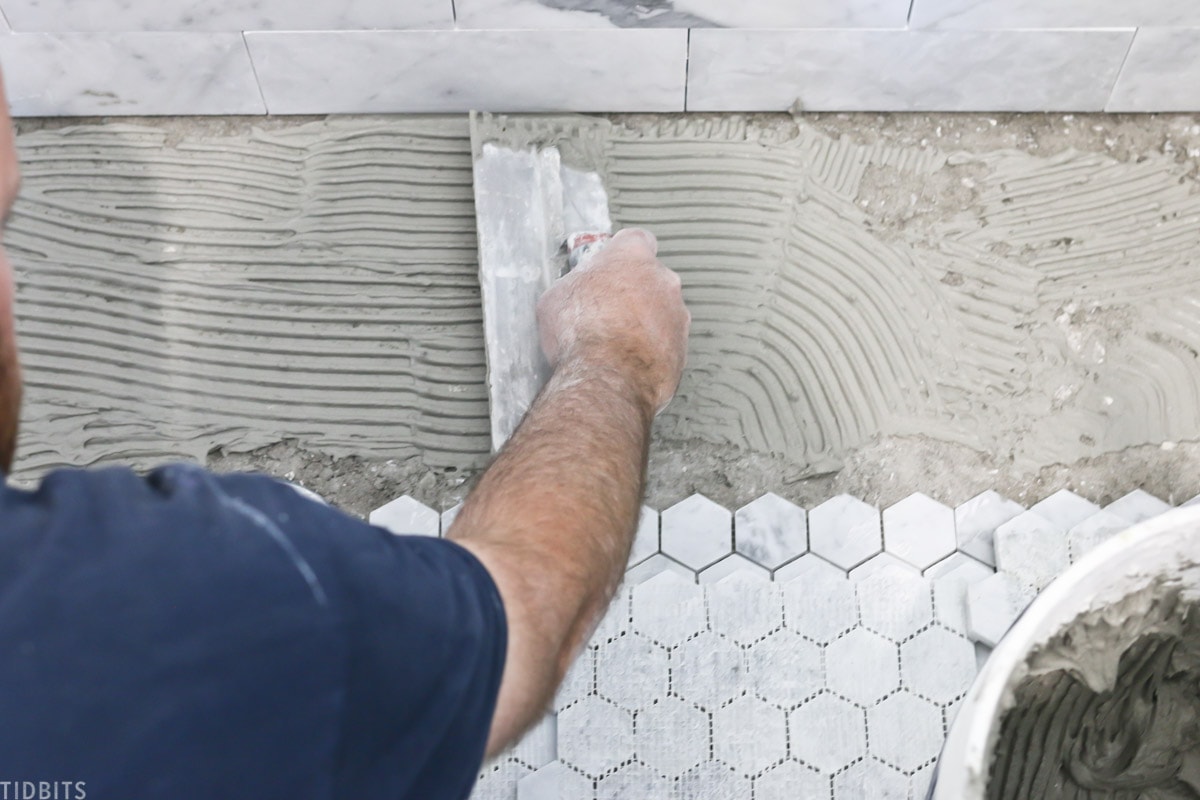
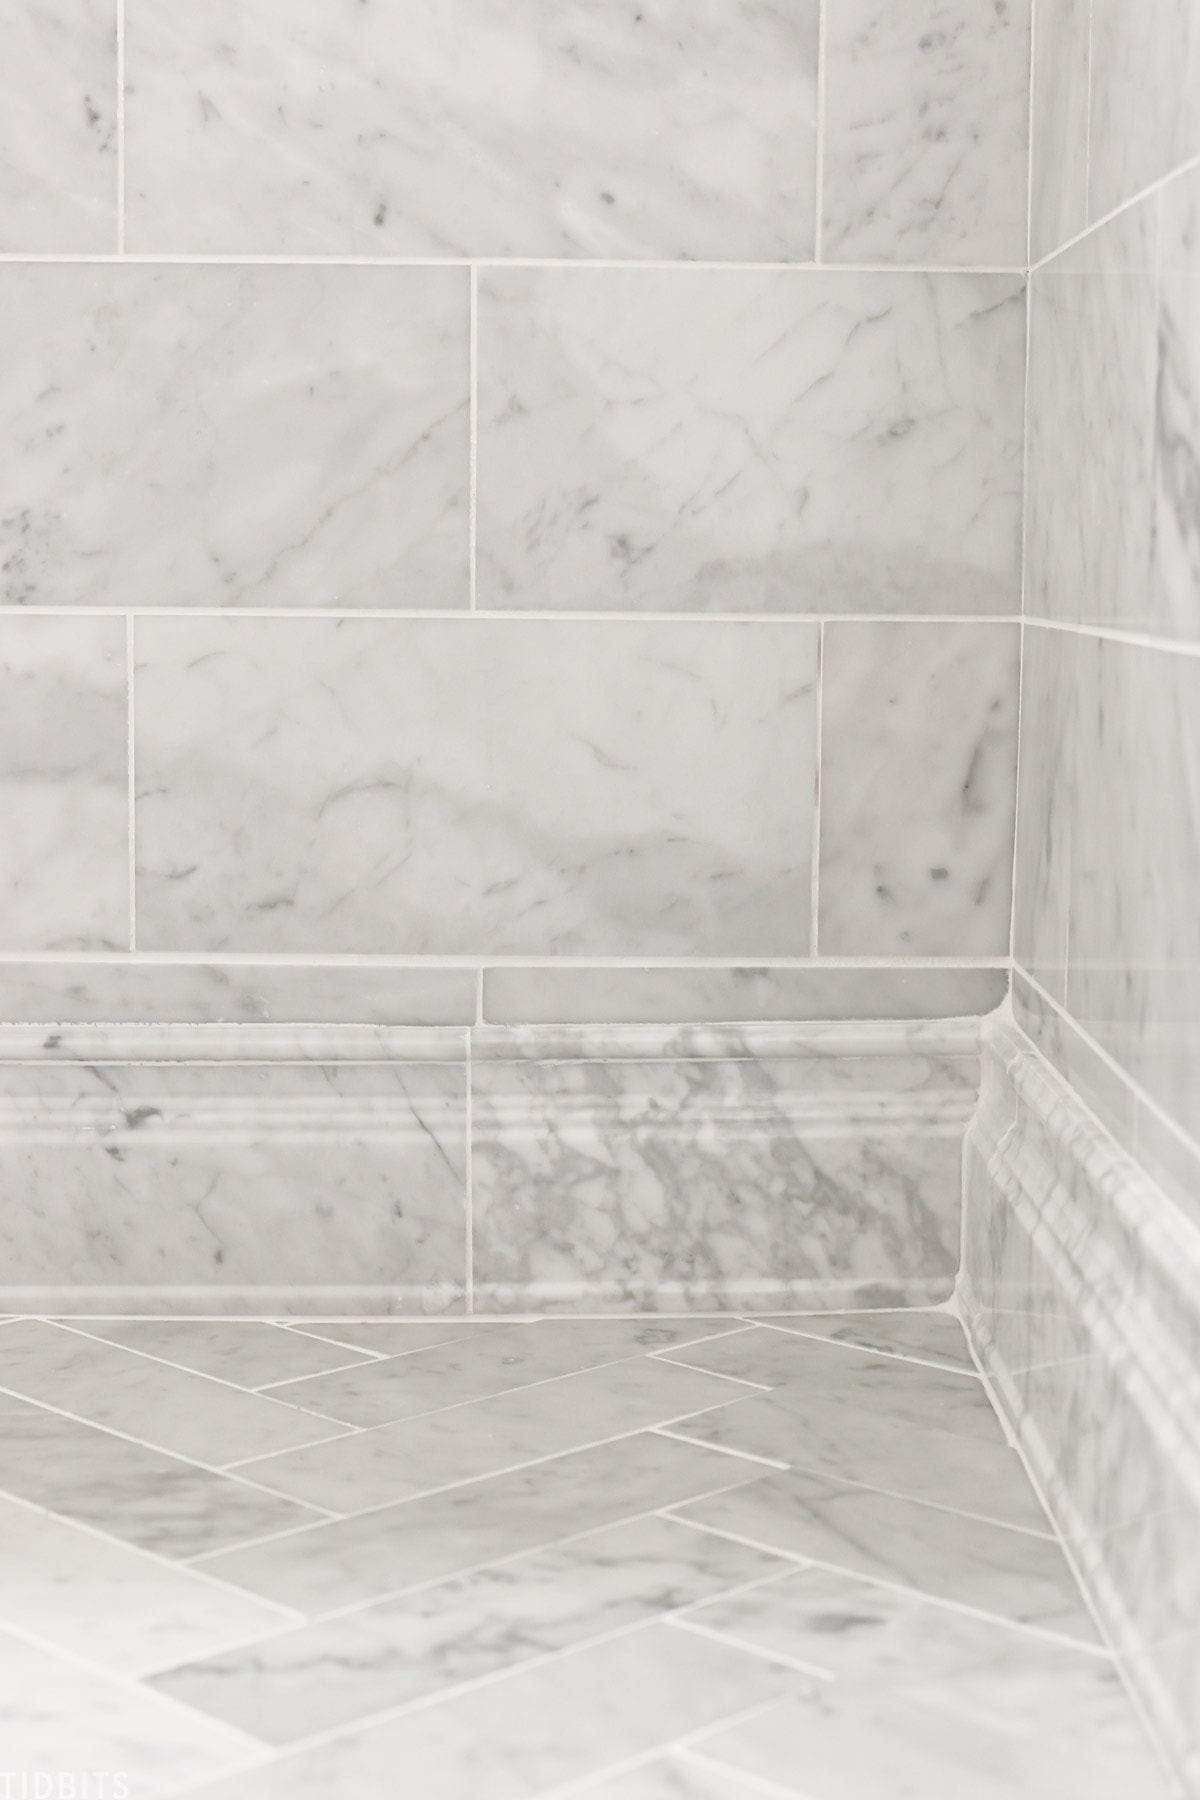
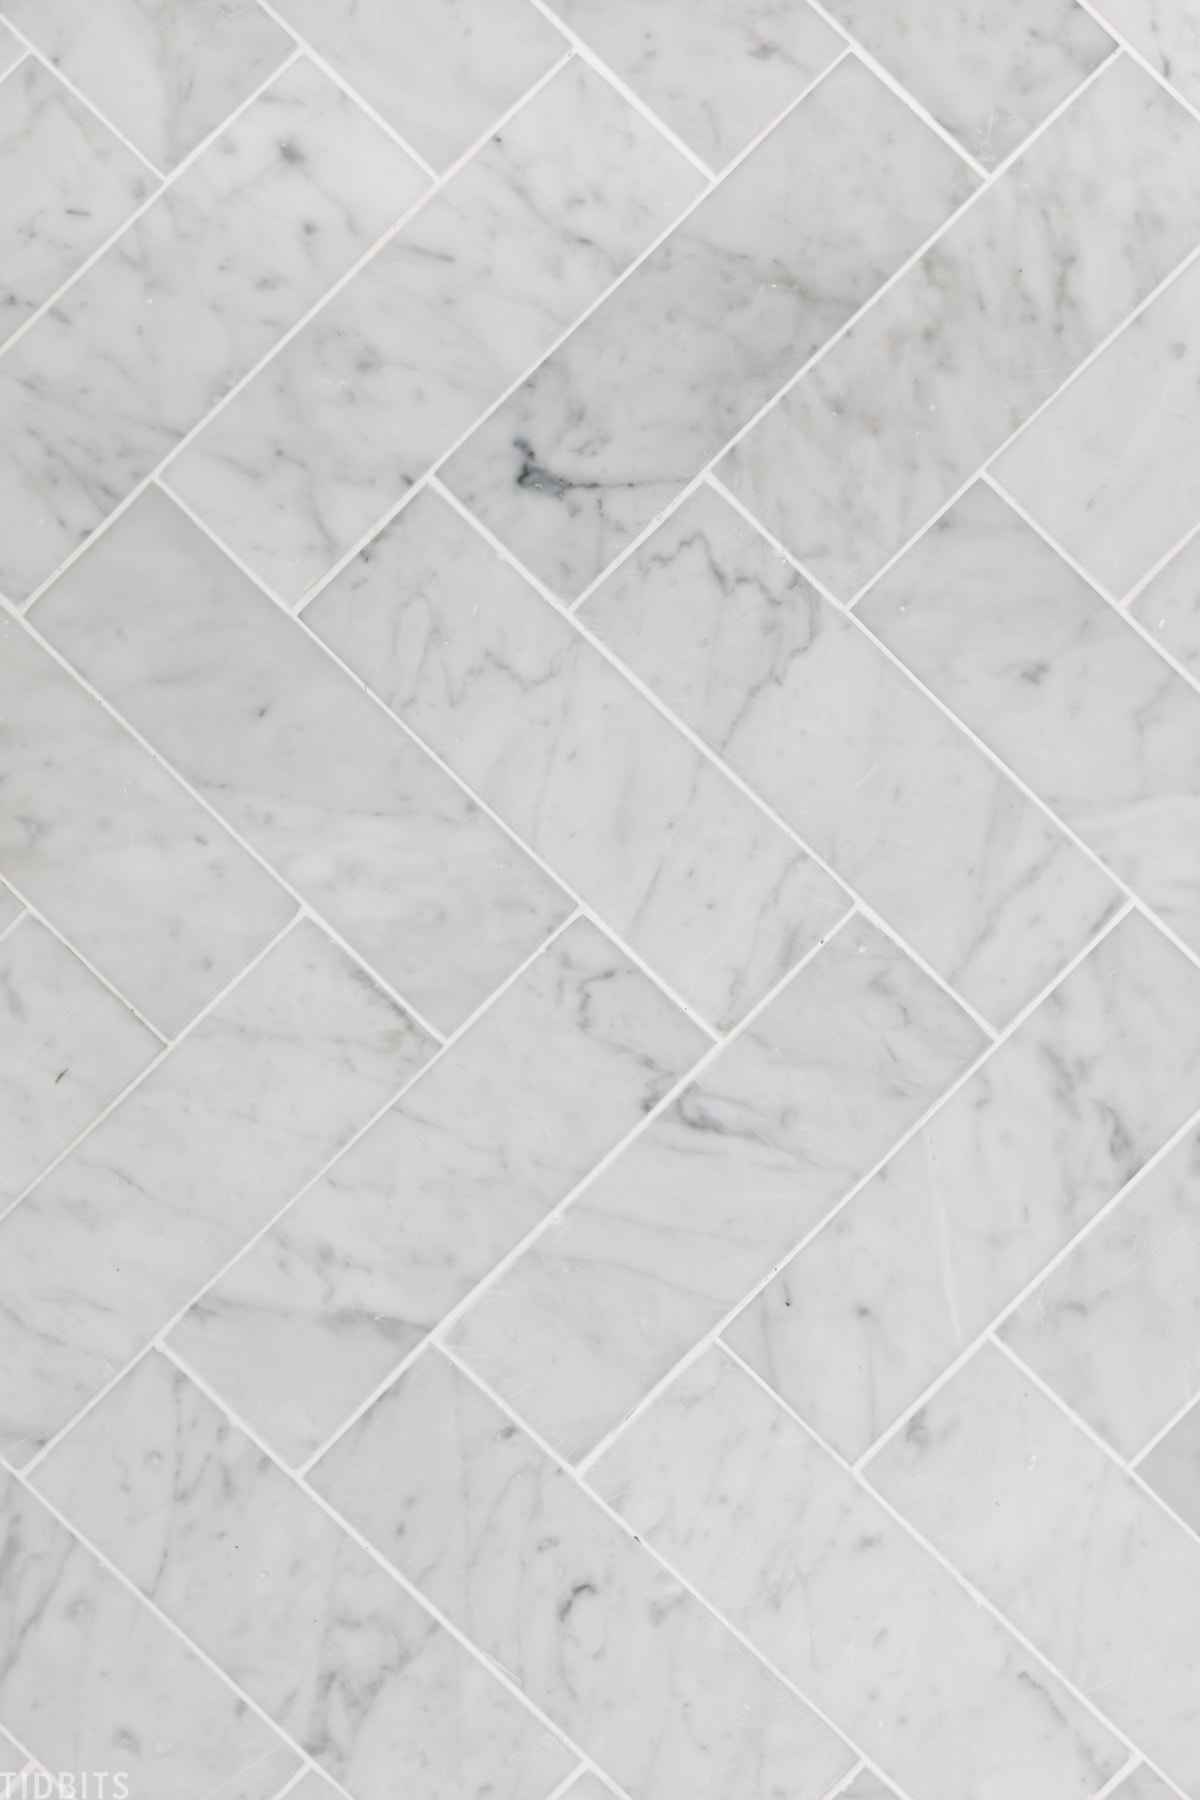
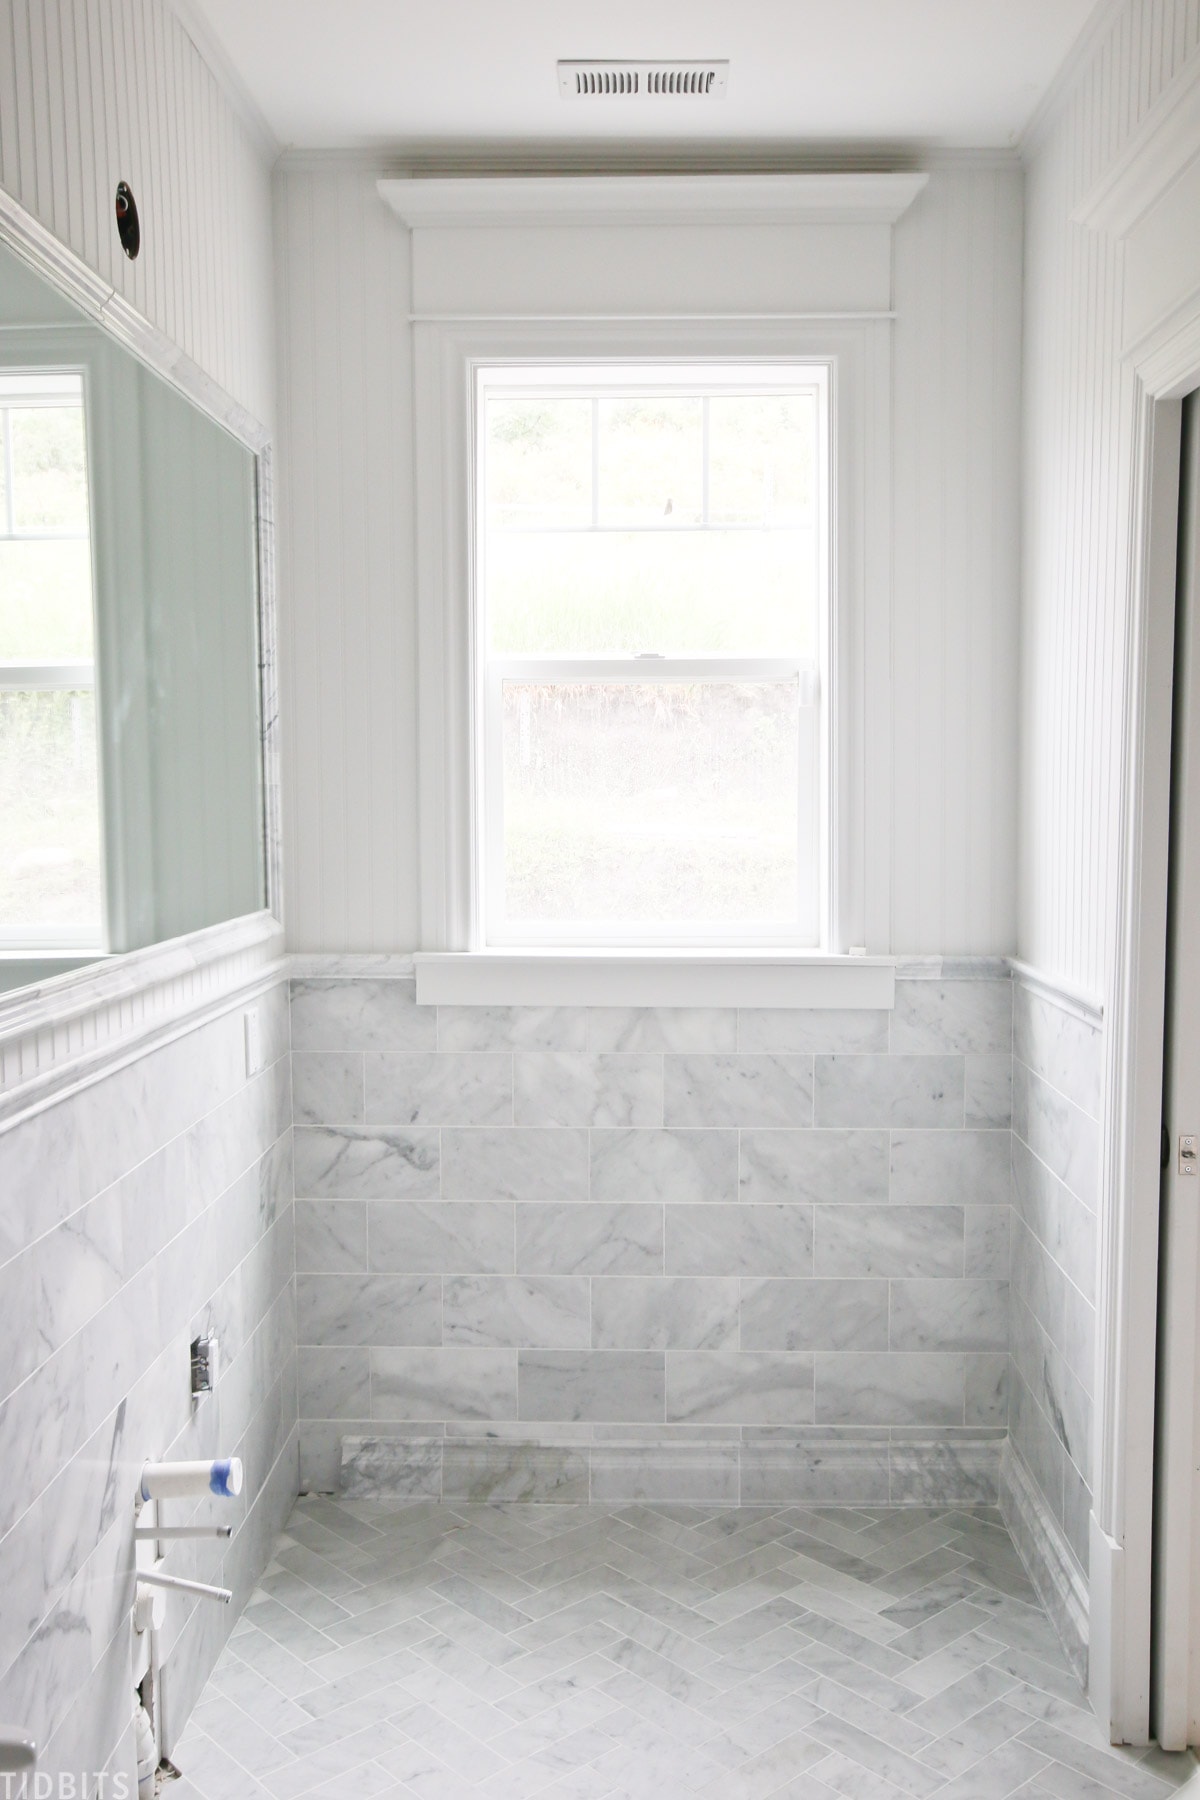
We decided to begin laying the bathroom flooring tile down first. I selected a 3 x 9 piece of honed Carrara marble for the flooring.
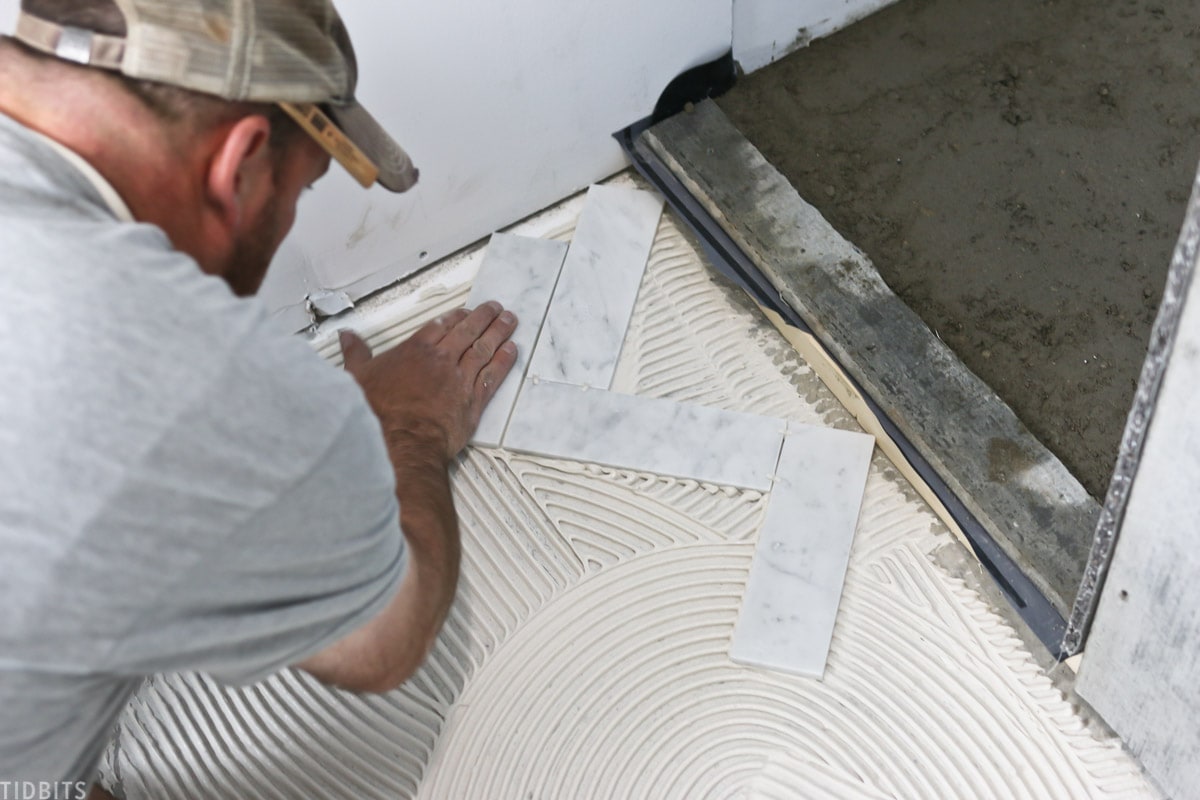
Kevin first laid down the thin set in small sections, and began installing the tile in an angled herringbone pattern – much to his chagrin. This pattern is certainly trickier than others, but I have just always loved the look of marble installed in a herringbone pattern. This might be the last time I talk him into this, but it was so worth it. As he made progress, I knew it was going to look amazing. We used tiny spacers so we would have minimal grout lines throughout the tile.
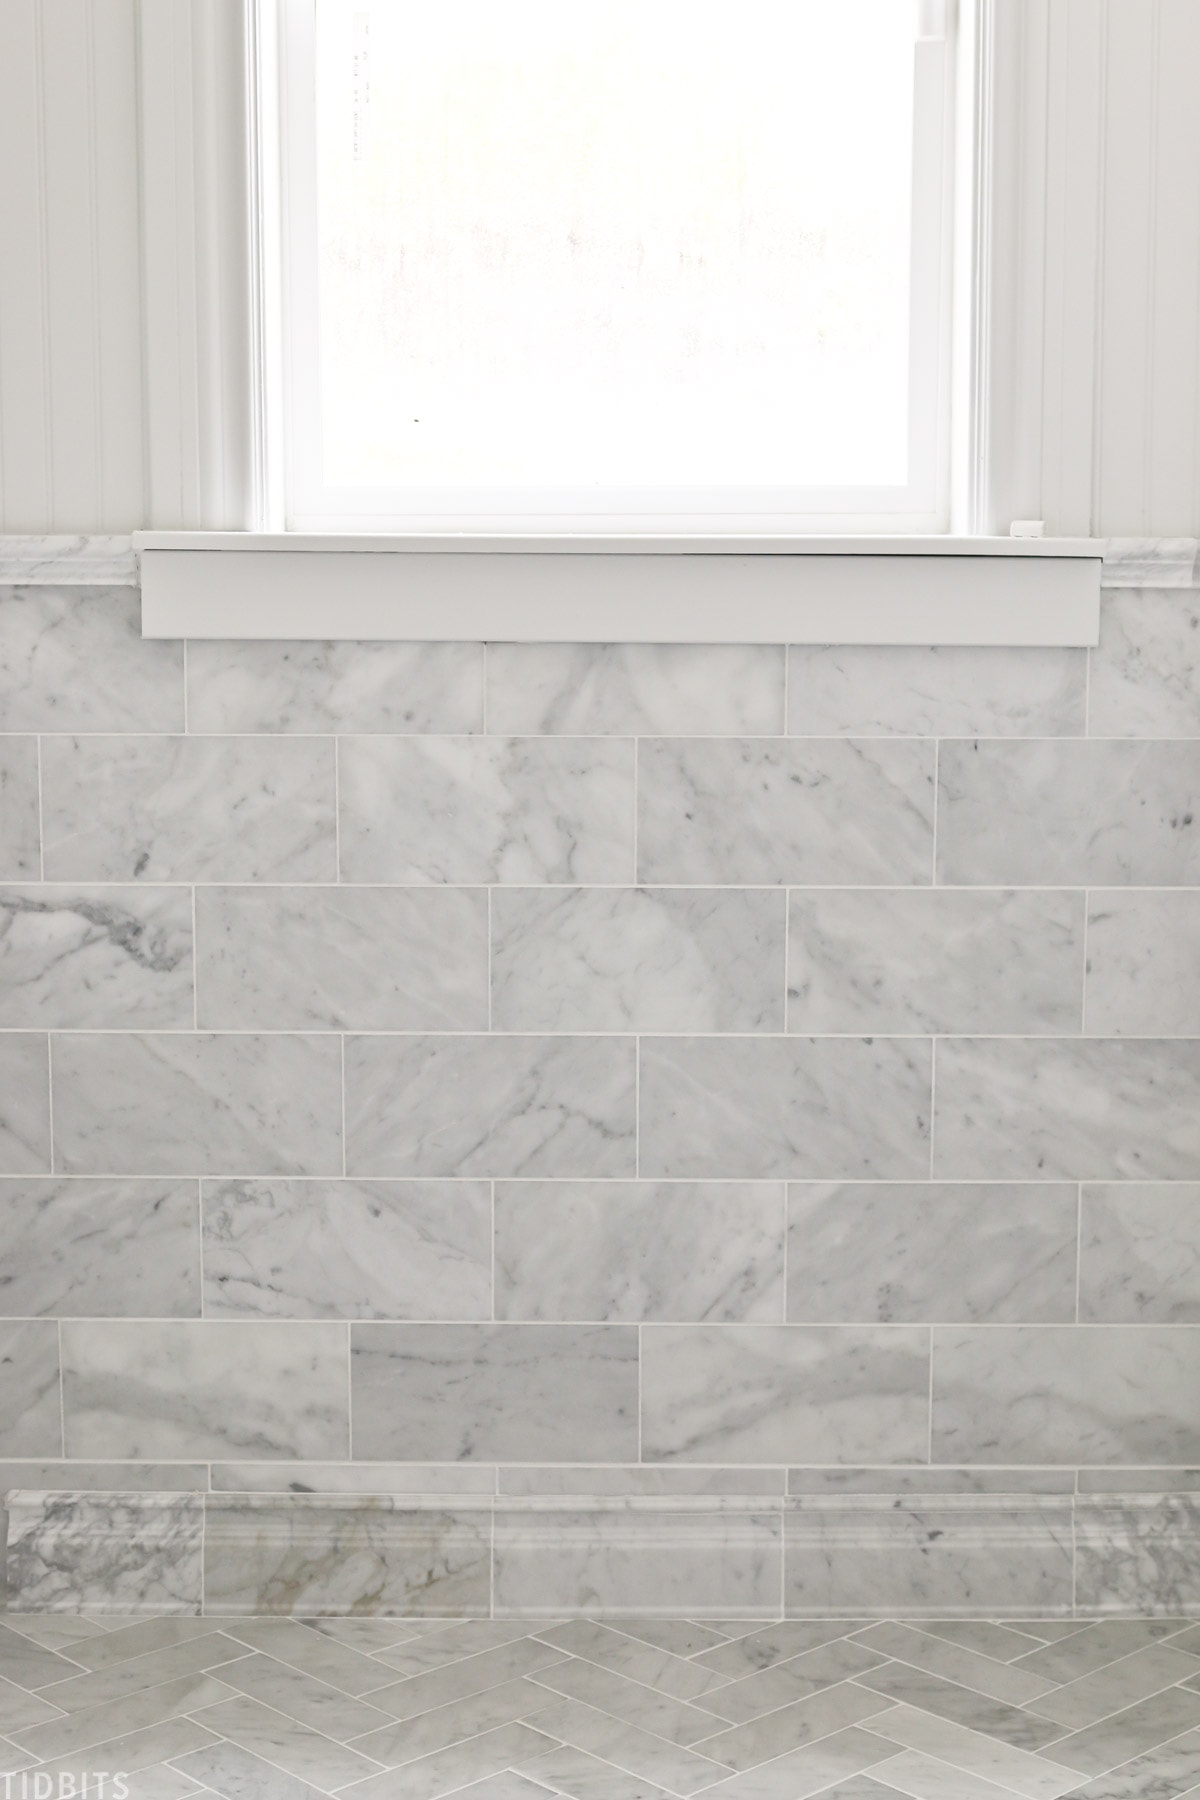
WALLS
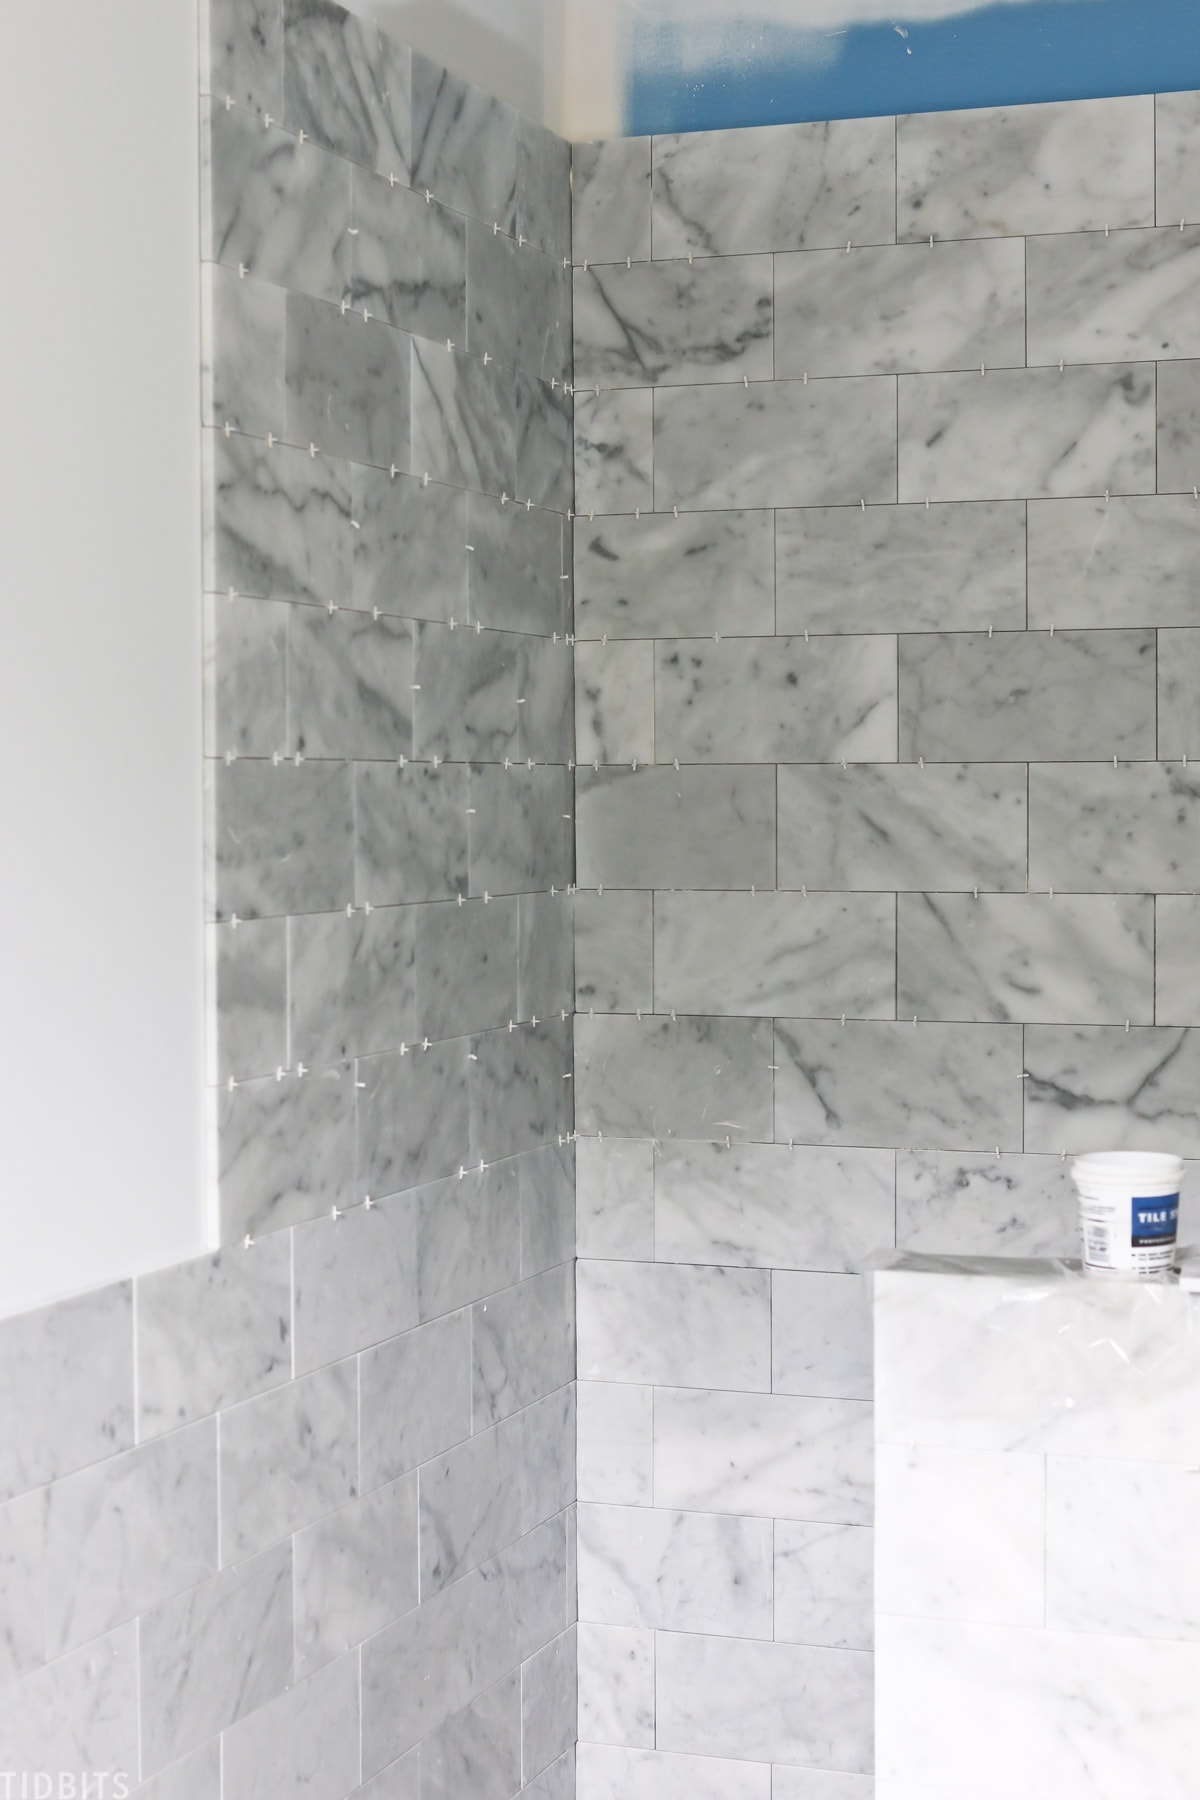
Once the flooring was dry enough to walk on, he began installing the tile for the wall.
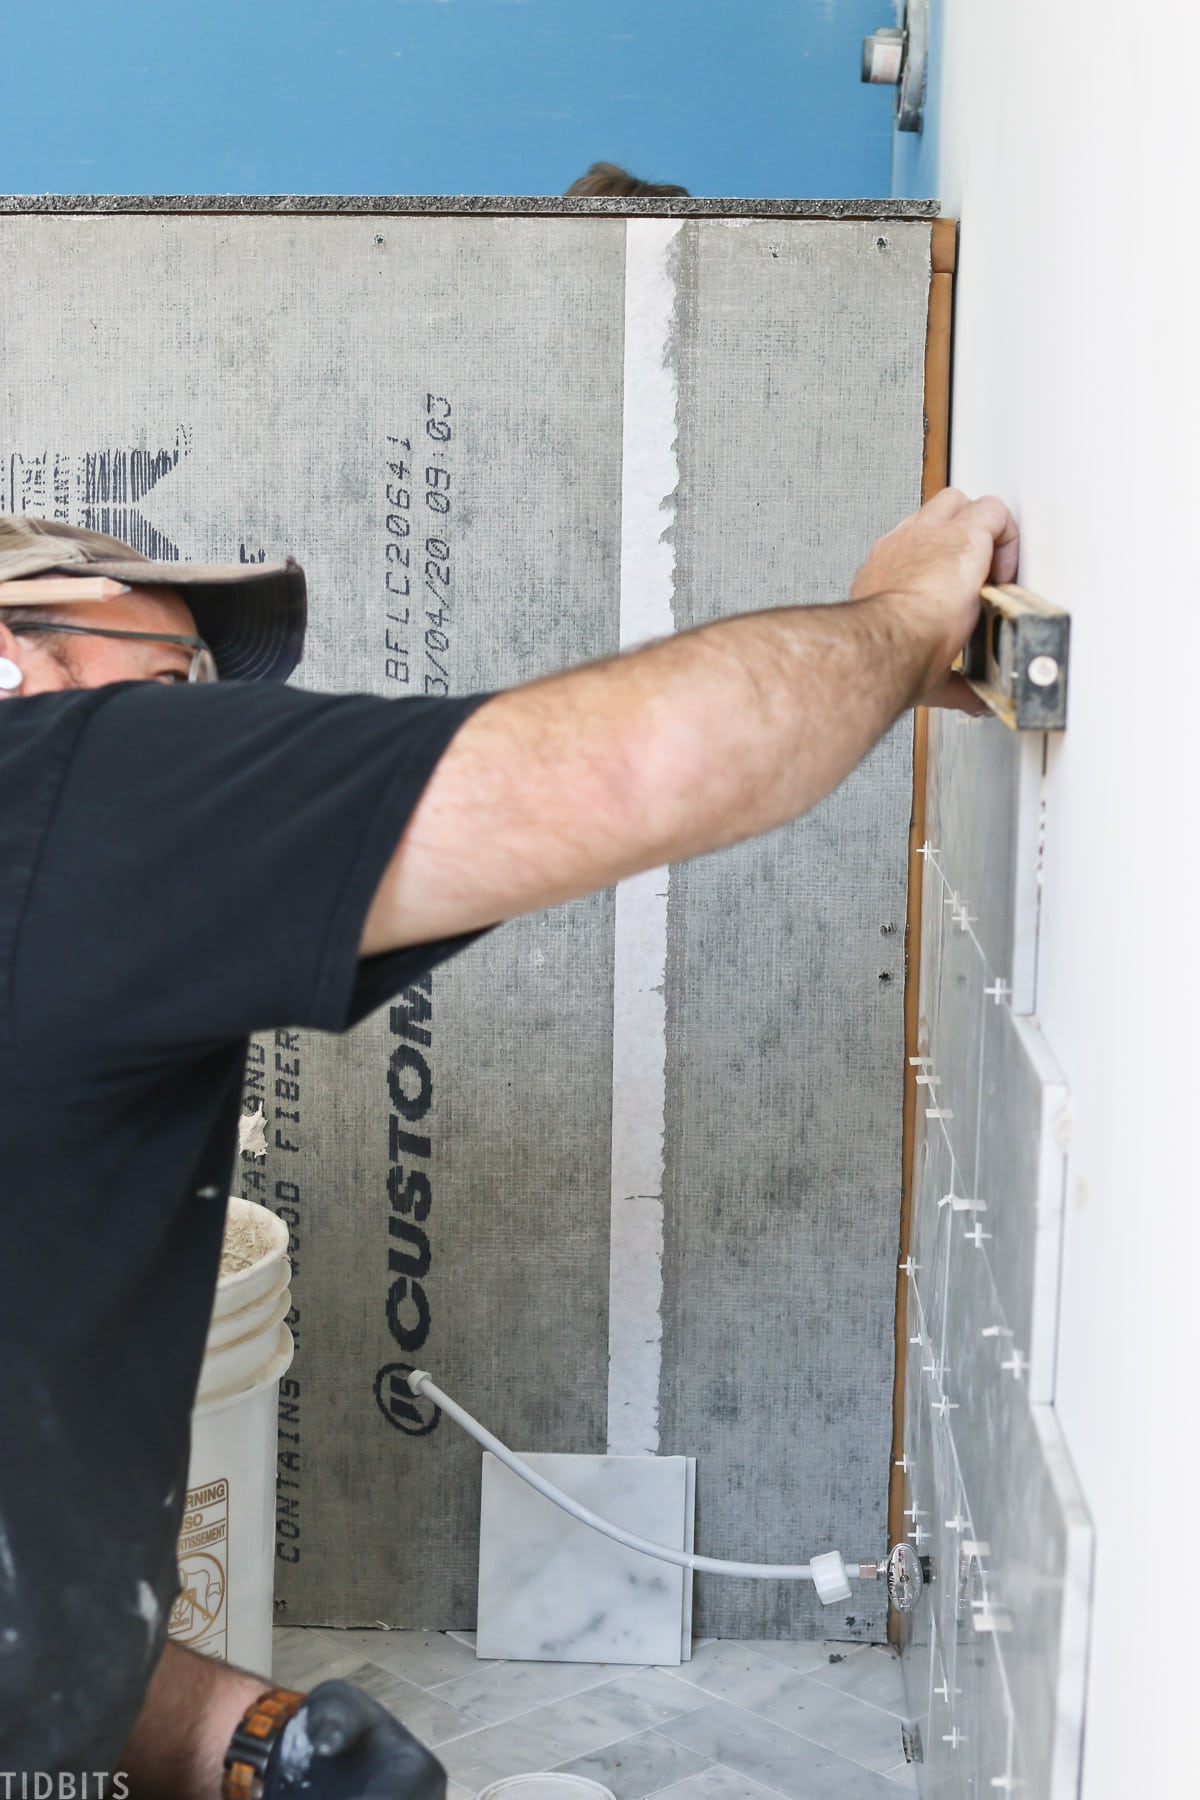
I opted for a piece of honed Carrara marble tile measuring 6 x 12 for the walls. We installed it in a much simpler staggered brick style. We went about half way up all the walls with this tile, and all the way up in the shower area.
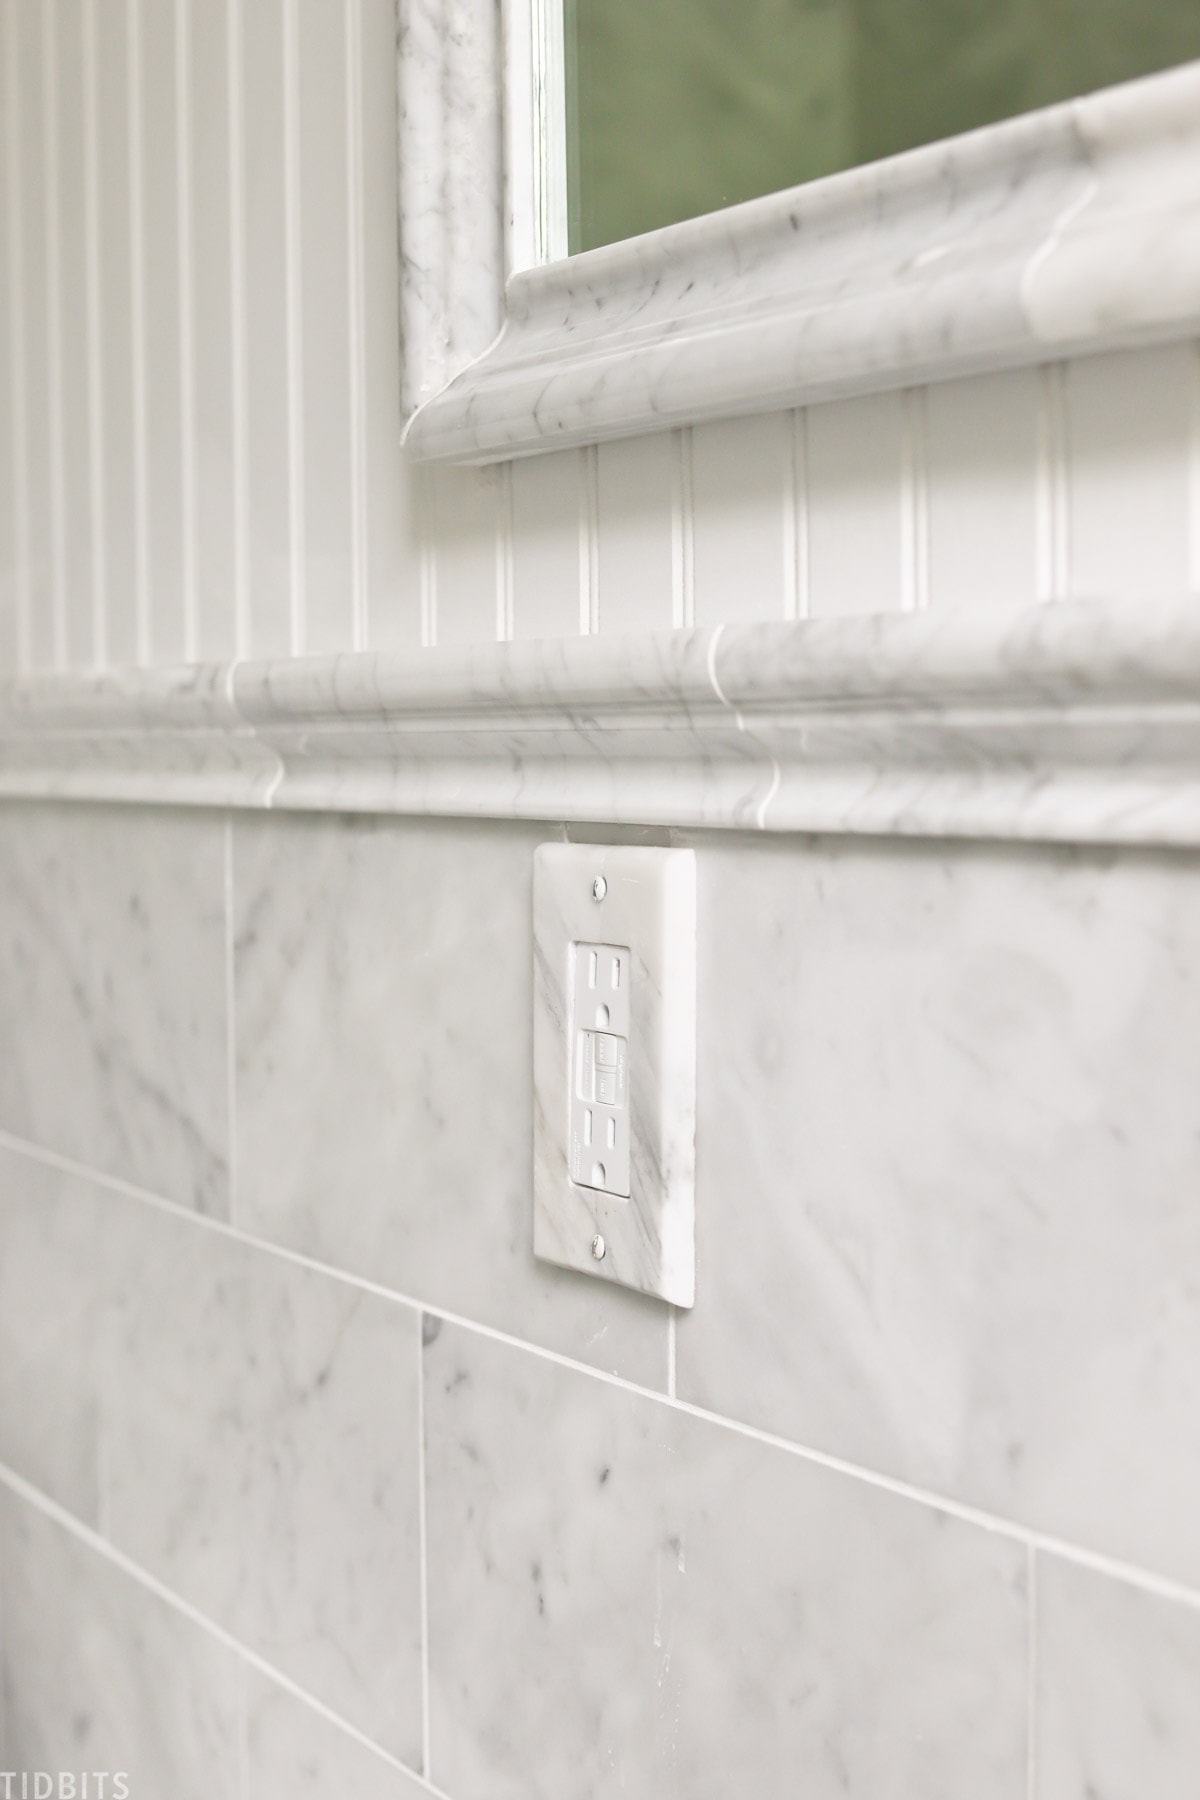
It went pretty quickly, and the trickiest part was cutting around outlets and plumbing and fitting the tile for the inside shower cubby.
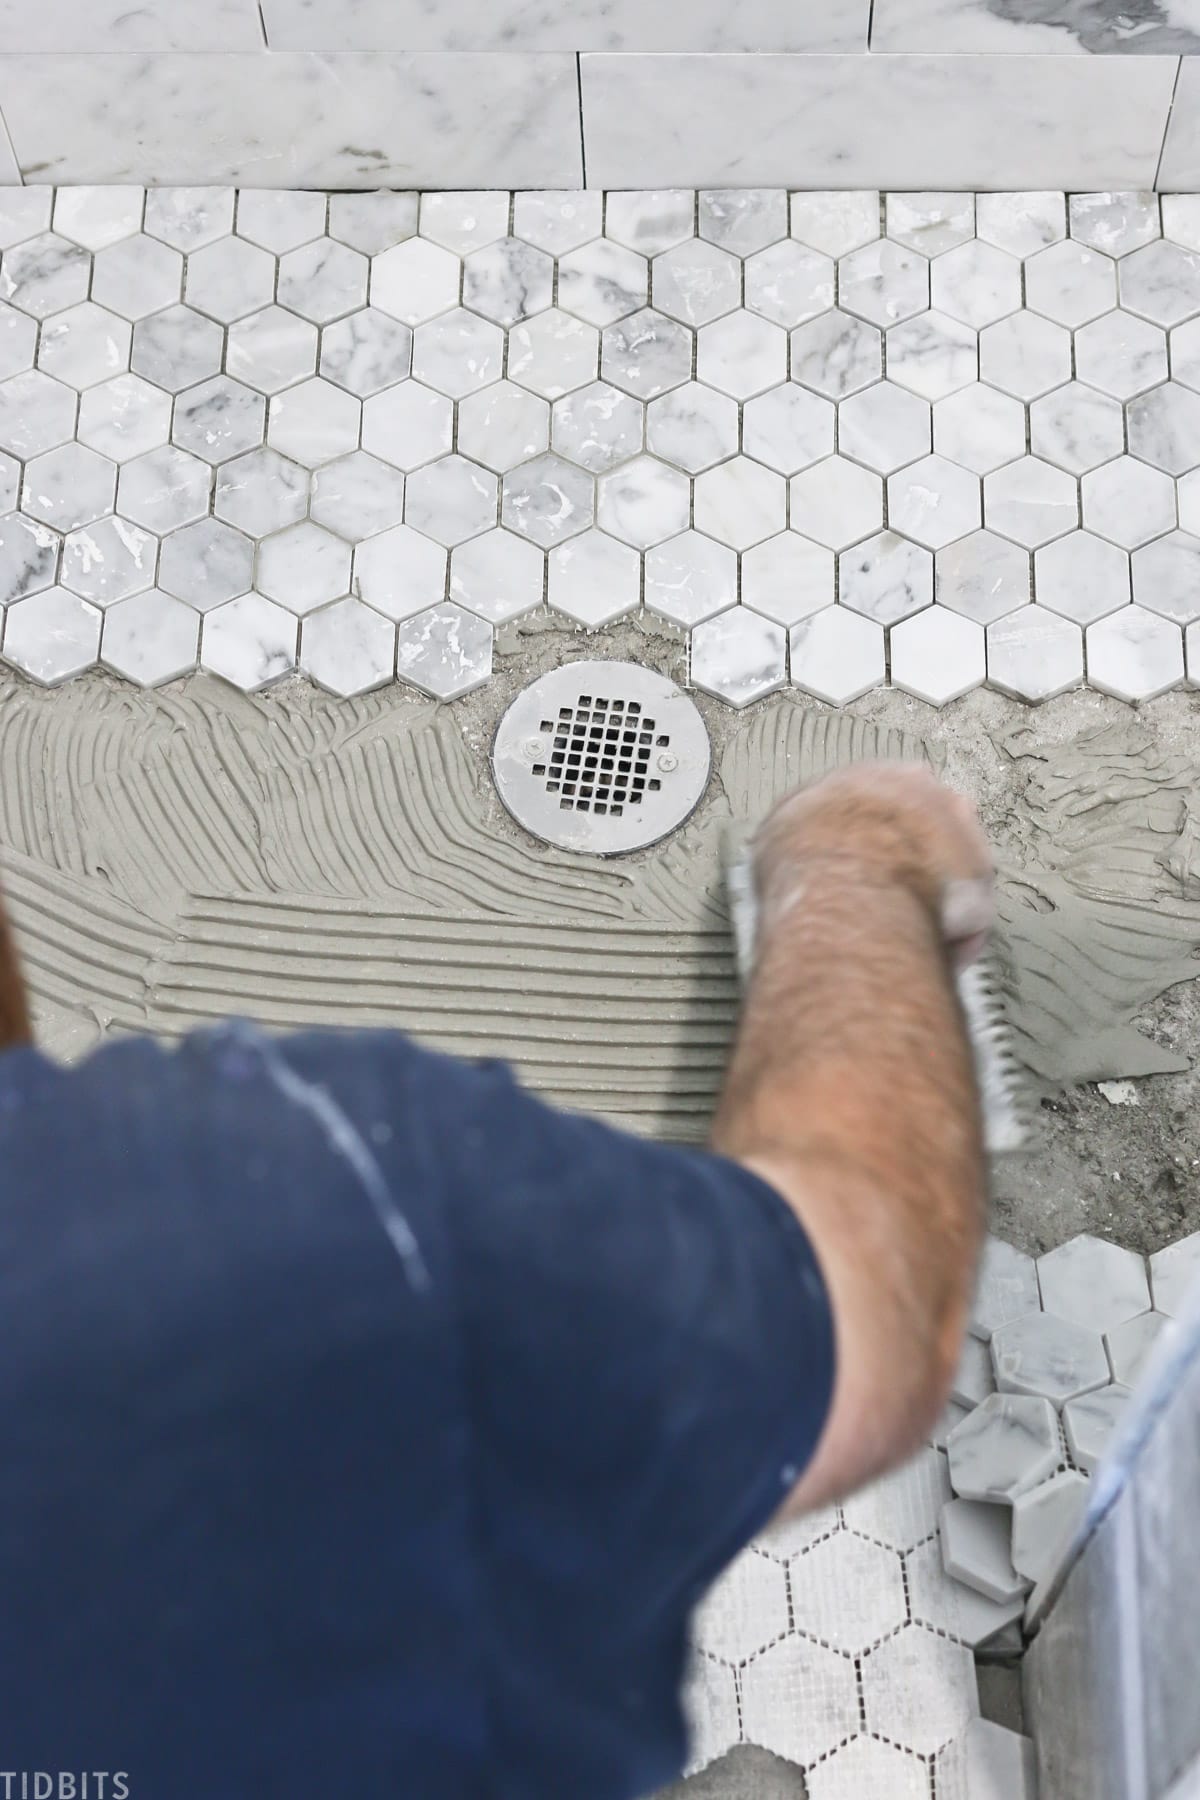
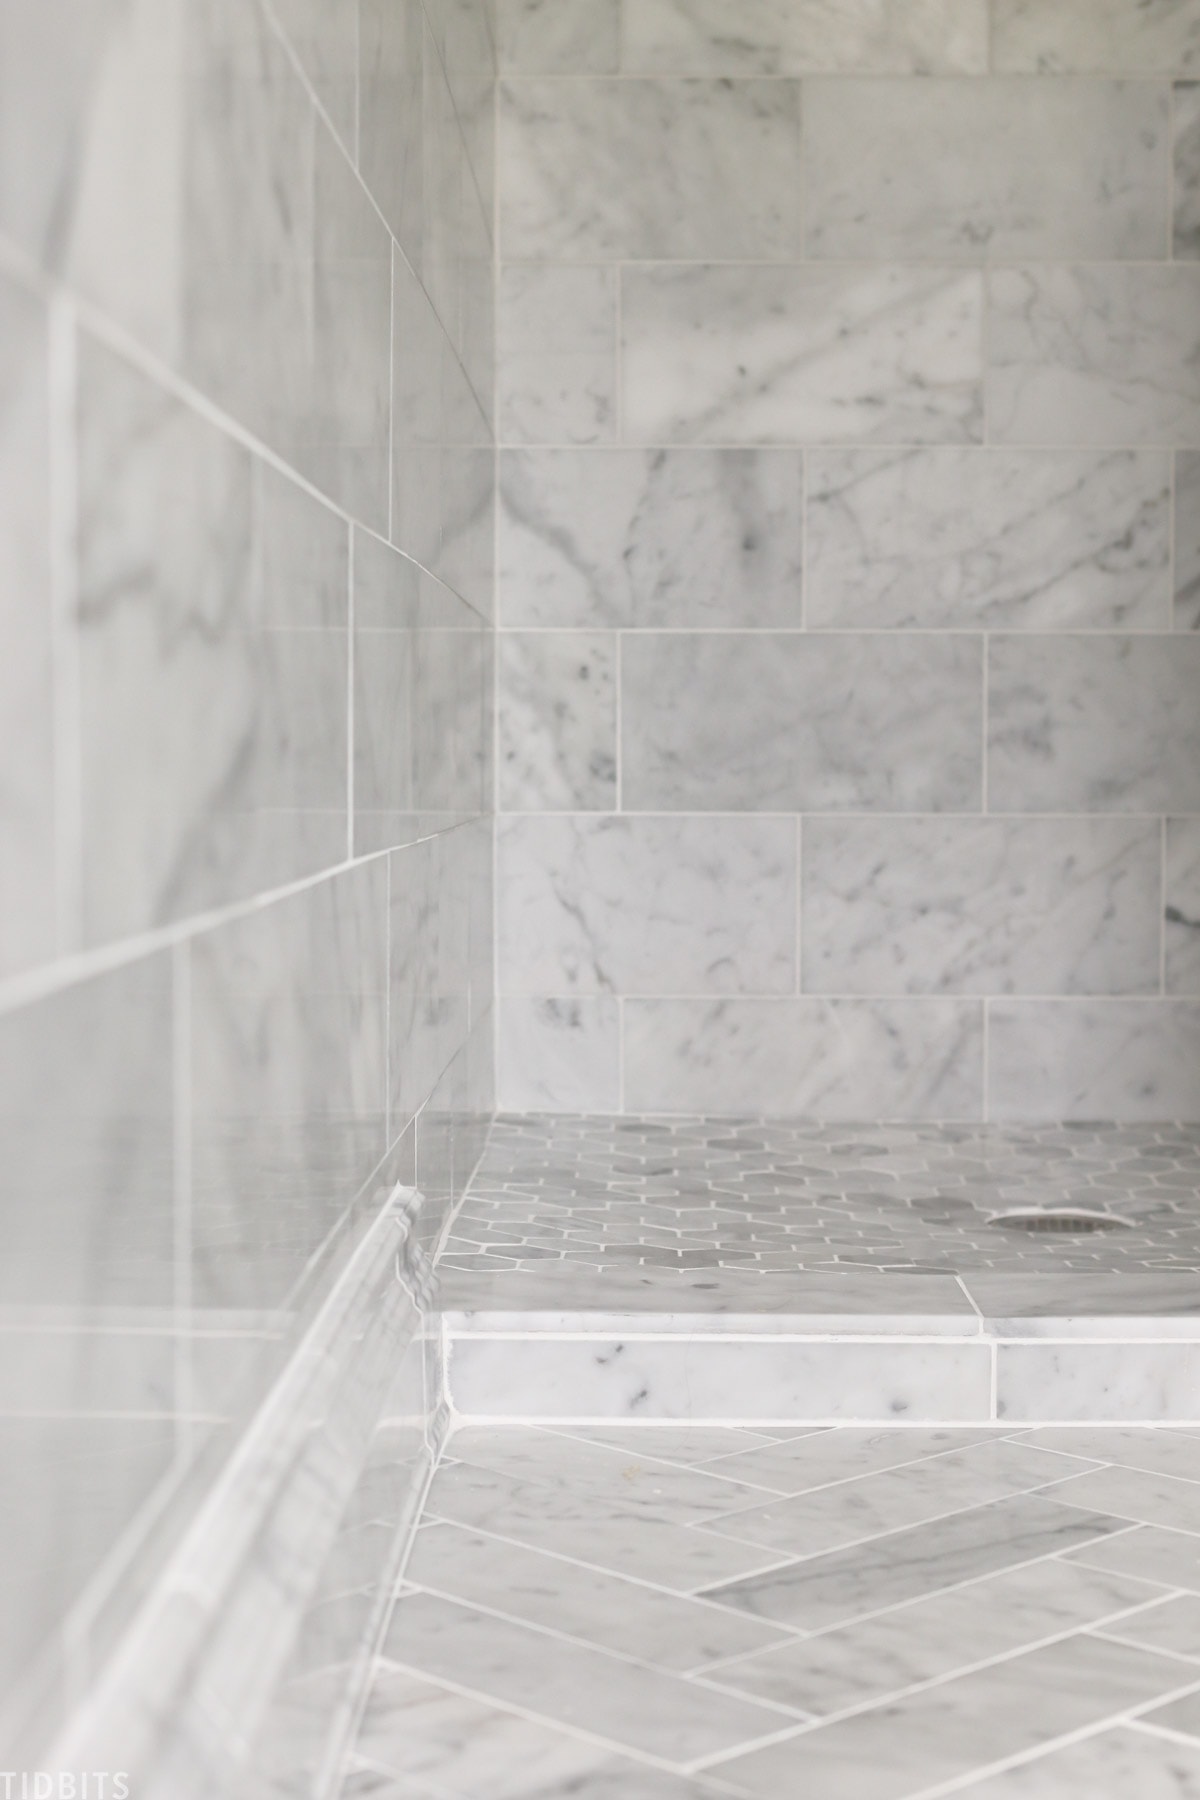
SHOWER FLOOR
Once all that was done, the shower pan was dry enough to install the tile. I picked out a meshed together marble hexagon pattern for the shower floor.
Kevin made sure he measured and cut the pieces to fit the spot before he began laying them down. Then he would fold them over, add the thinset in small sections, and carefully lay down the meshed pieces. They can be tricky to work with (or so he says) and a little messy where there are so many crevasses for the thin set to squeeze out of. He did end up having to chisel some of the dried thin set out of the cracks before he could grout.
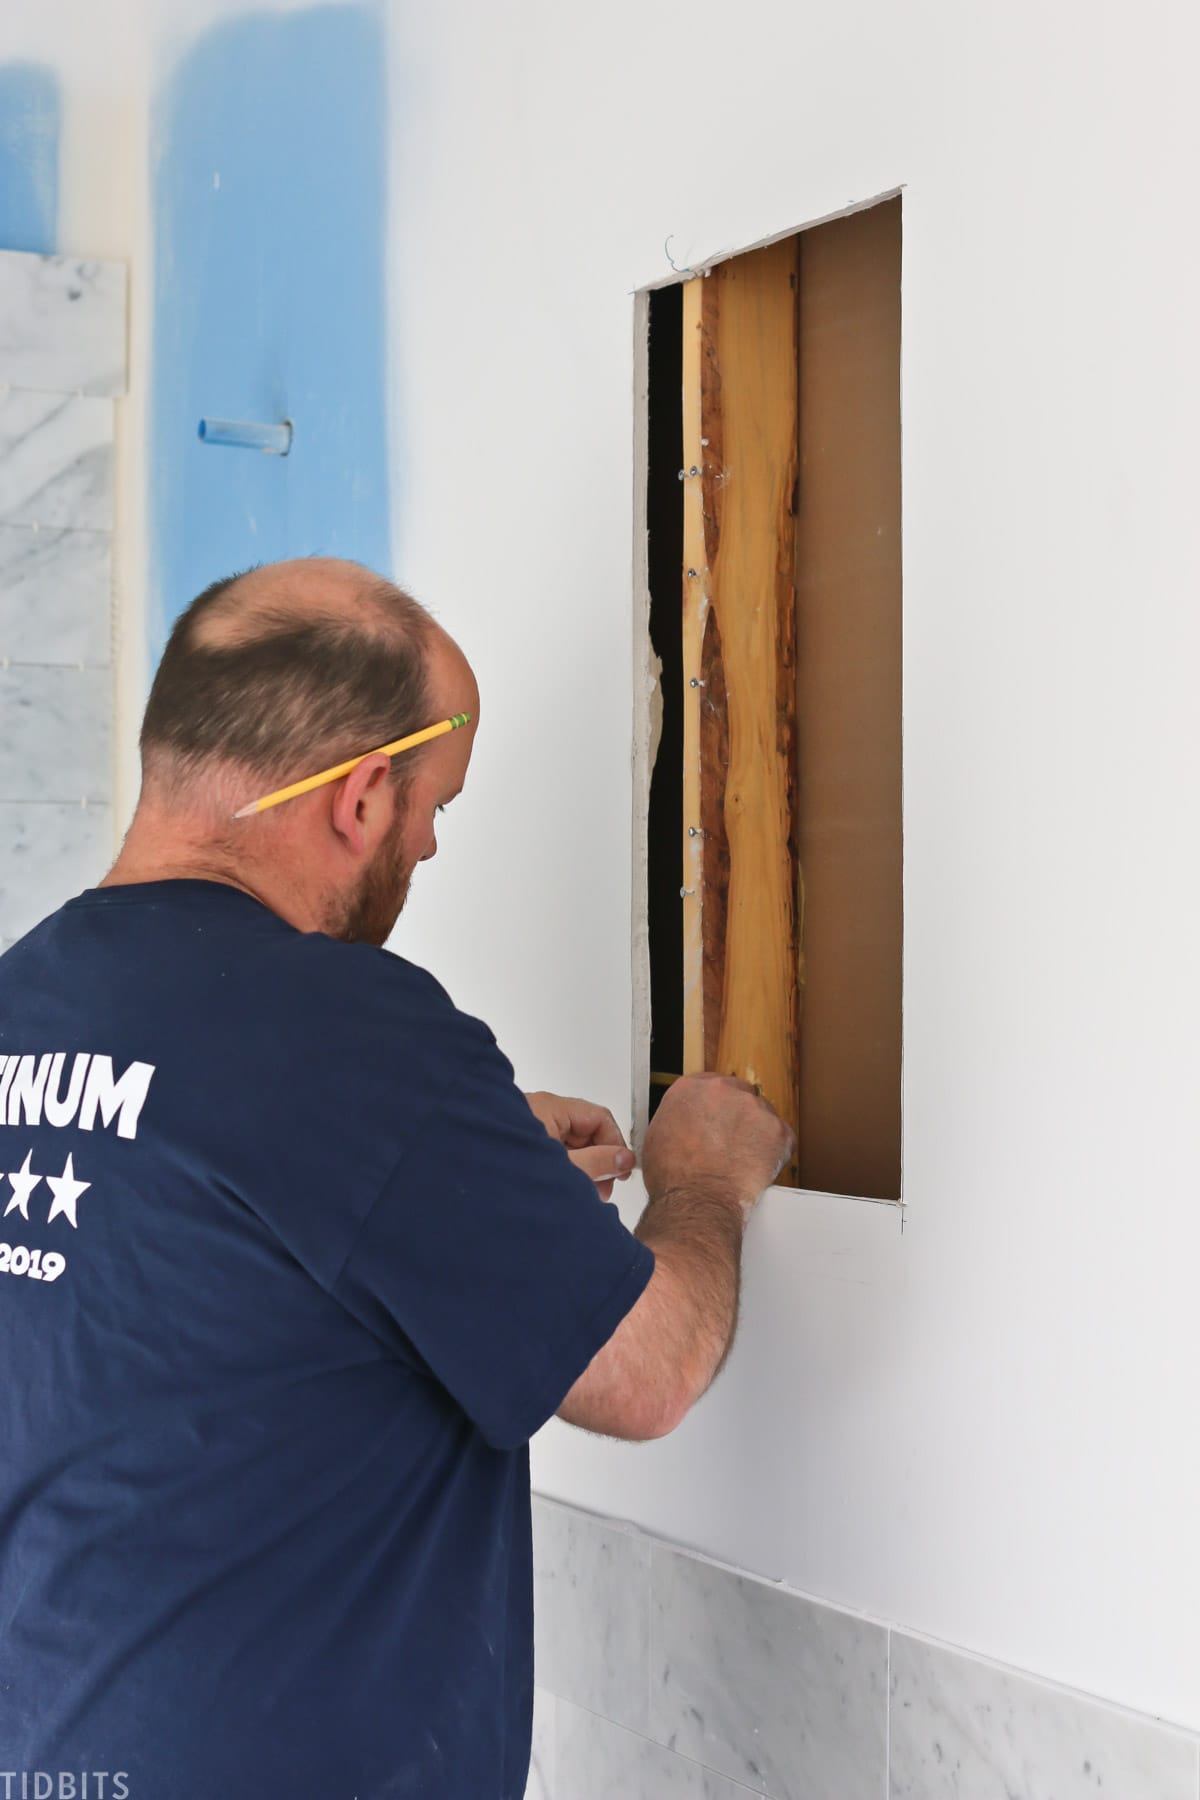
ARCH
Part of our process also included cutting into our sheetrock to add a little built in arched shelf to the space, which will be great for storing pretty bathroom supplies.
BASEBOARD
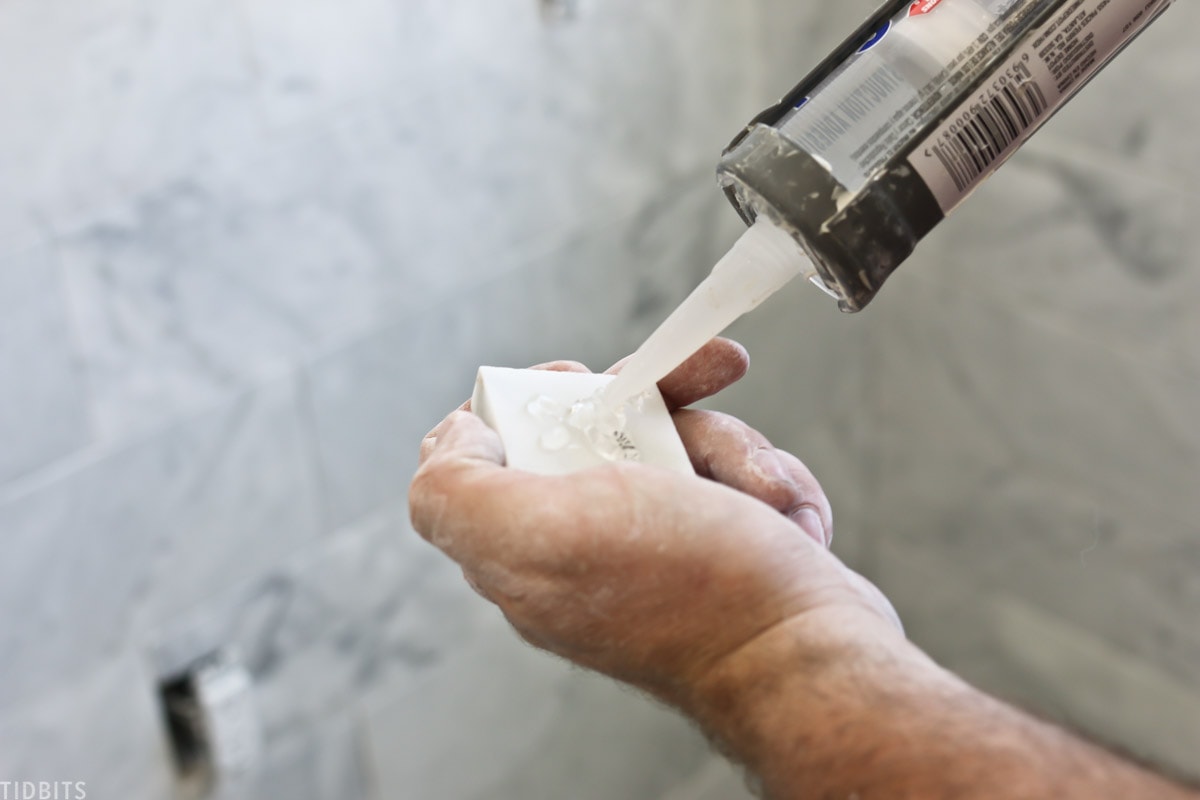
One of my favorite finishing touches in this room is the marble baseboard.
We didn’t need a ton of it, but it looks so incredible. It’s super easy to install with some silicone glue, and pressed in place.
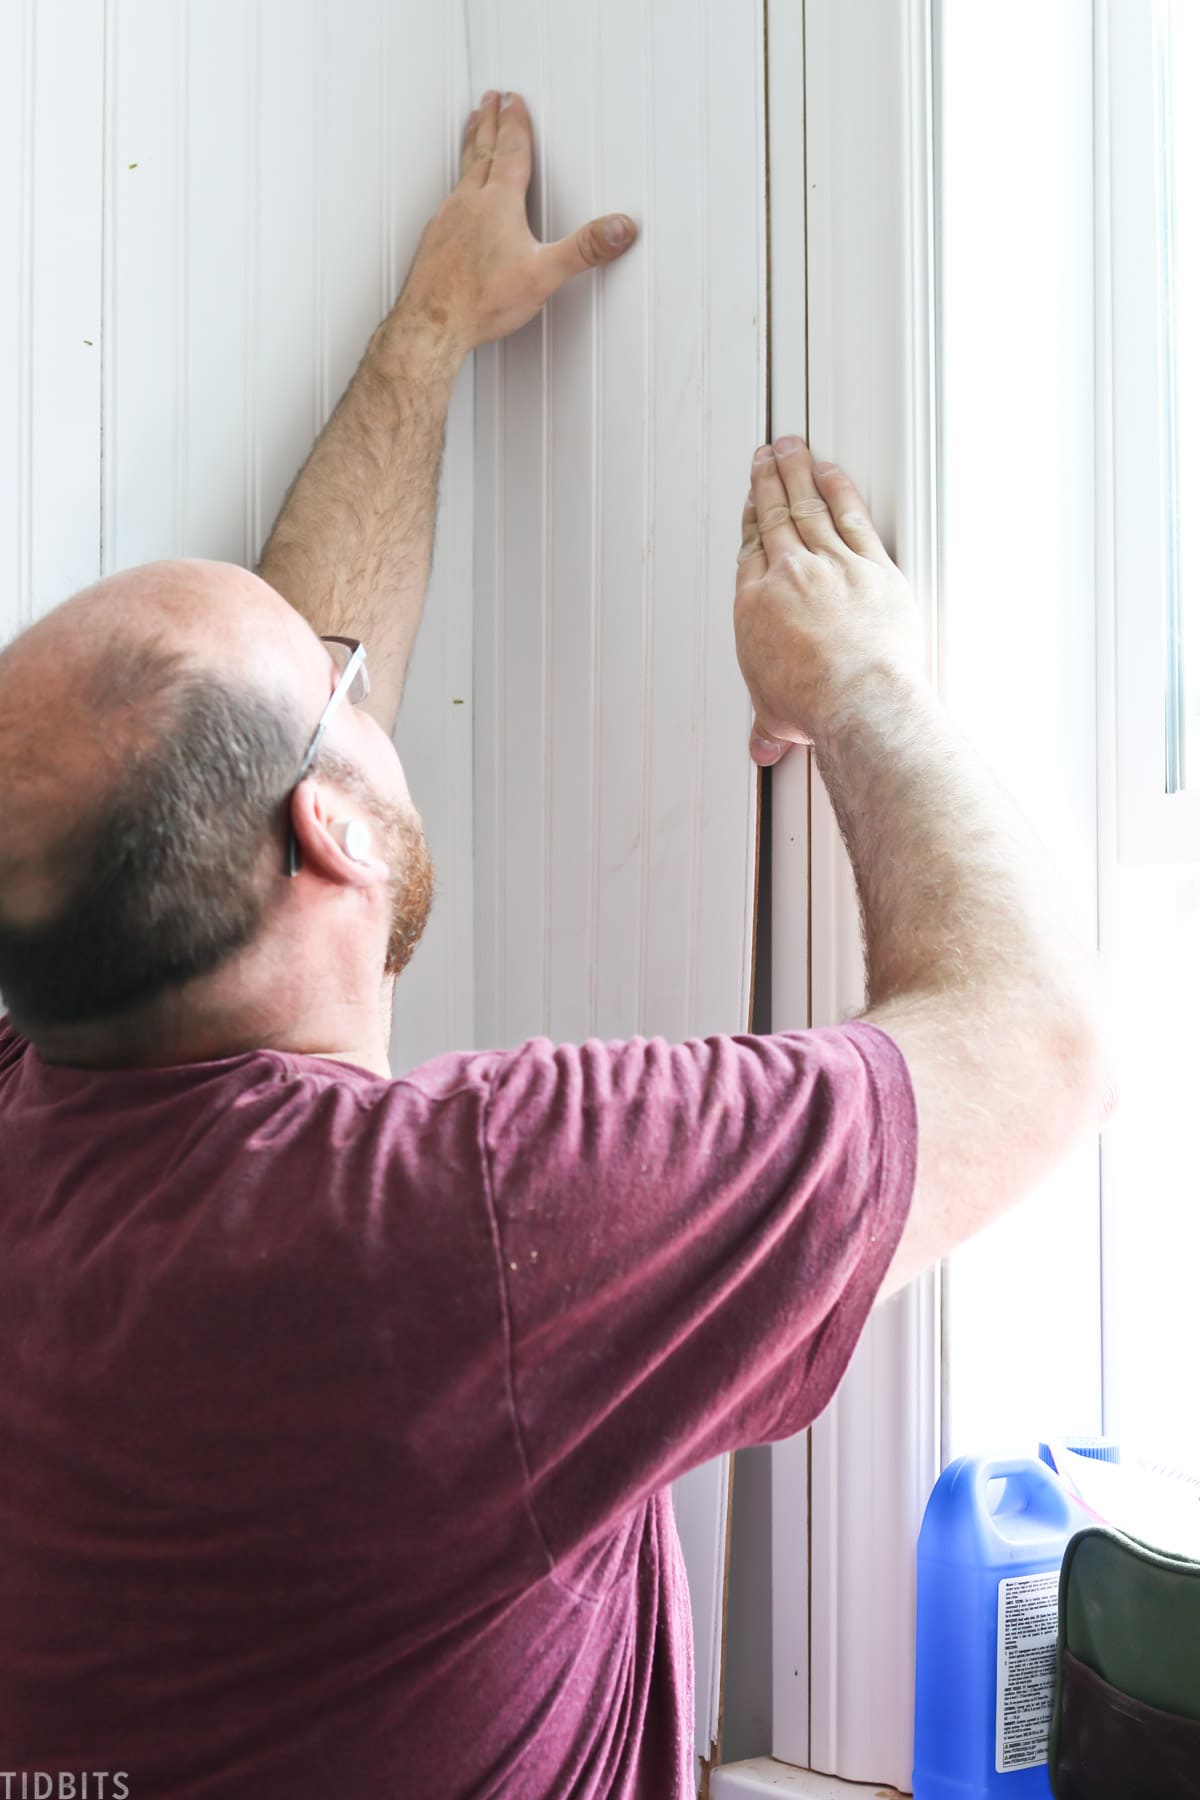
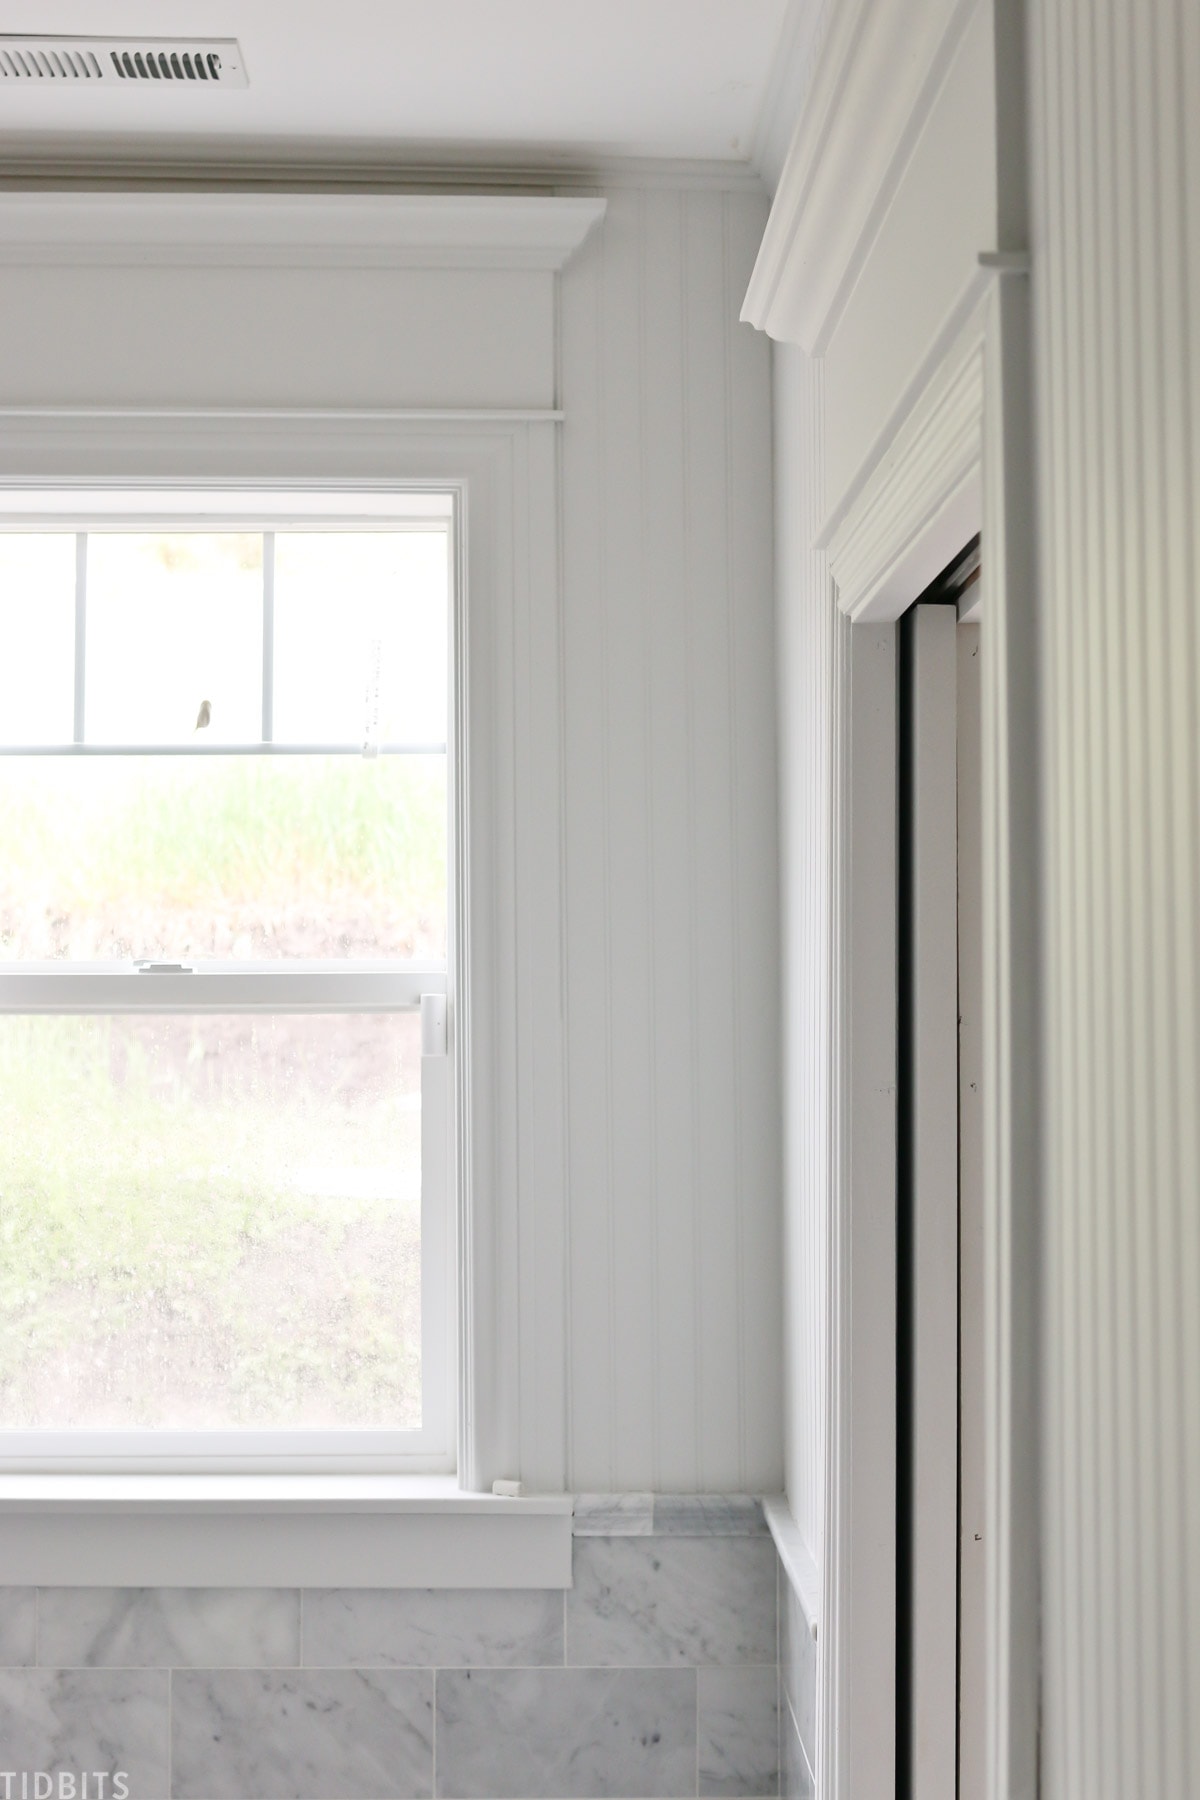
BEADBOARD
At this point, we also installed some beadboard to the remaining walls above the marble tile, and added some nice chunky window trim.
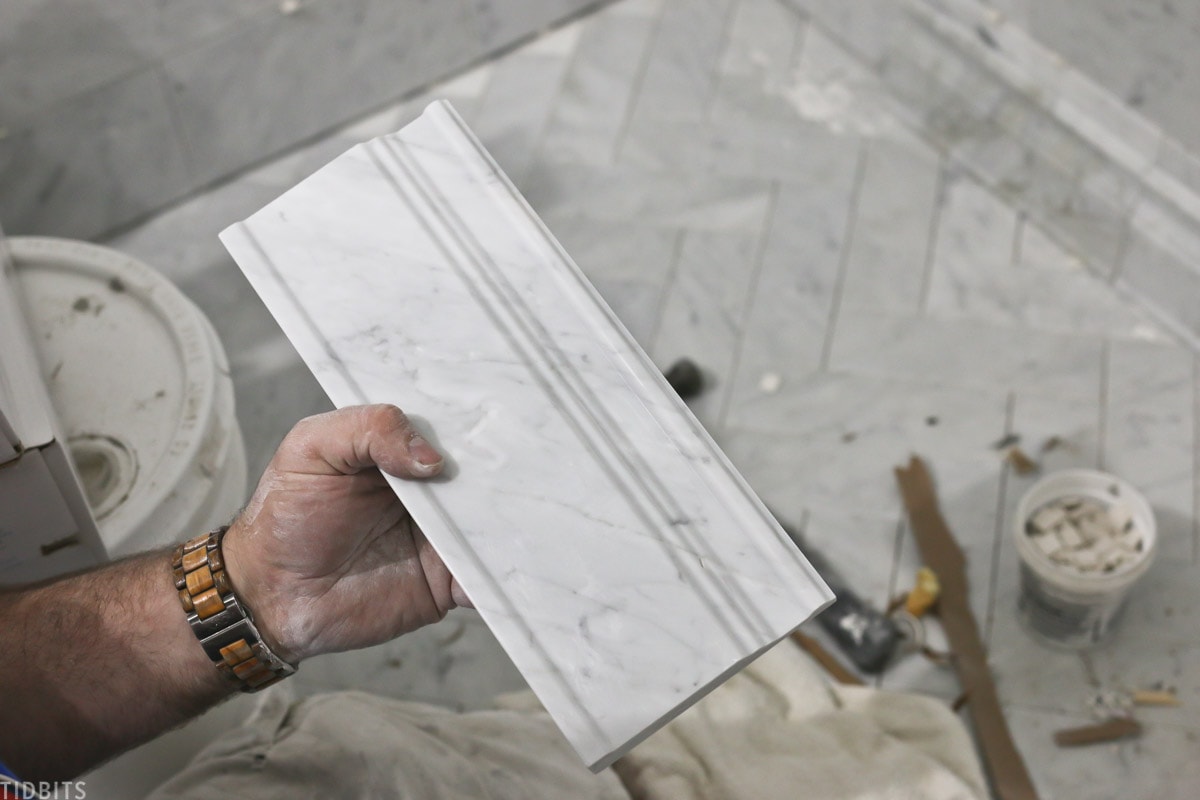
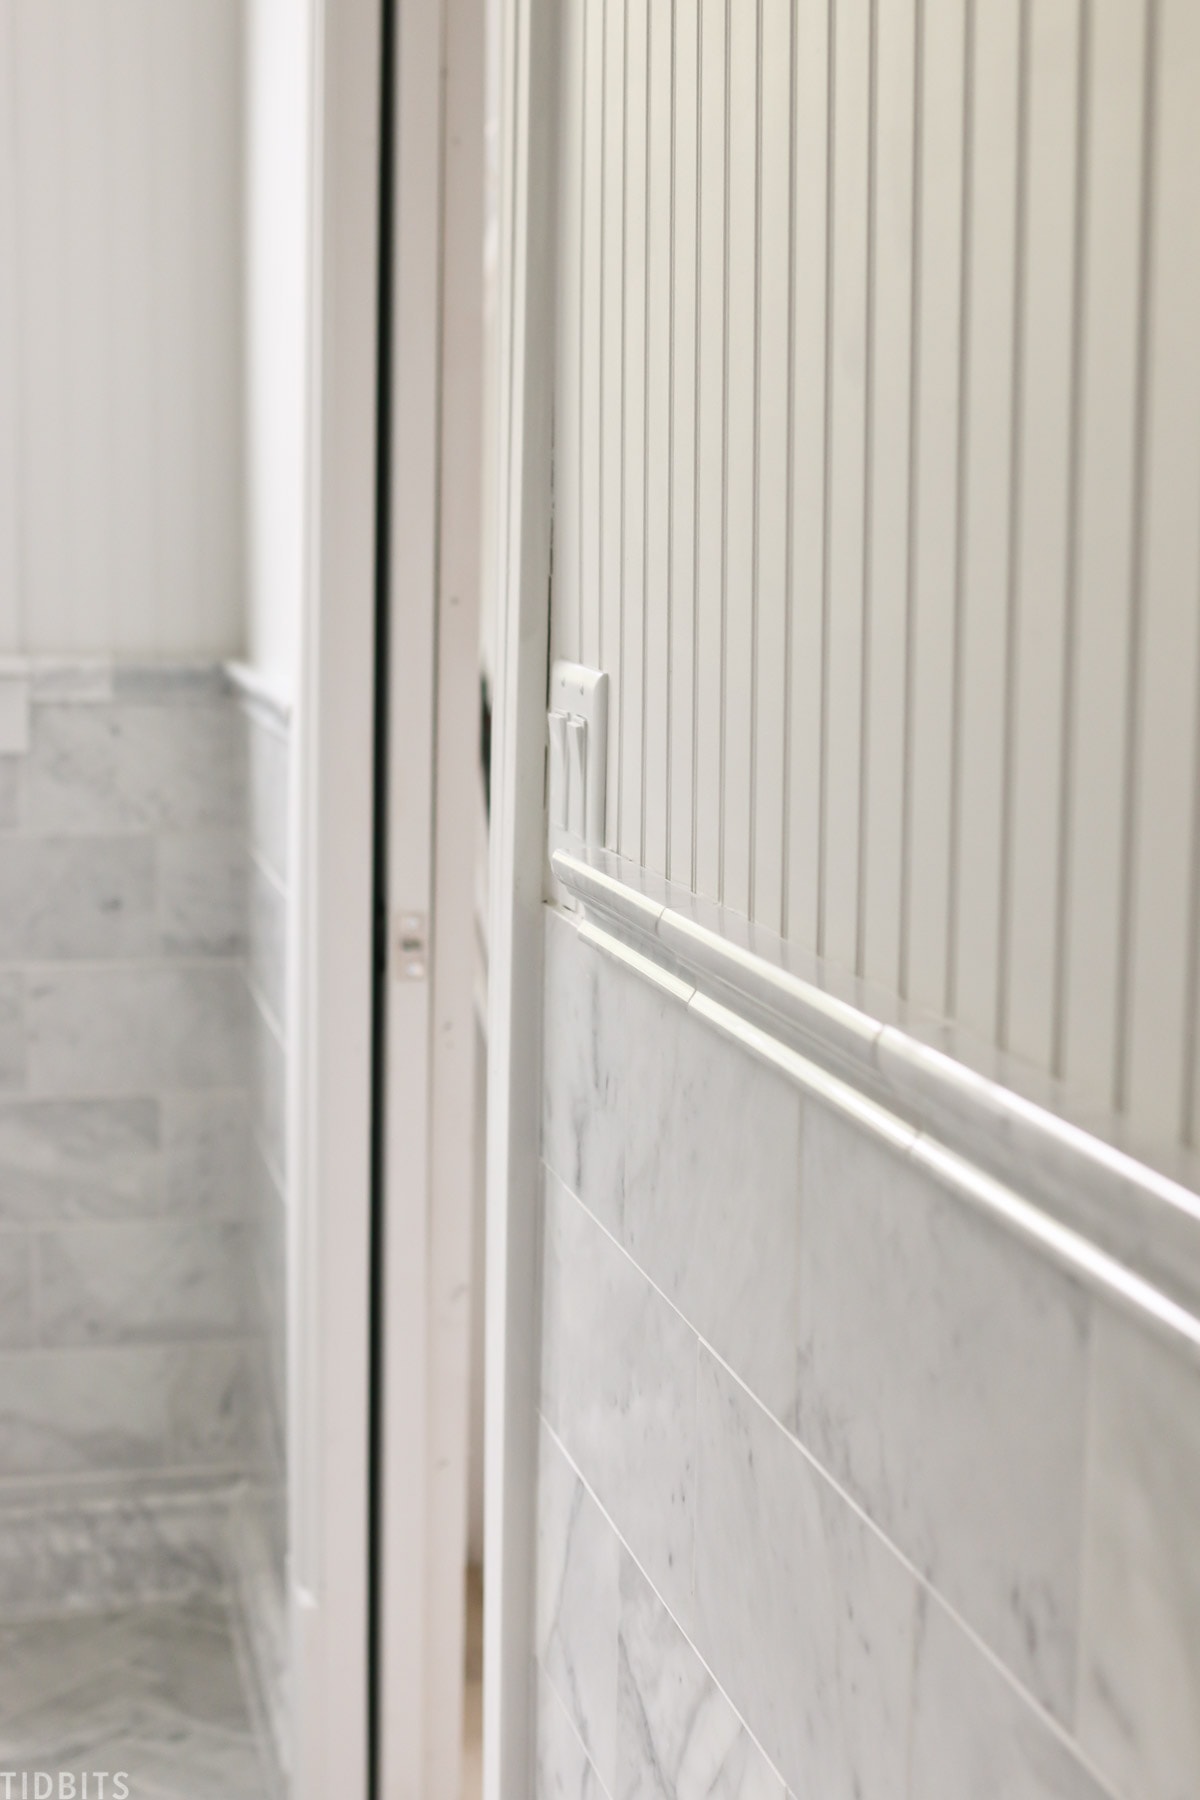
CHAIR RAIL
With the beadboard in, we could install this beautiful piece of marble chair rail to finish off the edge of the marble wall throughout the bathroom. Just like the baseboard, you just glue and stick.

SEALER
Then, as recommended by a tile worker at Floor & Decor, we used a stone sealer to seal the porous marble stone before we grouted the tile. Stone sealer is very fum-y, so if you use it, be sure to open all the windows!

GROUT
With the sealer completely cured, we could then grout all the tile. It took my husband most of a day! I opted for a bright white grout.
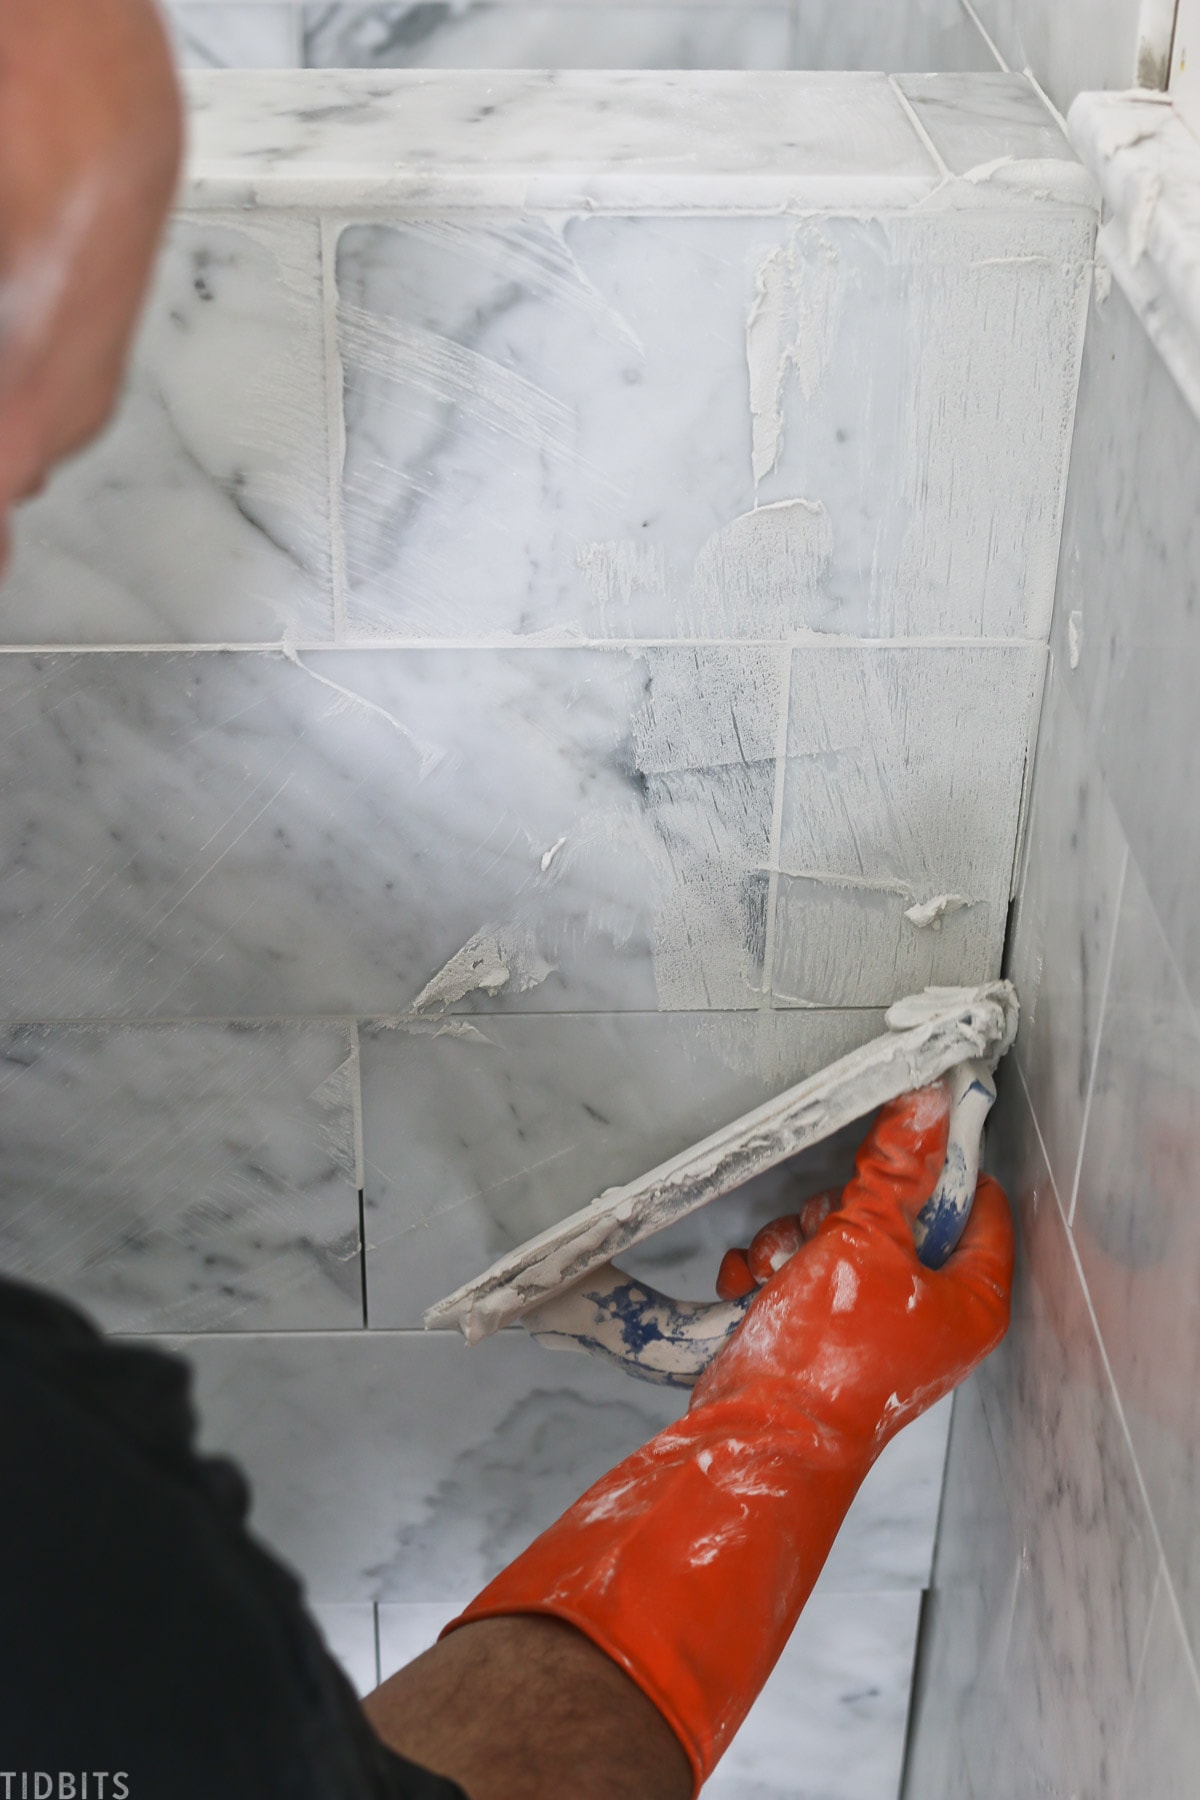
Once the grout was dry, I scrubbed it down really well before we applied our final coat of stone sealer to all the tile.
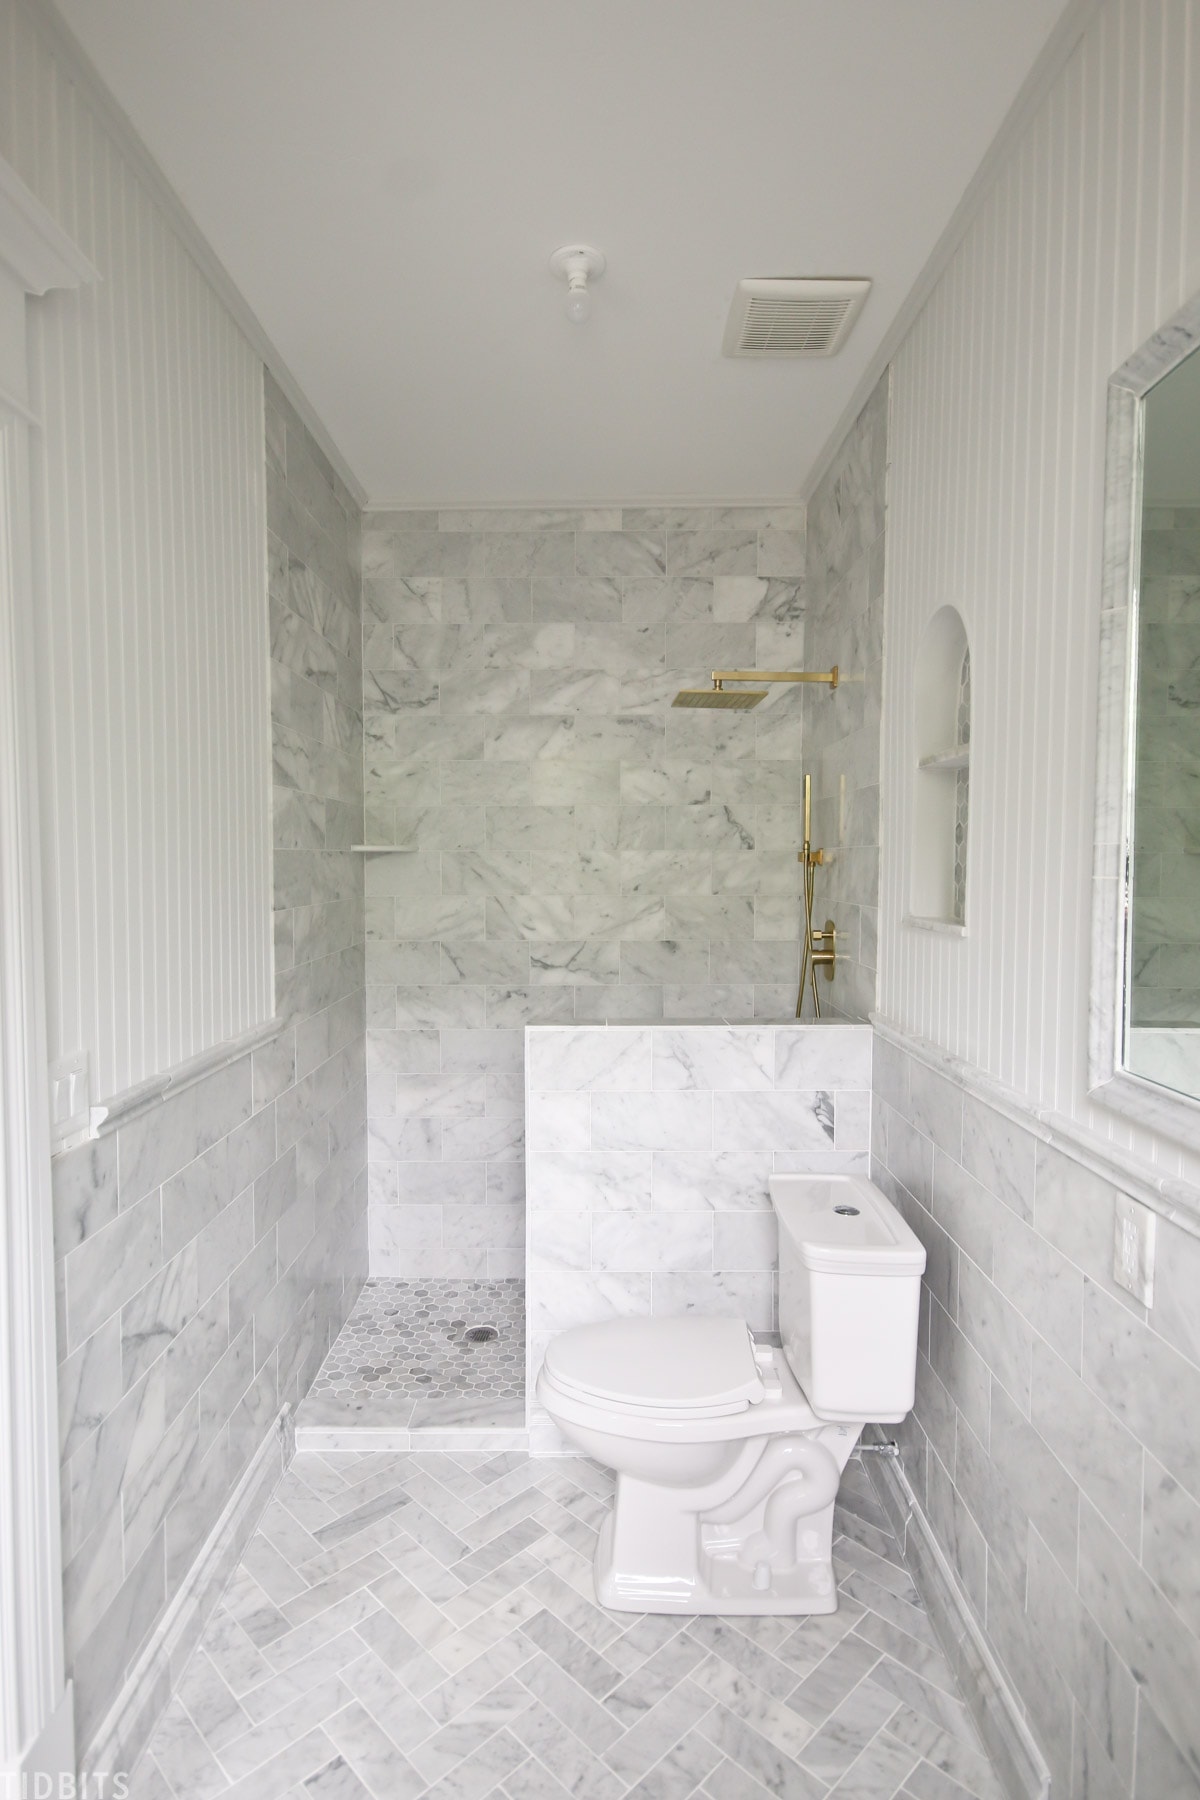
MARBLE TILE RESULTS
The results for all this hard work is absolutely beautiful! We have a lovely tiled bathroom, all ready for a vanity, fixtures, and decor.
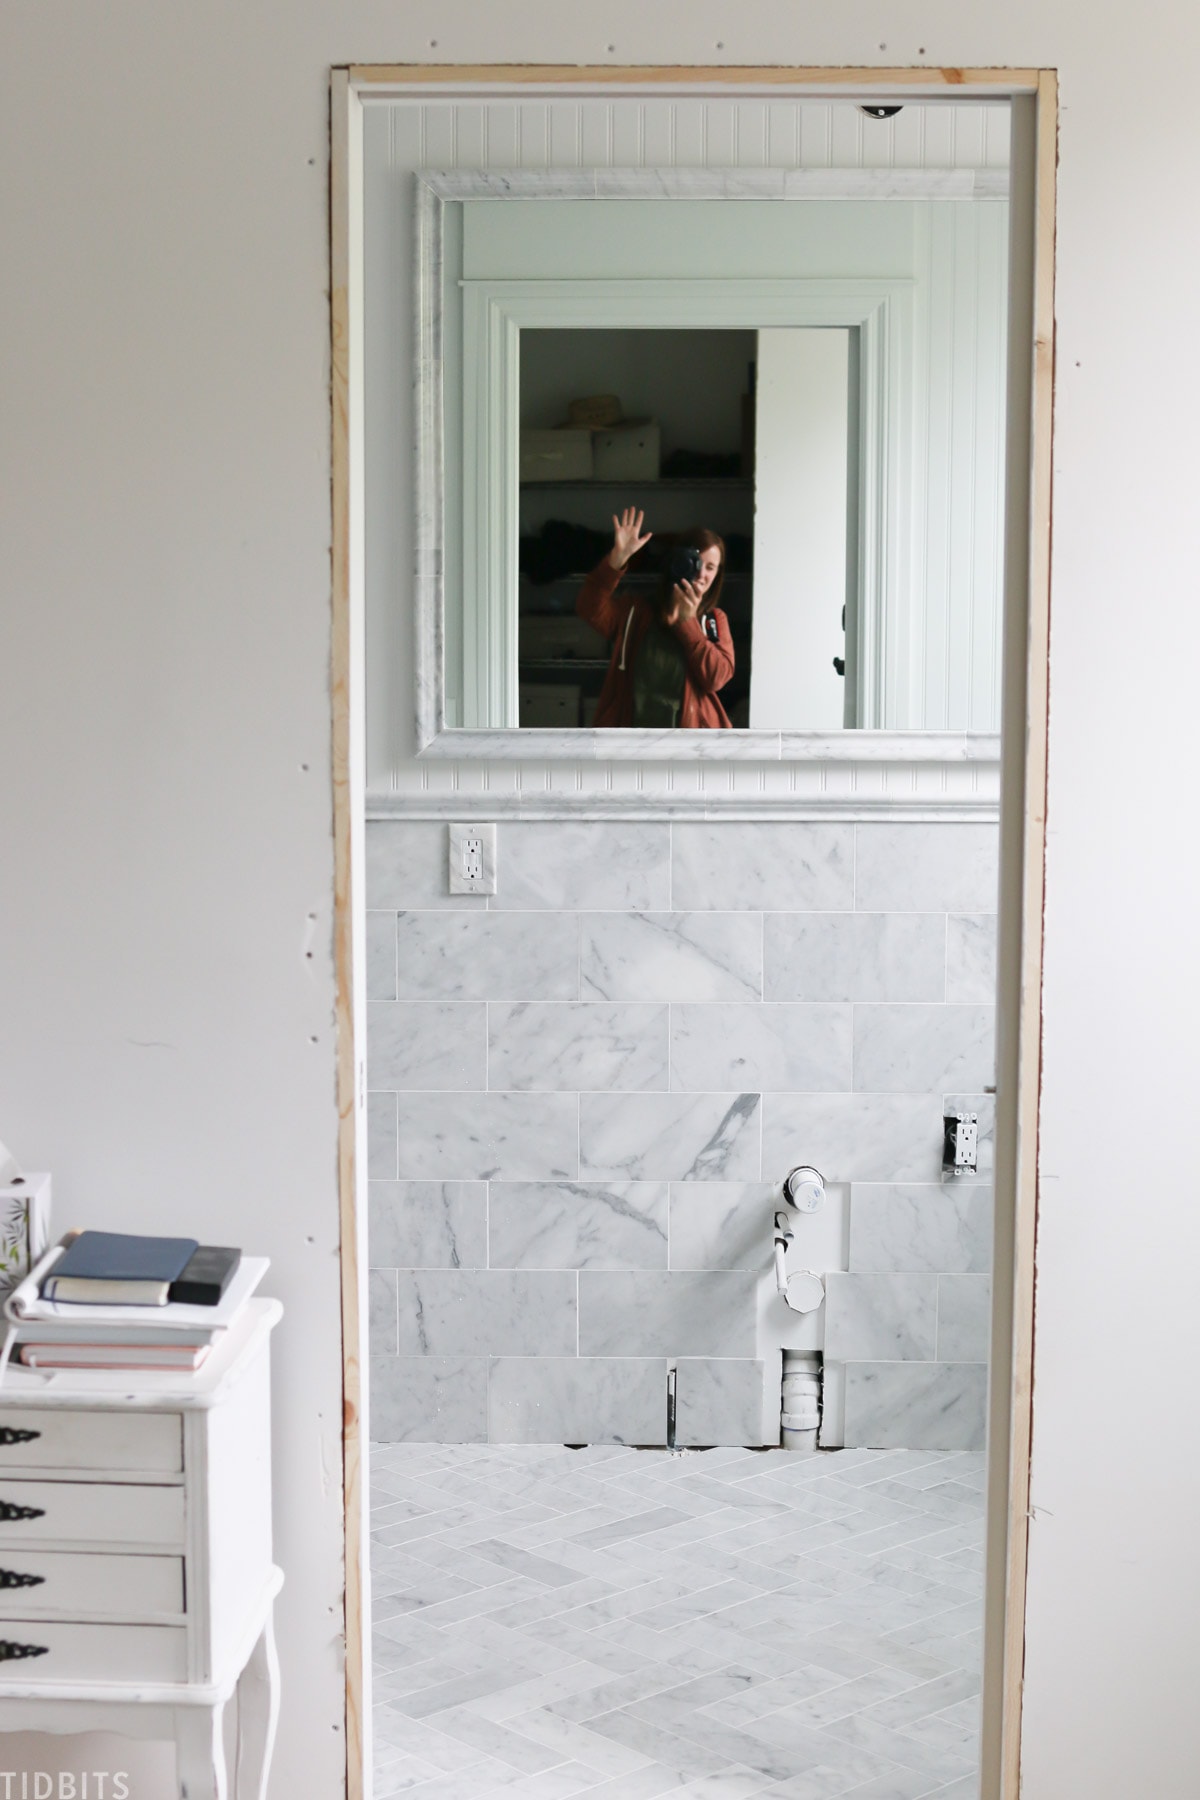
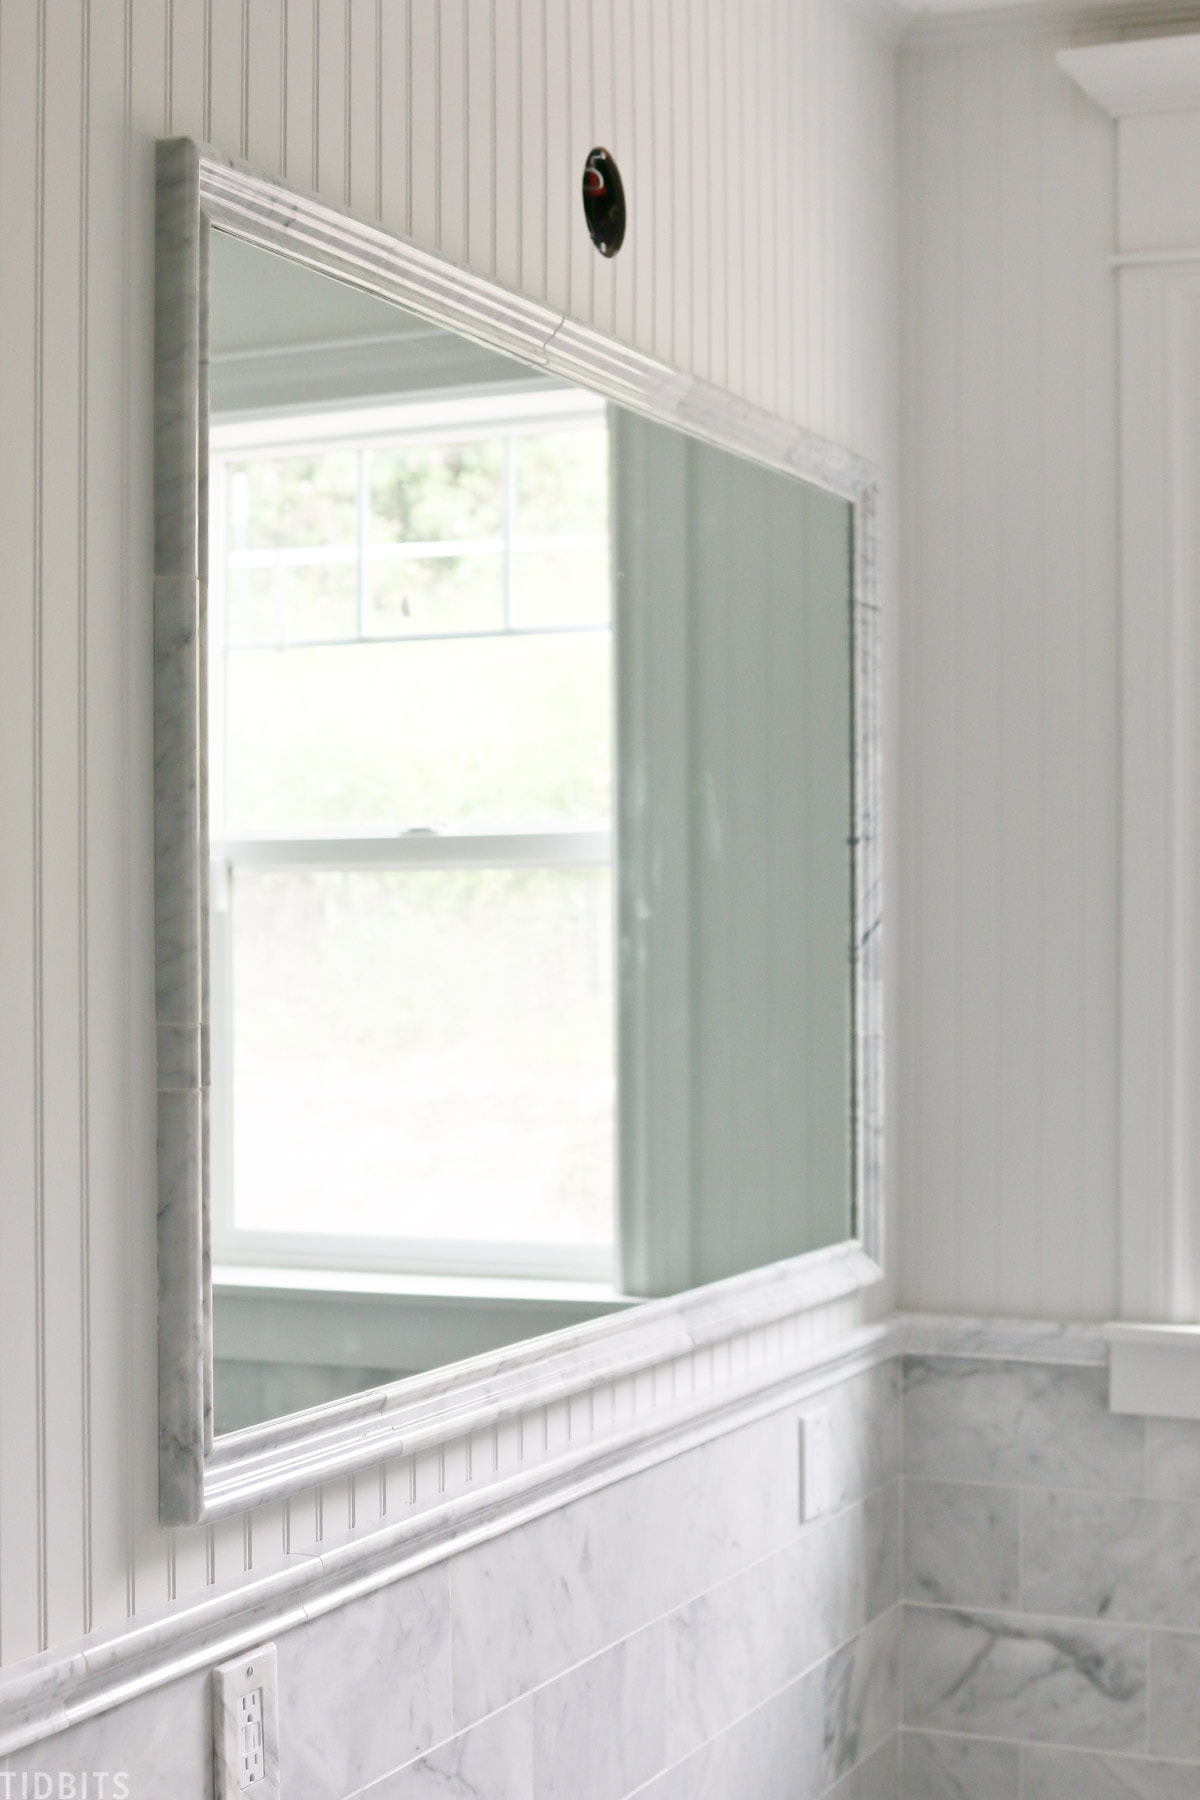
We ordered a large custom cut mirror, and ended up installing some of the same chair rail tile around the mirror to frame it. I love how it looks so seamless with the rest of the room.

We painted the beadboard in the color Aria by PPG paints. I’ve always wanted to try this white and I think it is the absolute best color to go with marble. It is a white that feels both warm and cool and really compliments the grays in the carrara marble. We painted the beadboard and trim all the same color.
The baseboard looked so good after it was grouted, and makes for such a lovely finish.
We opted not to wrap it in the shower since there will be a break with the glass door anyway.
The half wall turned out great, and I think it will be the perfect place to install a lovely gold towel rod.
Here is a look at the recessed arched shelving. I can’t wait to decorate it!
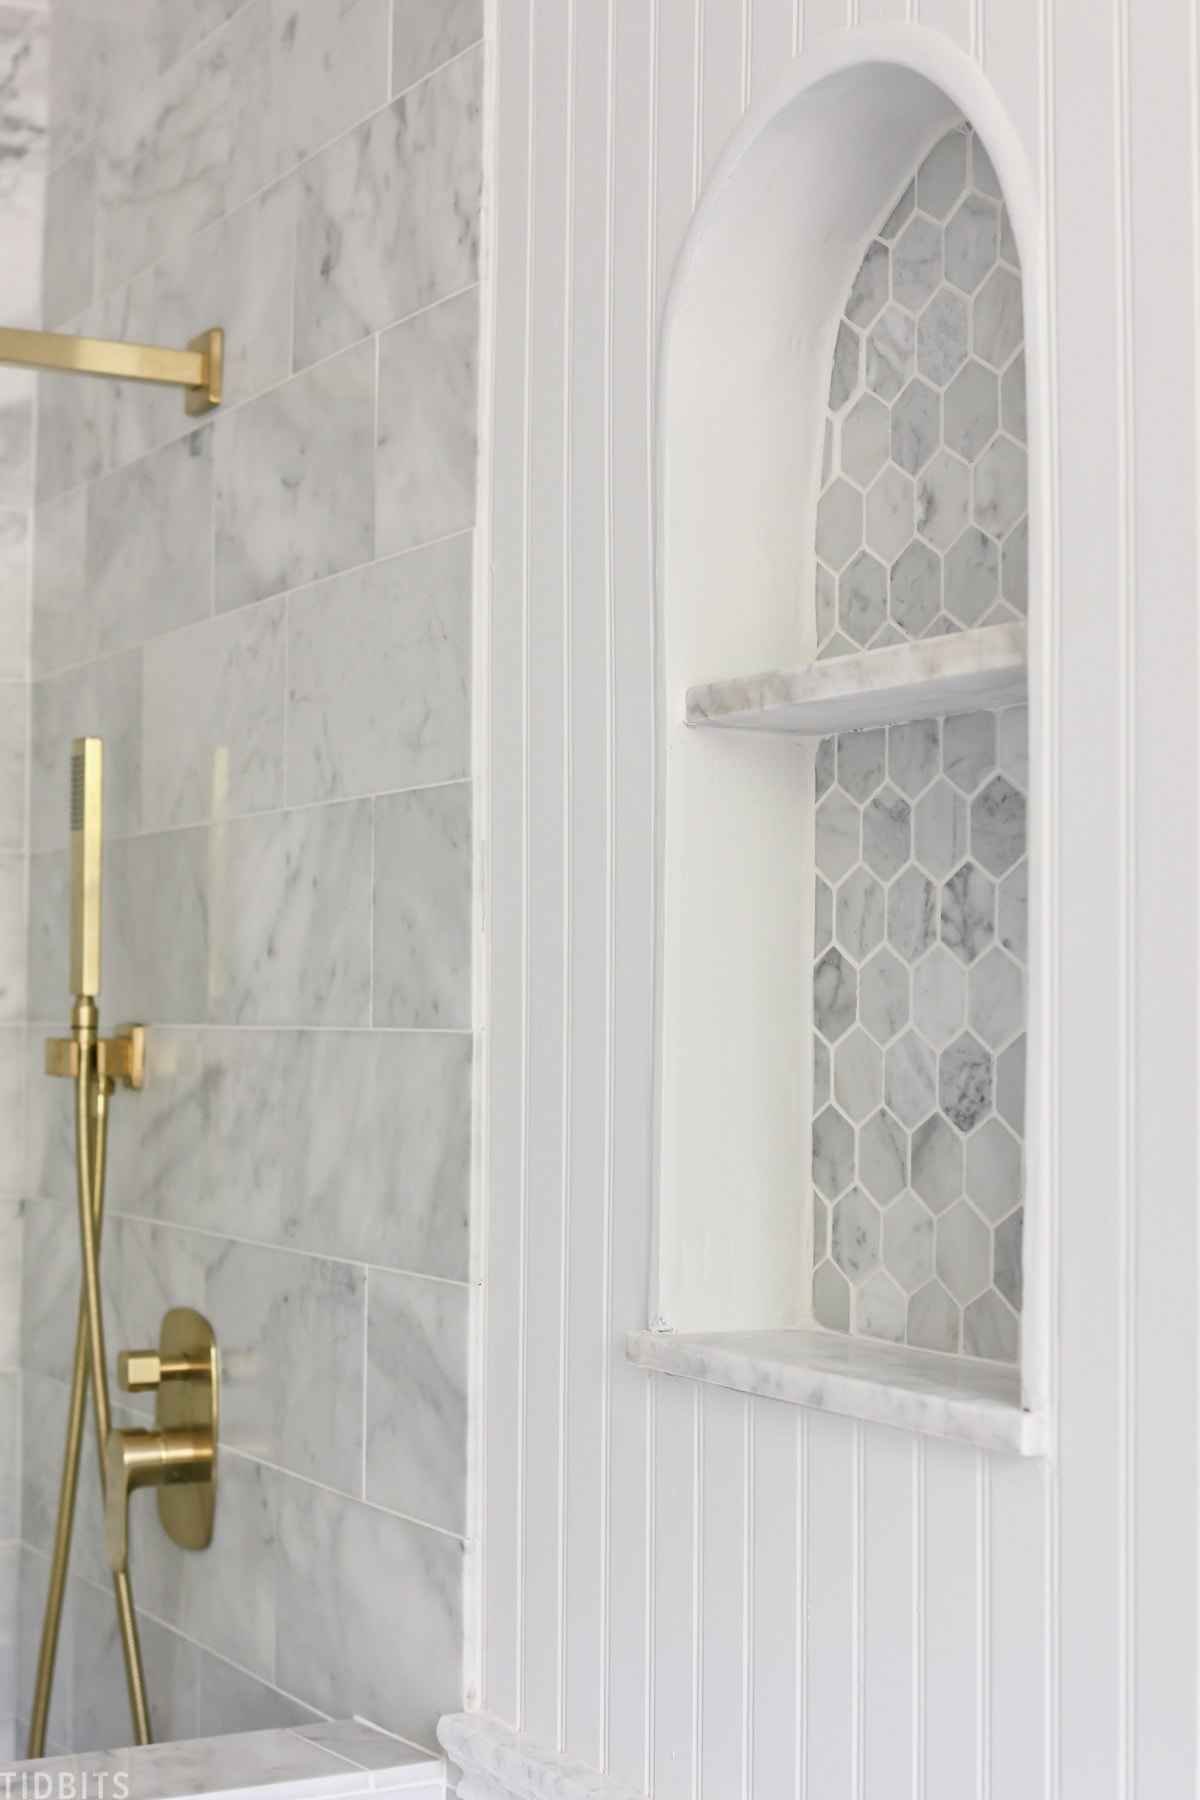
He ended up sheetrocking around it and tiled inside of it with the same tile as we used for the shower floor.
Here is a look at the shower cubby and bench.

We used a solid slab of marble remnant that we had leftover from other projects to cover the bench. He just finished grinding down the edge and we will buff out any marks left from that process.
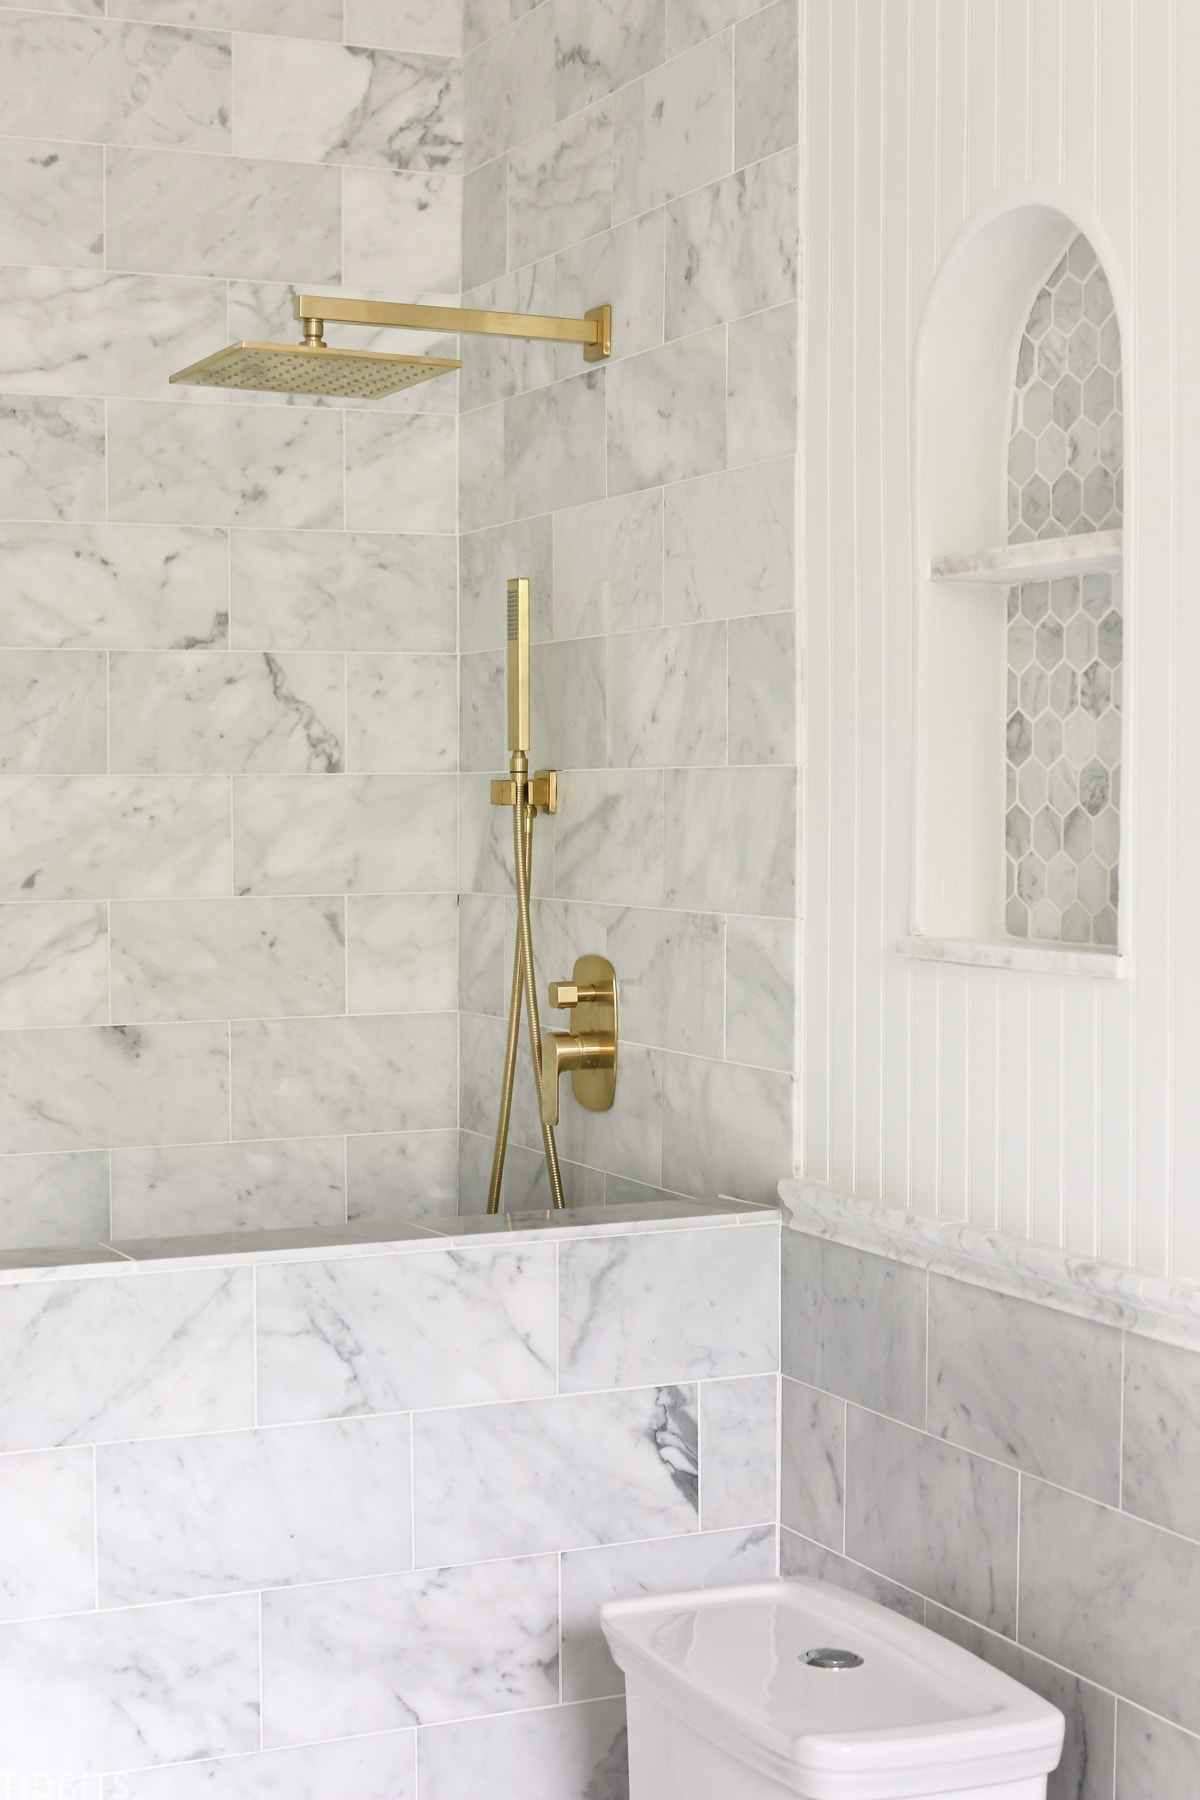
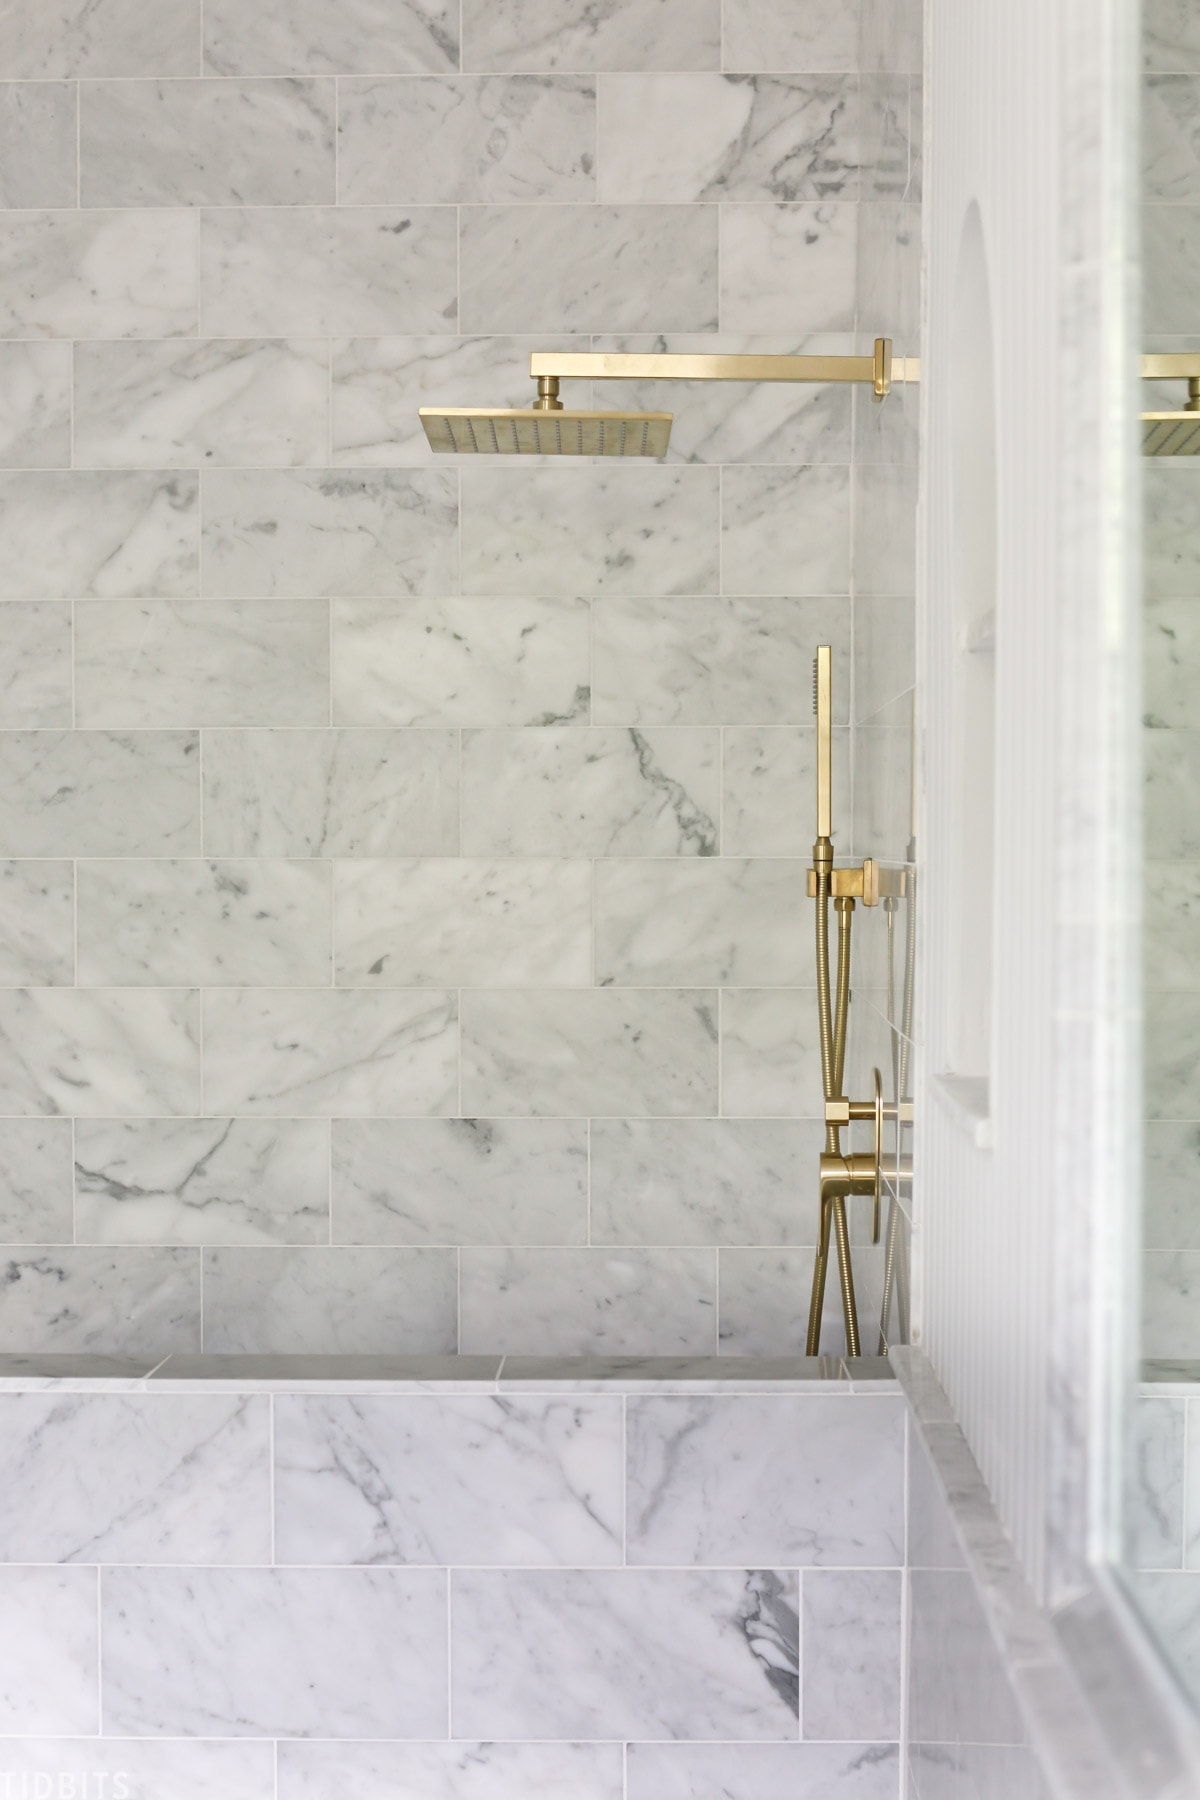
We’ve installed the gold shower faucet already, and I love how it looks with the marble.
We also added a marble soap shelf, also from Floor & Decor.
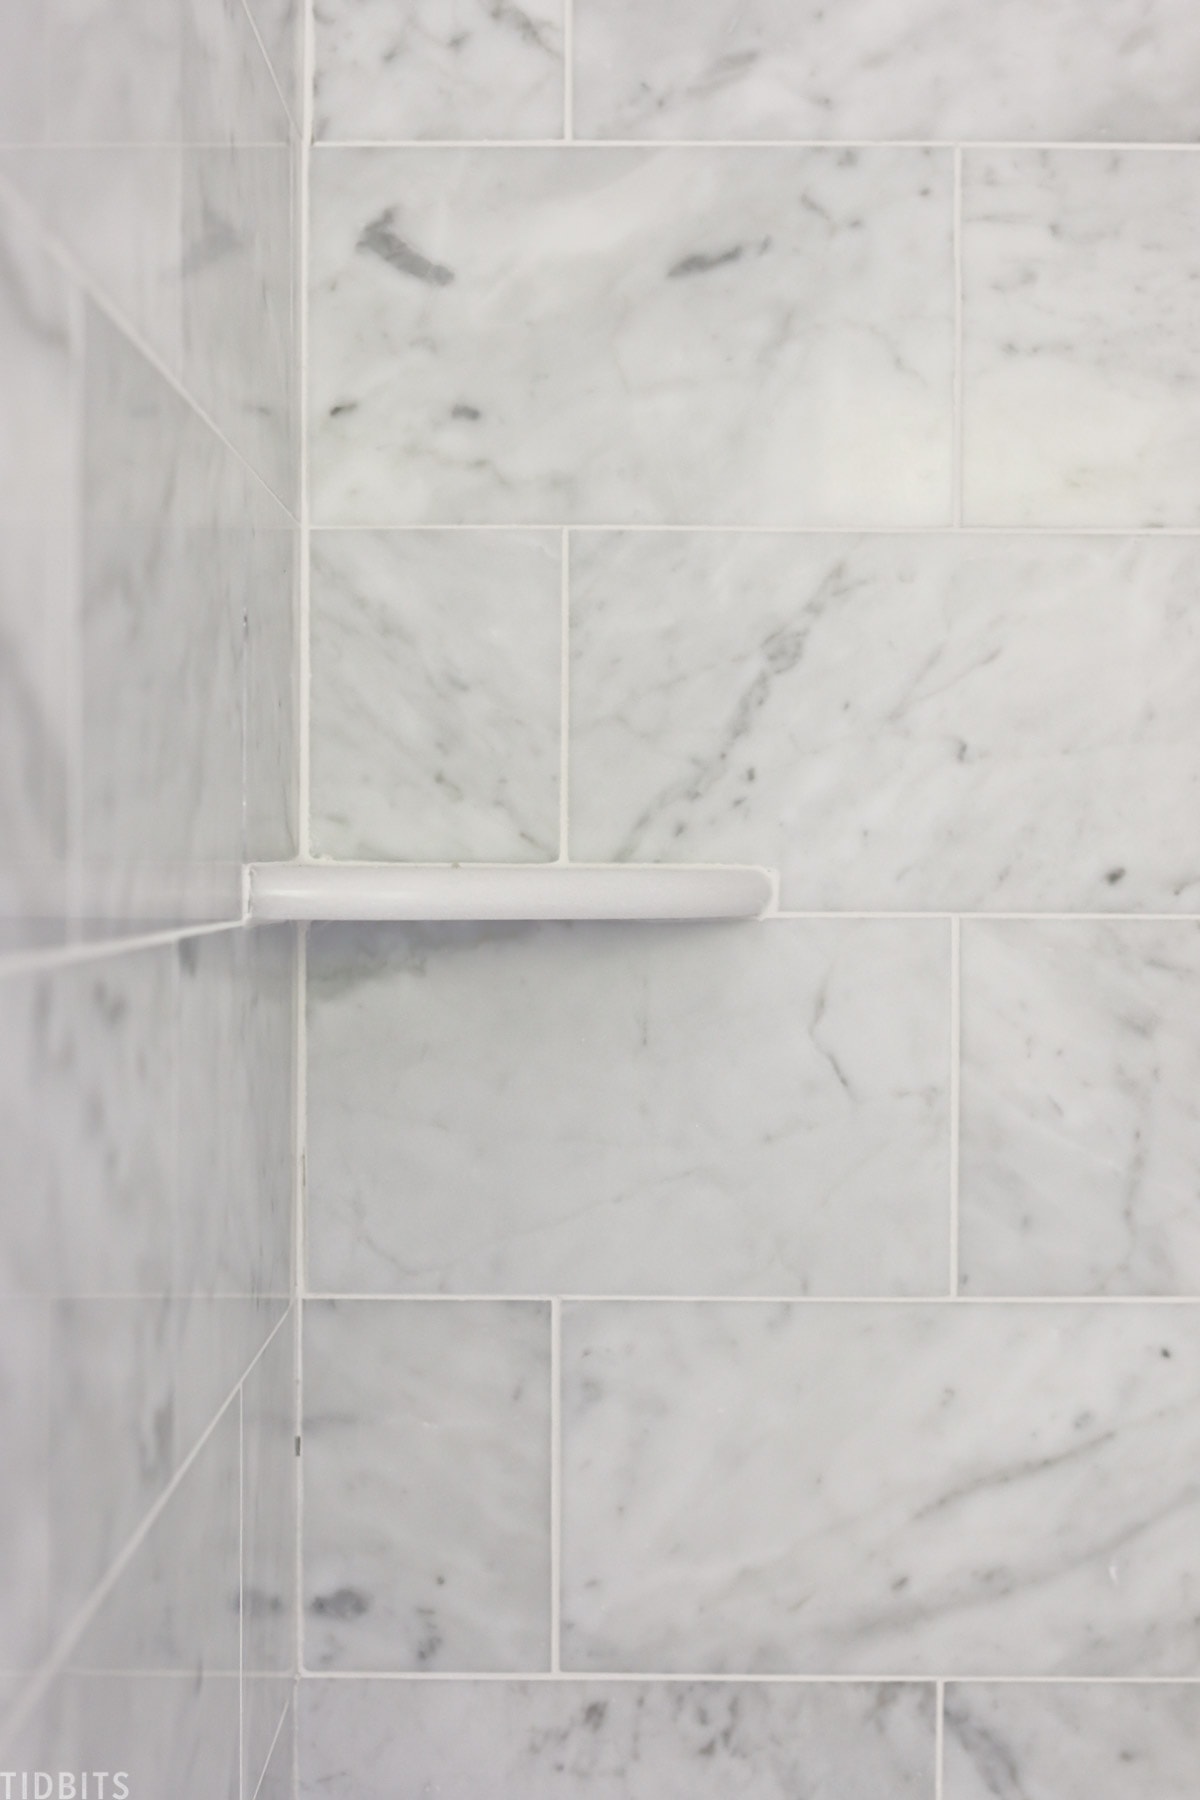
We actually forgot to put this in when he was doing the walls, so we had to chip out a couple of pieces and put them back in. But it still turned out great.
I love the results of the herringbone pattern, and how it adds some nice angles to an otherwise boxy room.
I hope you enjoyed watching our process and seeing the results from our DIY marble installation project. What do you think about this much marble for one space? Too much? Too little?
I simply cannot wait to start pulling it all together and I’ll be sure to be back to share the final reveal with you.
If you would like to see a more step by step tutorial for installing marble tile, you can read all about how we did that in another bathroom in our old house.
Thanks for reading!


What was the size of the marble hex tile for shower floor
The blog detailing the “Master Bathroom Progress” is an informative gem. It elegantly chronicles the installation of marble tile and trim, providing valuable insights into the process. The combination of step-by-step guidance and visual documentation makes it a delightful resource for anyone embarking on a similar home improvement journey.
Gorgeous! Are you still happy with the white grout? I’m doing something similar but with Thassos marble and worried about the maintenance of white grout.
Your bathroom is looking lovely after the renovation. Mine is looking so dull after seeing yours. I will save some money and will do mine soon too. Thanks for the article
I love interior design and I can easily say the bathroom looks amazing and so neatly done, the marble looks super attractive! Would have never pulled this off on our own. We recently got our bathroom and kitchen renovated with gmmarbleandgranite.com and they did an excellent job with the marble slabs. It was really hard to settle on a single look as there were plenty of great options to opt for.
Hi, were baseboards installed after the floor, but before the walls were tiled? Thank you!
Do you have a link for your gold fixtures?
Very pretty. I like the touch of gray that is in the marble. Alot of work.
So pretty – love your arched niche and flooring. AND Beadboard – is it just paneled Beadboard?
hey girl- love the bathroom! so cool!
Very tastefully done. It is a wonderful area.
What a husband, what a bathroom!!! Absolutely amazing!!
Oh, I know! He is so amazing and willing to do anything I ask (if it is in budget, that is). Thank you for coming by!
Too much marble, no, never. Looks beautiful!!
Haha! I would have to agree with you! Thanks for coming by Sue!
Hi Cami!
So beautiful. Just purely curious, I loved your previous bathtub so much (as a bath lover myself!). When you were building this floor plan, what made you opt to forgo a soaking tub this round?
Just pure curiosity. Love the space so much. It’s so glamorous and classic.
Thanks!
Kassie
Thanks Kassie! Oh yes, I miss that tub like crazy. Space was really the biggest factor. This isn’t our forever home and we really had to limit those “extra” things. We did put a really deep tub in the kids bathroom. I often take my soaks in there. Not quite as fancy, but it will work for this house. My dream master bath has a soaker tub and a shower like this.
Absolutely stunning. I would never want to get out of the shower!
Haha! We are working on getting the glass, then yes, I don’t think I’ll come out (wink)
I agree with everyone. You can’t have to much marble. You did such a wonderful job with the design and material choices for this bathroom. I love how you “framed” your vanity mirror with the marble. It makes it looks so custom. We did the same thing in our master bath remodel. We used a creamy white stone for the same look. Can’t wait to see it with all of your special touches added in to the space.
Thank you! Yes, I wasn’t sure about the marble frame idea, but once he stuck the pieces up there I knew it would look great! Your creamy white stone sounds divine too!
Amazing details and custom nooks and crannies that add such charm! Great idea to inset the shelves rather than have protruding shelves. I may steal that idea! Kudos to you & Mr Tibits!
Thank you Andrea! I agree with the nooks. This space just needed some!
Oh my gosh. I am drooling! The marble trim just took it up to the highest notch. The bead board was the perfect compliment to that beautiful marble. And the niche gives the room such character. Mr. Tidbits did an amazing job! You make one neck of a team!
Thank you Patty! It’s amazing how effortlessly marble can do that to a bathroom. My Mr. TIDBITS is pretty darn amazing – this space has been a lot of work for the square footage! Thanks so much for stopping by.
I love all the marble! It turned out very nice! I love the arched shelving…kind of reminds me of stained glass windows! And I know you’ll love decorating this entire space…I can’t wait to see it after you decorate it.
Thank you Linda! Yes, I will have so much fun decorating it. I need me a trip to the antique store!
Oh Cami your bathroom is gorgeous! Your husband is such a hard working good man to do this for you-not many would. He’s going to need a long deserved vacation from work when this is done. Love your vlogs.
Linda, I so agree with you! We need a long vacation soooooo bad! Haven’t had one since he built this whole house – thanks to the virus! But oh yes, he is the absolute best! Thanks so much for stopping by.
Stunning! No such thing as too much marble.
Haha! I do agree! Next bathroom in the “someday” house – I’m going all the way up all the walls! Ha!
It’s gorgeous Cami! Is it possible to have too much marble? I think not!! I love that little arched niche! Can’t wait to see the finished room. No doubt you will enjoy this for many, many years to come.
Thank you so much Amy! I would have to agree with you 😉