This post may contain affiliate links, which means I get a small percentage of the sale at no extra cost to you. I only recommend items I love and have had a positive experience with. Thank you!
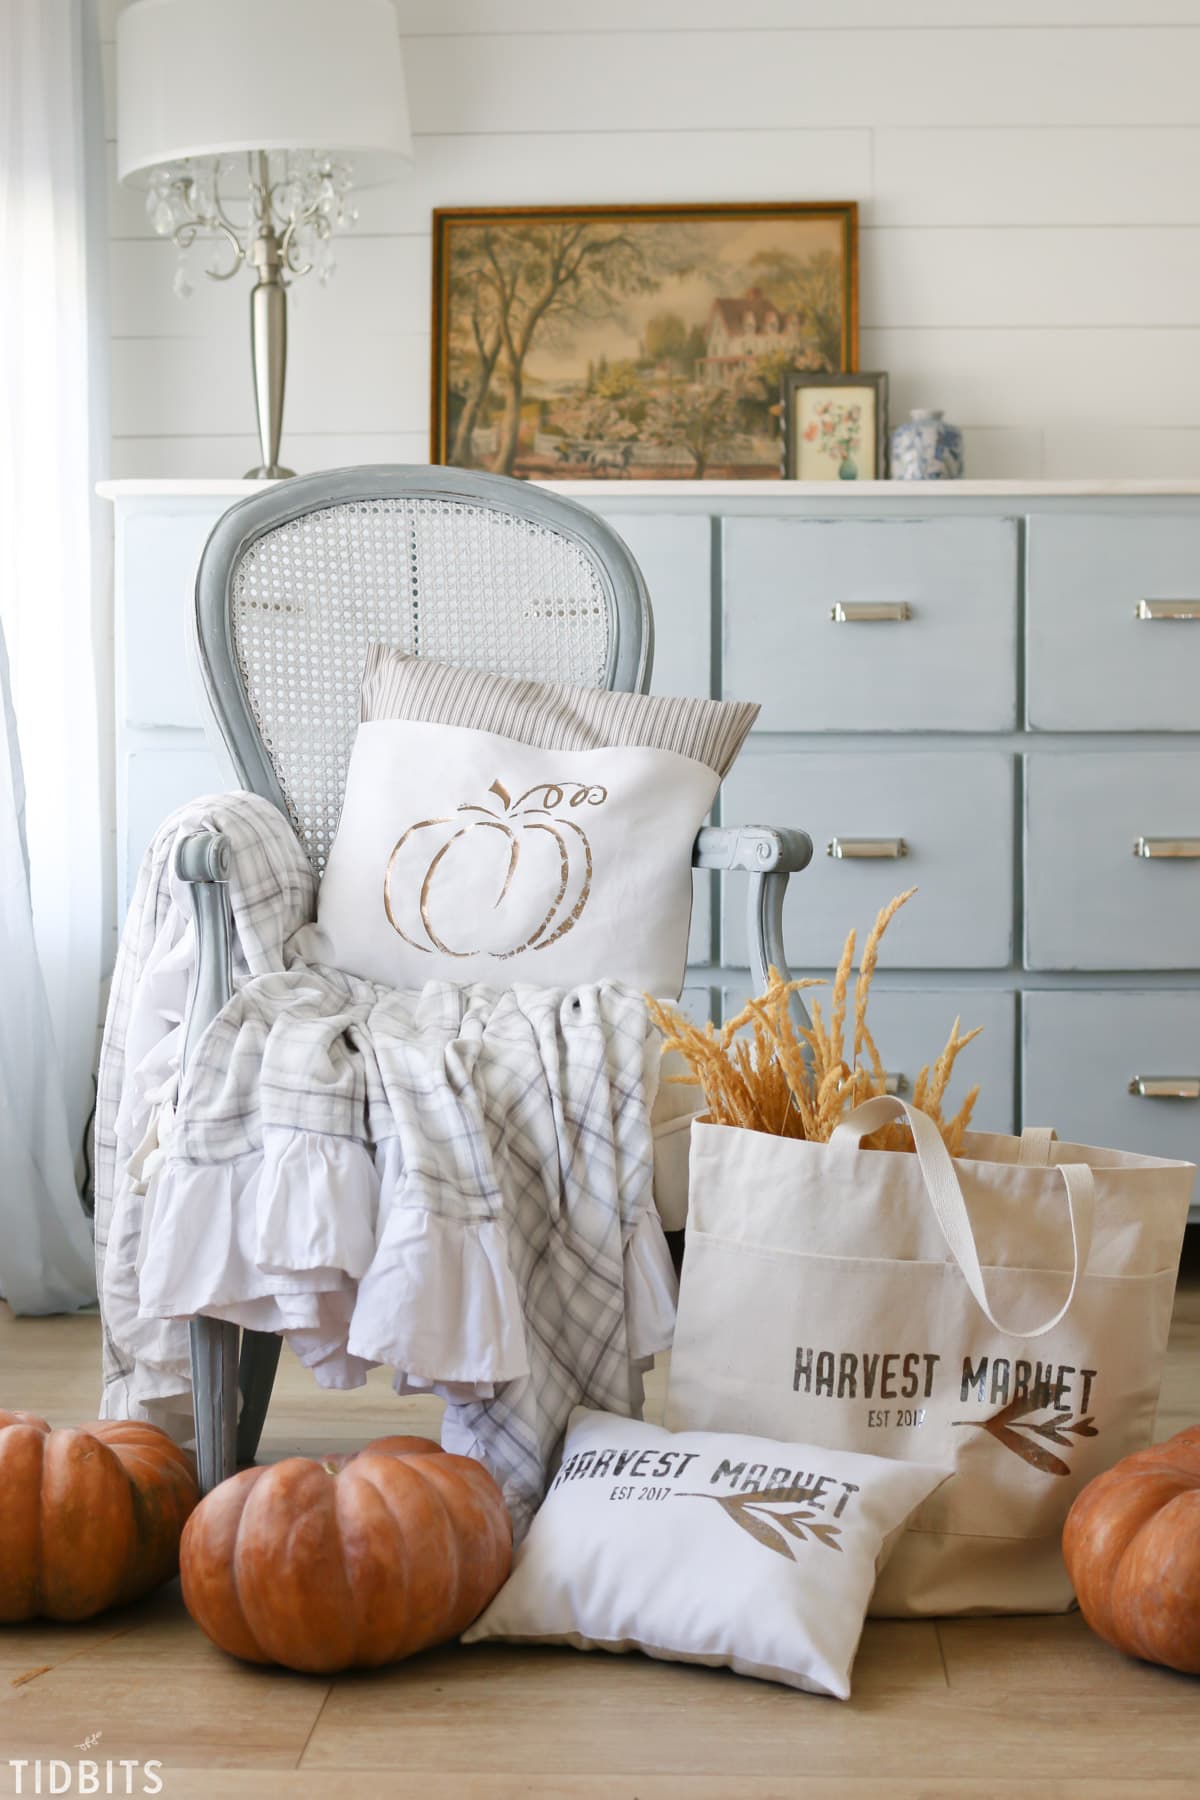
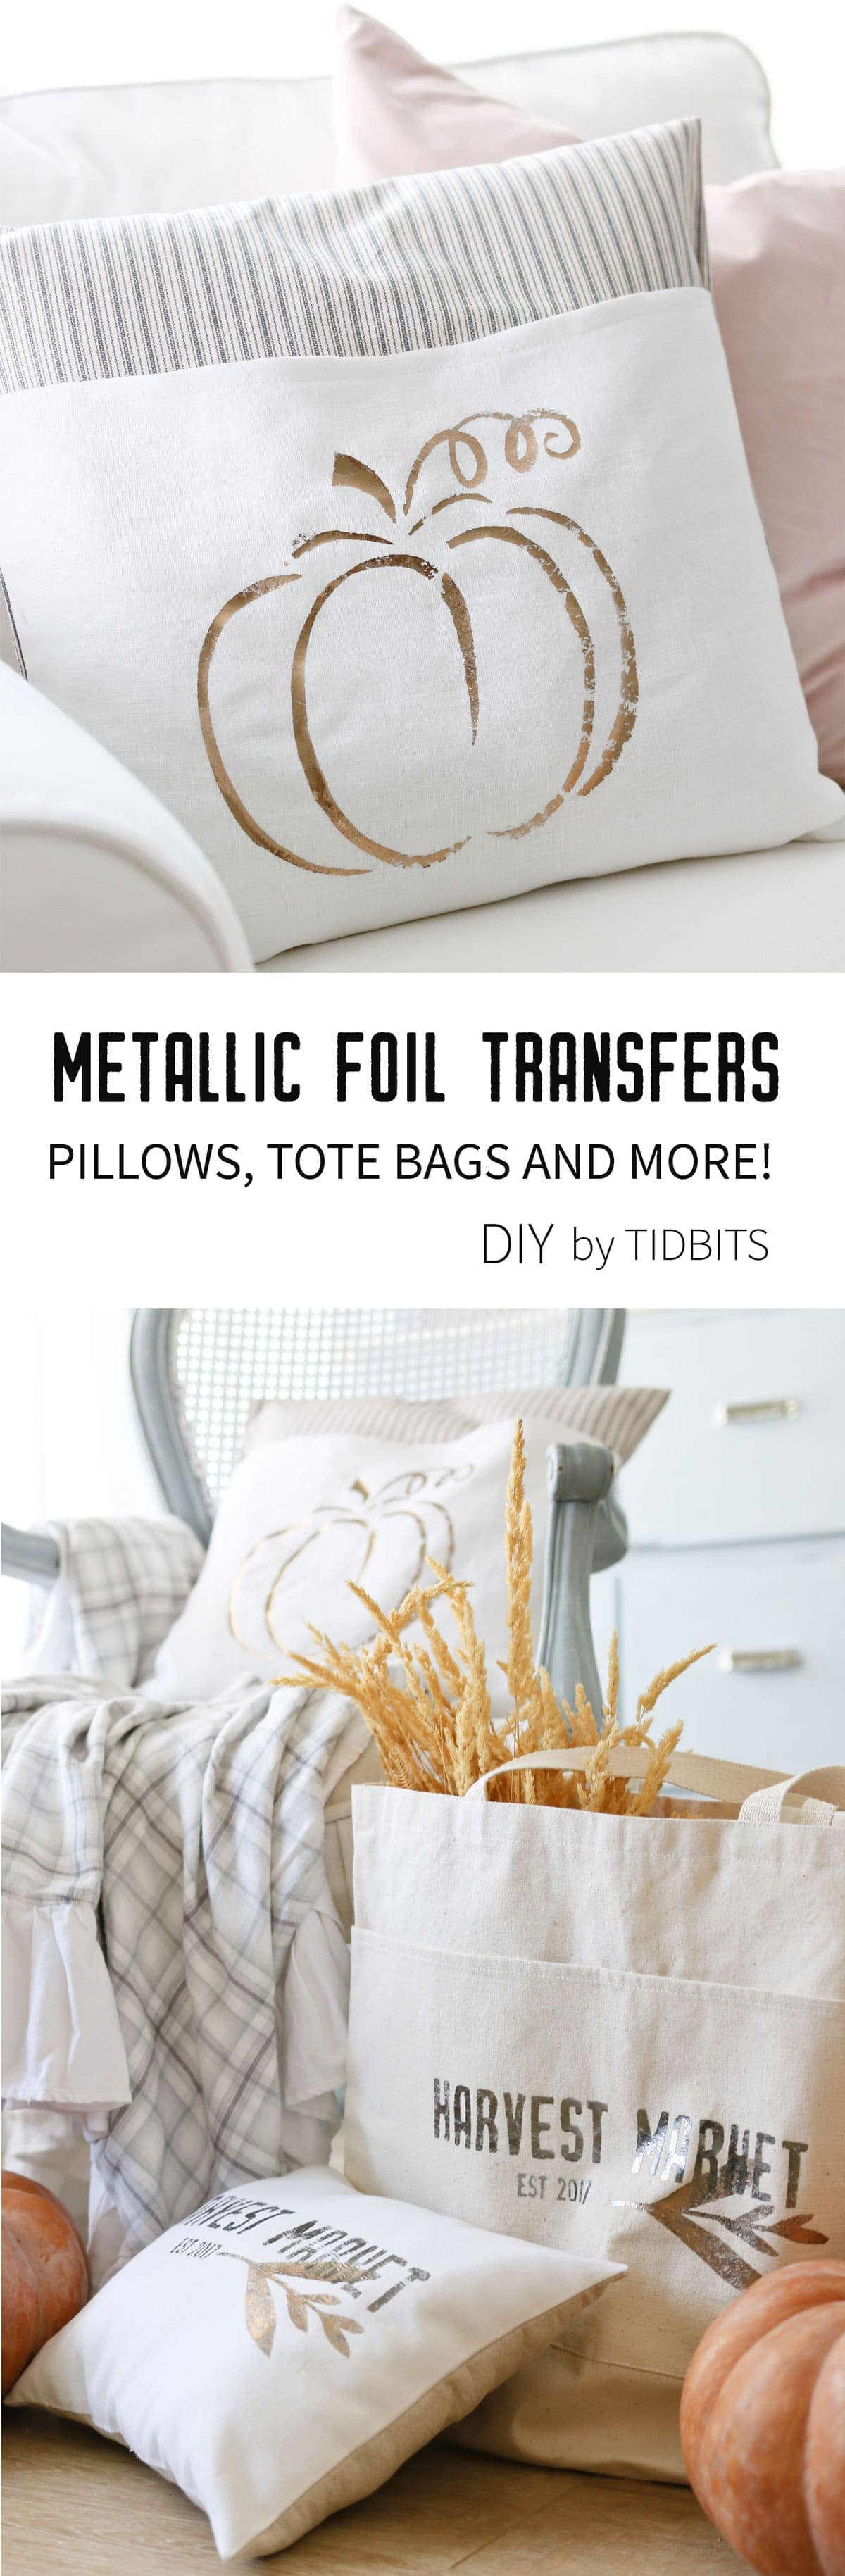
DIY your way to the most stunning metallic Fall pillows, that look better than anything you can buy from the store. Any shape or graphic possible for these decorative accent pillows, and absolutely no expensive cutting machines needed!
Do-it-yourself metallic foil decorative pillows . . . did you even know that was a thing???
Well it’s a thing. A really really cute thing. And I’m going to show you how to do this thing.
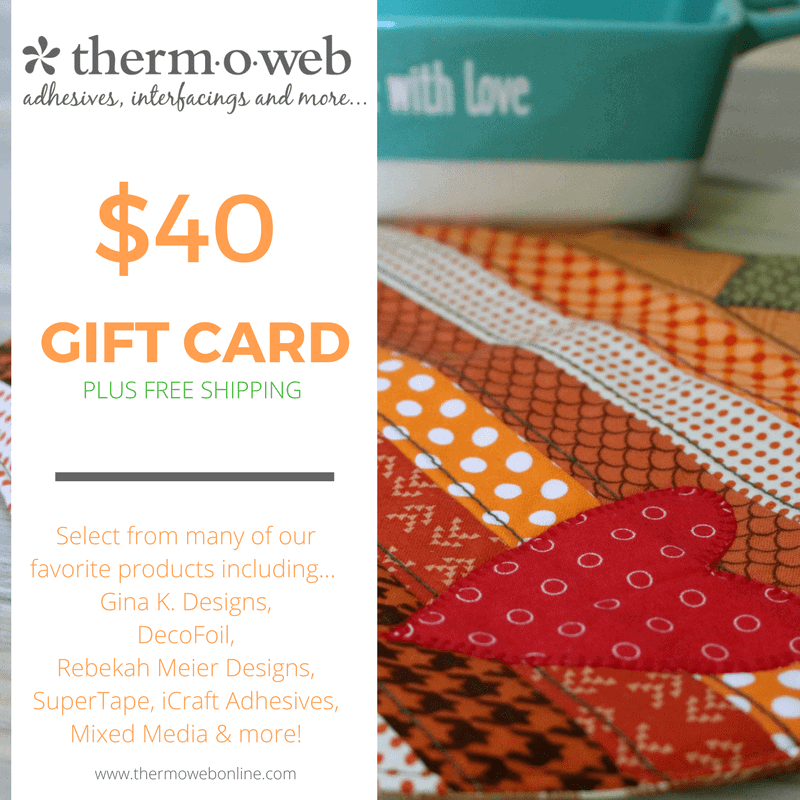
I’m so excited to share this sponsored post and tutorial in partnership with Therm-o-web, the makers of my long time favorite fabric adhesives, interfacings, paper crafting, and so much more. We are also adding a GIVEAWAY to this post, so read on to find out how to enter to win lots of therm-o-web goodies!
For this project, I was desperate to get my hands on their DECO FOIL transfer sheets.
*This post contains affiliate links.
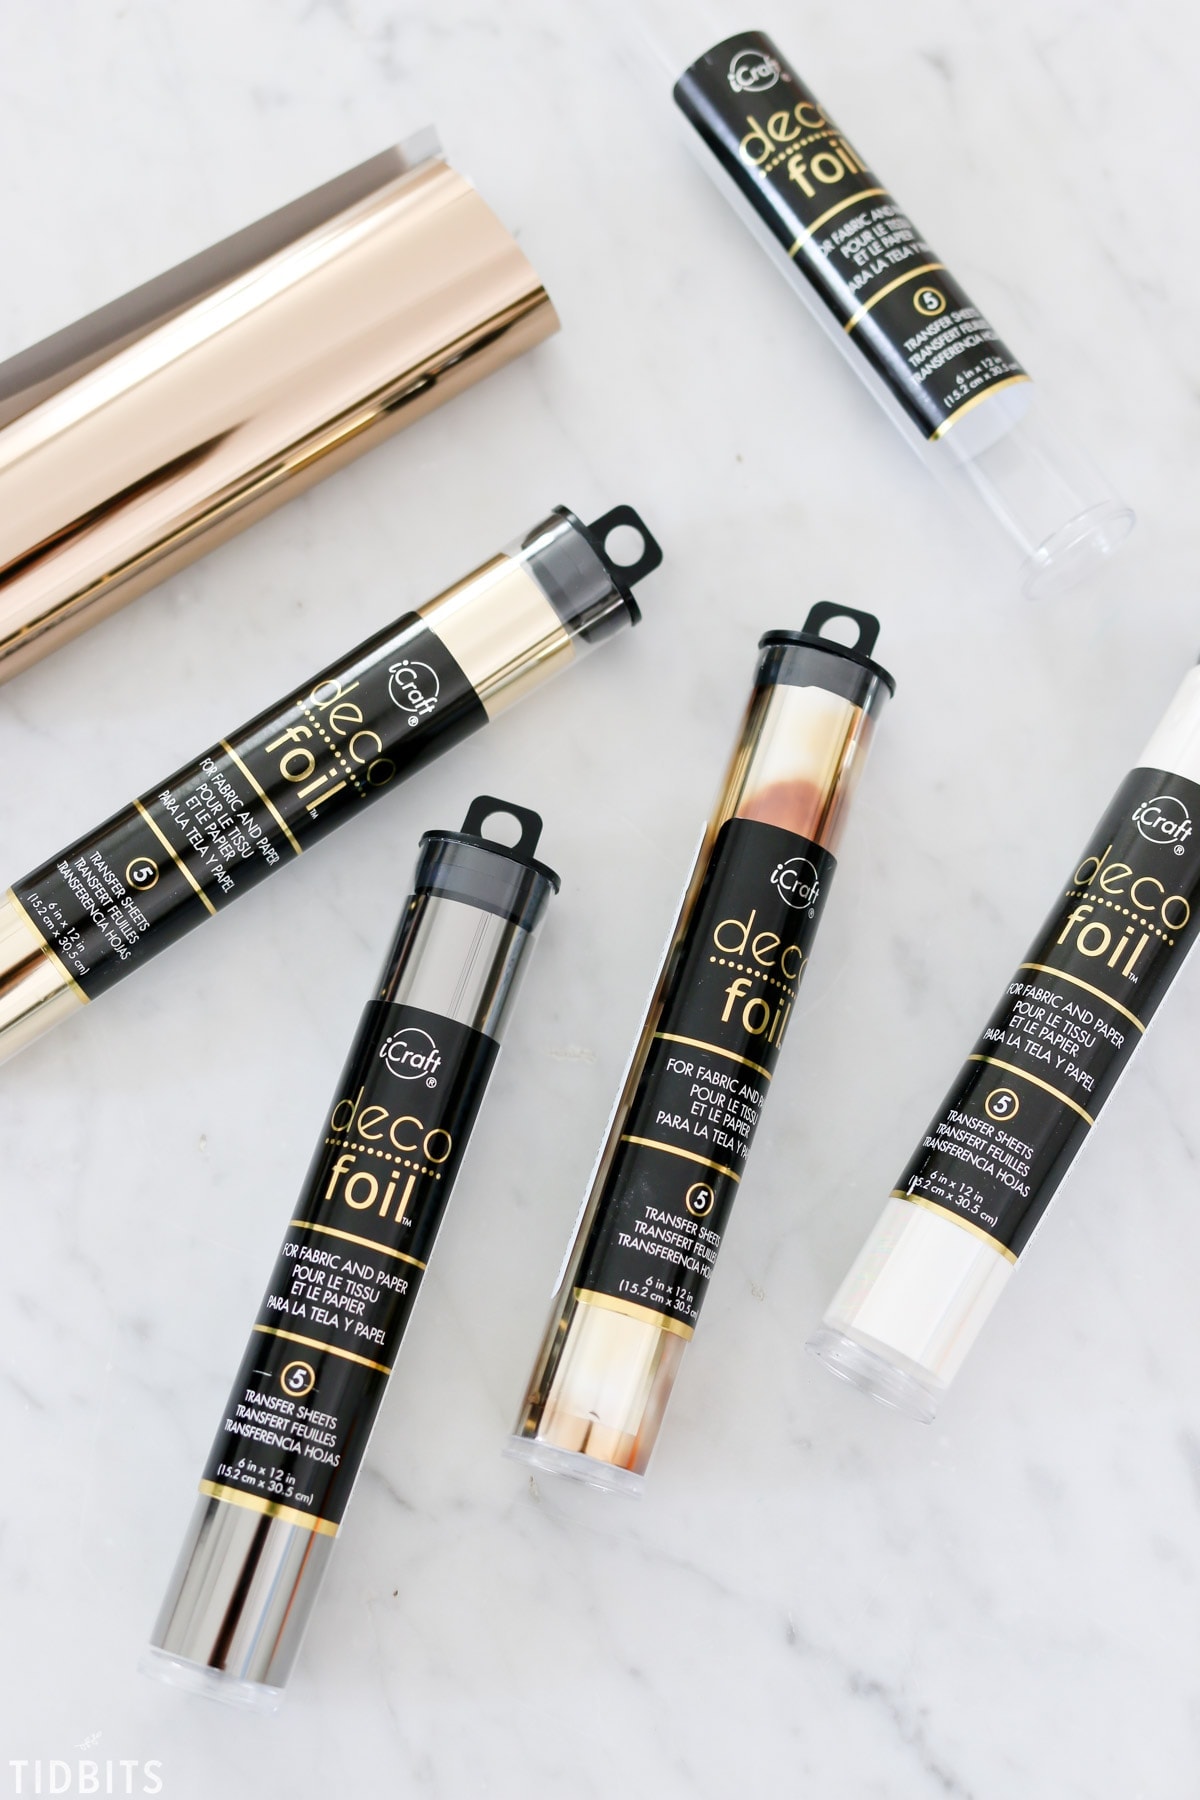
They have many shiny colors under the sun, but I knew I wanted some warm metallics for the Fall season. This beautiful stuff can be transferred onto fabric, paper, wood . . . can you just imagine the possibilities?!
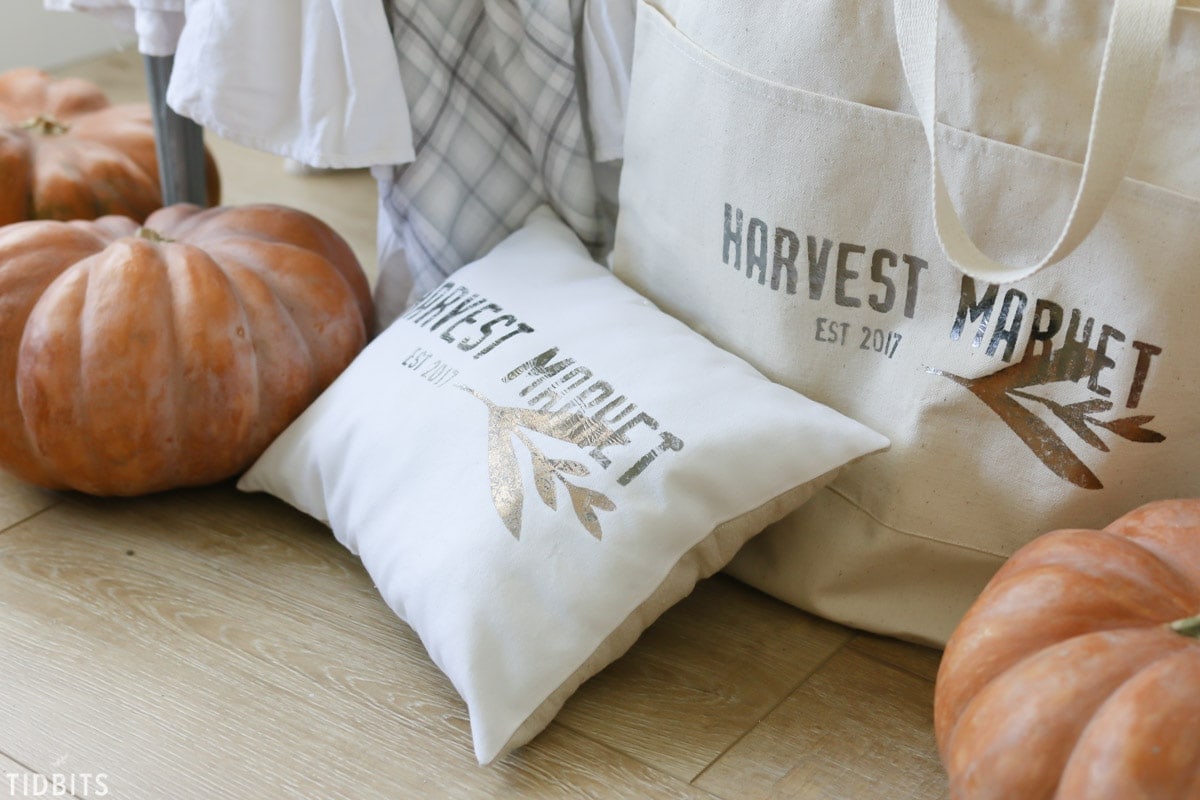
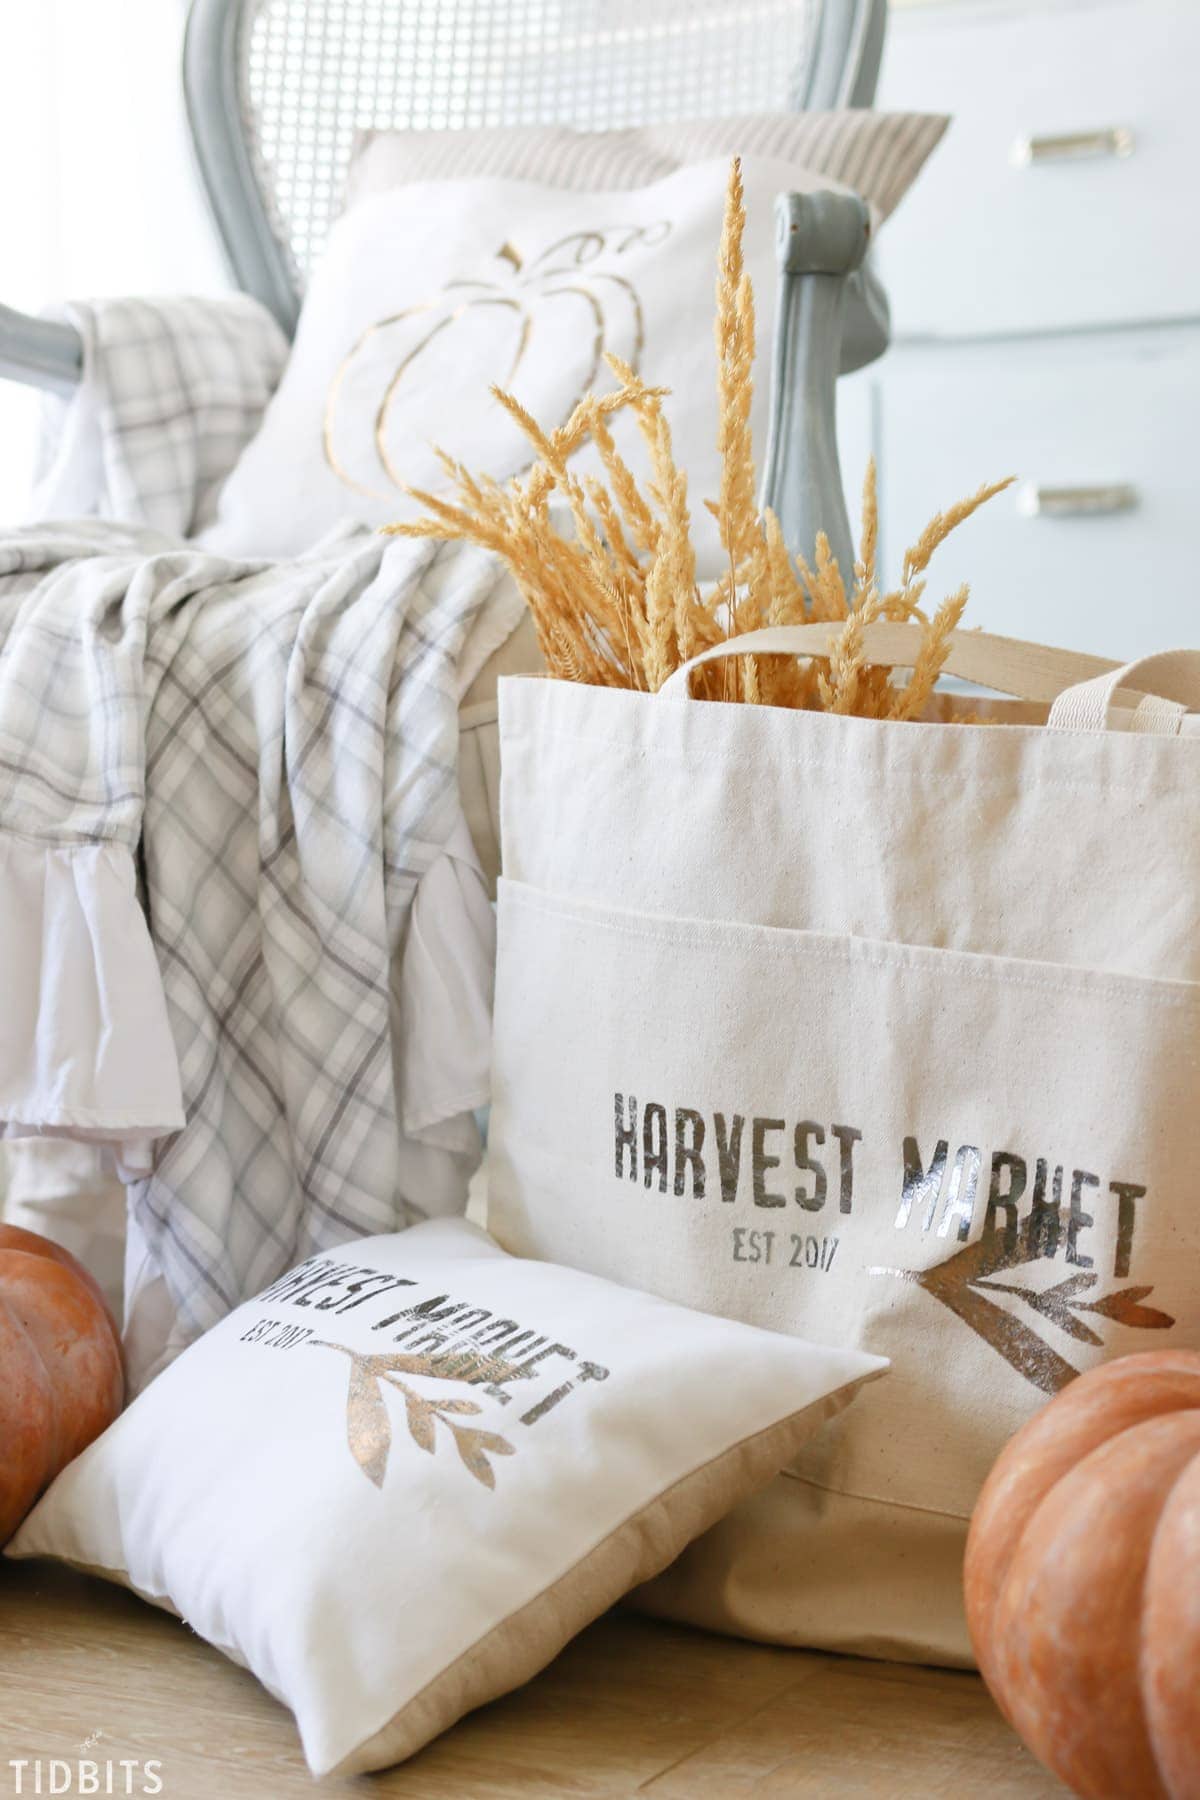
I’m going to show you how to transfer the foil onto fabric, which you can then use that appliquéd fabric to create one of a kind pillows. But if sewing isn’t your thing, feel free to explore pre-made tote bags from the craft stores, t-shirts, shoes, hats . . . you name it!
I did a couple of simple design graphics to show you a variety, but the sky is the limit. I’m providing a free printable for the “HARVEST MARKET” design, if you would like to duplicate that, FOR PERSONAL USE ONLY.
CLICK HERE or on the image below to print on a 8.5 x 11 inch standard US paper.

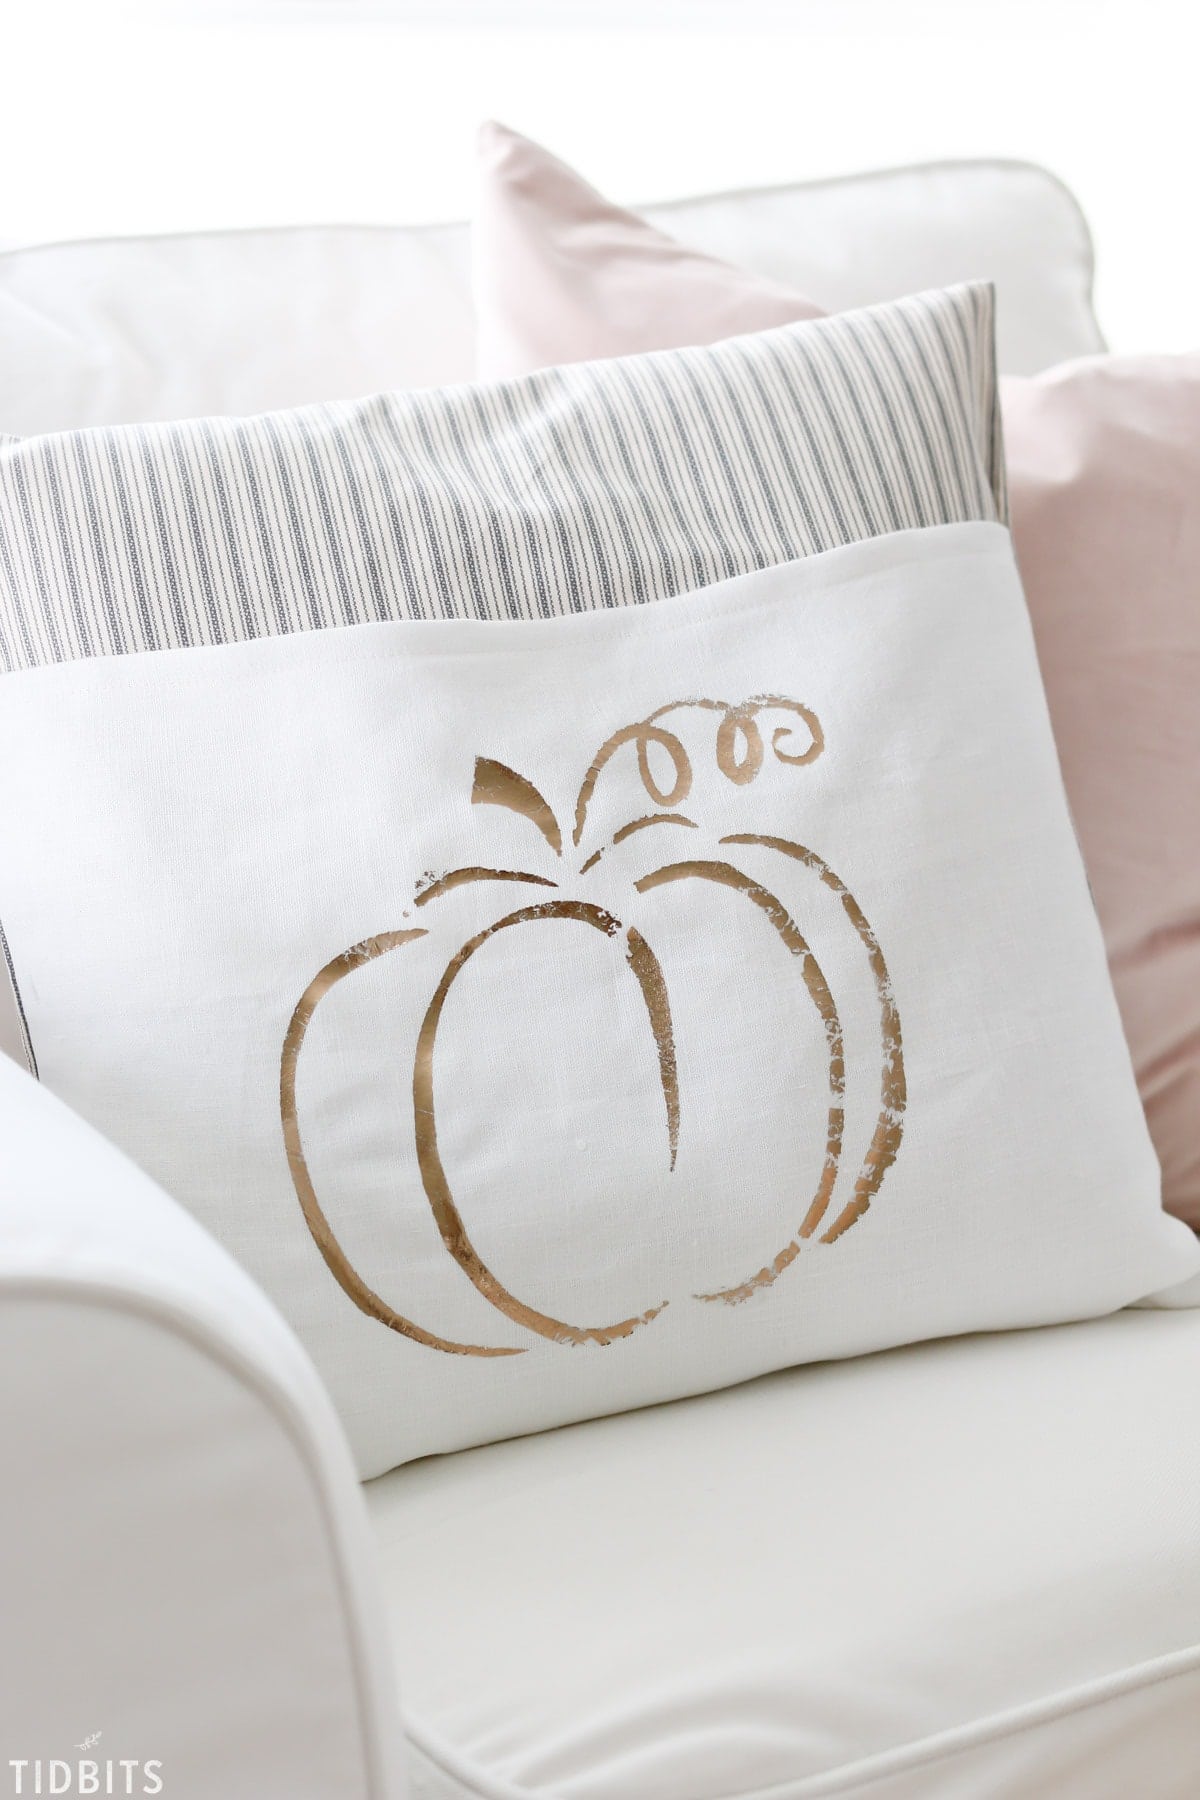
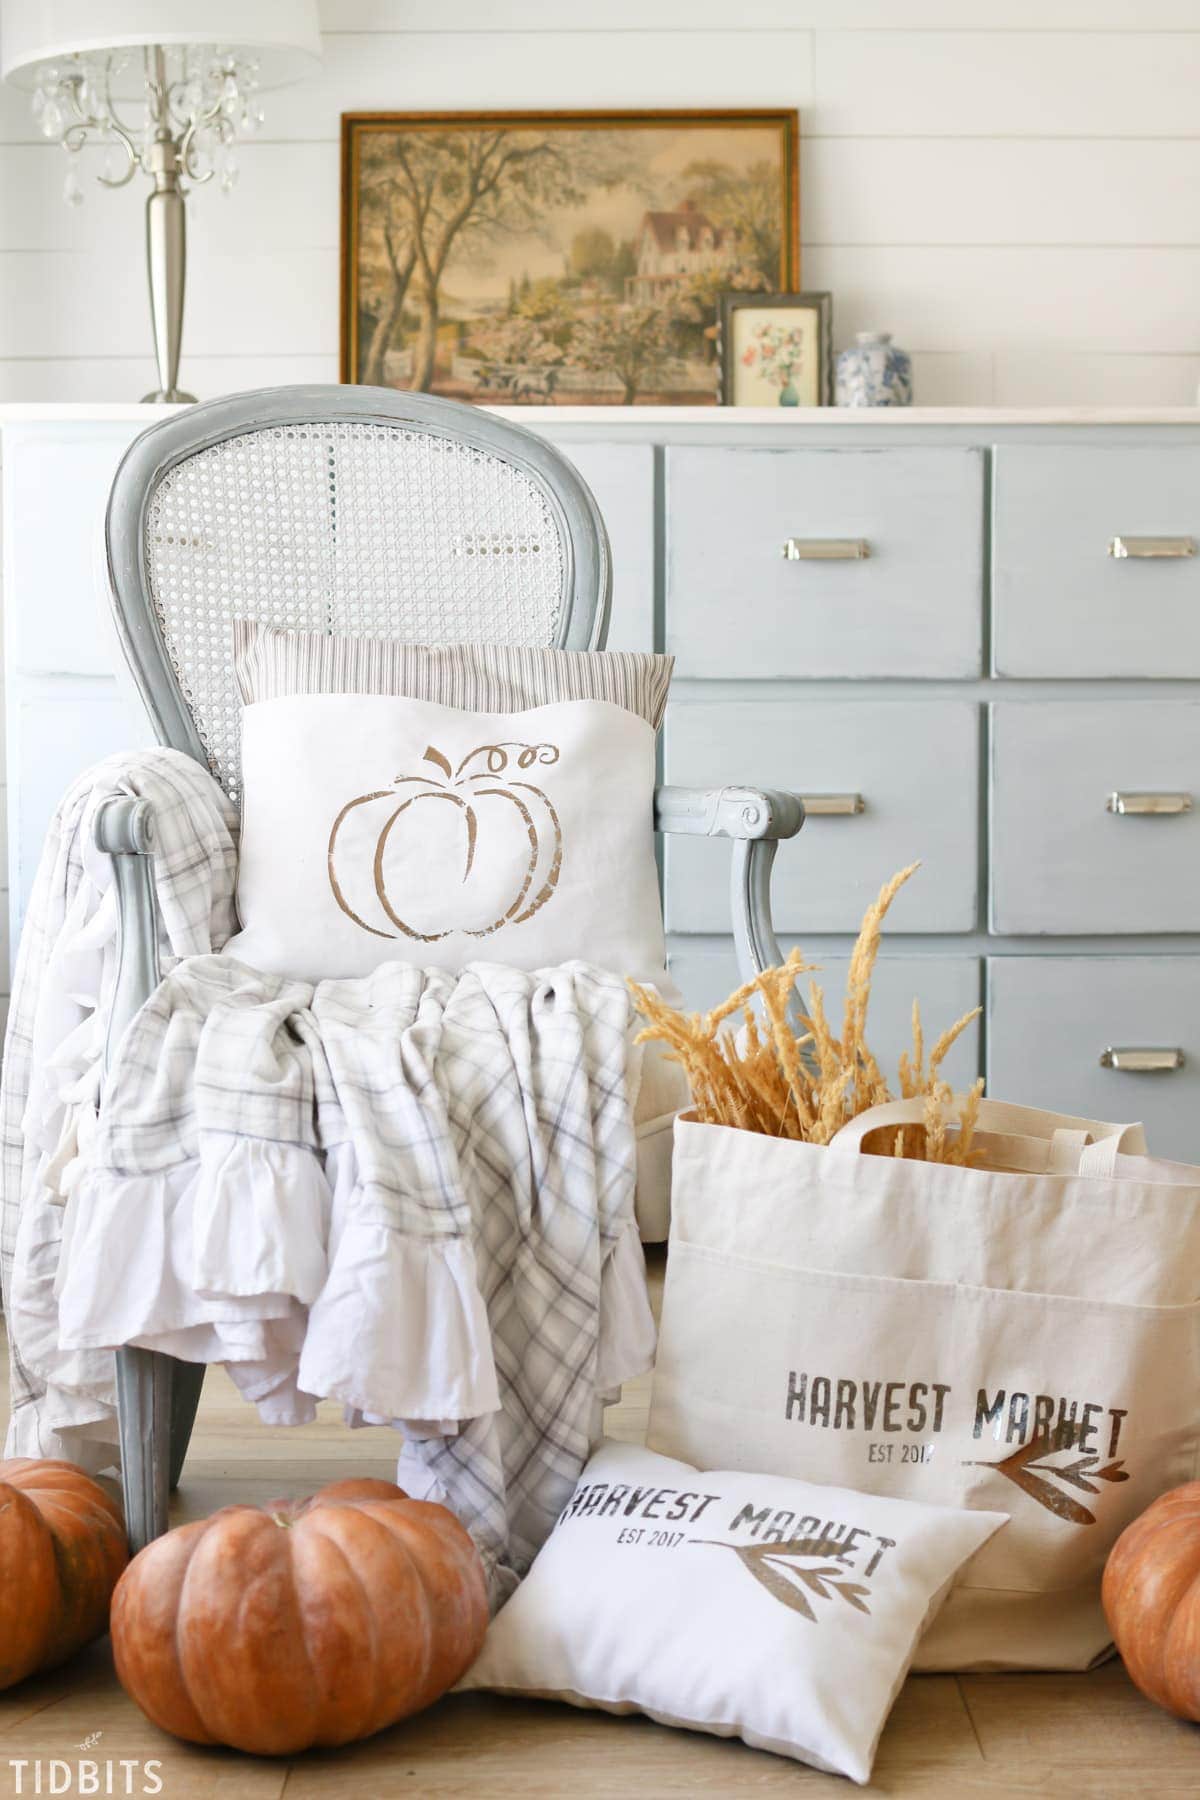
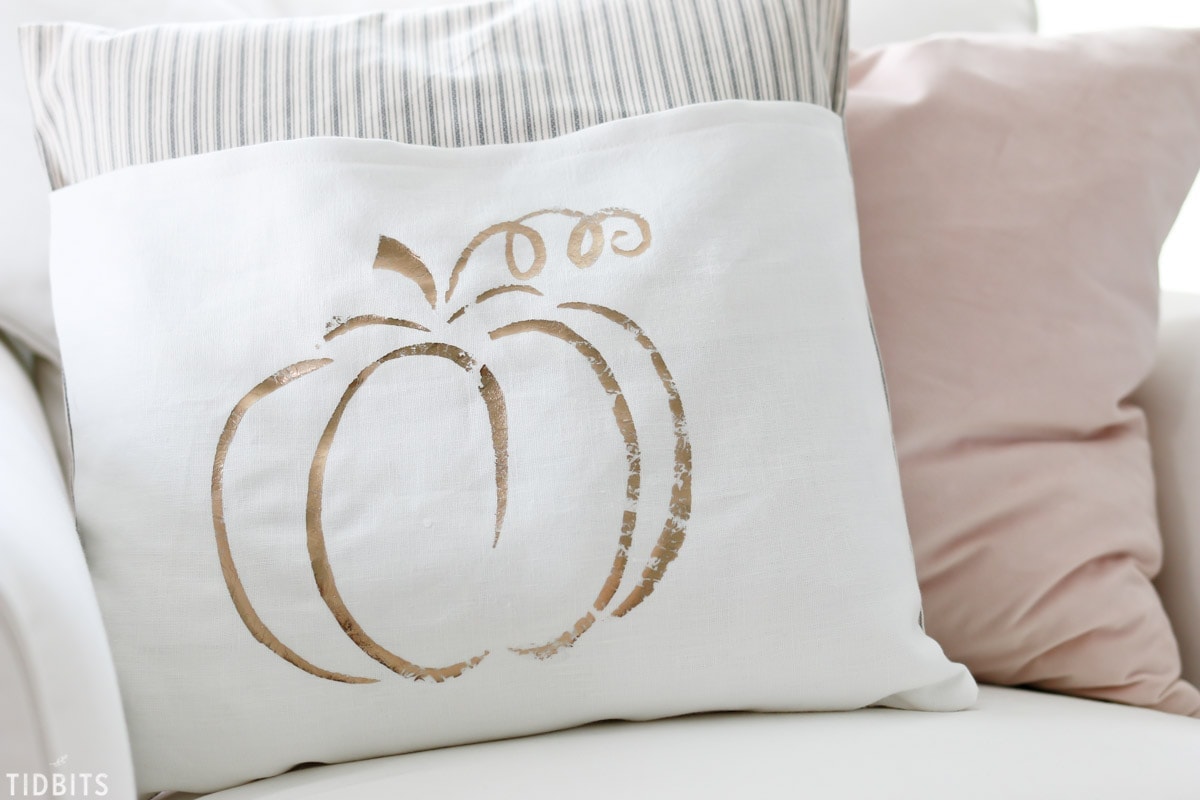
For this darling pumpkin design, I simply searched on google for “pumpkin silhouette” and found several that would work. I do not have the rights to this particular pumpkin graphic to share with you, but any simplified shape will work perfectly.
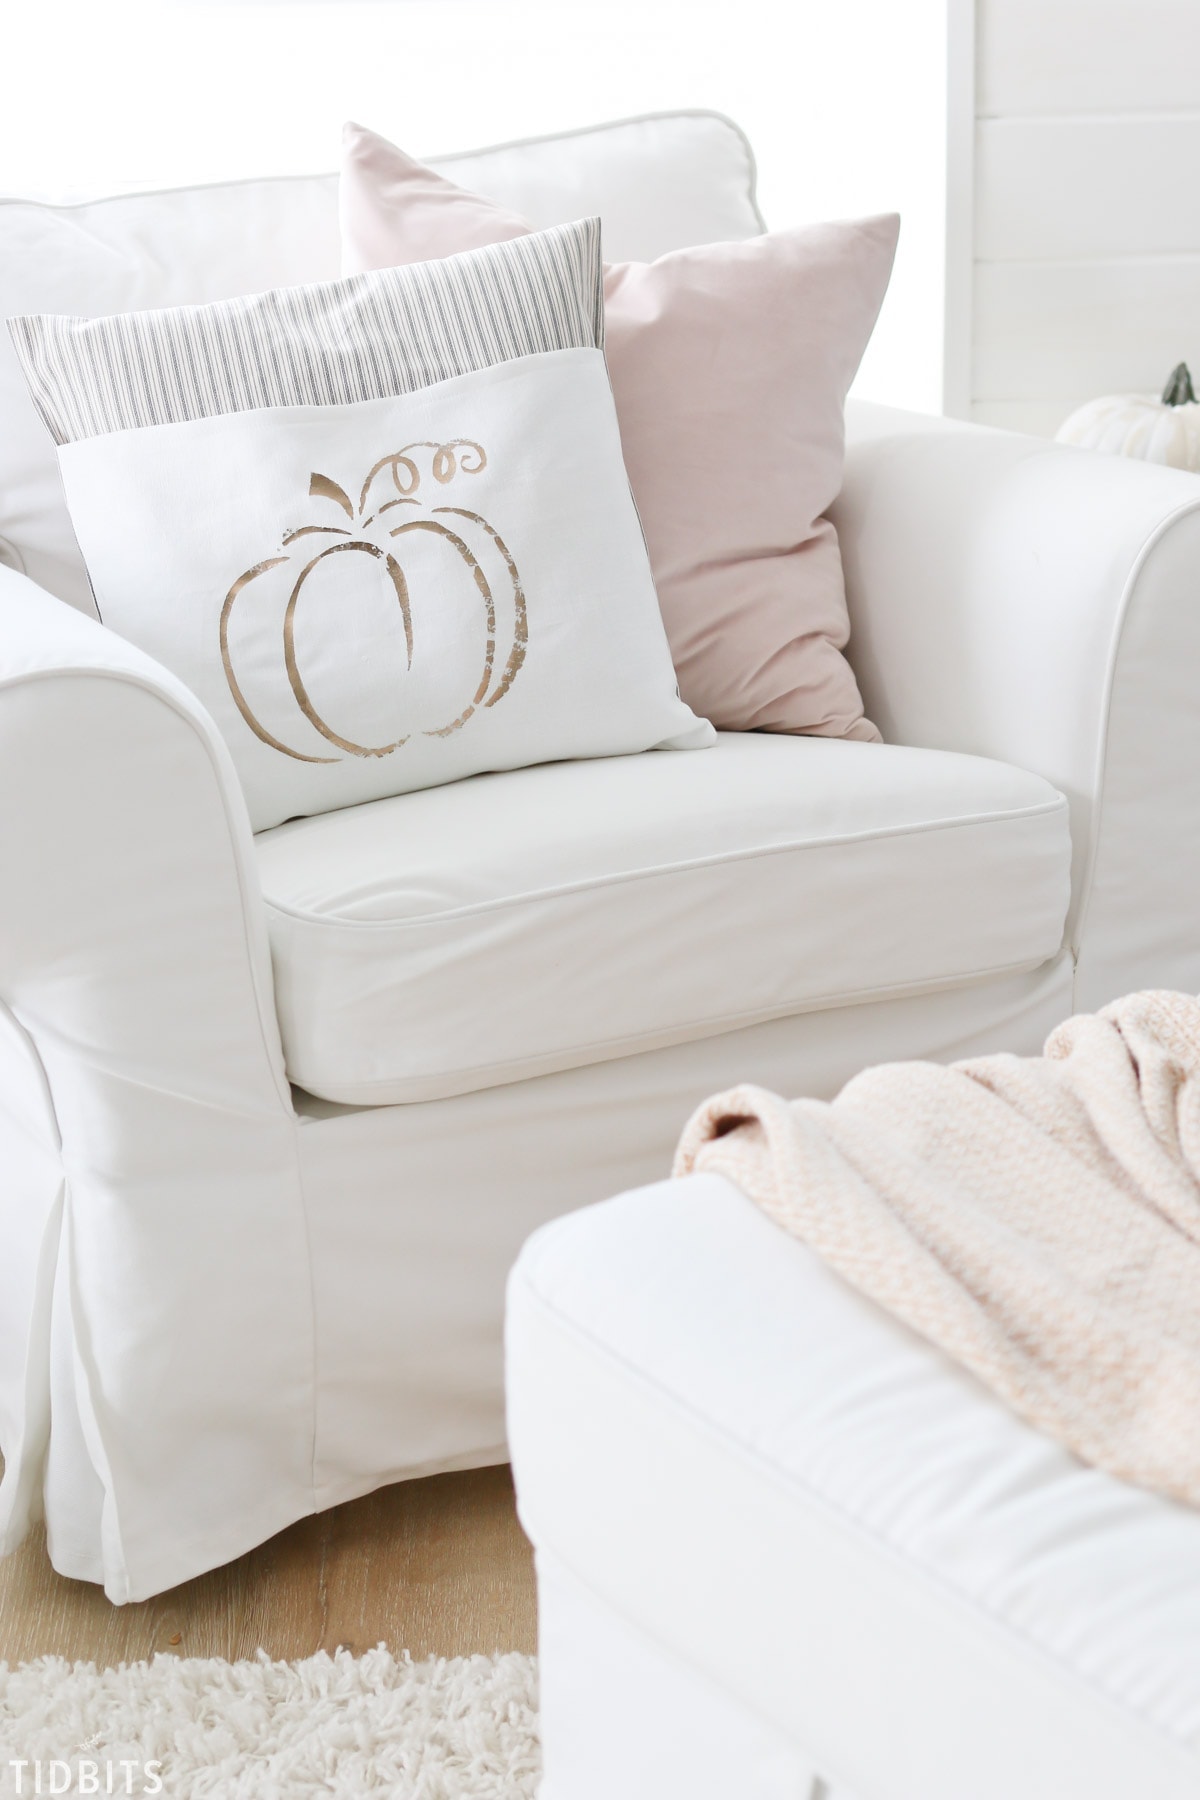
I then used my pocket closure pillow sewing method, but used the pocket side as the decorative side, rather than the back side.
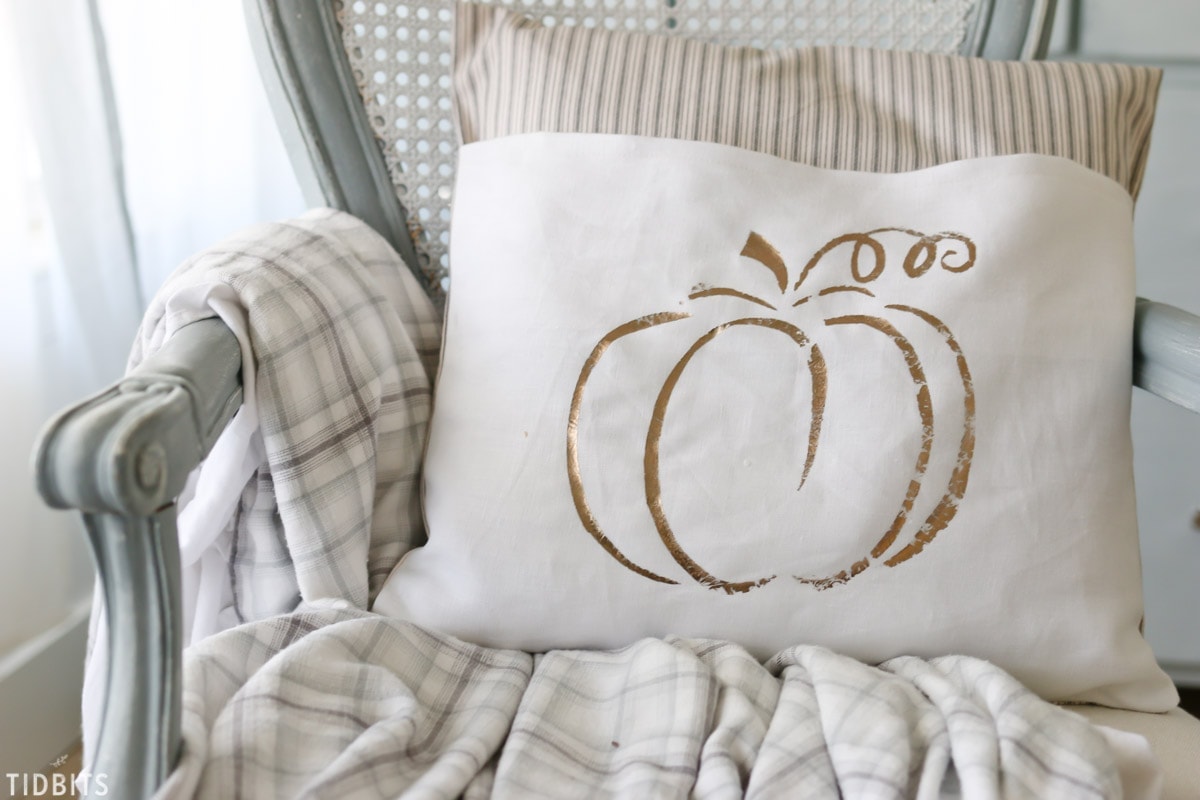
I think it turned out darling! I also was purposefully going for a “vintage” or “chippy” look for the metallic transfer, (which I’ll show you how I did that), but you can just as easily make the foil transfer on clean and even. Tips ahead.
Let’s get started!
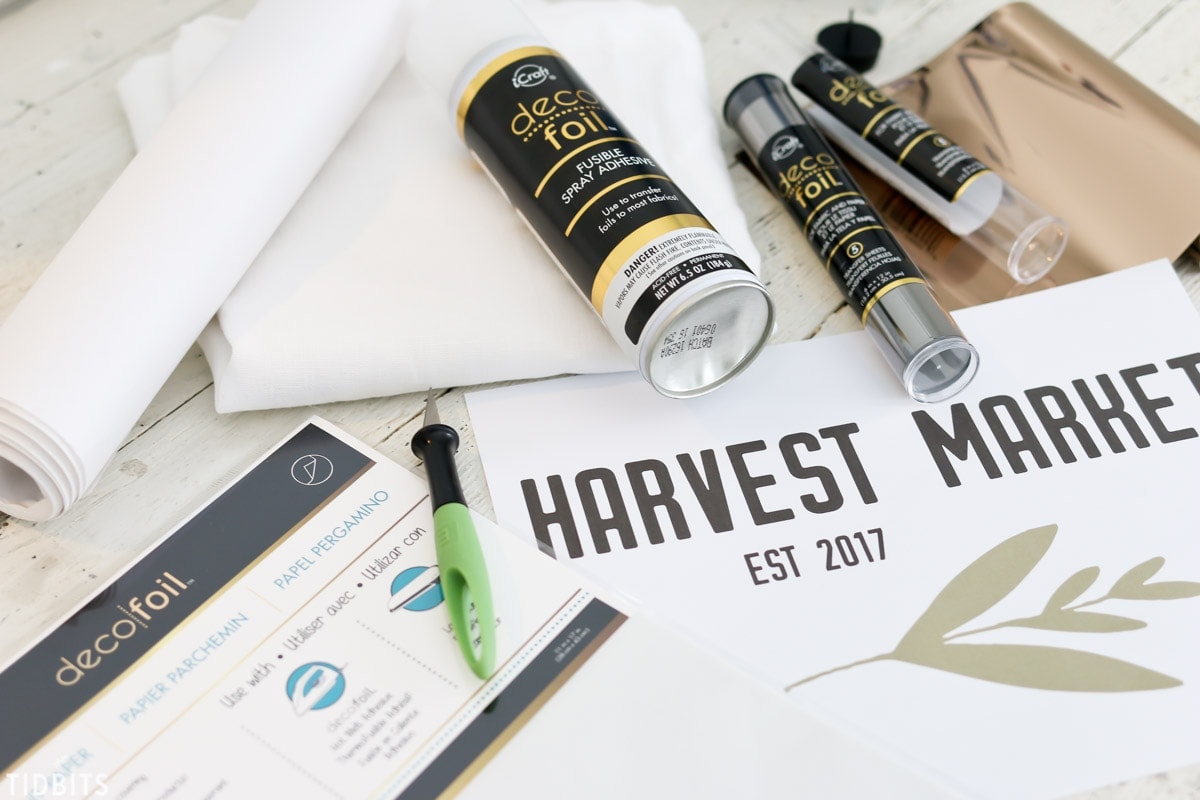
SUPPLIES:
- DECO FOIL transfer sheets
- DECO FOIL fusible spray adhesive
- DECO FOIL parchment paper
- Fabric
- Freezer paper (also found in grocery stores)
- Craft cutting razor blade
- Print out of your pattern
- Iron
- Cutting mat or safe cutting surface
*If using a cutting machine like a Cricut or Silhouette, you may want to look into the other adhesive options as well, like the DECO FOIL hot melt adhesive.
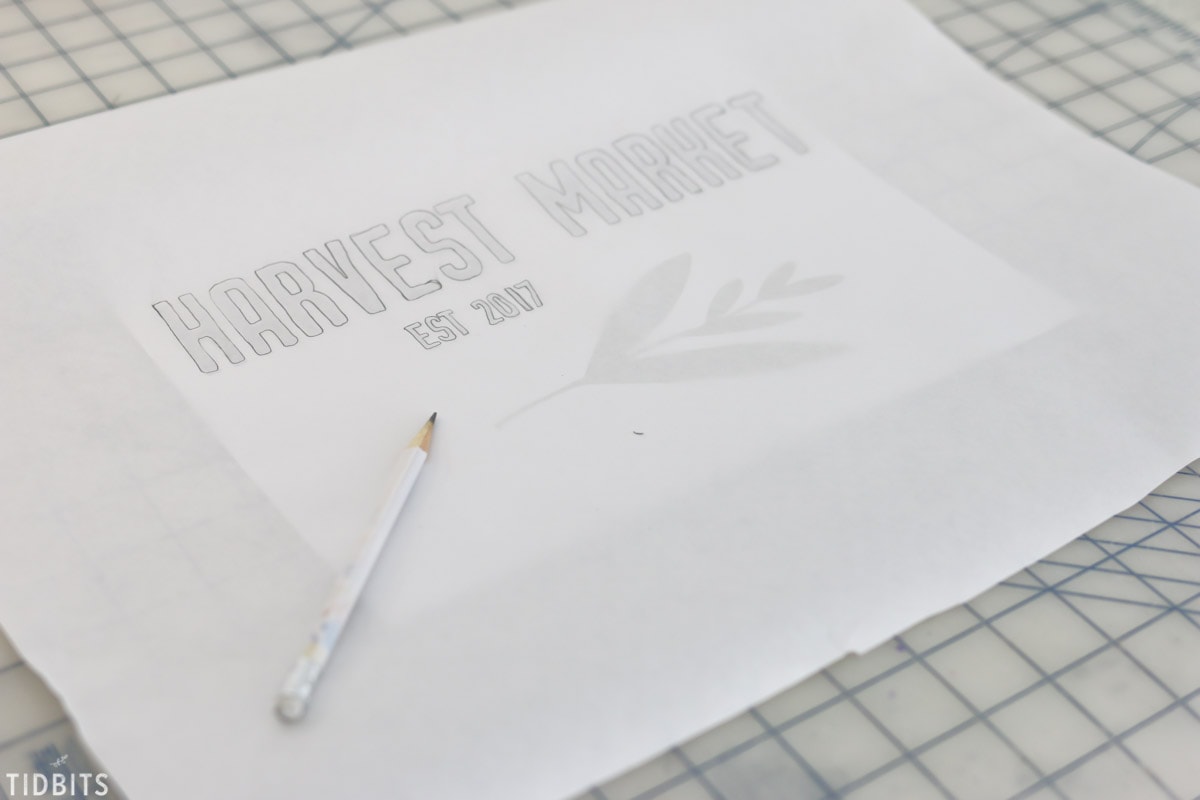
MAKE A STENCIL
To begin, we are going to make a stencil from the freezer paper. Lay a large piece of freezer paper (shiny side down) over your printed pattern and carefully trace around the lettering or shape. I traced the leaf graphic separate from the lettering, because I stacked them and did them separate. Read on for details.
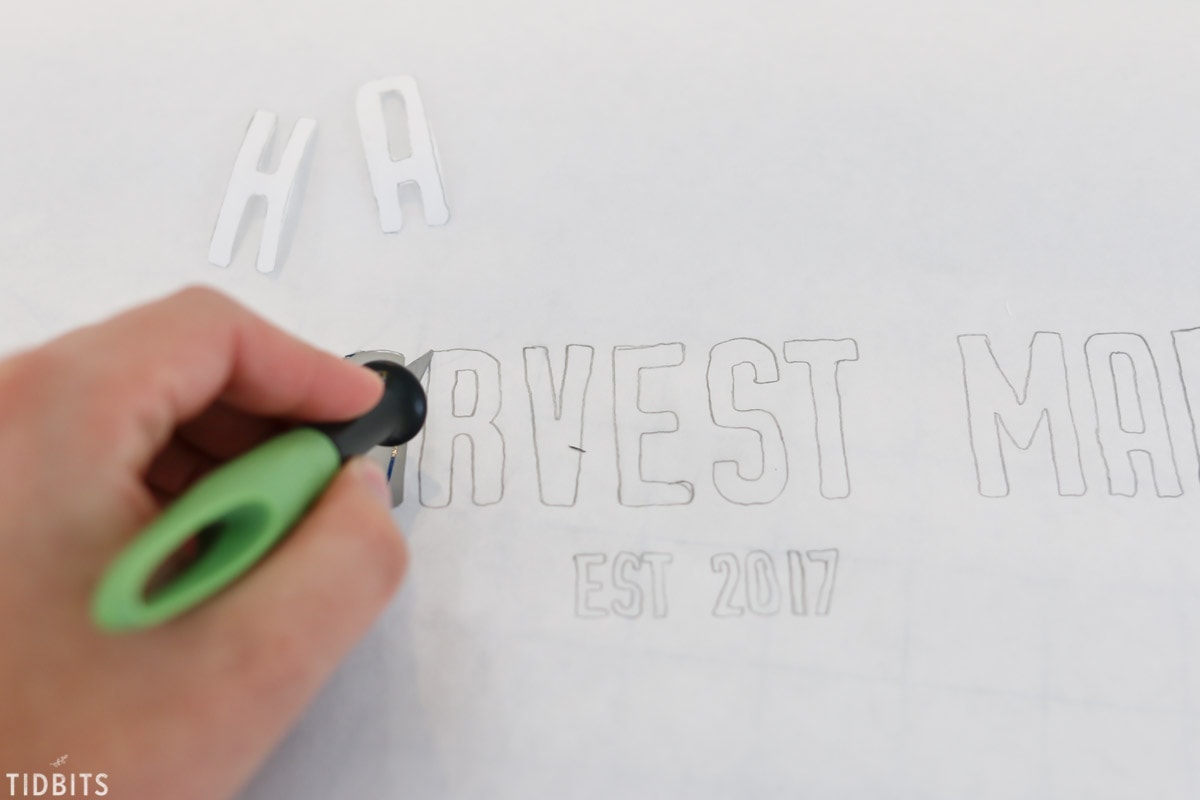
With your craft knife blade, carefully cut out the lettering. Be sure to preserve the inside of letters, such as the a’s, r’s, and 0’s. With a good blade, this is much easier than you think it is.
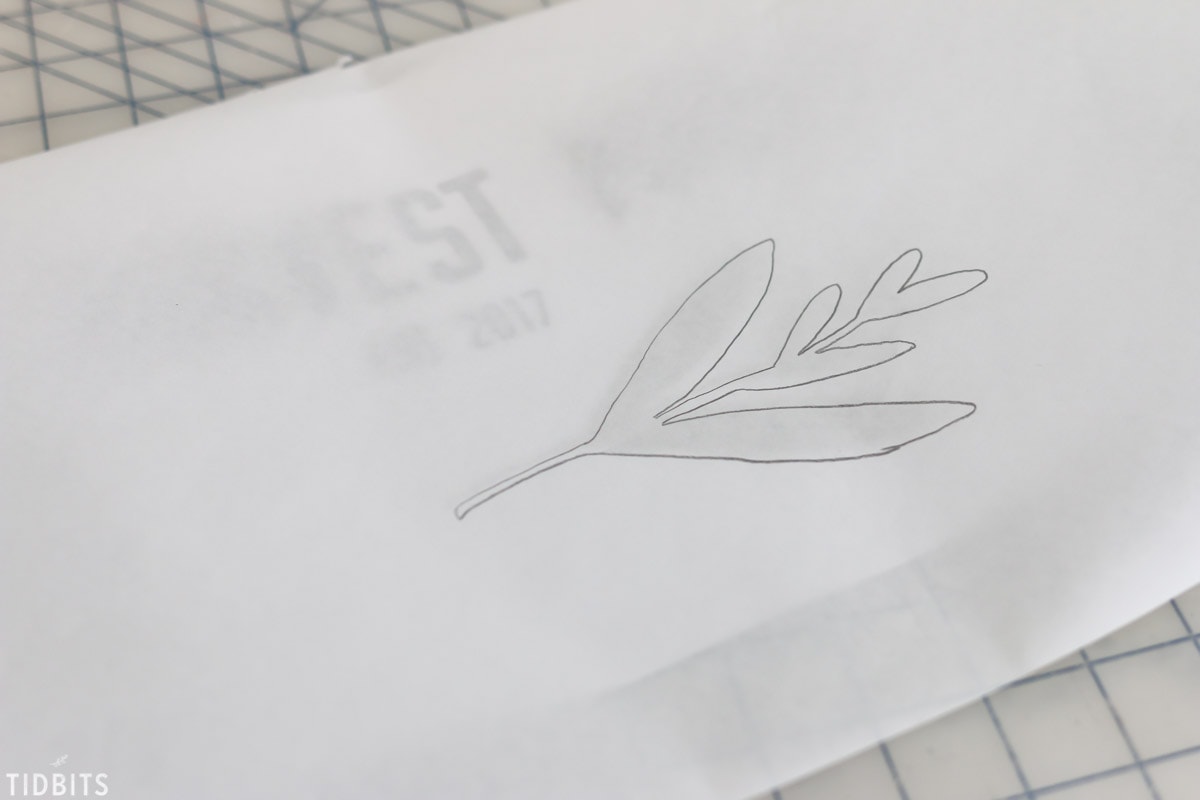
Use another freezer paper for the leaf graphic. Trace and cut.
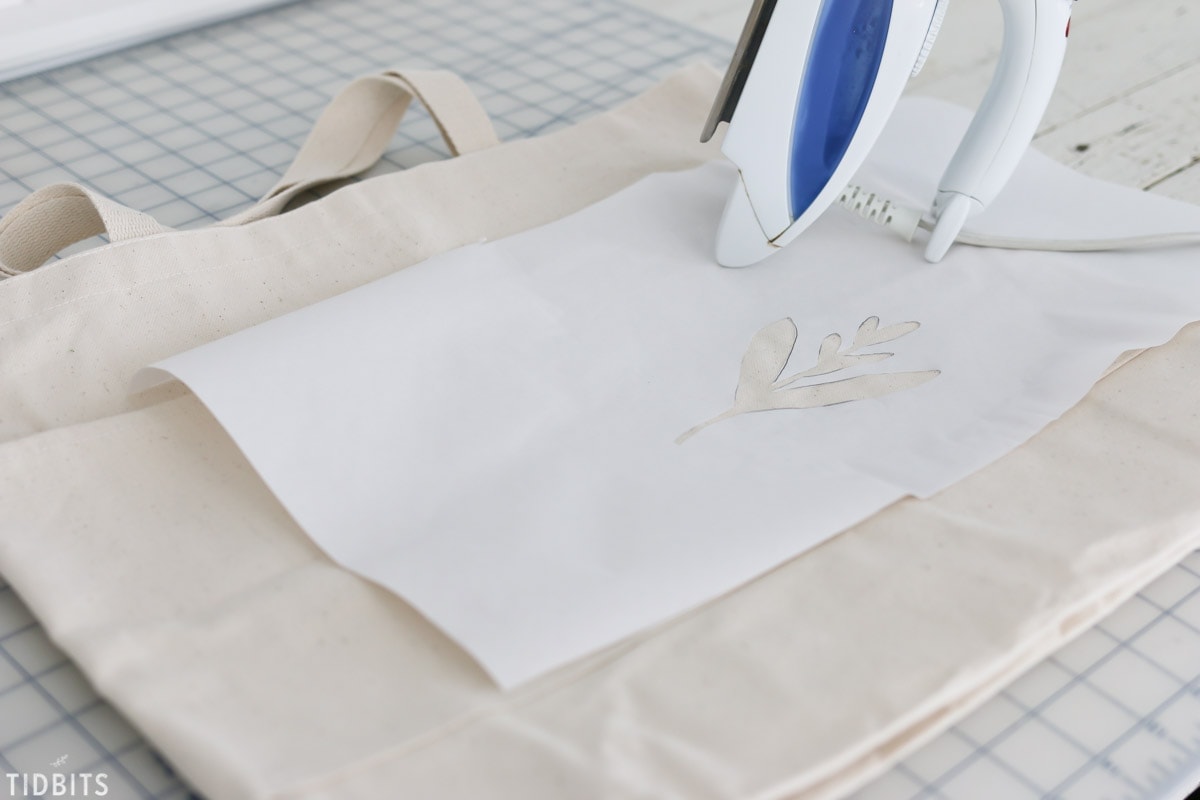
ADHERE THE STENCIL TO FABRIC
Lay the freezer paper shiny side down on the fabric. On a low setting without steam, iron the freezer paper onto the fabric.
Freezer paper is perfect for making stencils for fabric. The shiny layer will temporarily adhere to the fabric, and peel right off without residue.
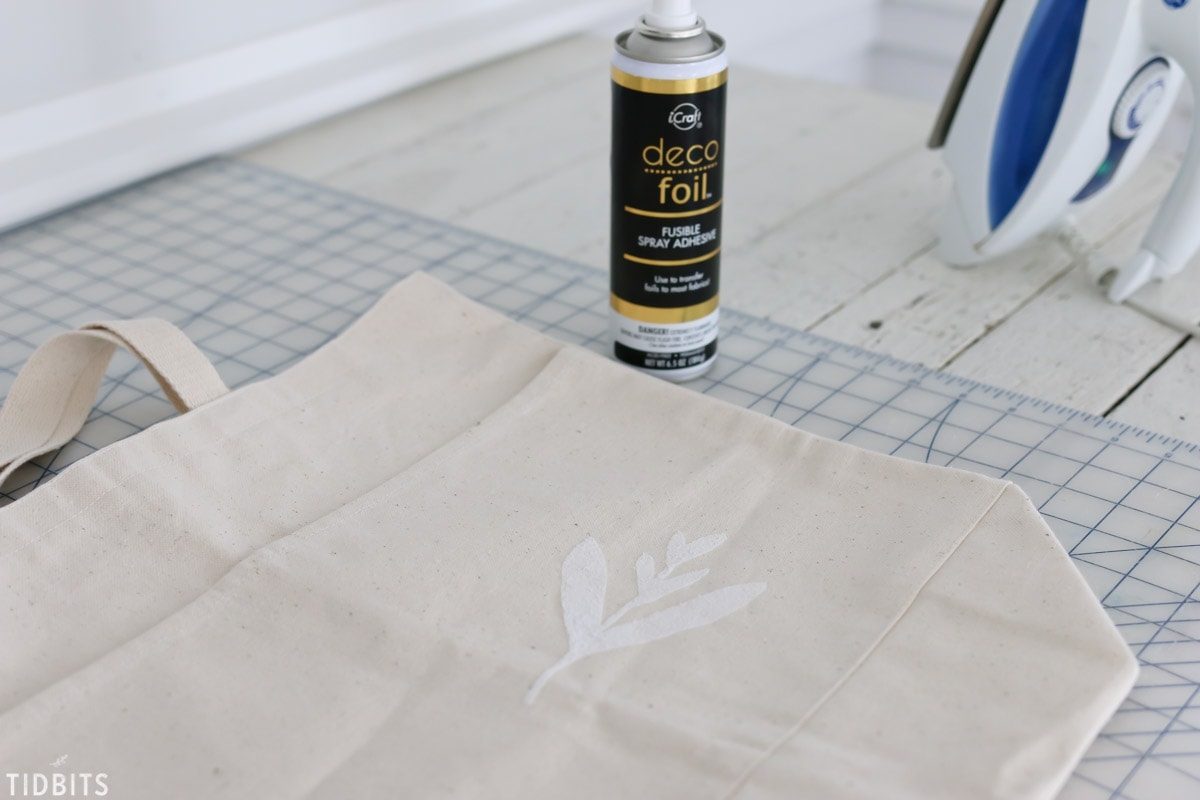
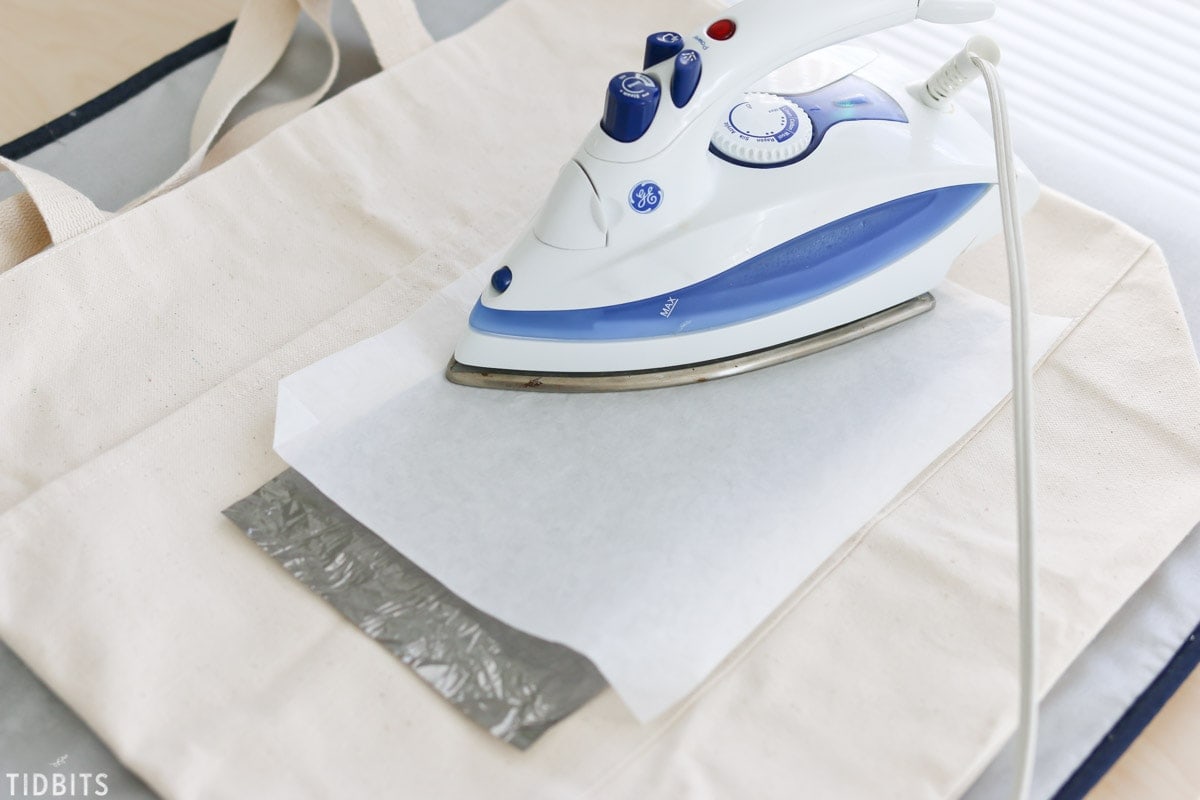
SPRAY ADHESIVE
After shaking the can of DECO FOIL spray adhesive, spray inside the stencil to create a light and even layer of the adhesive onto the fabric.
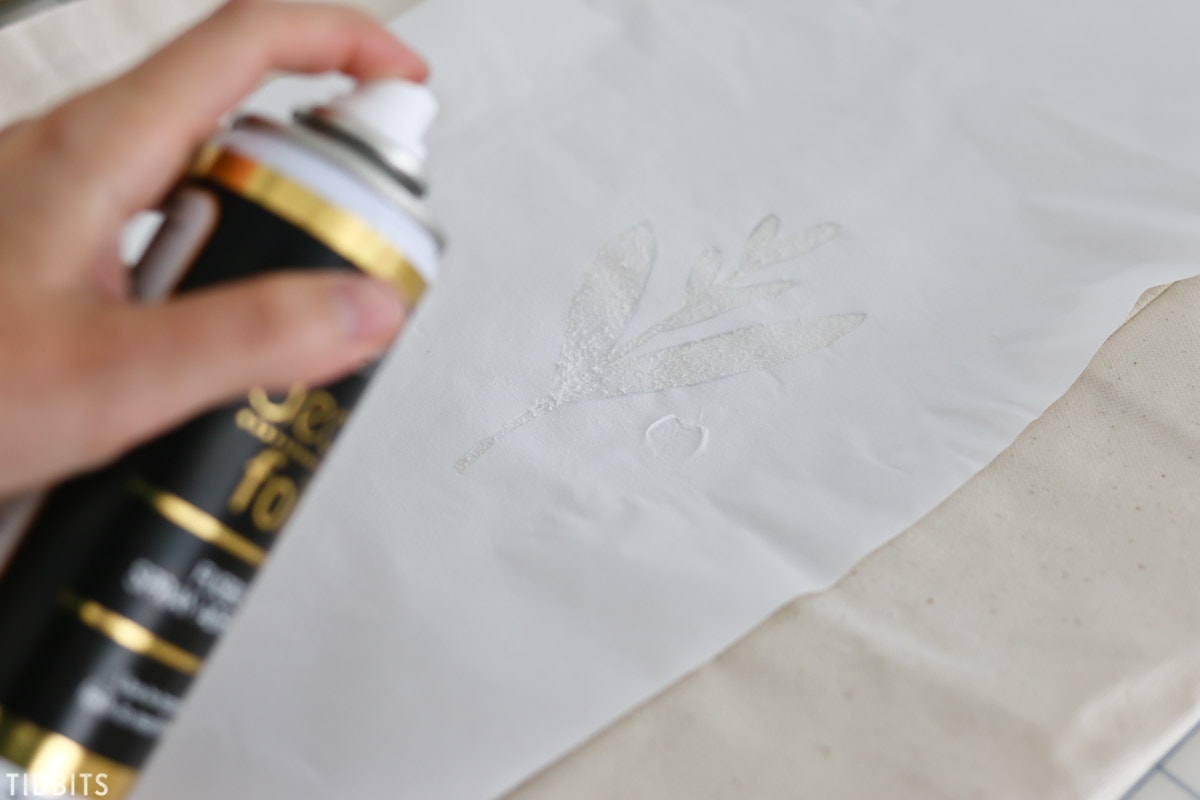
Peel away the freezer paper stencil.
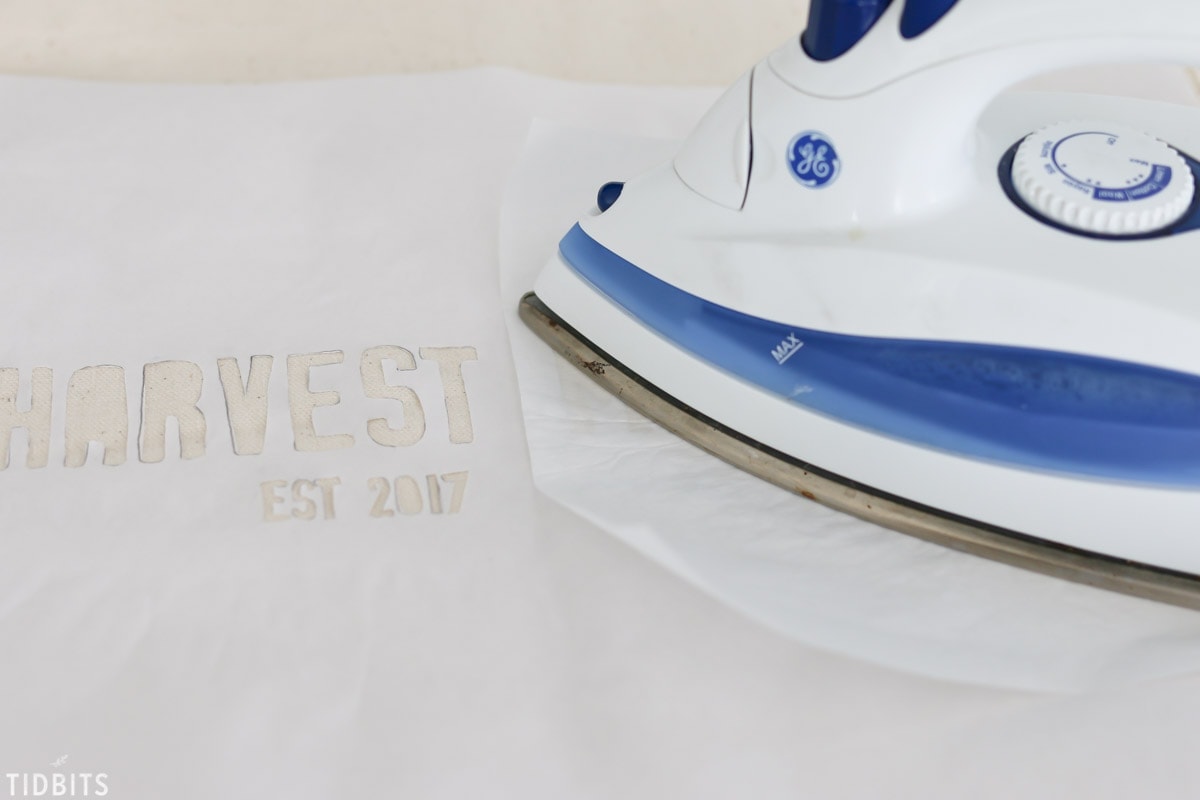
IRON FOIL ONTO DESIGN
To achieve a vintage chippy look on your foil, first crumple it tightly in your hand, than spread it back out flat.
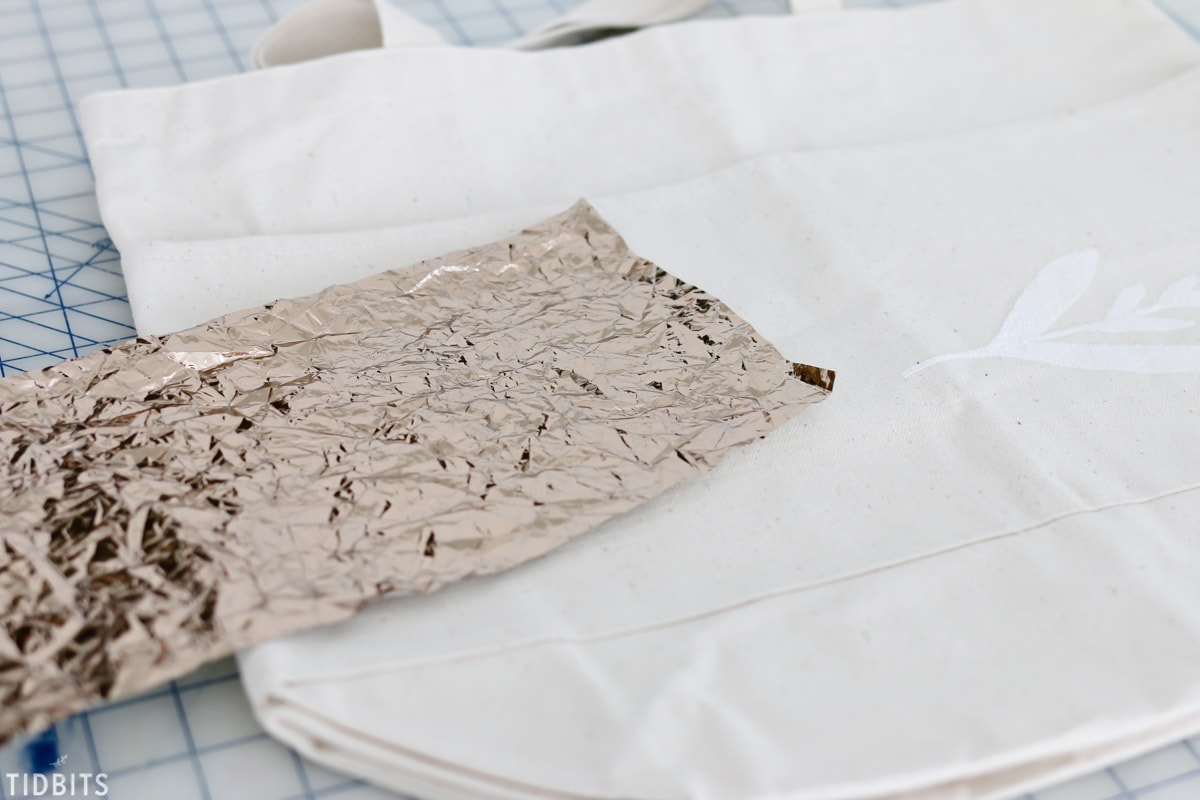
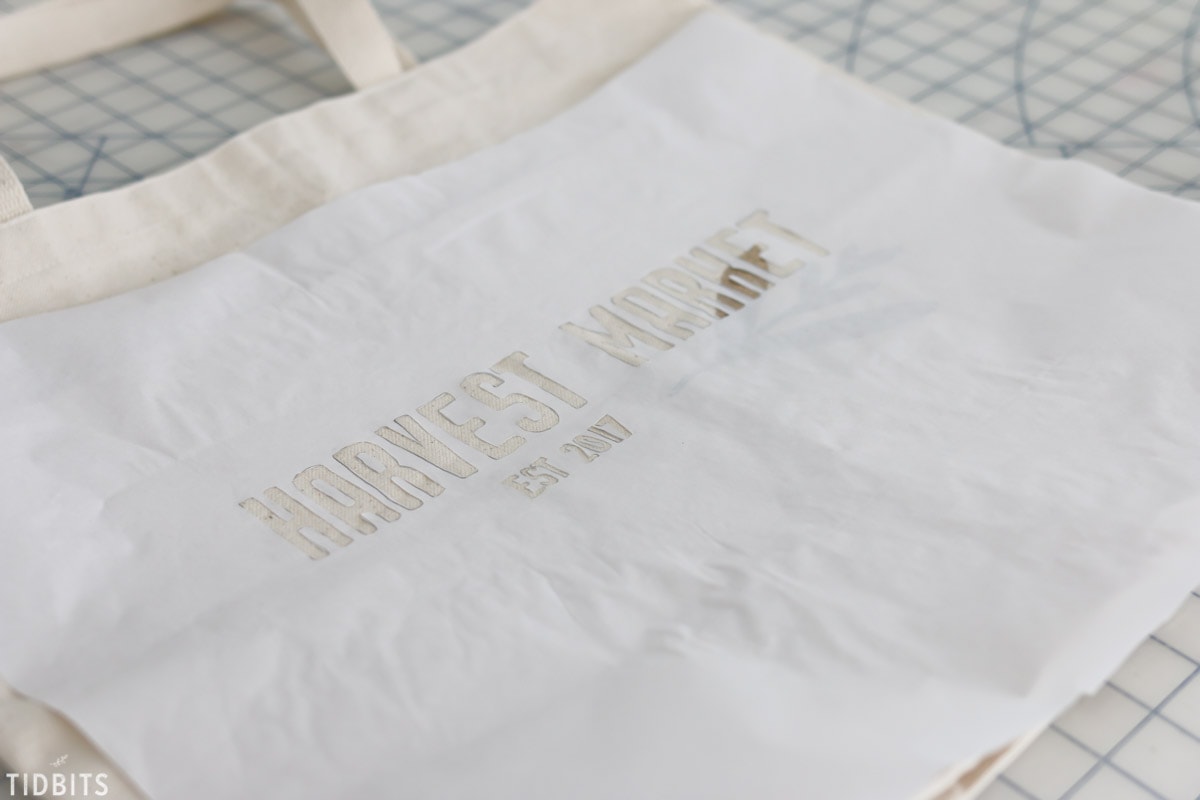
Lay the foil piece over your design, colored side up, then lay parchment paper on top of the foil. Don’t ever iron directly onto the foil, and be sure to read the manufactures direction for iron settings.
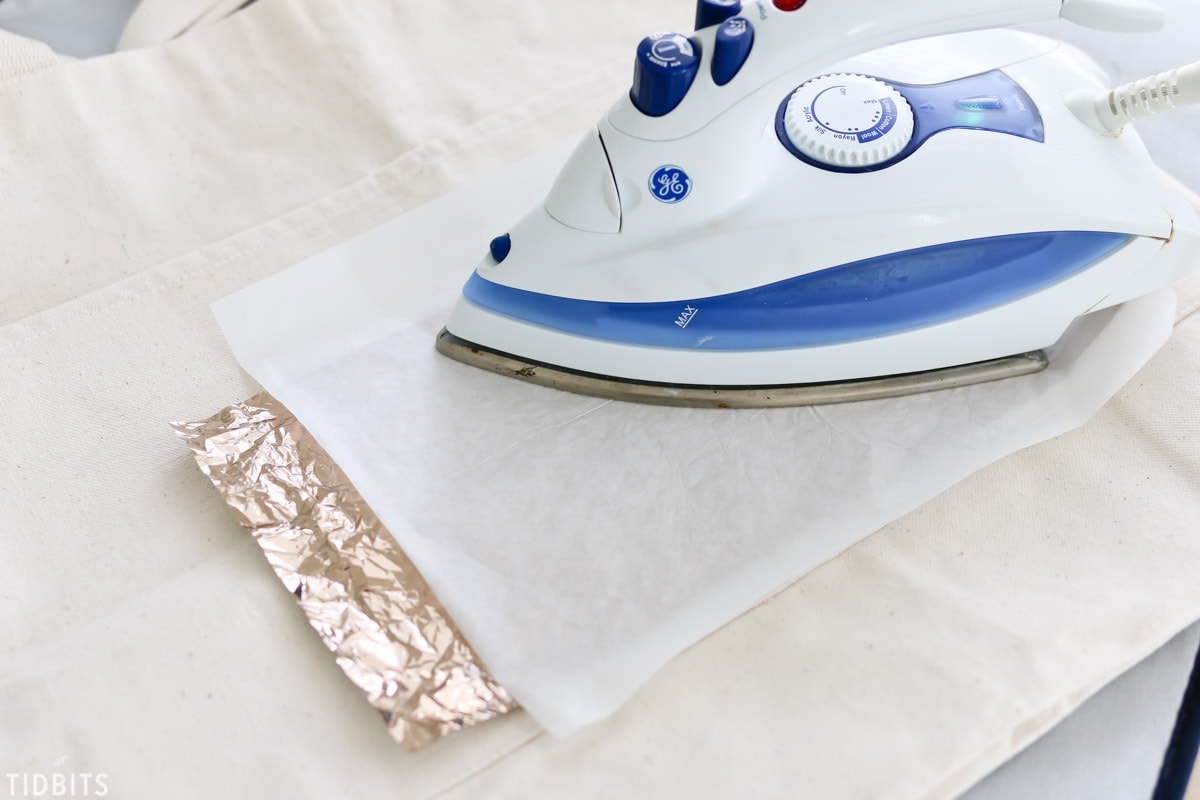
The longer you leave the foil to set on your design, the better the foil with transfer. However, if you want a “chippy” effect, I found that letting the foil sit for only about 5 minutes give a nice chippy look, especially combined with the crumpled effect.

LAYERING OR OVERLAPPING
If you intend to layer or overlap your design, be sure you are ironing on the freezer paper stencil with parchment paper over the already foiled design.
Repeat the steps.
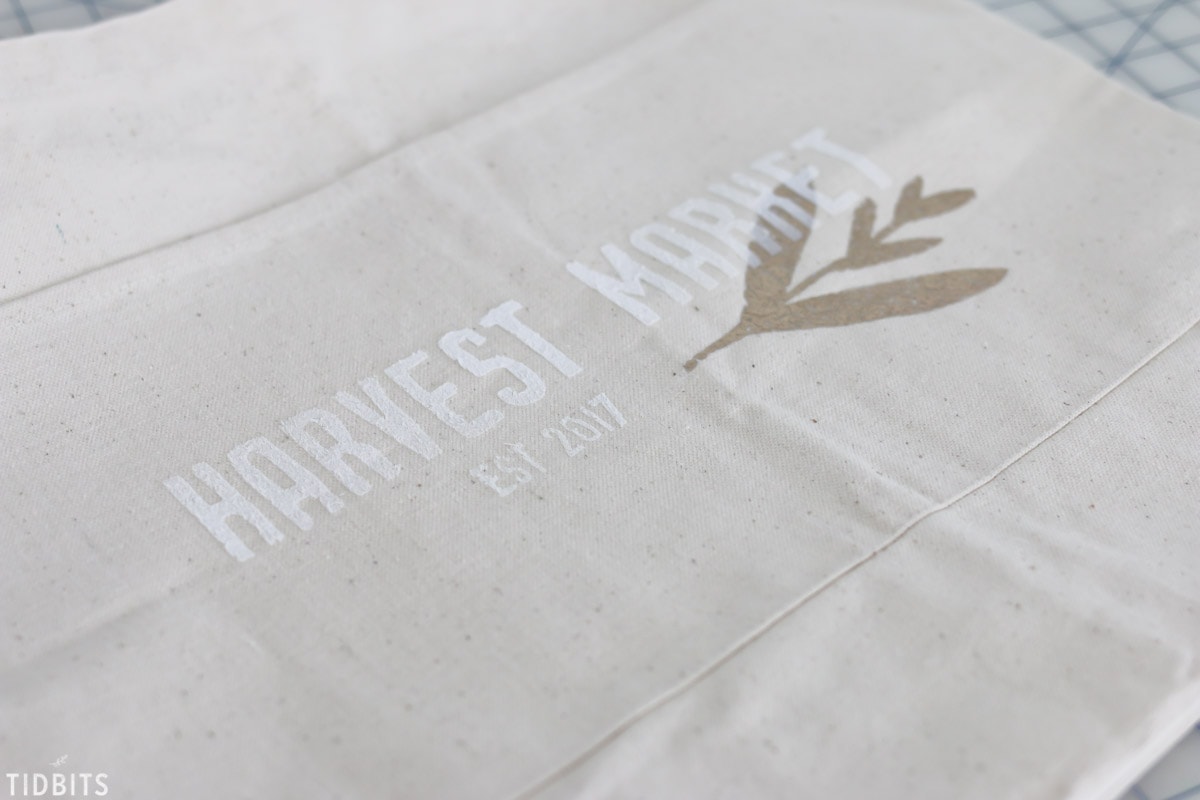
Then use your metallic foil fabric to make some lovely pillow covers for the season!
Isn’t that so easy and fun!
What do you think you would like to create using DECO FOIL transfer sheets?
I’ve used their icraft HeatnBond and Fabric Fuse on several occasion, like seen HERE.
Let me know if you have any questions or if you give DECO FOIL a try!
If I’ve peaked your interest in Therm-O-Web DIY and craft products, there are lots of ways to get more project ideas! Visit their BLOG follow them on Instagram, or on their YouTube channel.
To enter for your chance to win a $40 gift card, plus free shipping to therm-o-web, just leave me a comment below! Tell me what you would like to try to make with DECO FOIL products!
GOOD LUCK! I’ll announce and contact the winner on October 5th!
*For US entrants only.
*This post contains my affiliate links. Thank you!


Just in time for fall decorating, my favorite time of year. I am working on changing the colors in my living room from red, green and yellow, to blue and rust. I think the foil pillows would be the perfect addition. I hope mine turn out as gorgeous as yours. Thank you for sharing!
This is one of the best articles I have come across. Keep up the good work.
Hi, wondering if the pumpkin foil pillow is machine washable??? Or what do you do once it needs cleaning? Thanks!
Absolutely washable! I’d just be careful if you intend to iron it after. Be sure you cover the foil with parchment again. Hope that helps!
Love your pumpkin pillow!
Really love the sweet pumpkin! I would like to make some fall leaves on pillows. This would be fun to use for a christmas wall hanging. A little bling is a good thing!
Cool product! I love what you created with it!
I saw this and am thinking it would be great for some t-shirts for my girls. Followed by some new pillows, for my house and my trailer!
Hi
Foils would be great on Christmas pillow!!! Have some velveteen pillows that need some sparkle and shine!
I love how those turned out! It looks so simple too. I bet you could make some beautiful aprons with it!
Love the simple stencil look. Would also make perfect tree pillows for Christmas. I’d want the same simple look!
I love the pillows! Have made a couple lately, since getting my sewing machine, and would love to try these. So pretty!
Hello,I love how your pillow looks,it really catches your eye.I love crafting and sewing,I have never tried this type of decorating but i am very inspired from what you have showed in your tutorial,it was very well done it also looks fairly easy.Are there lots of different colors? Thanks for sharing. Sheila
This would be awesome for Christmas. I can’t wait to try. Thanks for the great idea.
I love your pillows! I’ve never worked with the foil deco; you have inspired me. I think I’ll have to straighten out my workroom (haven’t touched it since we moved in) and make some pillows.
I don’t usually go for anything shiny but this has a nice autumn glow. I’m in!
I’d like to try table runners with pumpkin designs.
I just love, love this idea! Something quick and easy to do for such a big reward. I have been looking
for a project to do with my hands and this is the one that I want to do. My daughters love hearts, so i am thinking about making a heart design on different fabrics to match with rooms to place on their beds. Thanks for the great ideas!
I’m so jealous of you ? !! I love everything you show us. I’m you’re biggest fan !!
That pumpkin pillow is darling! My kids always want the pillows to be on the floor, too. I don’t get it either. 🙂
I have always wanted to try the thermo web foiling!! What a beautiful project!! I want to make them right now!! I can see these projects on all kinds of things!! I am excited!
These are really pretty.
What a brilliant . I’d love to make these. Thanks for sharing.
I love the pillow! Have new sofas begging for pillows and fall is my favorite season to decorate. I’ve been searching and searching for ideas and the pumpkin pillow is perfect!
Thanks for the tutorial! This would be great to use during the Christmas season for all types of projects!
Oh yes! The Christmas possibilities are endless! I hope you get to try it out!
Well, this is awesome! I absolutely want to make similar pillows to yours with Deco-Foil. Thanks for the tutorial!
I adore this pillow! Will definitely try this – looks like so much fun! I also love the way you used the ticking fabric with it! Thanks so much for sharing!
Thanks for your comment on my blog Donna! I hope you get to try the pillow design. It was such a fun project!
I’m wondering how it would work on wood? I already bought some to give it a try. Thought it would add a nice glam touch to a design I’m planning to do on a wooden clock face that we’re making as a Christmas gift. So many options…..
Thanks for your comment on my blog! The back of the deco foil says it can be used on wood as well. Oh the possibilities! I love your idea for the clock! So fun!
Love these ideas – this is something new to me and I would love to try it out. I would love to make some holiday pillows – would be so pretty for Christmas.
Thanks for your comment on my blog! I too have been thinking how pretty Christmas pillows would look with this same technique. Let me know if you give it a try!
I love the pillows, have been looking for ideas for my couch throw pillows, now I know what I’ll do. Where do you purchase this?
Thanks for your comment about my pillows. I’m glad it gave you some ideas. I’ve linked in my post where you can find the product. I hope that helps.
What a charming project. I can’t hardly wait to do this. Just the idea would be used for all sort of holiday decorating. Thank you so much.
I’ve been dreaming up the Christmas pillows I could make with this deco foil too! So many possibilities! Thanks for stopping by and leaving such a kind comment!
Pretty cool, I think I would like to try this on a wall hanging. Can’t wait to see what colors are available. Thanks for another great idea and project.
A wall hanging is a great idea! Let me know if you do it and how it turns out. Thanks for stopping by!
Very pretty – I did not think I would be a ‘fan’ of metallic transfers, but these are rich and perfect for fall – just the ‘right’ amount of sparkle! Thanks for the crinkle tip – it looks awesome!
Honestly, I didn’t think I would either. Too modern, right? But it absolutely works with the crinkle and simple graphics! So much fun to play around with. I hope you’ll give it a try.