This post may contain affiliate links, which means I get a small percentage of the sale at no extra cost to you. I only recommend items I love and have had a positive experience with. Thank you!
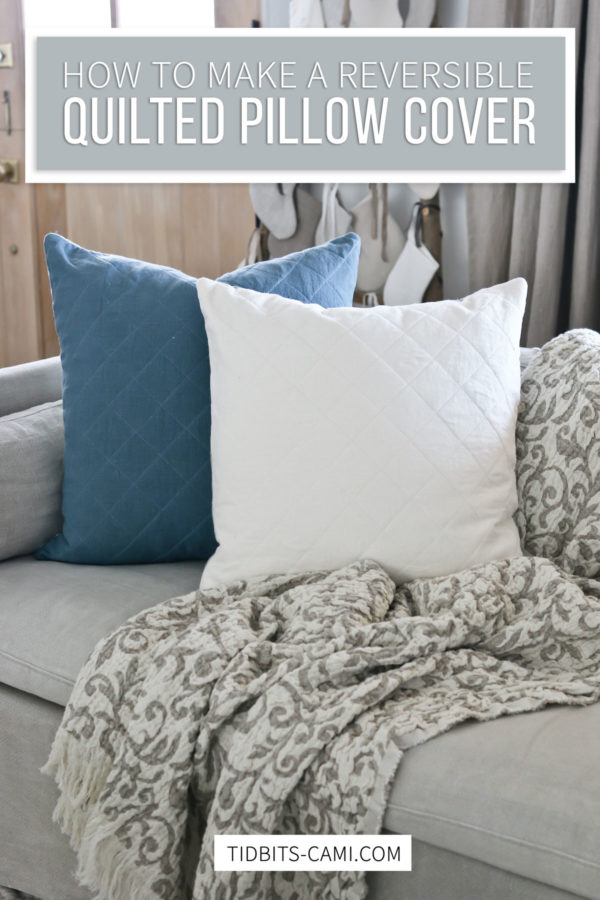
A simple quilted pillow cover can be a great way to add a customized and cozy look to your couch and home. Let me walk you through the steps from start to finish!
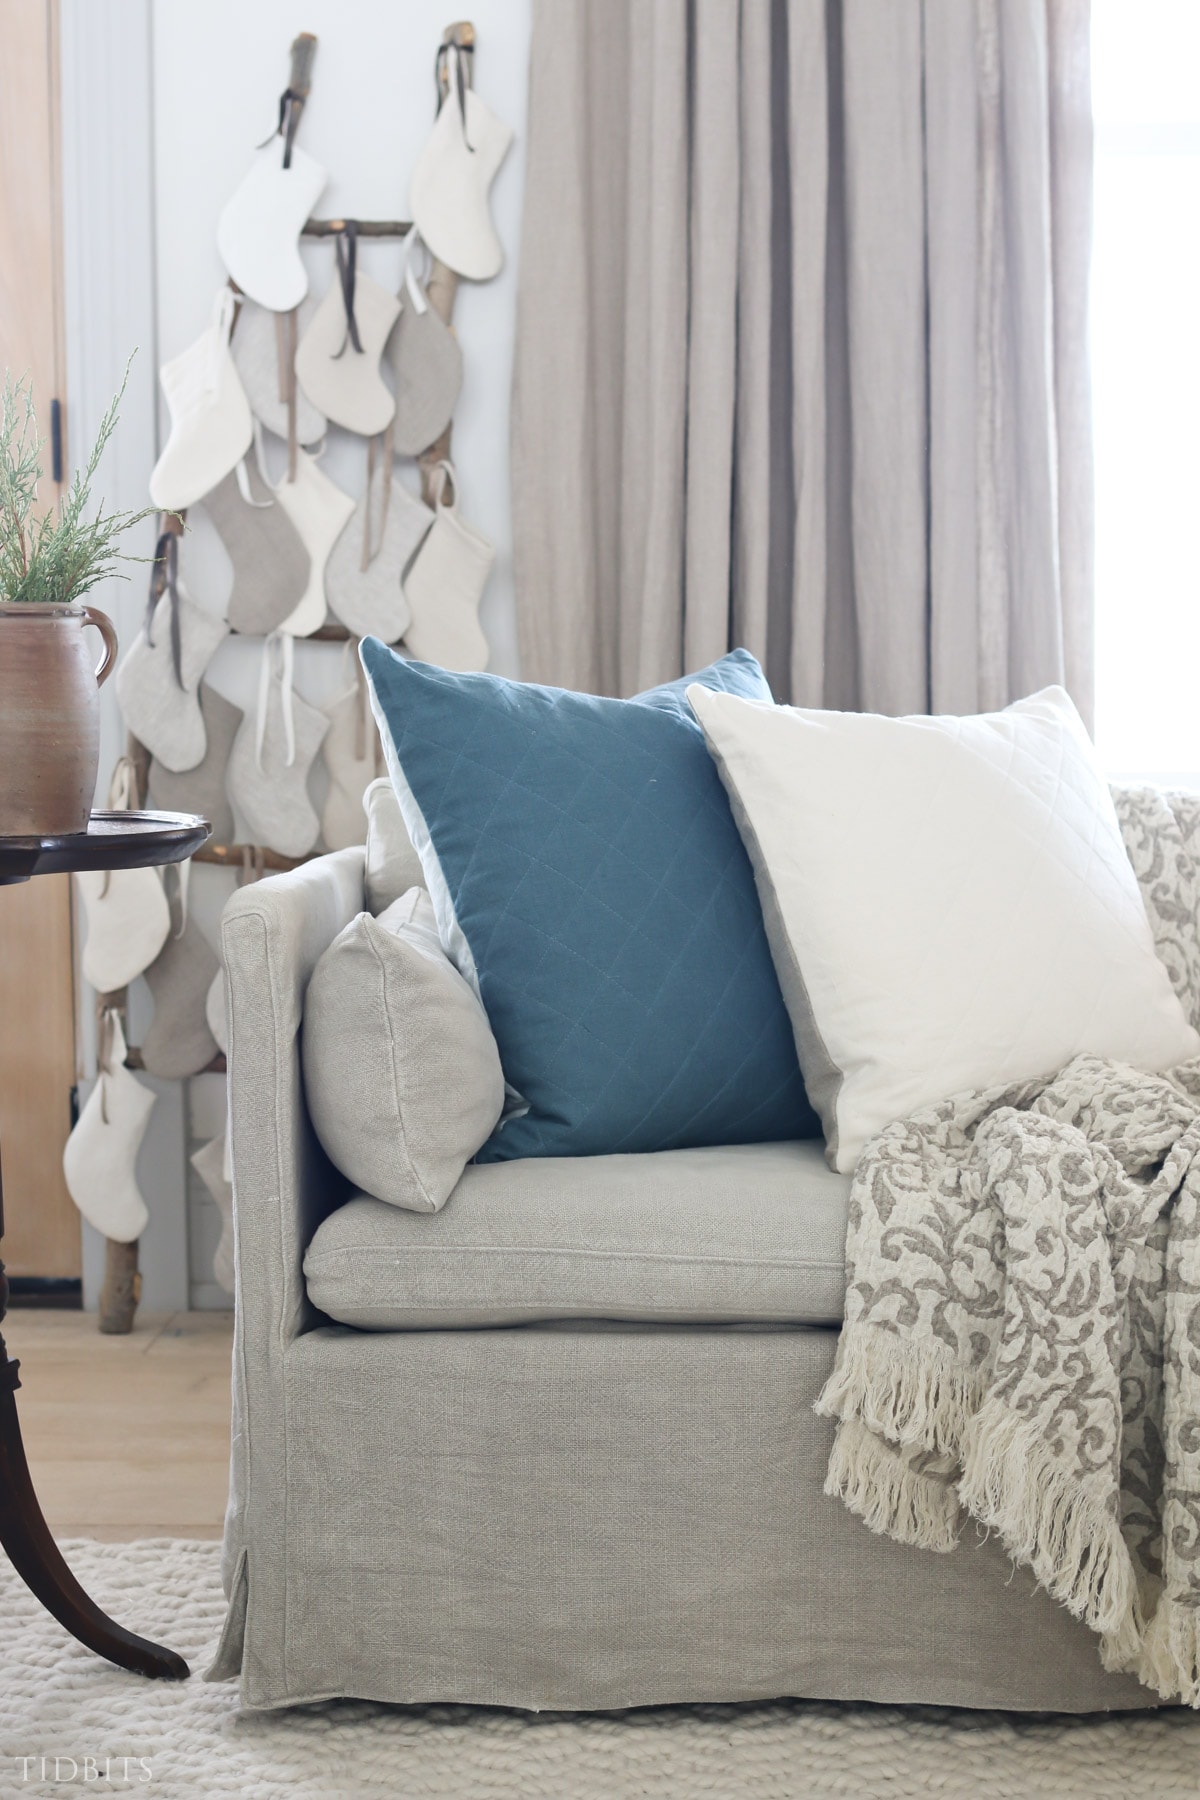
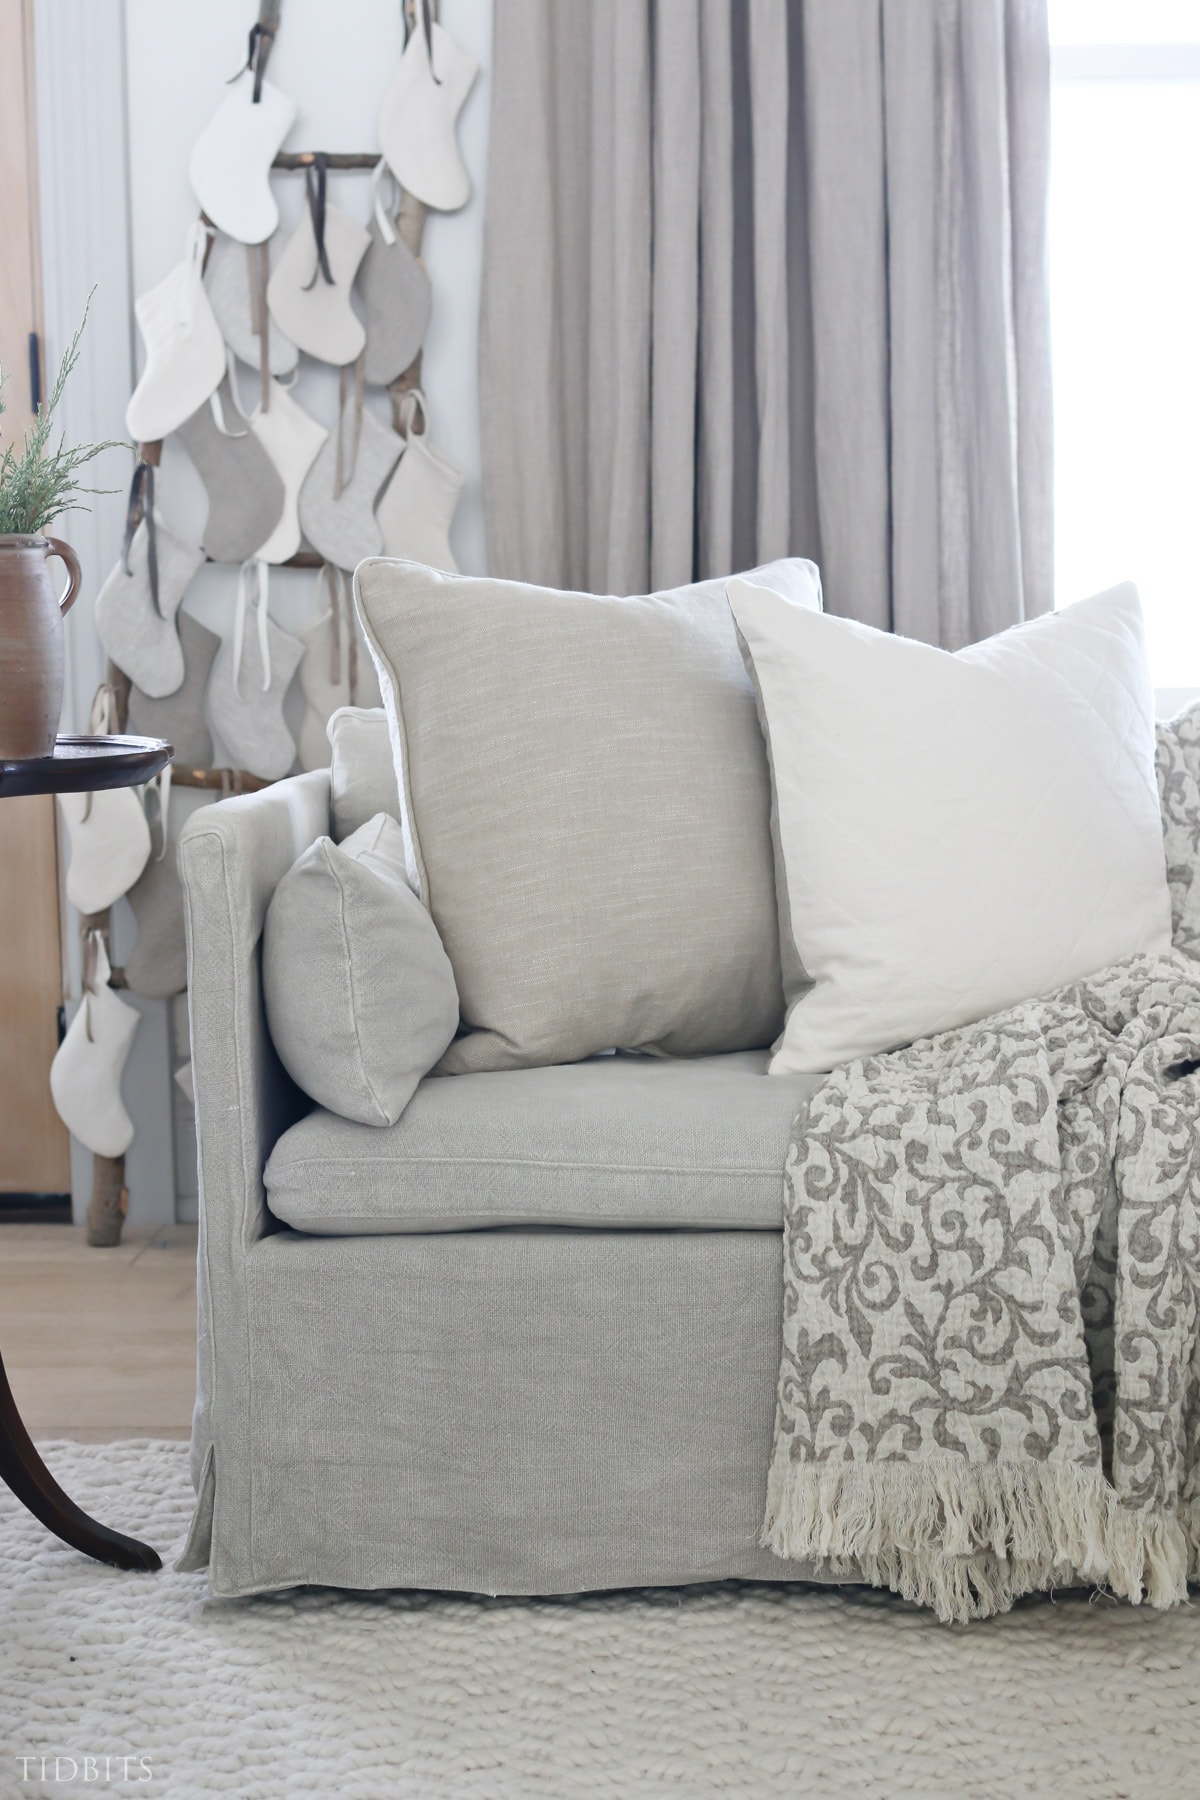
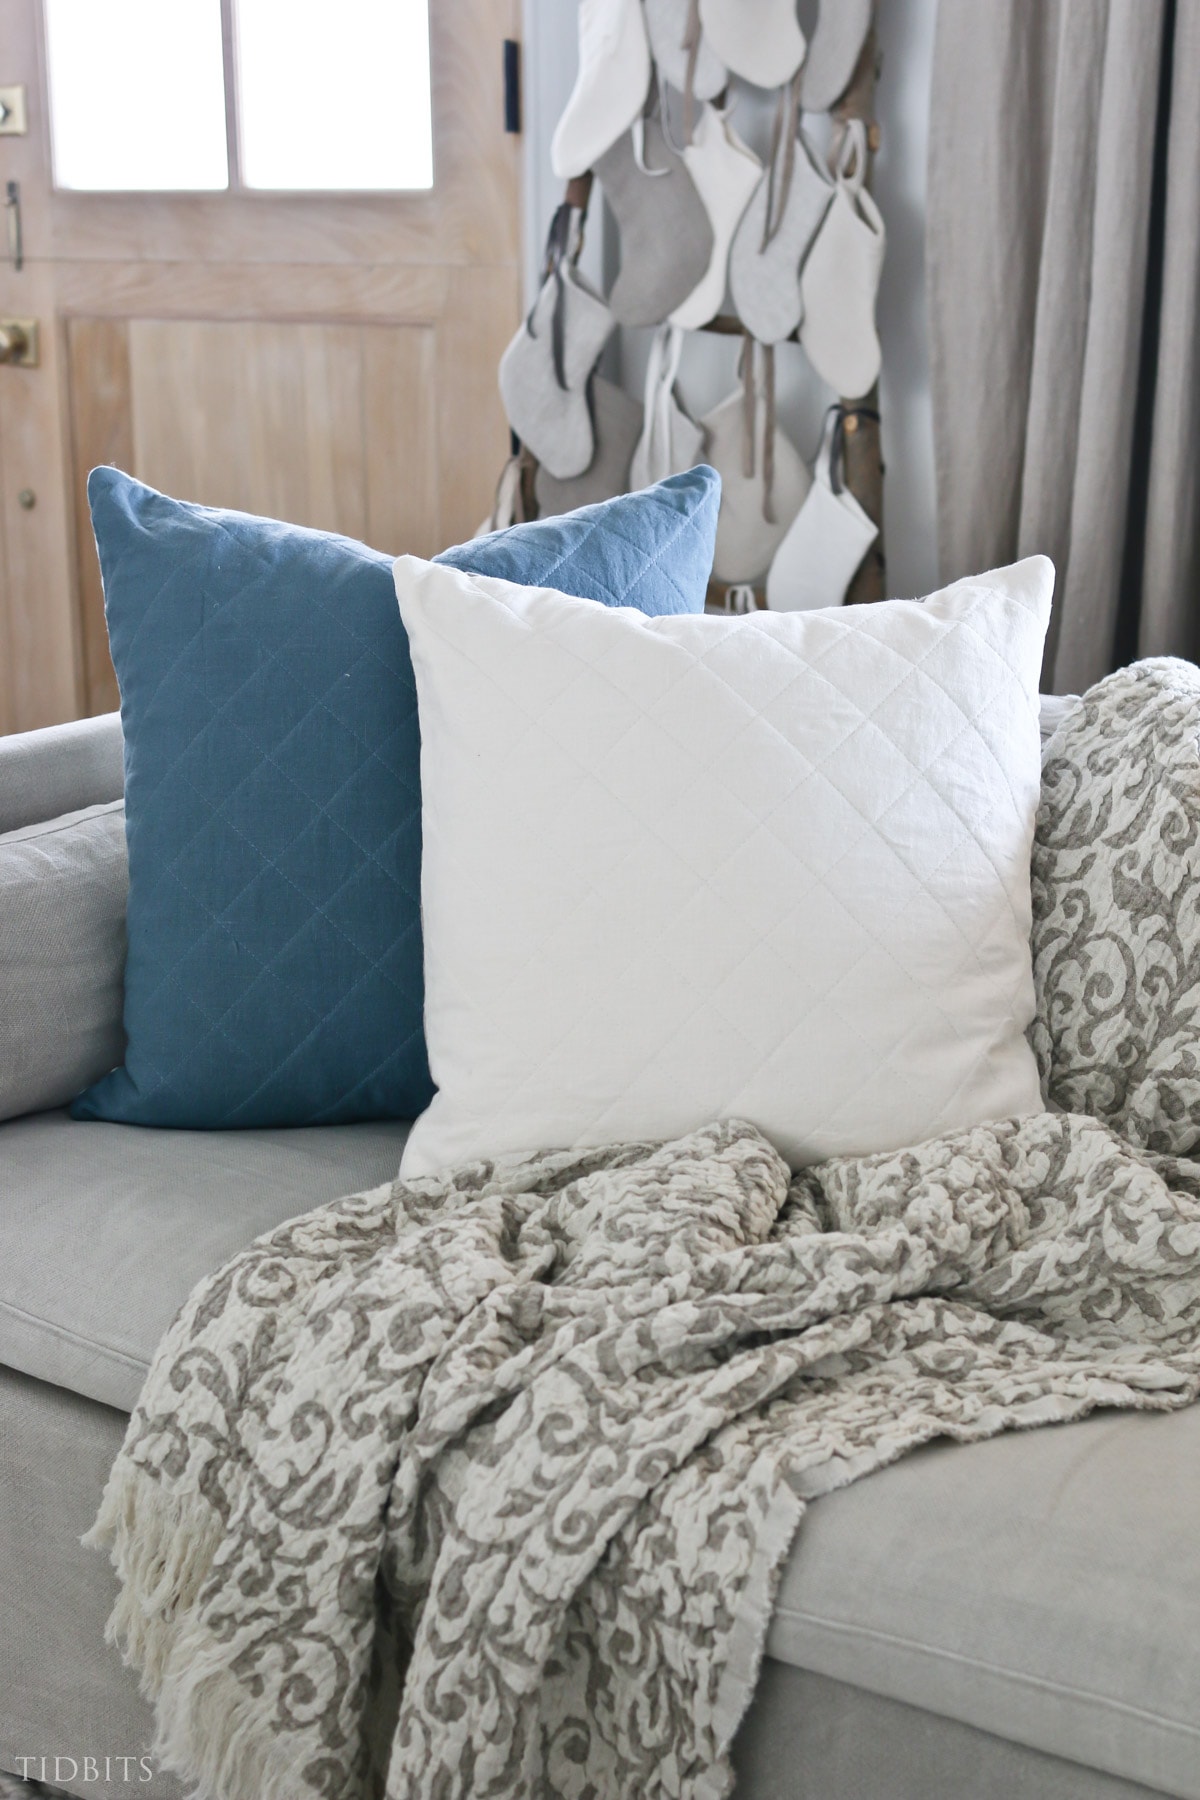
I wanted a specific neutral color scheme with pops of blue for my home during the holidays, that would easily transition into winter decor for the rest of the cold winter months.

Winter also pleads for a bit of “cozy home vibes” wherever possible, to make our hibernating feel as comforting as possible.
To me, nothing says “cozy” quite like something quilted. So I took the opportunity to sew up some quilted pillow covers, made with a zipper to make them reversible too.
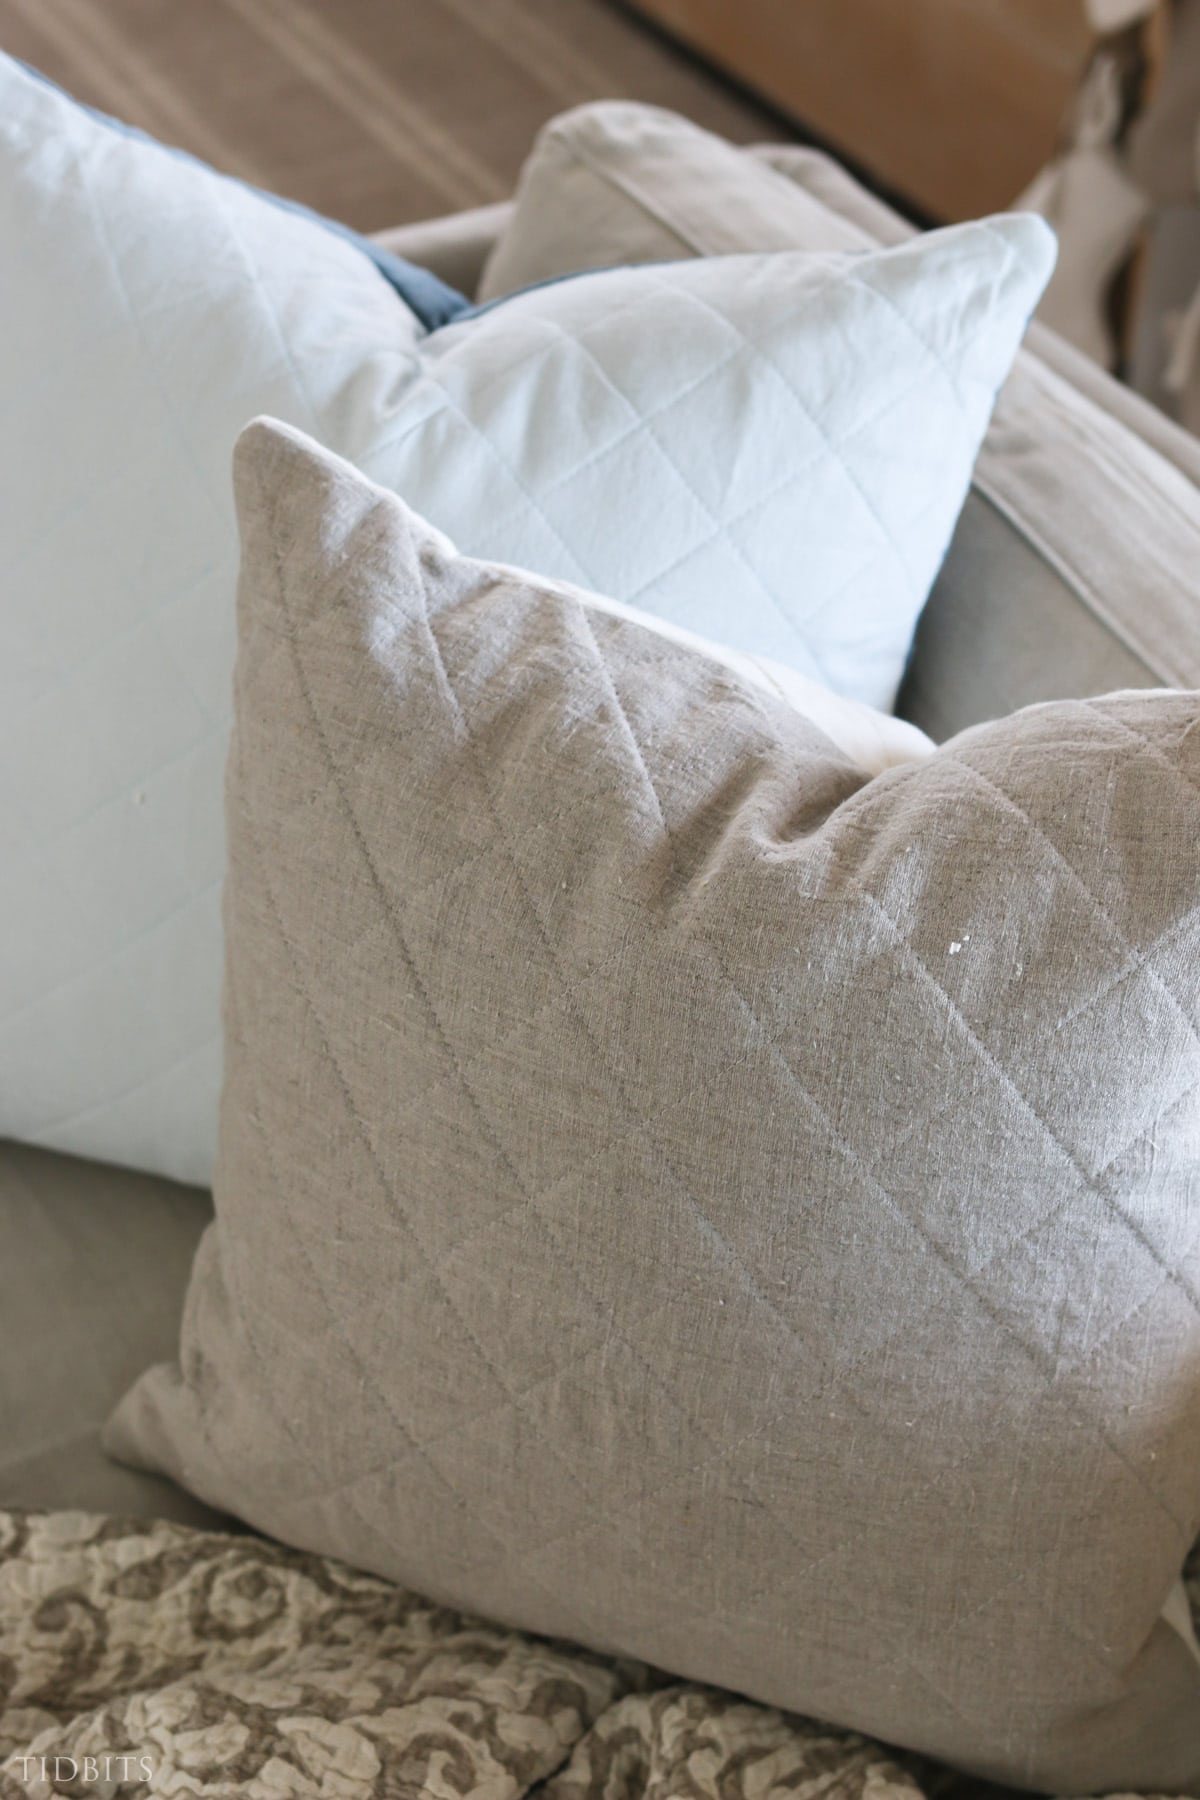
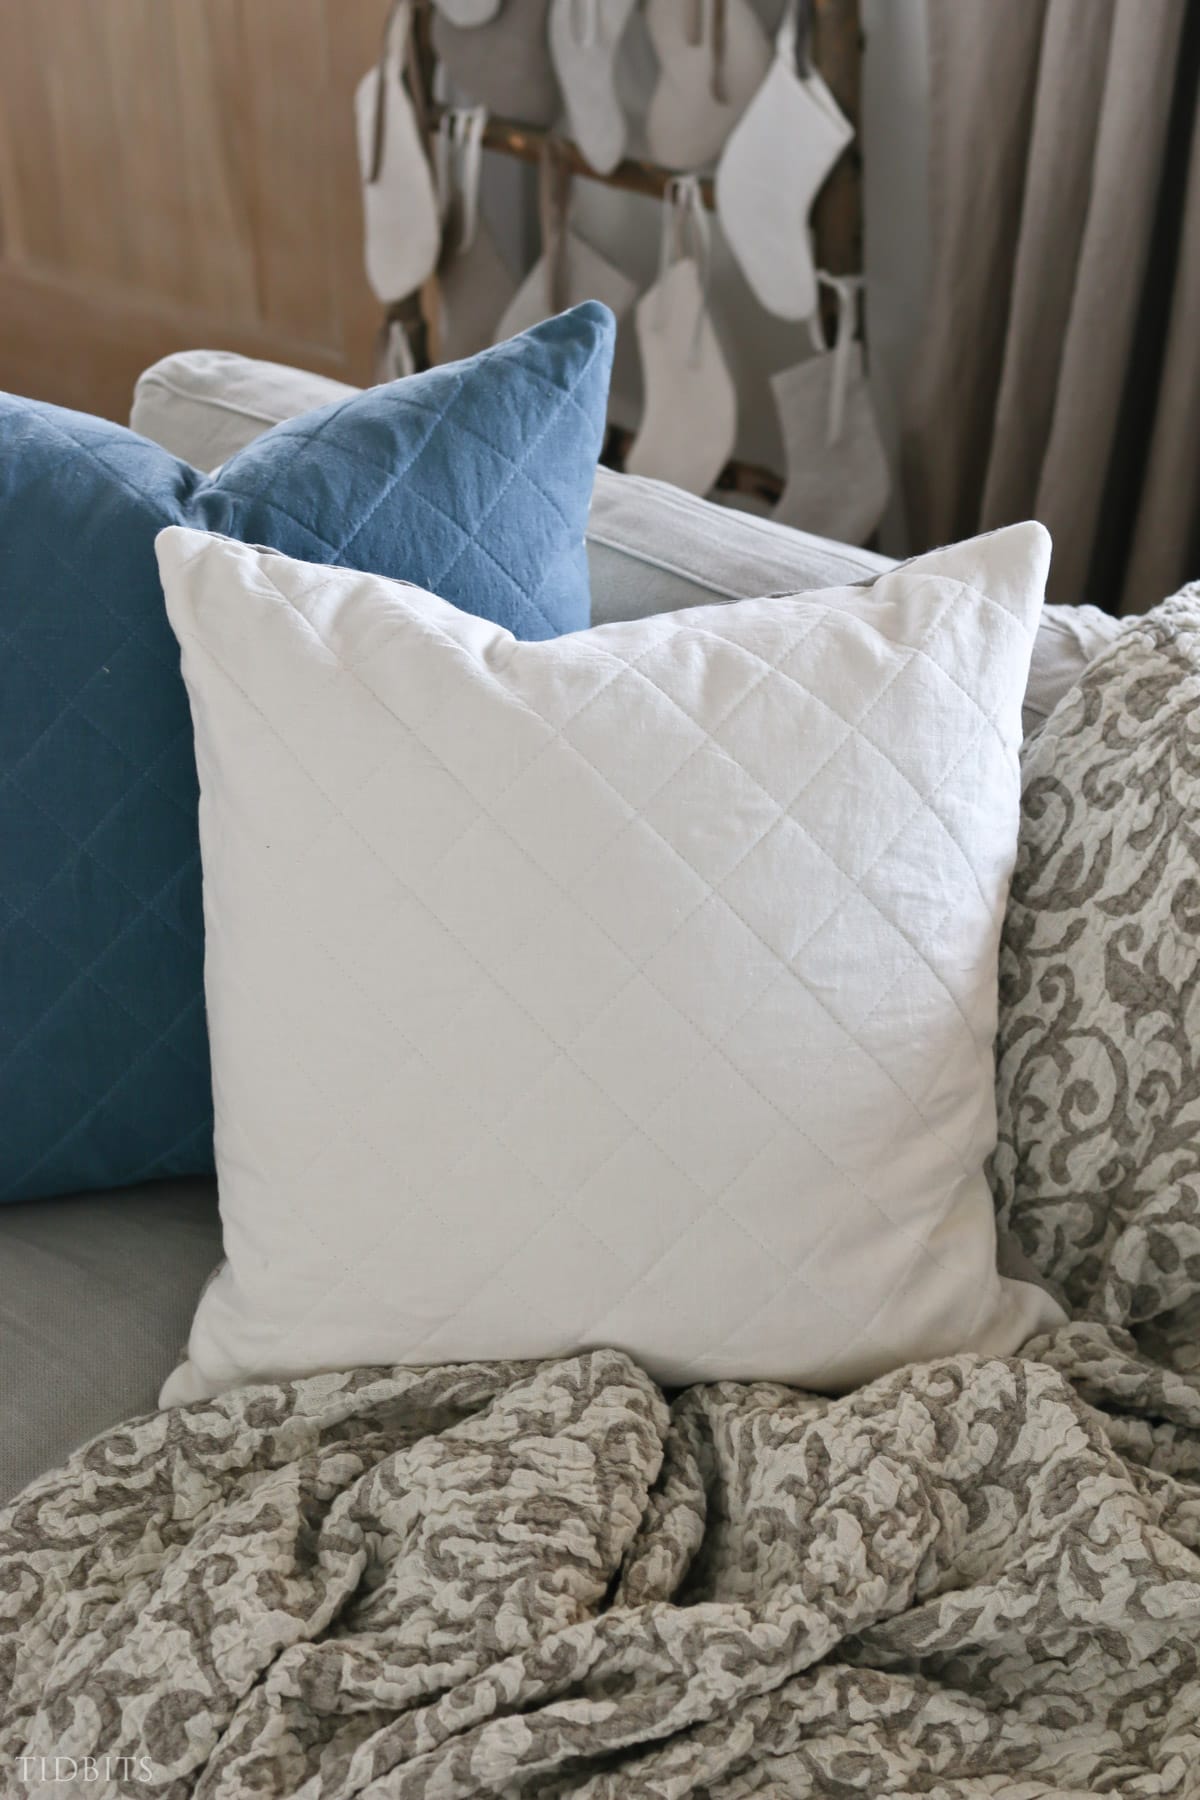
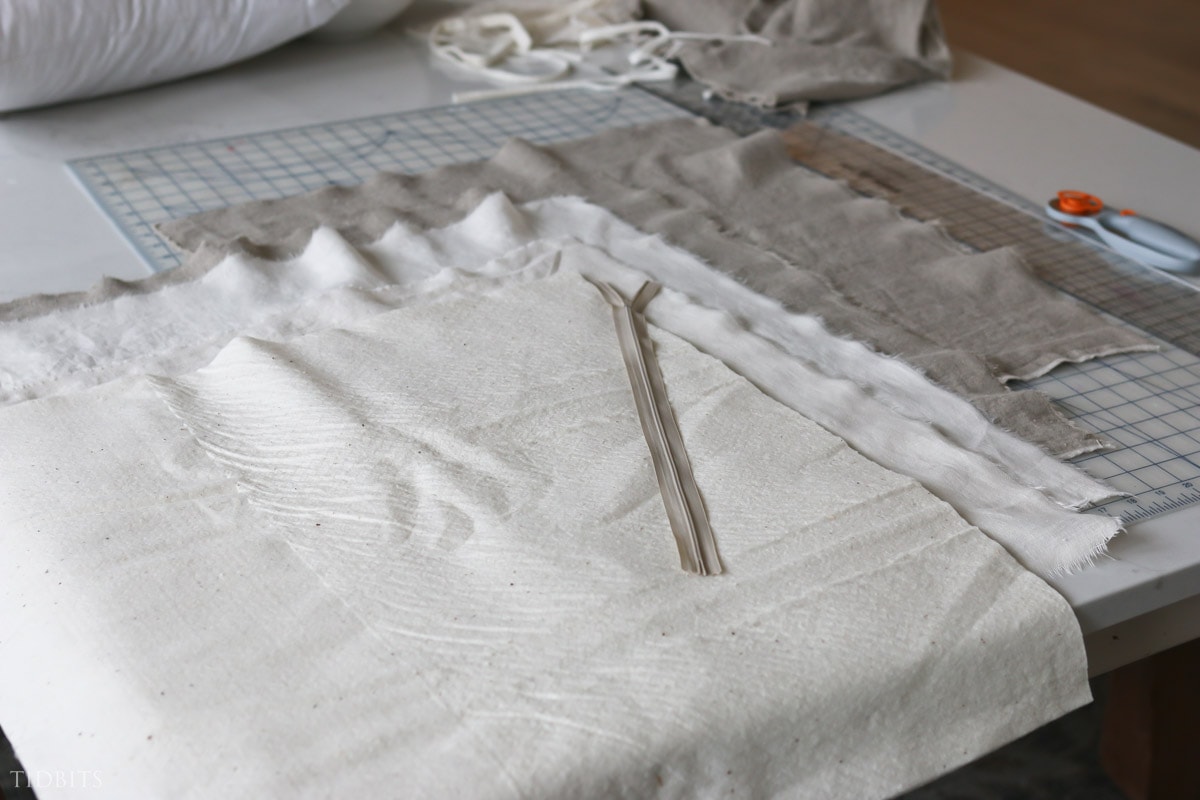
I am going to show you how to easily quilt the front and back layers of your pillow cover, and then attach them together with an invisible zipper. This makes for a fun reversible pillow cover!
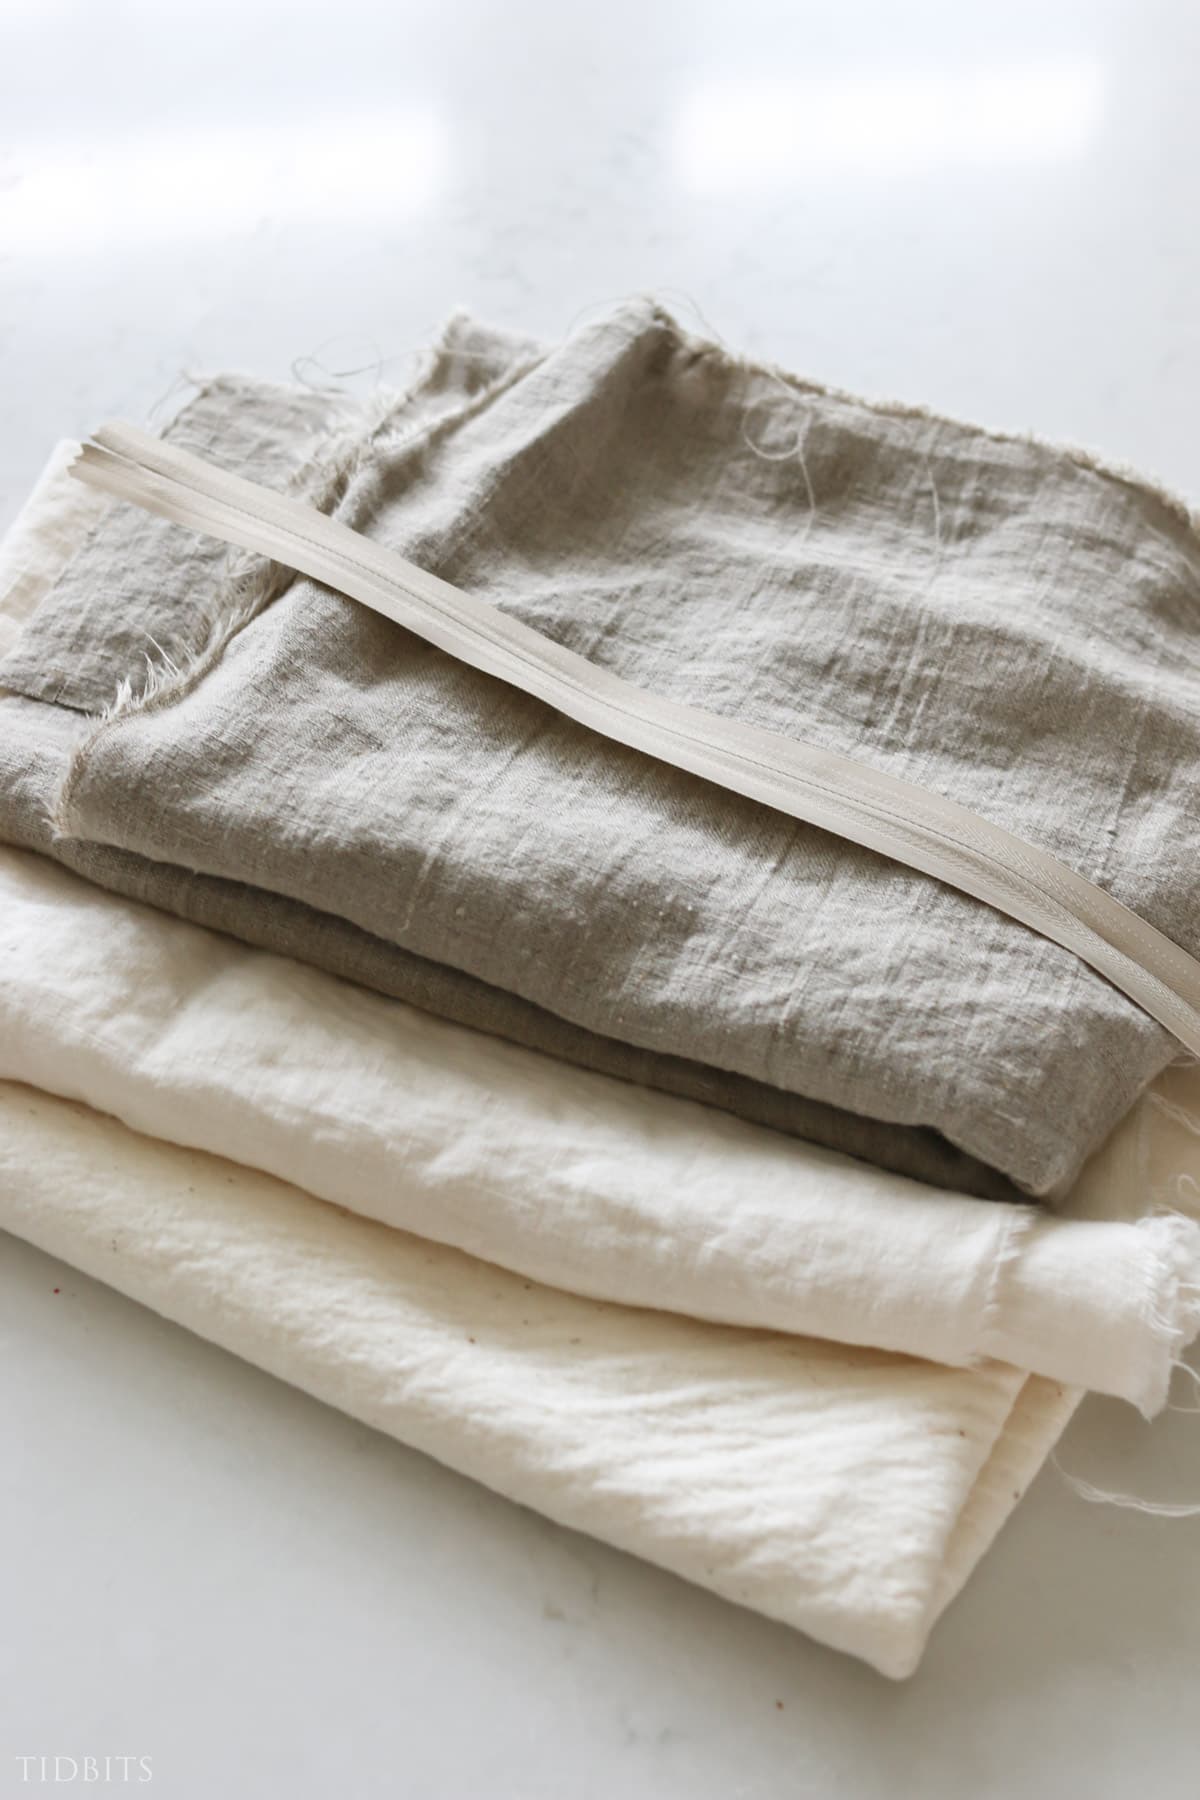
WHAT KIND OF FABRIC CAN YOU USE FOR YOUR QUILTED PILLOW?
I used simple solid 100% linen fabric in a tone-on-tone look, but you could use any type of fabric. If you have the know-how, you could even explore a simple scrap patchwork pillow on the top layer and quilt it all the same as I will teach you.
I’ve even used a luxury fleece for the right side and quilted the back side, as seen in this post. There are a lot of cozy options when you know how to quilt pillow layers. It’s basically like making a mini-quilt and is much easier to manage.
SUPPLIES NEEDED FOR A SEWING A QUILTED PILLOW COVER
- 2 layers of fabric for the front and back of each quilted side of the pillow (so 4 layers in total)
- I like to buy my linen fabric from fabric-store.com
- Invisible Zipper
- In the size of one of your pillow sides, minus at least 4 inches. I keep this big pack for pillows all year.
- Batting
- I like the Warm and Natural thin batting and get it from Hobby Lobby or Joann’s.
- Pillow Form
- Any size you would like
- Cutting mat
- Rotary cutter
- Zipper foot for your sewing machine
- Pins
- Clear ruler
HOW MUCH FABRIC DO I NEED TO SEW A QUILTED PILLOW COVER
Since we all may choose a different pillow insert size for the inside of the pillow, you will need to determine how much fabric to cut and buy according to the size.
I suggest adding on 3 inches to your fabric cuts for the front and backing pieces, from the size of your pillow form.
My pillow was a 20 x 20 pillow form, and I cut each square of fabric and batting at 23 x 23. This gave me lots of wiggle room so I could trim the edges nice and clean to get me to the right size of 20.5 inches before sewing them together.
Minus my seam allowance, I like to make the cover the exact size as the pillow form so it is nice and full.
So buy your fabric so you have 2 layers for back of the pillow, 2 layers for the front of the pillow and 2 layers of batting.
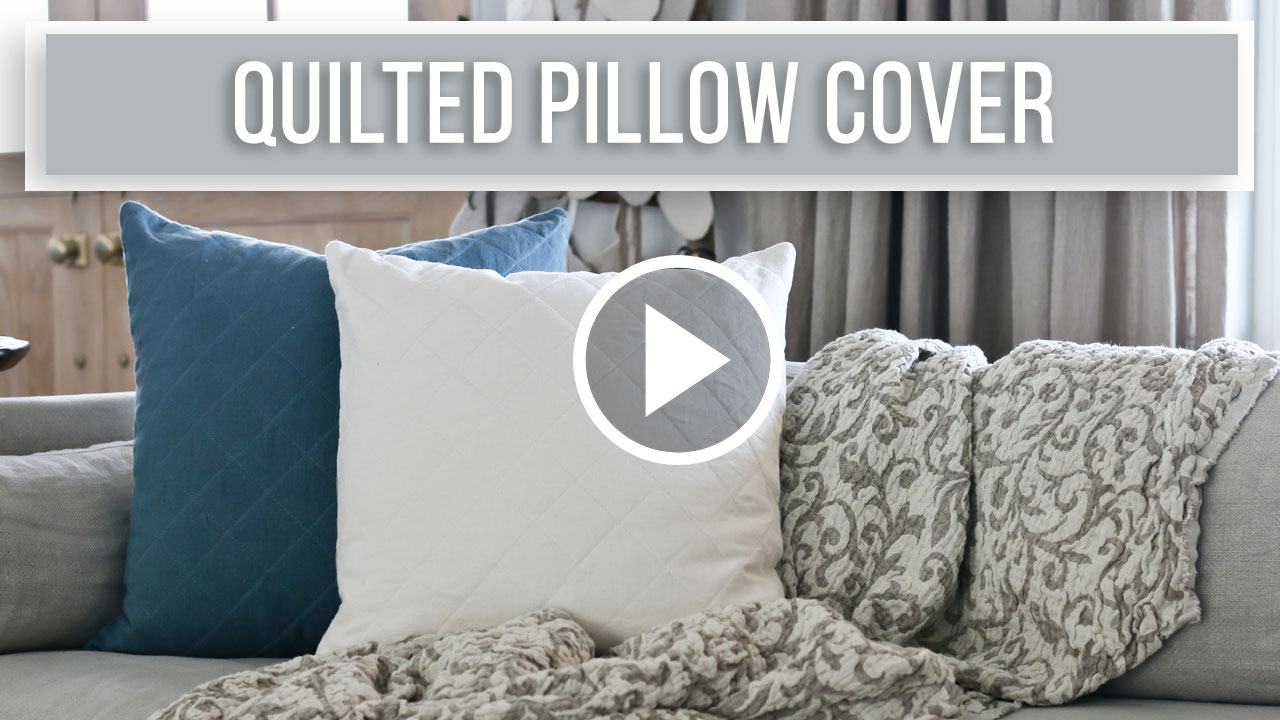
VIDEO TUTORIAL ON MAKING A QUILTED PILLOW COVER
A project like this is best understood and explained with video! Go ahead and watch this video through once and then when you are ready to sew, pause the video on each stitch and process as needed.
I hope you enjoyed learning how to make a quilted pillow cover! I would love it if you would share your projects with me on Instagram at @camitidbits and if you aren’t ready to make this now, go ahead and save the idea on Pinterest.


Free Printables!
Get instant access to the TIDBITS subscriber library full of free printables for the keeper of the home.
Discover more TIDBITS
Love this article? Make sure to connect with me on your favorite social platform below, and leave a comment so we can chat!