This post may contain affiliate links, which means I get a small percentage of the sale at no extra cost to you. I only recommend items I love and have had a positive experience with. Thank you!
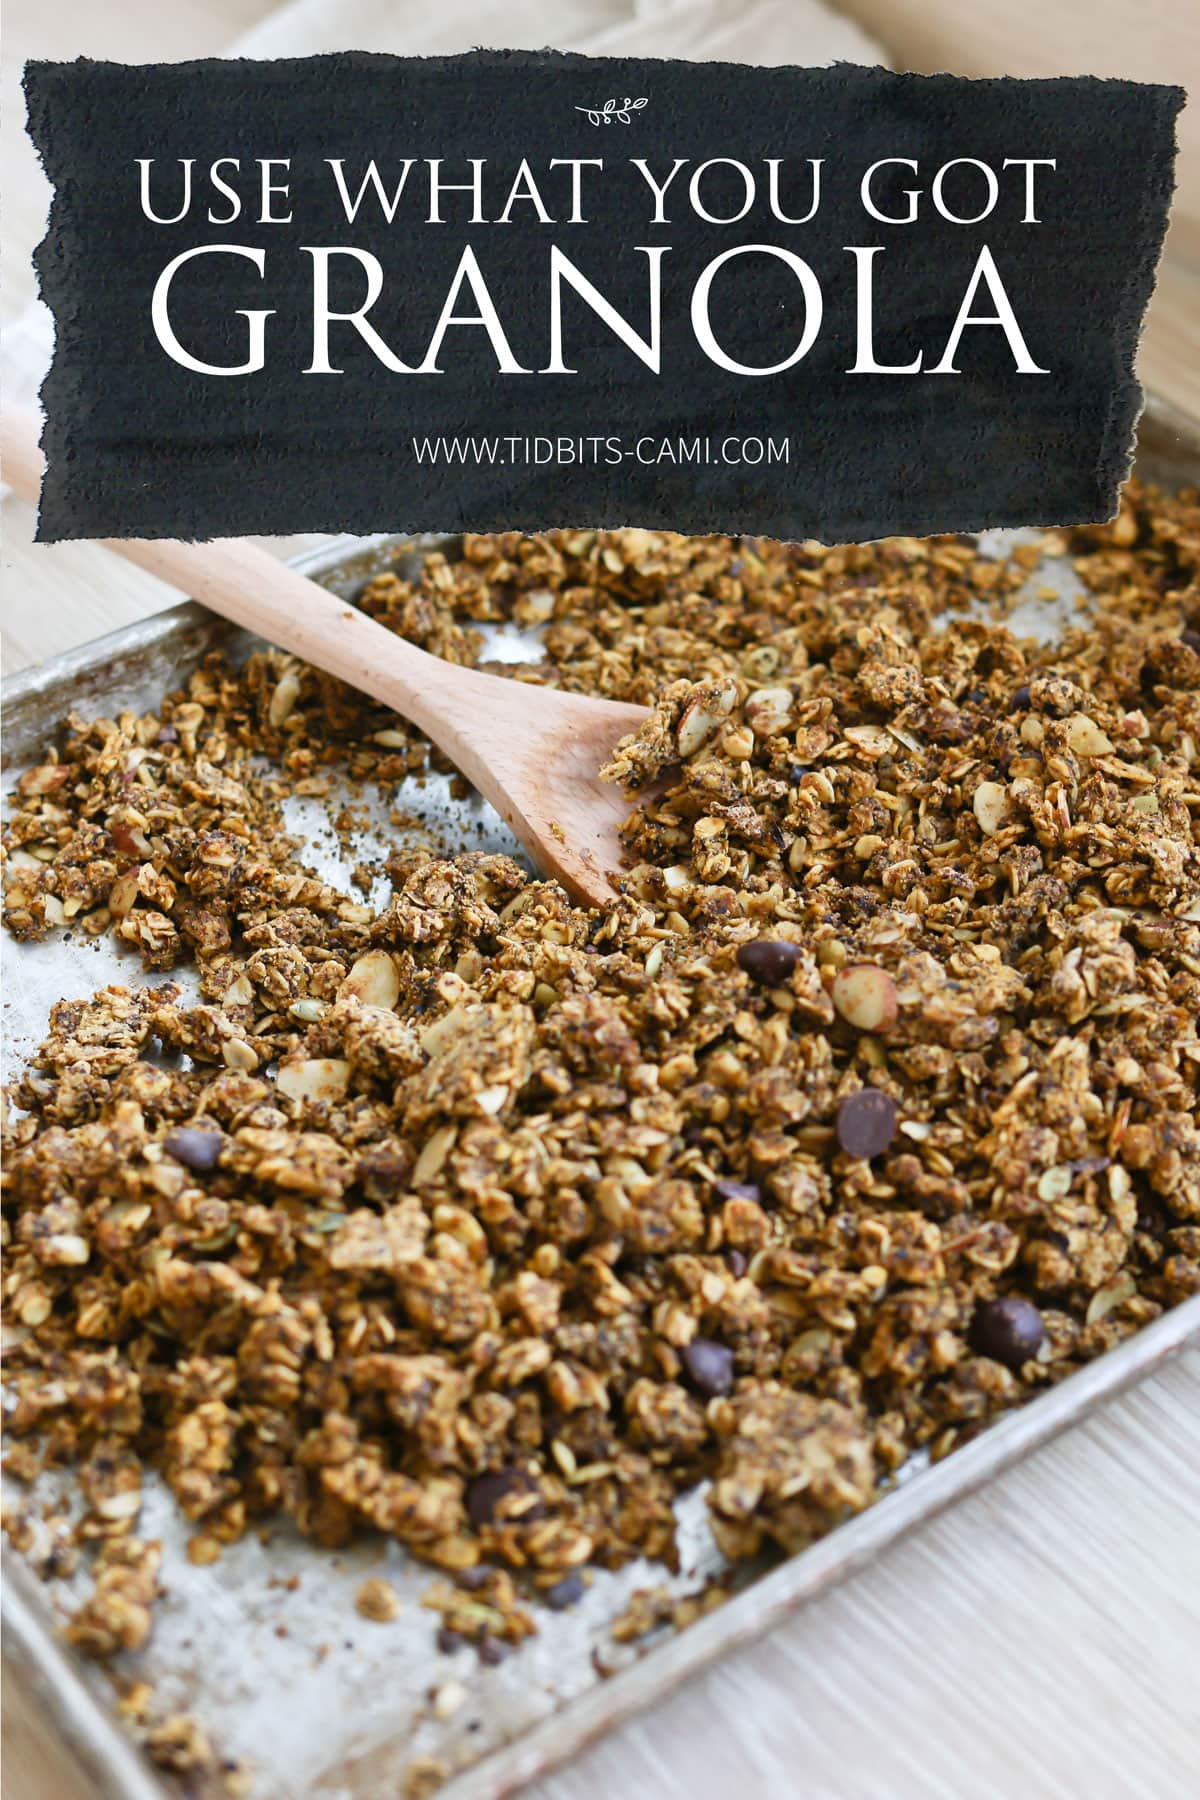
Homemade granola cereal is easy and fun, and can be customized based on what you have at home. With some simple base ingredients, I’ll show you how to make what I like to call, “use what you got granola”.
I use a simple formula to make our weekly healthy granola recipe.
base ingredients + whatever I want = use what you got Granola!
WATCH THIS POST
See me create this easy granola recipe with add-ins I’d never done before, to show how versatile this recipe can be!
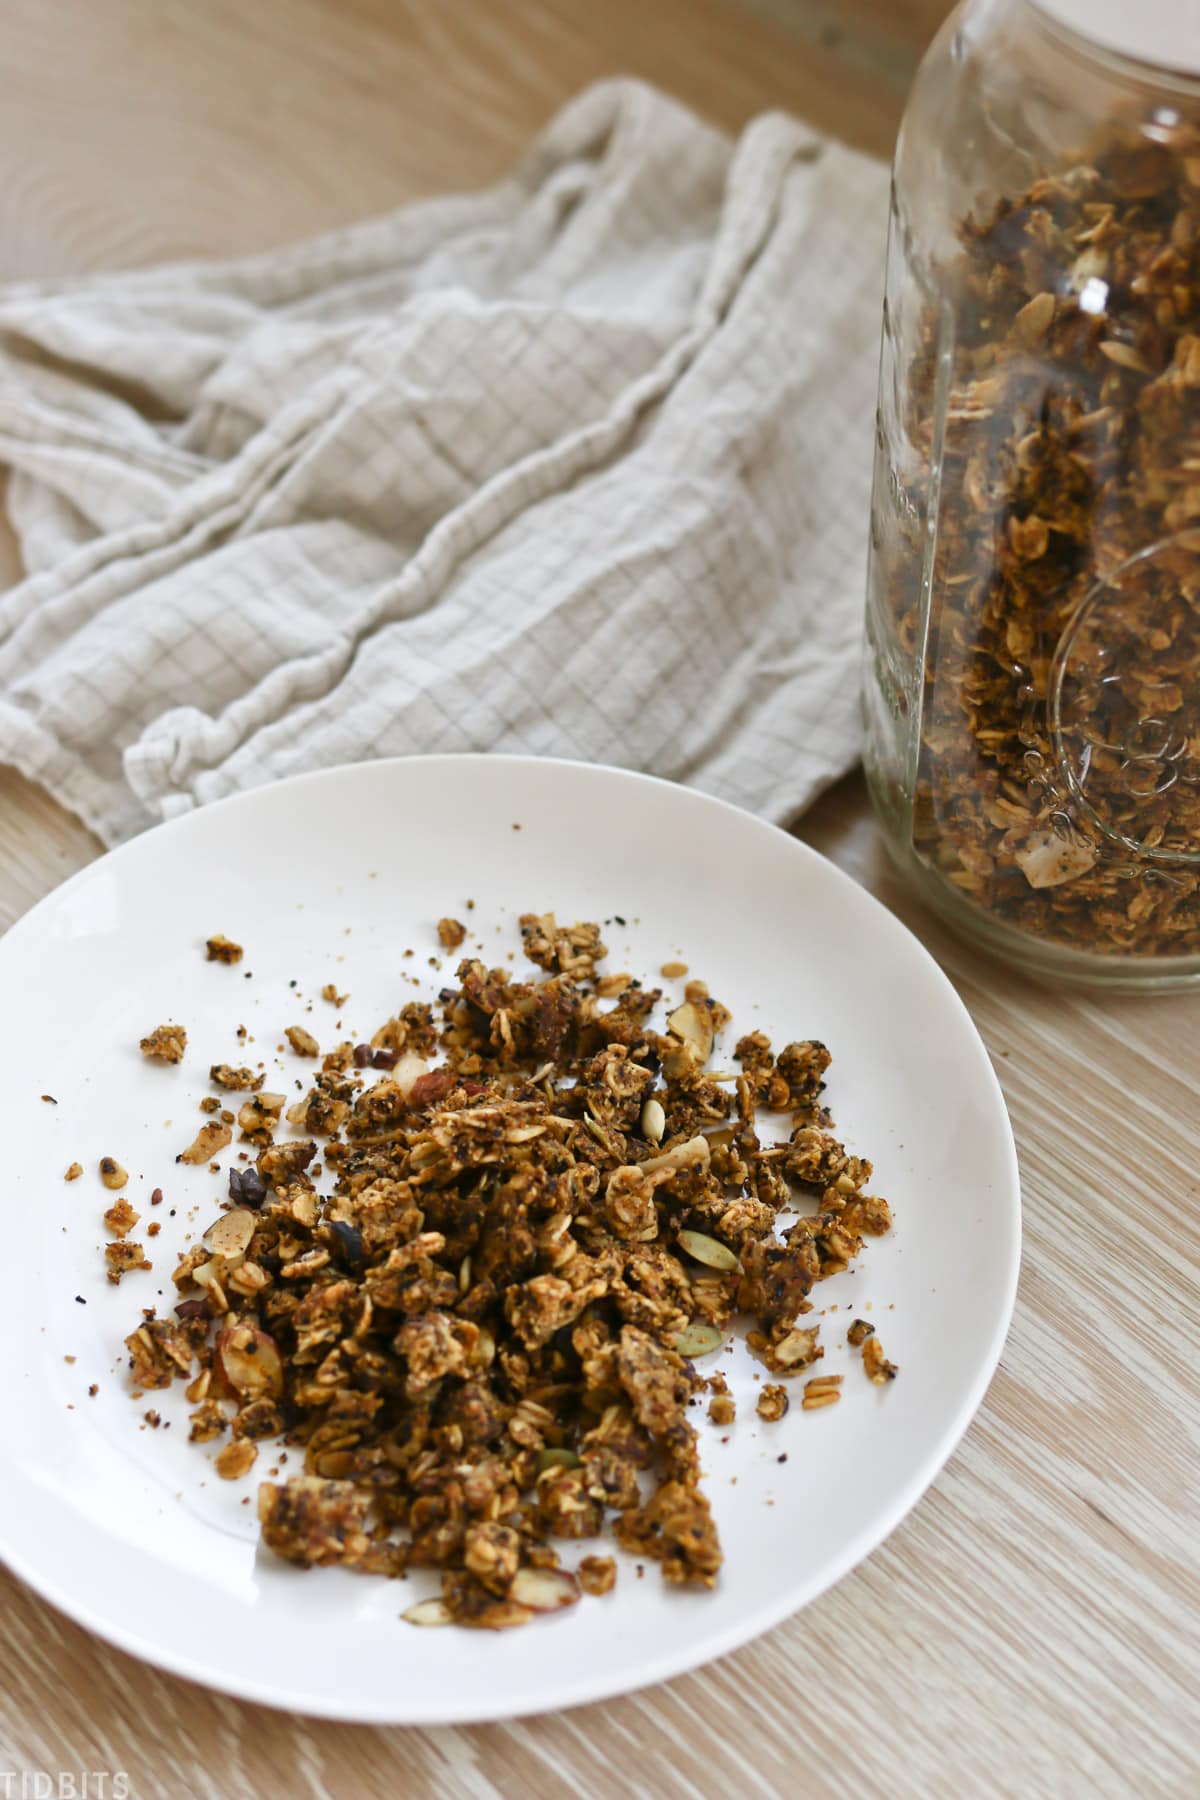
We go through a batch of homemade granola very quickly at my home. We top in on our favorite smoothie bowls, homemade Instant Pot yogurt, we eat it as cereal and grab the occasional handful for a snack. If I don’t have it on hand, the kids start to wonder what is happening.

I decided to share this recipe (well, more like process) with you, after I recently shared how I make almond milk from home.
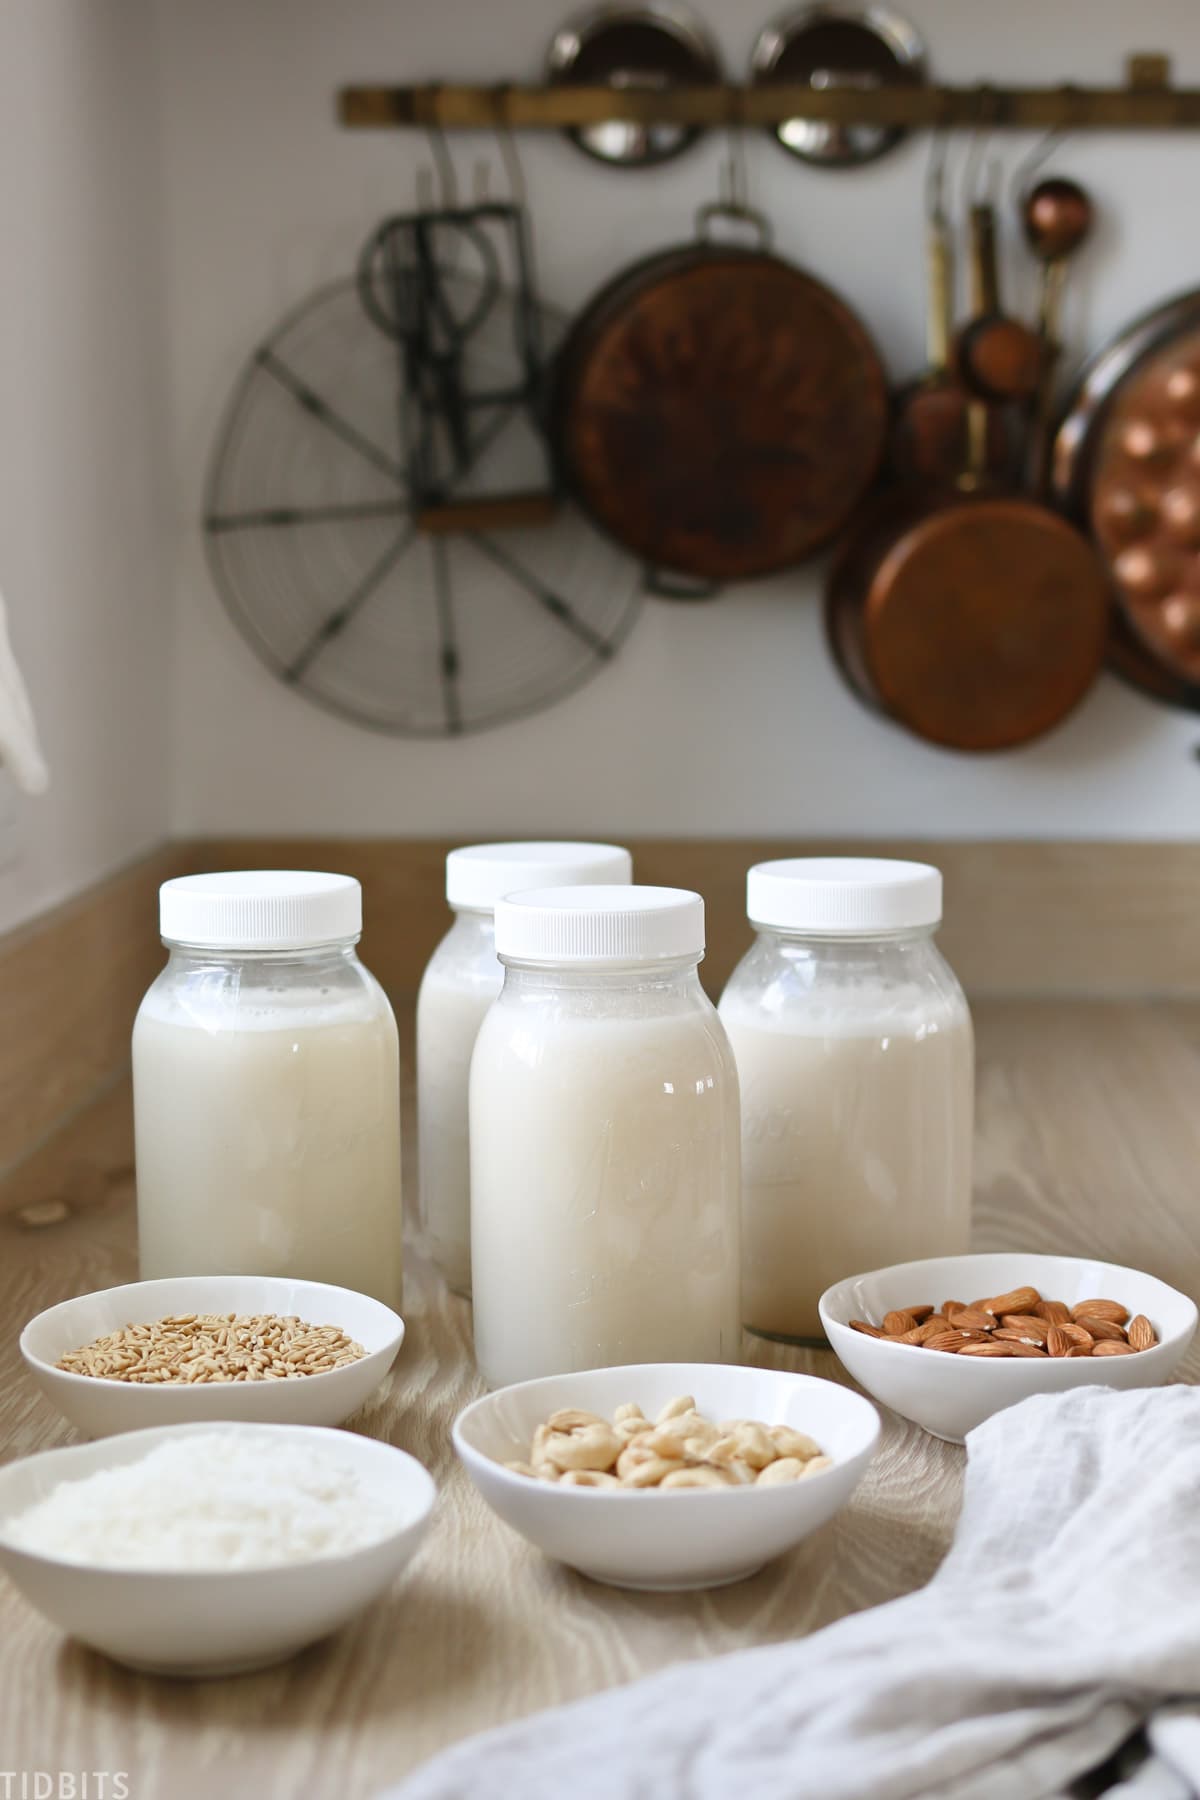
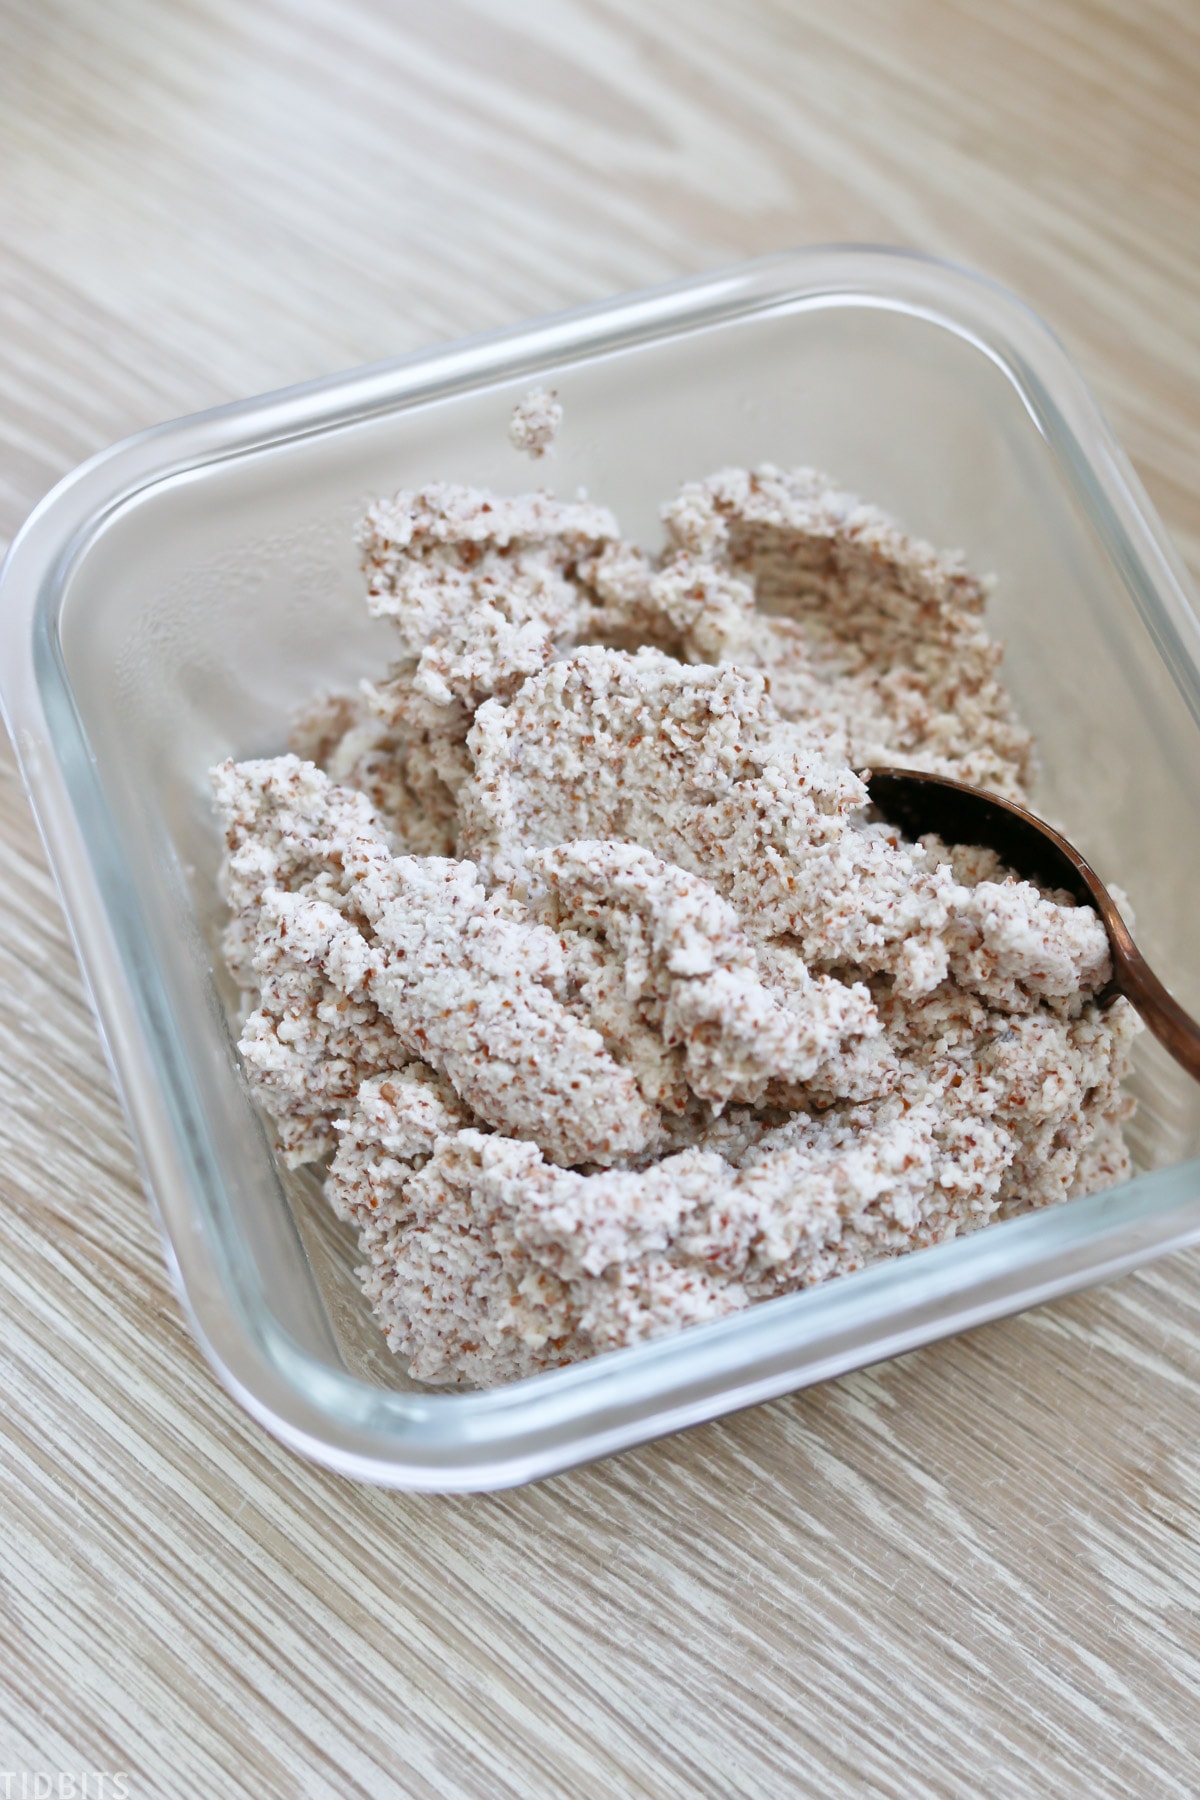
When you make your own nut milks, you get left with the delicious pulp from the ground up nuts. Throwing the almond pulp into my granola is one of my favorite ways to stretch the amount and nutrition in my granola.
It gives it a wonderful nutty flavor, and minimizes waste. I make my almond milk and pulp easily with the Almond Cow, which is an appliance I love almost more than my Instant Pot. Feel free to read my post all about making nut milks in the Almond Cow. Right now you can use my code “CAMIG25” to save $25 off your own Almond Cow!
Almond pulp isn’t one of the base ingredients for making granola, just something that I really like to throw in. I used to actually get held up making my own granola because I felt I needed to find or pull out a recipe everytime I wanted to make some. I’ve learned homemade granola cereal is so much easier and customizable than a recipe you find on Pinterest. You can easily choose what ingredients you want to include, based on what you have on hand and have it work out great.
The main reason I make my own is because I like to control the amount and type of sweeteners and oils in our granola – and the brands that meet my standards in the stores are often pretty pricey.
How to Make Healthy Granola Recipe
I hope you’ll see that healthy homemade granola is easy, incredibly customizable and can save you from having to buy granola from the store ever again.
SIMPLE BASE INGREDIENTS
There are 4 ingredients you’ll pull out every time to start your granola. You’ll make this once, and always be able to remember how to start your own granola cereal.
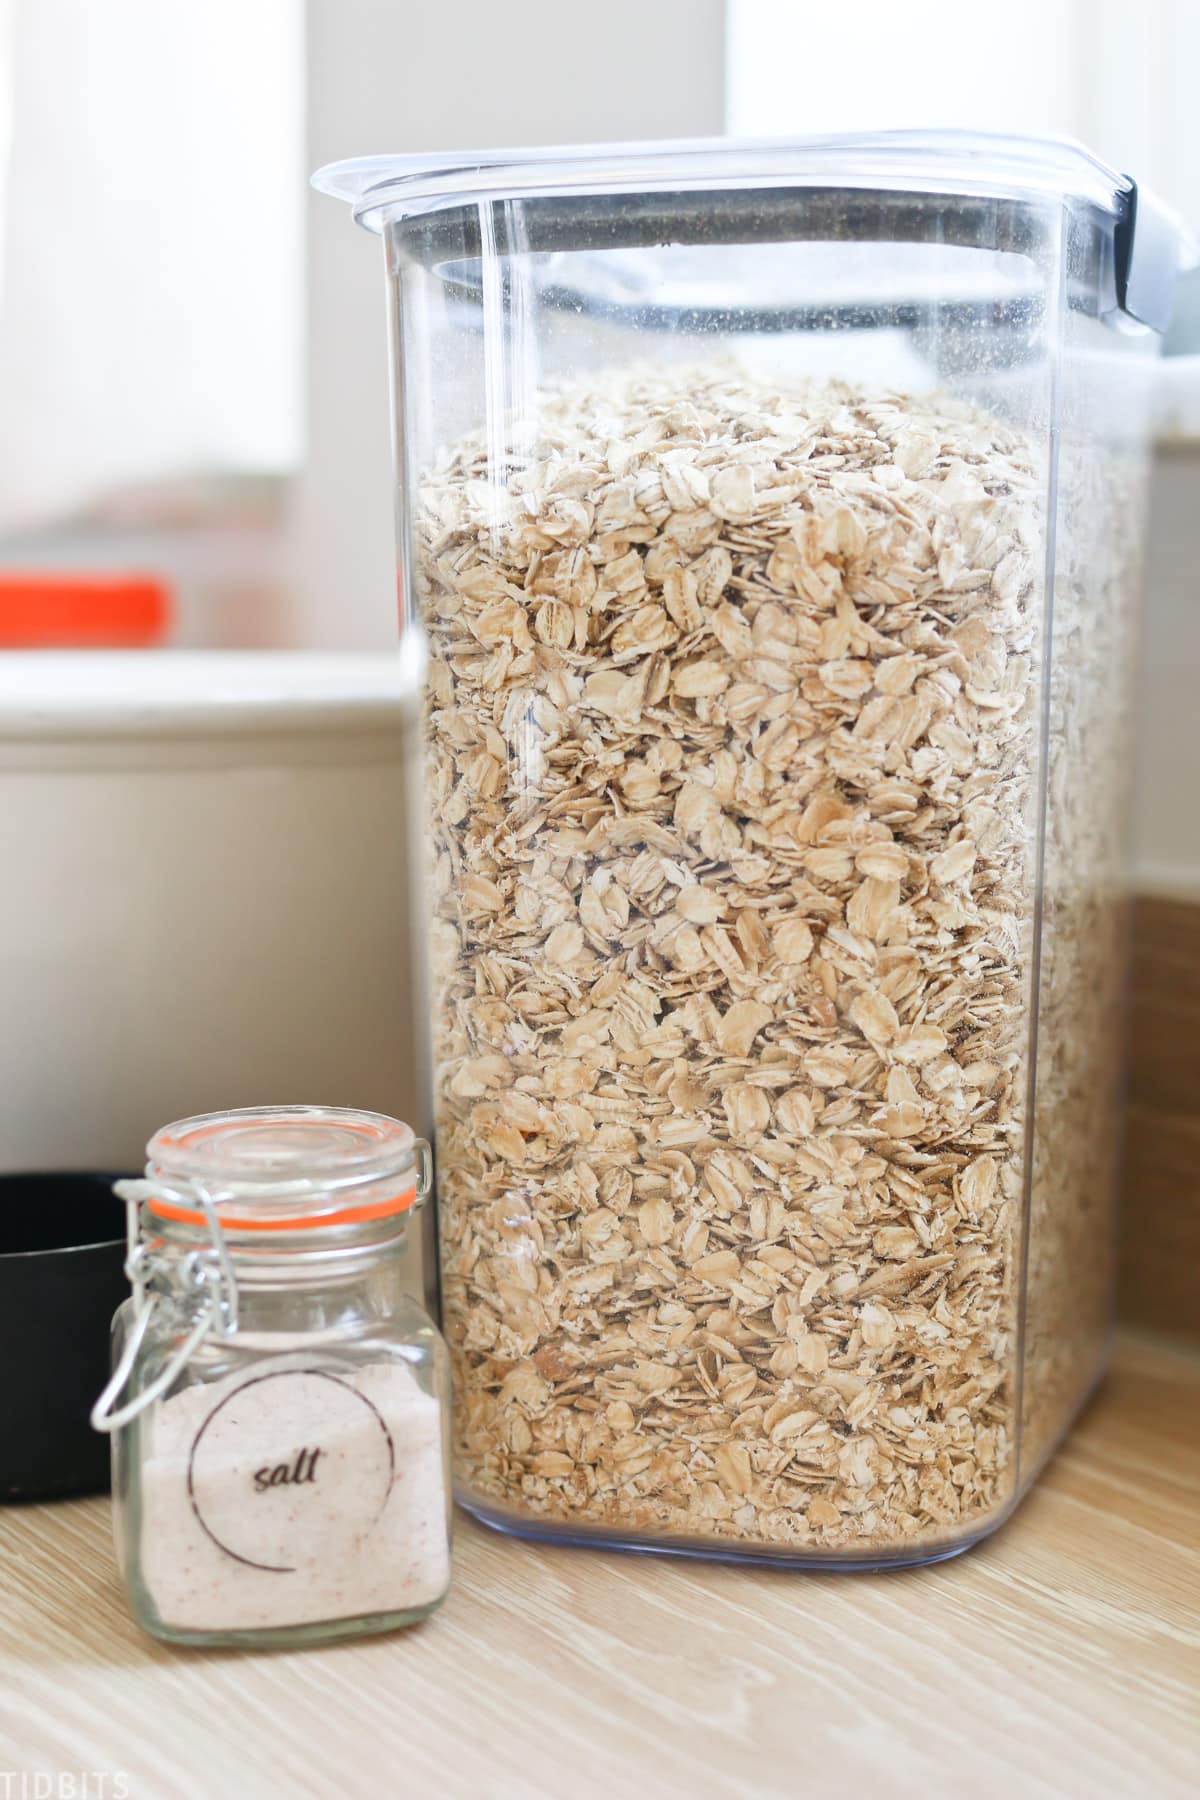
DRY BASE INGREDIENTS
- 3 CUPS OF WHOLE ROLLED OATS
- 1/4 TEASPOON SALT
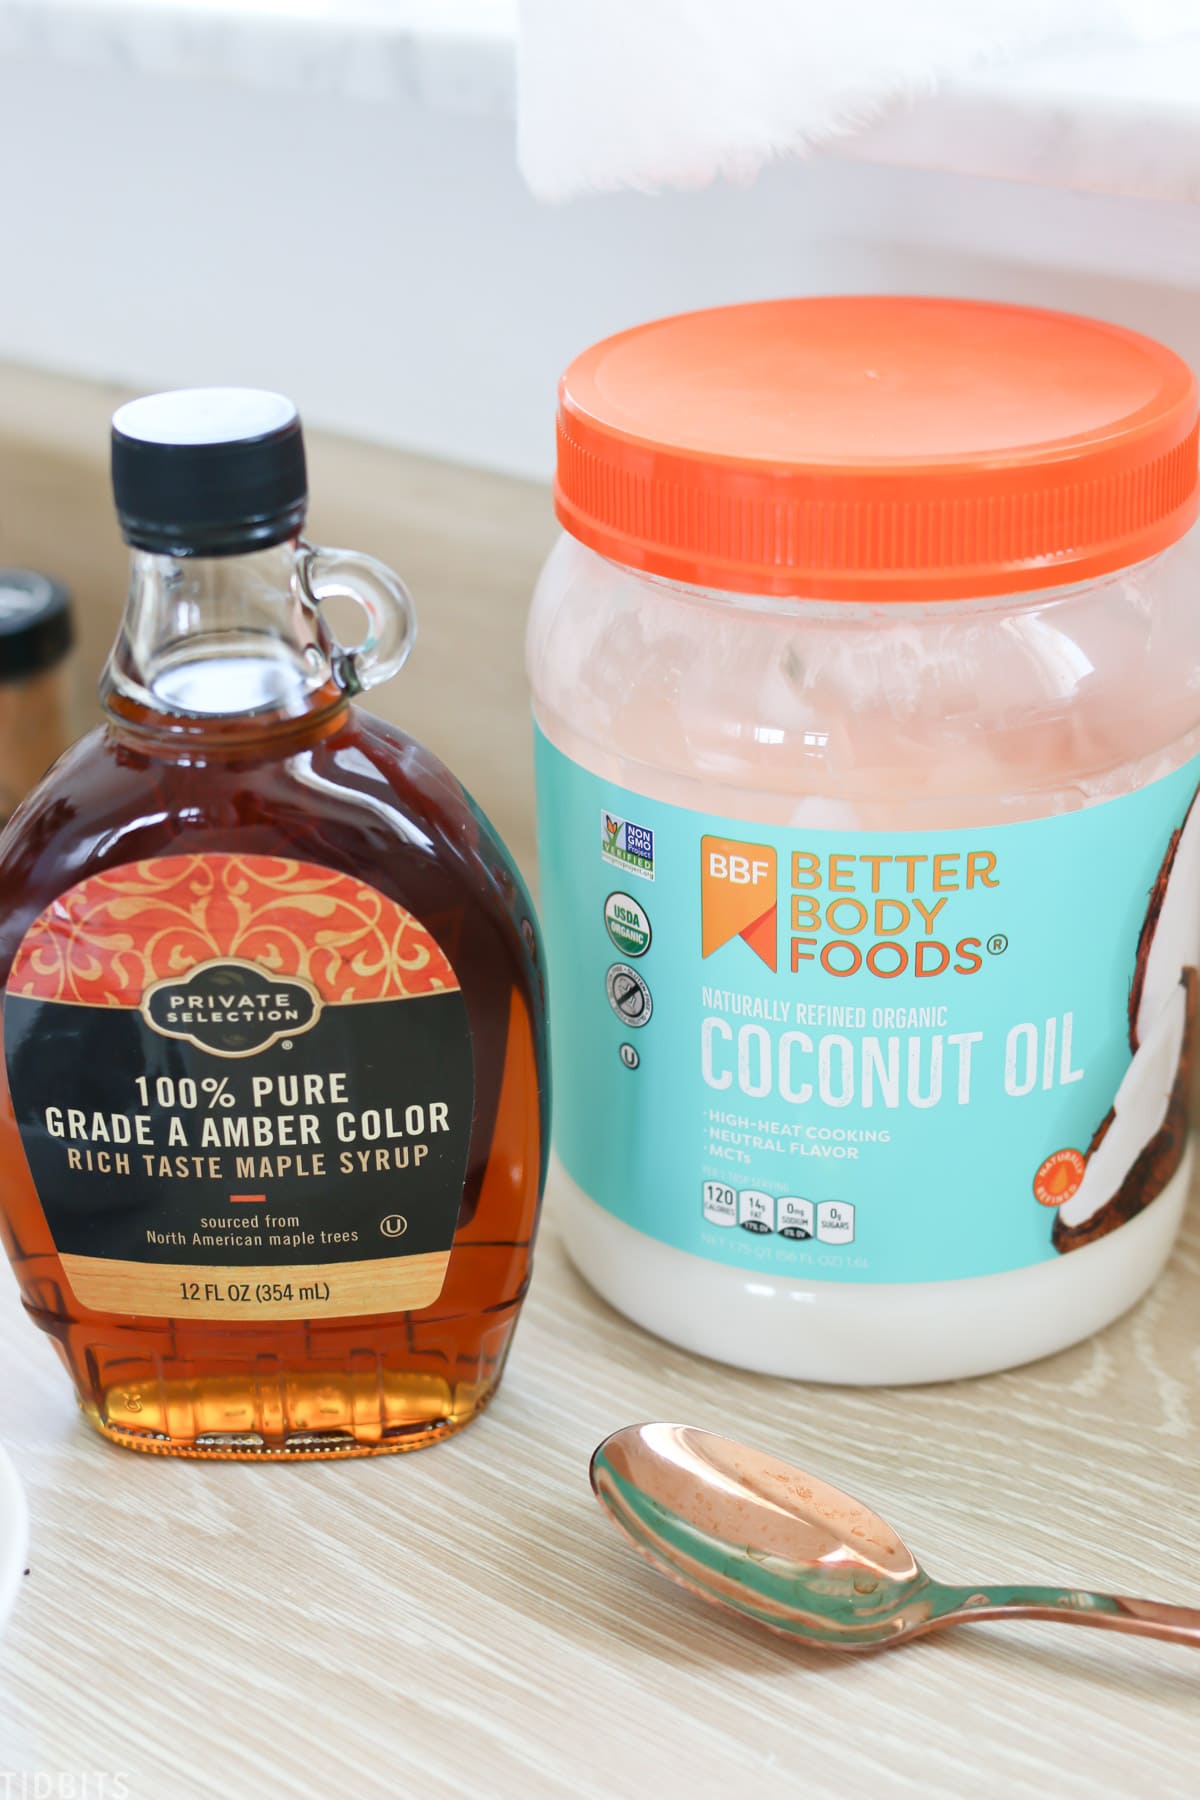
WET BASE INGREDIENTS
- 1/3 CUP OF MELTED COCONUT OIL
- 1/4 CUP OF PURE MAPLE SYRUP (OR RAW HONEY)
That’s it! After those 4 items, you can start to have fun with add-ins!
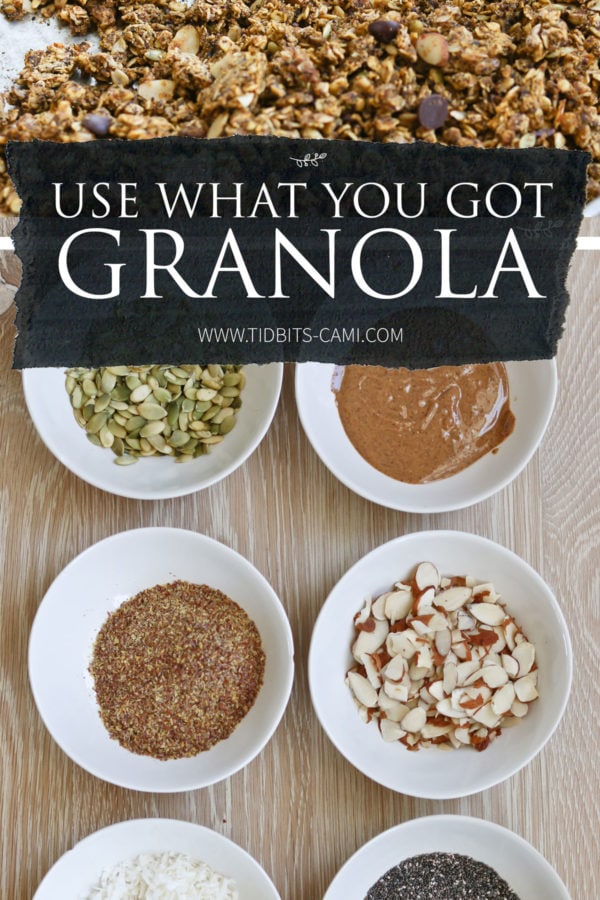
FUN Healthy Granola ADD-INS
Your add-ins can fall under 2 categories. Ingredients you add before you cook, and ingredients you add after you cook and cool the granola.
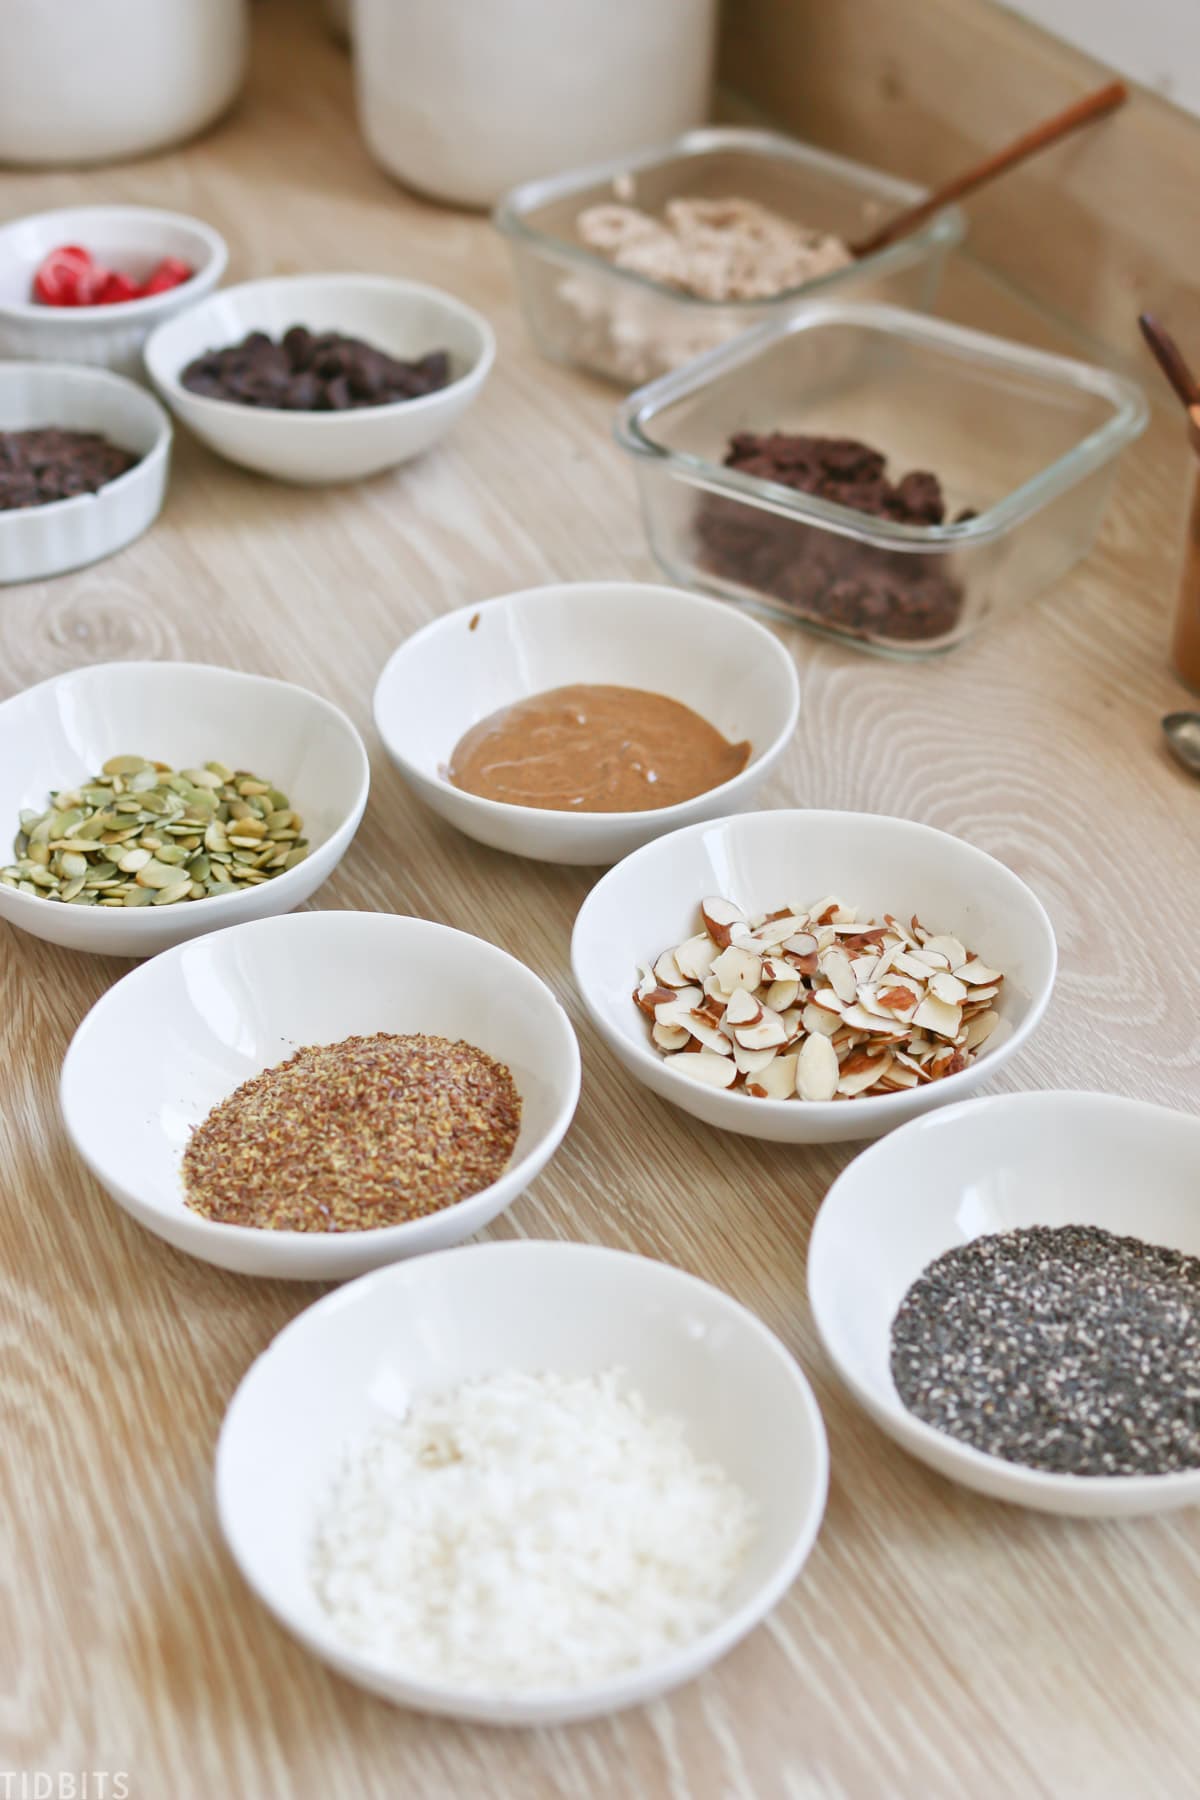
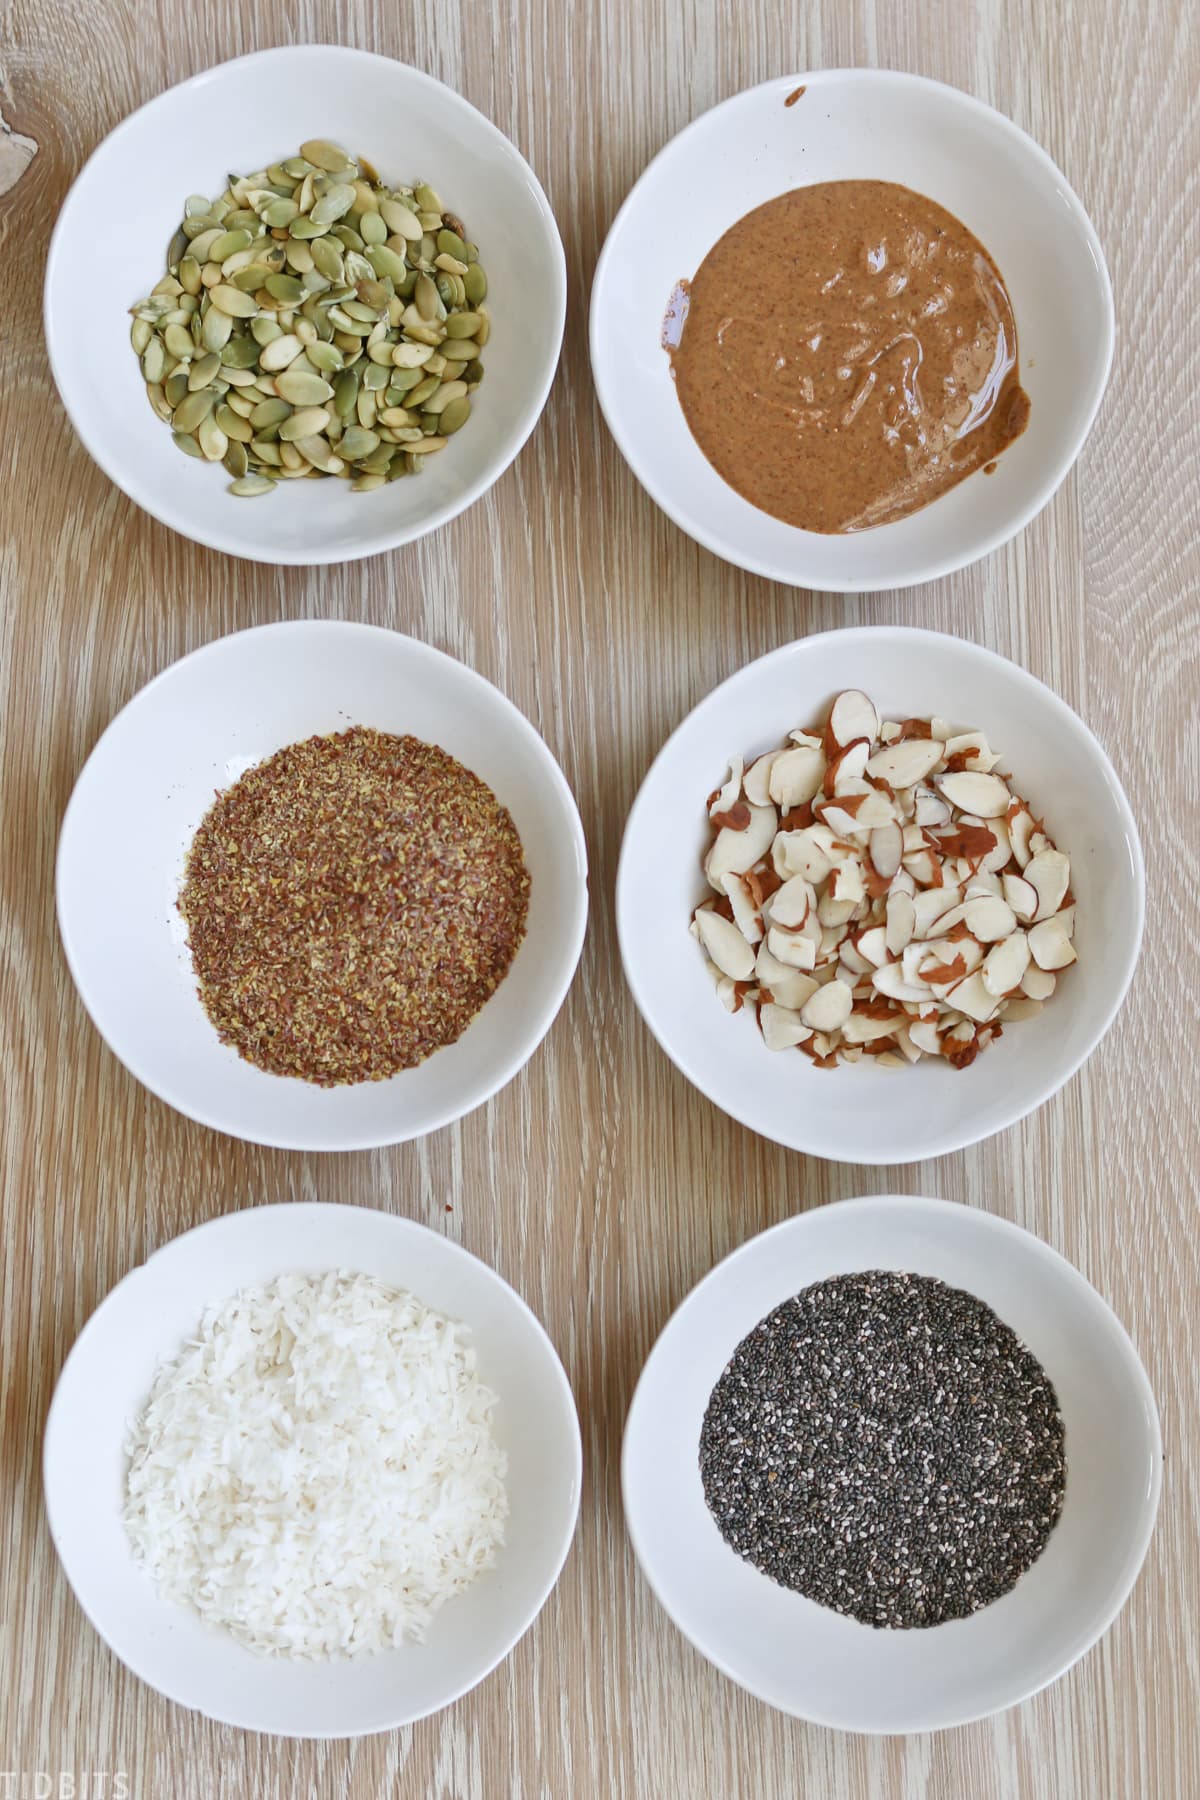
ADD-IN IDEAS BEFORE YOU COOK THE GRANOLA
- ALMOND OR OTHER NUT PULP
- WHOLE OR GROUND FLAX SEED
- SHREDDED COCONUT
- CHIA SEEDS
- NUT BUTTER, OF ANY KIND
- PUMPKIN PUREE
- SPICES SUCH AS CINNAMON, PUMPKIN PIE SPICE, NUTMEG, ETC.
- PUMPKIN SEEDS
- SUNFLOWER SEEDS
- CHOPPED NUTS OF ANY VARIETY
- WHOLE WHEAT FLOUR FOR BULK
ADD-INS FOR AFTER YOU COOK AND COOL THE GRANOLA
After you cook and cool your granola, you can add in even more.
- FREEZE DRIED FRUIT
- CHOCOLATE CHIPS
- TOASTED COCONUT SHREDS
- COCOA NIBS

And the list could go on, according to what you have on hand or what your family would enjoy.
Making This Easy Granola Recipe
MIX DRY INGREDIENTS
- Add to your mixing bowl the 3 cups of oats and 1/4 tsp. salt – and any other dry ingredients you wish.Note: I prefer to add my almond pulp to the dry ingredients.
- Then just give your dry ingredients a nice stir.
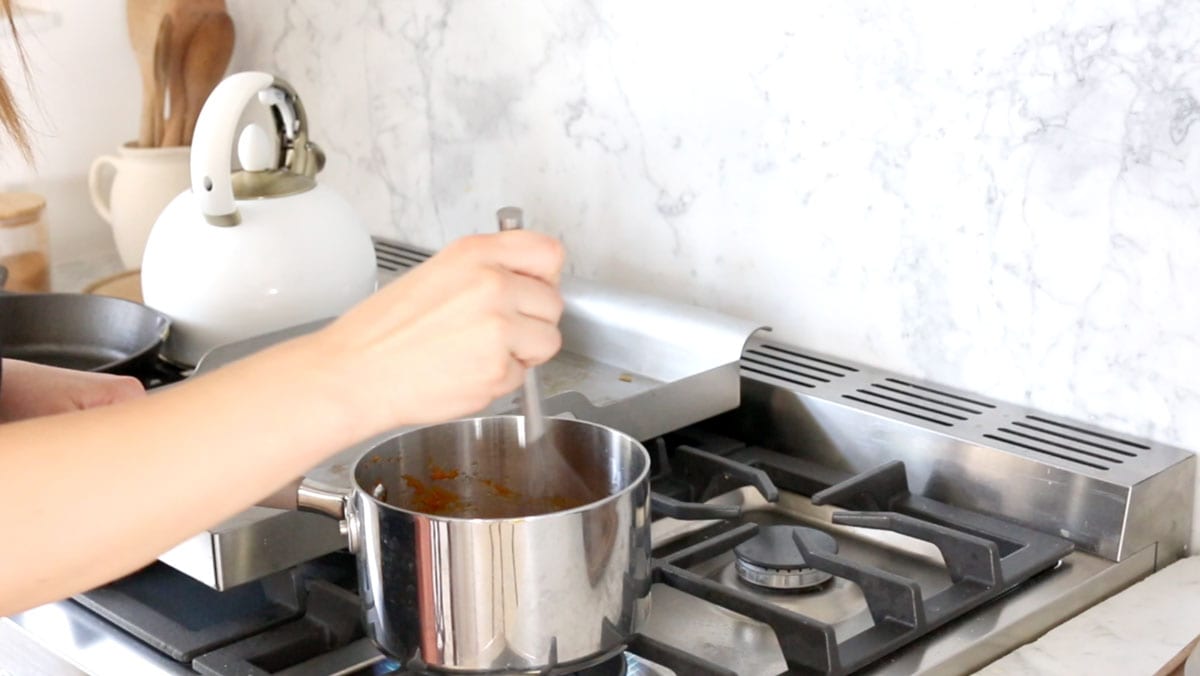
MELT AND MIX YOUR WET INGREDIENTS
- For your base wet ingredients – the coconut oil and syrup (or honey), you’ll want to melt and mix them together before you coat your dry ingredients. You can do this quickly by melting the oil first in the microwave in a glass dish, then just stir in the syrup.
- But if I am adding in peanut or almond butter, or pumpkin puree, I like to warm it all together over the stovetop until it becomes a nice pourable consistency.
- Now, if you are a recipe follower to the T – you might be thinking . . . “Wait, how much nut butter do I add? How many cups of nuts should I throw in?”
- You can look at Pinterest and find some recipes that are more exact, but the fun of “use what you got granola” is that you just add whatever floats your boat. Homemade granola is such a fail-proof food, it’s really hard to mess up – unless you cook it too long!
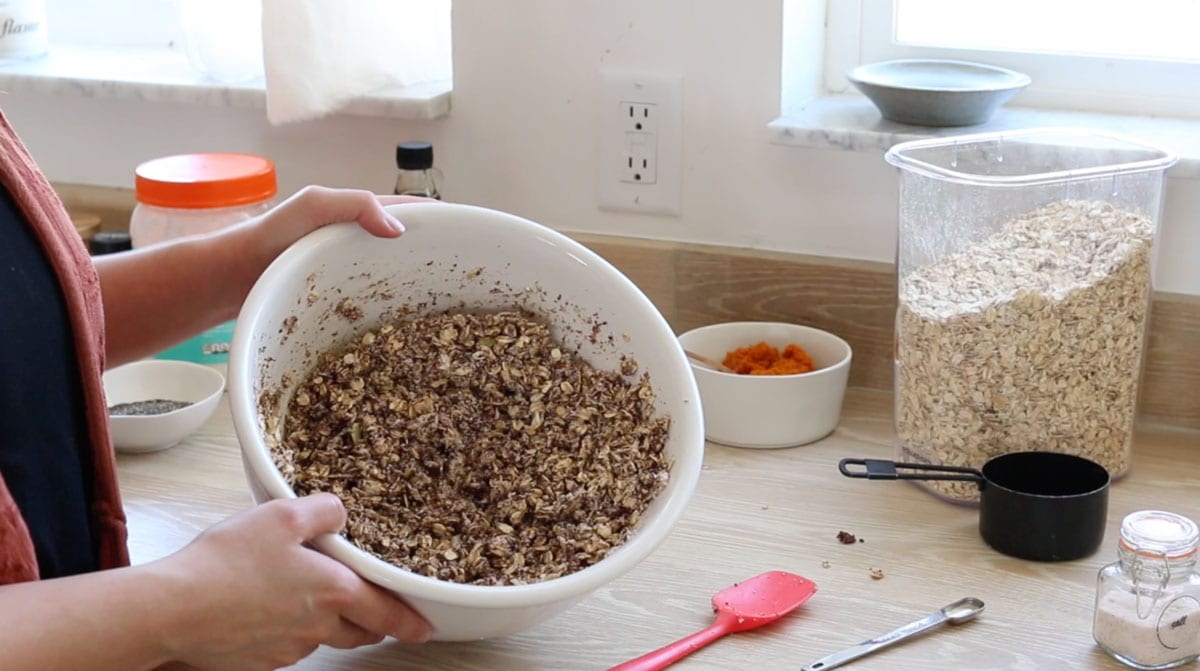
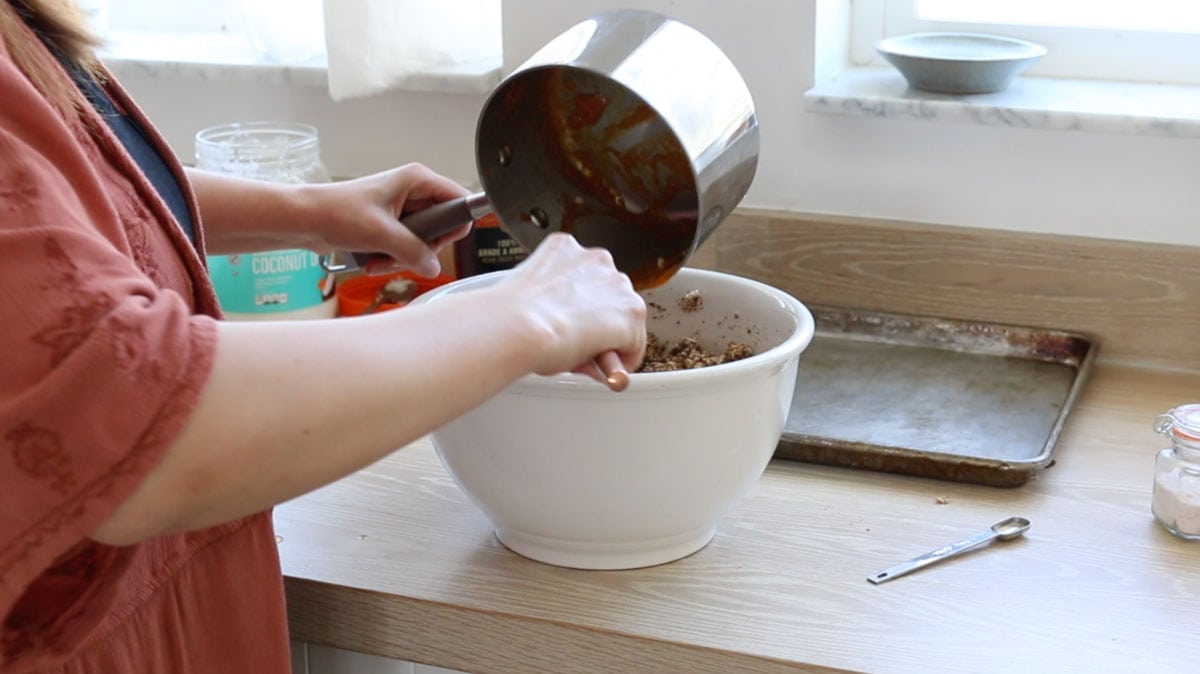
MIX WET AND DRY TOGETHER
- Finally, pour the wet ingredients into the bowl with the dry, and mix them together well.
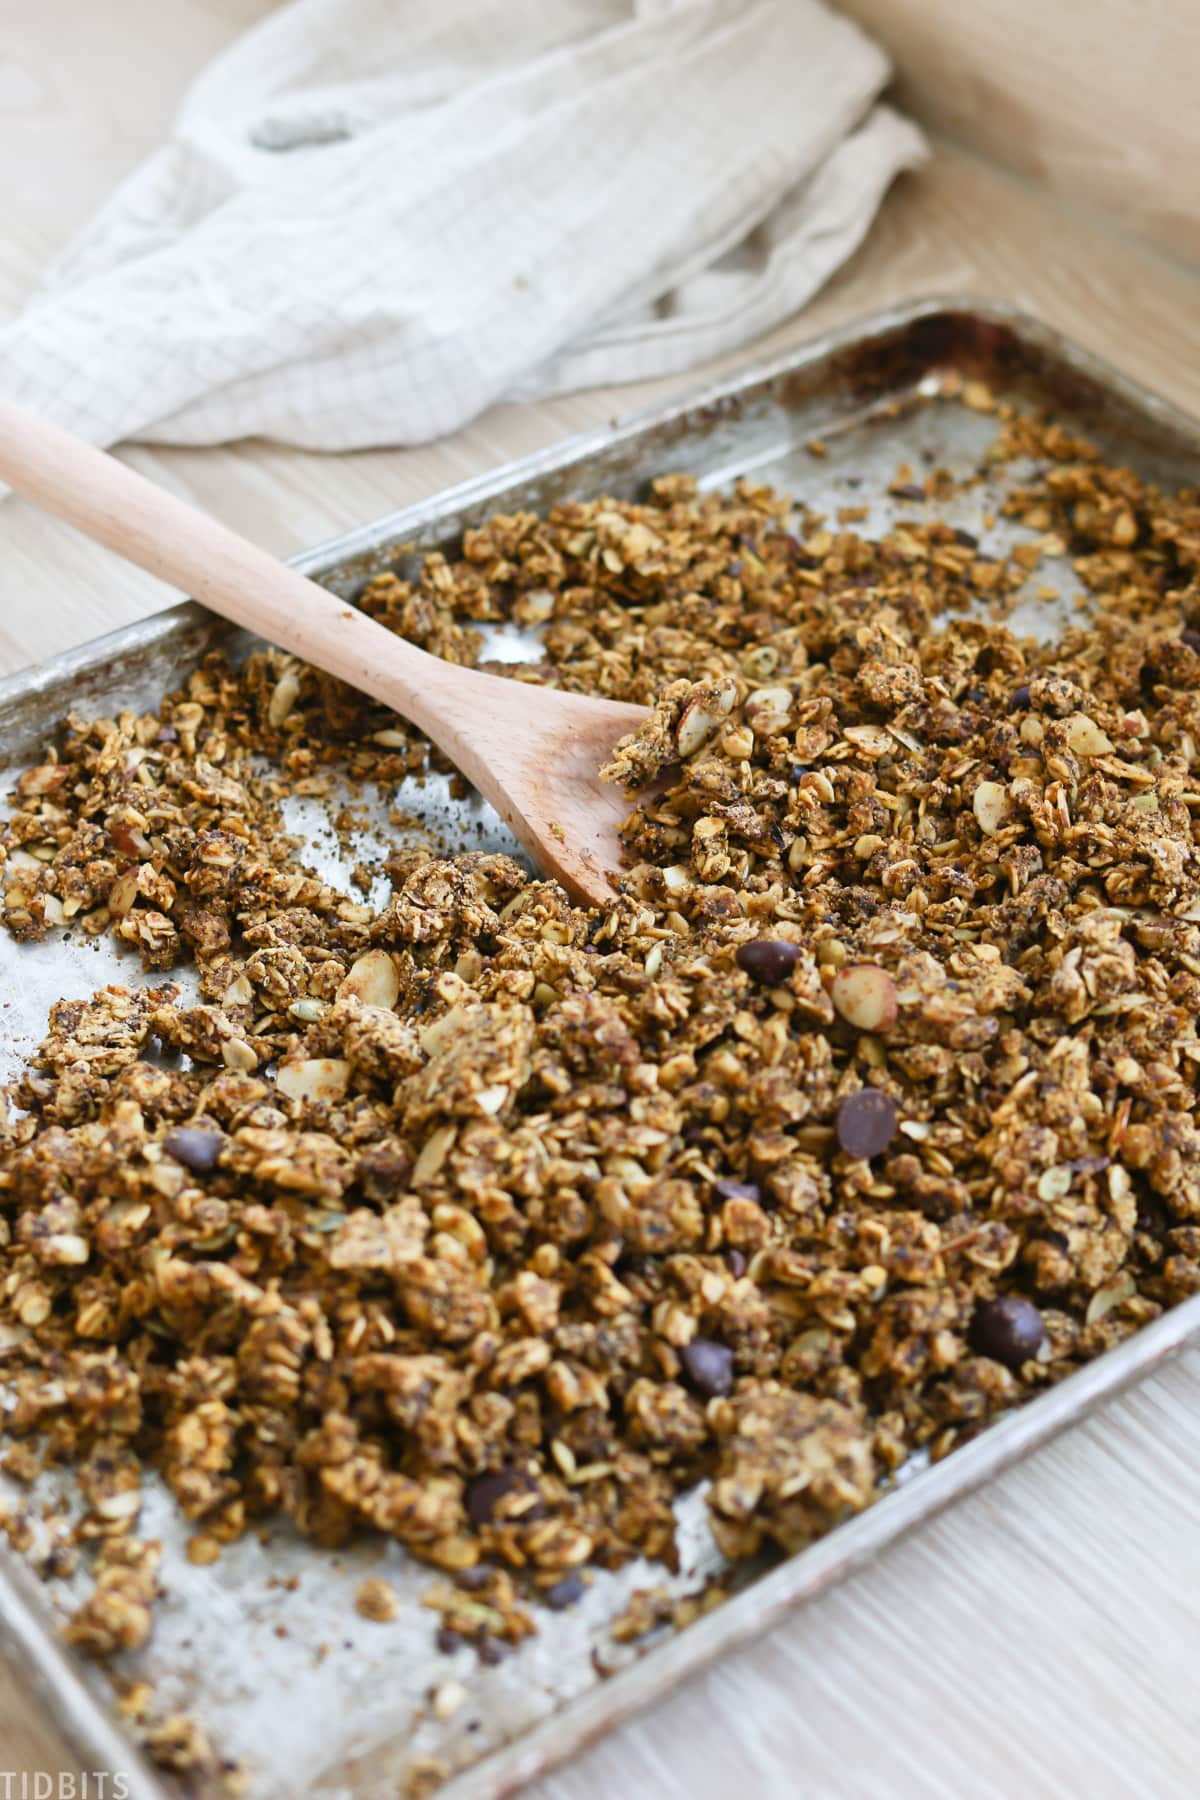
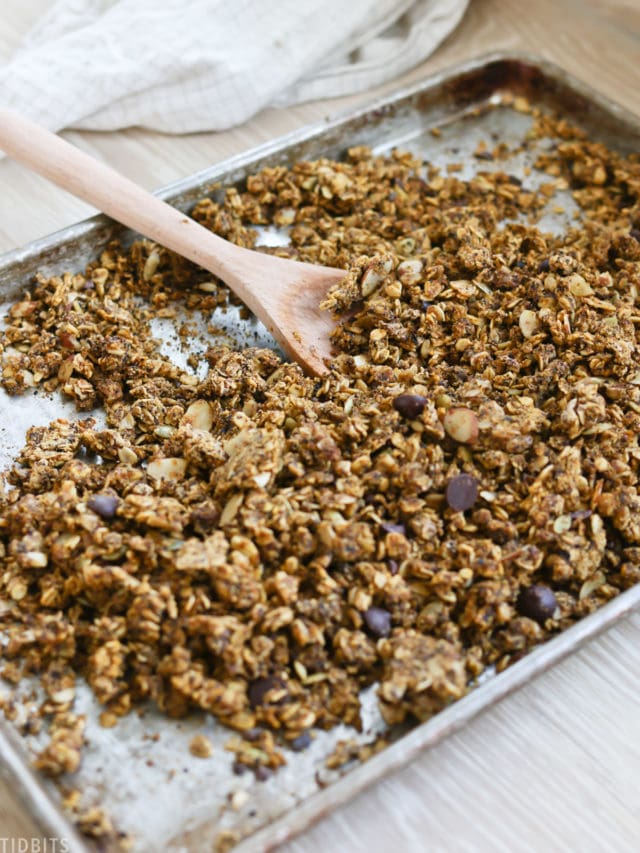
- Press all contents of your bowl onto a baking sheet, in a thin even layer.
- Bake in the oven
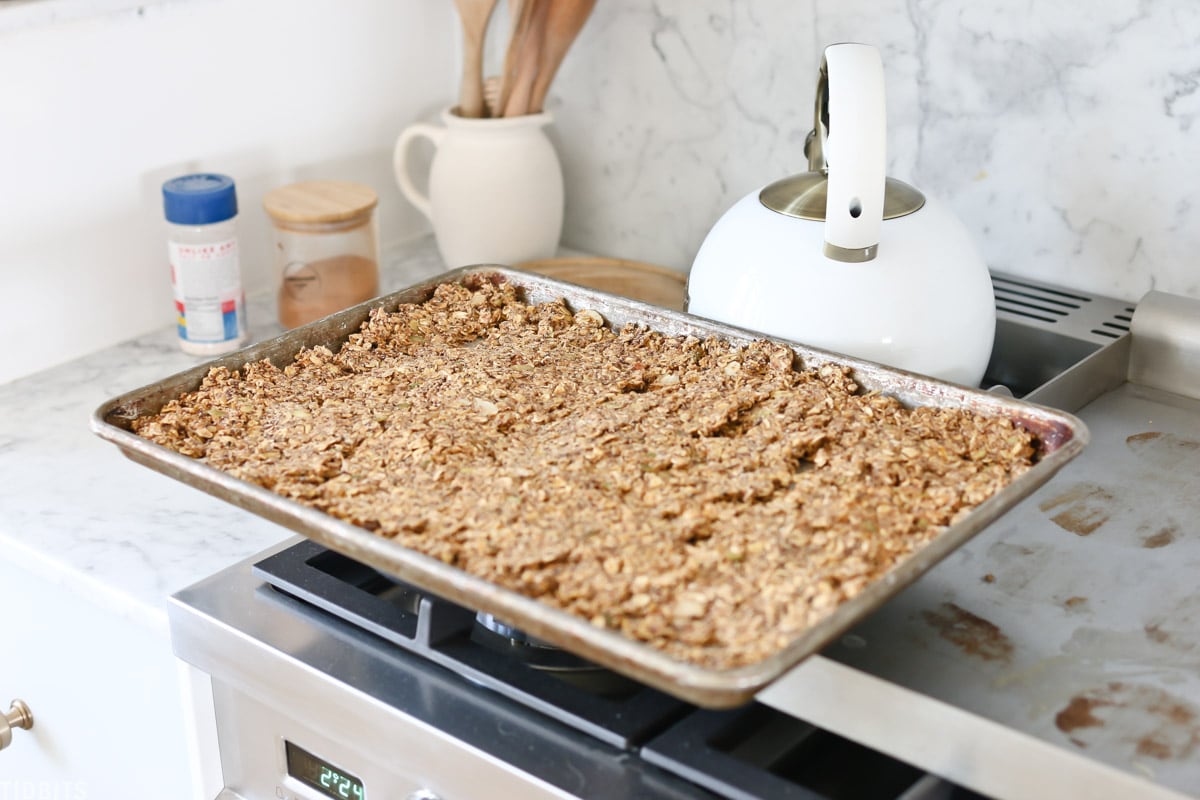
COOK TIME
Before you put this in the oven, let’s talk about the cooking time. Oats and nuts can burn pretty quickly on high temps, so I always set my oven to 250 degrees fahrenheit. It’s on the low side for granola, but I find it a more trustworthy temperature.
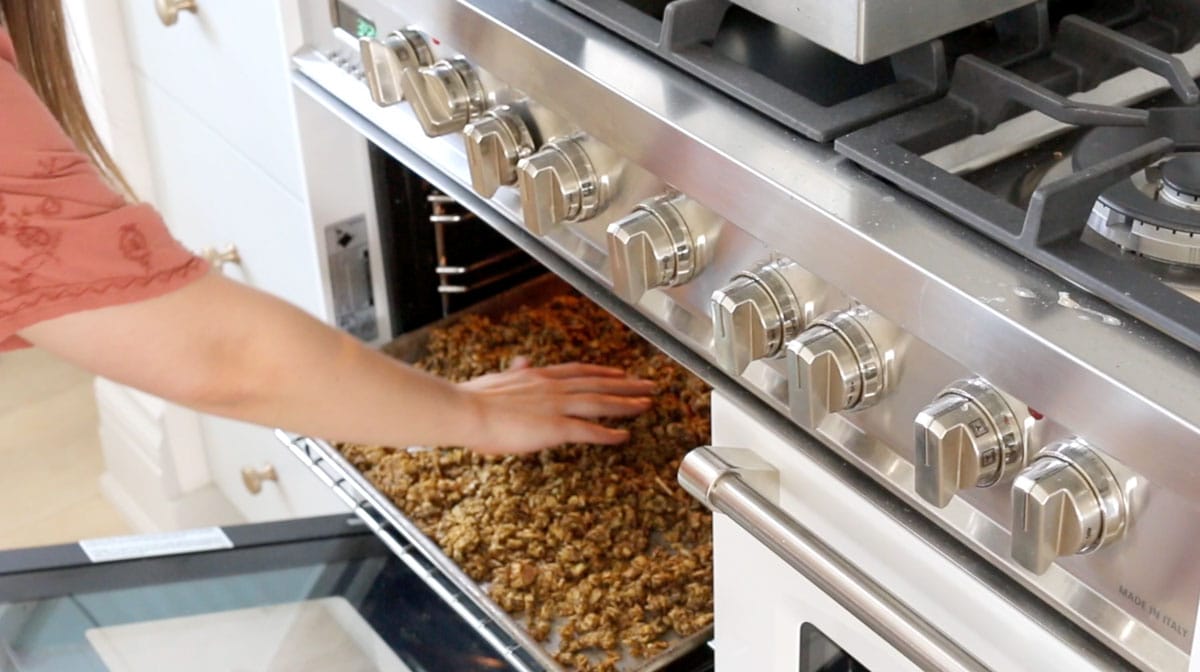
Set your timer for 15 minutes. Once it goes off, take out the granola and give it a stir so it cooks evenly throughout. If it needs more time, then put it back in the oven. You want the oats to be toasted, and rather dry. Add it back in the oven for 5-10 minute intervals and keep checking. Once you remove it from the oven for the final time, do not stir.
It won’t actually be super crunchy at this point. That happens as it cools and dries more on the countertop. So let it sit out for an hour, or more. When it is cool to the touch and tasting crispy, go ahead and bag it up or put it in a jar.
After it is cool, you can add any additional toppings/add-ins you wish.
HOW TO STORE YOUR GRANOLA
Granola is easy to store. You will want to use it within 1-2 days if you store it in the pantry. However, it will last up to 2 weeks in the fridge.
Now, if you want my favorite storage method, it’s the freezer. It keeps the homemade granola crunchy and fresh tasting when we enjoy it.
And that’s it! If you’ve got little ones at home, get them involved! They will love the freedom to mix and mingle ingredients to their heart’s content. If you give this a try, will you tag me on Instagram so I can see? That would just make my day!
OTHER MADE FROM HOME RECIPES YOU MIGHT LIKE
Remember to pin this post, and check out the video for this recipe on my YouTube channel. Printable Recipe Below:
use what you got granola recipe

Homemade granola is easy and fun, and can be customized based on what you have at home. With some simple base ingredients, I’ll show you how to make what I like to call, “use what you got granola”.
- Author: www.tidbits-cami.com
- Prep Time: 10 mim
- Cook Time: 30-45 min
- Total Time: 1 hour
- Yield: Sheet pan full!
ingredients
SCALE1x2x3x
3 Cups Rolled Oats
1/4 teaspoon Salt
1/3 cup melted coconut oil
1/4 cup pure maple syrup or honey
Plus any mix in you desire!
instructions
Preheat oven to 250 degrees fahrenheit.
Add the oats, salt, and any other dry ingredients to a mixing bowl. Mix well.
Melt together the coconut oil, syrup and any nut butter or liquid you desire.
Pour the wet ingredients over the dry, and mix thoroughly.
Press onto a baking sheet in an even layer.
Place pan in oven and set a timer for 15 minutes. After 15 minutes, gently stir the granola, and cook for another 15 minutes. After that, set your timer for 5 minute increments until the cooked granola feels dry and starts to brown.
Let cool completely before storing in a bag or jar.
notes
*Store on countertop or in pantry for a few days. Or place in freezer to keep longer and eat straight out of freezer for nice and crunchy granola every time!
Keywords: granola, granola recipe, homemade granola
Did you make this recipe?
Tag @camitidbits on Instagram and hashtag it #camitidbits
https://www.tidbits-cami.com/web-stories/use-what-you-got-granola-recipe-story/#visibilityState=prerender&origin=https%3A%2F%2Fwww.tidbits-cami.com&showStoryUrlInfo=0&storyPlayer=v0&cap=swipe
Yoast SEO Premium
Toggle panel: Yoast SEO Premium
Widget After Content
Toggle panel: Widget After Content
Remove widget after content for this post.
Yes:
AdThrive Ads
Toggle panel: AdThrive AdsDisable all adsDisable content adsDisable auto-insert video playersRe-enable ads on
All ads on this post will be enabled on the specified dateDisable Video MetadataDisable adding metadata to video player on this post
Scripts
Toggle panel: Scripts
| Header Scripts | Output before the closing head tag, after sitewide header scripts. |
|---|---|
| Body Scripts | |
| Body Scripts Position | Bottom: before closing body tag Top: after opening body tag |
Custom CSS
Toggle panel: Custom CSS
Add custom CSS rules for this post
1
Ad Inserter Individual Exceptions
Toggle panel: Ad Inserter Individual Exceptions
| Block | Name | Default insertion | For this Post |
| 1 | Collapsible Video Player | Enabled | Disabled |
| 2 | Mobile Video Player | Enabled | Disabled |
Default insertion can be configured for each block on Ad Inserter Settings page – button next to Tag / Archive pages checkbox.
When individual exceptions for a block are enabled, a checkbox will be listed here to change default insertion for this post or page.
This way you can individually enable or disable blocks on specific posts or pages.
For more information check page Ad Inserter Individual Exceptions.
Tasty Pins
Toggle panel: Tasty Pins
Pinterest hidden images
Force pinning of hidden images
Select Images
Default Pinterest Title
Default Pinterest titles will be applied to any images in the content that do not have one, including hidden images. Note: Pinterest is still in the process of rolling out support for Pinterest titles. Currently, Pinterest is automatically pulling Pinterest Titles from your post titles. Learn more.
You have up to 100 characters for your Pin title.
77
Default Pinterest Text
Default Pinterest text will be applied to any images in the content that do not have Pinterest text, including hidden images. Learn more.
You have up to 500 characters for your Pin description, but keep in mind only the first 30-60 characters will be visible in the feed description.
345
Genesis Dambuster
Toggle panel: Genesis Dambuster
- Post
- Block
Now, if you are a recipe follower to the T – you might be thinking . . . “wait, how much nut butter do I add? How many cups of nuts should I throw in?”
You can look at Pinterest and find some recipes that are more exact, but the fun of “use what you got granola” is that you just add whatever floats your boat. Granola is such a fail proof food, it’s really hard to mess up – unless you cook it too long!
MIX WET AND DRY TOGETHER
Finally, pour the wet ingredients into the bowl with the dry, and mix them together well.
Press all contents of your bowl onto a baking sheet, in a thin even layer.
COOK TIME
Before I put this in the oven, let’s talk about the cook time. Oats and nuts can burn pretty quickly on high temps, so I always set my oven to 250 degrees fahrenheit. It’s on the low side for granola, but I find it a more trustworthy temperature.
Because I add different ingredients just about every time, there isn’t ever a set time. Depending on how wet it is, might determine how fast it takes to dry out.
All I will do is set my phone timer for 15 minutes. Once it goes off, I take out the granola and give it a stir so it cooks evenly throughout. If I can tell it is far from done, I’ll set another 15 minutes, and stir. If the oats are starting to brown and feel dry, I’ll watch it more carefully. Perhaps setting my timer for 10 or 5 minutes.
To determine if it is done, I go off of how much yummy smell fills the house, and how toasted and dry the ingredients look. When it finally comes out, I do NOT stir it.
It won’t actually be super crunchy at this point. That happens as it cools and dries more on the countertop. So I’ll let it sit out for an hour, or more – depending on how busy the day is. When it is cool to the touch and tasting crispy, I go ahead and bag it up or put it in a jar.
After it is cool, you can add any additional toppings/add-ins you wish.
HOW TO STORE YOUR GRANOLA
If you know you’ll eat through it fast in a day or 2, just store the granola in something airtight in the pantry or countertop.
If you think it will last for a week or 2, the fridge is great. But I prefer to store it in my freezer – no matter what.
Why? Not because I am afraid it will spoil before we get to it, but because it keeps it very crunchy and fresh tasting every time we reach for it. It doesn’t actually taste frozen at all when you go to eat it, but it is super crunchy and yummy straight out of the freezer every time. It’s also nice to know we have a granola supply in the freezer for whenever we need it, even if I didn’t get to making it that week.
And that’s it! If you’ve got little ones at home, get them involved! They will love the freedom to mix and mingle ingredients to their hearts content. If you give this a try, will you tag me on Instagram so I can see? That would just make my day!
OTHER MADE FROM HOME RECIPES YOU MIGHT LIKE
Remember to pin this post, and check out the video for this recipe on my YouTube channel. Printable Recipe Below:
Use What You Got Granola Recipe
Ingredients
- 3 Cups Rolled Oats
- 1/4 teaspoon Salt
- 1/3 cup melted coconut oil
- 1/4 cup pure maple syrup or honey
- Plus any mix in you desire!
Instructions
- Preheat oven to 250 degrees Fahrenheit.
- Add the oats, salt, and any other dry ingredients to a mixing bowl. Mix well.
- Melt together the coconut oil, syrup and any nut butter or liquid you desire.
- Pour the wet ingredients over the dry, and mix thoroughly.
- Press onto a baking sheet in an even layer.
- Place pan in oven and set a timer for 15 minutes. After 15 minutes, gently stir the granola, and cook for another 15 minutes. After that, set your timer for 5 minute increments until the cooked granola feels dry and starts to brown.
- Let cool completely before storing in a bag or jar.
Notes


I have made this several times, just as you describe and every batch I think “ok… THIS ONE is my best batch” ???? Thanks for all the helpful tips to a no fail granola!
This looks great I am definitely gonna try out 🙂
This is exactly my take on making granola: it shouldn’t be hard! I’ve also used my crockpot to cook the granola, with the lid propped up a little bit, stirring every hour. Yum!
I love that! For too long, all the fancy recipes intimidated me! It sounds amazing in the crockpot too! So you just mix it up and throw it in there? I’m so intrigued!