
This post may contain affiliate links, which means I get a small percentage of the sale at no extra cost to you. I only recommend items I love and have had a positive experience with. Thank you!
Take any old ugly table you might have laying around, and transform it into a lovely French accent table with this DIY ruffled tablecloth project. Make it a super affordable upgrade with inexpensive fabrics like muslin, bedsheets, drop cloths – you name it!
Years ago, in our early married stage of life, my husband and I invested in a couple of fold-up tables. I say invested because we were dirt poor and $20 was ALOT of money!
One of those tables was our dining room table. And the other was stored and brought out on special occasions . . . like when company came over. We even pulled out the $4.00 camp chairs to make room for friends to sit in the living room.
We were super high class, quality kind of friends to have 😉
11 years into our marriage, we still have those folding tables, and they still actually come in quite handy when we need to sit more bodies in our home or need an indestructible surface for crafts and such.
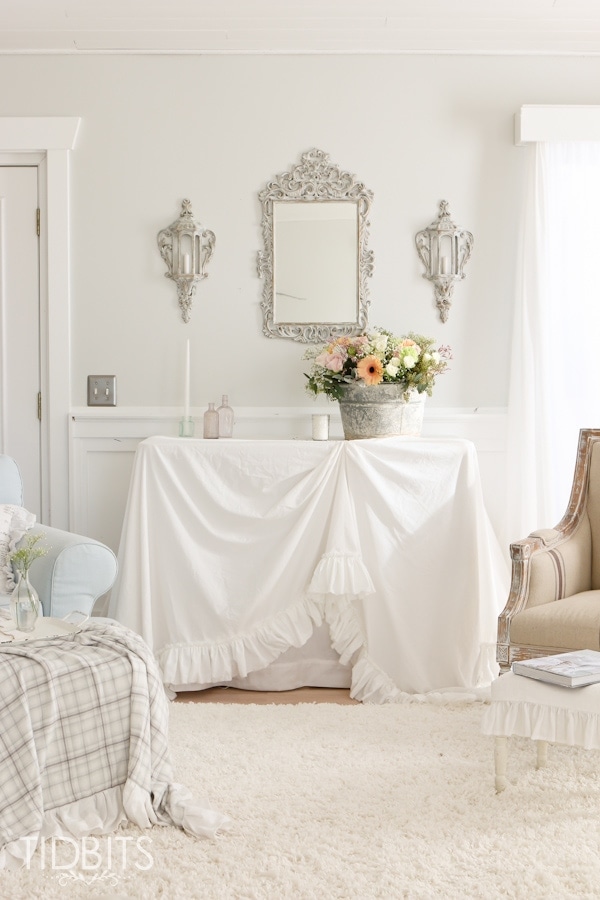
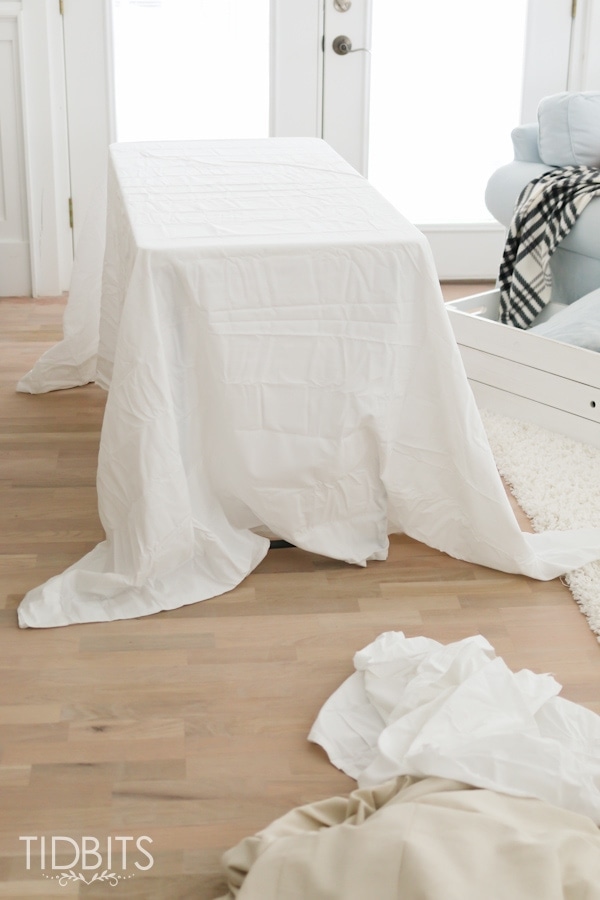
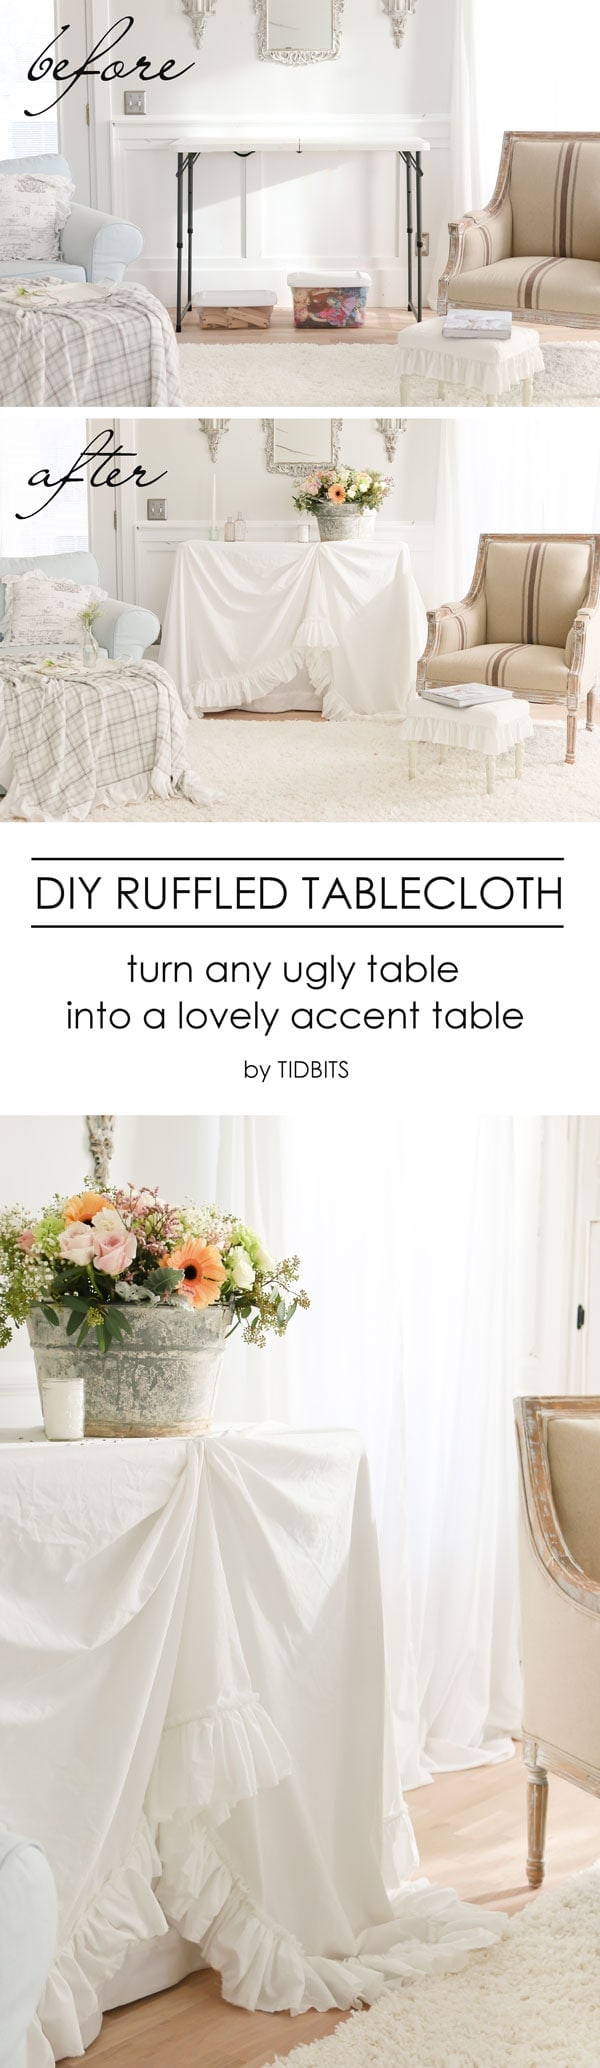
One day, when I realized I was tired of dragging it in and out of storage, I looked at the ugly and well-loved fold-able table and wondered if I could just cover it up somehow and use it as an accent table. This is exactly the scene I imagined.
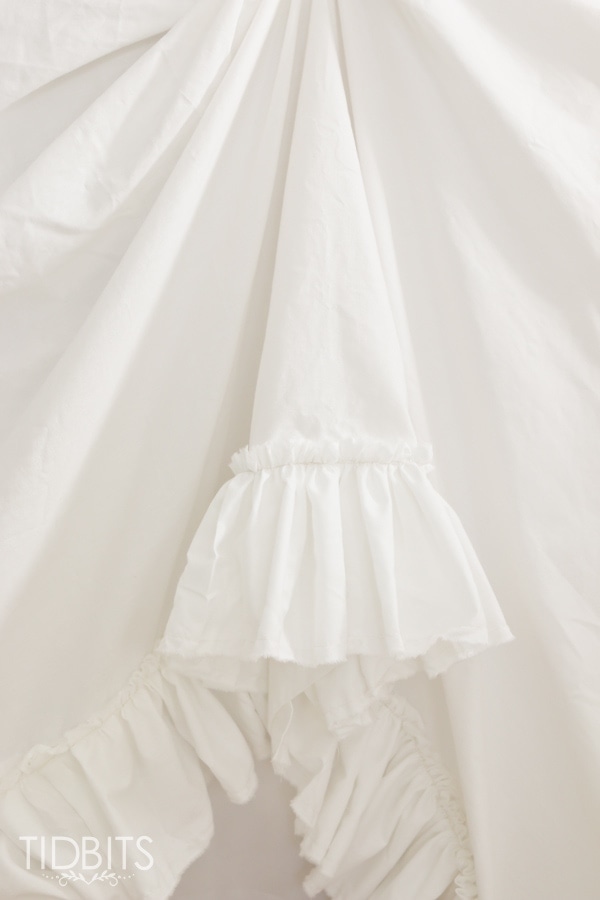
You see, my head already knew – anything can be made pretty with white and ruffles.

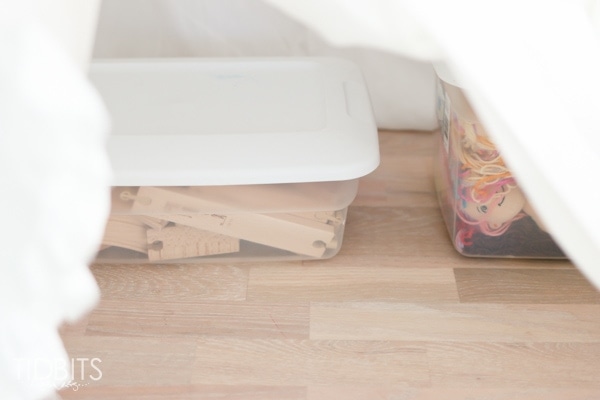
This white ruffled tablecloth has proven to be even more effective, as it works as a hidden toy storage spot now and an impromptu fort/hiding place for wee ones.
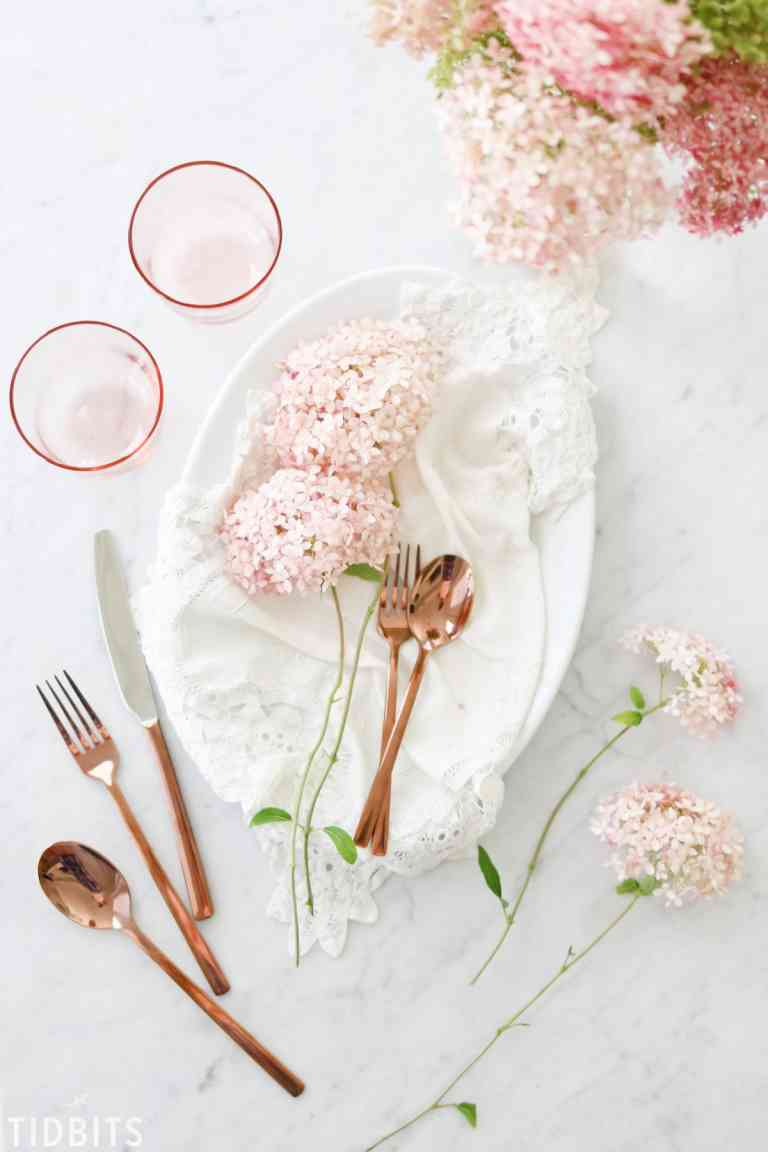
Not to mention, I now have a new surface to decorate and spruce up to my heart’s content.
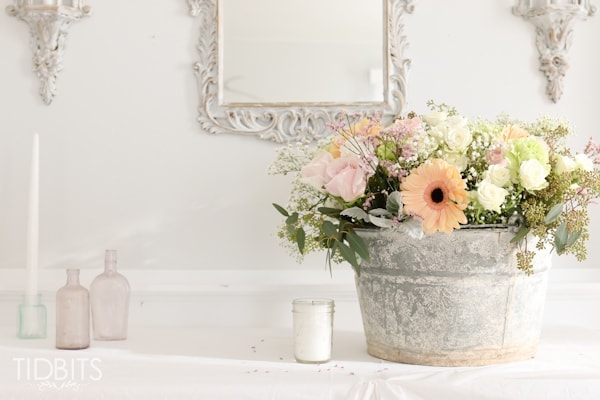
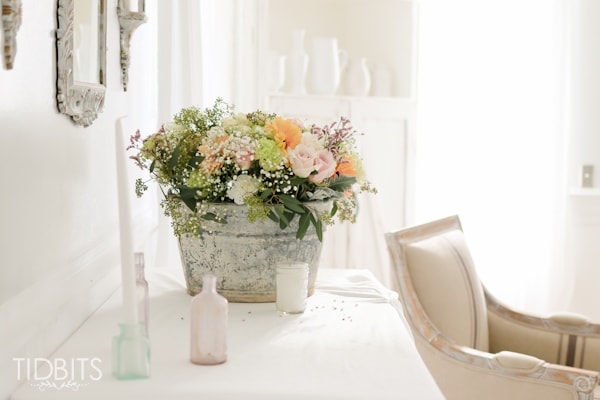
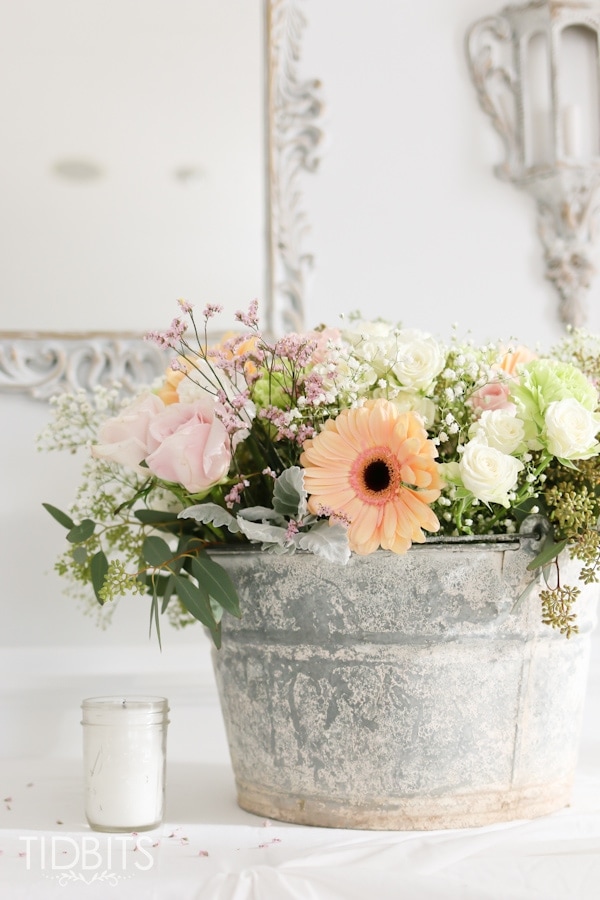
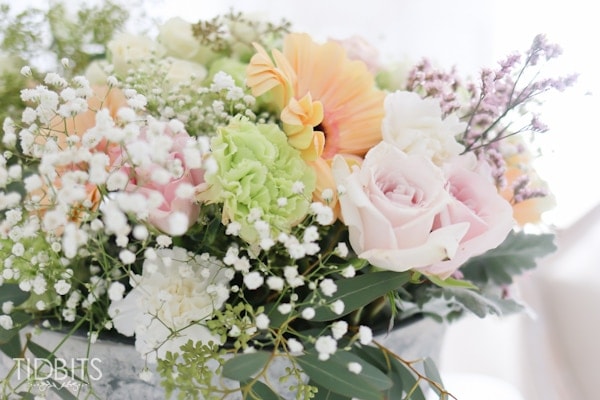
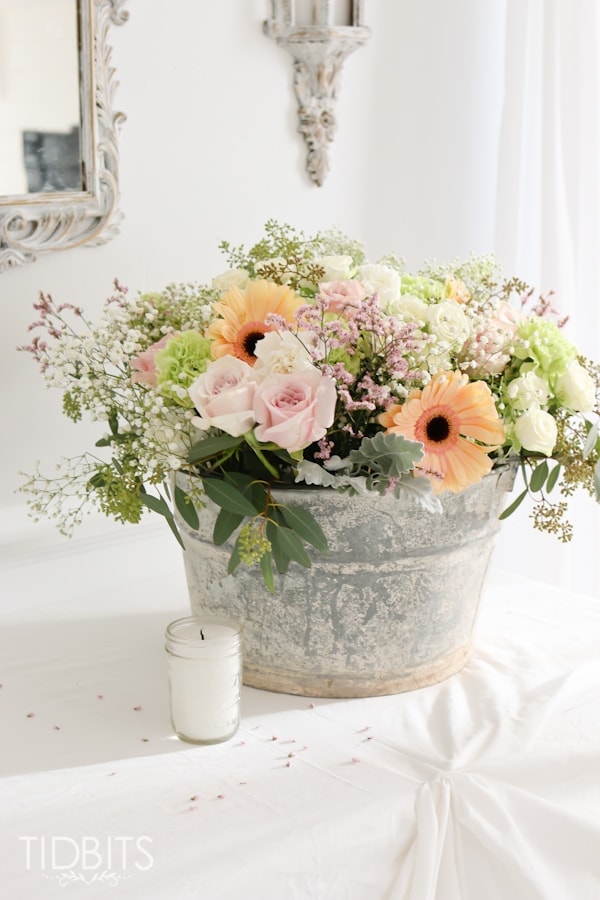
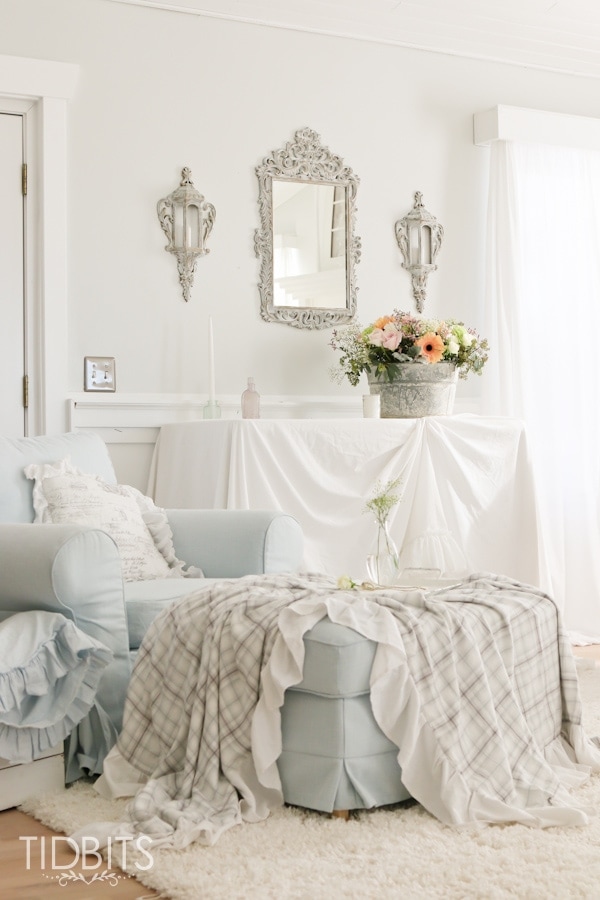
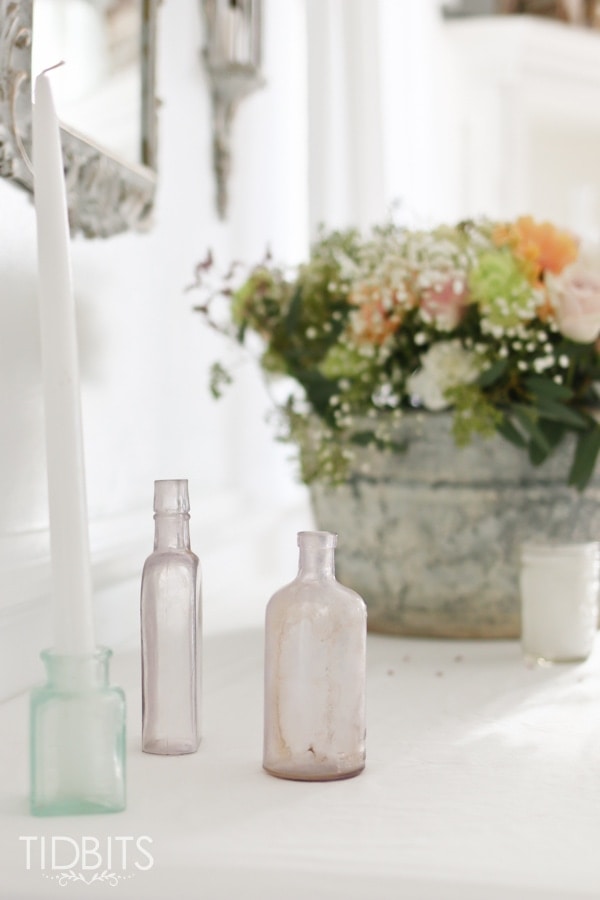
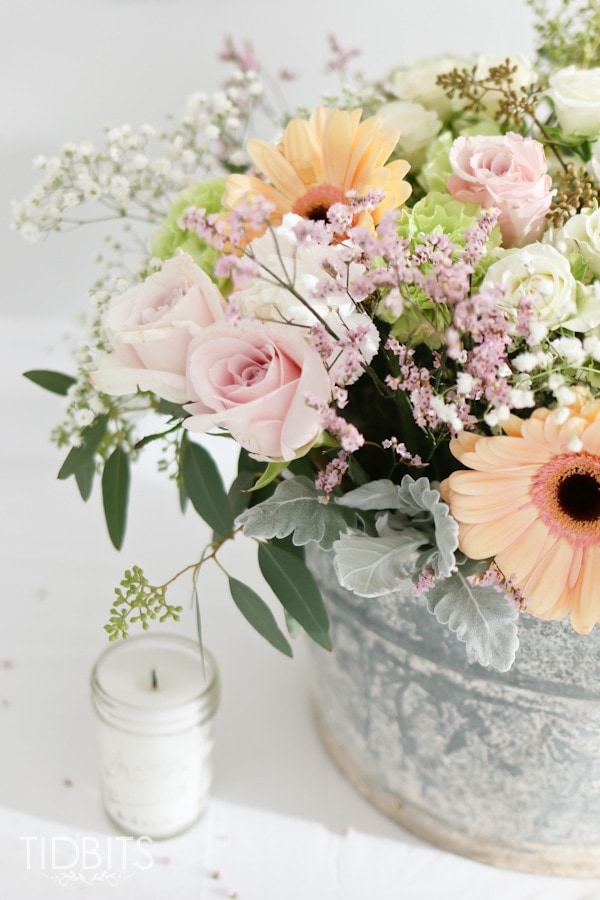
I took advantage of Valentine’s Day sales on florals and constructed a beautiful arrangement of pale flowers in my favorite vintage bucket, and then deconstructed them on Valentine’s day to hand out to loved ones.
This post is all about double duty and getting the most bang for your buck!
I’m excited to share just how easy it is to make this tablecloth for any size table. I have a video tutorial for you, and step-by-step images below.
But since I took the time to decorate this space, let me show you around a bit more and talk about some of the sources for the items you see in the images.
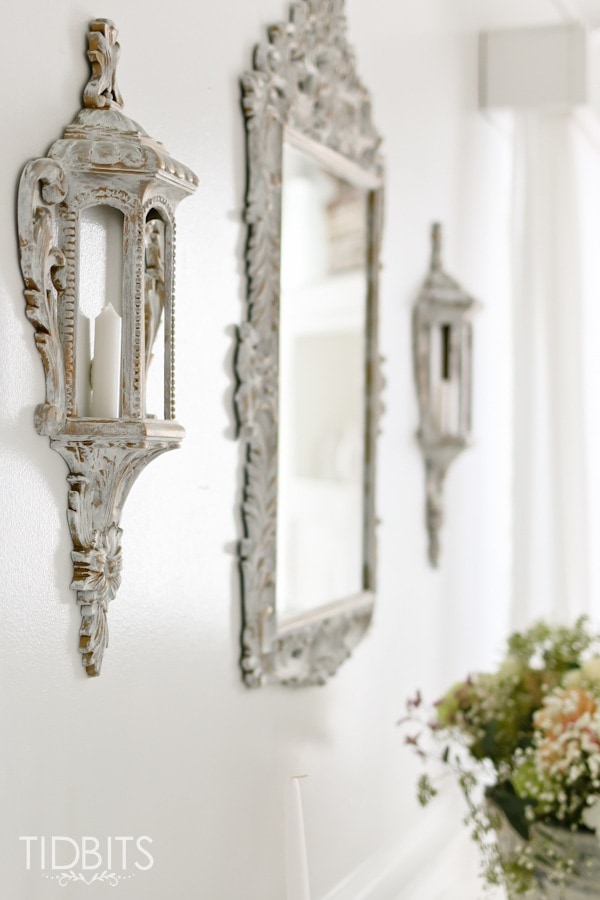
At one of my antique store visits, I found a booth for 50% off and eyed everything for its full potential.
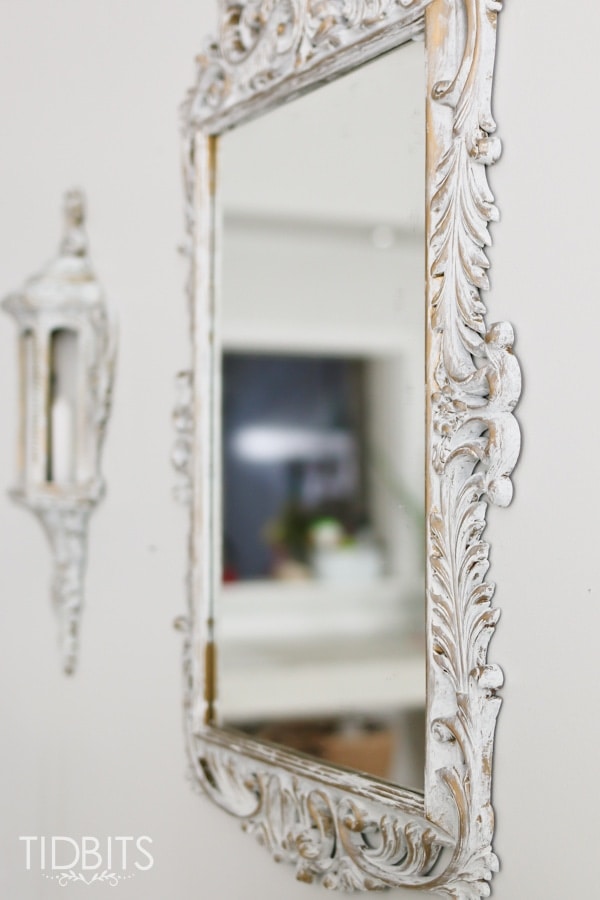
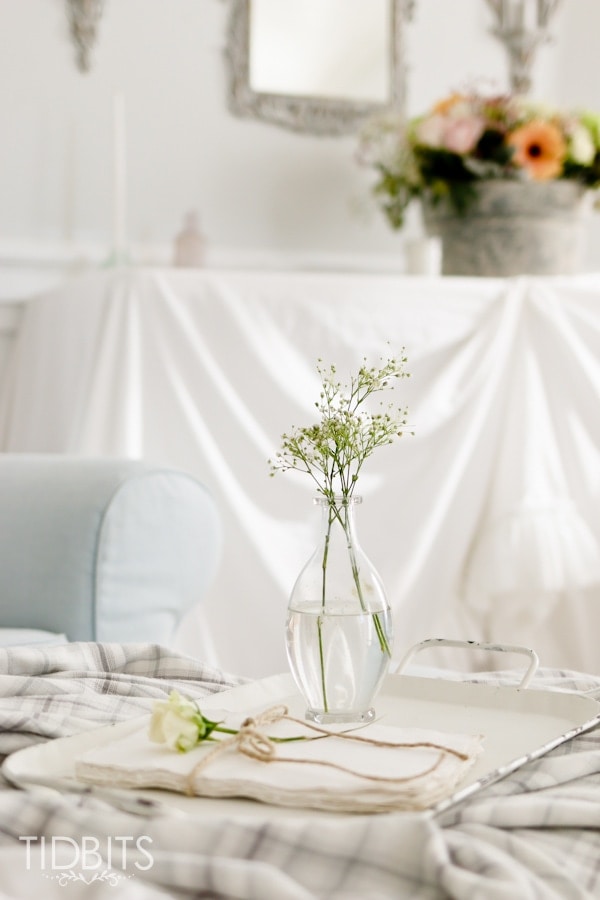
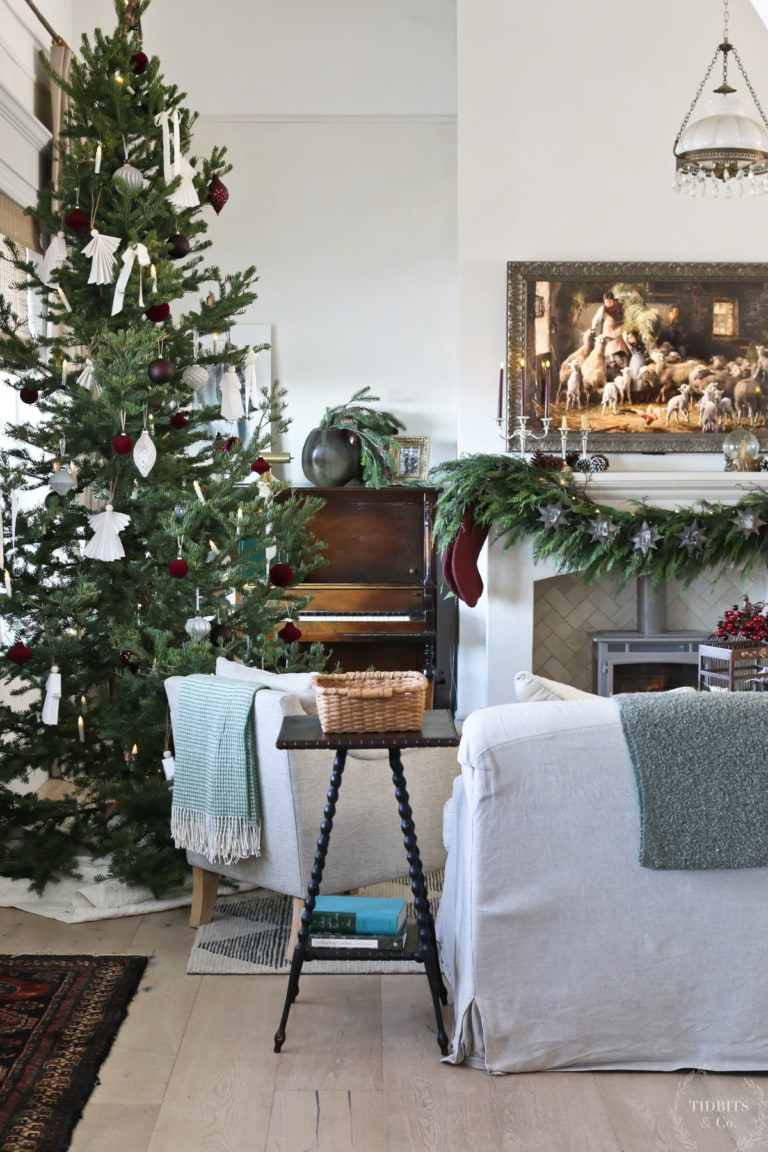
In it, I found these plastic gold mirrors and candle sconces. They weren’t that pretty to look at, but I knew with a little dry brushing with white paint, they could look very French vintage and lovely. I’m thrilled about how they look on the wall!
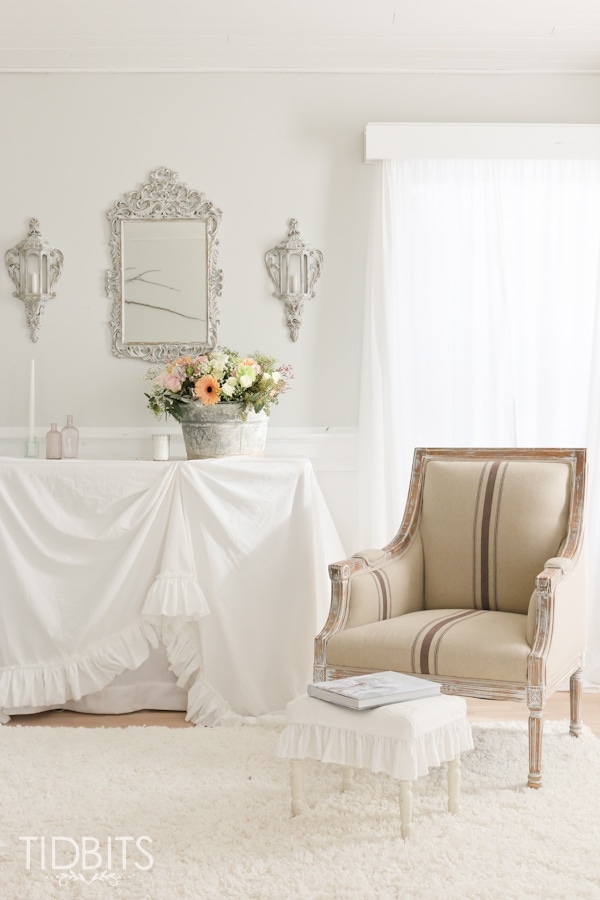
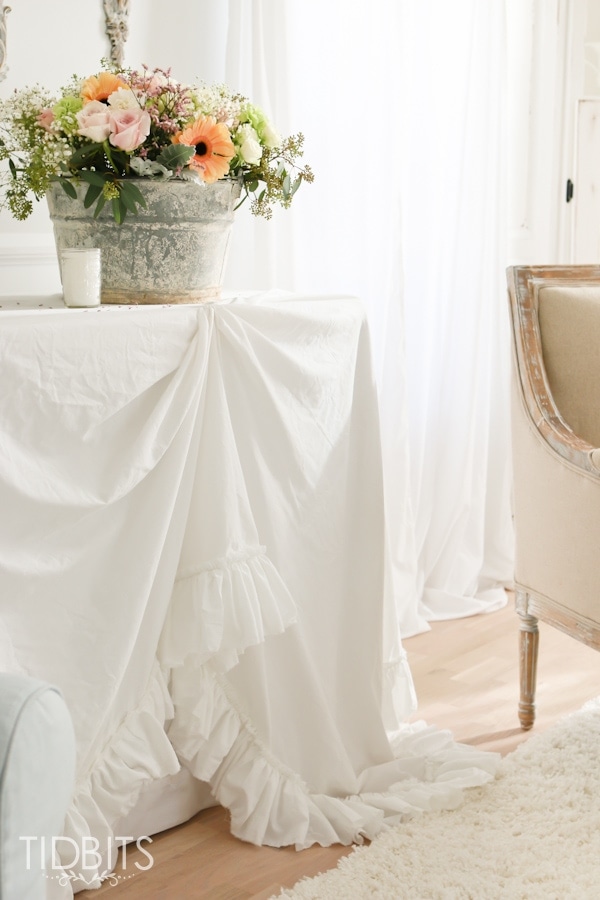
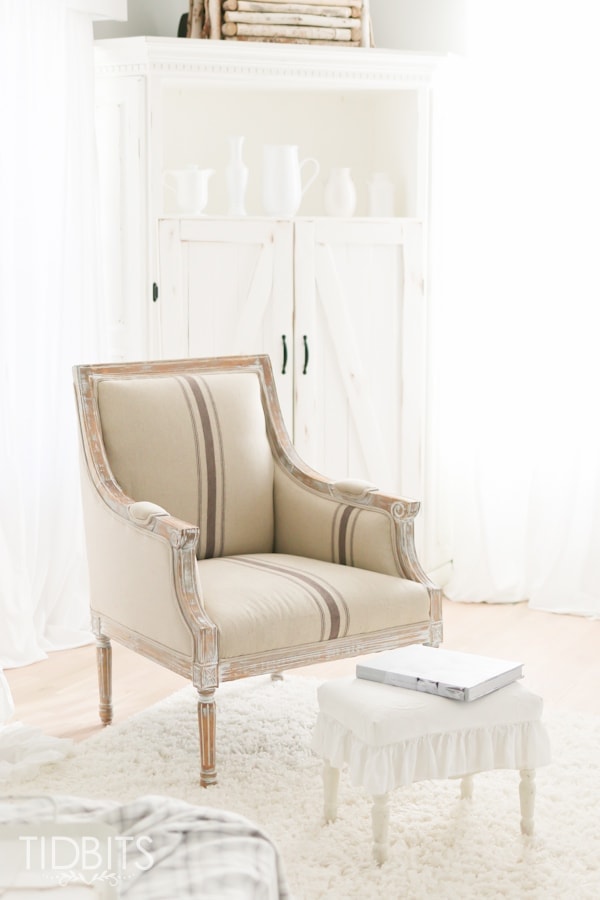
I’m sure you’ve noticed that lovely grain sack French accent chair by now. Isn’t she beautiful!!
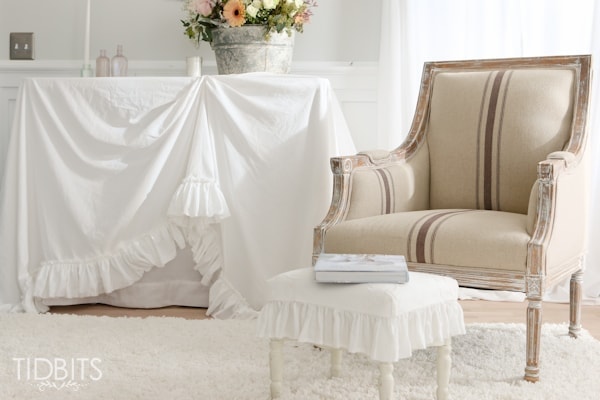
This accent chair came from Joss and Main/Birch Lane, one of my favorite places to get high-end pieces at prices that won’t feel uncomfortable for these types of investments.
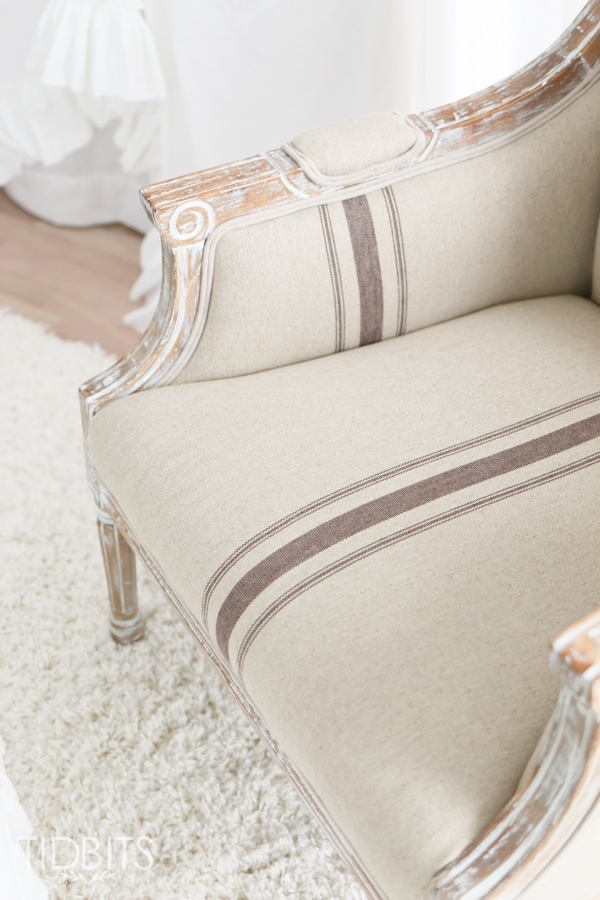
I have eyed this chair for a while now and knew it would look perfect next to the ruffled tablecloth. I’m sure many of you other French accent chair enthusiasts are agreeing with me now!

I’d also like to add, I wanted real linen fabric for this tablecloth. But when I priced the yardage at the fabric store I decided I didn’t want to spend that much. So I headed over to Wal-Mart and bought 2 bottom-of-the-line, king-size cotton sheets for $20 or so total. I used all that fabric for the tablecloth, which made this a very inexpensive project!
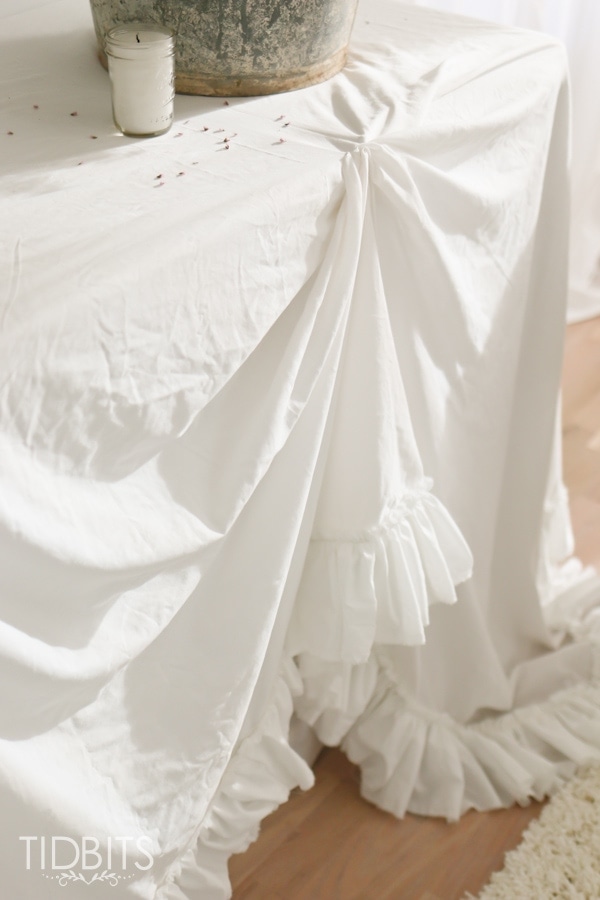
While playing around with styling, I also decided to pin it up to create some drape, so I place another white sheet we had laying around under the actual tablecloth.
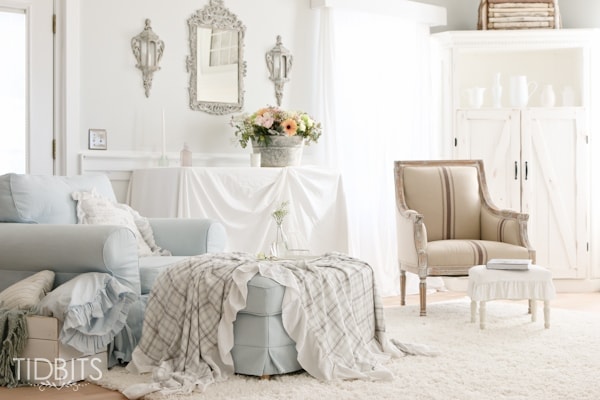
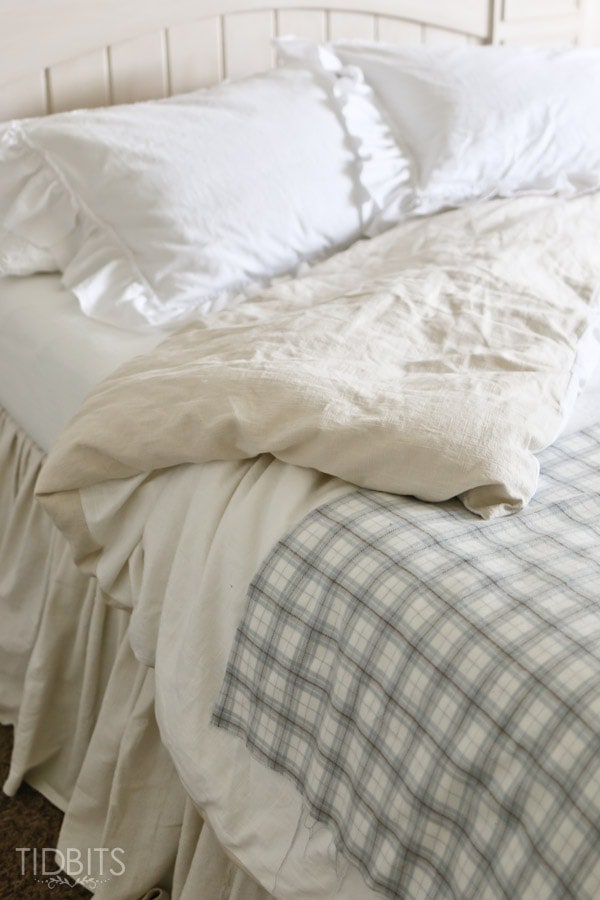
I have a crazy easy ruffle technique I’ll show in the video below, but first I want to see if you can count how many ruffle projects you see in this space.
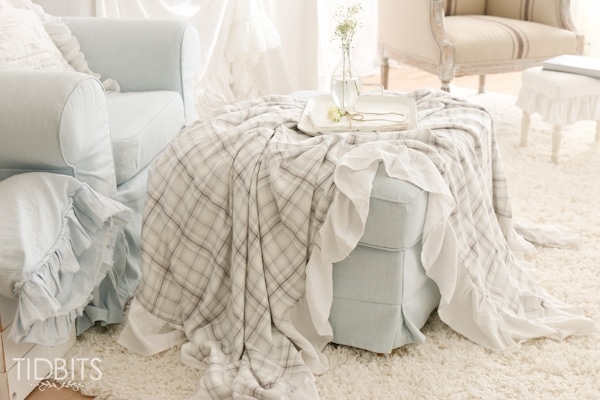
I love to decorate with ruffles! I made the plaid blanket and the ruffle pillow as well.
When you discover how easy and fun ruffles can be, you’ll be thinking of all the projects you can create. I’d love to have you watch this short clip while I explain this technique to you.
Again, I’m just learning my way into the video world, so please be patient with me through the quarks.
Now I would be happy to walk you through the instructions for making your ruffled tablecloth.
You’ll first want to hang your fabric over the table so it covers the table completely. Simply cut off any extra fabric. The corners will droop and puddle on the ground, but just make sure the straight edges are just barely touching the ground.
I’m not going to advise on the amount of fabric needed exactly, because all our tables will be different sizes. Two king-size sheets were almost exactly what I needed to create the cover and the ruffles. I do suggest figuring the amount you will need to cover the table, and then double that amount for the ruffles.
I then took my extra sheet and measured it 6 inches for the ruffle width. You can determine whatever size of ruffle you would like.
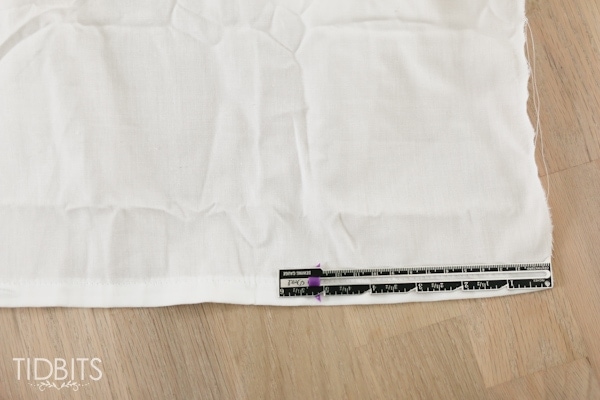
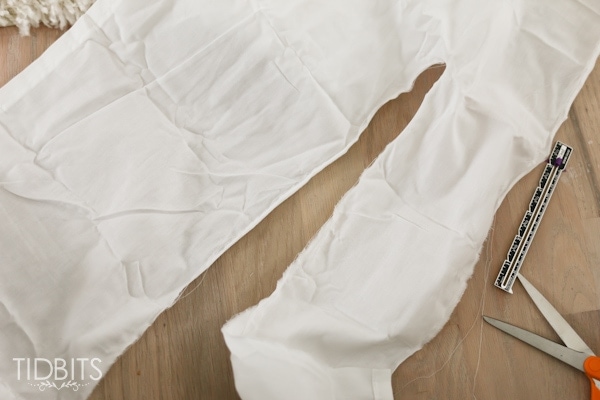
I made a small slit with scissors at that 6-inch mark and tore the fabric the rest of the way.

I like that torn edge for this type of shabby chic French vintage look, but you could choose to hem your edges if you want a cleaner look. I repeated this step with the rest of my fabric until I had made plenty of strips for the ruffles.
Before I began ruffling one end, I choose to add a stitch 1/4 inch away from the soon-to-be non-ruffled edge, so fraying would not get out of hand. Again, I wanted the frayed look for this type of project, but you can choose to hem that far end.
Next, you will proceed with the instructions in the video above to ruffle your fabric strips until you have loads and loads of ruffles!
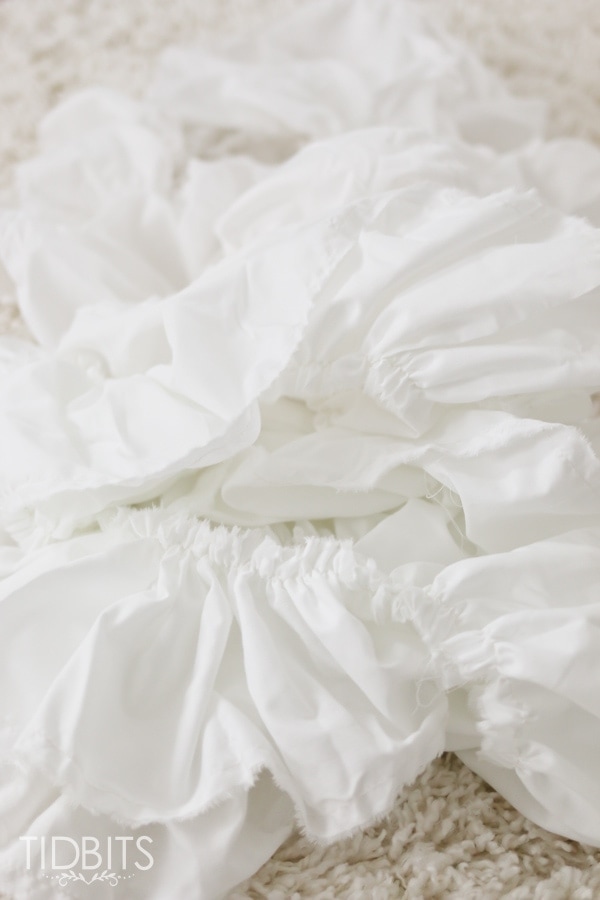
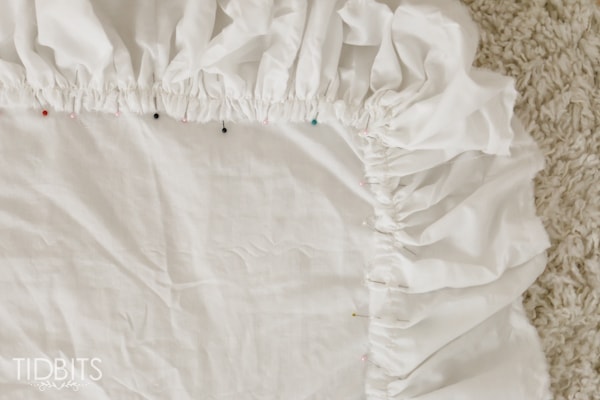
I stitched them all together to create one seamlessly long ruffle and began pinning that onto the tablecloth portion.
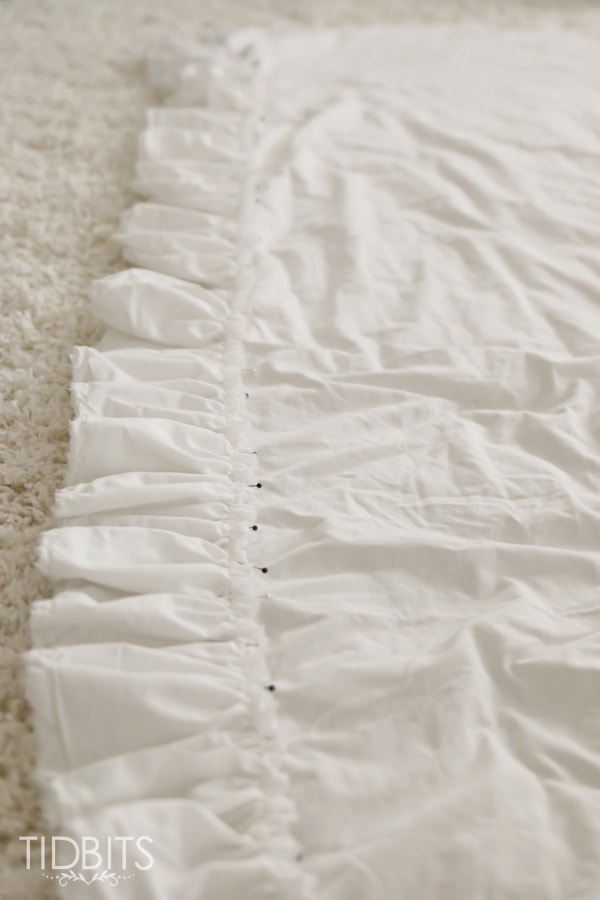
I gave myself about an inch and a half of overlap.
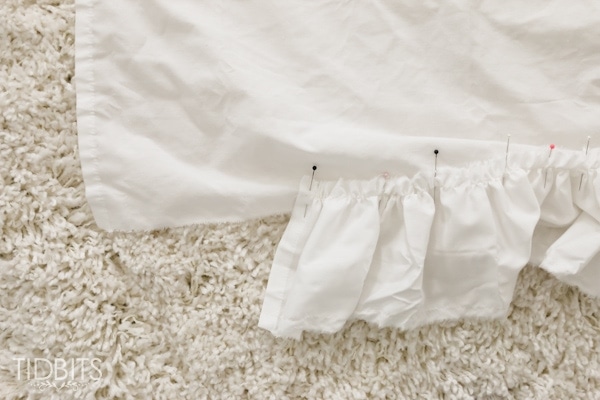
No need to do anything fancy on the corners. Just continue pinning around the bend.
Then when I had it all pinned in place, I took it over to the sewing machine and stitched right on top of my ruffle stitch, all the way around.

I completed this project in 2 days of nap times, and have a lovely spot to decorate as a result.
If the tablecloth sounds a bit intimidating, try the ruffle technique on pillows, bed skirts, blankets, or skirts.
As always, let me know if you give it a try!
Thanks so much for reading and being here to support TIDBITS. Do you have any tables that could be transformed into French accent table perfection?
I’d love to have you pin this and share it with your friends!
MORE DIY POSTS YOU’LL ENJOY
DIY Butcher Block Countertops | Oh, yes you can!
How to Cut, Hone and Install Marble Yourself – Get the Look for WAY Less!


Oooooo, this Frenchy design sheet sounds divine! And yes, my kids too love the hiding spot. Thanks again for always being so kind and supportive. I’m excited you’ve signed up for the PC series! It can seem a little intimidating at first, but it is such a blessing in the kitchen! Have a wonderful day friend!
Thank you so much Jennifer! I’m honored that you would visit! That chair would look lovely in your home 😉
Love the skirt and table idea, maybe something I will have to do for my grandbabies as they would love it. I too have always loved ruffles and have made way too many over the years the “hard” way thank you for this tutorial as I will now be doing my ruffles this way, what a time saver. I needed to learn this 40 years ago. Thank you again, I am working on some pillows right now with ruffles and you know I will be doing them this way.
Blessings,
Candy
Thank you so much for your comment! 40 years of doing ruffles the hard way – yuck! I actually purposely avoided ruffle projects until I figured this out. No I ruffle everything! So excited you are getting a chance to apply the technique on some pillows. You can never go wrong with ruffle pillows! Wish you the best!
Wow! Great tutorial! Get’s my creative juices rolling. I am starting to think of all the things I can ruffle. Love, love, love it..
Thank you Sue! Let’s ruffle the world together!!
I love this! This looks like something I can actually do. Can you tell me where you got the light blue chair and ottoman?
Thank you Laura! I got them from IKEA! Ektorp line. They have a lot of slipcover options. Wish you the best!
Oooooo, this Frenchy design sheet sounds divine! And yes, my kids too love the hiding spot. Thanks again for always being so kind and supportive. I’m excited you’ve signed up for the PC series! It can seem a little intimidating at first, but it is such a blessing in the kitchen! Have a wonderful day friend!
Oh my goodness Cami!! I’m in love with your table! The whole room is stunning!
Thanks so very much Norma! You are always so kind!
I am in love with this!!
So glad! Thank you!
Thanks so much this is way better than what I have done.Have a great day.
You are very welcome! Have a wonderful day as well Marlene!
Thank you, It am so thankful for the DIY instructions.
You are very welcome! I love to help others create!
Love this idea. My sons love to play board games and we are always getting the table and setting it up.. This would take care of that problem. Thanks.
We use this table for board games a ton too! It’s been so nice to have it there to pull out easily. Thanks so much for reading and taking the time to leave me a comment!
Hi Cami! Cute table. I love your blog. I just wanted to say, regarding your jab at yourself about being high class kind of friends with your folding table & camp chairs, class doesn’t come from money. It comes from the kind of person you are, from your heart and how you treat others. And from all that I have read, I think you are a high class kind of person. Have a great day!
Tina, thank you for your kind words. I couldn’t agree with you more! It never matters to me what kind of home my friends have, but what is in there heart that makes them wonderful to be around. Thank you for your uplifting perspective!
Hey girl- great post! Love the table!
Thanks so much Shawnna!!